I am extremely passionate about my yoga. What you may not know is that I am equally passionate about photography. Combining these two art forms came naturally to me when I started my Instagram. As my yoga progressed over these past two years, so has my photography. I’ve learned to really USE my camera through a lot of trial, error and practice. Without getting too technical, here are a few tips I’ve learned and put into practice every single day.

Camera vs. Phone
The cameras on our phones these days are incredible. When I’m out and about, it’s a no brainer to whip out my phone if I want to snap a picture. With the abundance of self timer apps available and baby phone tripods, you really don’t need anything else to shoot basic pictures.
During my Junior year in high school, I took my first ever photography class…and fell in love. Digital cameras were not around yet, so we used film. There was no “deleting” pictures and “reshooting”…It was you, your camera and about 24-36 chances per roll. You learned very quickly how to make good use of your shots. Although shooting today is much easier, I learned a lot from that class that I still put into practice to this day…exposure, set up, lighting…just to name a few.
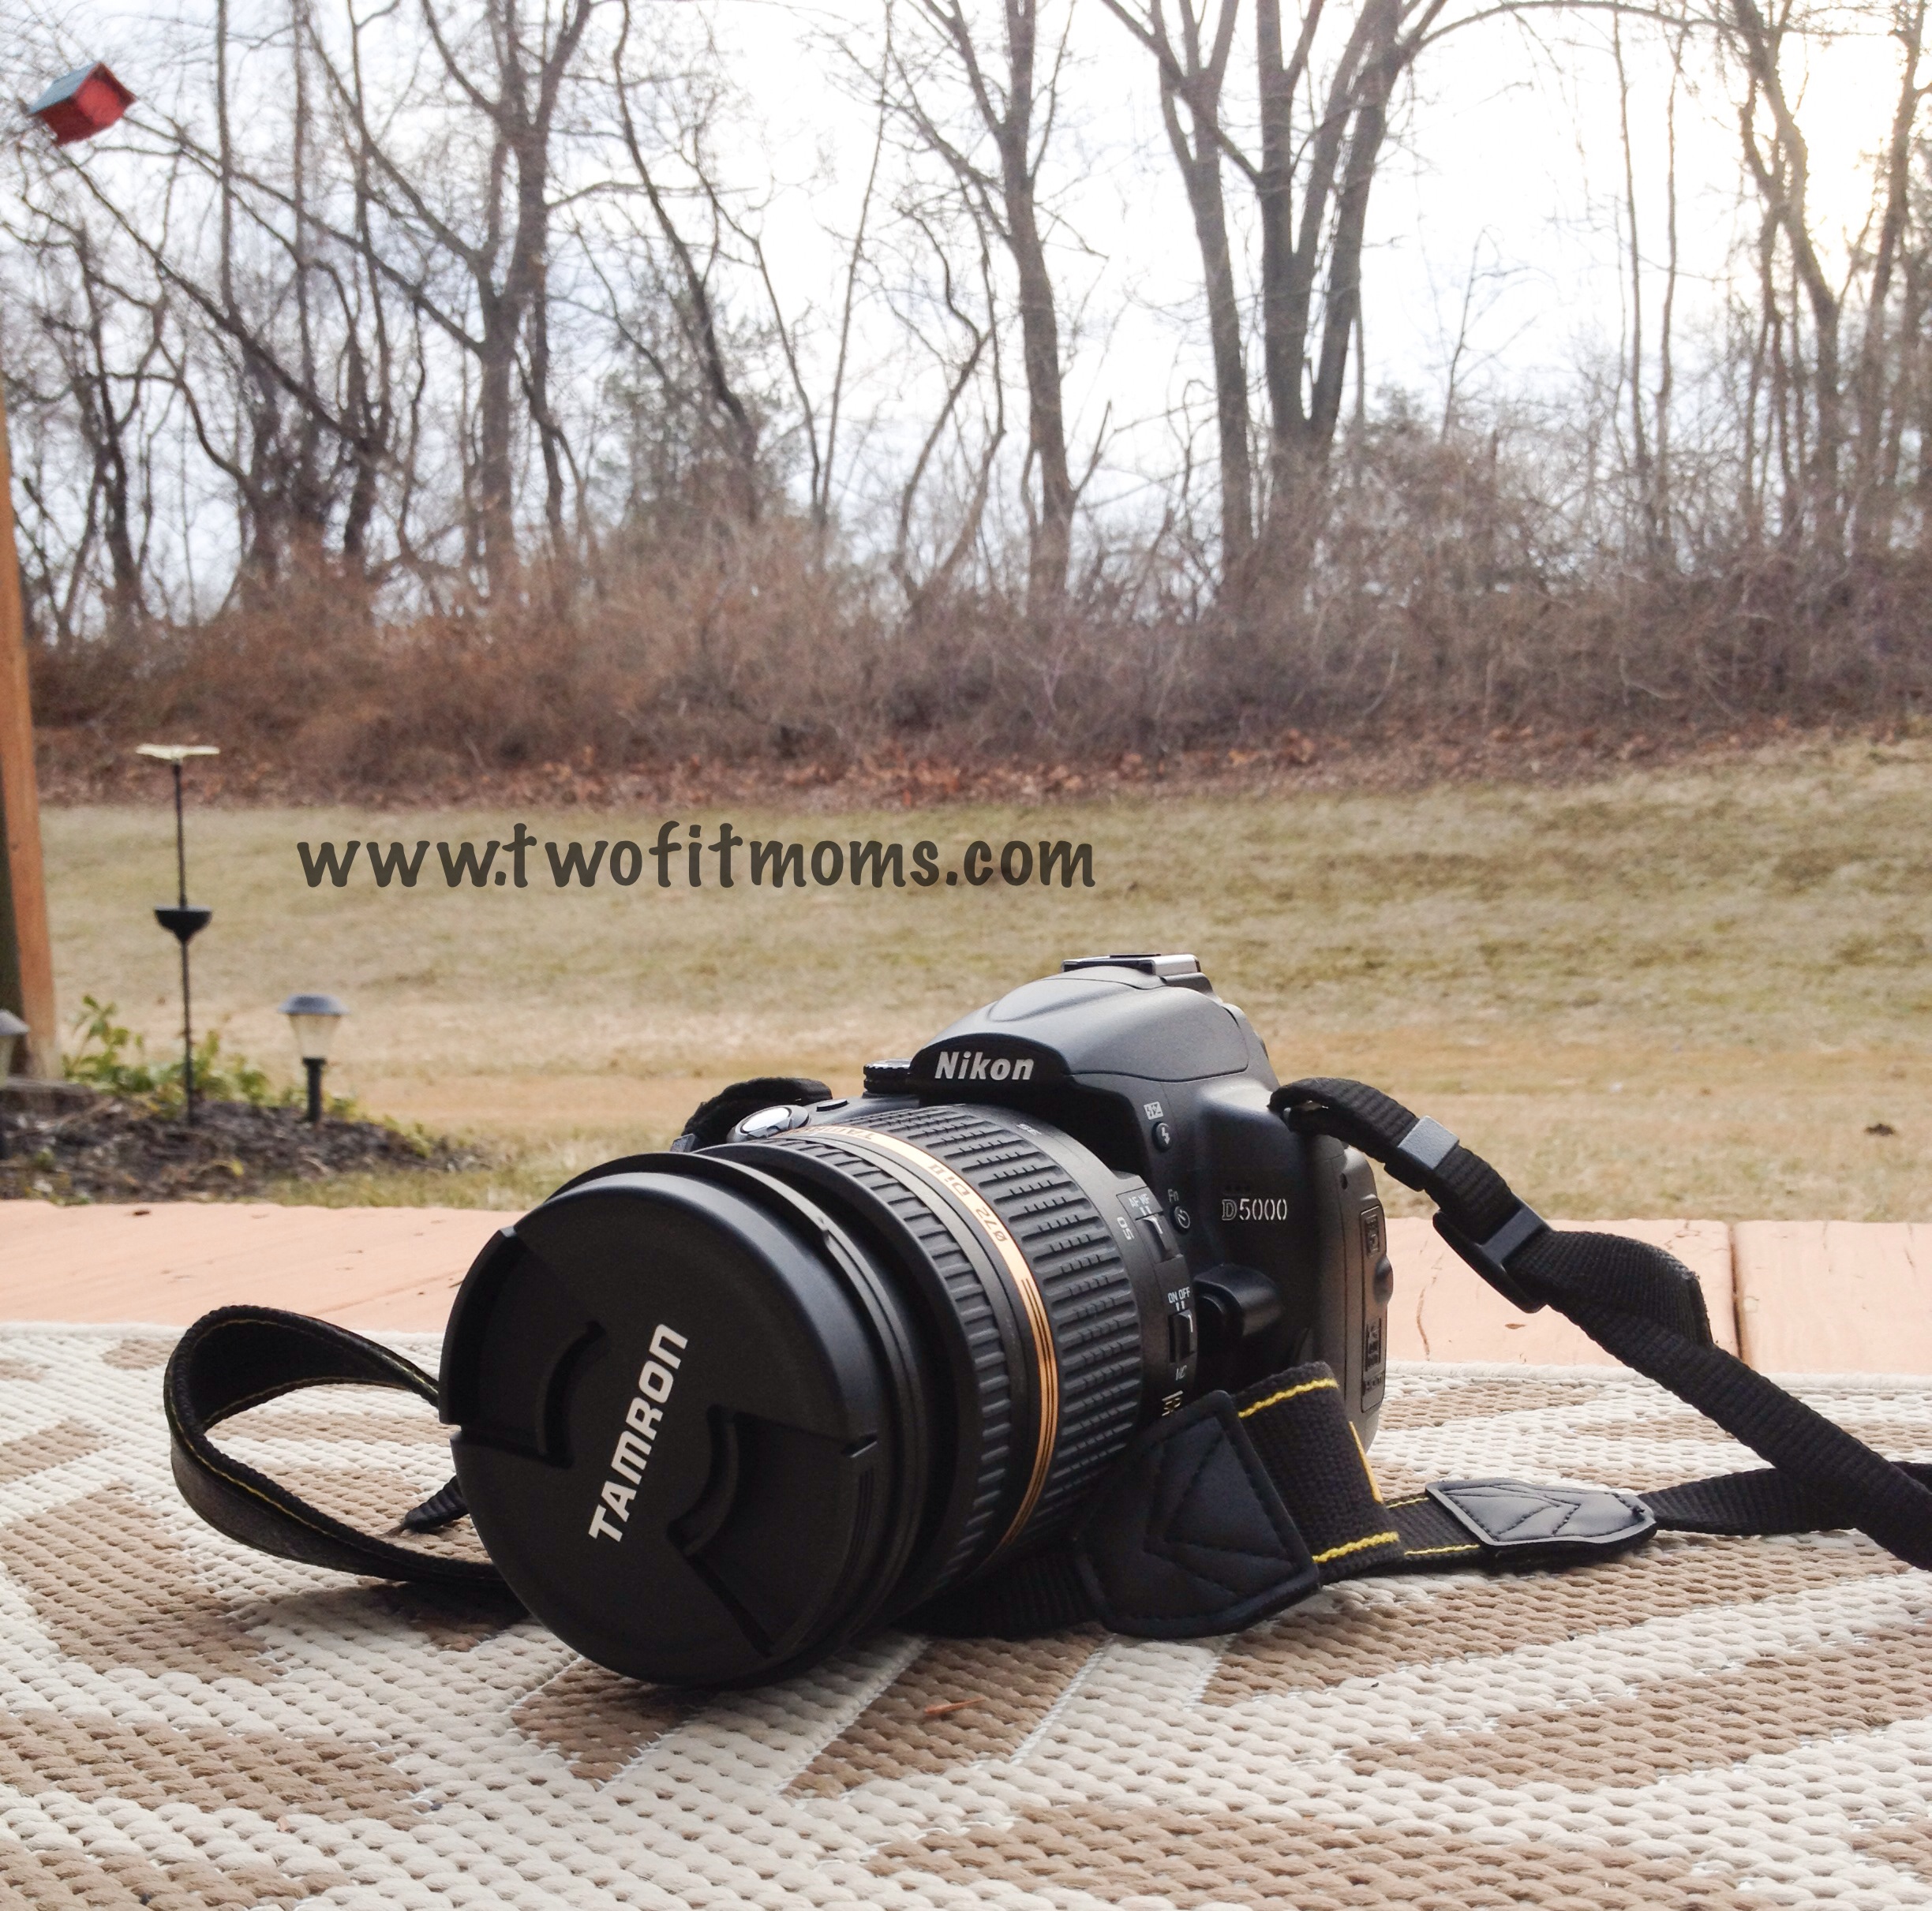
When I decided to purchase a digital single-lens reflex camera (DSLR), I knew I had to look at it as an investment. They do not come cheap — they are also a lot bulkier than a camera phone — but they yield beautiful results! If photography is something that really interests you, regardless of whether or not you are using it for yoga, you need a decent camera to shoot. Being able to set your own shutter speed and depth of field can take a great shot and make it amazing.
Here are a few of my favorite tips to help you take beautiful yoga pictures!
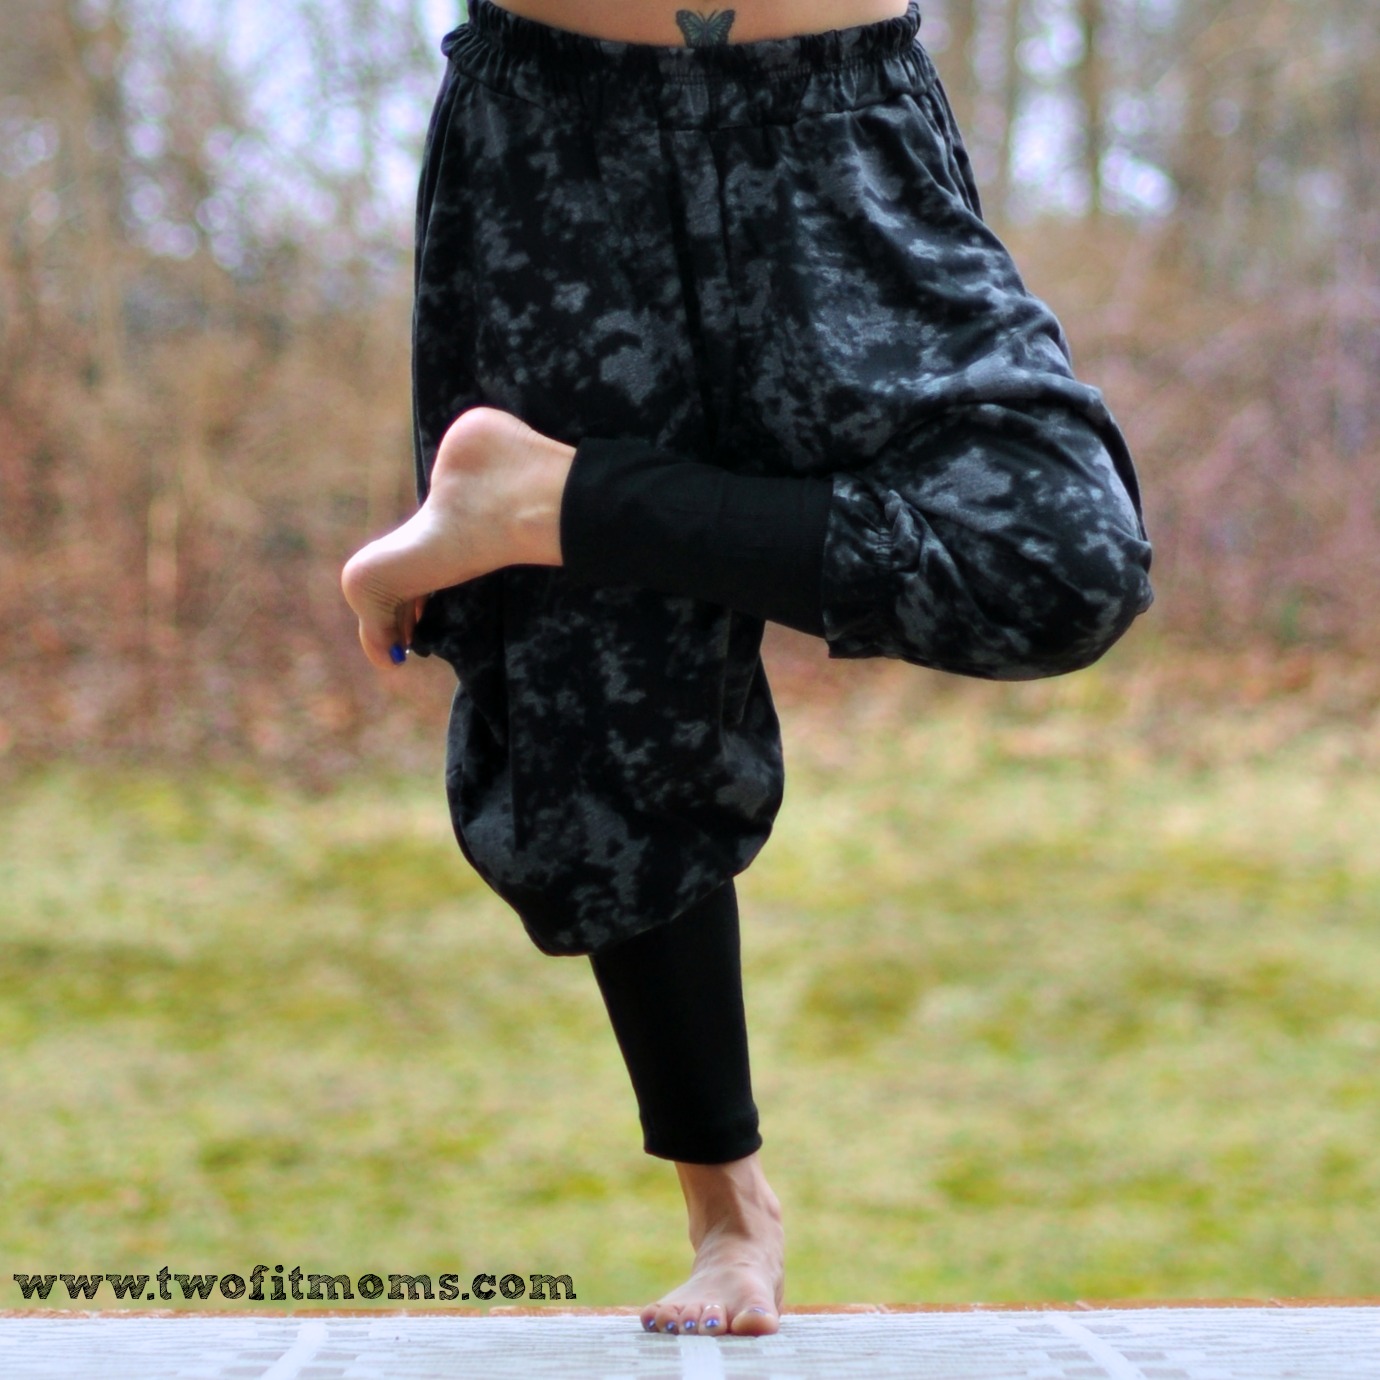
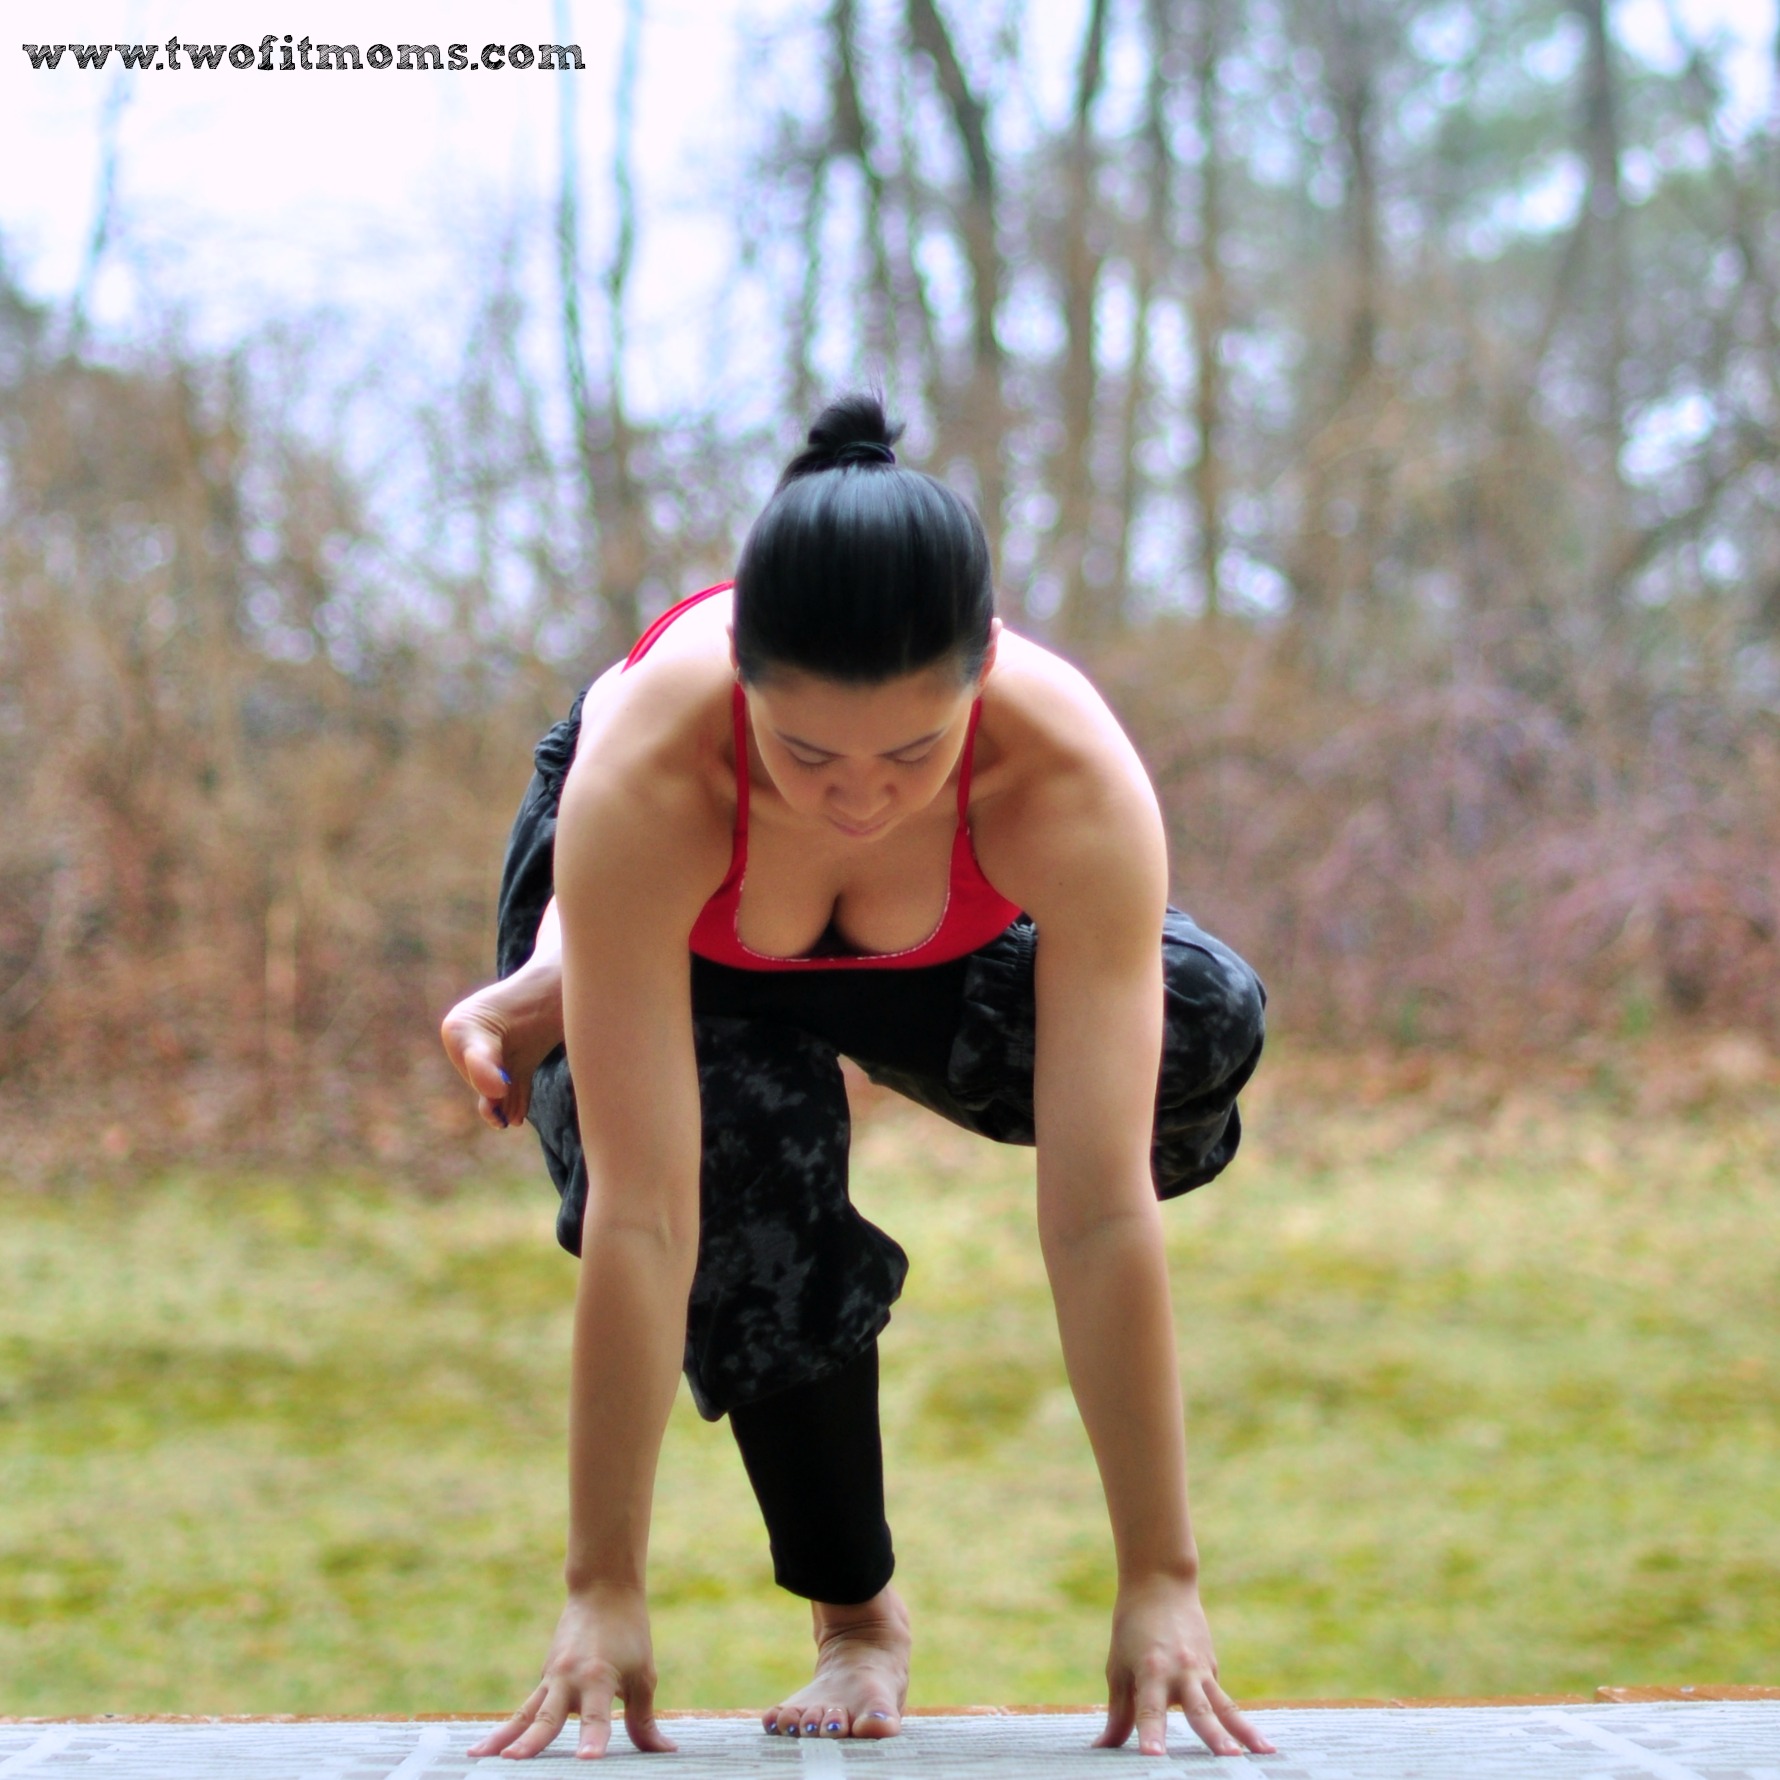
Tip #1: Shoot Low

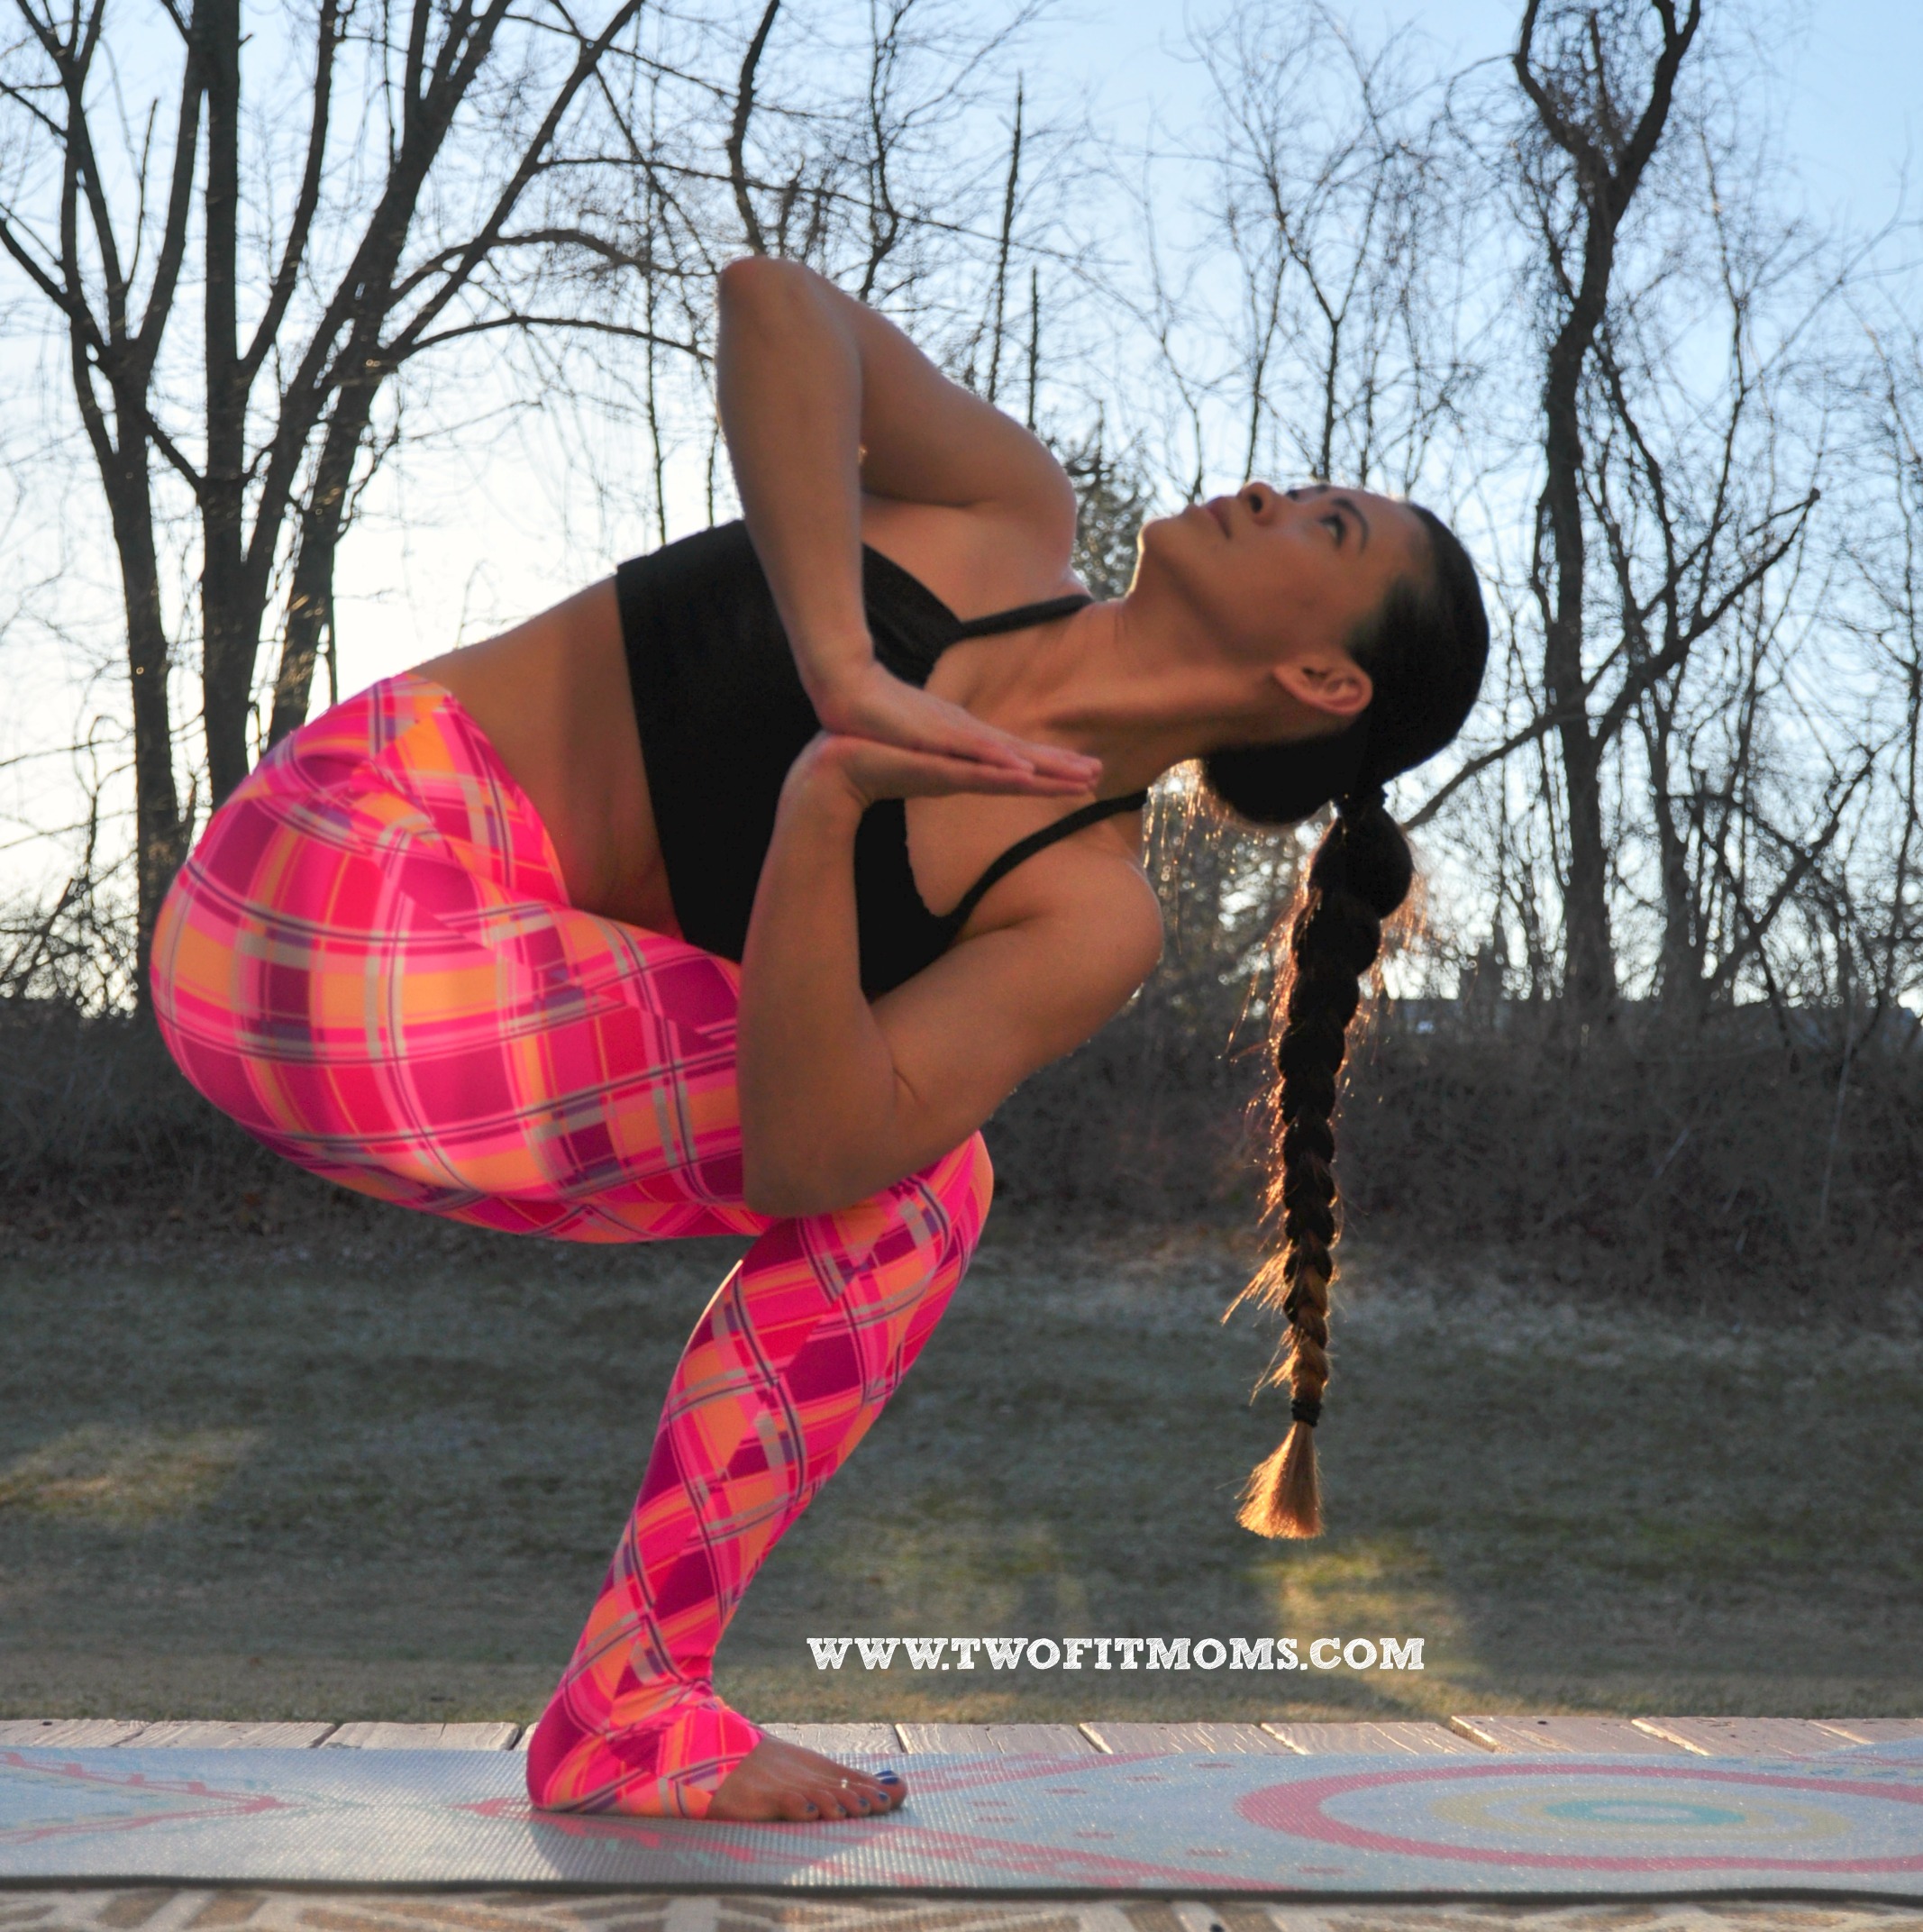
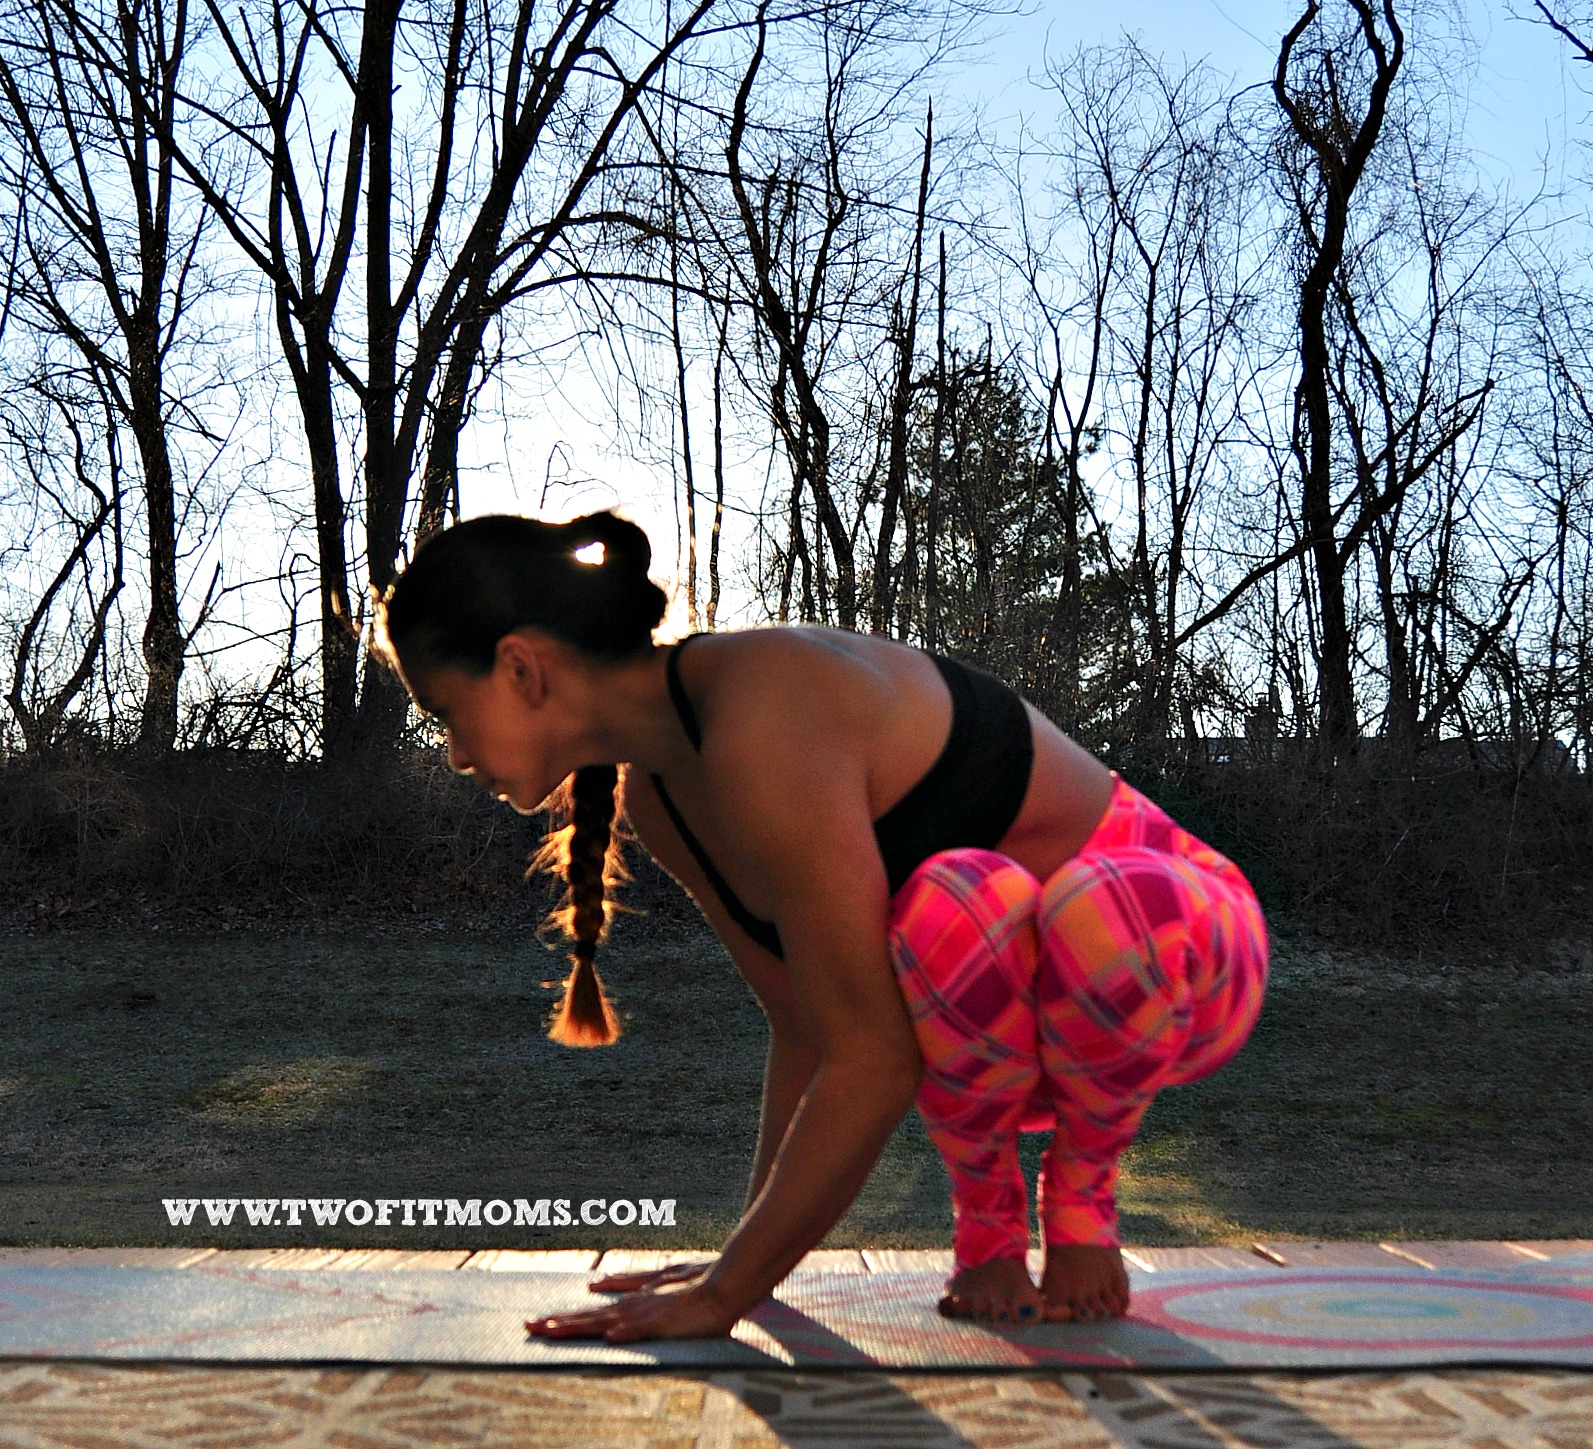
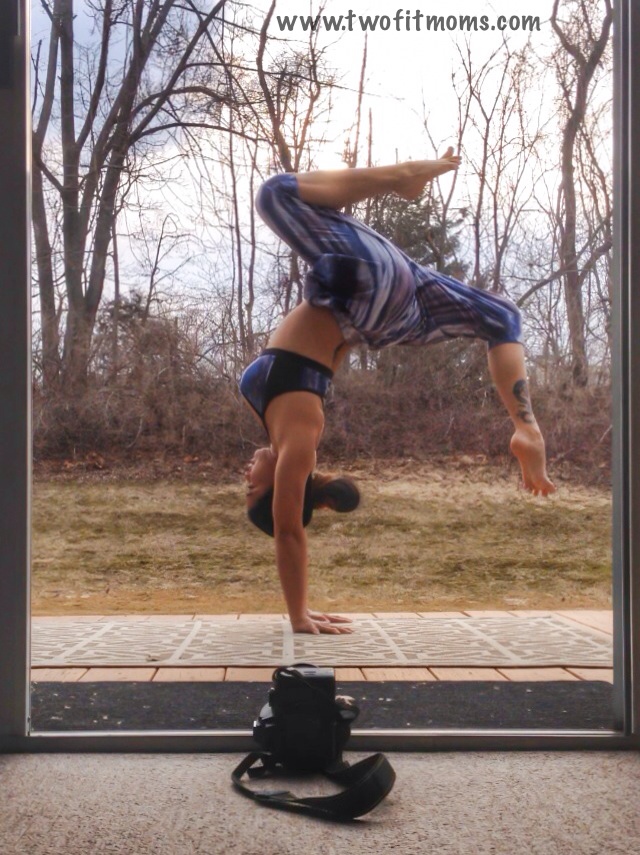
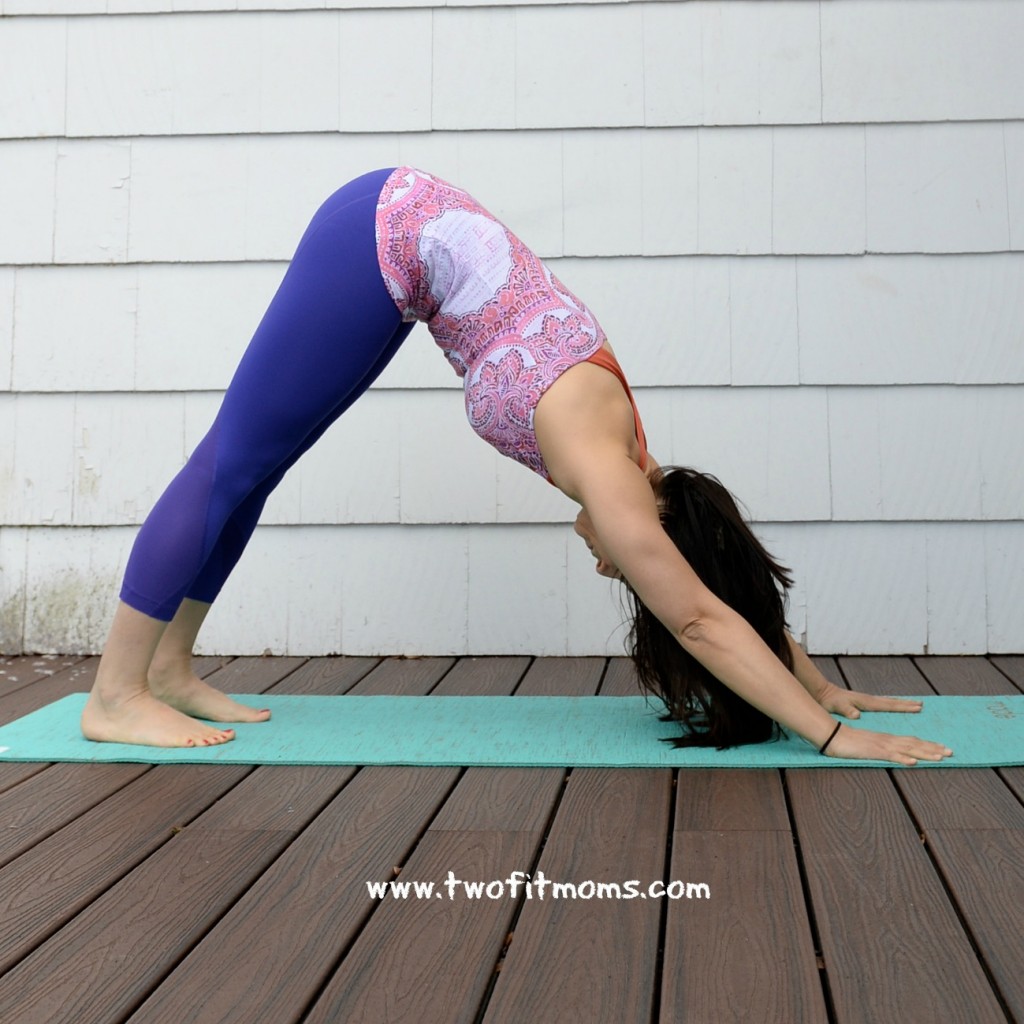
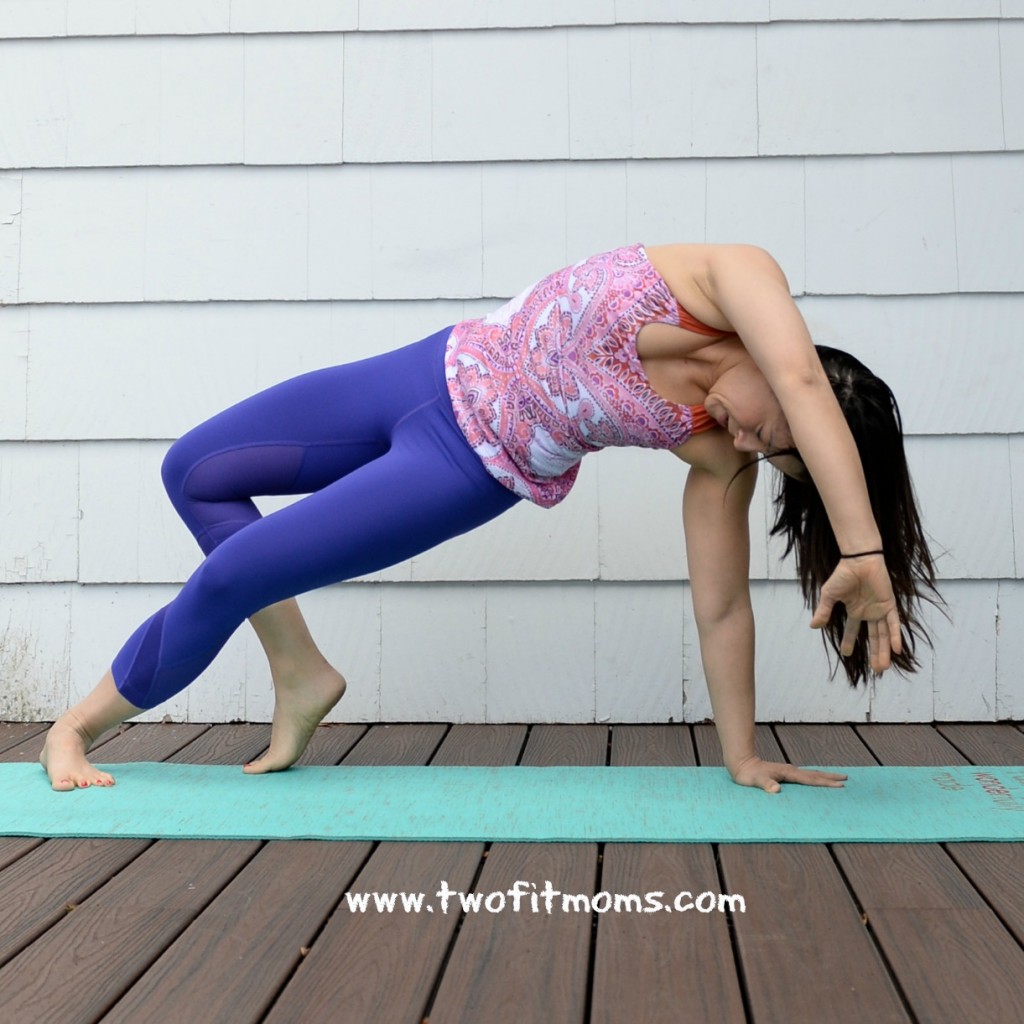
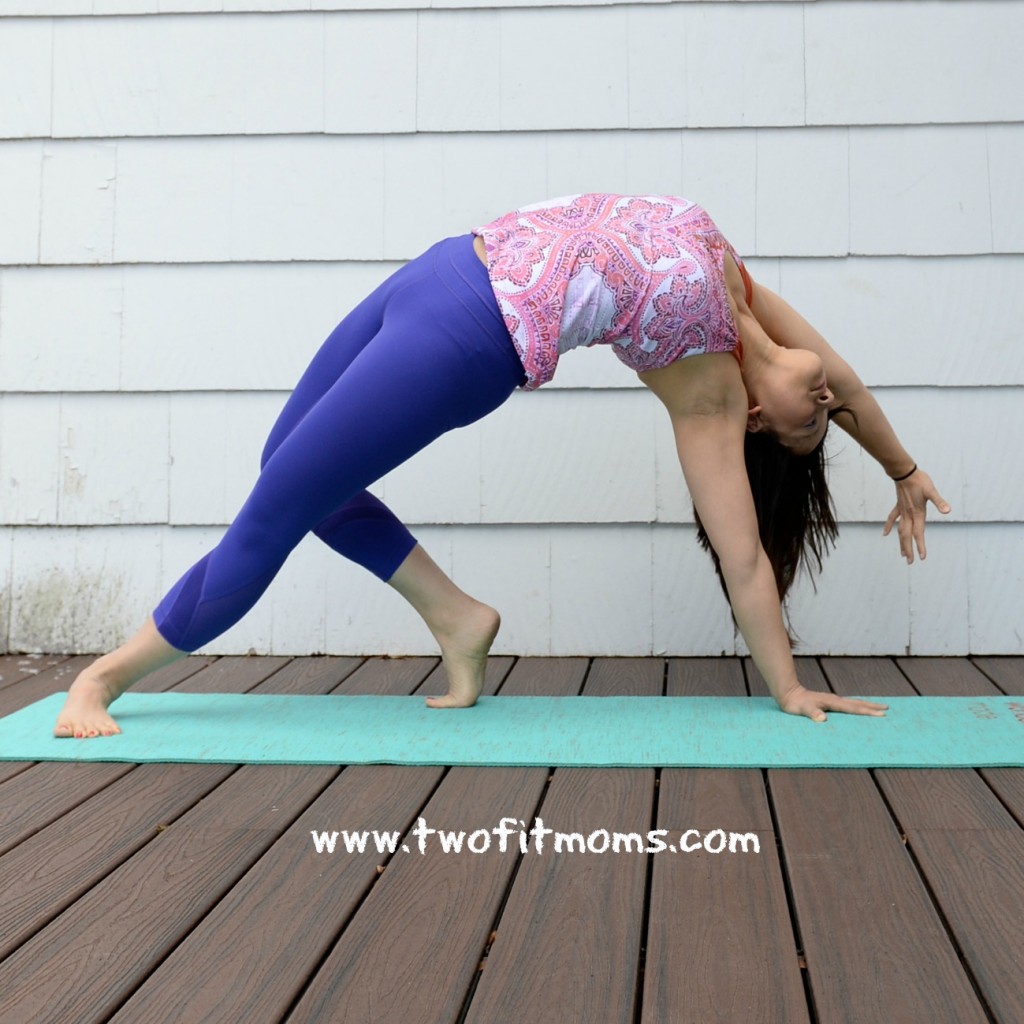
I am constantly growing and learning in my yoga practice. The same is true for my photography practice. In October, I had the privilege of shooting with Robert Sturman, a renowned photographer who specializes in yoga photography. One of the most important tricks I learned from collaborating with him is to SHOOT LOW. I mean…on the ground low. Whether you or someone else is taking the picture — get LOW. This one simple technique will offer new perspective and make all the difference in your pictures.
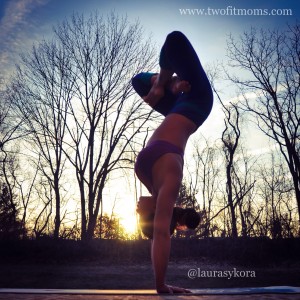
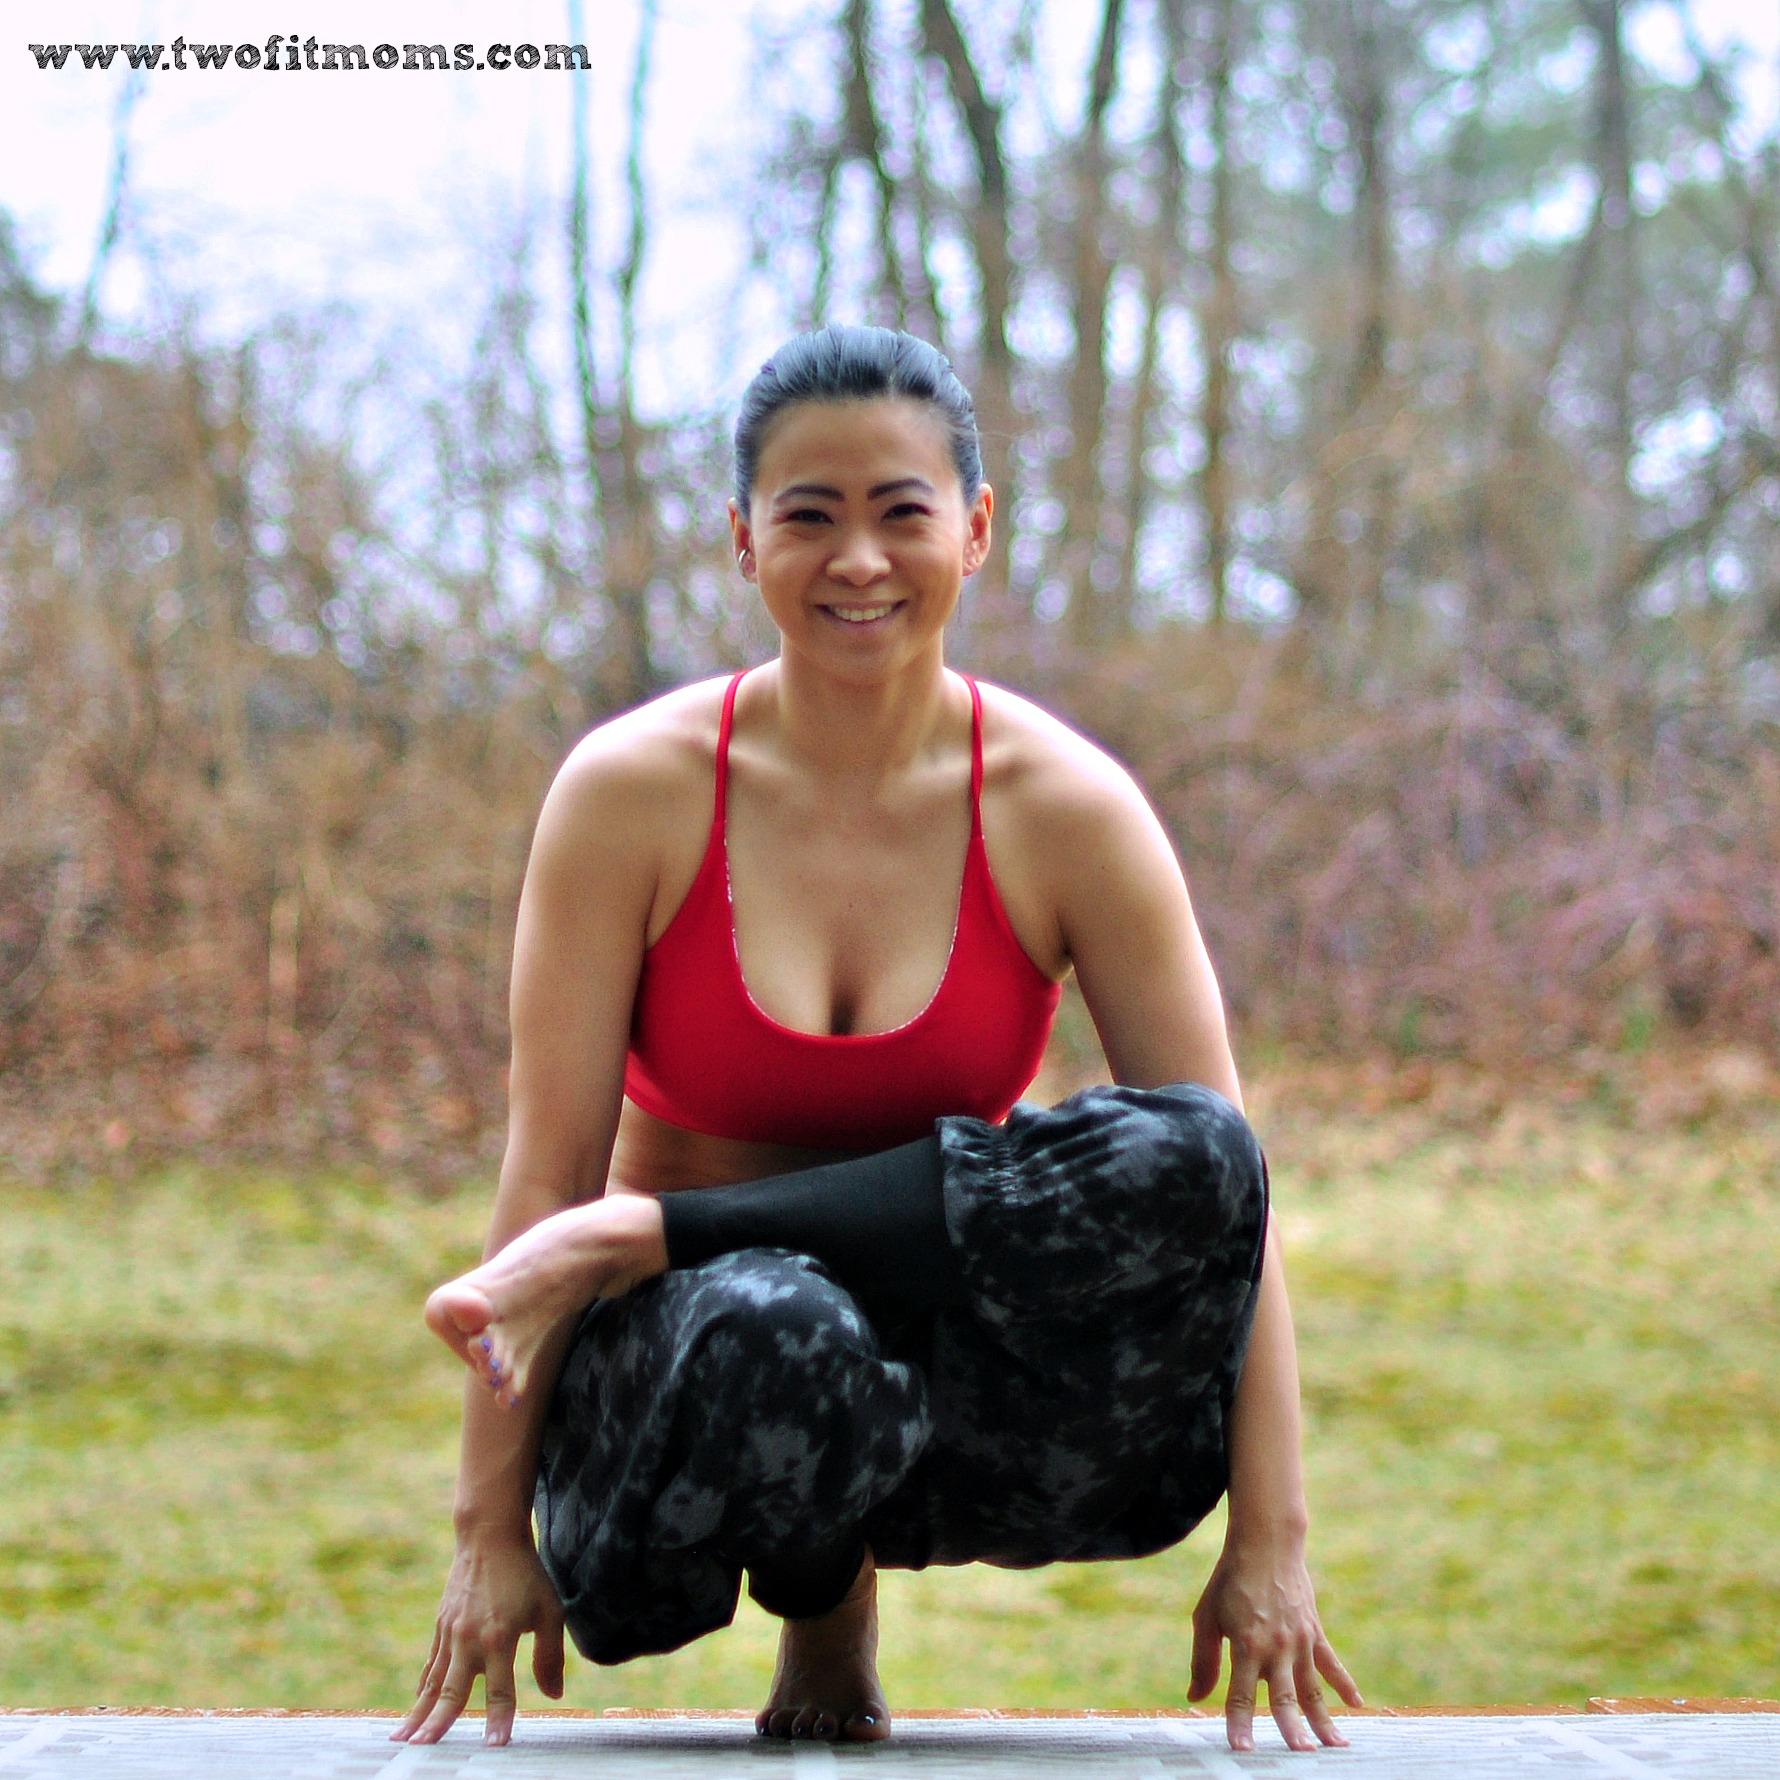
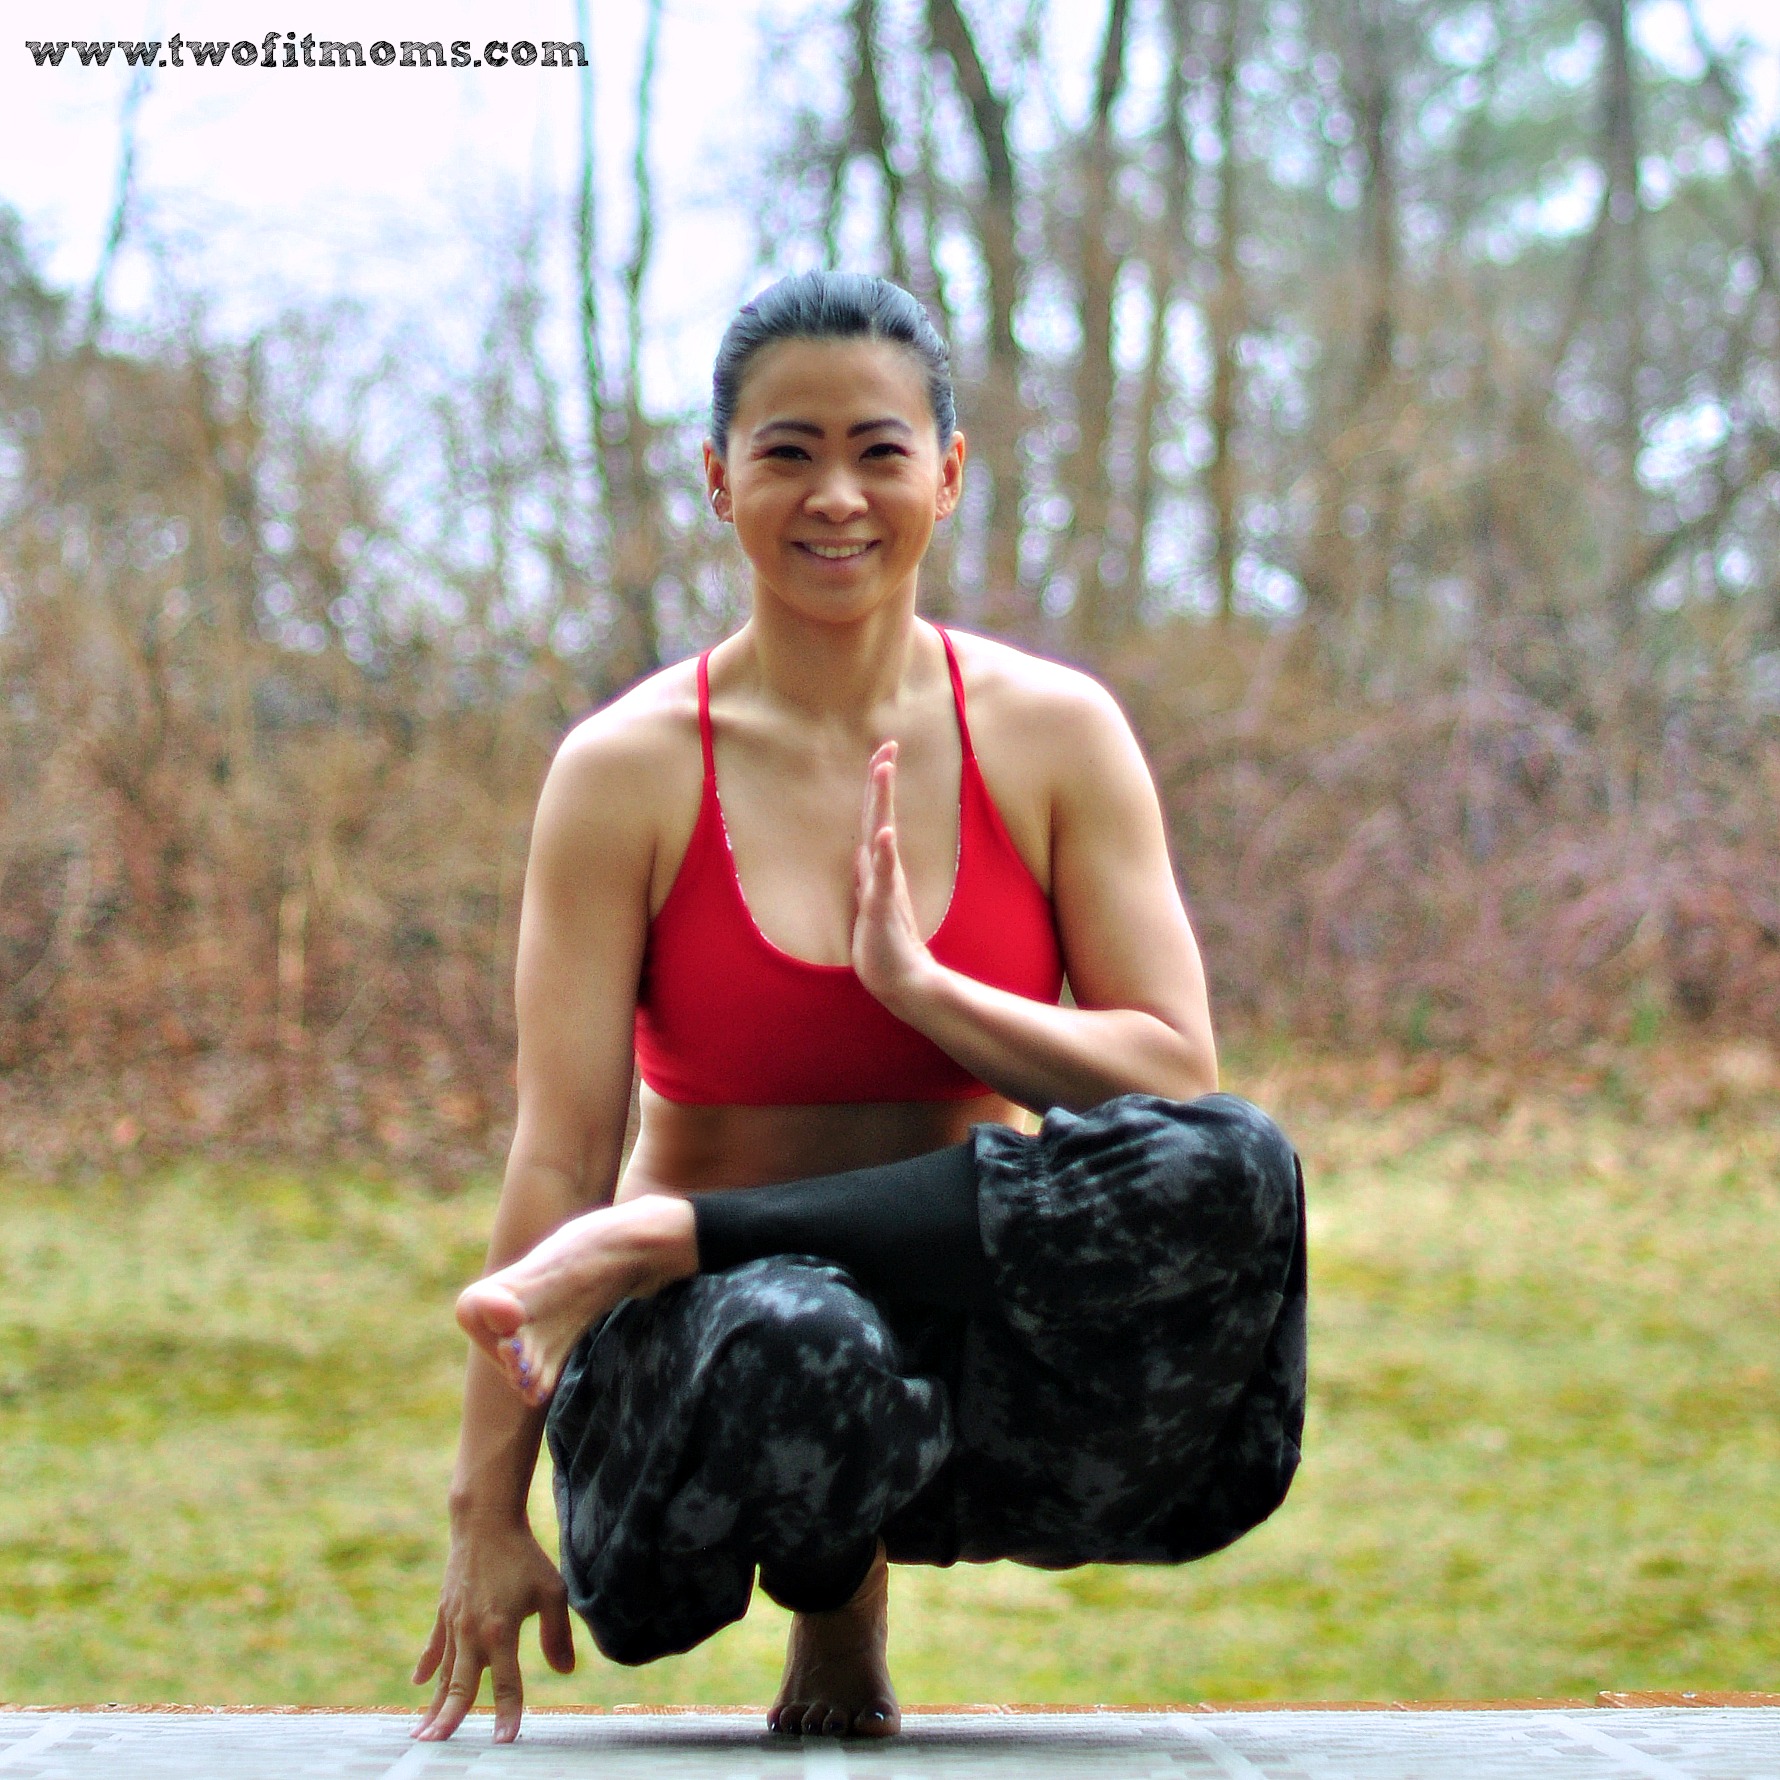
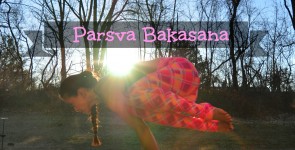
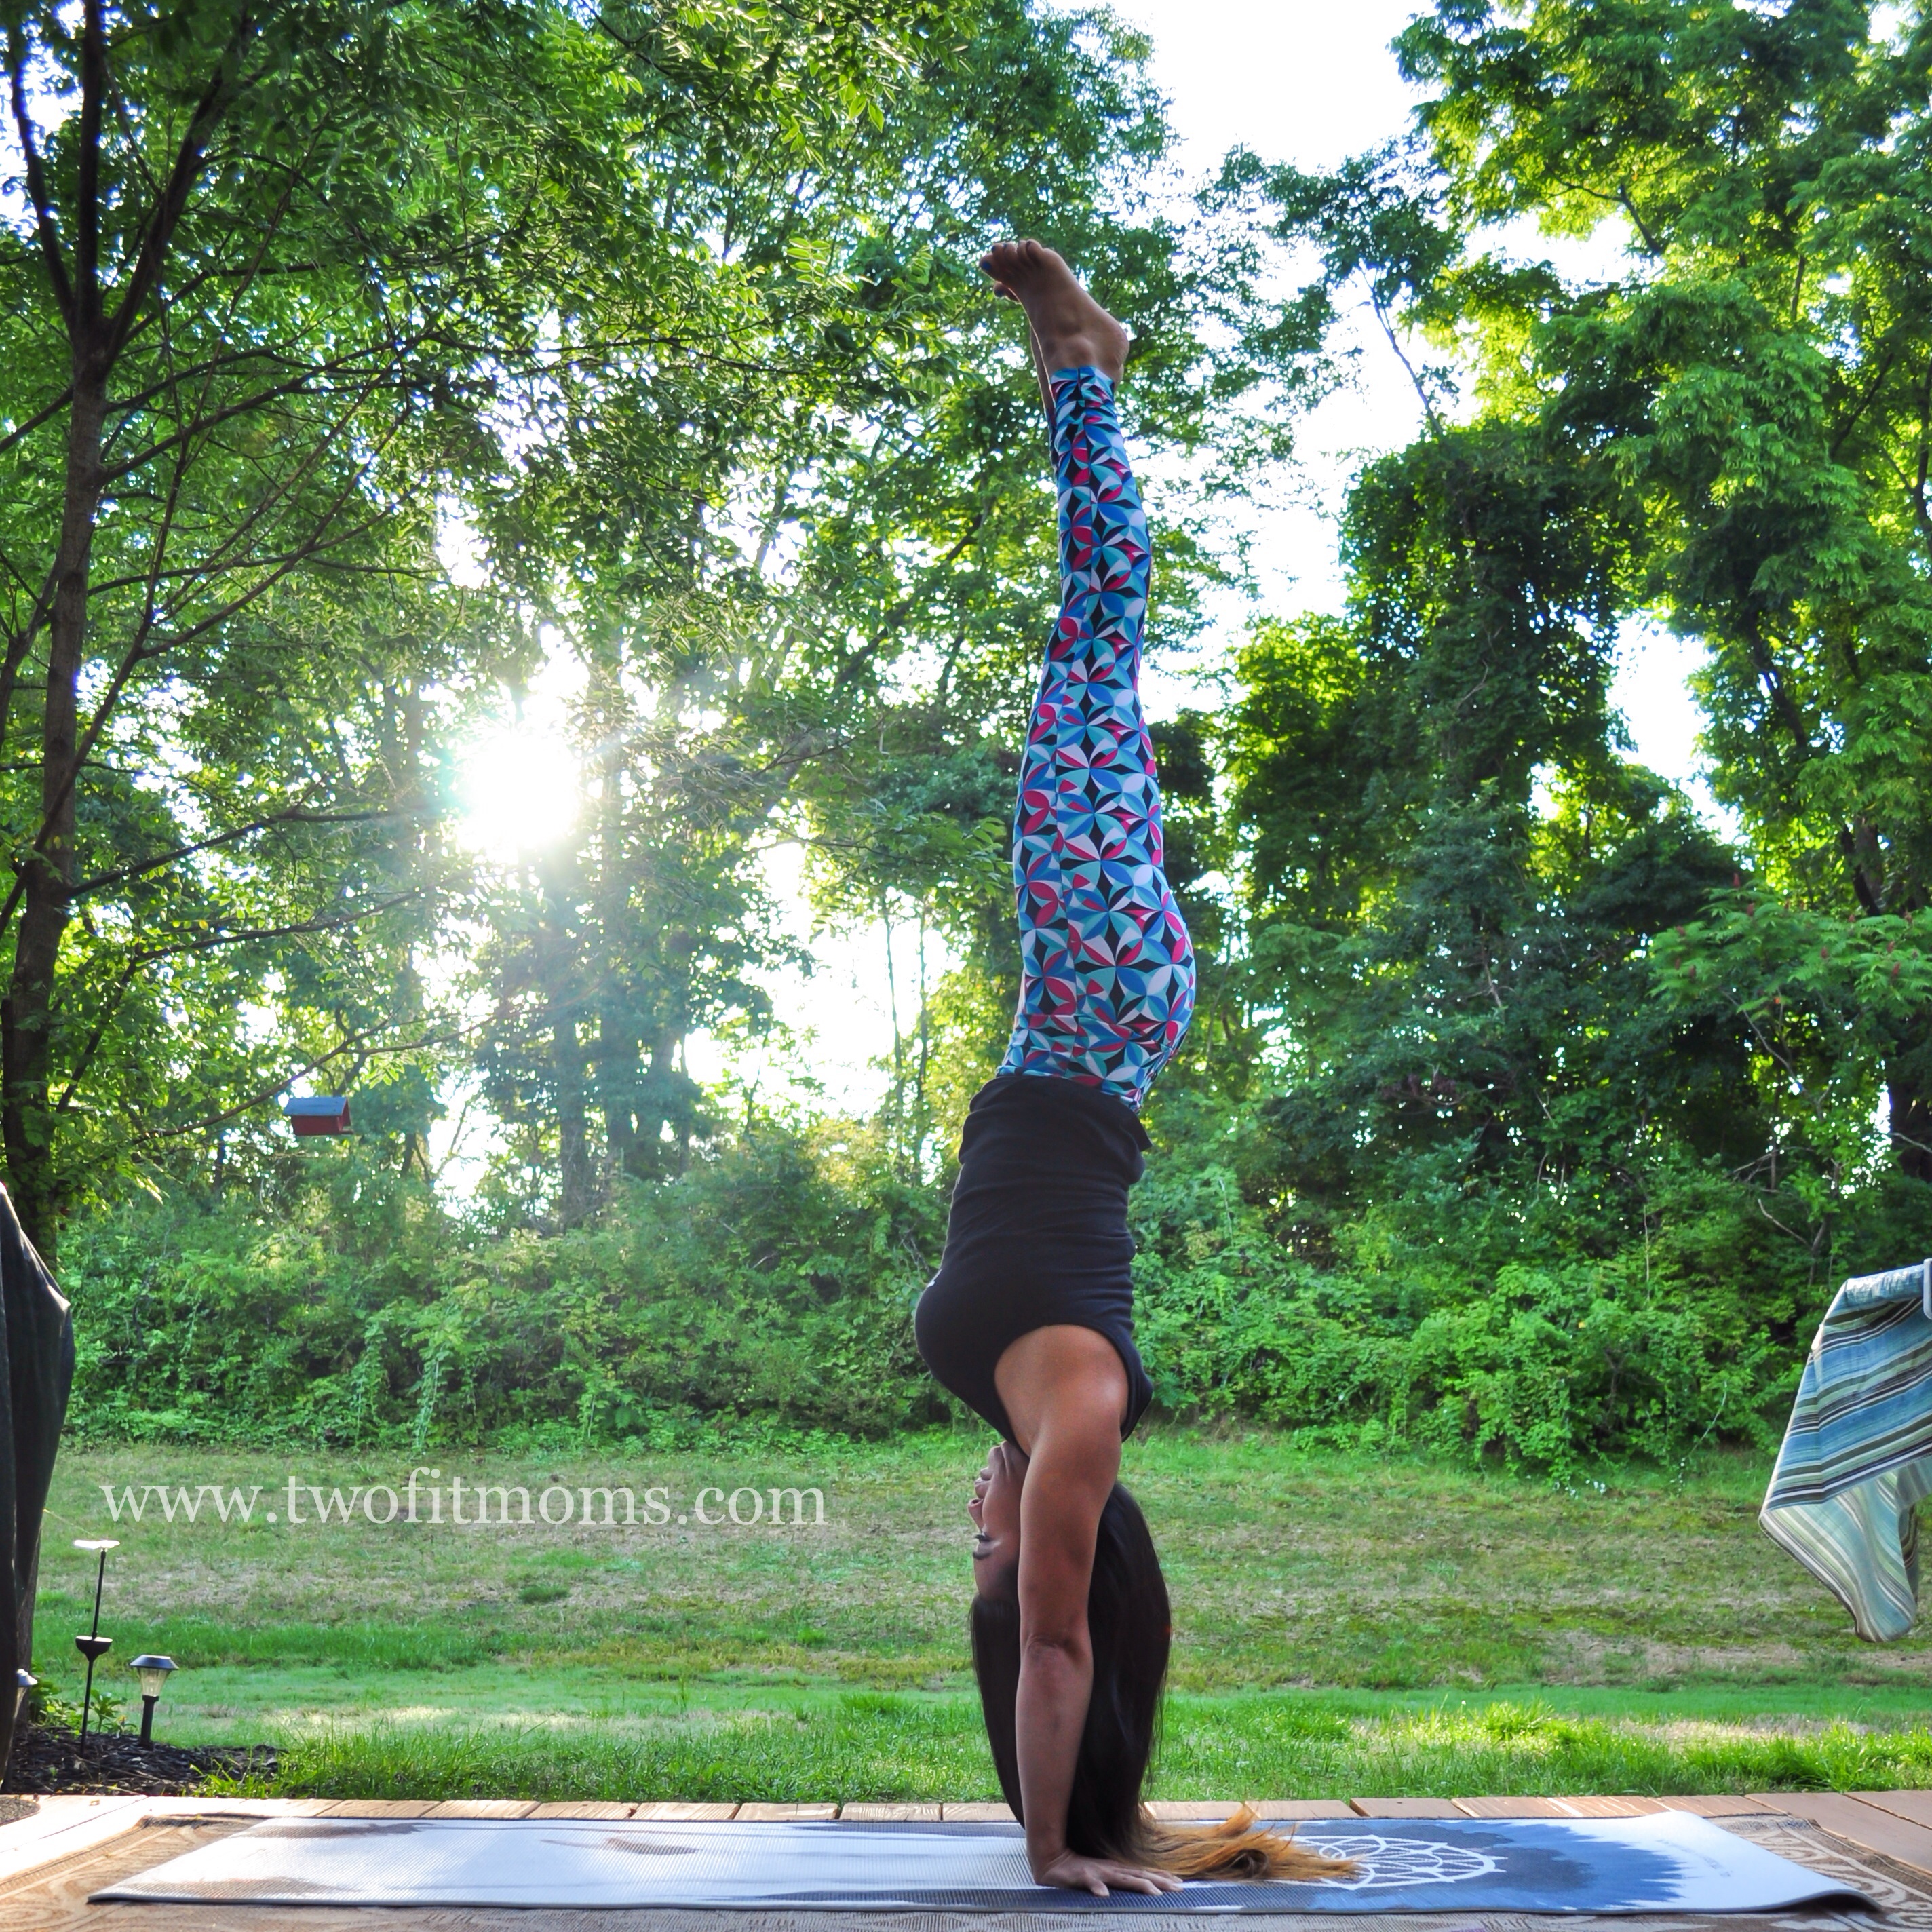
This picture was taken last summer. My camera was about three feet off of the ground shooting straight at me.

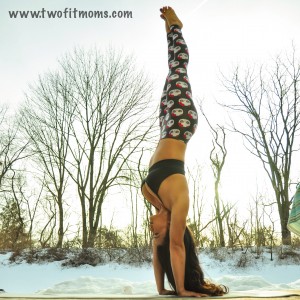
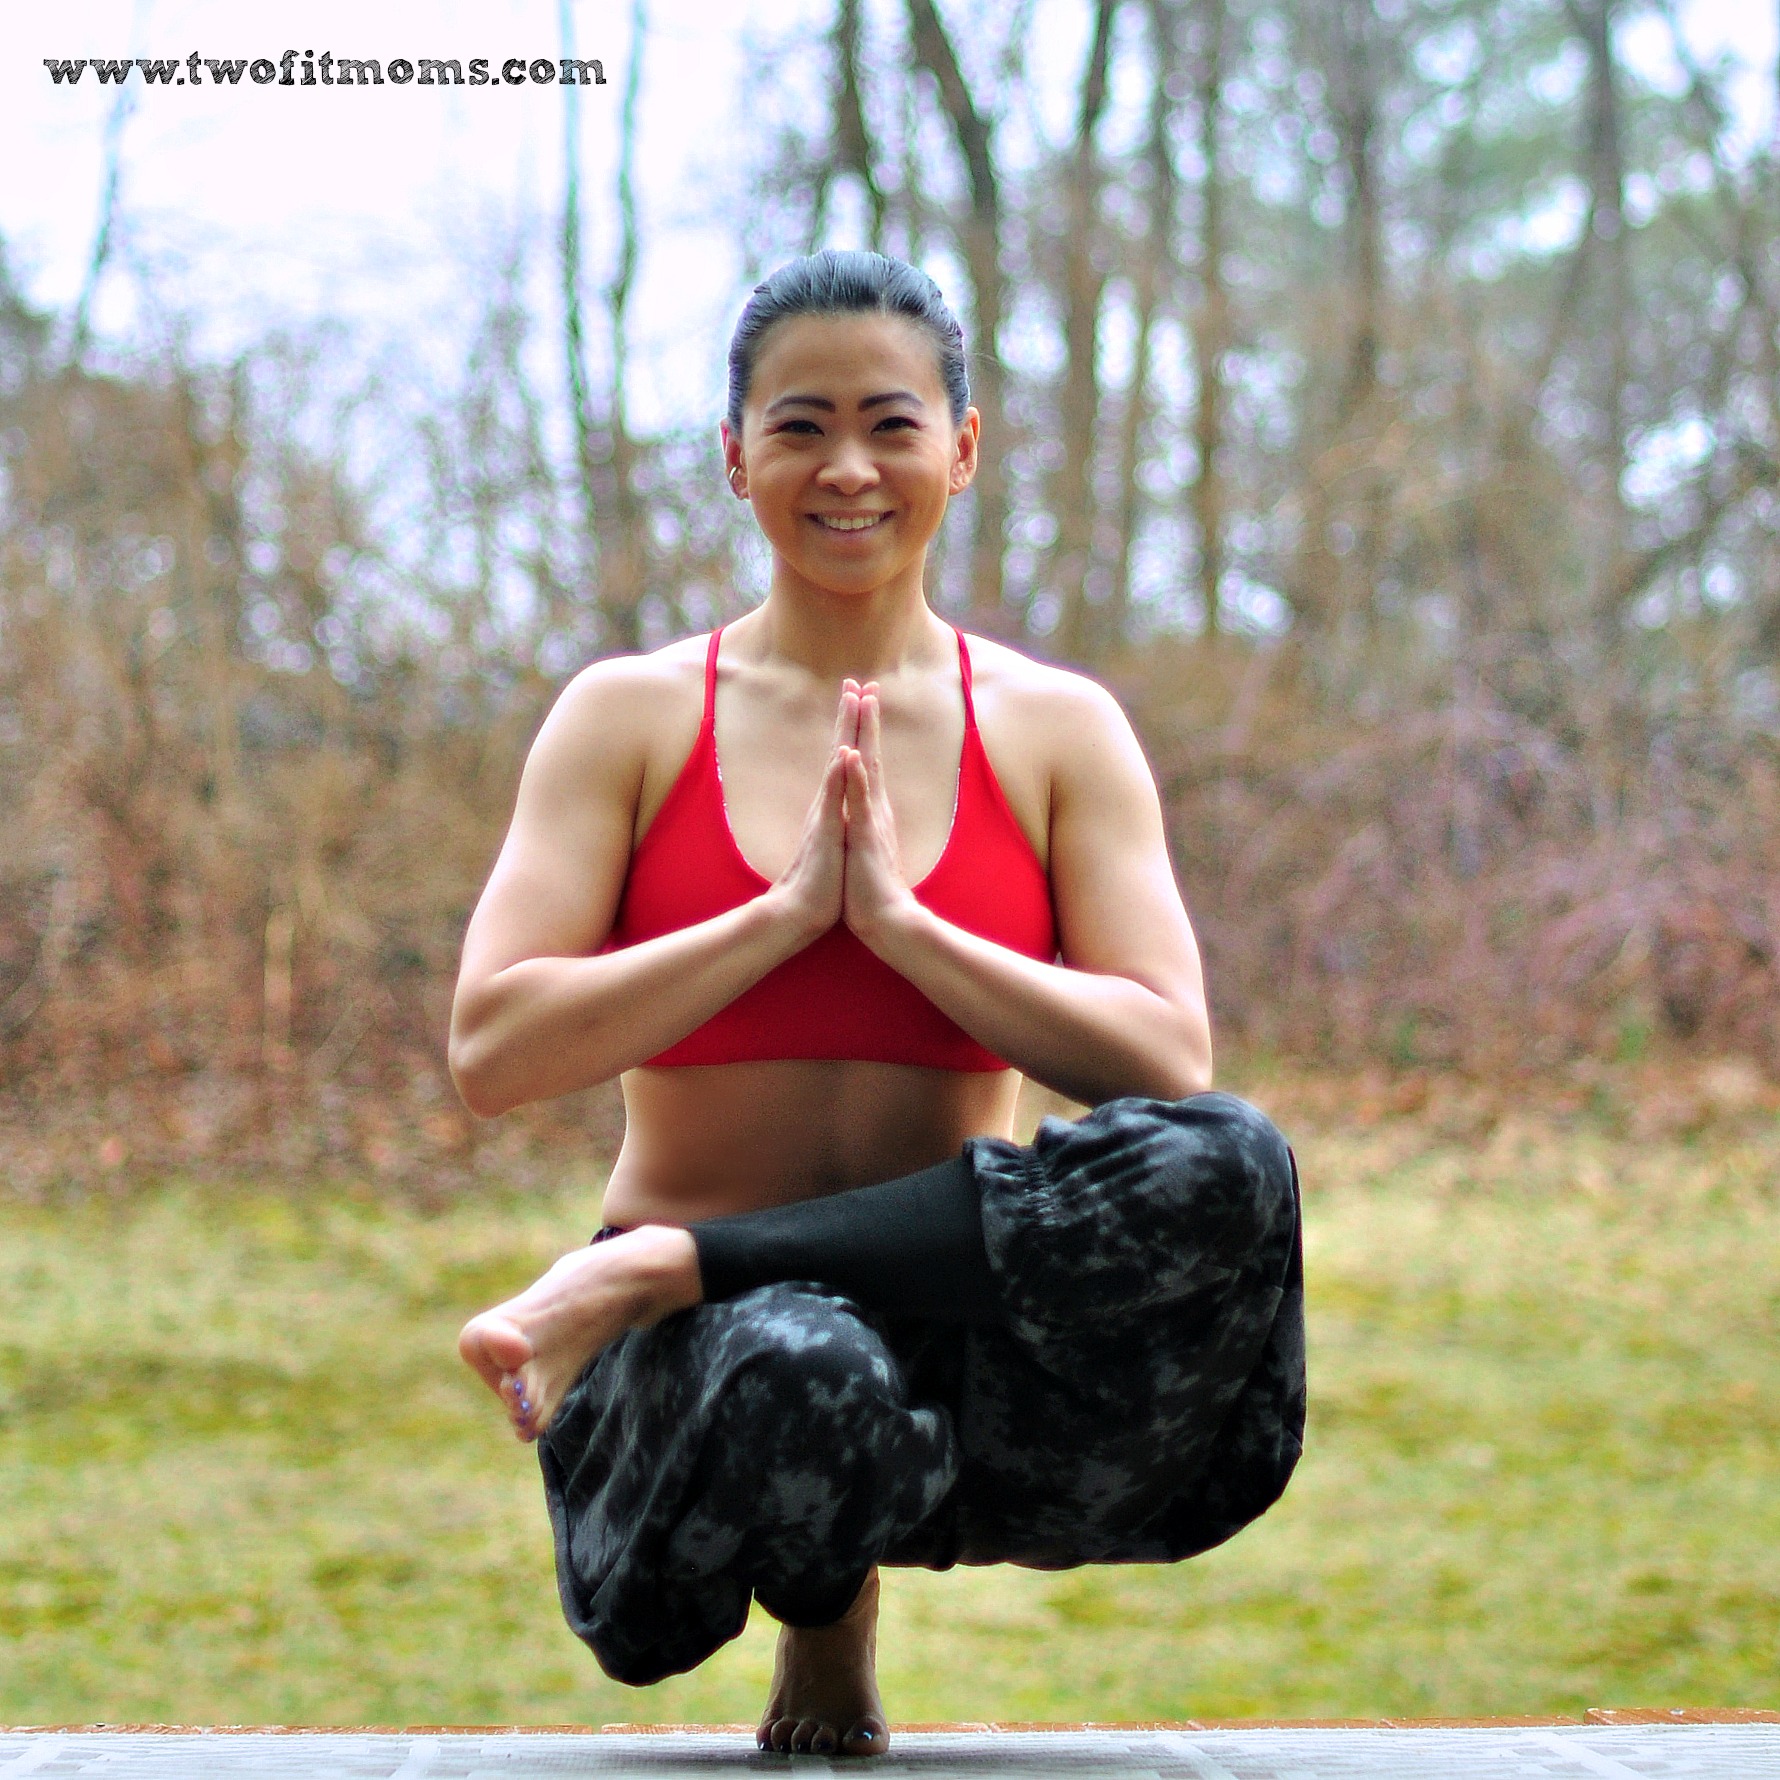
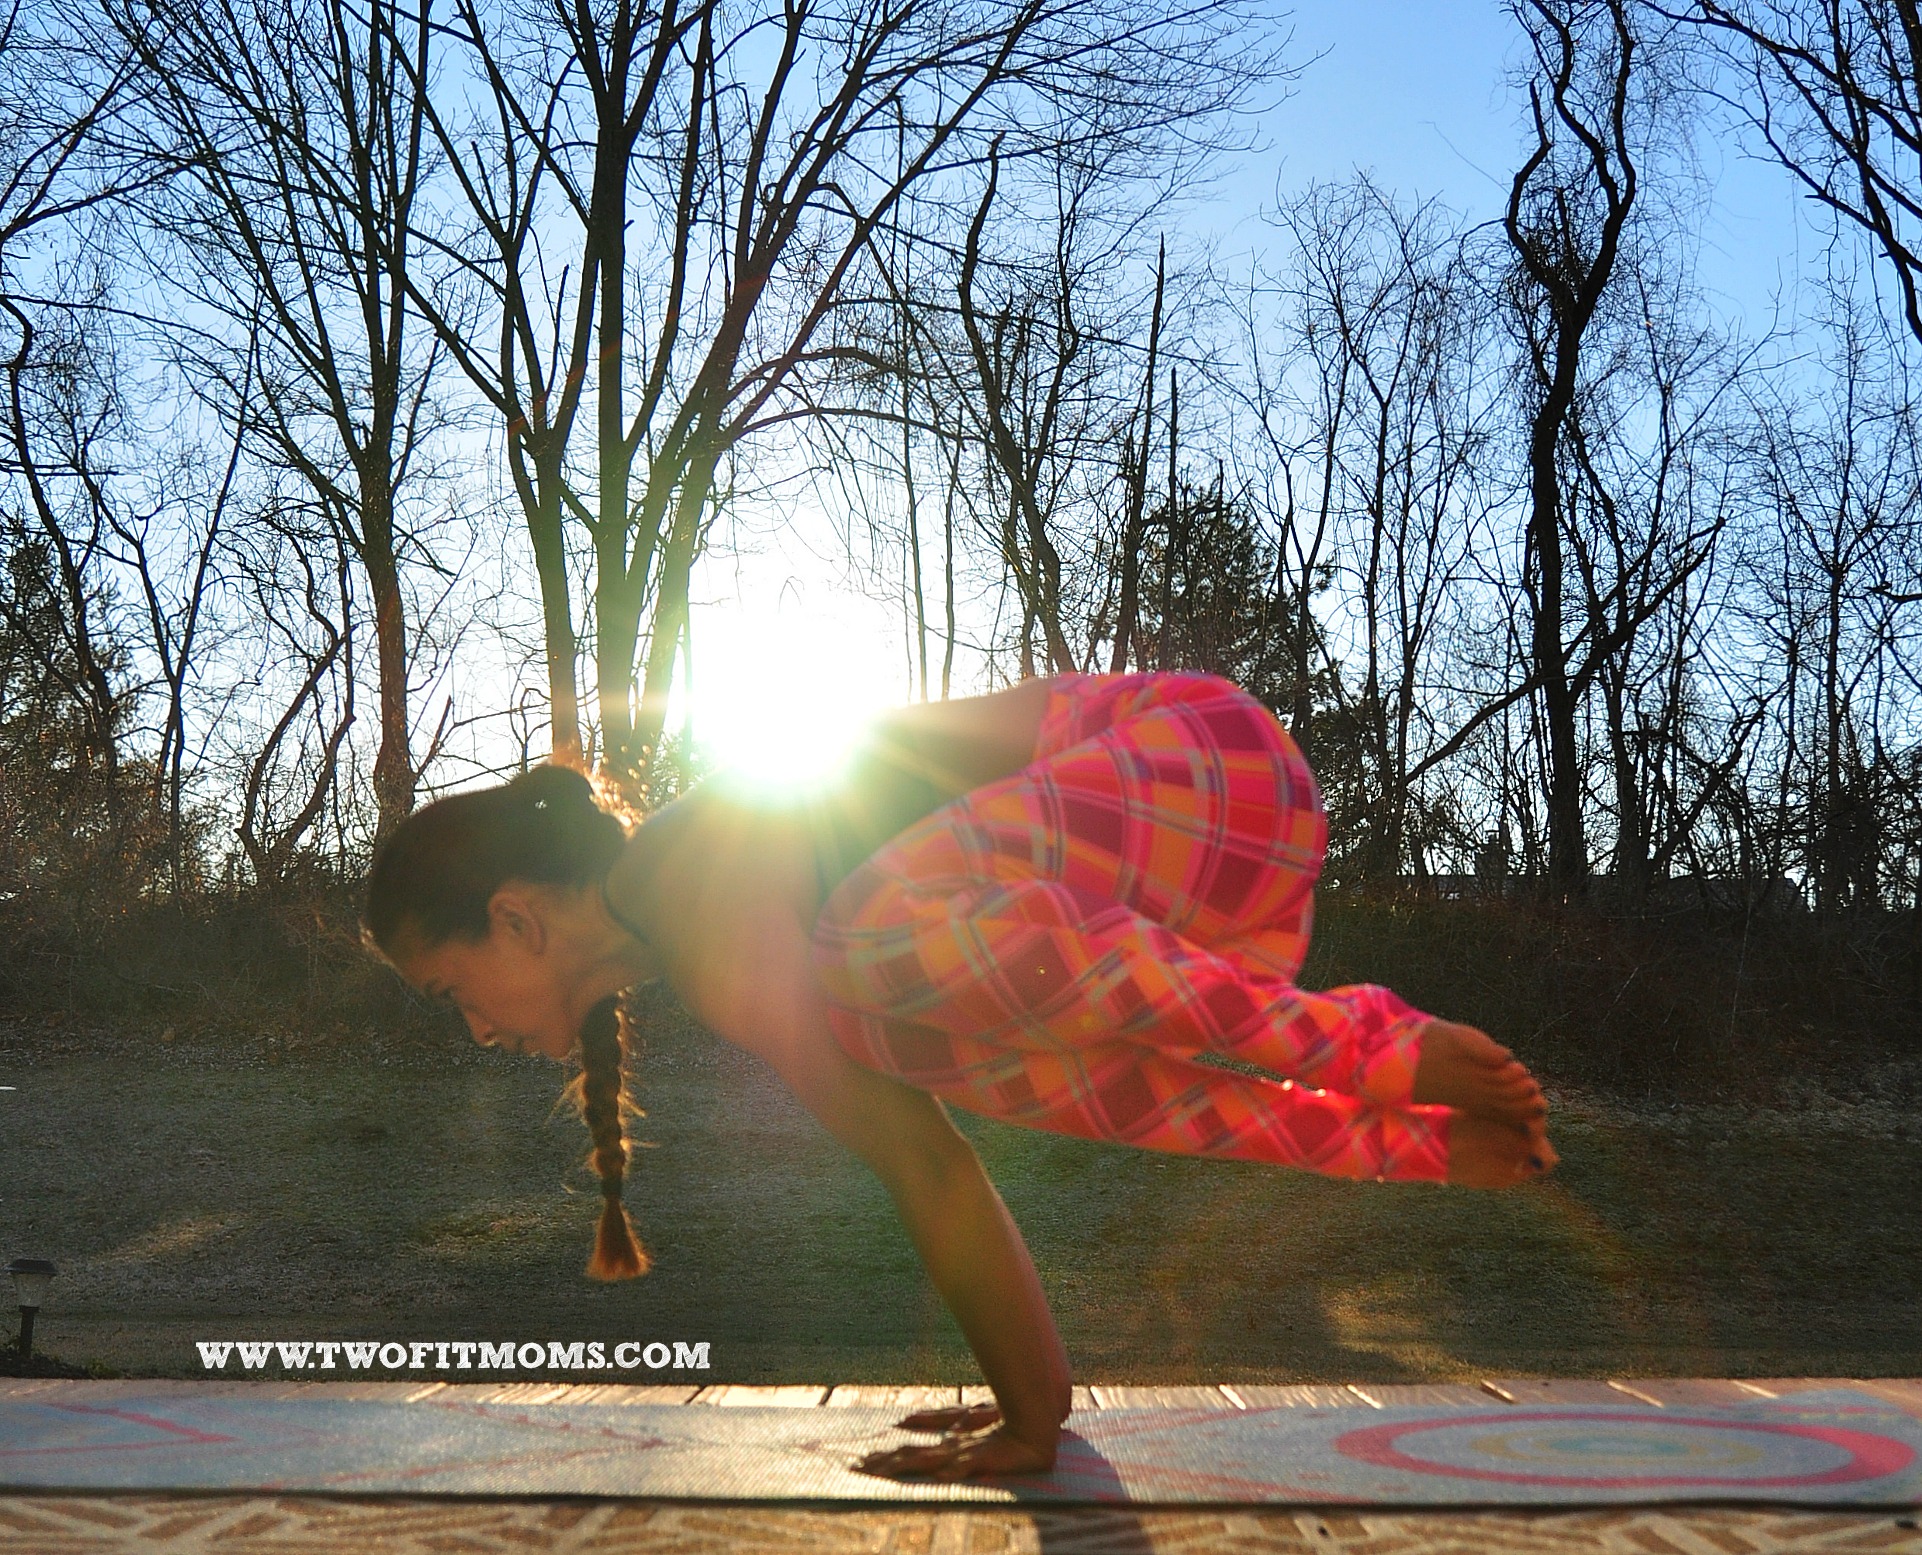
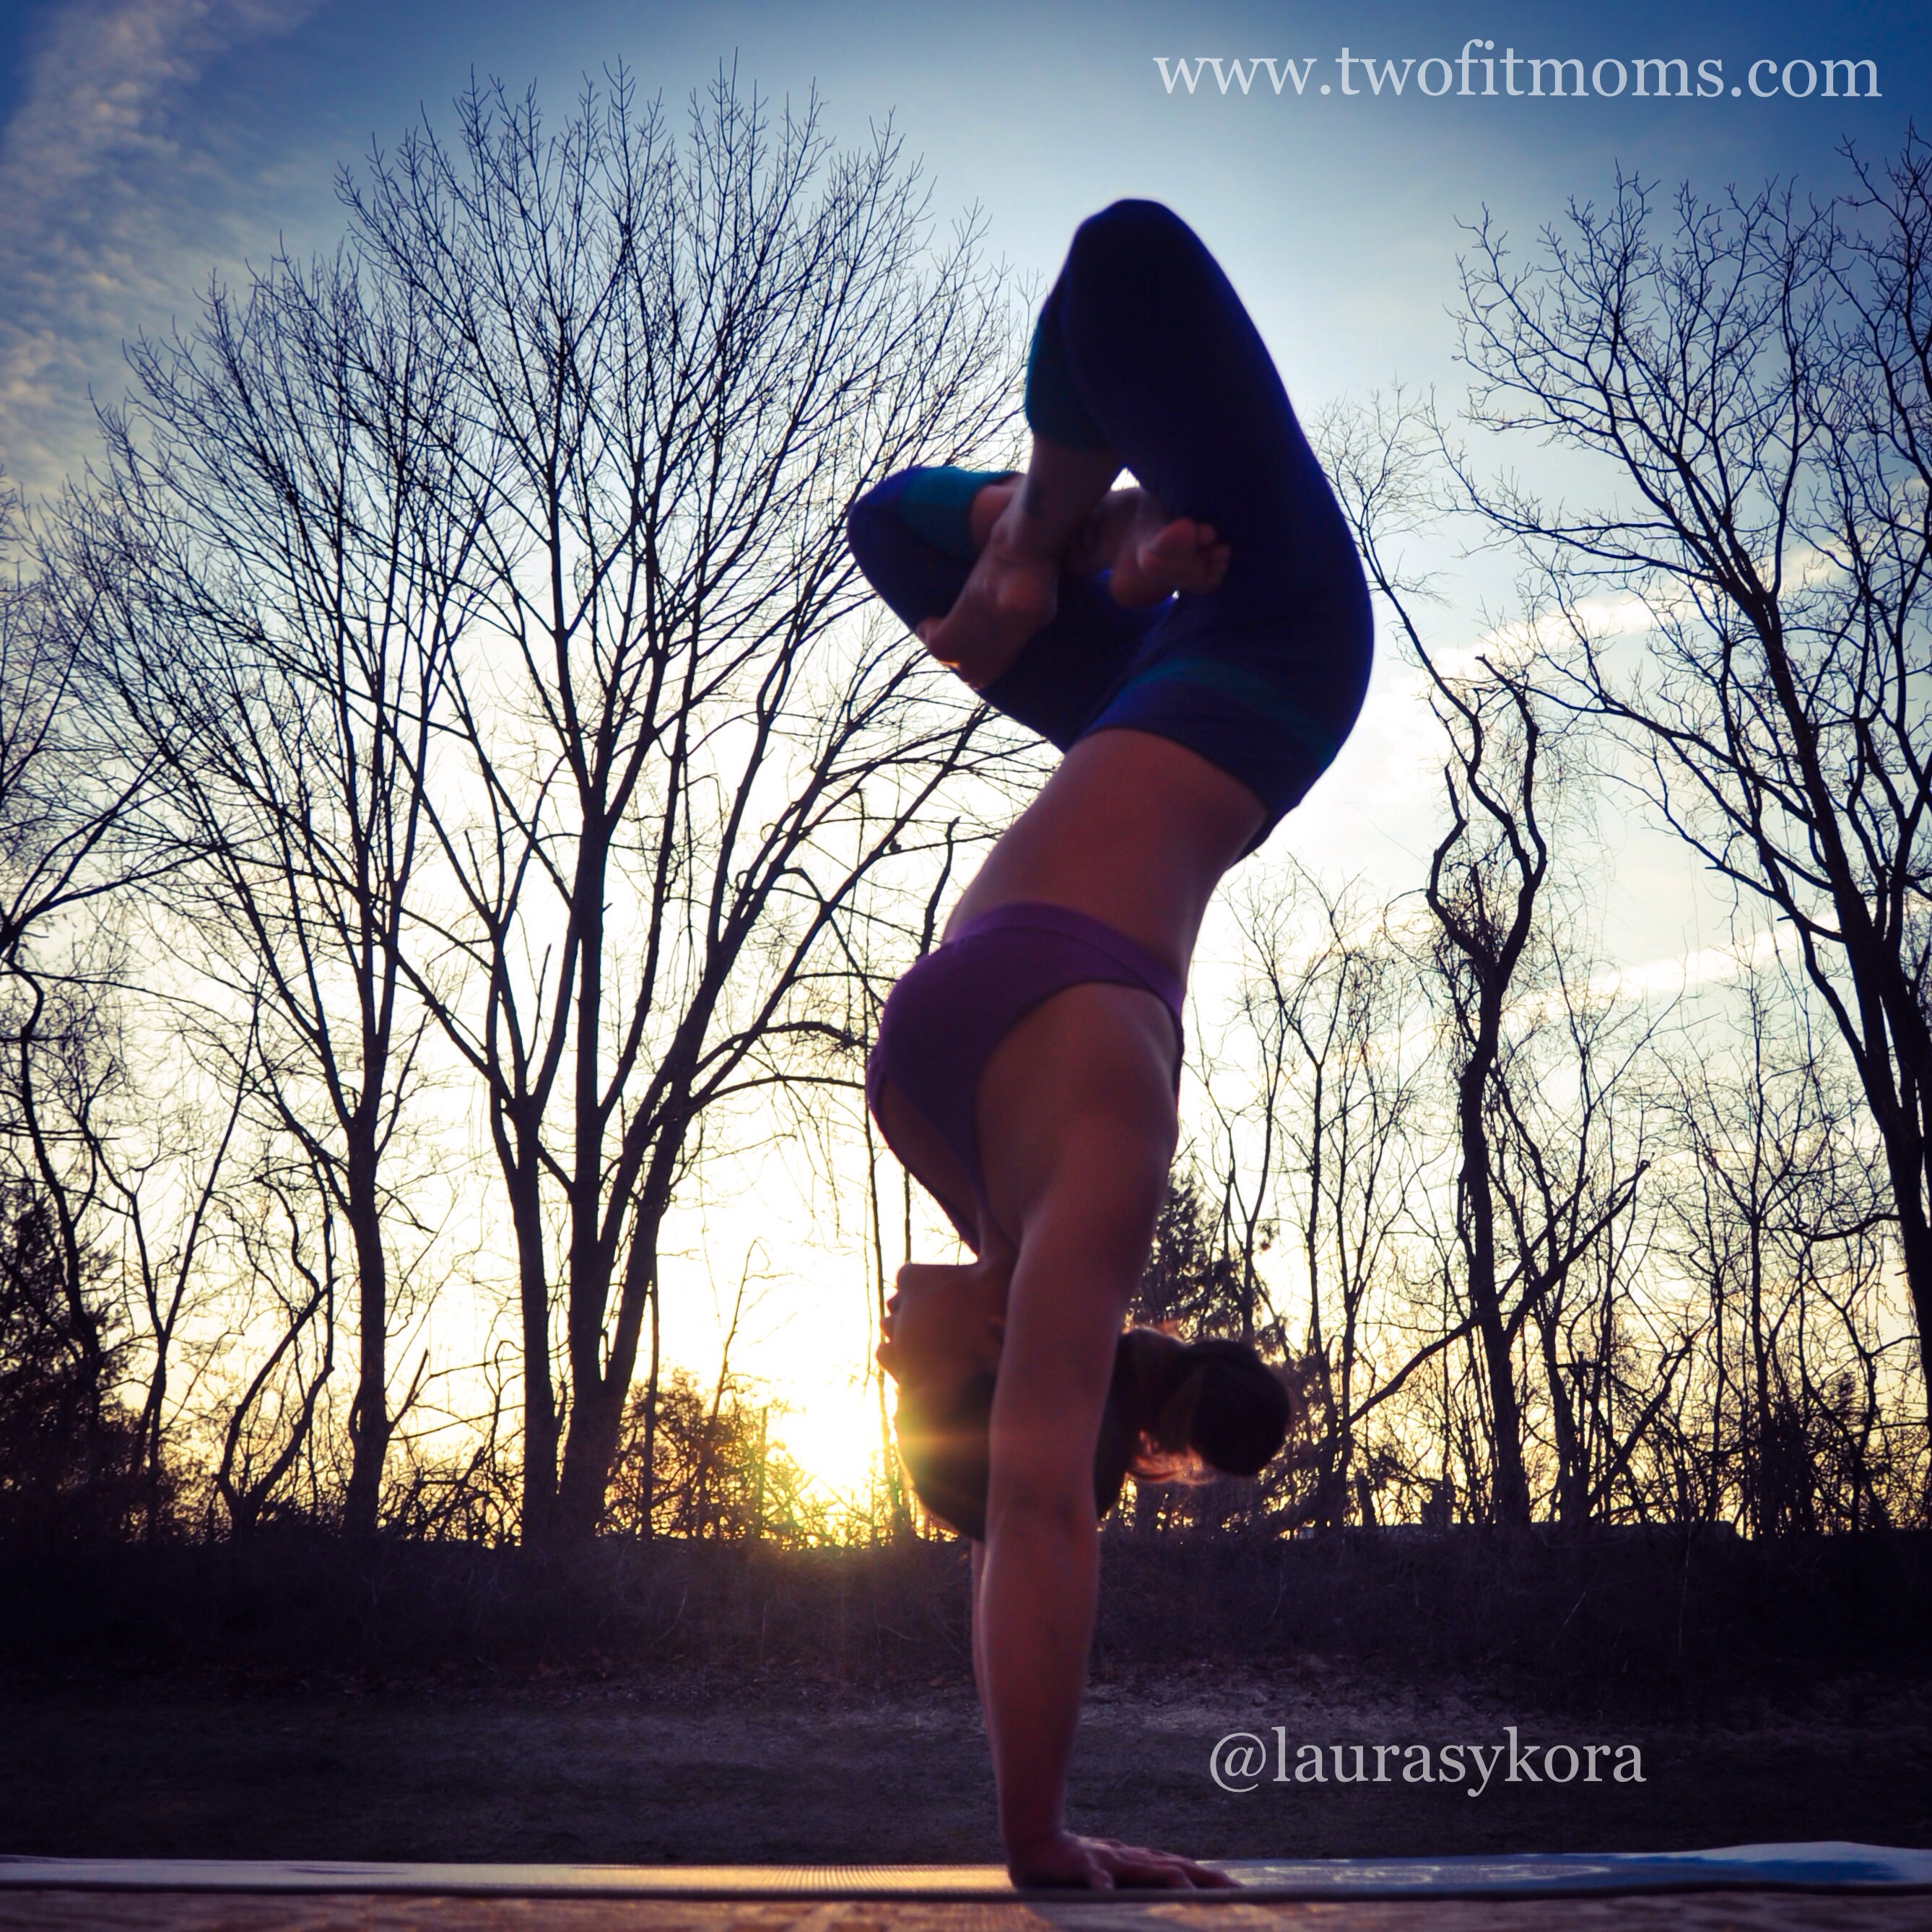
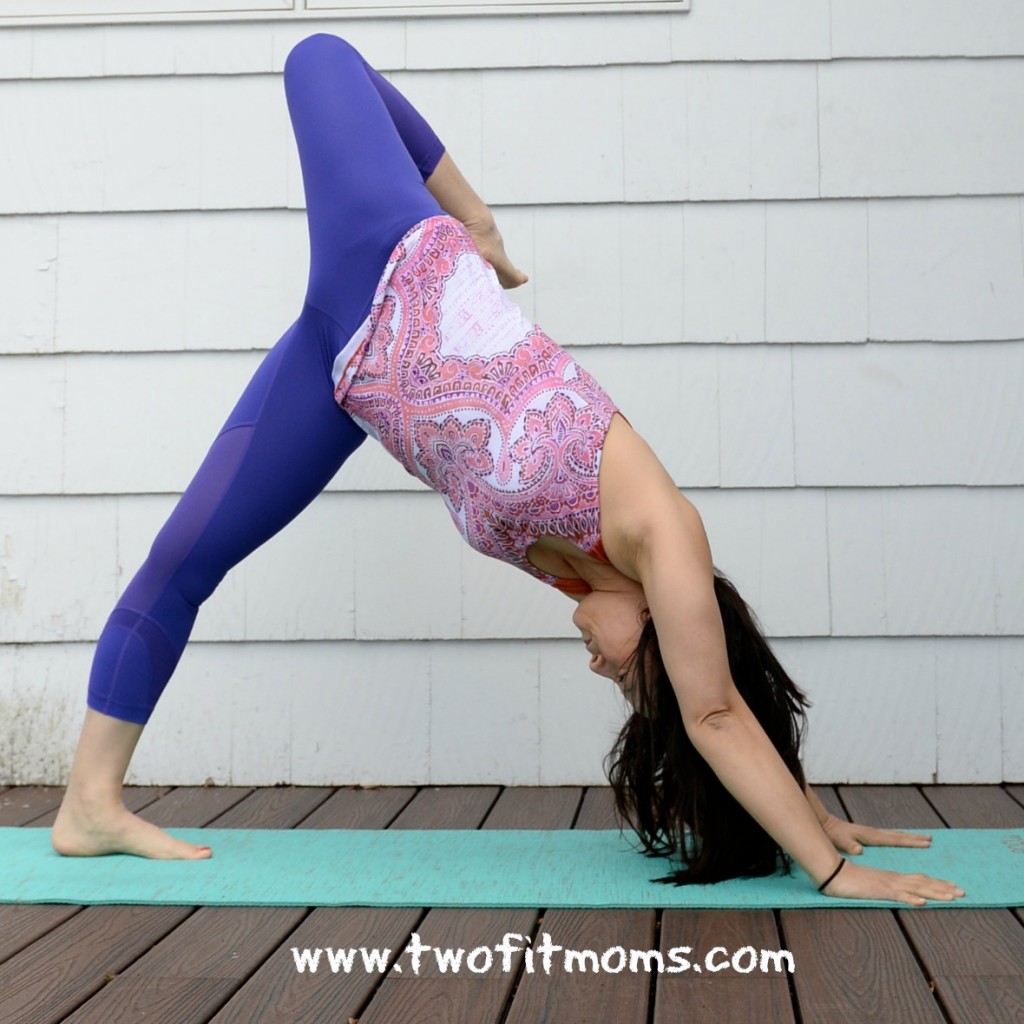
This picture was taken last month. My camera was on the ground and propped up to shoot up. See the difference?
Tip #2: Use Natural Lighting
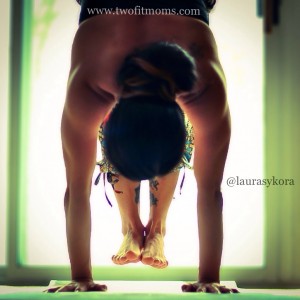
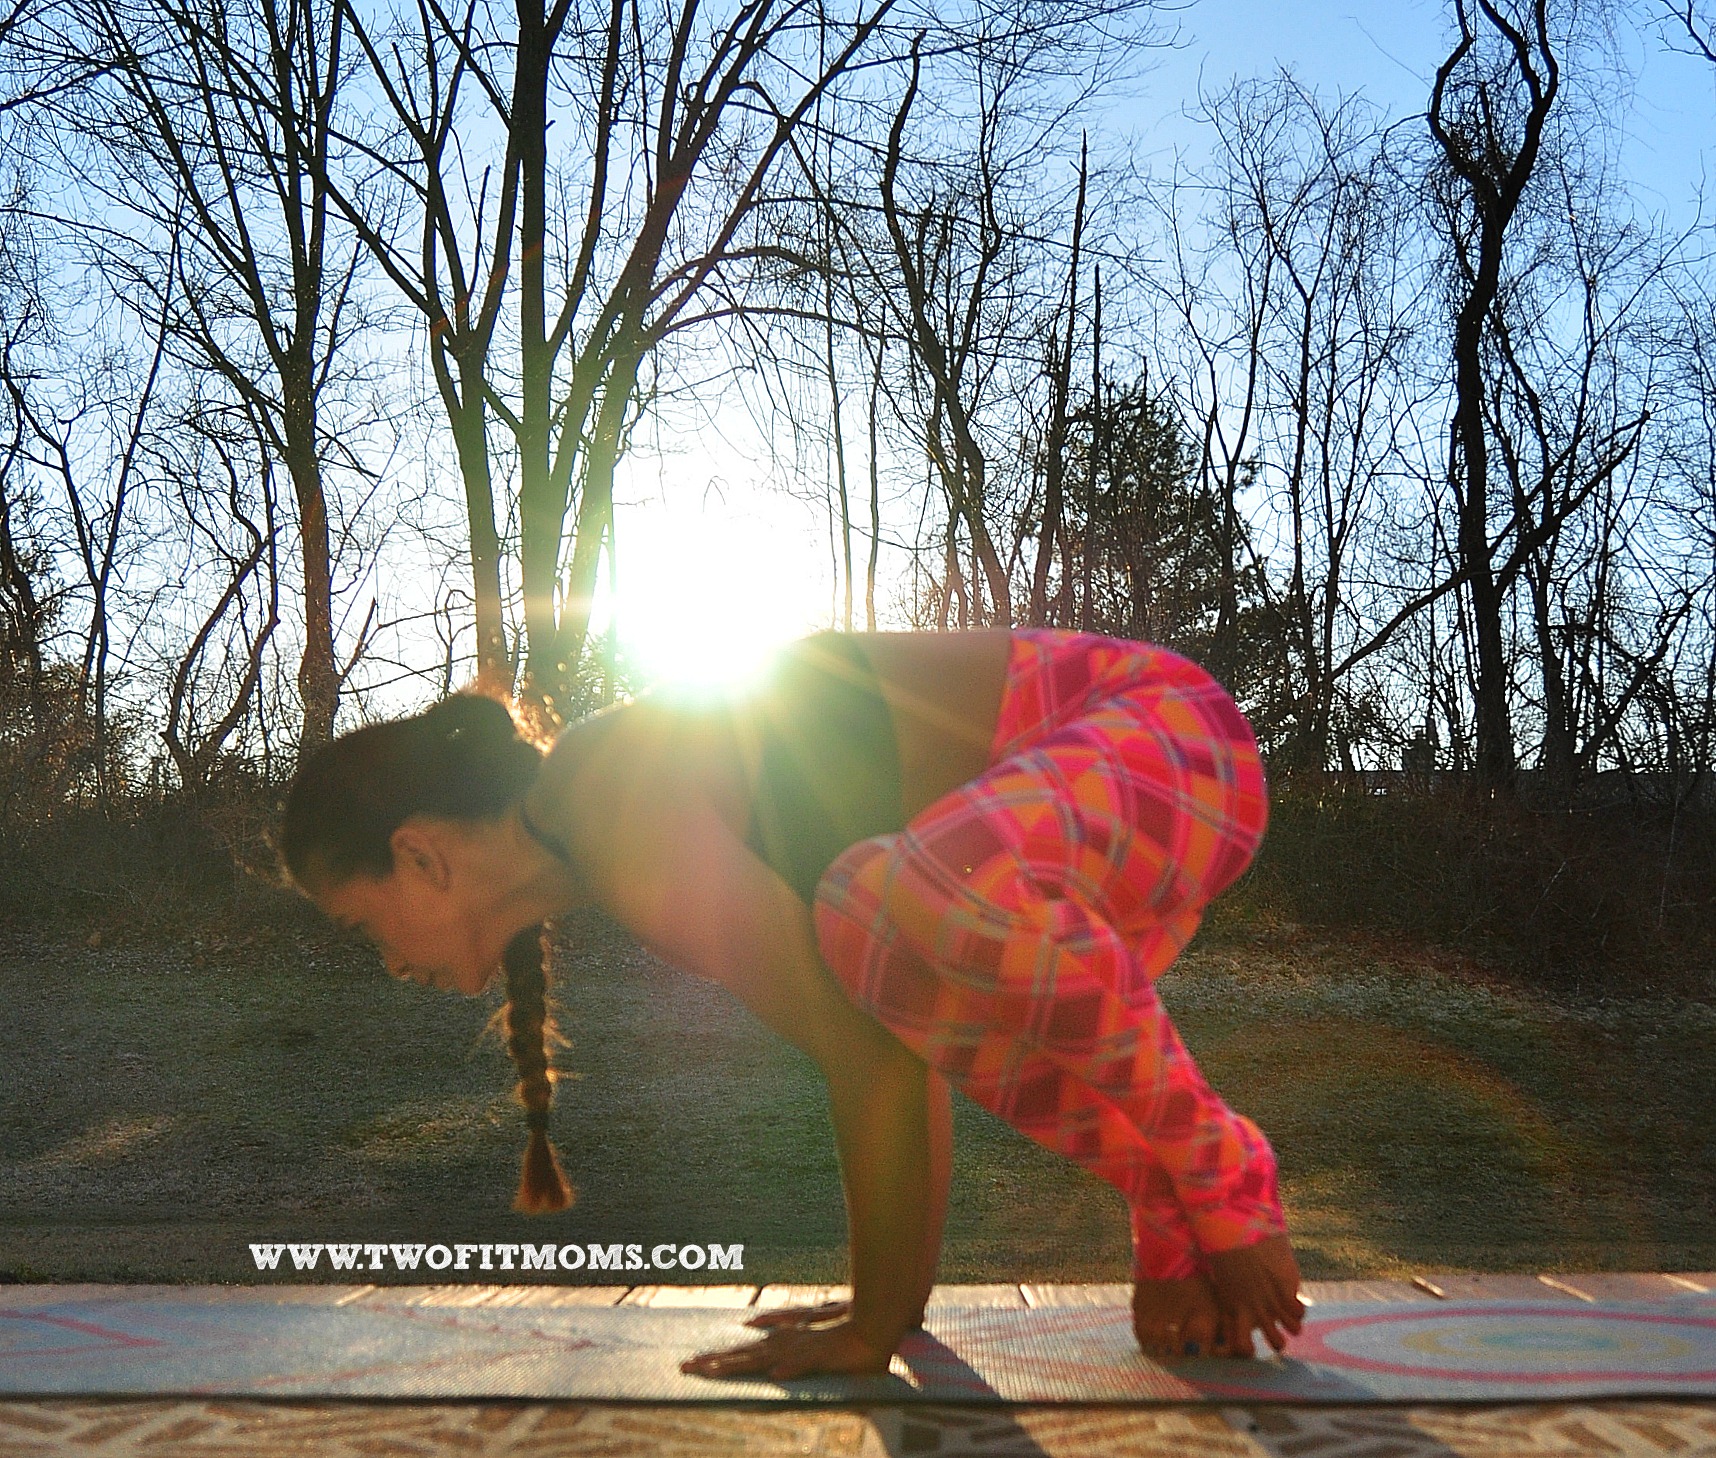
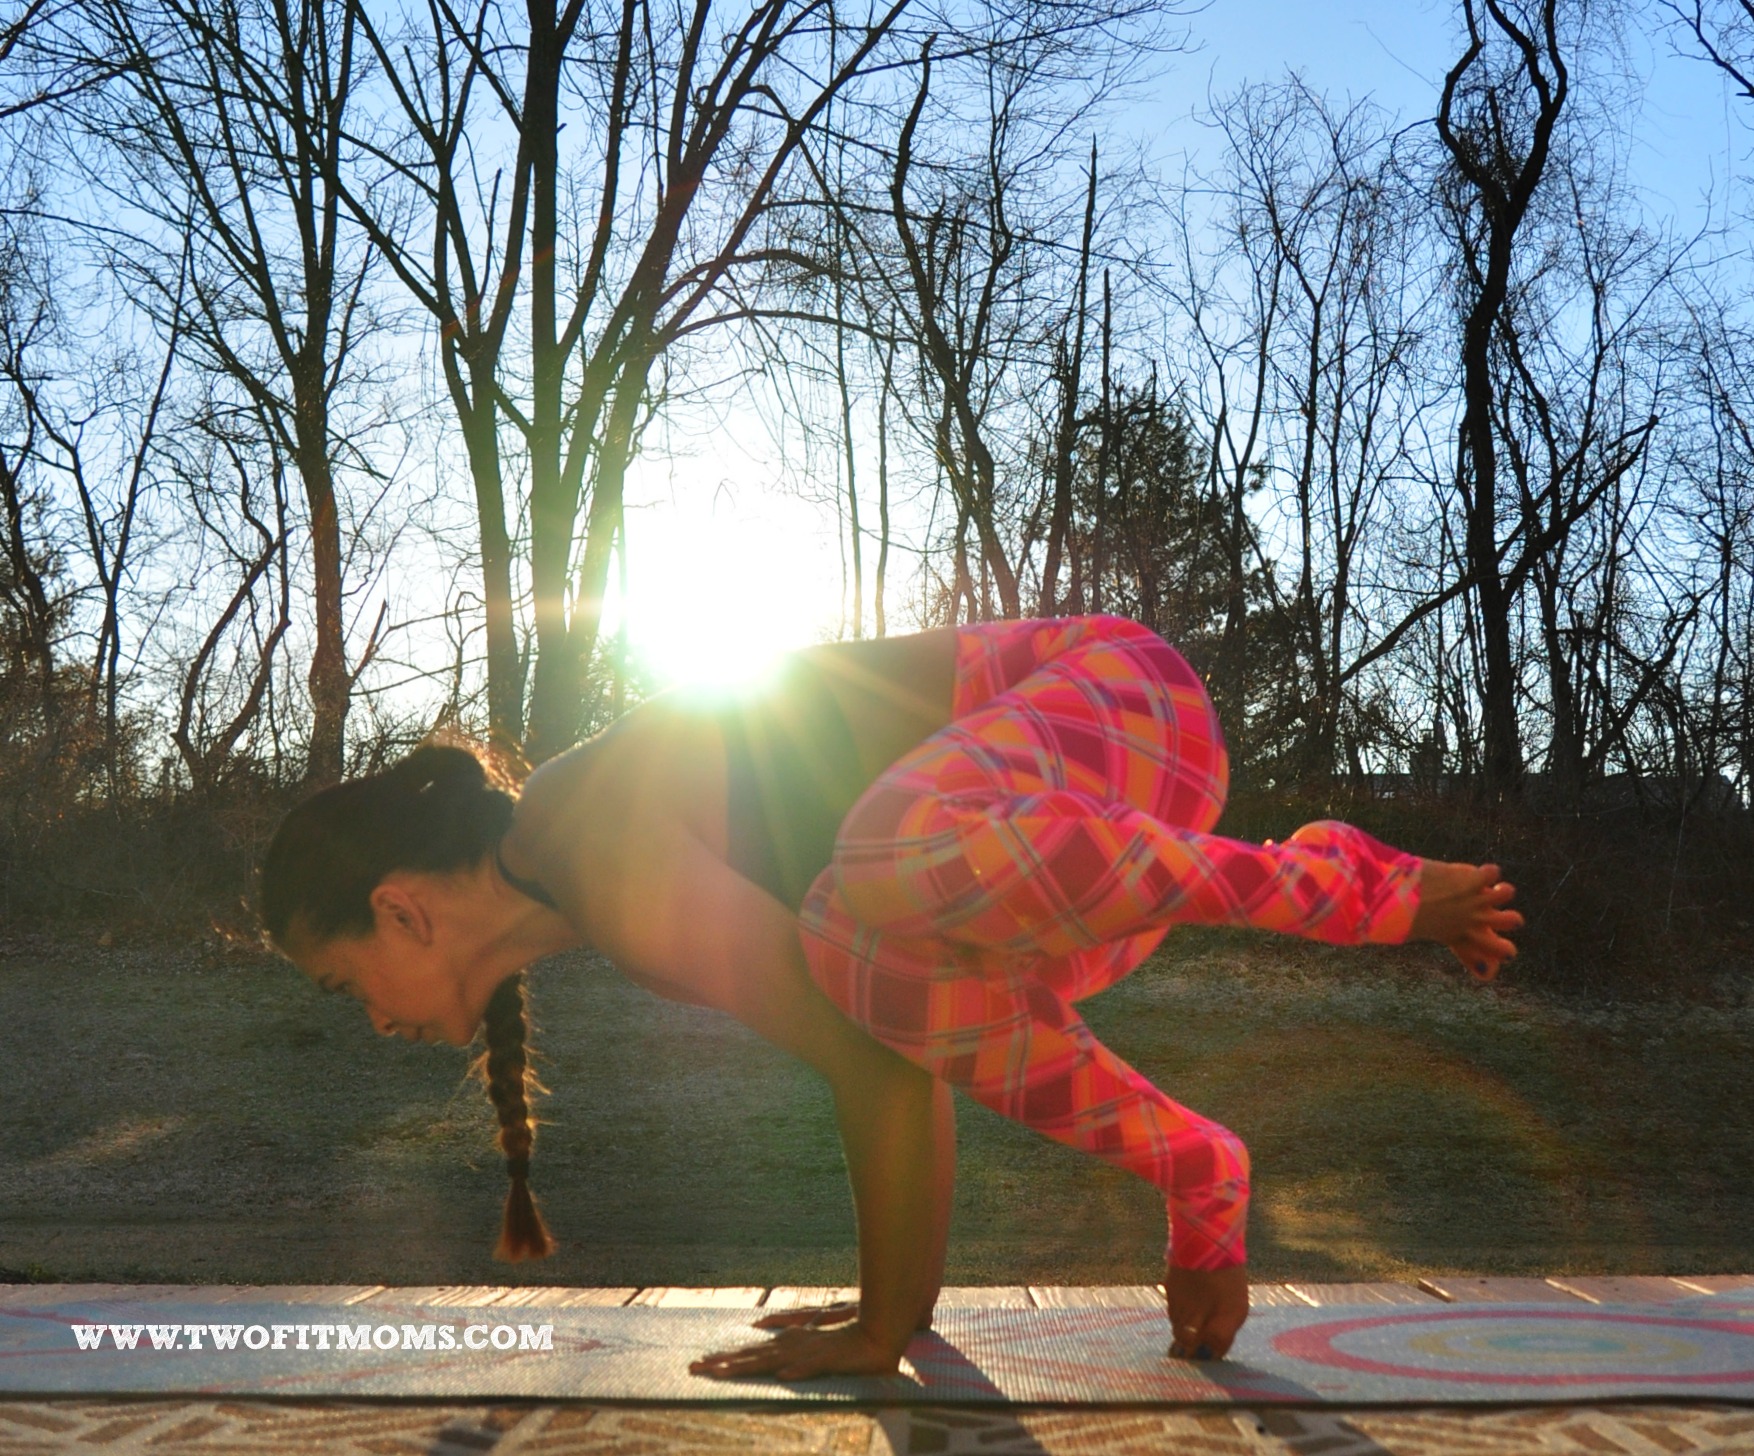
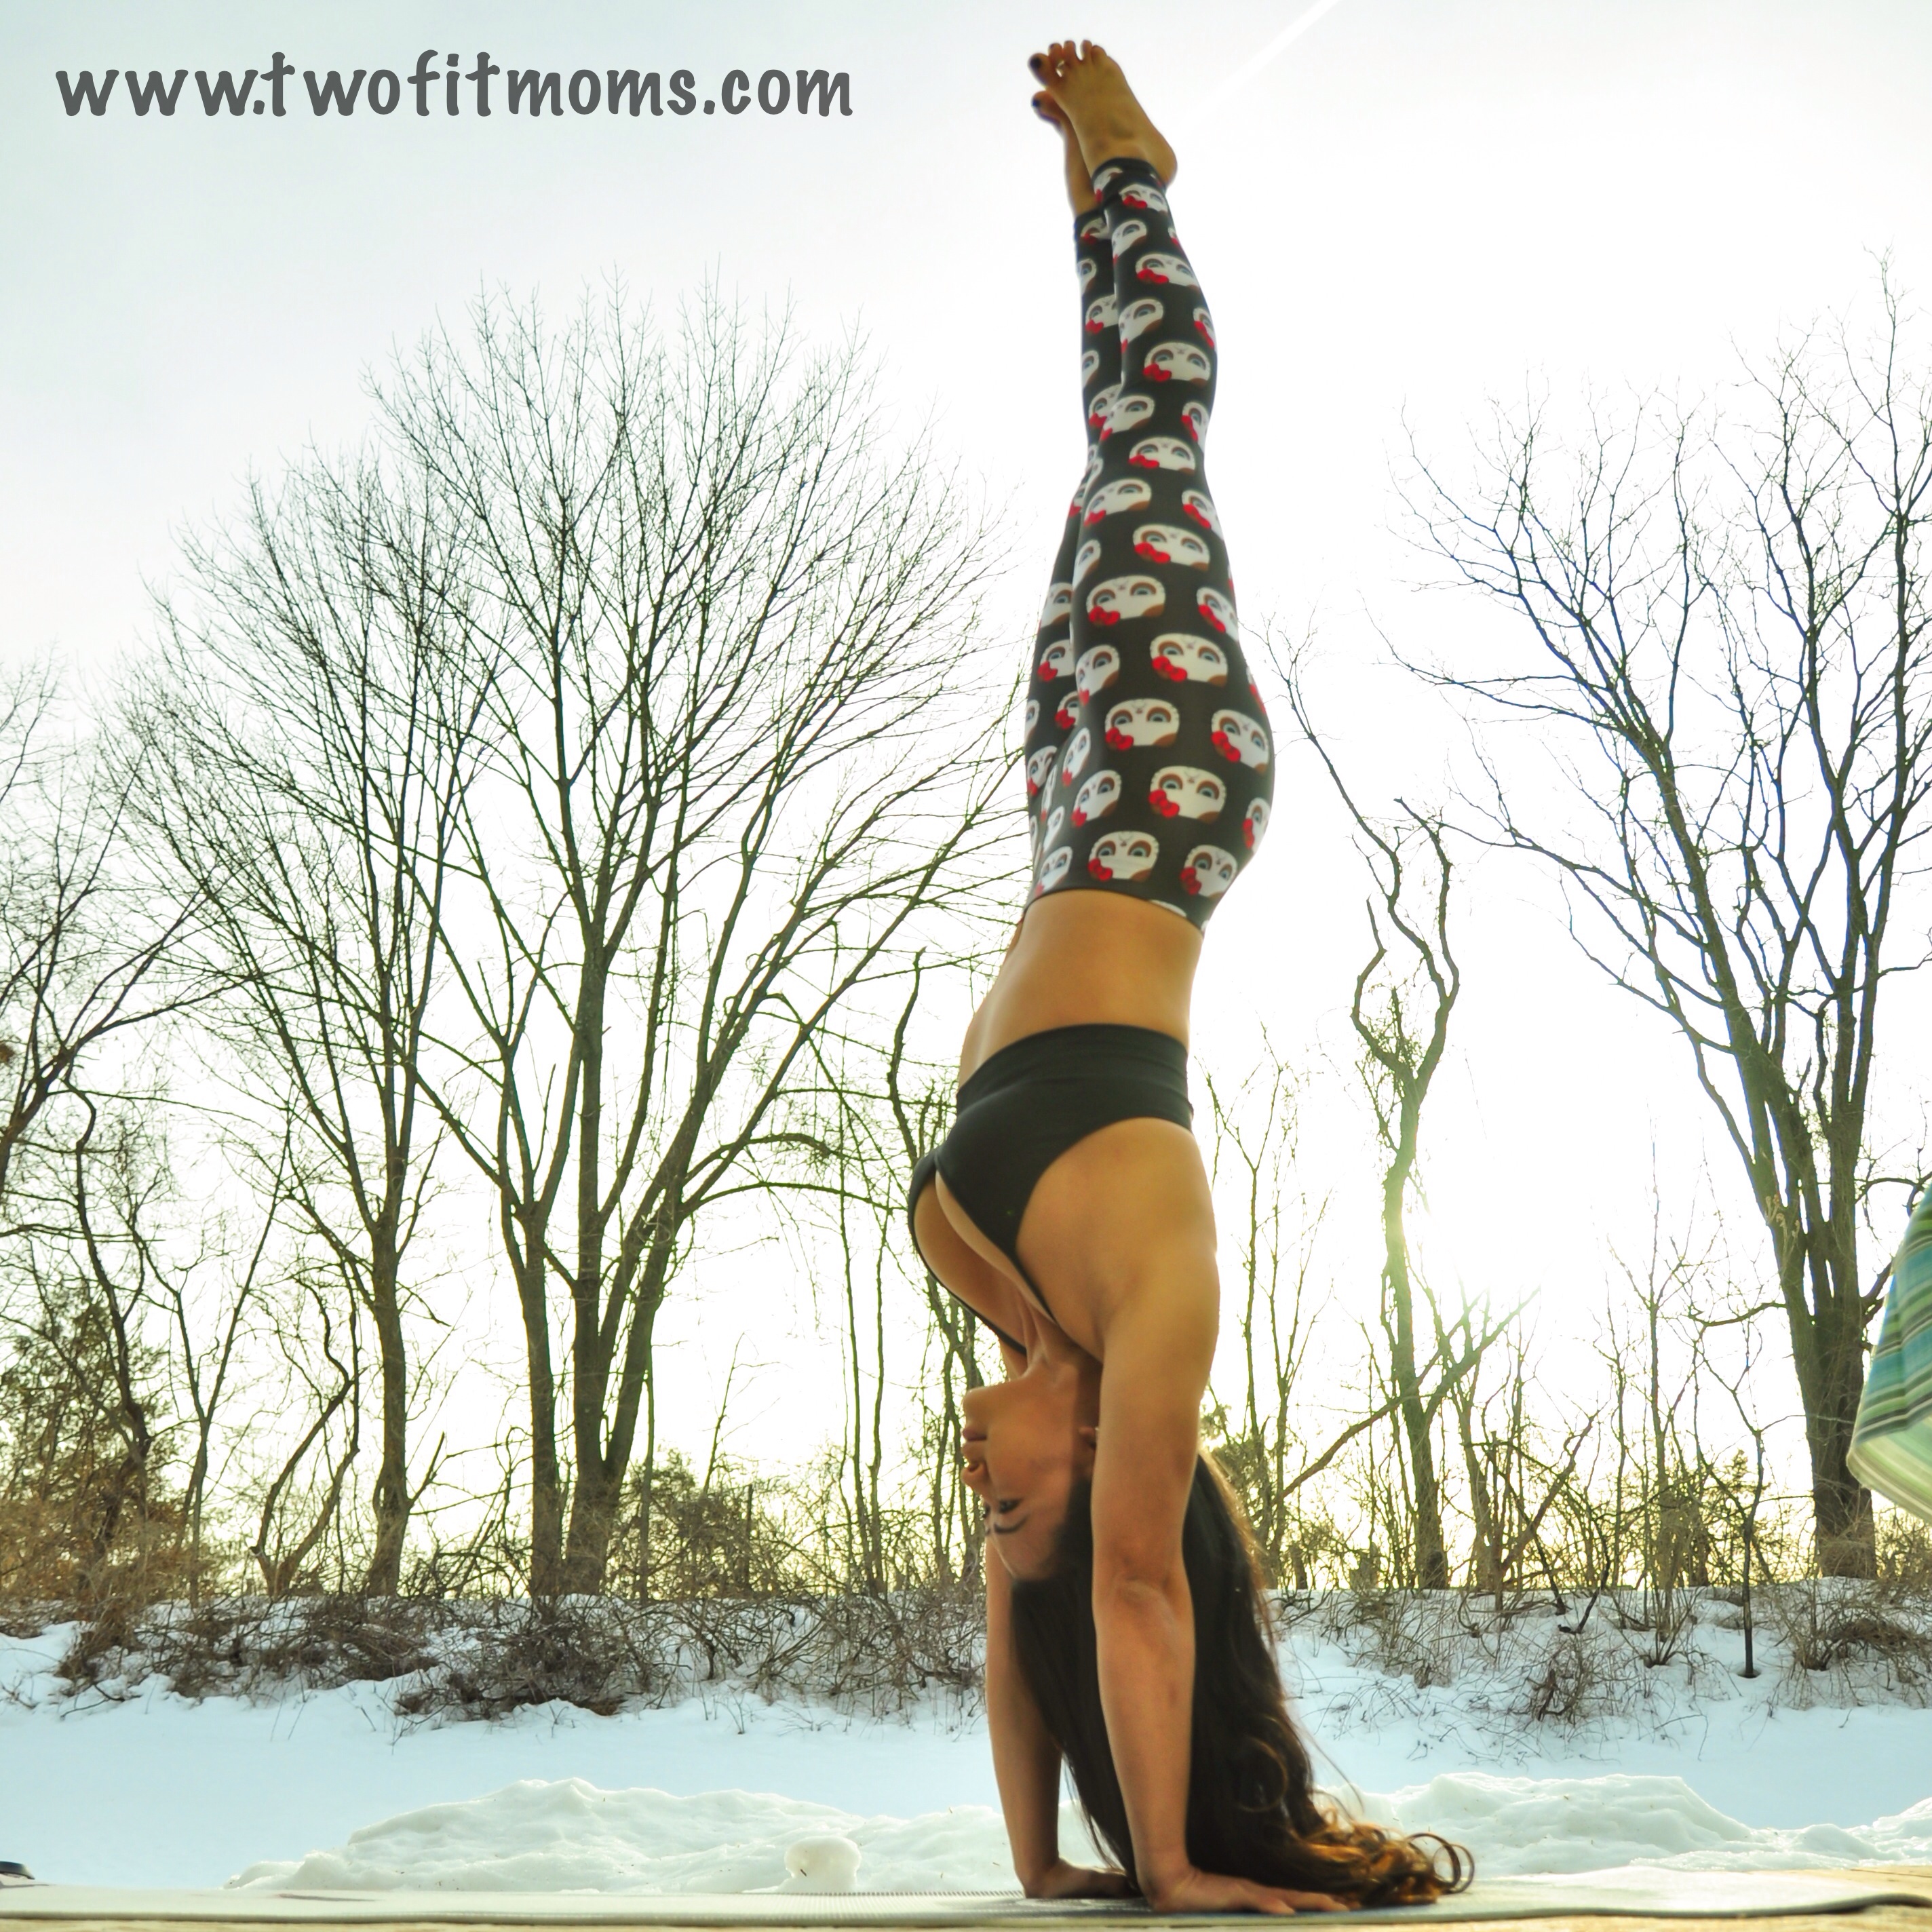
I’m not a fan of flash photography. Nine times out of ten, the subject ends up looking washed out. Look for locations with lots of natural light! Usually the best light is during sunrise and sunset…or on cloudy days! If it’s possible, try to have the subtle light from the sunrise/sunset facing you so your face is not in shadow. The light during full sun can overexpose a picture, cause you to squint or create too many shadows. Lastly, avoid shooting directly into the sun UNLESS you are going for silhouettes. Any back lighting will make you appear dark as in my example below.
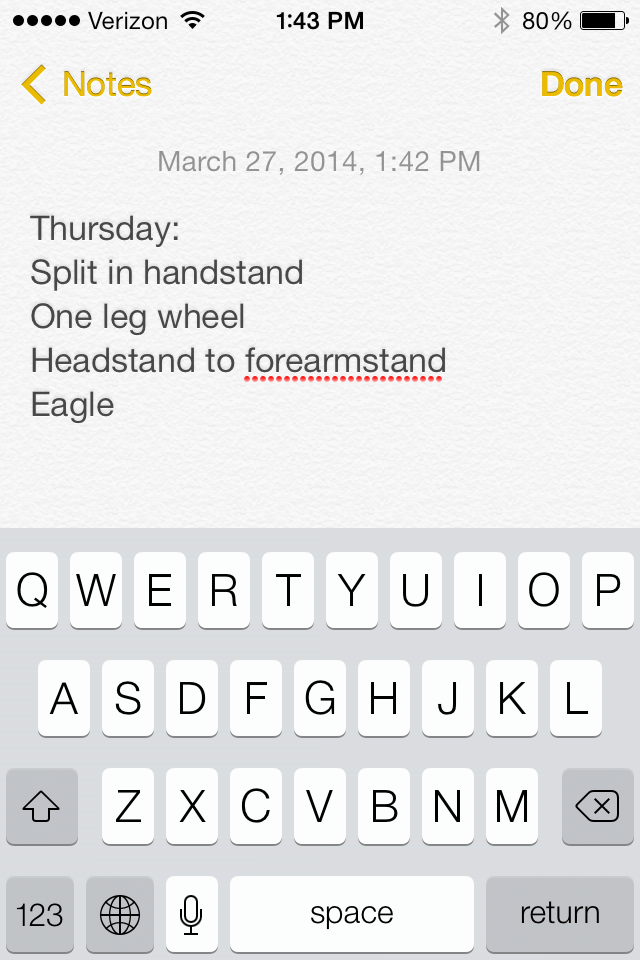
Tip #3: Have a Plan
Contrary to what many people believe, I do not spend hours on end taking pictures of myself everyday. After my real yoga practice, which is usually before sunrise, I have about 10-15 minutes to snap some pictures for the day. I make those 10-15 minutes count by having a plan. Each night, I decide what I am going to work on for the next day, and I write down three to four things I want to capture. Some days I end up with more shots, some days I end up with one shot.

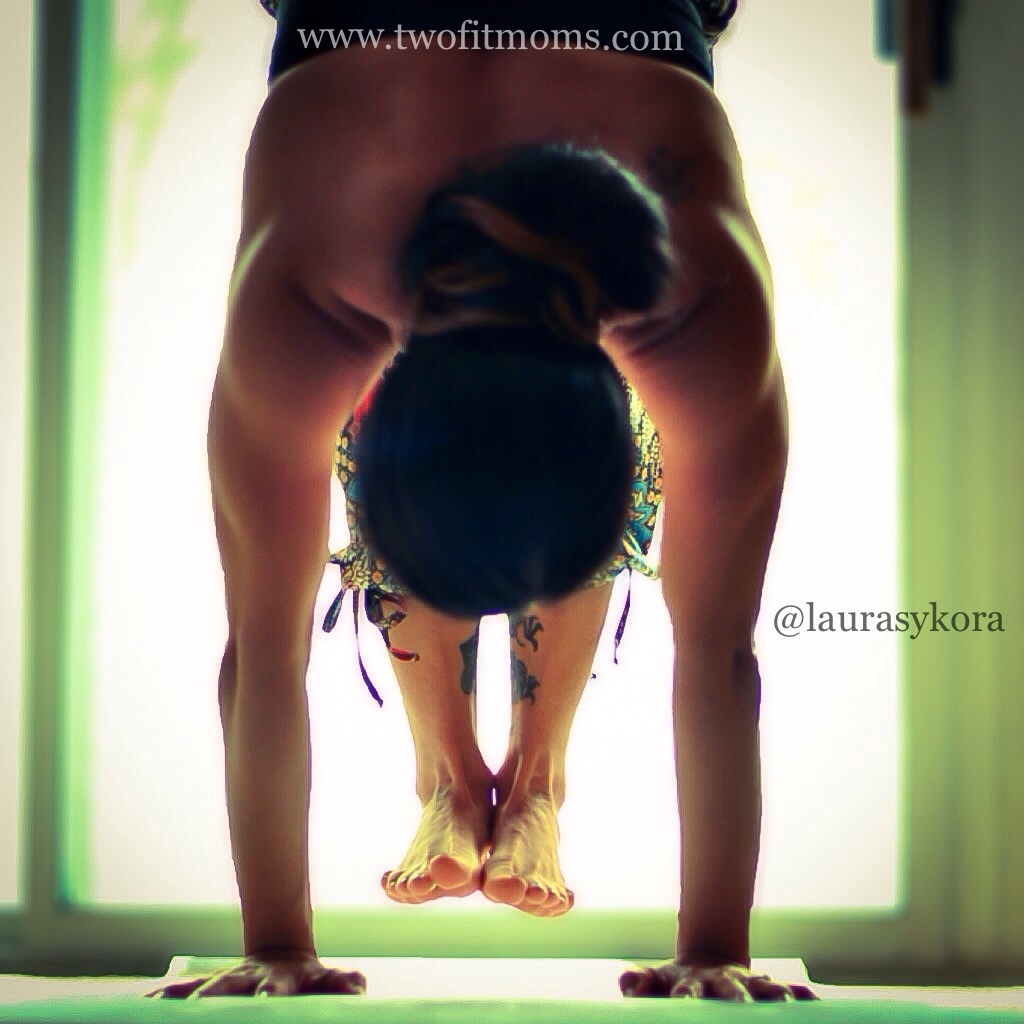
Tip #4: Think Outside the Box
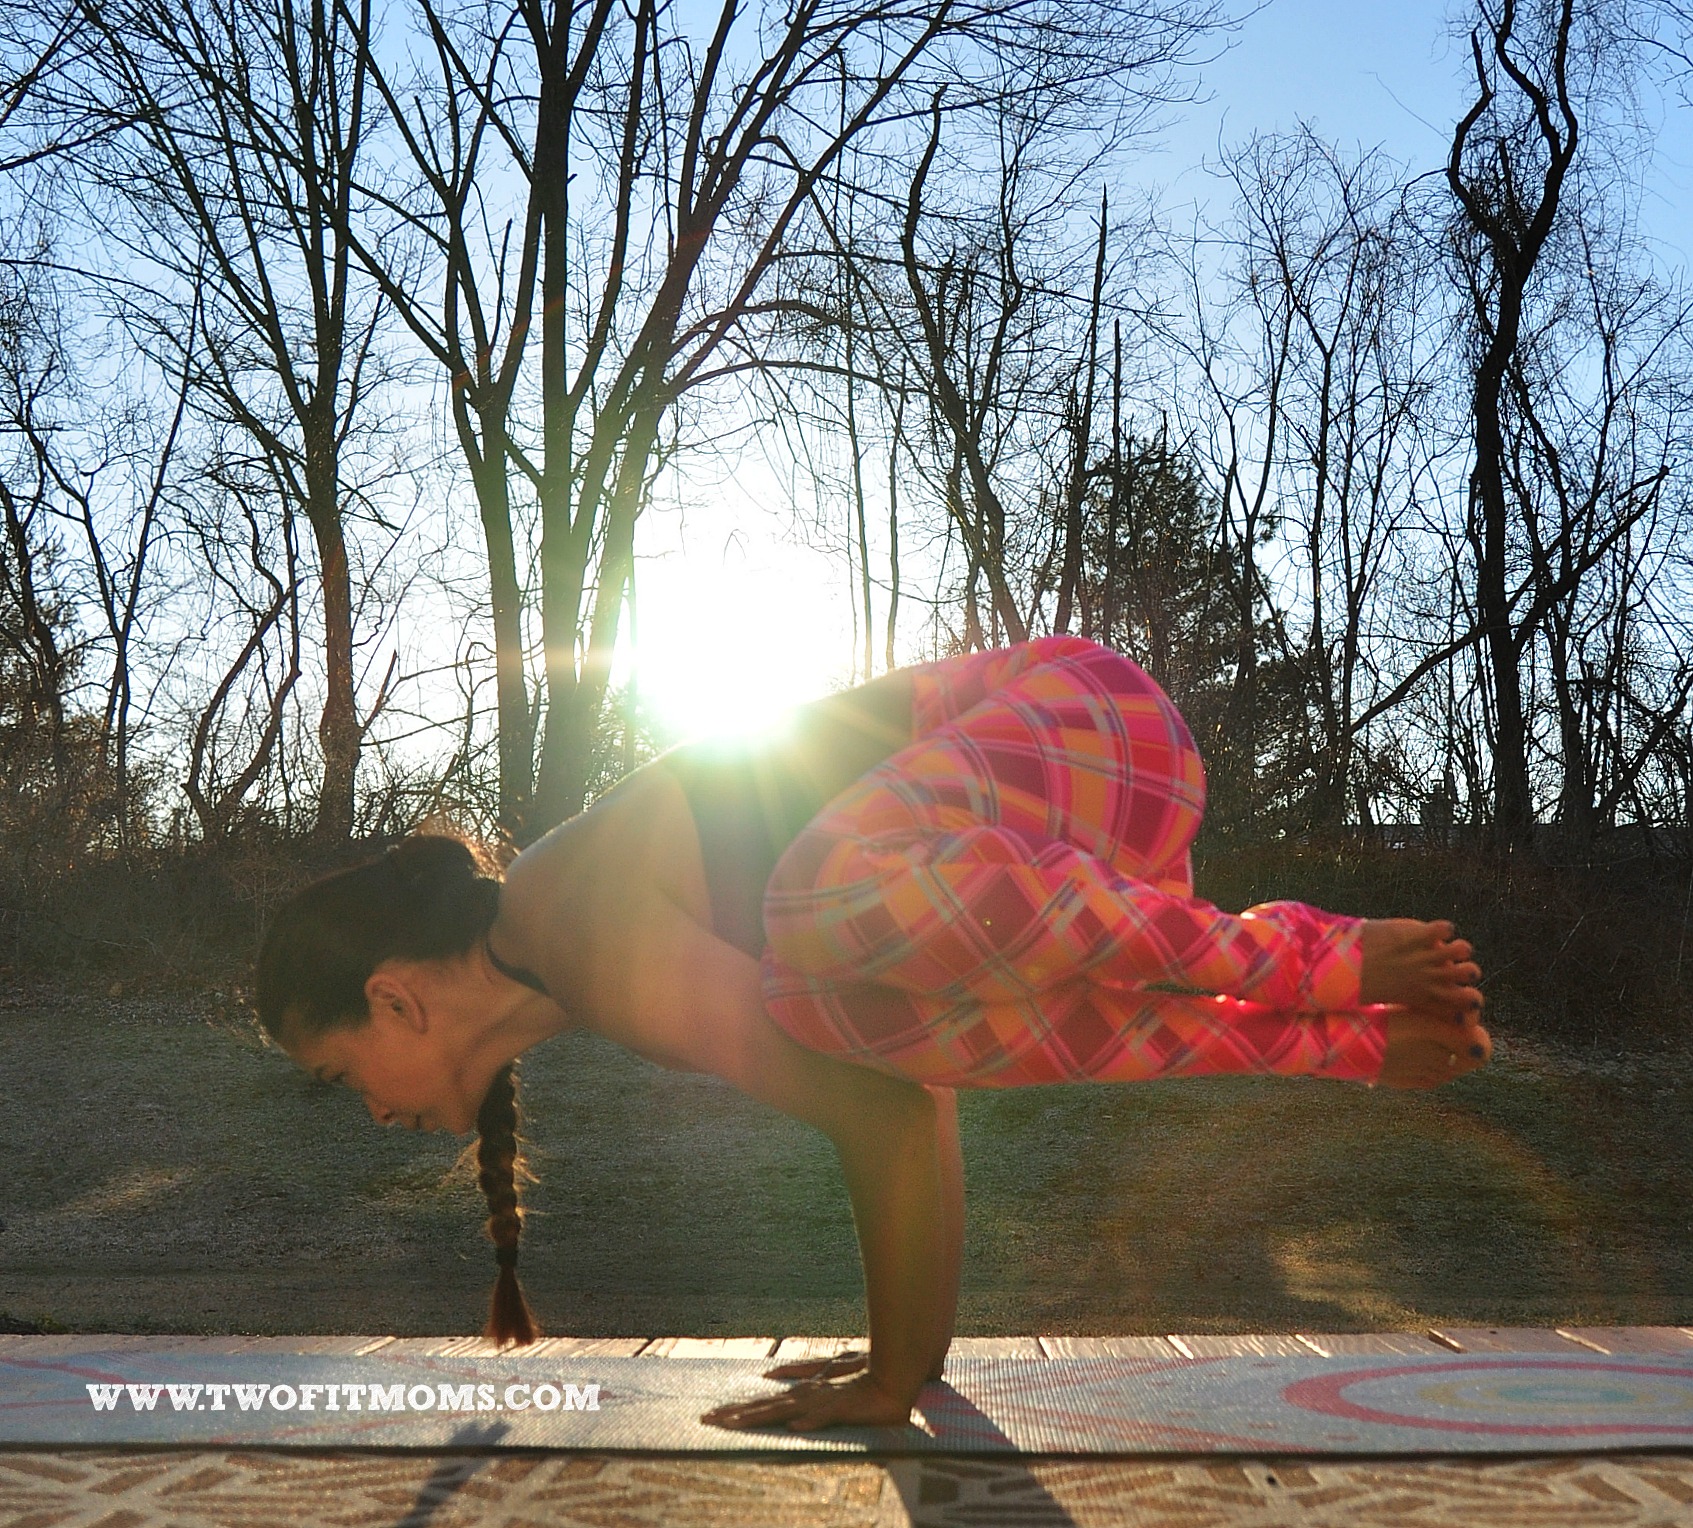
I’m a huge fan of thinking outside the box when it comes to taking my yoga pictures. I look for opportunities to take pictures at different angles in order to offer new perspective. Turning ever so slightly towards the camera or away from the camera can make a shot look completely different. Also, zooming into just a portion of the pose can offer amazing effect. I don’t suggest cutting limbs out of pictures for the sake of it, but I do suggest focusing on certain aspects of the pose and purposely cutting parts out. There is a big difference between the two.
I hope these tips offer you some perspective on how I take my pictures! Look out for some more photography tips coming your way soon!
XOXO

If you are seriously interested in buying a phone tripod or a new camera, here are some of my favorite cameras and photography products. My camera is a few years old, so I have listed the two newer models. (I shoot with a Nikon D5000!)
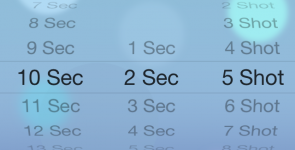
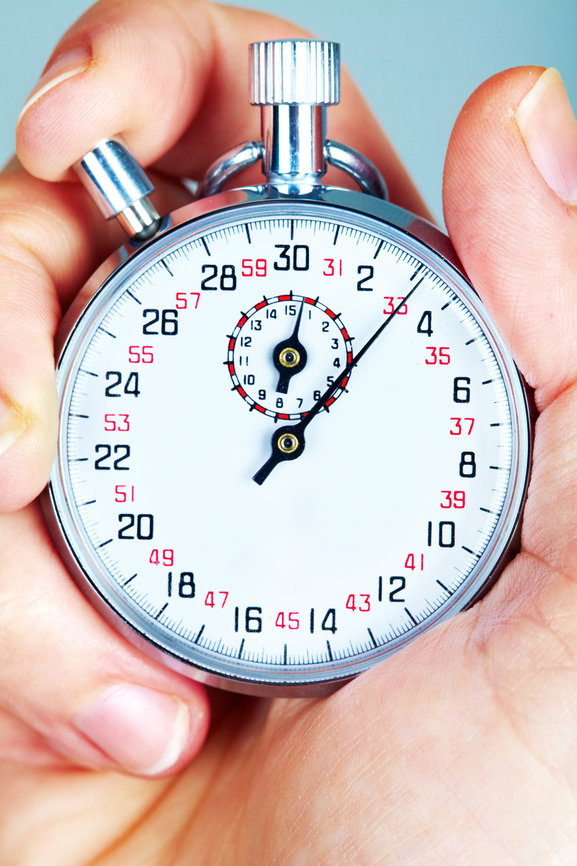
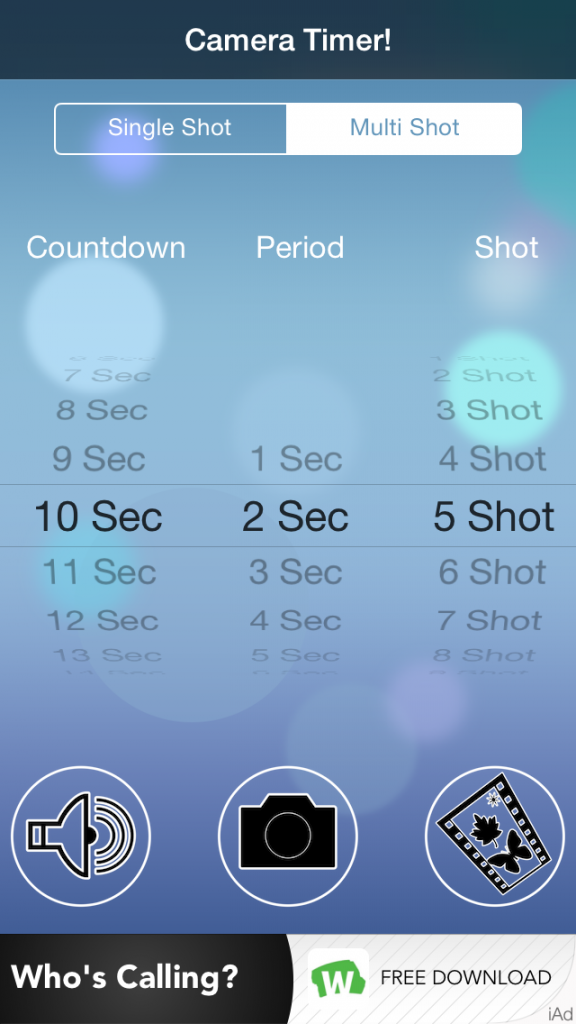 First, set your “countdown”, which is the amount of time that you think you need to get from your phone to your yoga mat and get into your first pose. You might need anywhere between 10 and 20 seconds. Play around with this number. You can also set your “period”, which is the length of time between photos. I prefer two seconds between shots. Finally, you can decide on how many photos you’d like the camera to take. Five photos always seems like a good number to me. Once you set your “countdown”, “period” and “shot”, you are ready to go. Place your phone into a short glass (as explained in my first
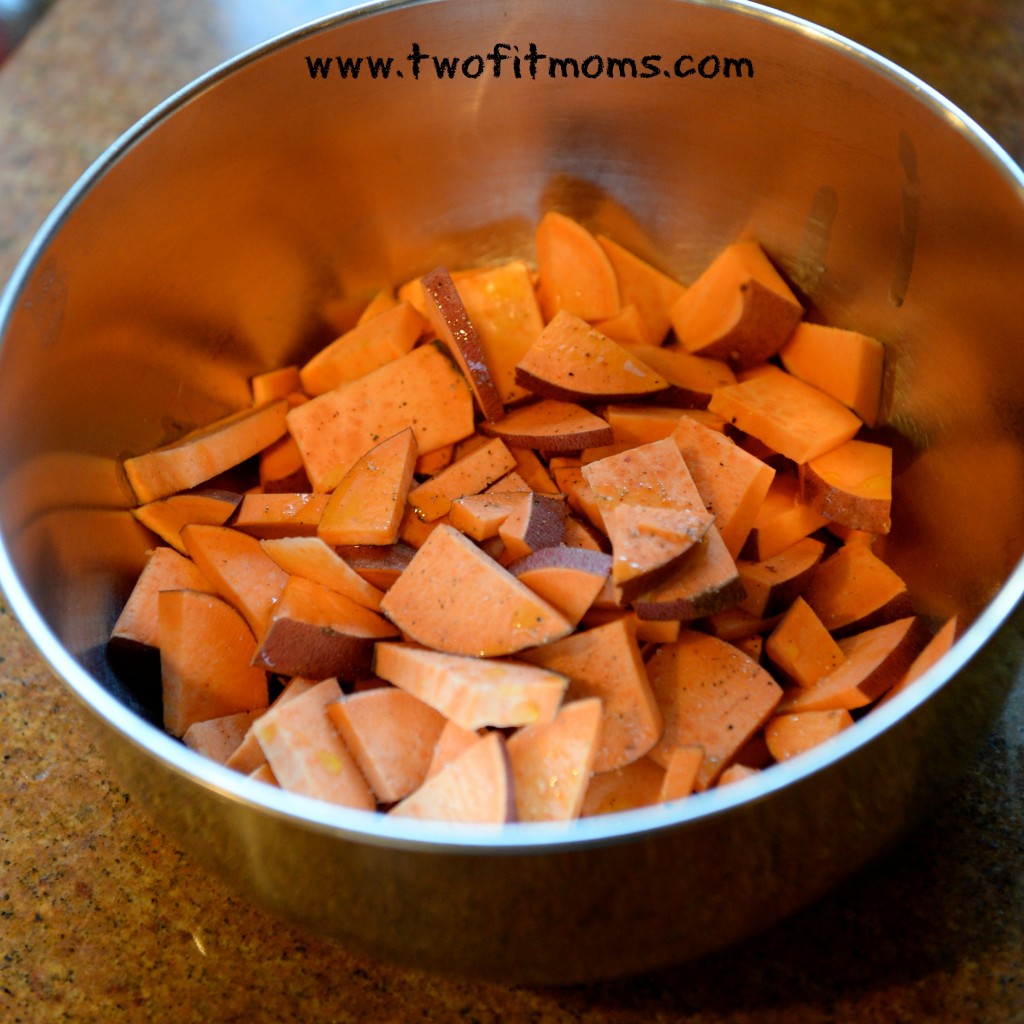
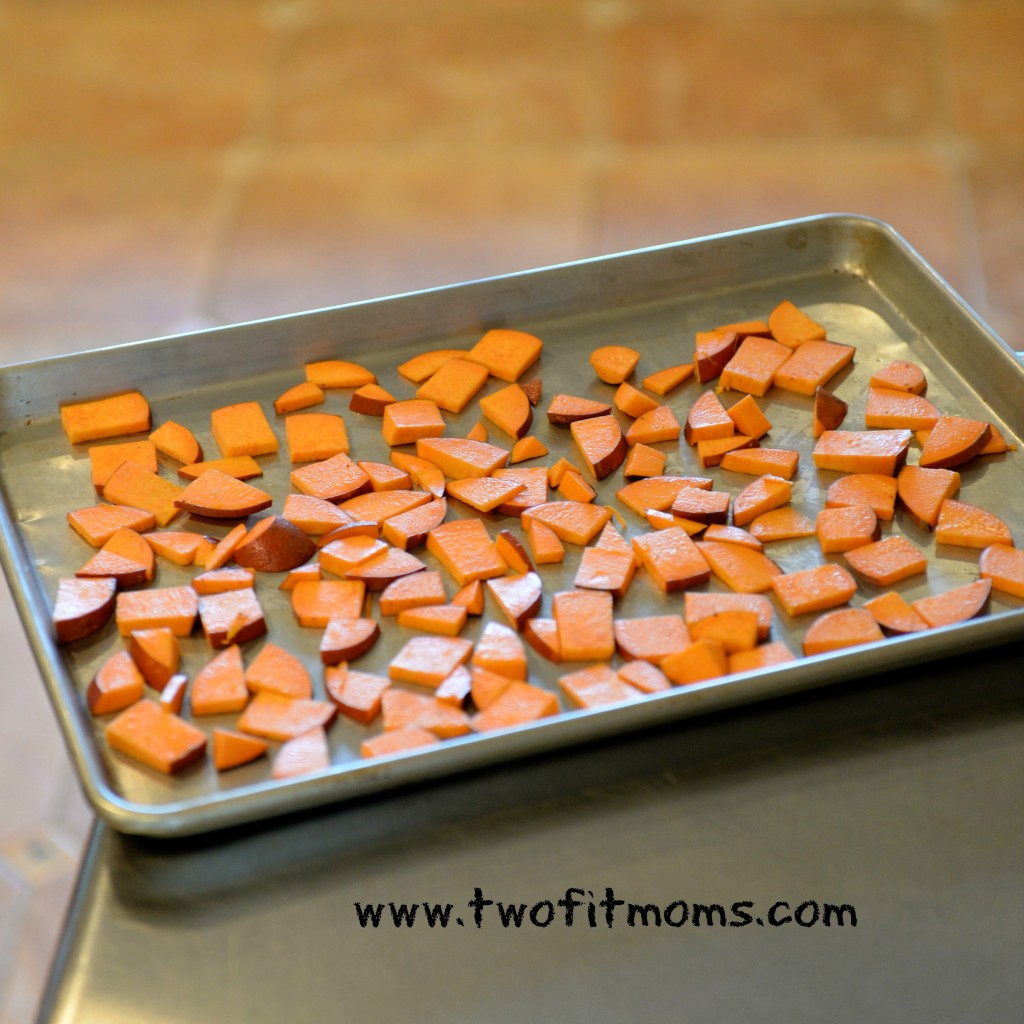
 quantities of vegetables at one time. Instead of cooking for just one meal, I roast enough veggies for two or three meals. Unlike boiled or steamed vegetables, which may feel soggy and limp on day two or three, roasted vegetables maintain a delicious flavor and can be chopped into omelettes, pureed into soups or layered onto a sandwich with a balsamic glaze. Let me show you a basic technique.
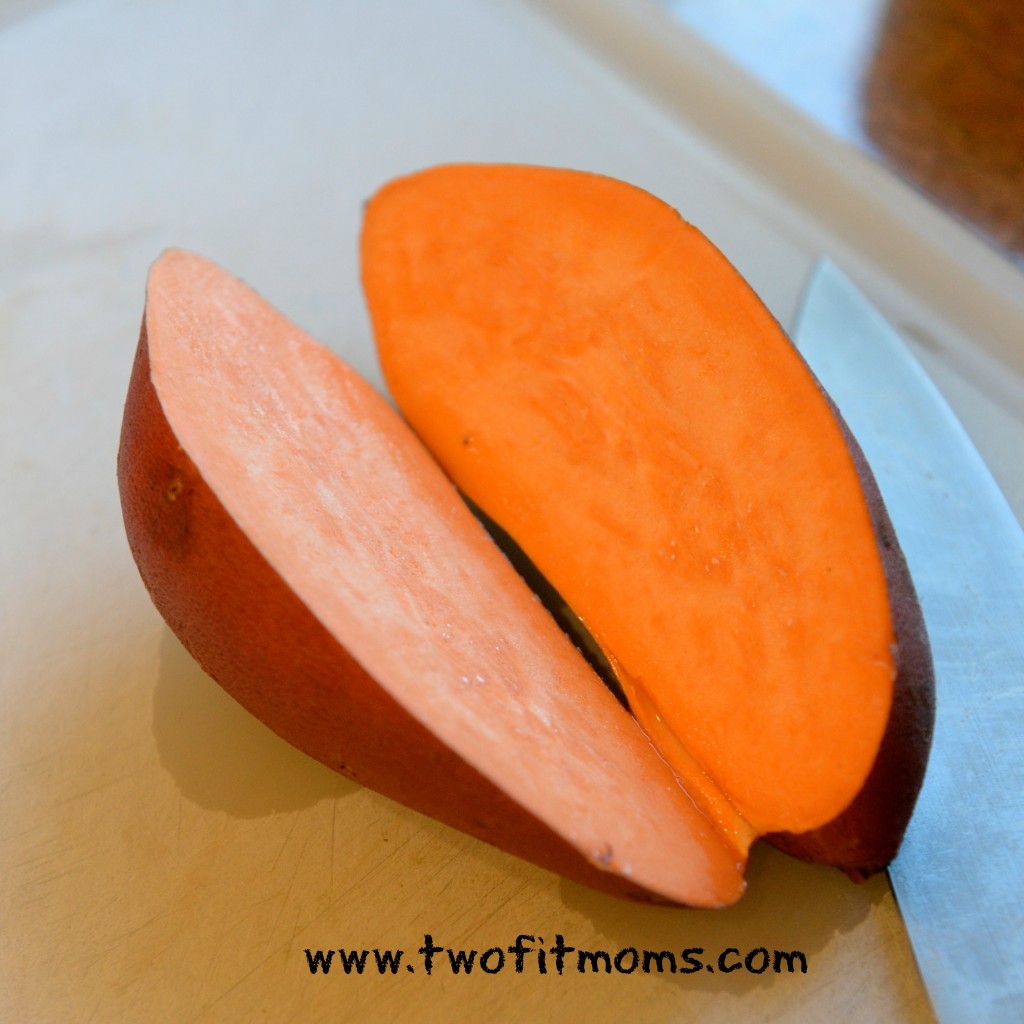


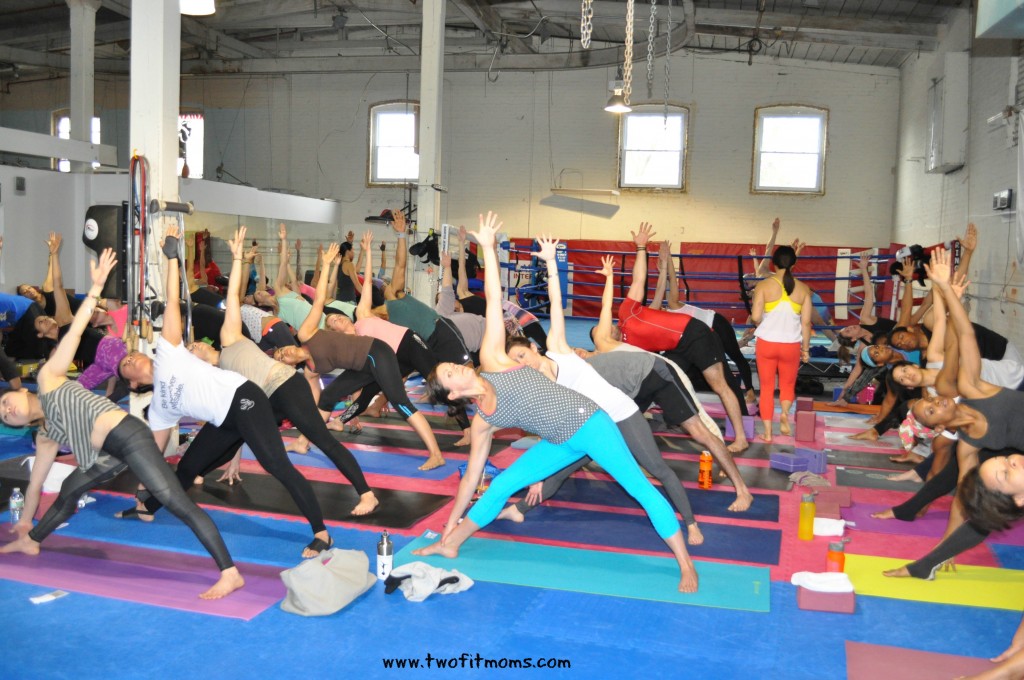
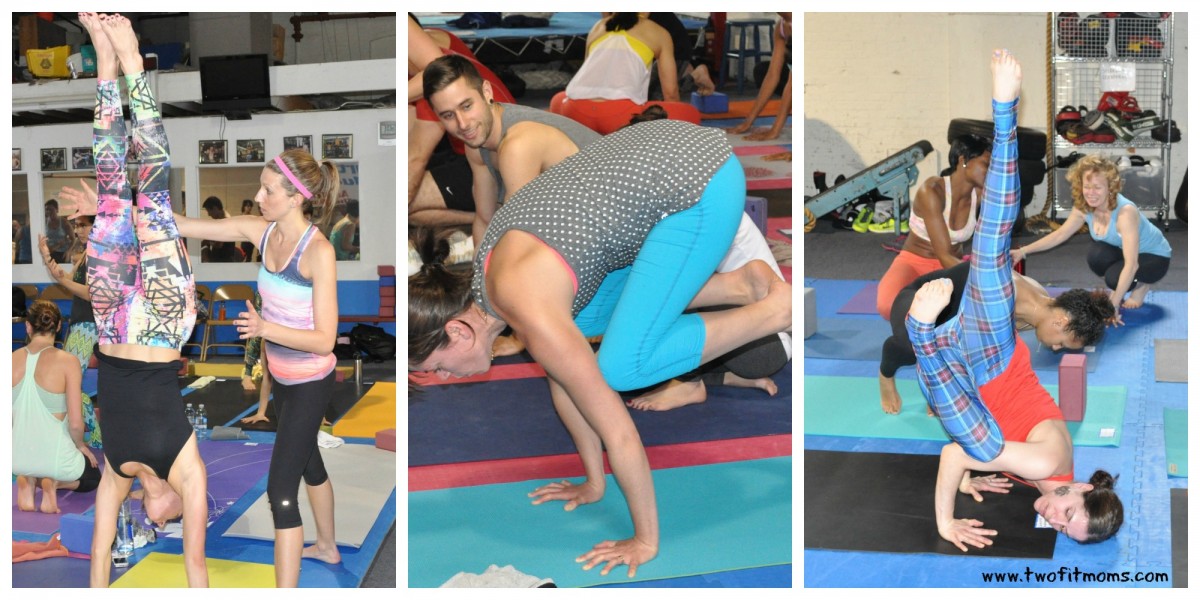
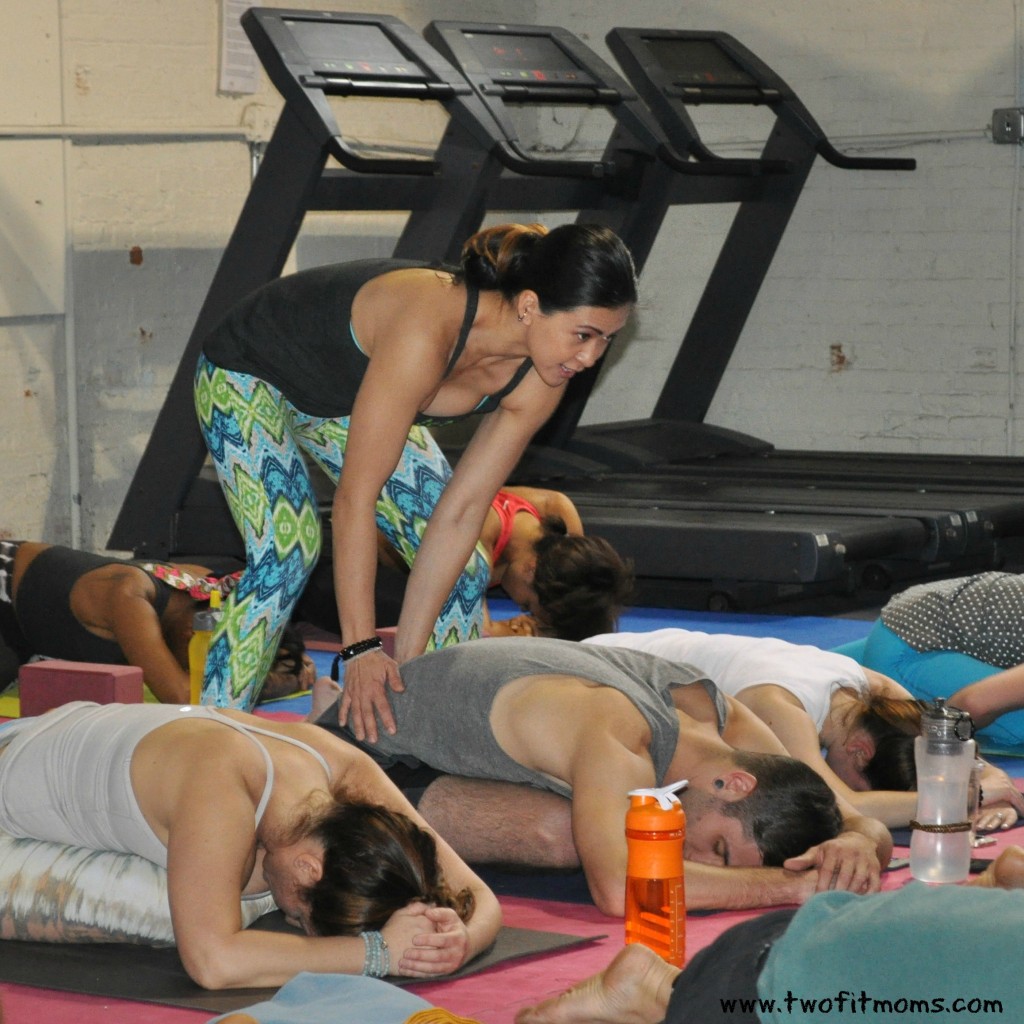 great session planned along with fun vendors and goodies from a leading yogawear brand. We also just love getting together with fellow yogis. It’s a wonderful family that we have — relationships that we have been able to nurture and cultivate via Instagram and our weekly classes.


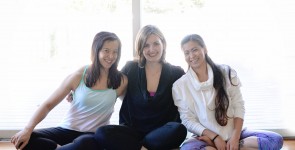
 Kate will take on the role of creative and editorial director for Two Fit Moms. With more than 15 years of experience in public relations, she will also be responsible for all things related to marketing and branding of the website. Kate will be a great addition to our team, as she shares her tips on how she balances her life as a professional consultant, a wife, and a mother to three young children. Please look out for her future posts on nutrition and wellness.
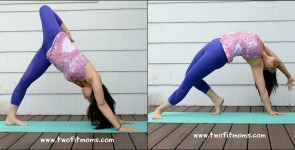

 eight years old. I suddenly remembered the voice that I heard over a megaphone every morning, announcing the daily exercises that would soon begin at the park. And then I remembered the steady stream of neighbors, young and old, stepping out of their little homes and walking toward the field. No one was wearing a stopwatch. No one was displaying strong, “go get ‘em” attitudes. This was just a way of life, and there was no competition or sense of urgency associated with participating in this routine. If you were well, you got yourself up out of bed and went to exercise with everyone else.