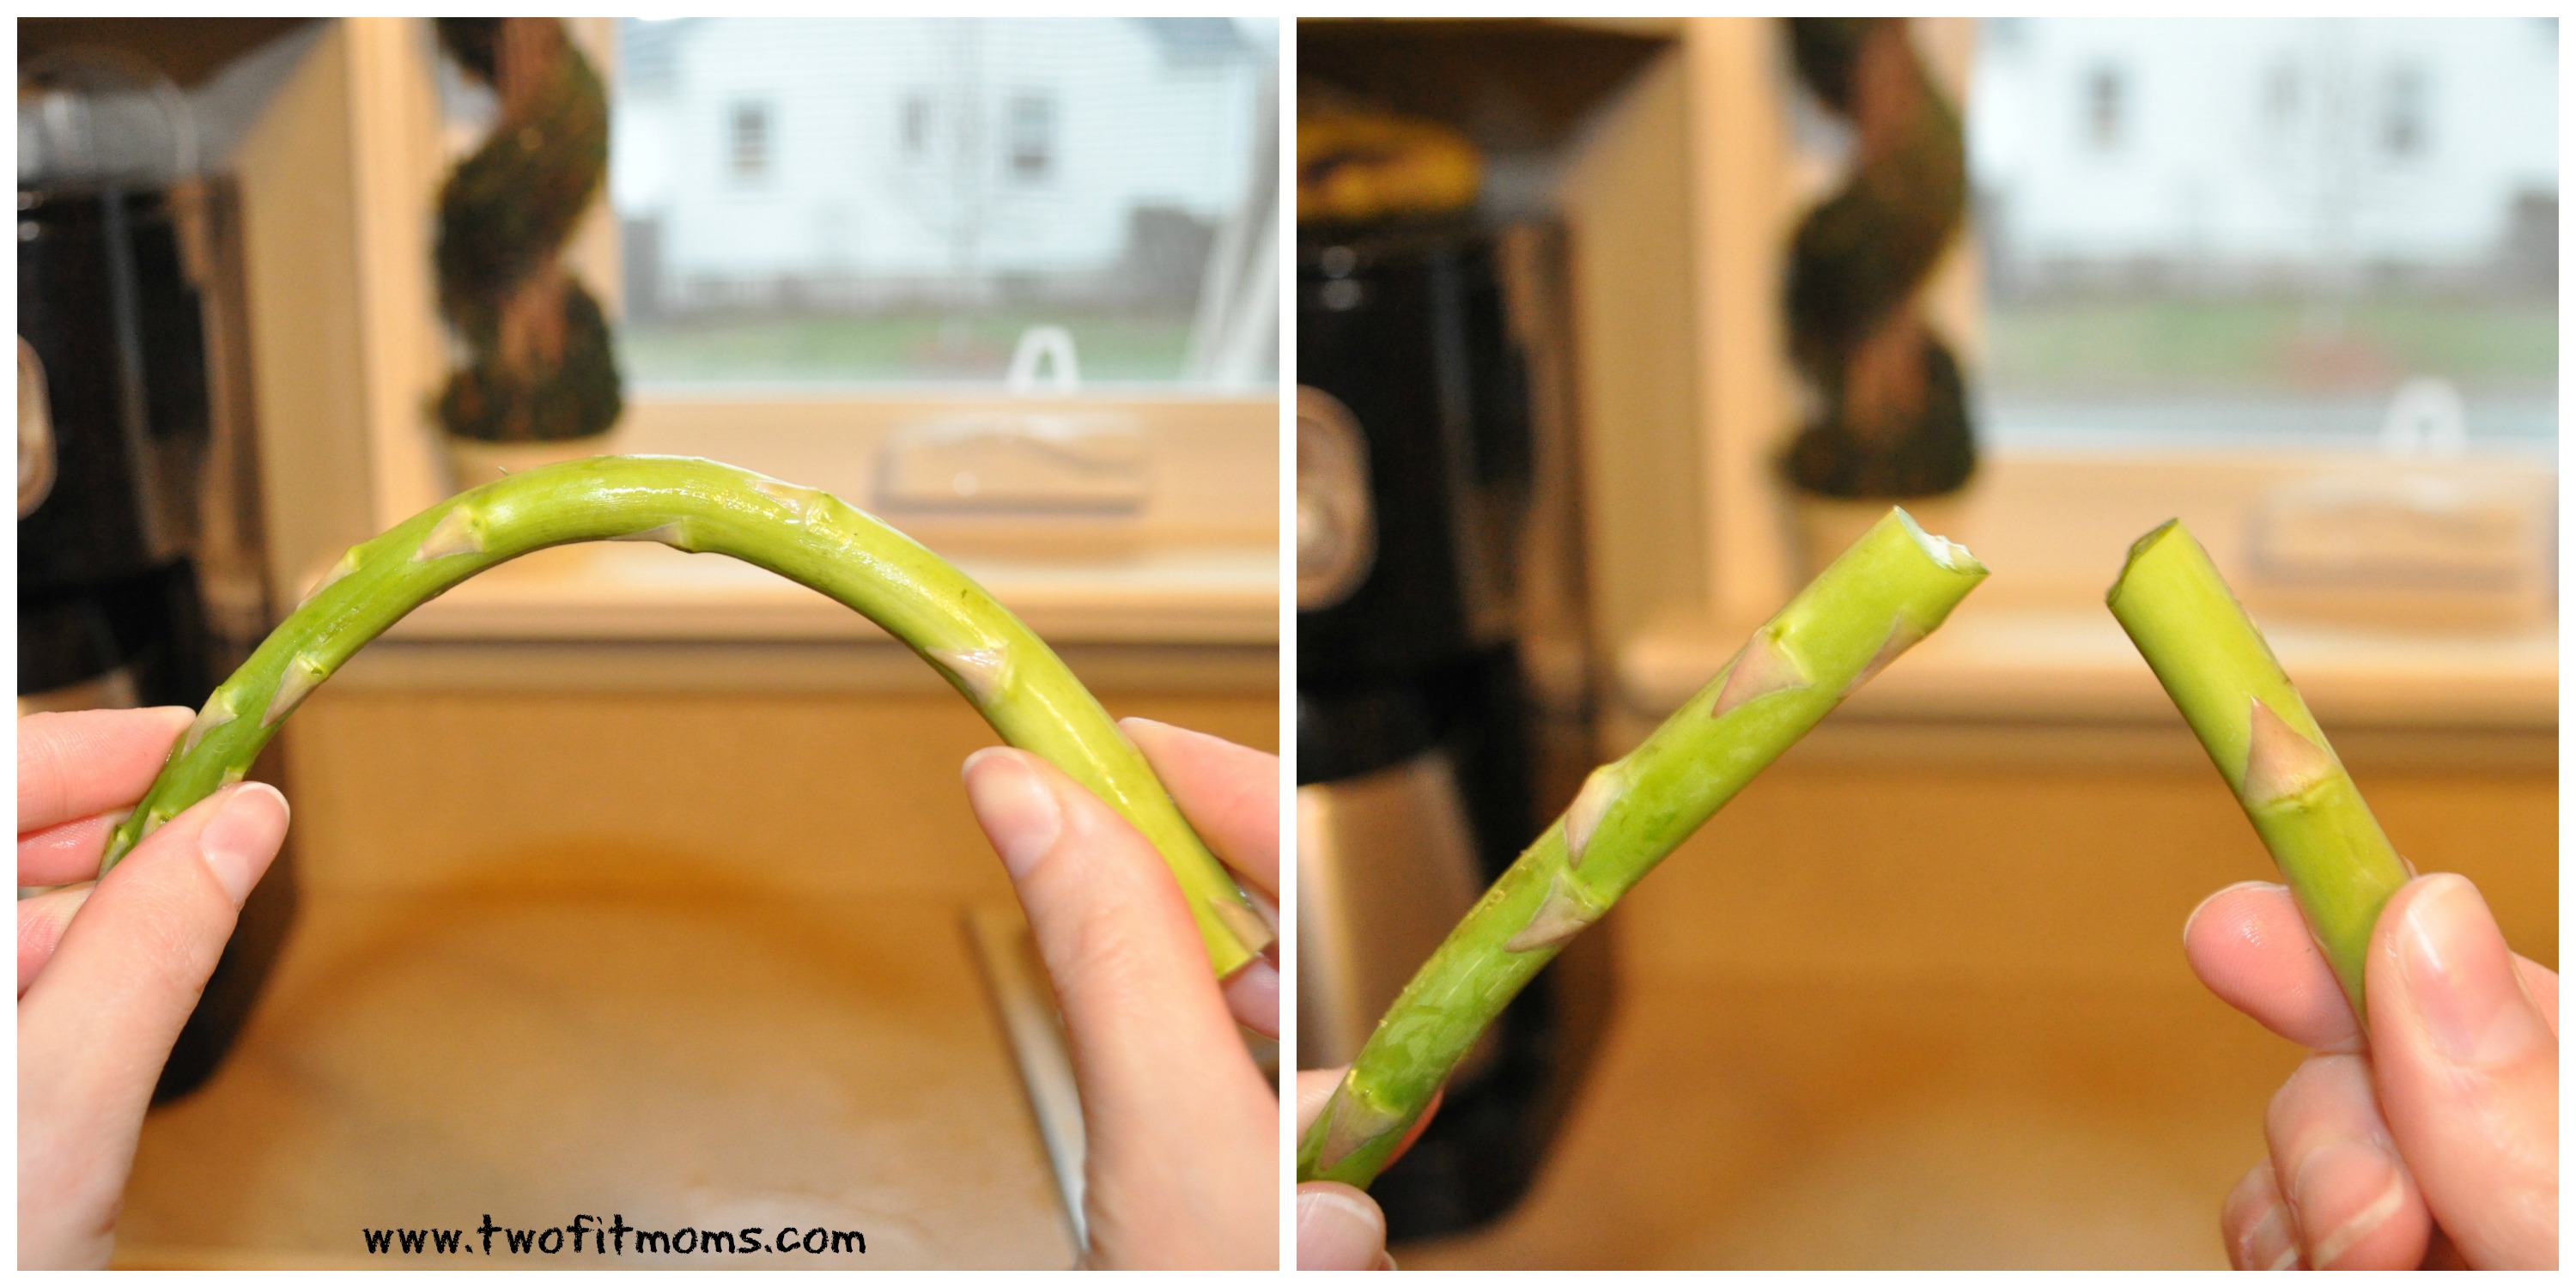
 One day not so long ago, I was shopping for produce in my local supermarket. I looked down at the apple that I was holding, and I noticed a label stuck onto the skin. The label had a 5-digit code on it. I looked around and noticed that just about all of the loose fruits and vegetables had these stickers. I started wondering about the significance of the numbers on the labels, and after going home to do a little Internet research, I decided to turn my findings into an article, just for you!
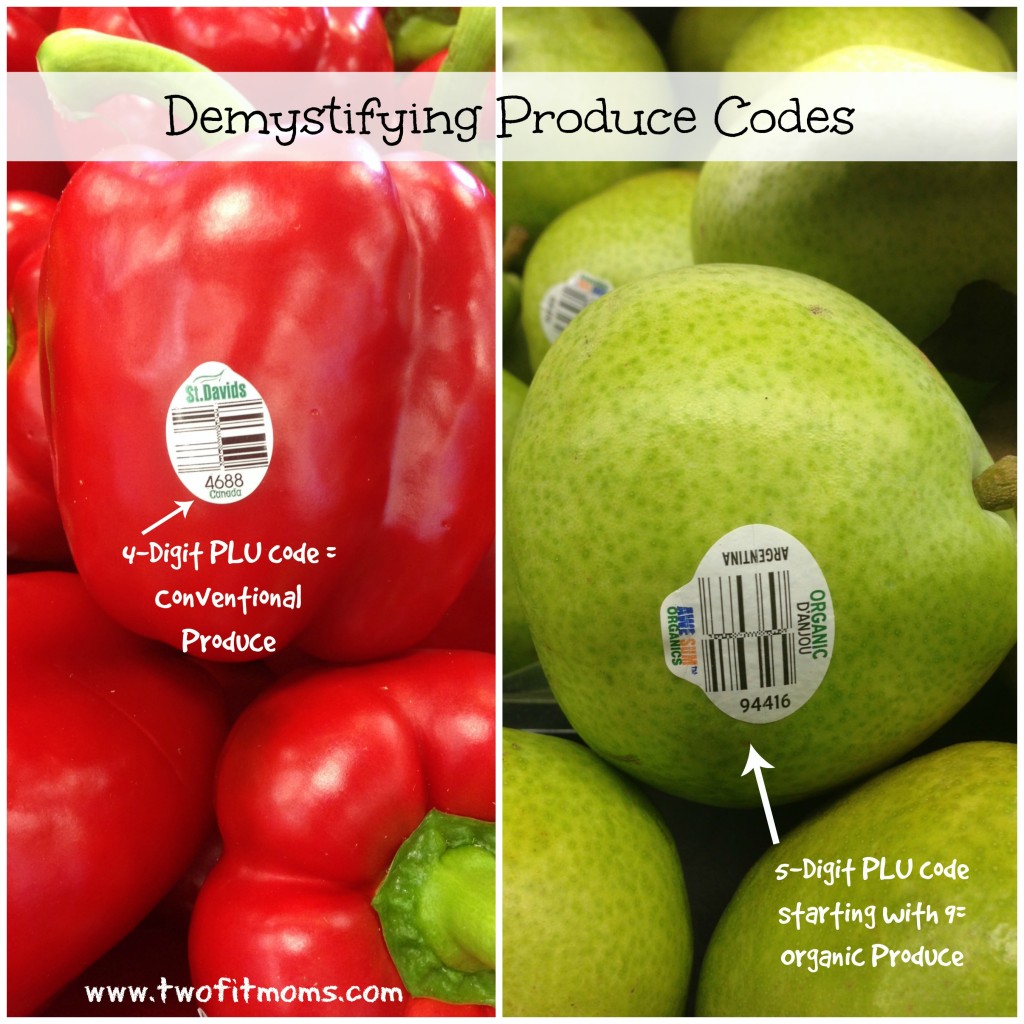
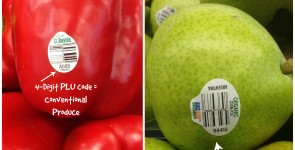
It turns out that the numbers on the labels attached to individual vegetables or pieces of fruit are called Price Look-up (PLU) codes. PLU codes are four and five digit numbers that have been used in supermarkets since 1990 to make check-out and inventory control easier and more accurate. For example, by using these codes, cashiers can quickly determine if they are looking at conventional apples or organic apples in your shopping basket and charge you accordingly. Although the International Federation for Produce Standards (IFPS) created these codes for use by retailers, perhaps we can glean a bit of information from these numbers to help us become more informed consumers.
Here is what I have been able to gather from the IFPS Users’ Guide. If you would like to read directly from the primary source, please CLICK HERE. If you would rather read my summary and thoughts, please continue to read below:
All four-digit produce codes are assigned to conventionally grown produce. Therefore, when you see a red bell pepper with a sticker that reads “4688,” you know immediately that this vegetable has been grown conventionally, and most likely has been treated with synthetic pesticides.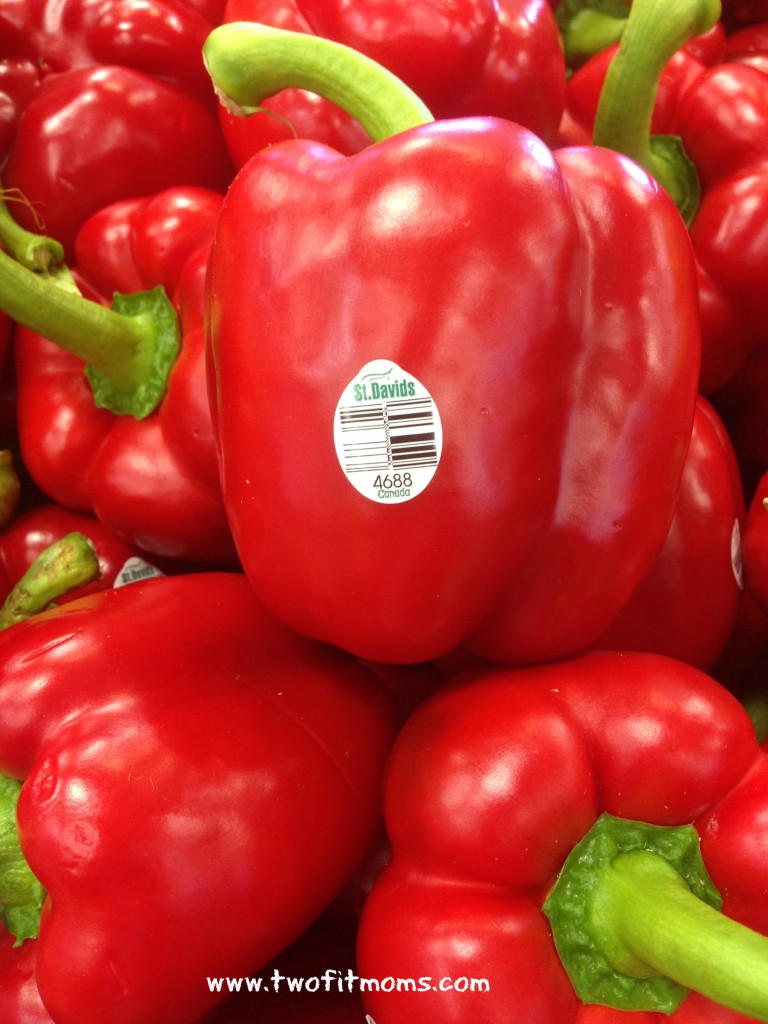
All four-digit produce codes will be numbers in the 3000s or 4000s. These numbers are randomly assigned and have no significance. All that matters for your shopping purposes is the fact that the number is four digits, indicating conventional growing standards.
A five digit produce code beginning with the number “9” indicates that the produce has been grown organically. This means that the produce was grown without conventional pesticides, fertilizers made with synthetic ingredients or sewage sludge. Genetic engineering or growth from genetically modified seeds is also prohibited for organic produce.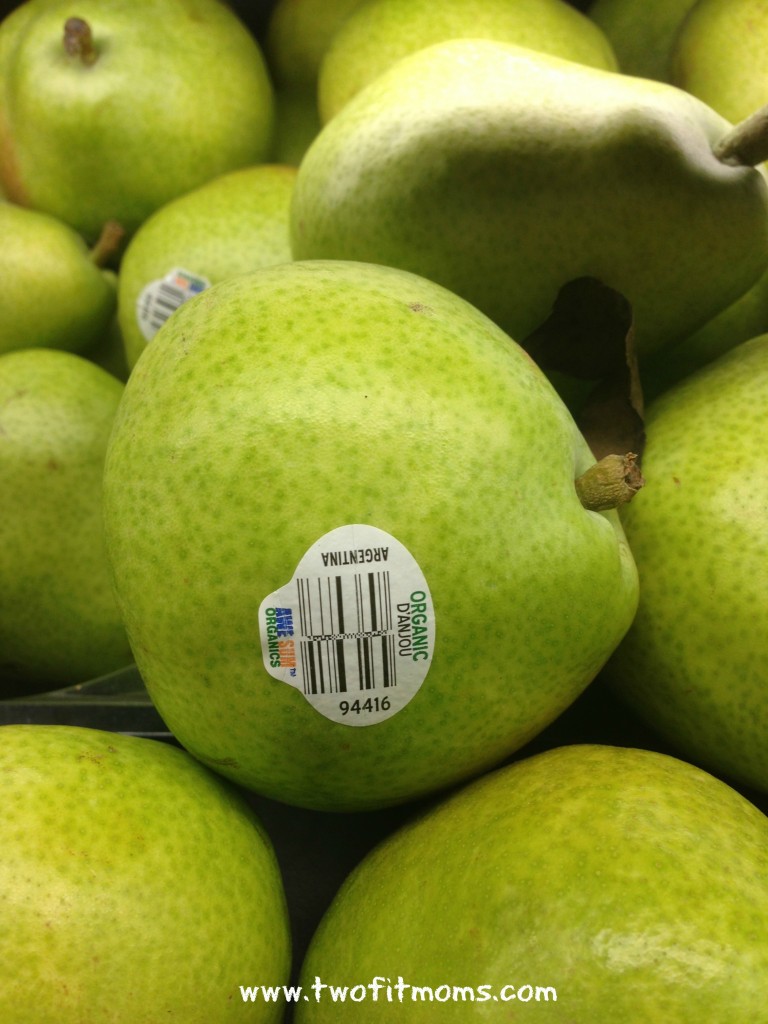
A five digit produce code beginning with the number “8” indicates that the produce has been genetically modified. HOWEVER, and this is a BIG however—this seems to be a completely theoretical concept. From my own personal experience of looking through bulk produce bins at various supermarkets, I have yet to find a single fruit or vegetable marked with a sticker beginning with the number “8”. This makes sense, as the use of PLU codes is not mandatory. If the use of such labels is not required, why would a grower/retailer ever stick a label identifying its fruits or vegetables as genetically modified? Would anyone ever buy such produce if genetically modified fruits and vegetables were readily recognizable? I know I certainly wouldn’t.
If genetically modified fresh produce is not labeled as such, what can we as consumers do? In my opinion, the best we can do is to be well aware of the most commonly genetically modified produce, and specifically seek out the organic versions of these fruits and vegetables. Fortunately, the list of commercially available genetically modified produce is short.
The three major genetically engineered crops in the United States are corn, soybeans, and cotton. More than 90% of all corn, soybeans and cotton grown in the US in 2013 was genetically engineered, and these three GMO crops account for HALF of the total land used to grow crops in the US.
Knowing that you will most likely never see a PLU code starting with the number 8 on each of your ears of corn, just go ahead and make the assumption that it is genetically modified. As you shop, just be sure to look for corn that is labeled as organic, if you would like to stay away from genetically modified produce. Likewise, make sure that you always buy organic soybeans and tofu.
Other genetically engineered crops in the US include canola, sugarbeets, alfalfa, papaya and squash. GMO crops such as cotton and canola are not classified as “produce”, but it is good to be aware, as cottonseed and canola are typically used in the production of shelf-stable products, such as oils and margarine.
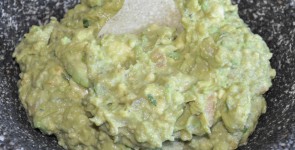
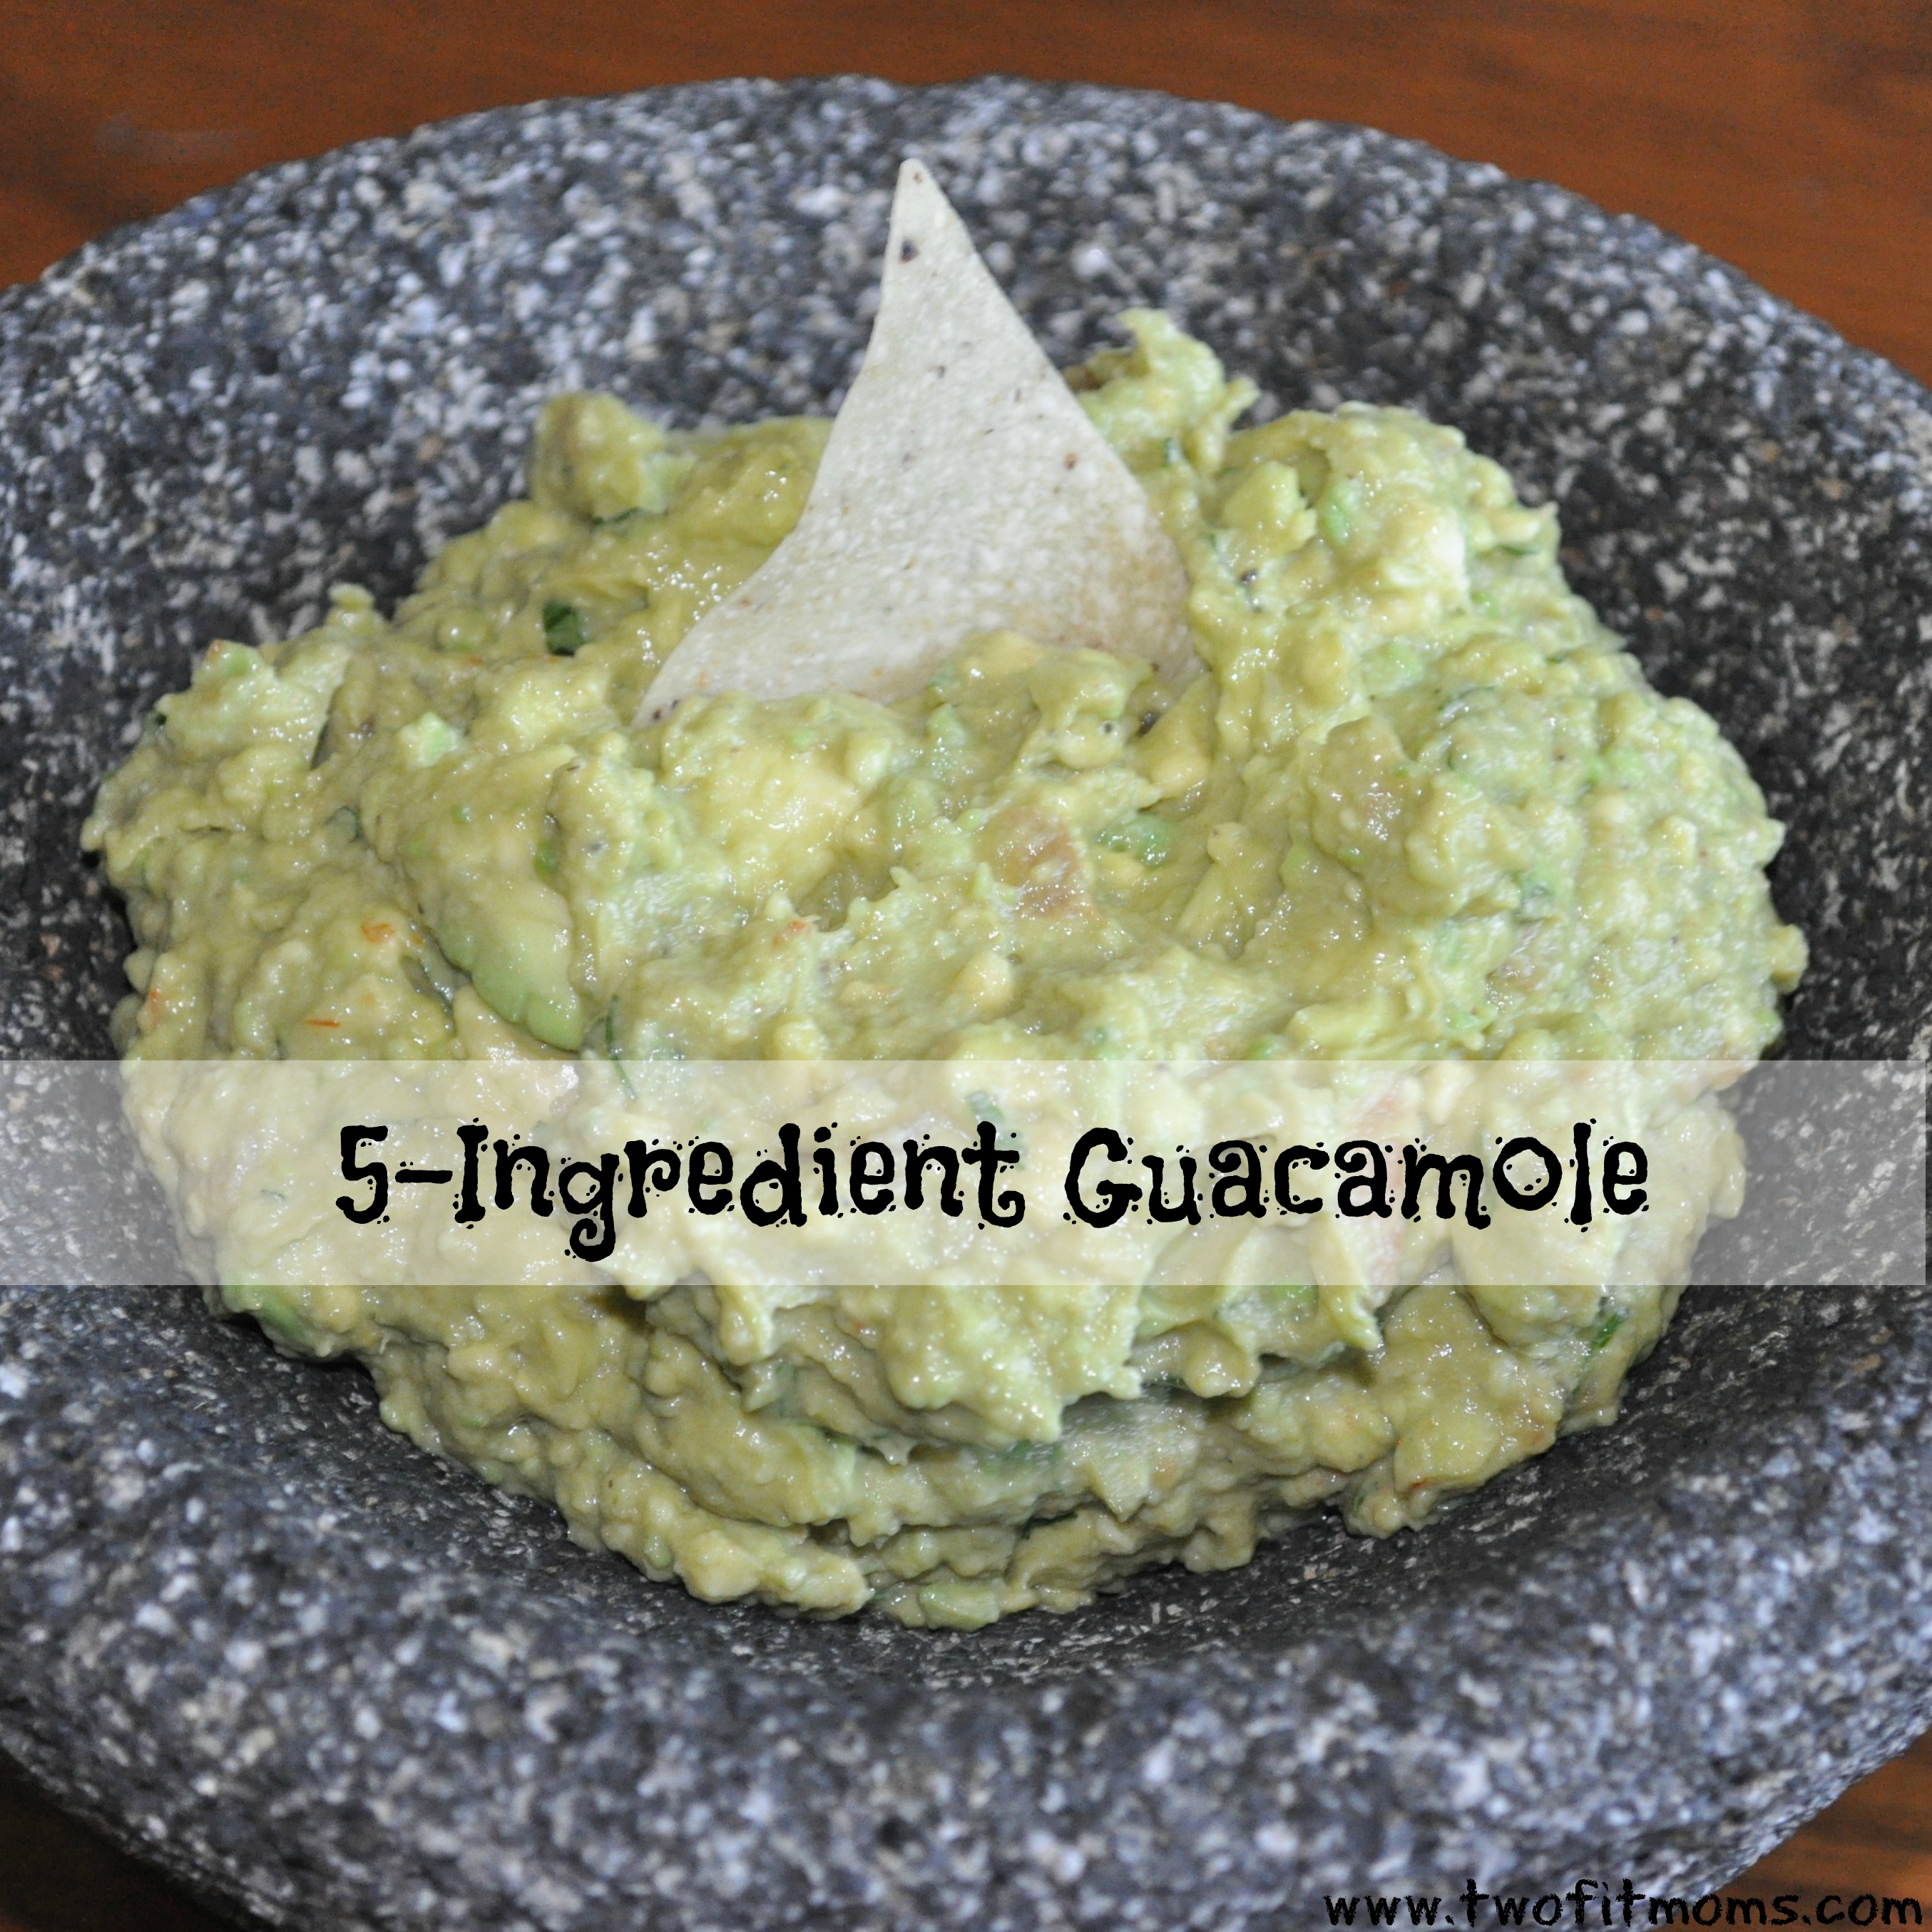 Cinco de Mayo is around the corner and what better way to celebrate then to whip up some guacamole?
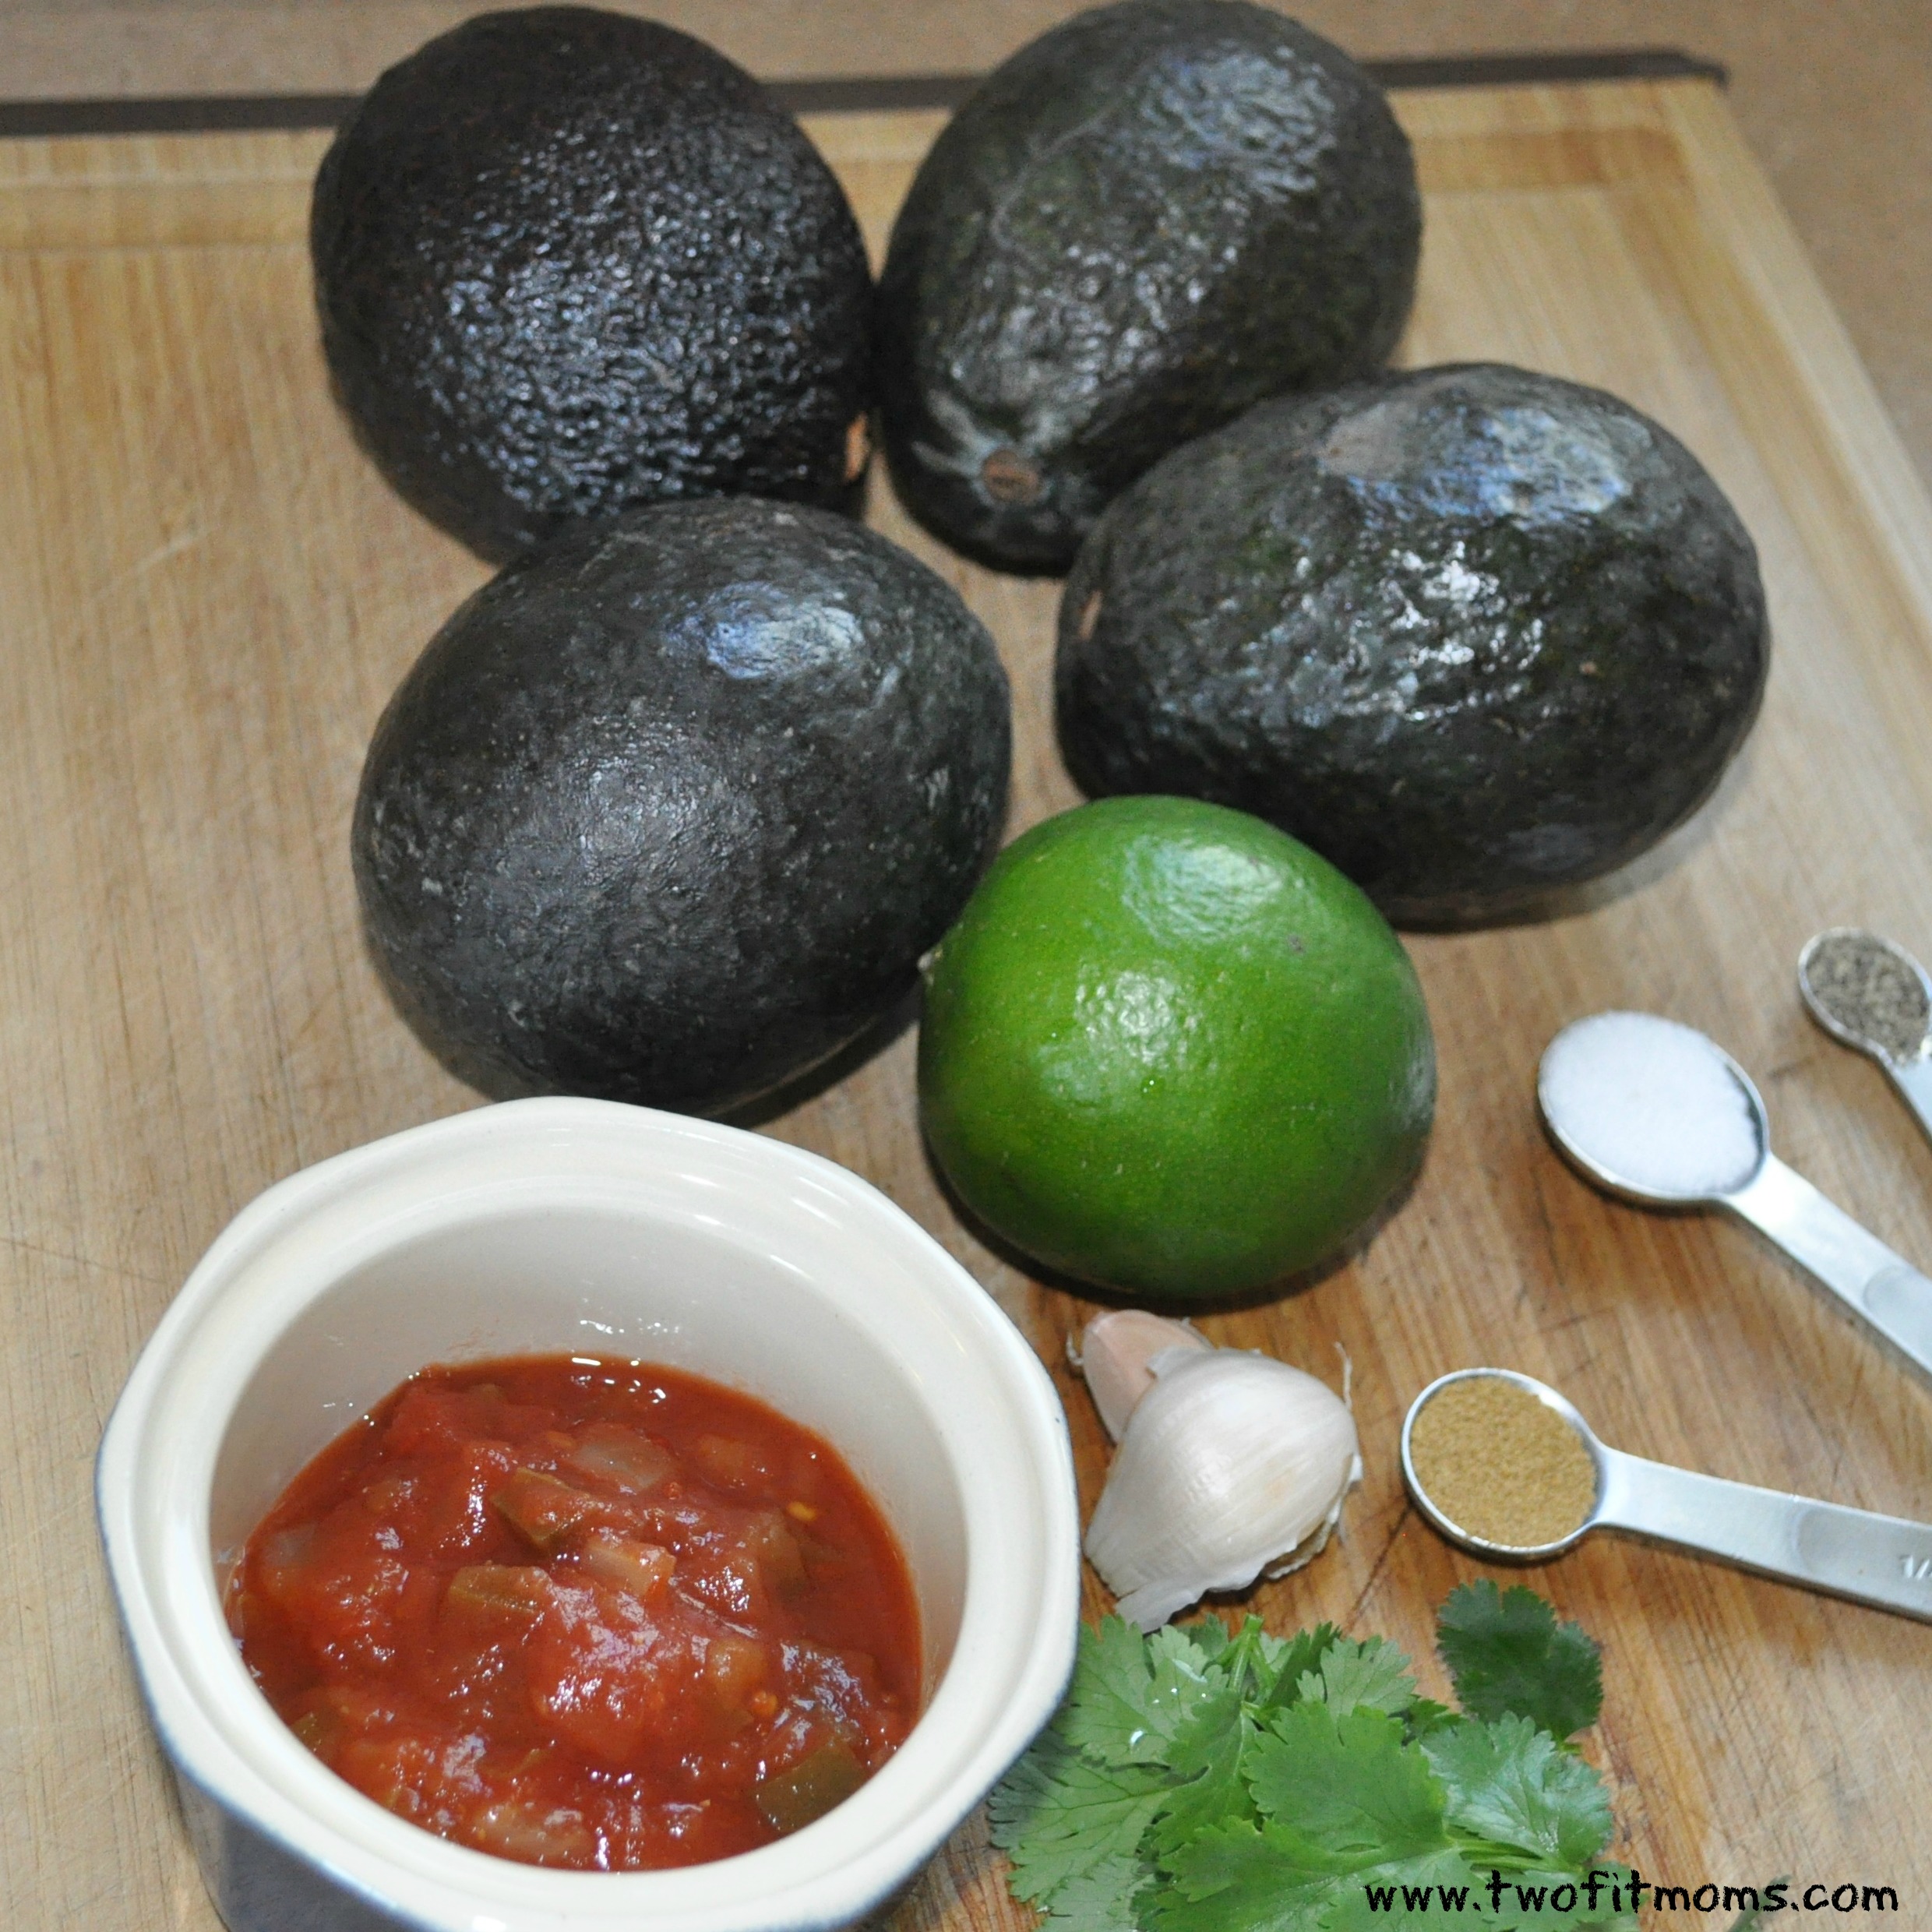


 Take a look at my original photo. It’s fine as is, but the bright pink color of my top is competing with the green grass in the background. By converting the entire image to black and white, I can remove the background noise and focus on my clothing.


 I still remember the first time I saw a photo of standing mermaid pose. I was scrolling through my Instagram feed, and I paused to look at this interesting posture. It appeared to be some kind of dancer pose variation, but I had never seen anything like it before. I had to try it!