 A well-stocked pantry can help you stay on track with your healthy eating plan. With the right ingredients on hand, meal planning can become an intuitive and simple part of your life. Quick meals will come together with just a few fresh ingredients from the supermarket, and healthy snacks will always be available. As with any endeavor, preparation is key. Stock your pantry with healthy staples, and you are bound to make healthy choices in the kitchen.
Because the pantry is home to all of your long-shelf-life items, it has the potential to hold lots of unhealthy food choices that are chock full of preservatives and processed with unrecognizable ingredients. This week, start out by making room for healthy pantry staples.
Get rid of the junk food, the highly processed canned goods, the refined flour and sugar, anything with artificial sweeteners, hydrogenated oils, artificial dyes, or ingredients that you can’t pronounce. Once you purge all of the obvious items that will not serve you in your wellness journey, move on to re-stocking.
Be economical. Build your pantry slowly.
Before you get started, keep in mind that re-stocking a pantry takes time and money. Rather than spending a small fortune on your first trip to the market, plan on buying a few new items each time you shop. Don’t try to buy every type of organic bean that you find. Pick one or two varieties for now. Likewise, pick one or two grains to purchase. You can always add to your pantry staples over time.
Here are my suggestions to build a solid, healthy foundation for your pantry.
Whole grains
I like to keep several different types of whole grains in my pantry, but steel-cut oats and brown rice are two examples to get you started. Oats are a great way to start the day, and brown rice provides a great base for a quick vegetable stir fry.
Quinoa
It cooks like a whole grain, it looks like a whole grain, but technically speaking, it’s a seed. I always have quinoa on hand. It is packed with nutrition, and it cooks very quickly (15 minutes or less) in comparison to other whole grains like brown rice, which can take nearly an hour.
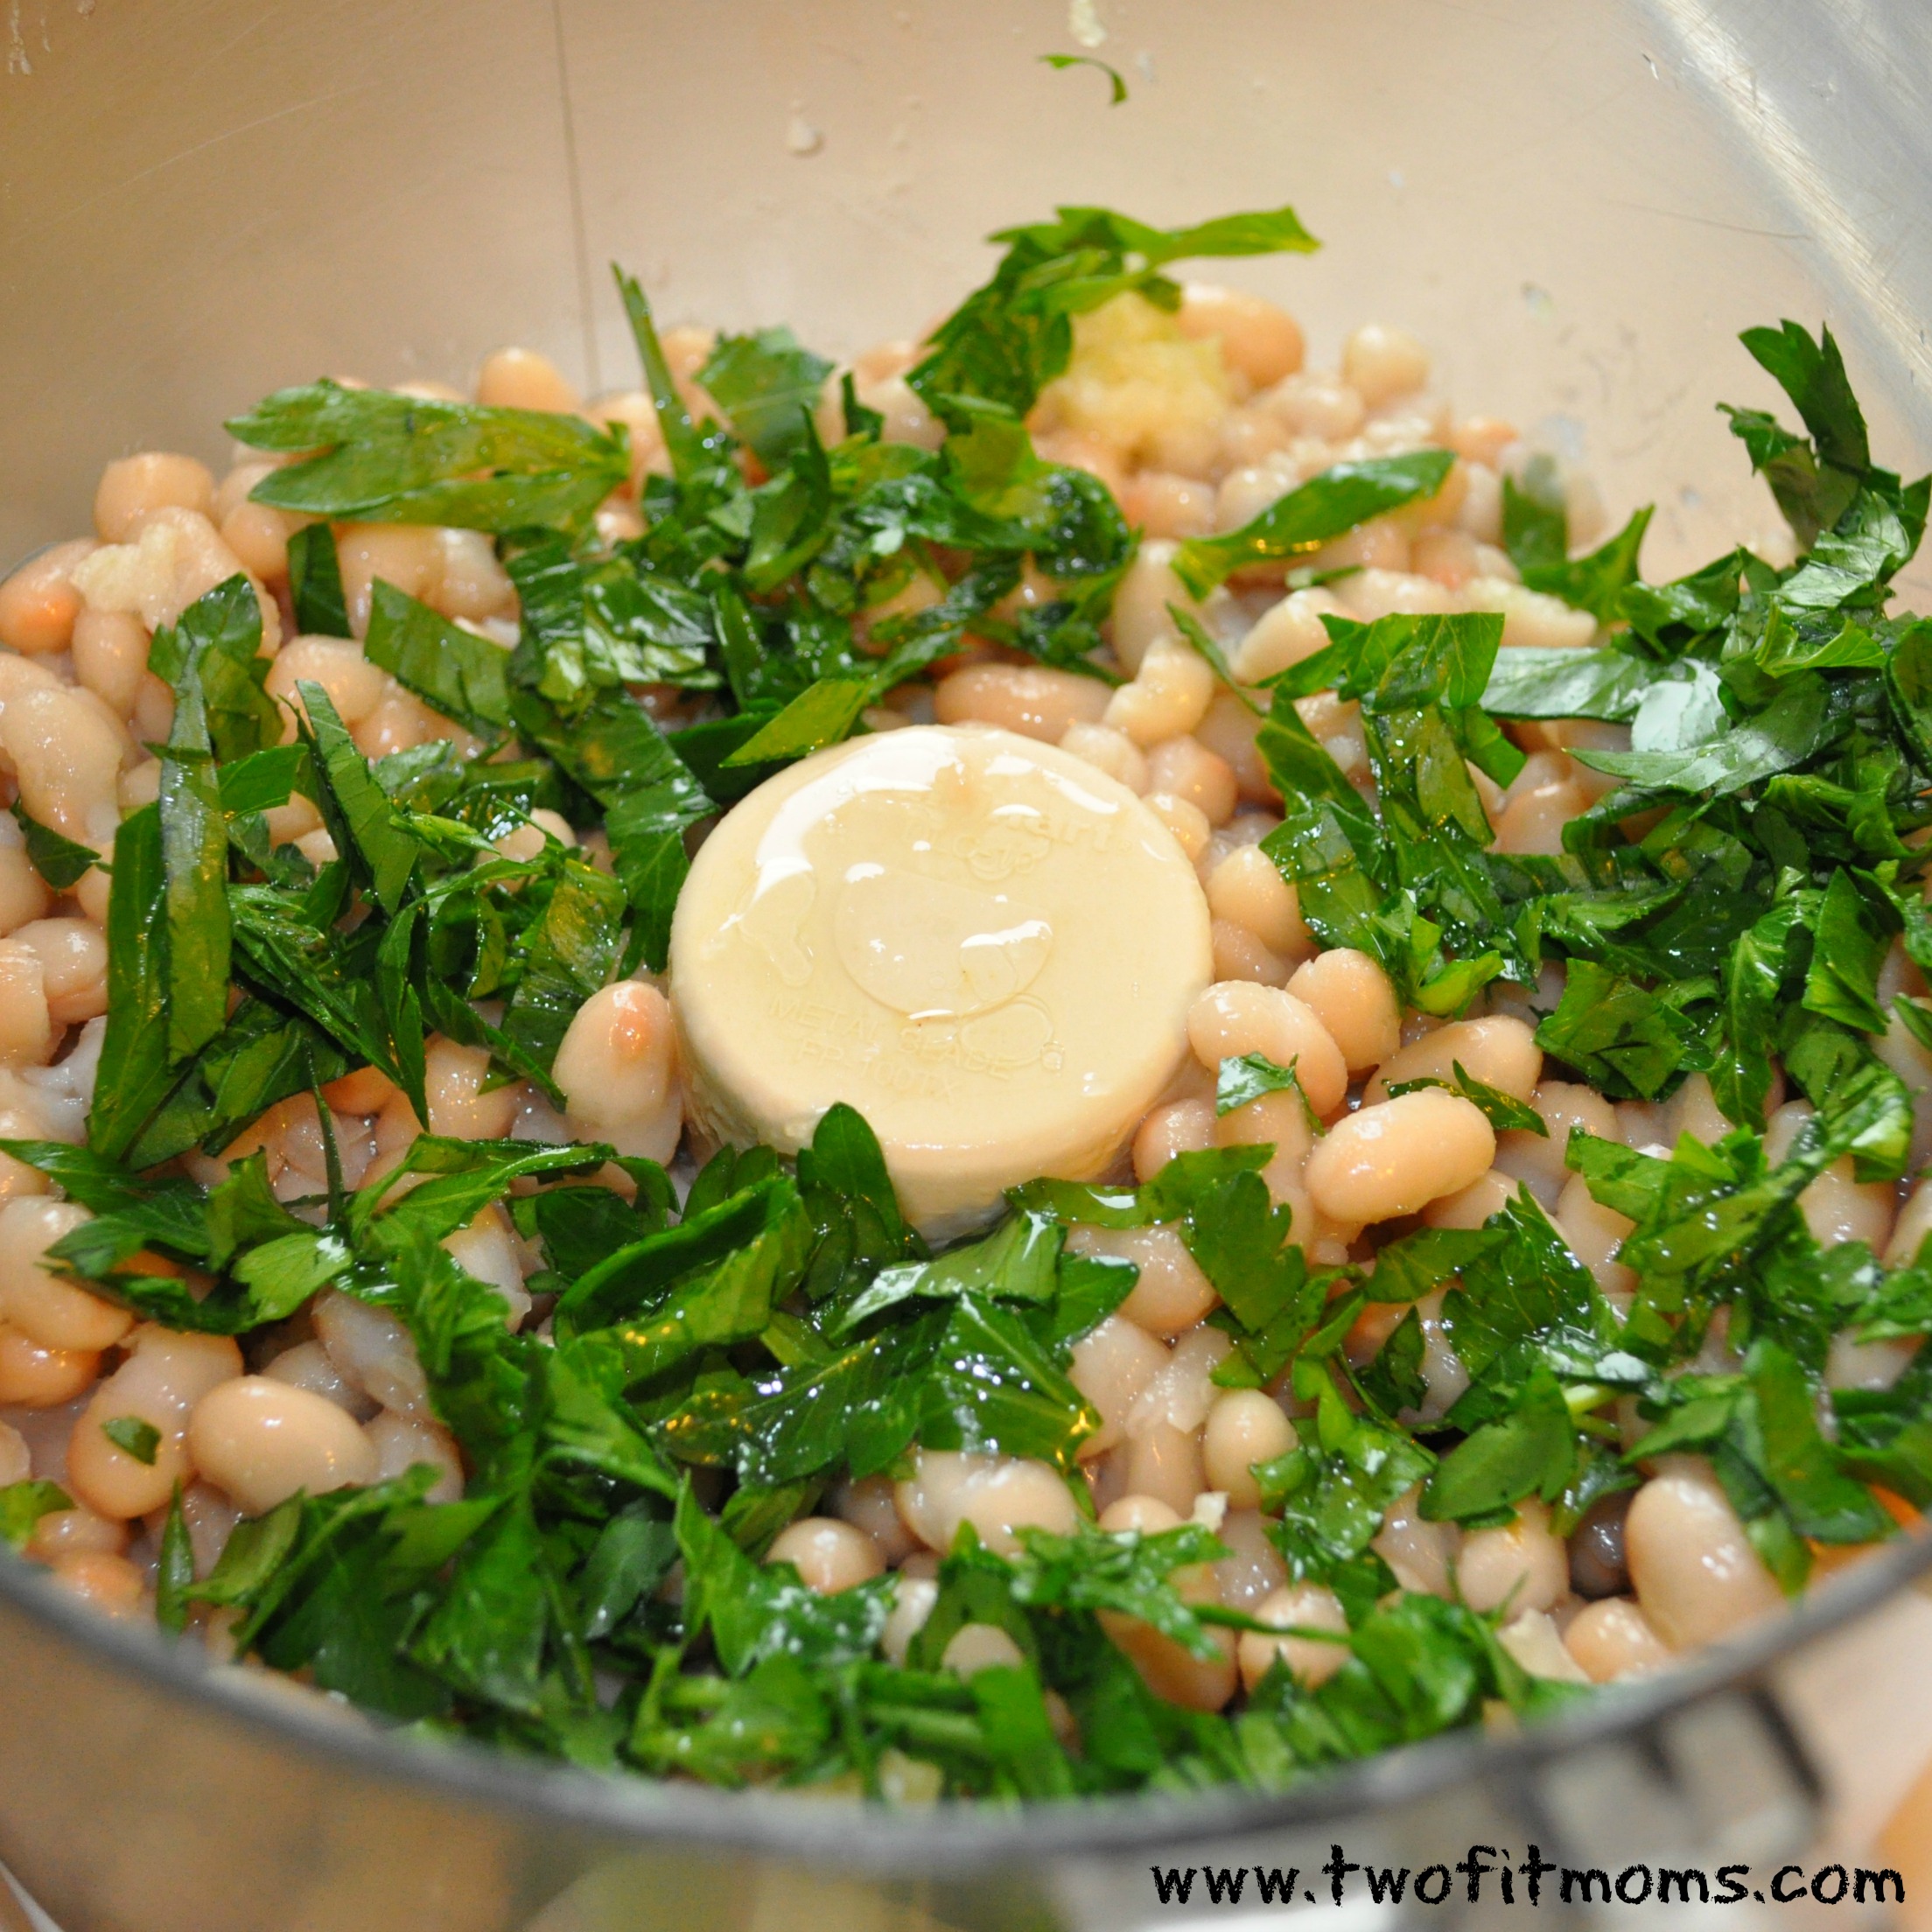
Beans
Beans are the perfect addition for soups, stews or salads. You can also puree beans to create hummus or a tasty spread for sandwiches. Keep a variety on hand—canned chickpeas, kidney beans and black beans are my favorites. Also, make sure to buy some dried beans, too. Dried lentils or split-peas have a long shelf life and are quick to cook.
Cold pressed oil
When shopping for oil, look for cold pressed oils like olive oil, or if you prefer oil without a distinctive flavor, try safflower oil. The goal is to avoid oils (such as canola) that are refined through solvent extraction, neutralization and bleaching.
Nut butter
Almond butter, cashew butter or peanut butter…take your pick! Nut butters are a great addition to smoothies (see our Apple Pie Smoothie recipe), and they make a quick snack or lunch for you and the kids. This is one pantry staple that you will not regret buying!
Vinegar
If you love making salads of any kind—vegetable salad, noodle salad, potato salad, rice salad, etc, you will want to have a variety of vinegars on hand. Vinegar adds lots of flavor, and it is a picnic-safe alternative to mayonnaise.
Liquid for your smoothies
Keep your pantry stocked with organic non-GMO soy milk, almond milk, rice milk or coconut water so that you have liquid to blend your smoothies. Smoothies make a great breakfast or snack. Yes, you can buy soy milk in the refrigerated section of your supermarket, but if you don’t use it regularly, pick up a box of shelf-stable soy milk, and leave it in your pantry until the urge for a smoothie arises.
Nuts
I know that I already listed nut butter on the pantry essentials list here, but nuts are also great to have on hand. This is a great portable snack to keep in your bag or desk drawer at work. Throw a handful of crushed nuts onto your oatmeal in the morning or into a salad for lunch to make your meal heartier.
Vegetable broth
In an ideal world, we would all have time to simmer our own big pot of vegetable stock. Fortunately for us, there are a few excellent, organic vegetable broth options right on the shelves of your supermarket. I like to always keep a minimum of two cartons of broth in my pantry. Use vegetable broth instead of water to cook couscous or to make soup, simmer vegetables, add flavor to sauces or stews, etc. The possibilities for vegetable broth are endless.
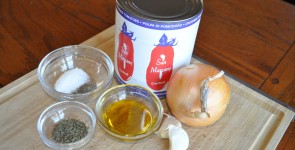
Canned tomatoes
Canned tomatoes can be used in soups, stews, bean salads, or marinara sauce. I like to keep a variety of tomatoes in my pantry: crushed, diced, pureed and whole. For a quick meal idea using canned tomatoes, see this week’s recipe for Weeknight Marinara.

 these posts had one thing in common: they all had some sort of caption or inspirational quote right on the image itself. I assumed that these images were all professionally produced until I came across the Over app. Over will help you create your own inspirational image by quickly adding a quote or your own motivational words to a photo.
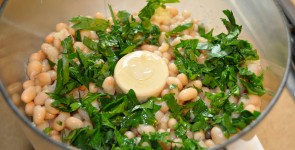


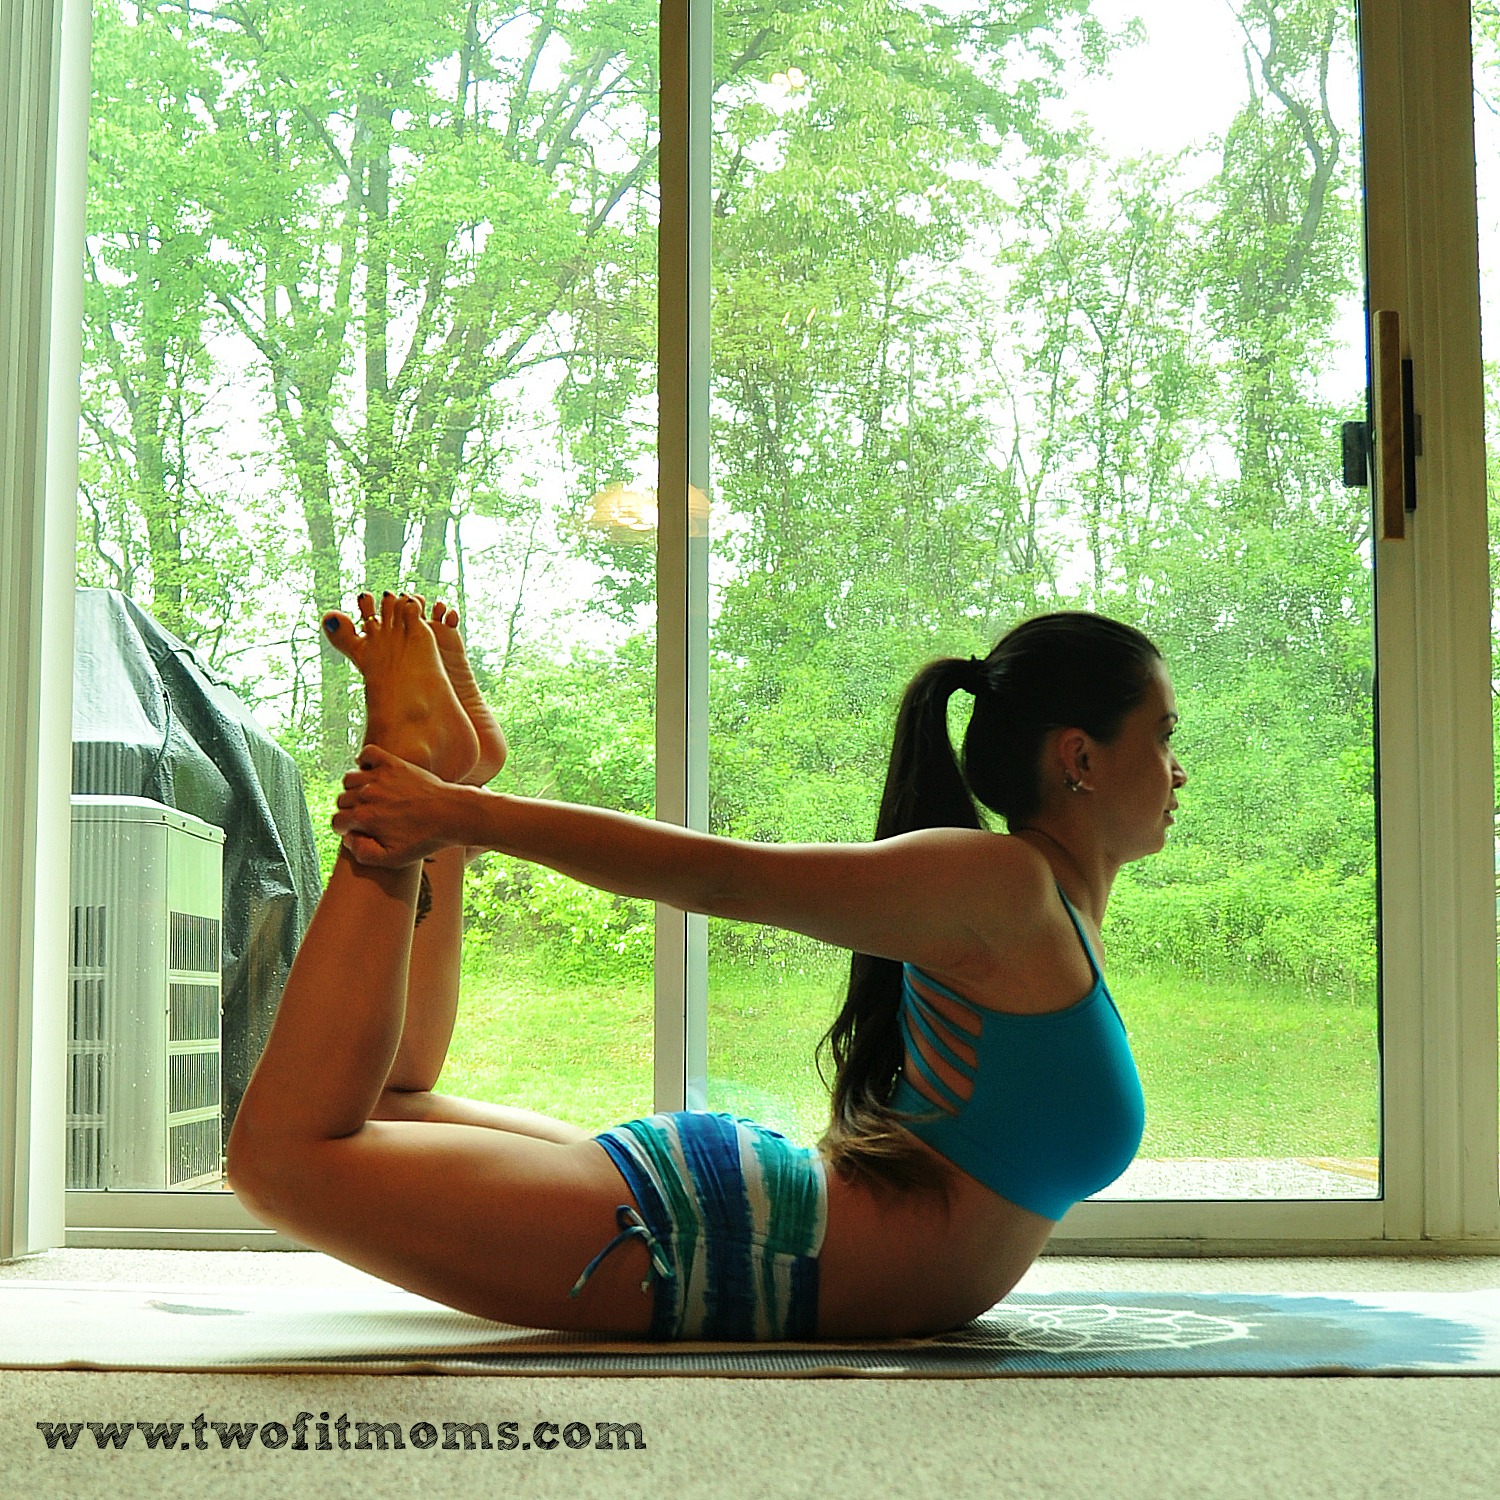


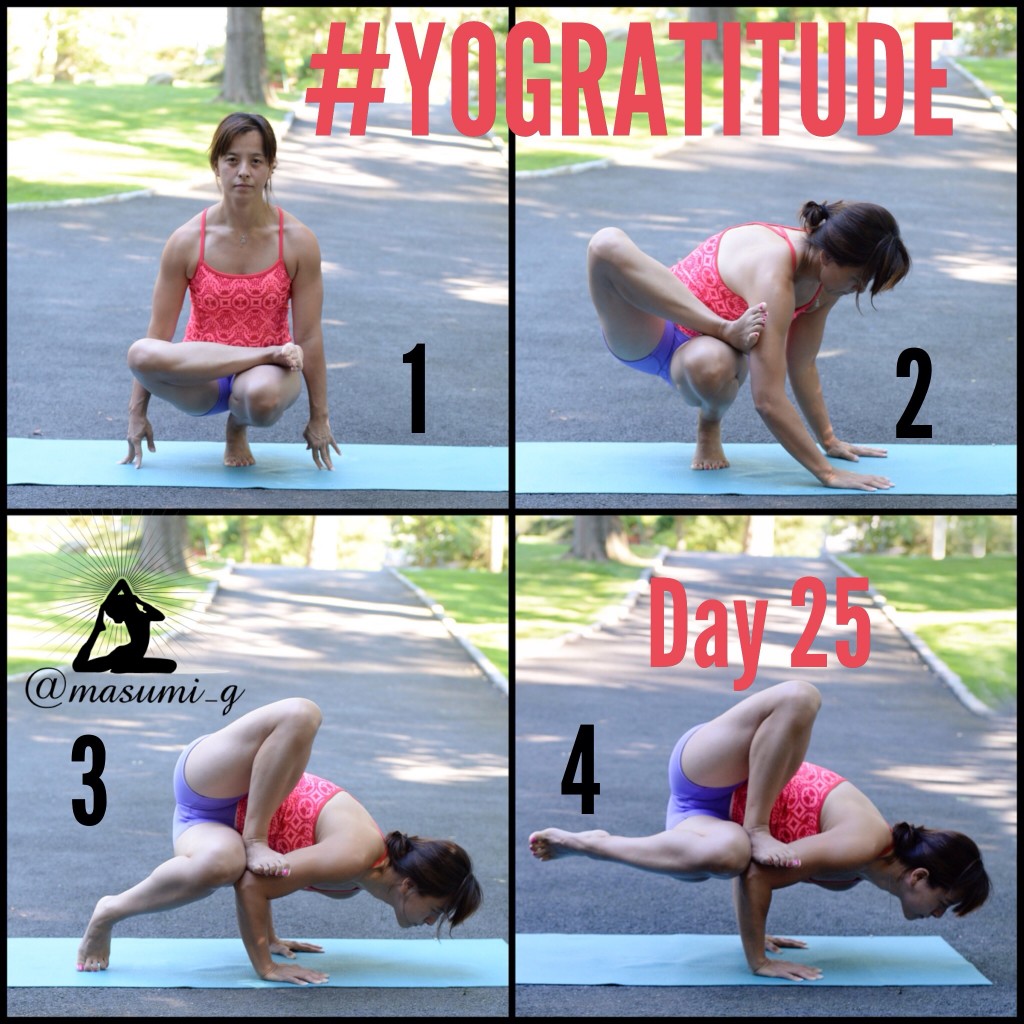 daily pose of the day and posting a photo of their attempt to a designated hashtag. What an overwhelmingly positive experience to watch Instagram yogis grow, inspire, and BE inspired!
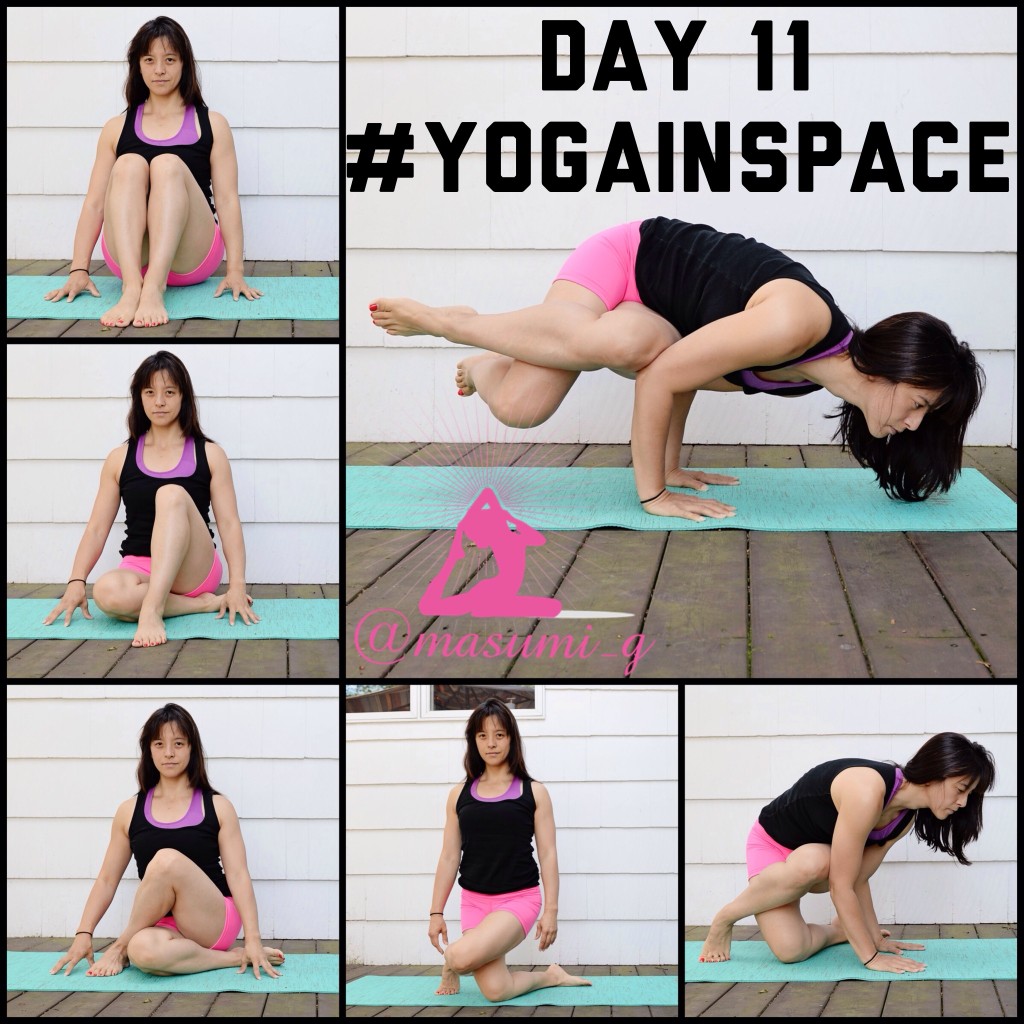 It’s Inspiring
 It Creates a Well-Rounded Practice
 Enjoy the Non-Physical Benefits of Yoga


 If this is your typical morning, I am here to tell you that it can be SO much more. You can change the frenetic pace of your day and start off feeling organized and peaceful. Each morning does not have to be a sudden jolt out of Sleepyland into Caffeineville.