Hanumanasana, or more commonly known as a split, is named after the Hindu deity, Hanuman. In Sanskrit, Hanuman means monkey…so it is also referred to as Monkey Pose. Without getting into too much detail, the story behind this posture is one of love and faith. Hanuman made a giant leap over land and sea…one leg stretching forward, the other leg stretching back.
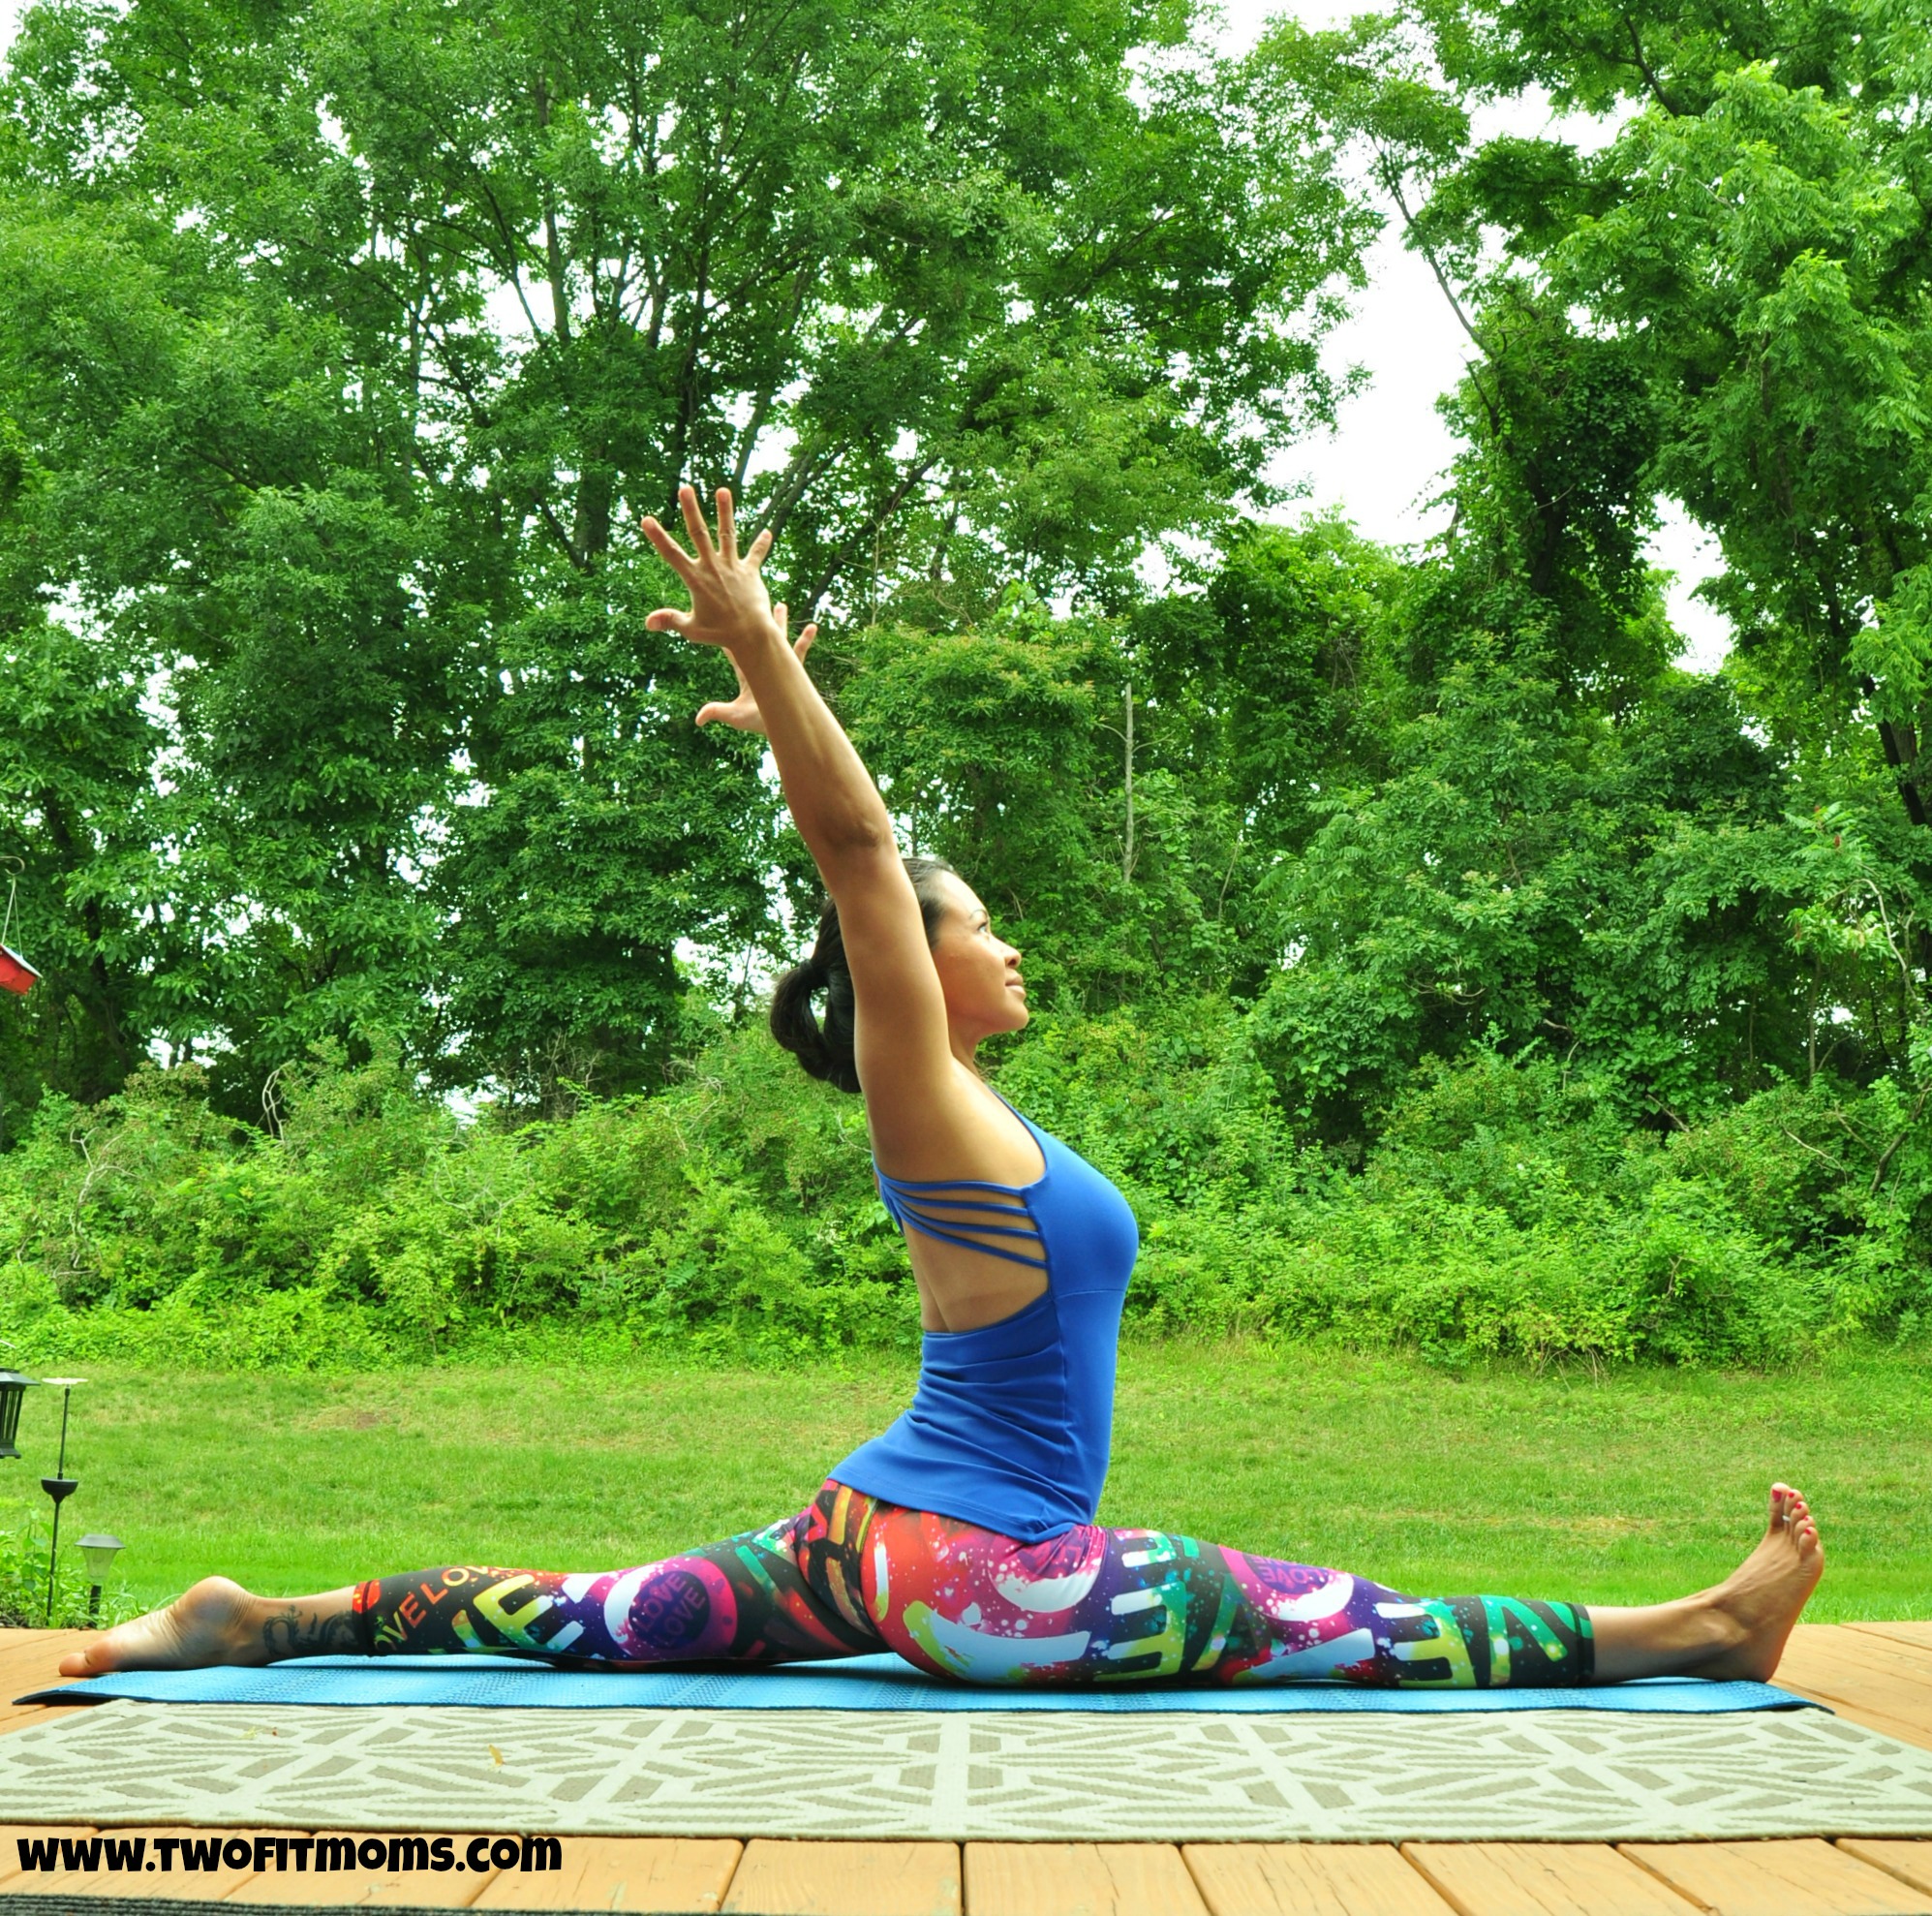
Hanumansana is a very deep posture and can take a lot of time and patience to achieve. Just like the story, it will take love and faith within you to achieve it. Consistently stretching the hamstrings, groin and hip flexors is key. Here are four poses (and some tips!) to help you get into the full posture. Keep blocks nearby to help you on this adventure.
Before beginning, take a few minutes to do a general warm up. I like to do five rounds of Surya A and five rounds of Surya B.
#1: Runner’s Lunge

From Downward Facing Dog, step the right foot in between the hands. Make sure the right knee is stacked over the right ankle, hips are square to the top of your mat and you are on the ball of your left foot. Come onto your fingertips and lengthen your spine forward. Sink the right thigh down to release the groin while lifting the left thigh up; keep your left leg straight. Hold for 30 seconds and then switch sides.
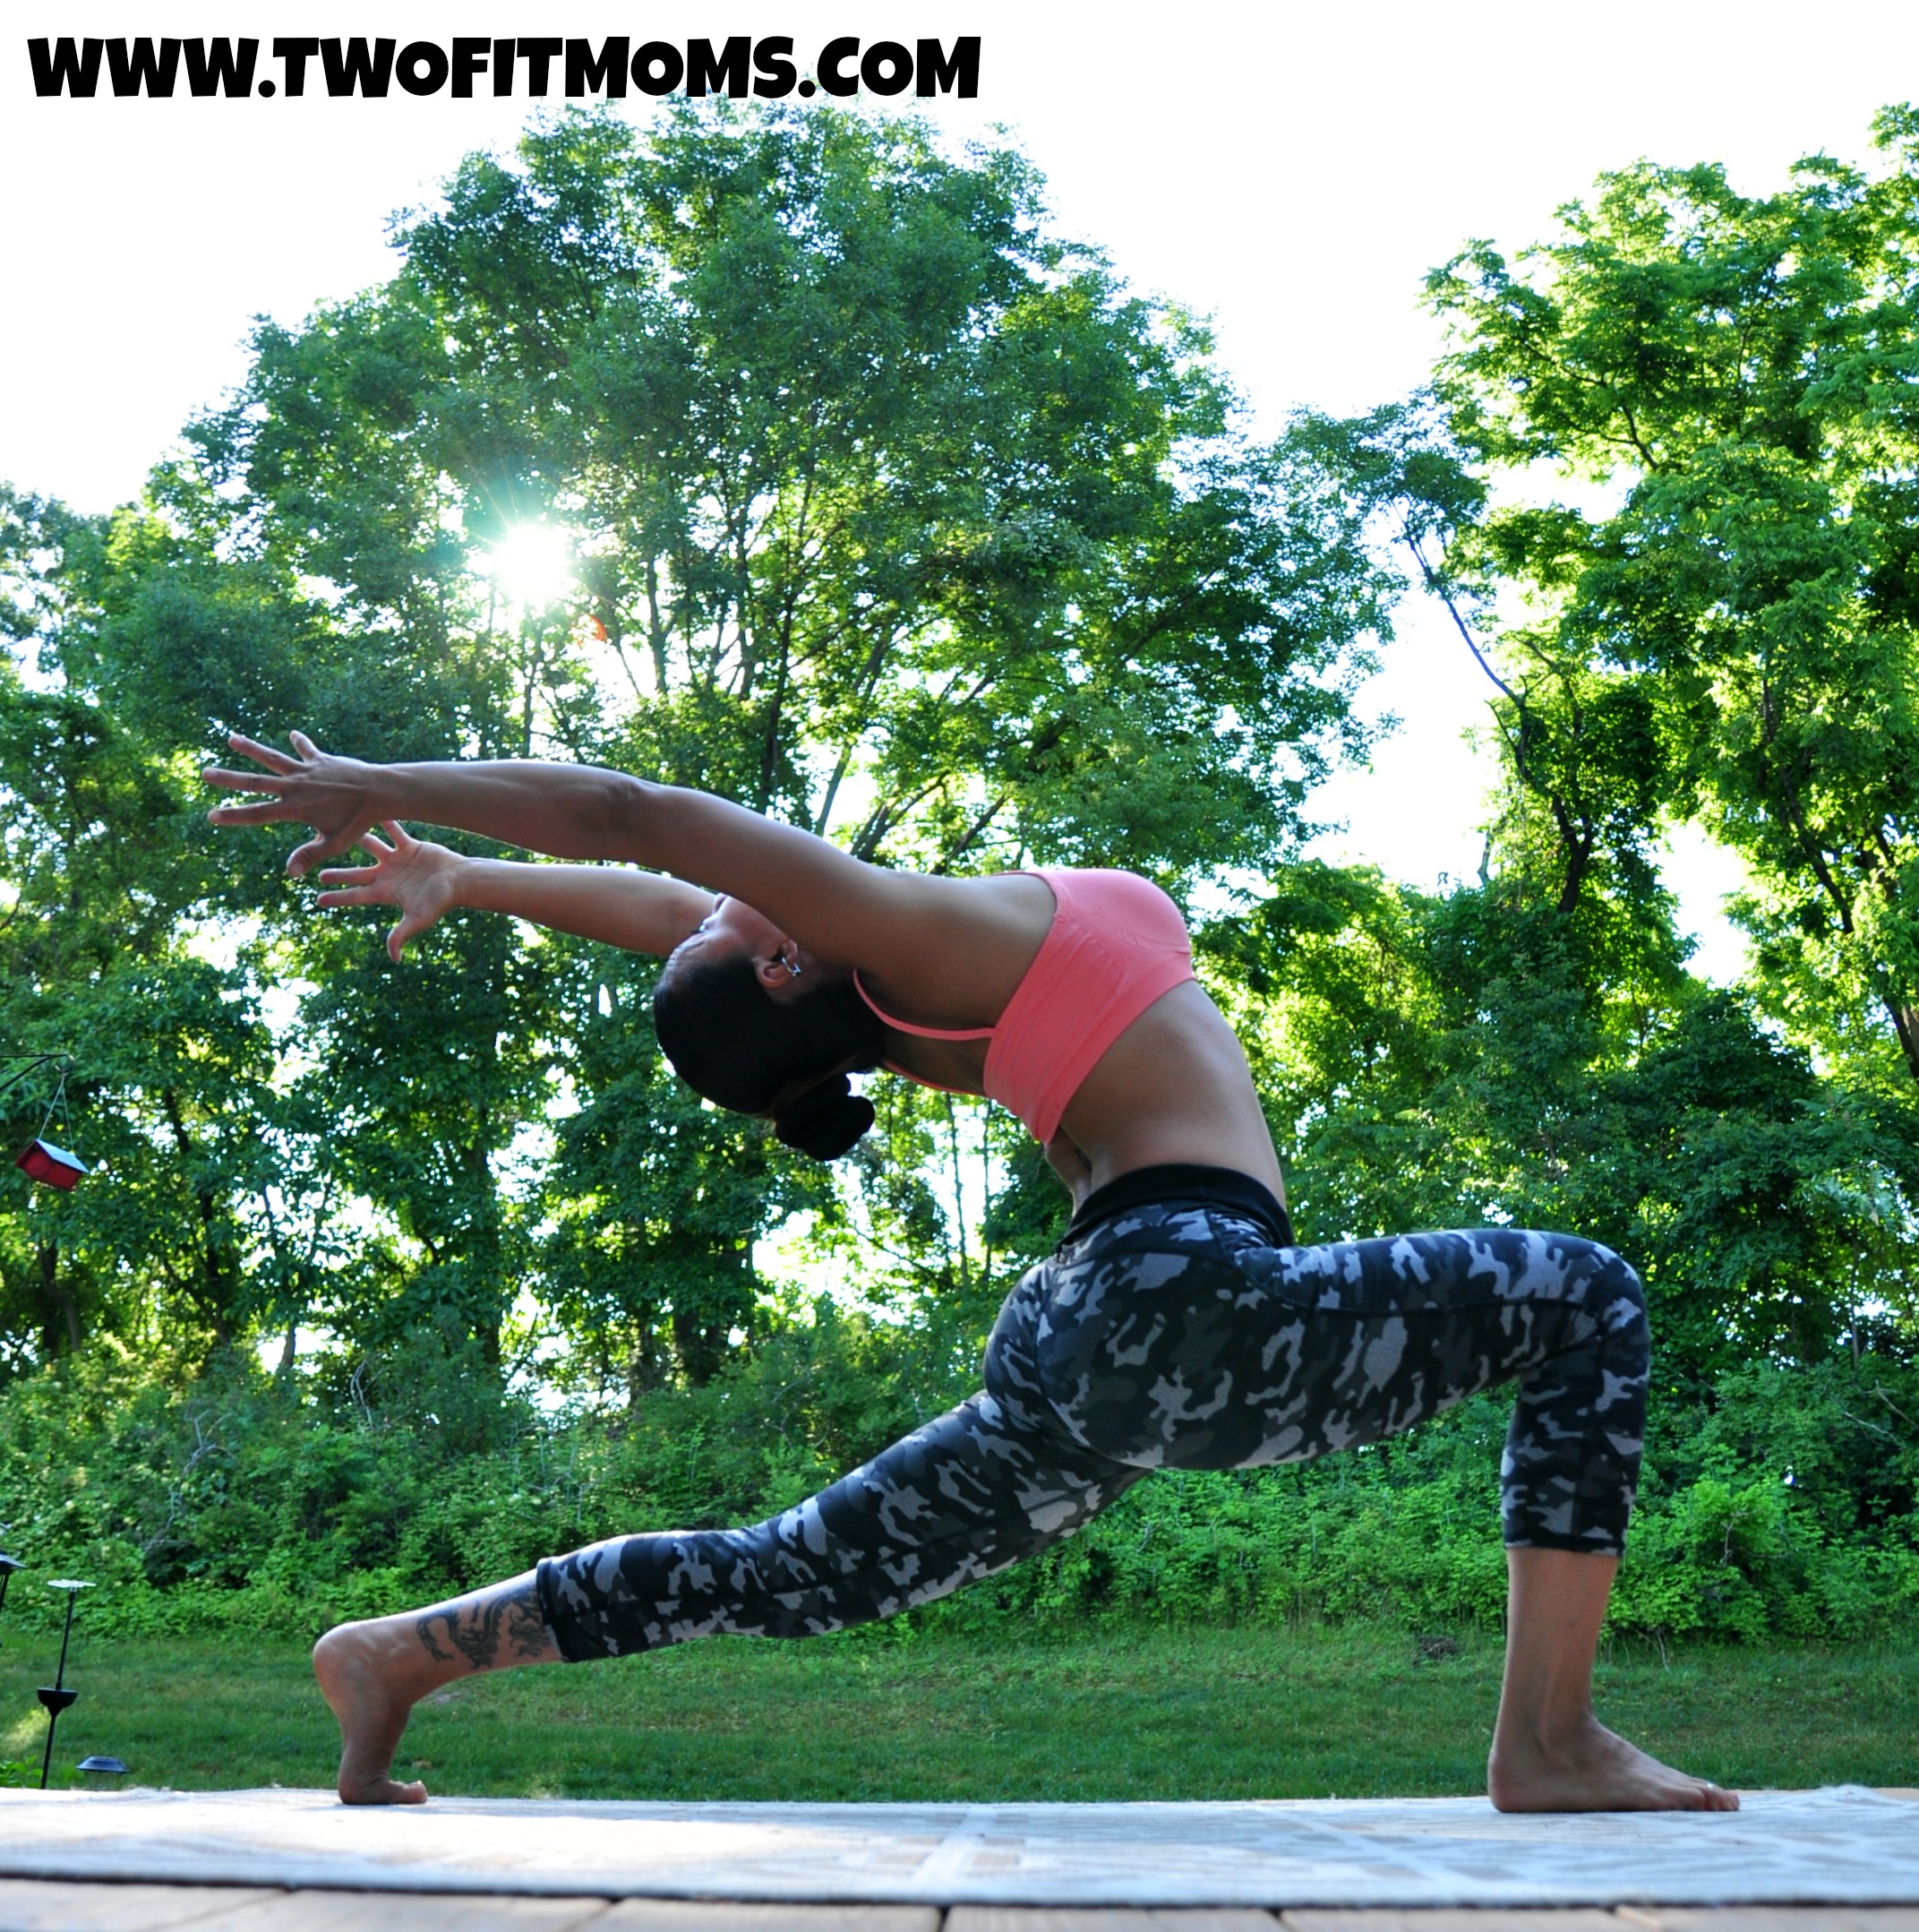
#2: Anjaneyasana
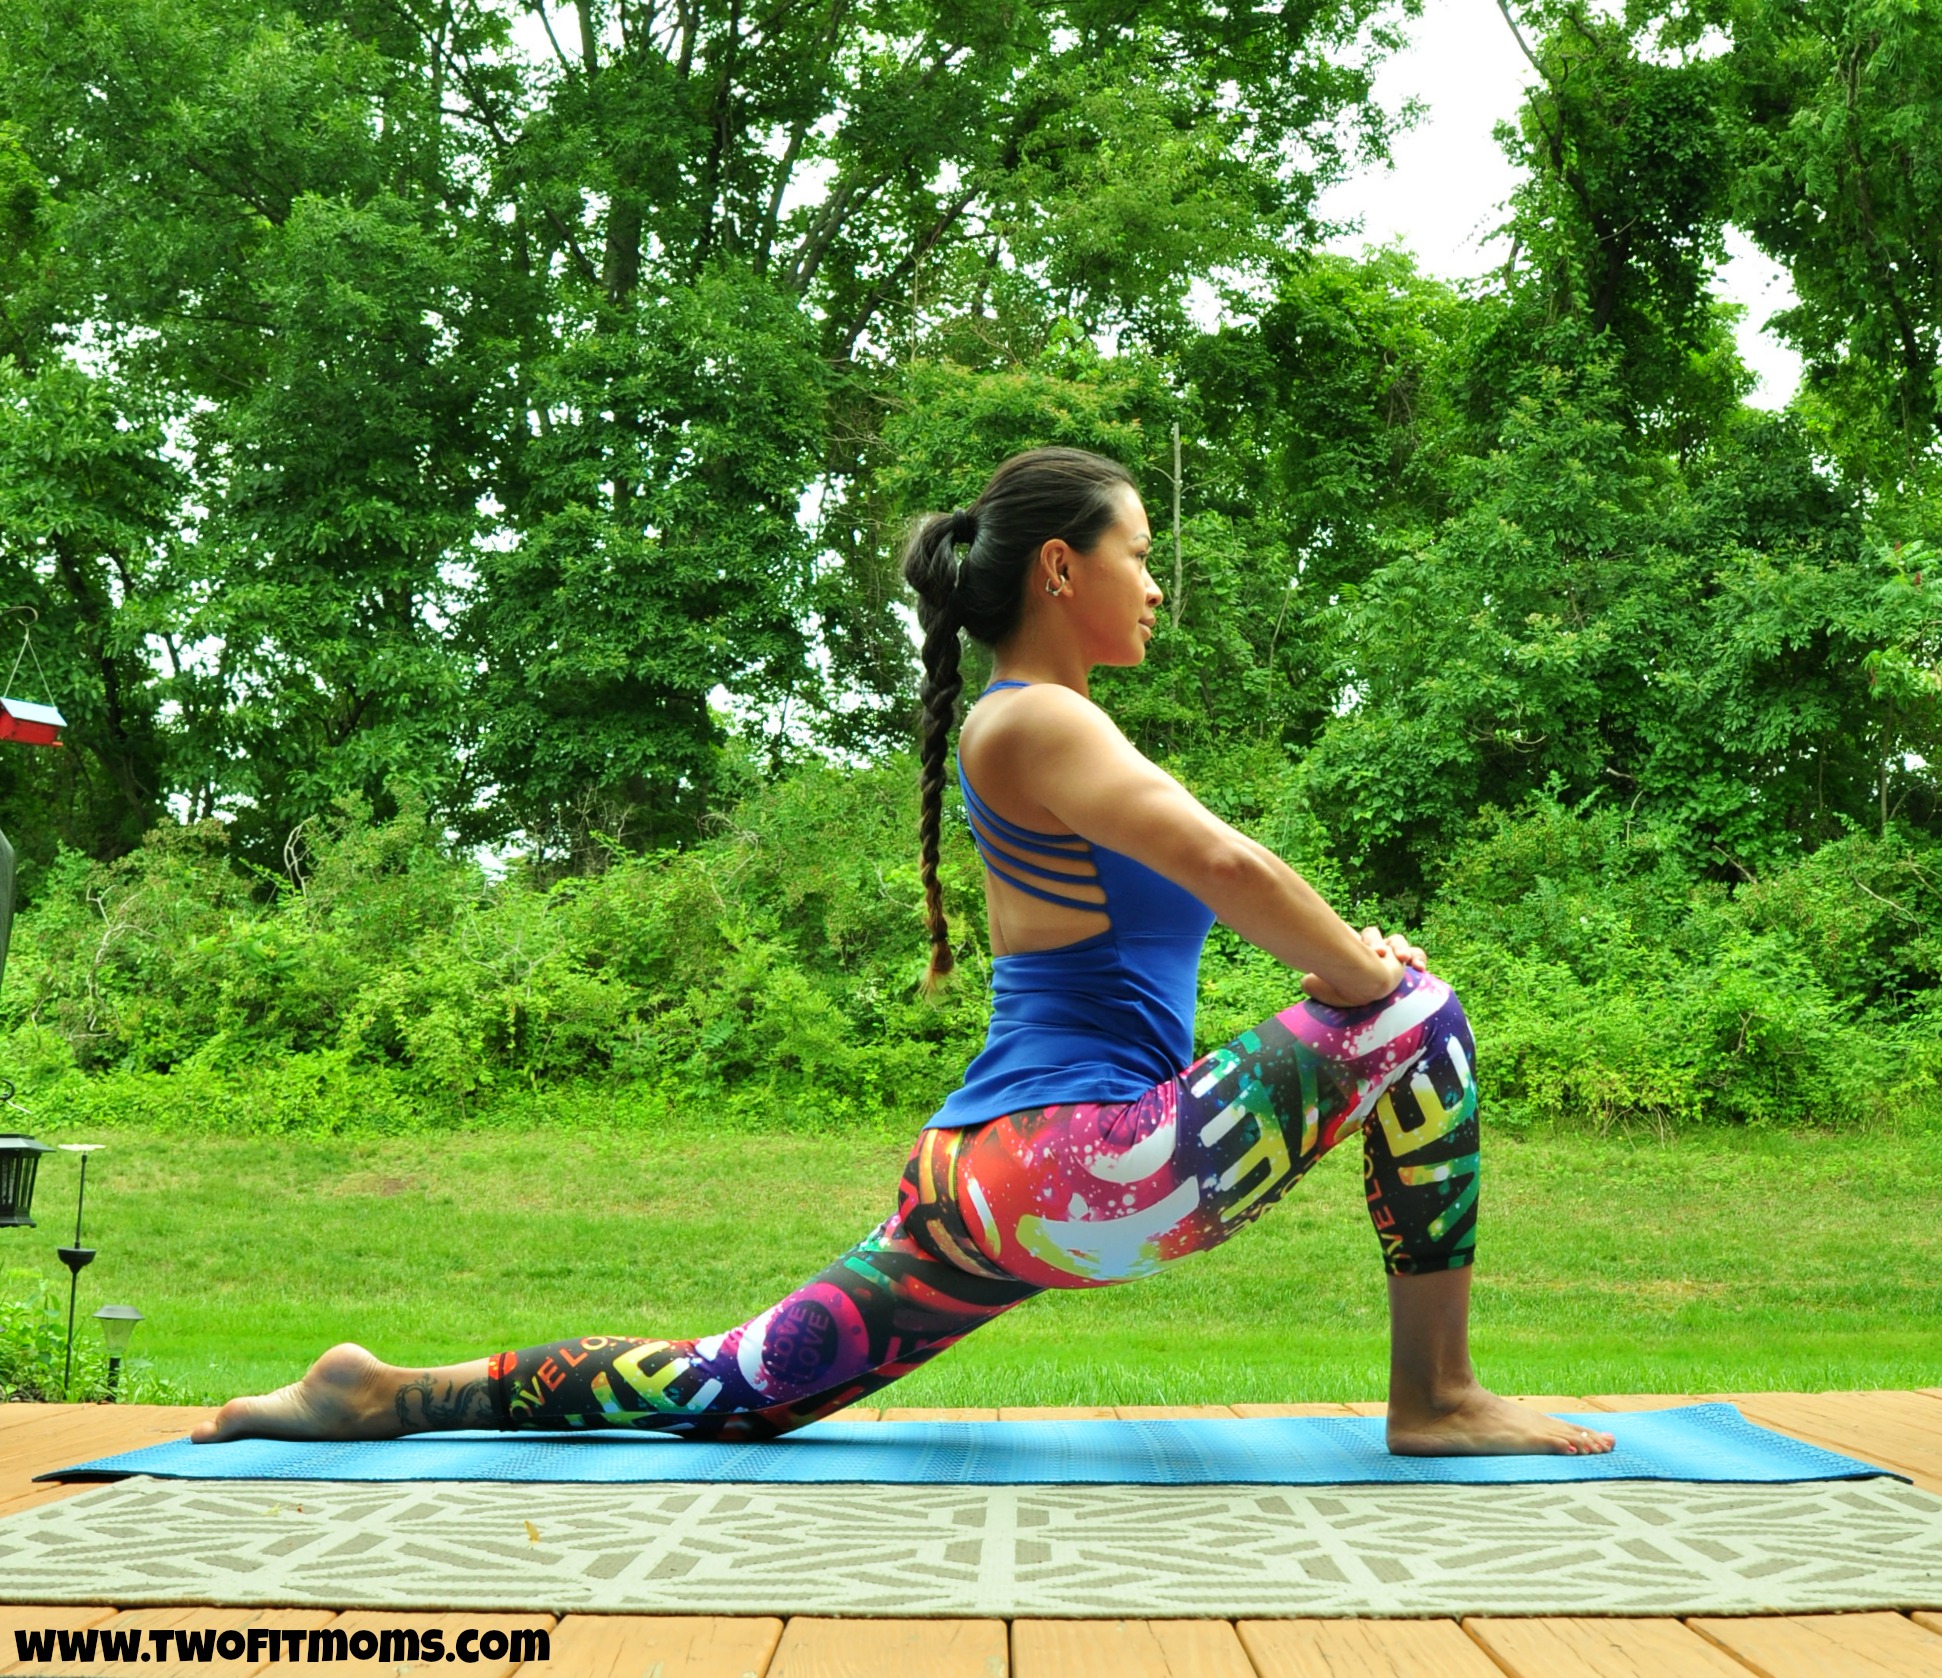
From Downward Facing Dog, step your right foot in between your hands and lower your left knee down. If this bothers your knee, fold up a blanket to add some cushion. Your right knee, once again, stacks over your right ankle. Come up onto fingertips, and scoot the left knee back further and untuck the toes. At this point you should start to feel the stretch in the groin, front of the left thigh and left hip flexor. Bring your hands onto your right knee. Feel free to sink a little bit deeper, but make sure to keep the right heel firmly on your mat. Hold for 30 seconds and then switch sides.
#3: Anjaneyasana Variation
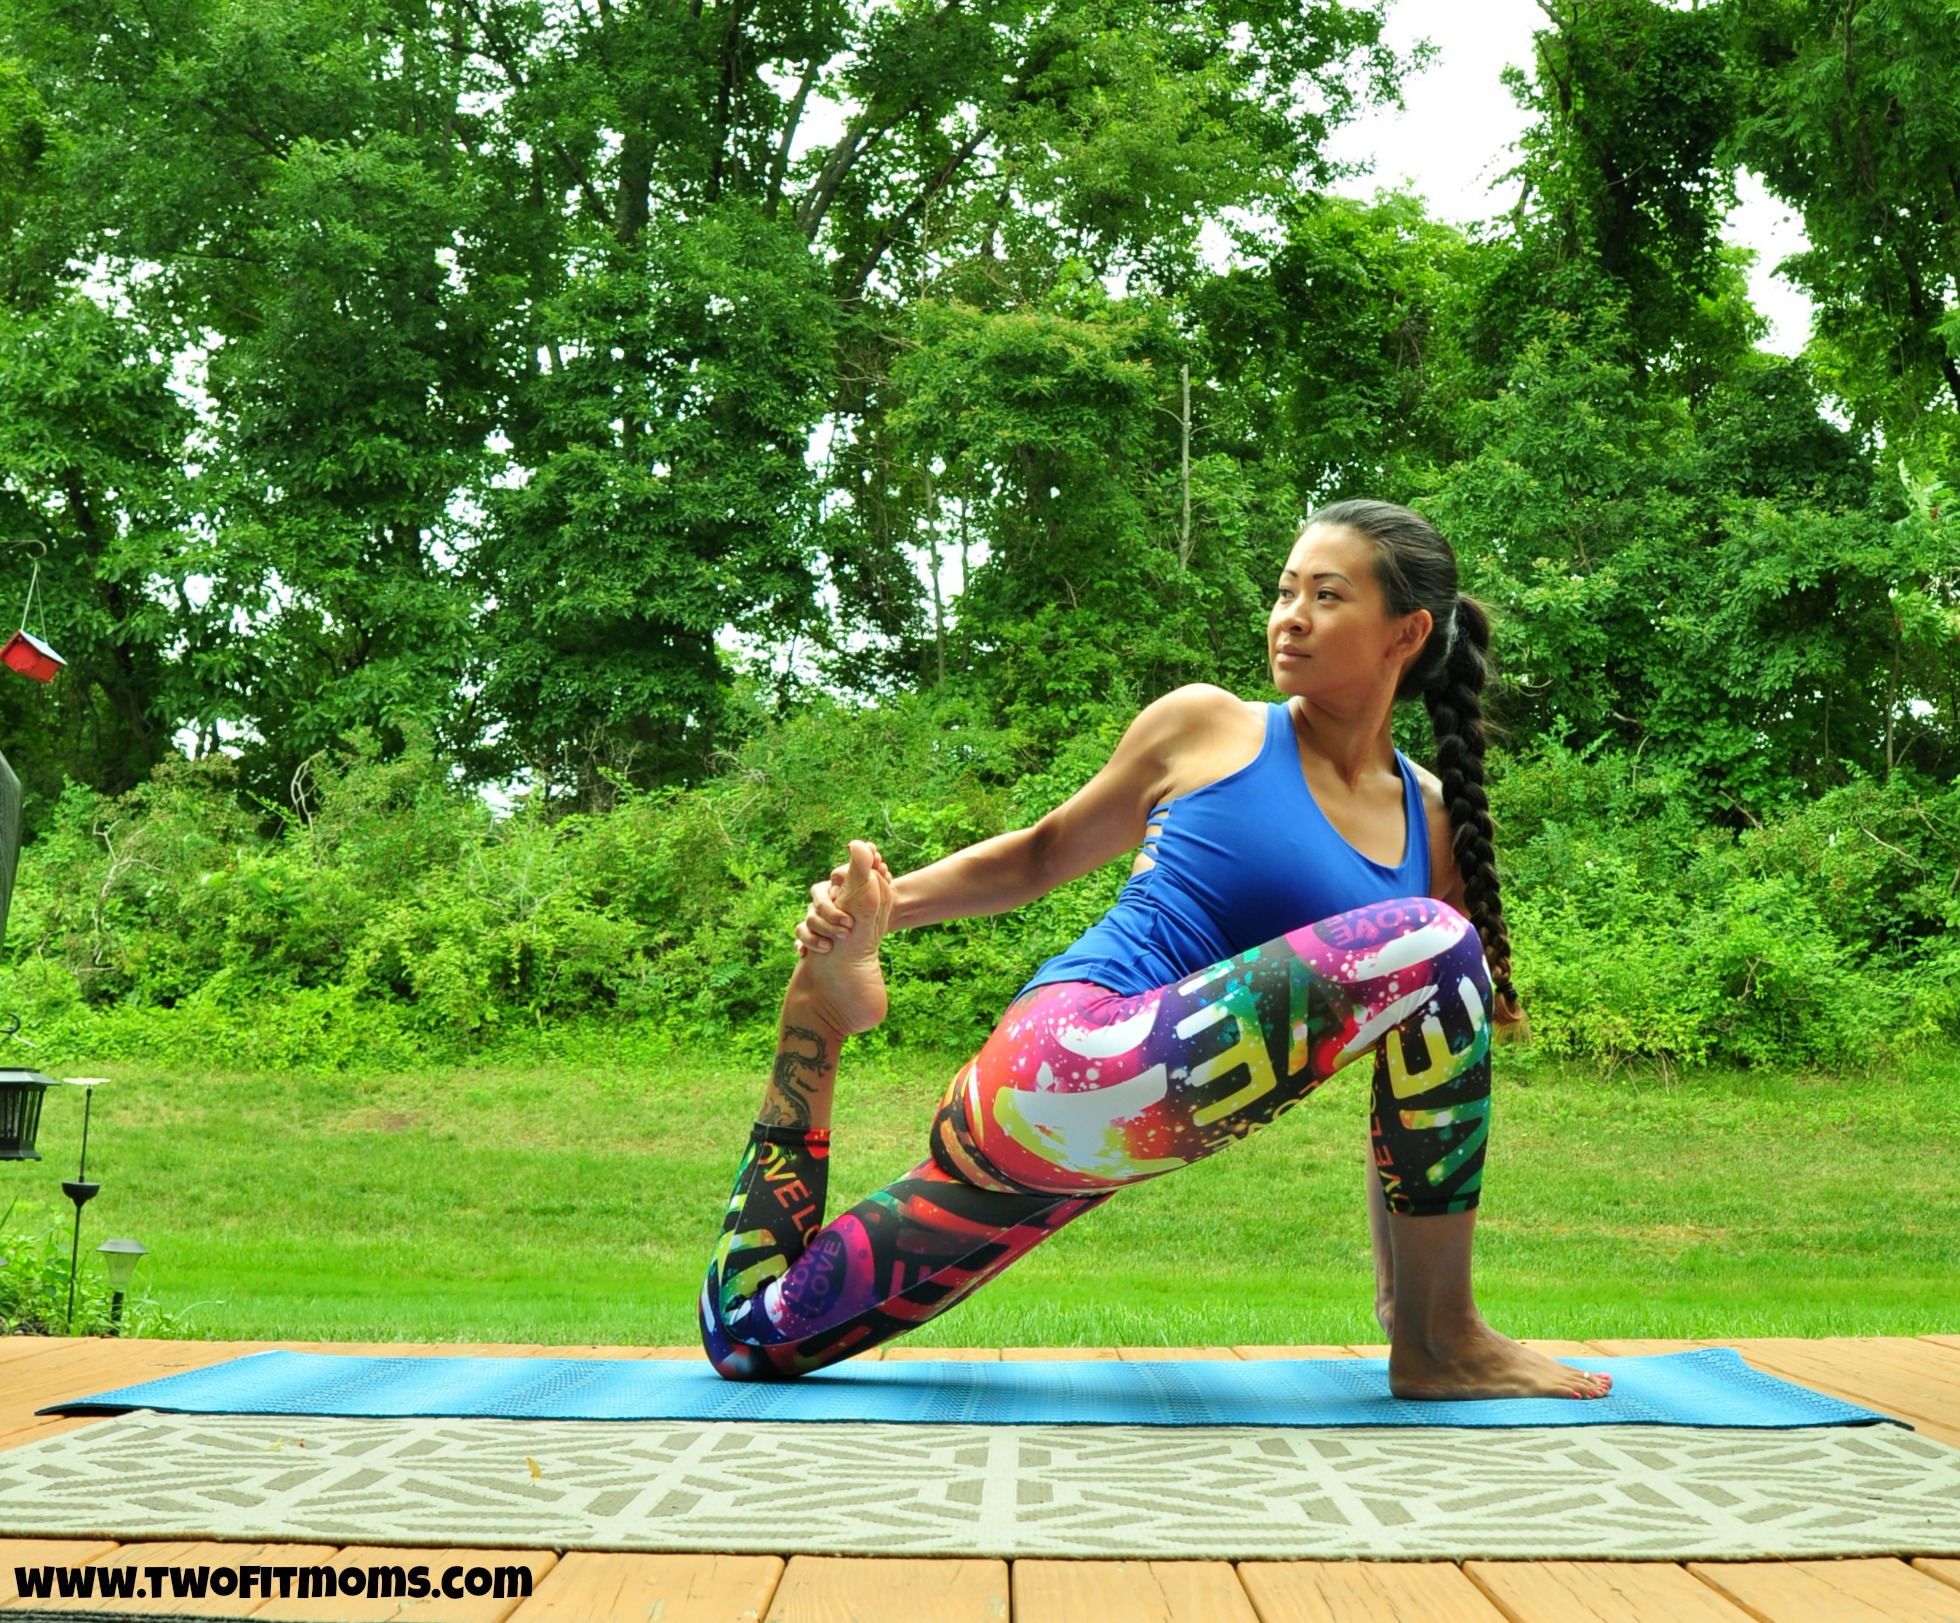
From Downward Facing Dog, step your right foot in between your hands and lower your left knee down. Come up onto fingertips, and scoot the left knee back further. Keeping your left hand down, pick your left foot up, and sweep the right hand back grabbing onto the outside edge of your left foot. Slowly start to pull the foot towards your body stretching out the front of the left thigh. Hold for 30 seconds and then switch sides.
#4: Half Hanumanasana or Half Split
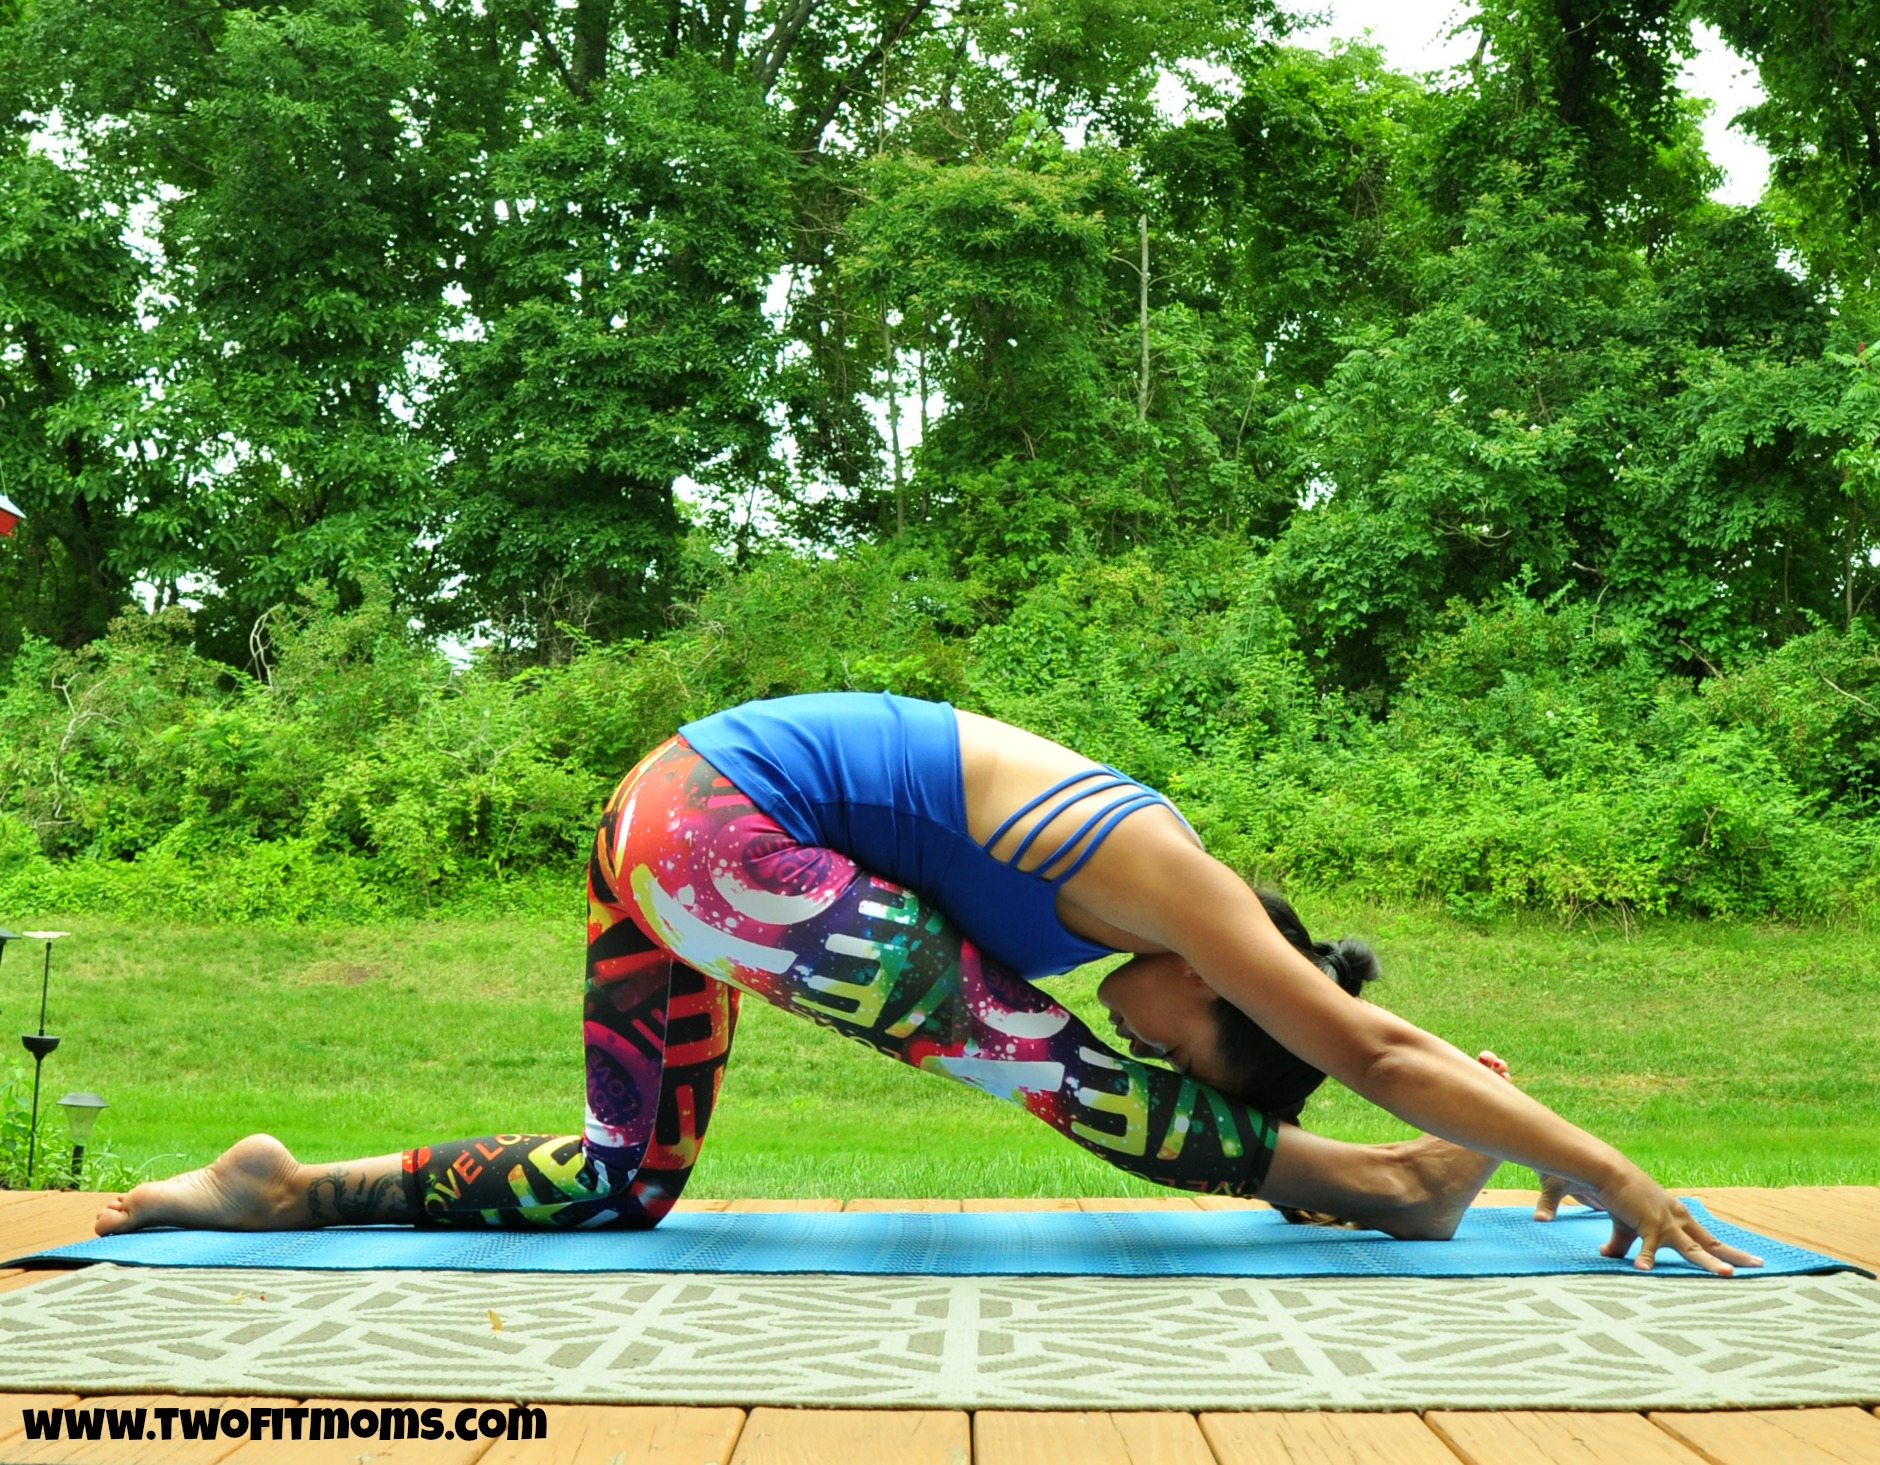
From Downward Facing Dog, step your right foot in between your hands and lower your left knee down. Come up onto fingertips once again, and scoot the left knee back further. Slowly start to shift your hips back so they stack over your left knee. Right leg will straighten as you come onto the heel of your right foot. Keeping the right foot flexed, lengthen your spine and then fold over the right leg by walking your hands forward. Feel free to use blocks under your hands to keep the length in your torso. Keep the hips square. Hold for 30-60 seconds and repeat on the other side.
*** If you feel ready, you can start to work towards full Hanumanasana. You may want to repeat the preparatory poses a few times more to ensure that you are warm.
Hanumanasana using blocks!

From Downward Facing Dog, step your right foot in between your hands and lower your left knee down. Come up onto fingertips, and scoot the left knee back further. Slowly start to shift your hips back so they stack over your left knee. Right leg will straighten as you come onto the heel of your right foot. Keep your back toes tucked. Pushing into the ground, lift up the left knee and start to wiggle the knee back further moving towards your splits. Try to keep your hips as square as possible…Keeping the back toes under will help achieve this. Once you get to your deepest expression, place a block underneath the upper right thigh. BREATHE! Keep your hands down on your mat or on blocks, or lift them up. Hold for 30 seconds, if possible, continuing to take deep breaths. You should feel a deep stretch but no pain. If you have any pain, back off a little bit! Slowly release by planting the hands alongside the upper right thigh, curling the back toes under and moving back into your Half Split. Repeat on the other side!
Try moving towards the full expression two more times. You may get a little bit deeper each time.
Be PATIENT and listen to your body!
XOXO


 Yes, we want you to join us in our daily quest for wellness, but when life gets in the way, and it will, we want you to know that it’s okay. You are normal. You can recover. Don’t throw in the towel. Just acknowledge that life isn’t perfect, and get right back on track the next day. “Healthy” does not mean perfect.


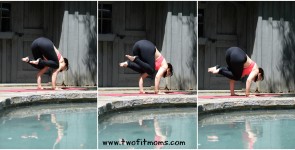
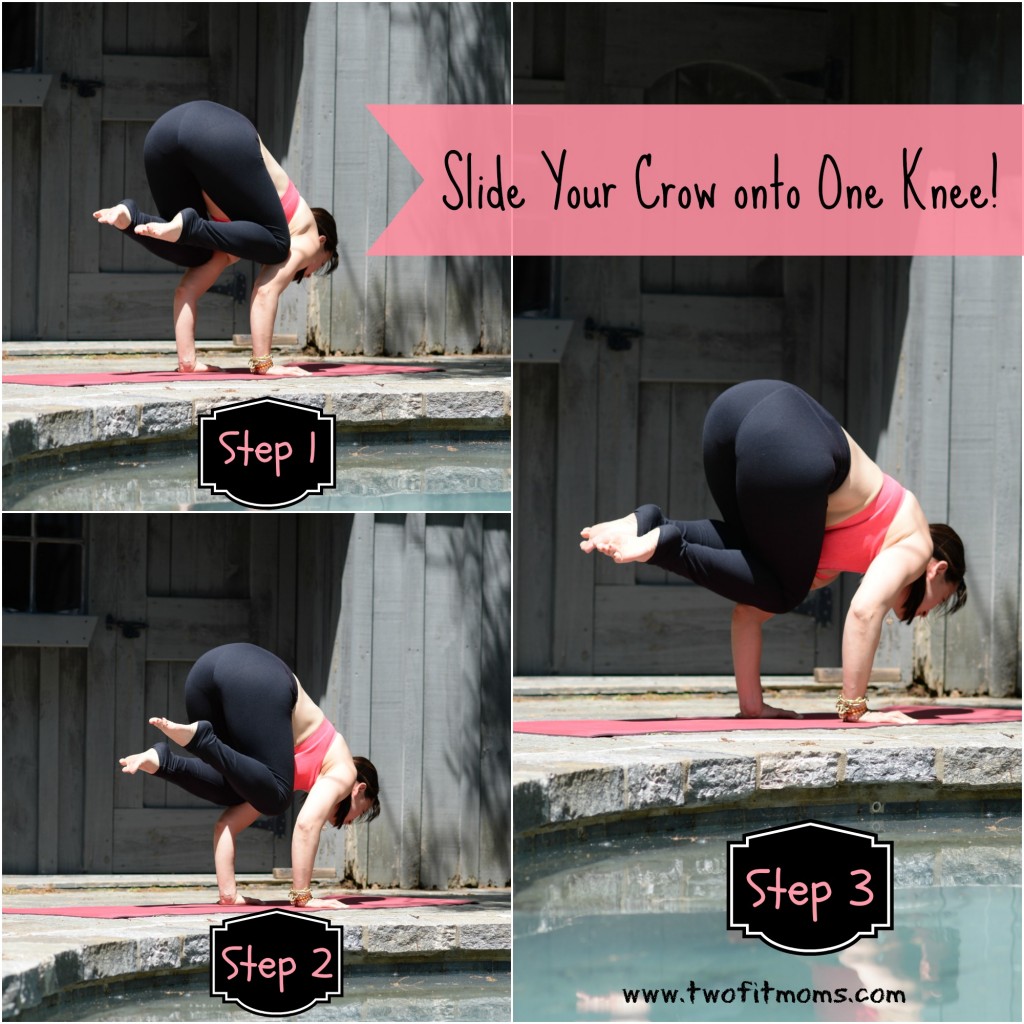
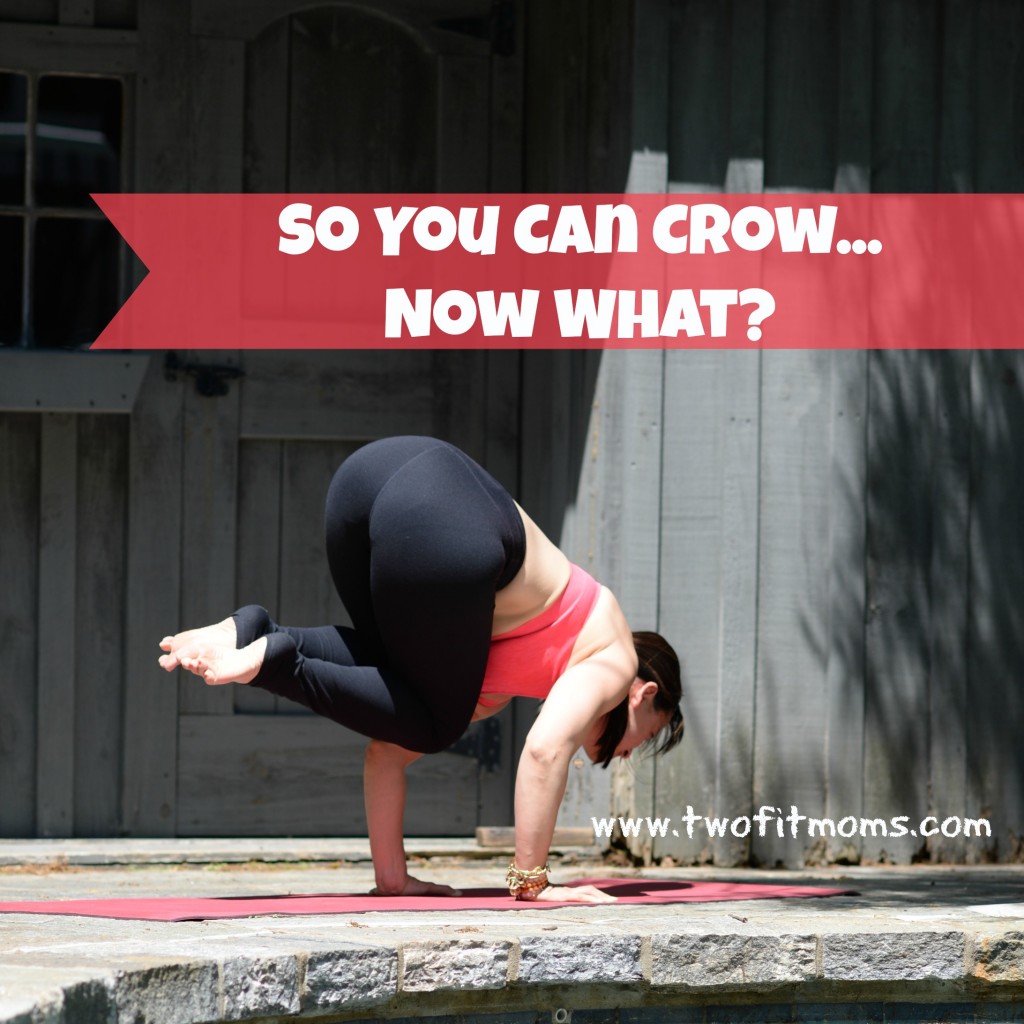 Once you are able to balance in crow pose for 4-5 breaths, you are ready to add an element of difficulty. Rather than introducing you to one-legged crow (eka pada bakasana), which is the typical progression, I recommend trying a slightly less challenging, core-engaging crow exercise, which I call “sliding crow”. The mechanics of this exercise are similar to one-legged crow in that you must engage your core muscles and lift one knee off of your tricep, but it will feel less intimidating because your knees will not move more than an inch or two off of your arms.