 Kale is so mainstream now, you can find it anywhere and on most menus. In fact, my brother raved about a kale salad he had recently at an upscale chain restaurant, and since we are all about kale, I decided to re-create it. If you search the Internet you will see that others have tried their hand at re-creating this salad. But, with some educated-guessing, we came up with our own version!
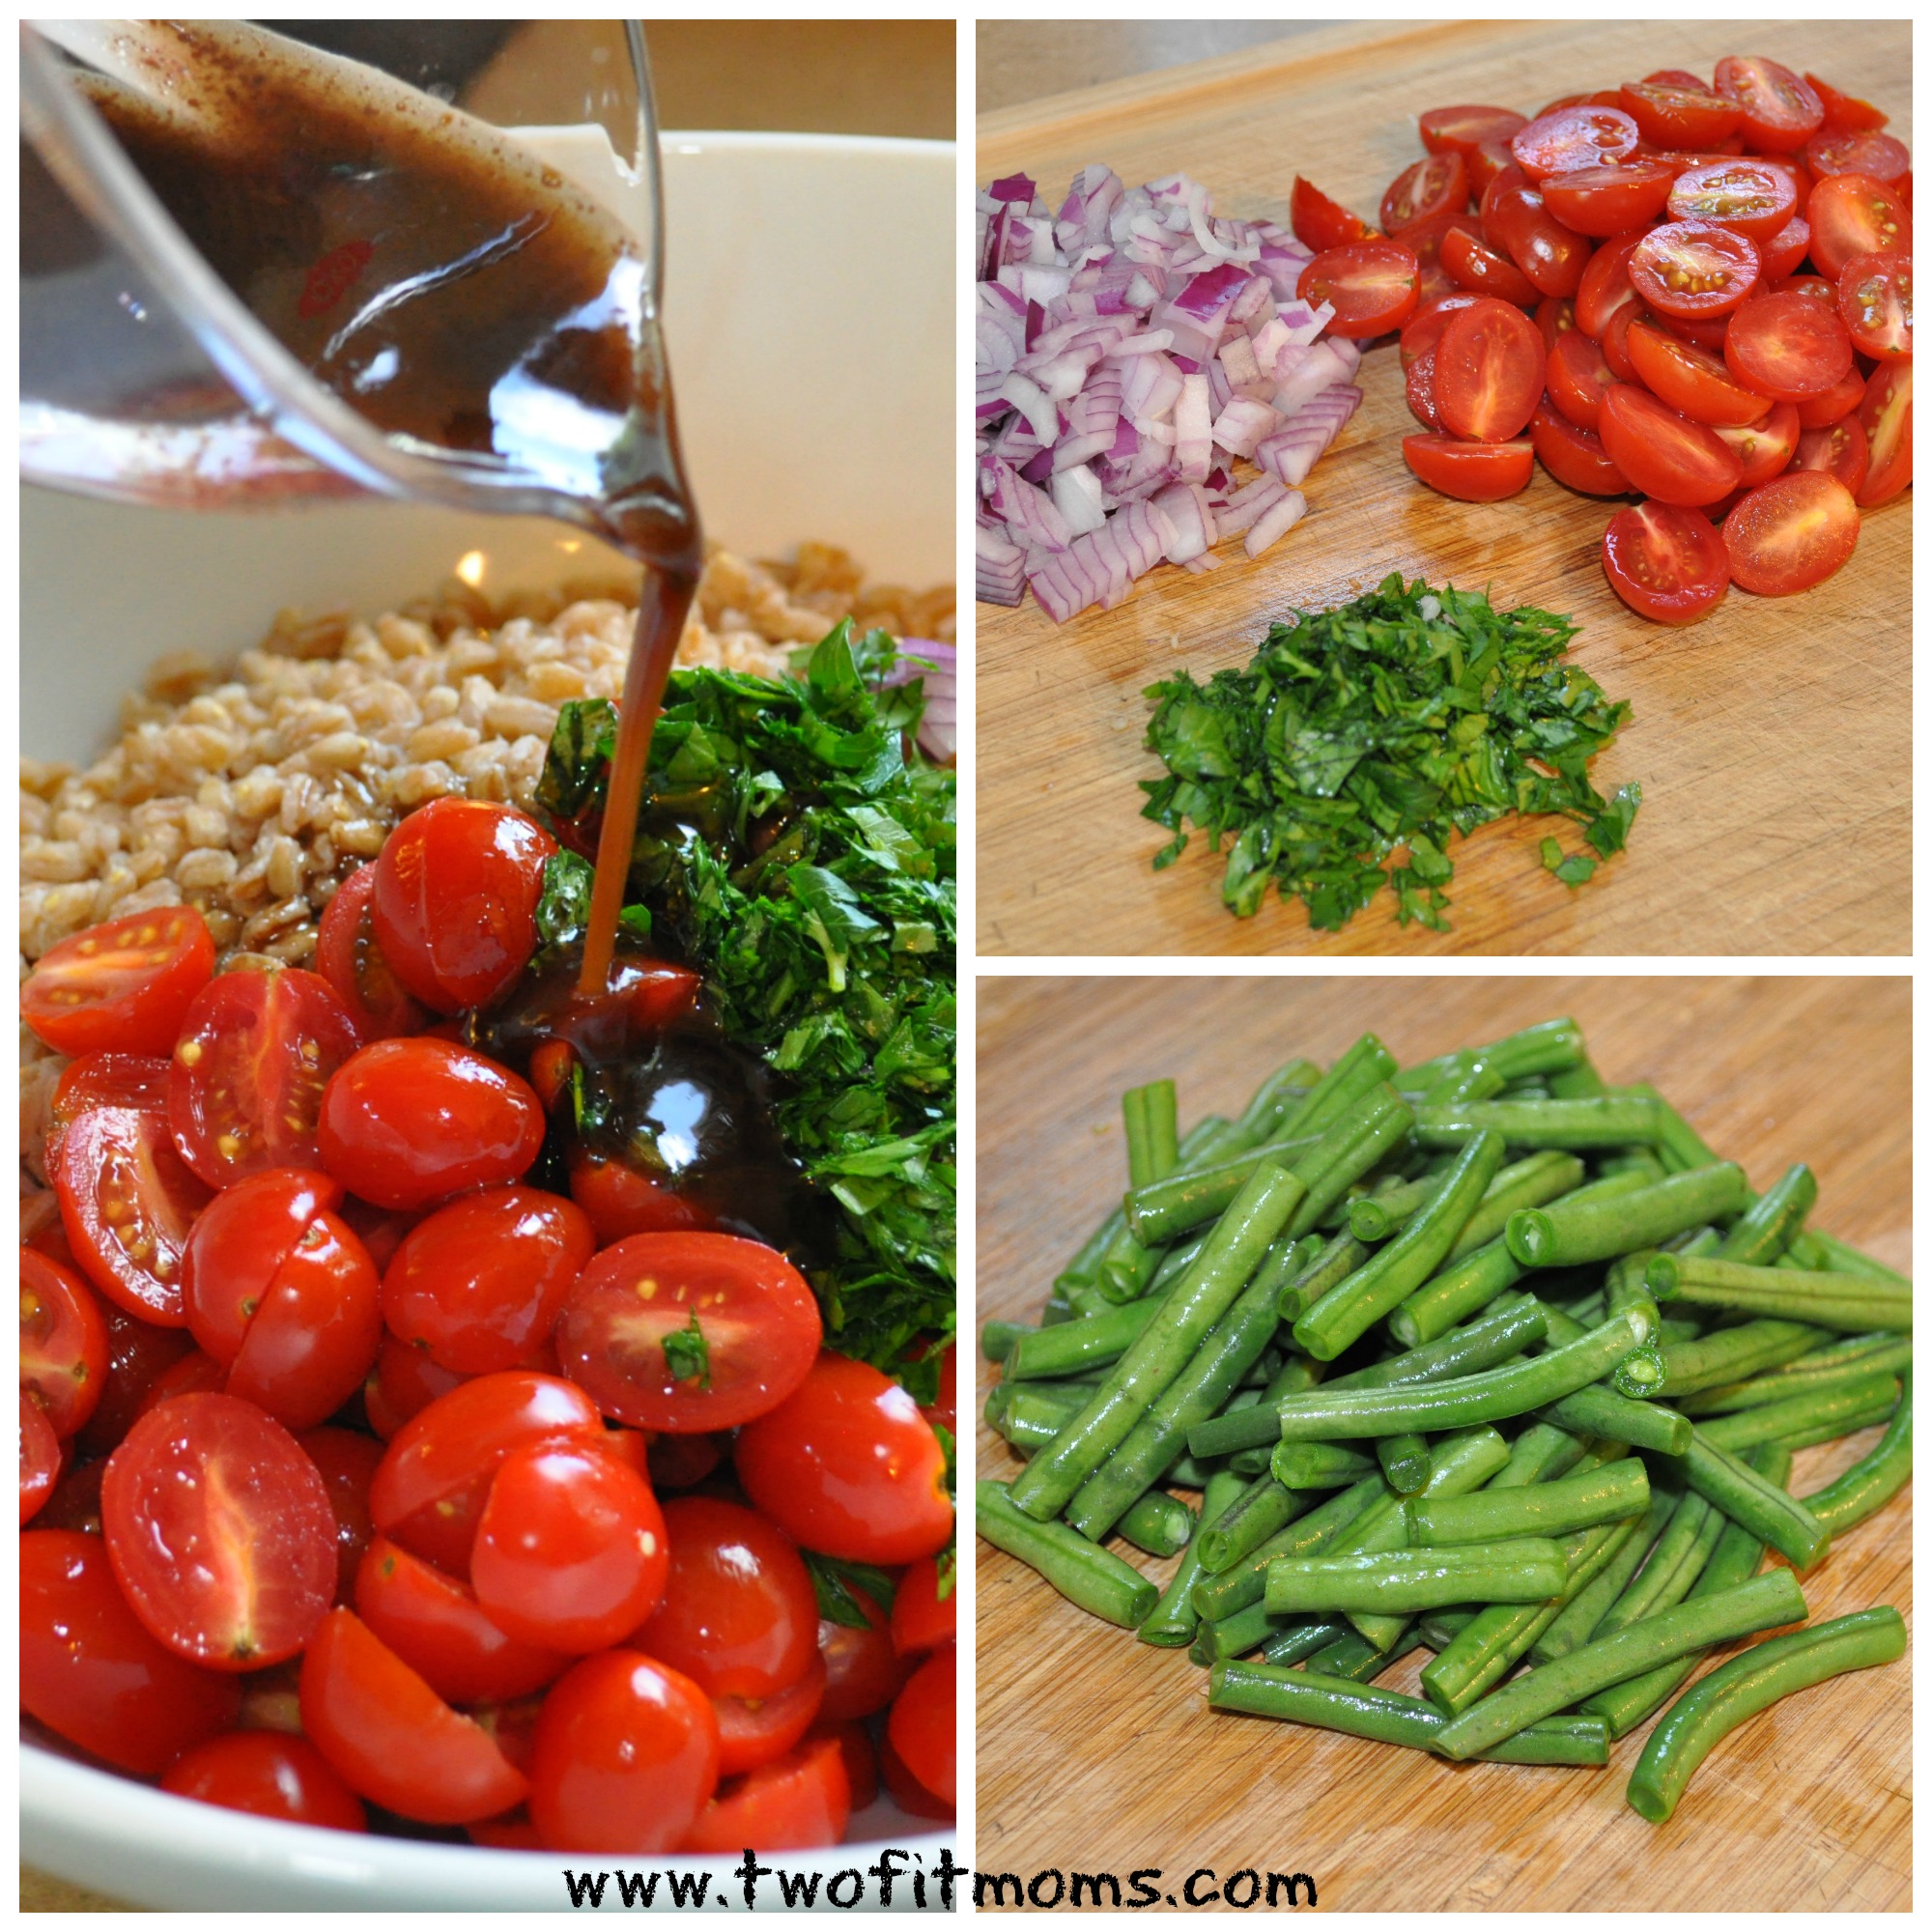
Personally, I think all salads should be chopped. I think they just taste better and the flavors meld together better. And, when eating Kale raw, cutting it every-so-finely makes a big difference! It creates a much lighter consistency to what can be a tough green. All of the vegetables in this salad are sliced finely — what we call chiffonade. In fact, earlier this year we offered tips on preparing your greens which showed you this chopping method.
This is a great summer salad, and I bet it will convert your non-kale-eating friends into kale-eating junkies.
Enjoy!
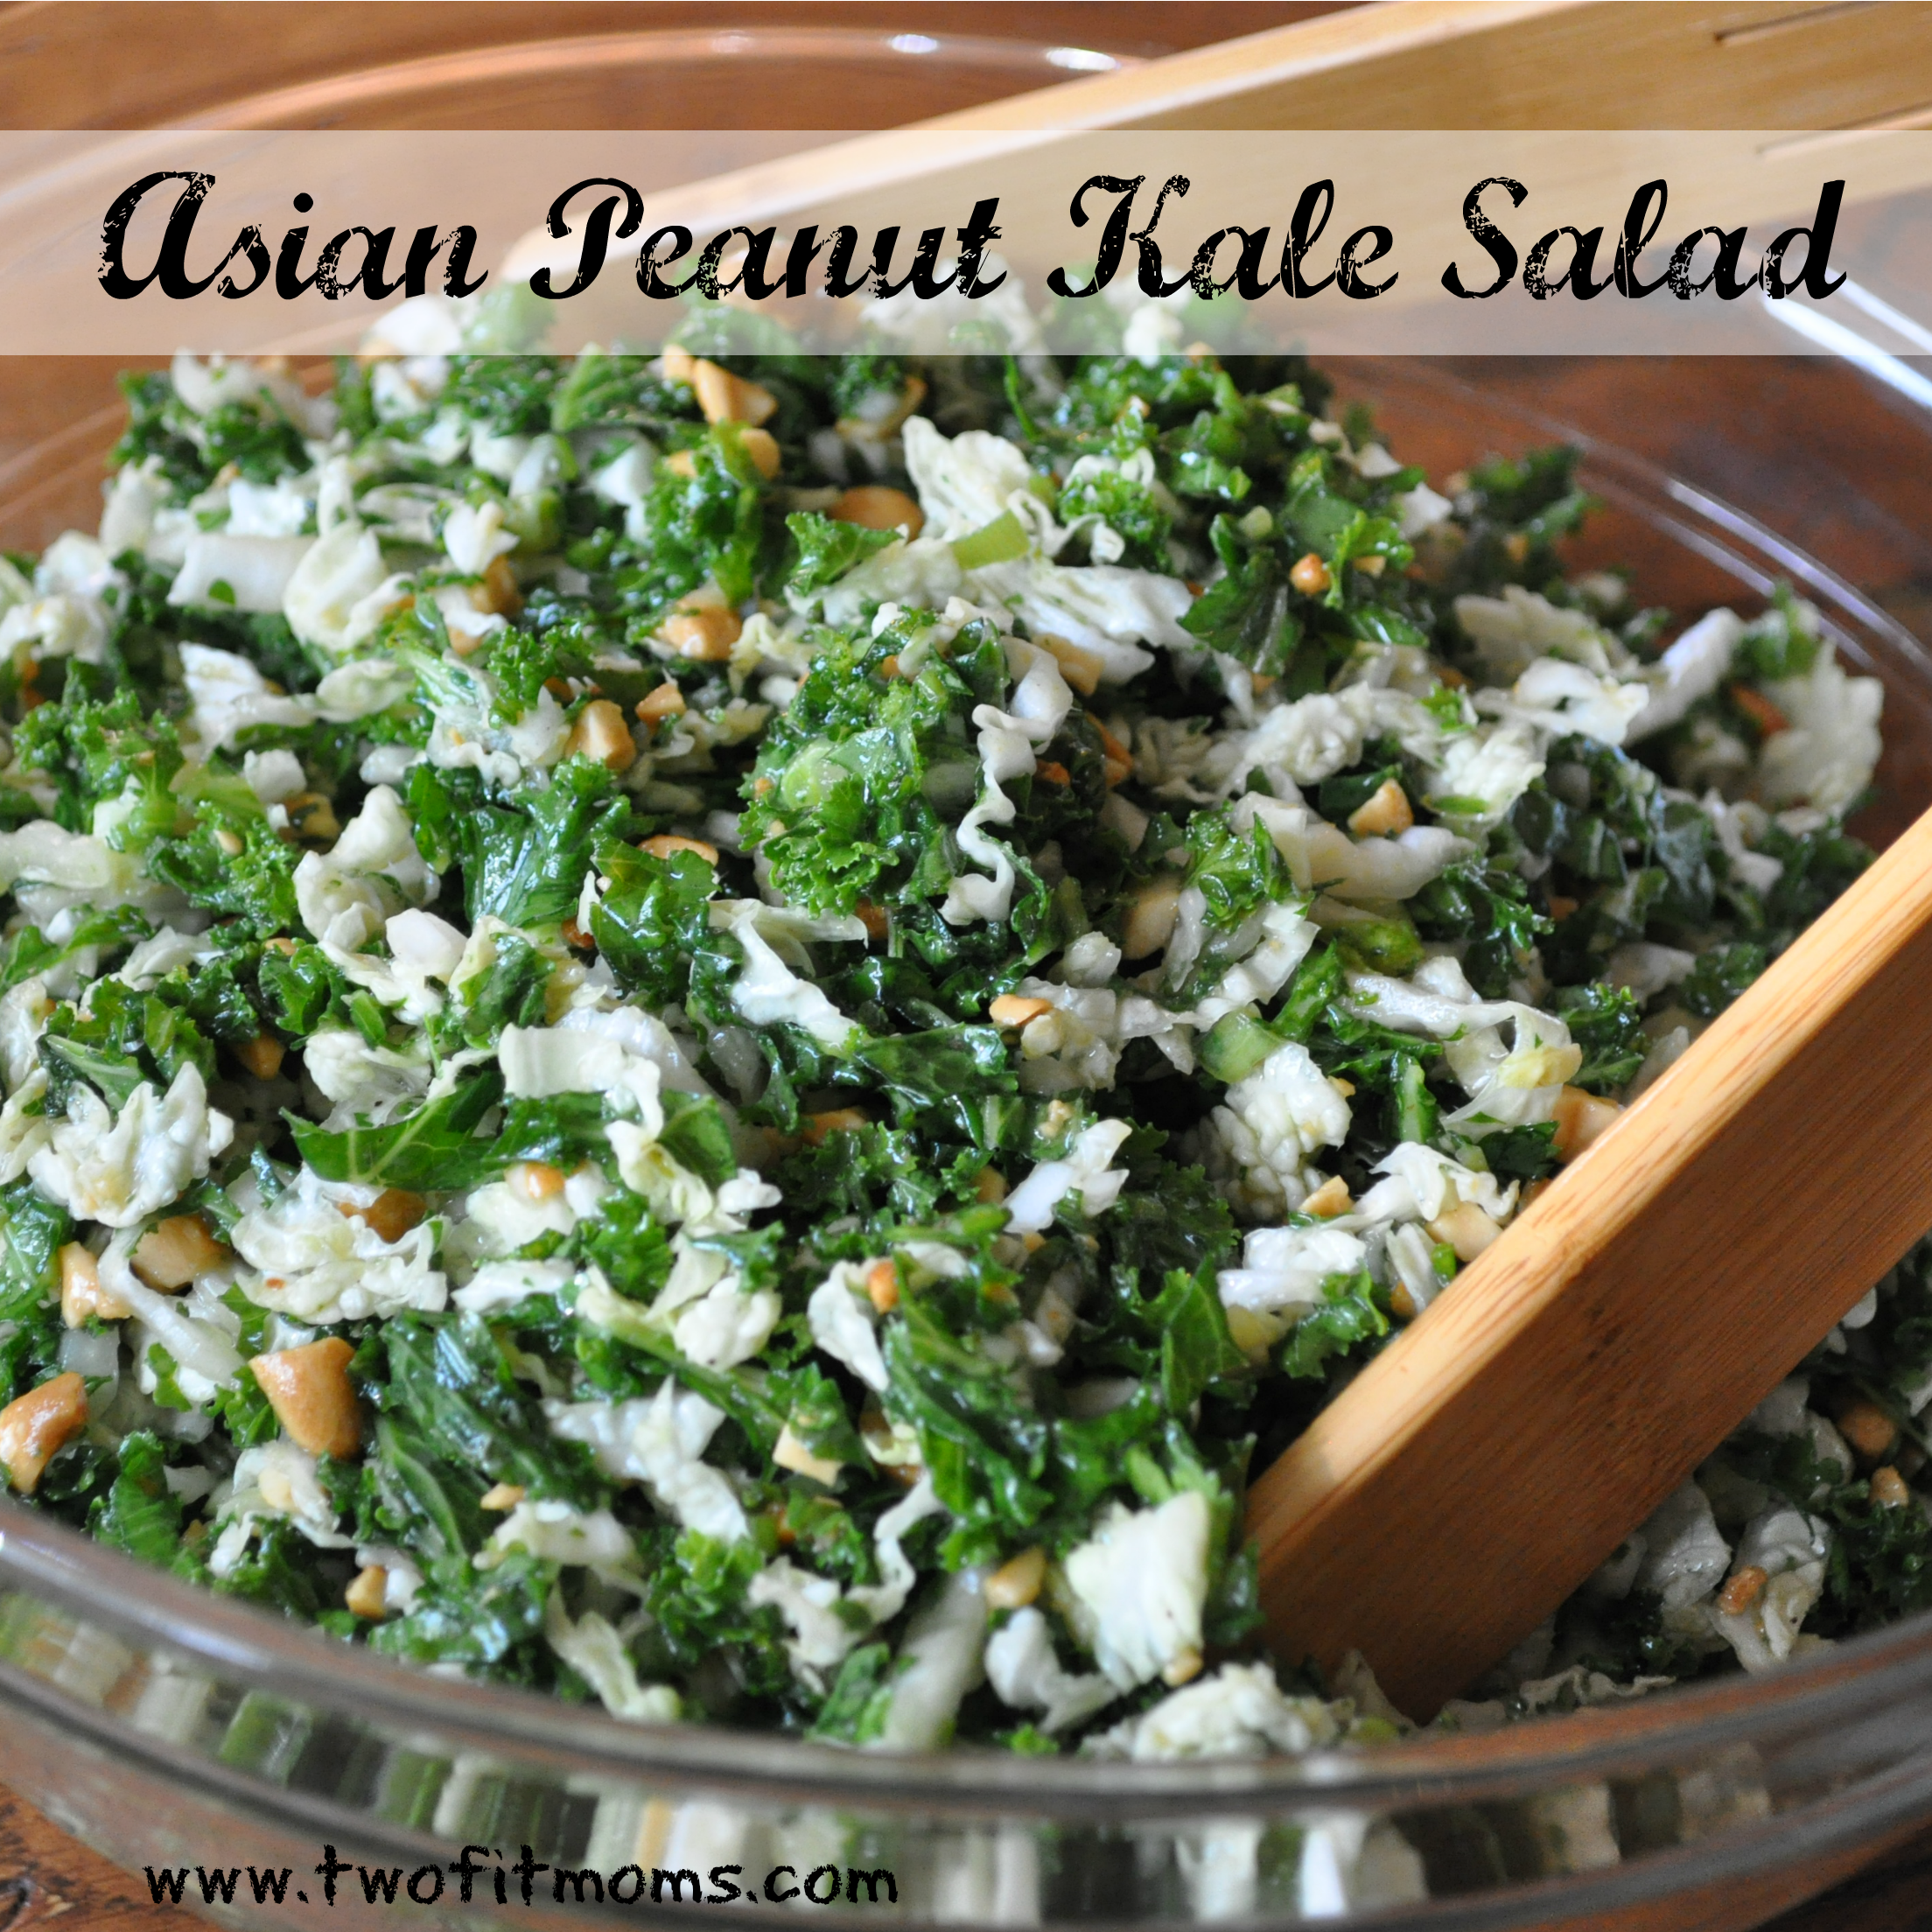
Asian Peanut Kale Salad
This is a hefty size salad and will feed a crowd.
For the salad:
1 bunch of kale, washed, ribs removed and cut chiffonade (approximately 7 cups)
1 medium sized Napa Cabbage, bottom removed and cut finely (approximately 4 cups)
1/2 bunch of cilantro, finely chopped (approximately 1 cup)
1 bunch of scallions, finely chopped (approximately 1 cup)
20 leaves of mint, finely chopped (approximately 1/2 cup)
3/4 cup chopped roasted peanuts
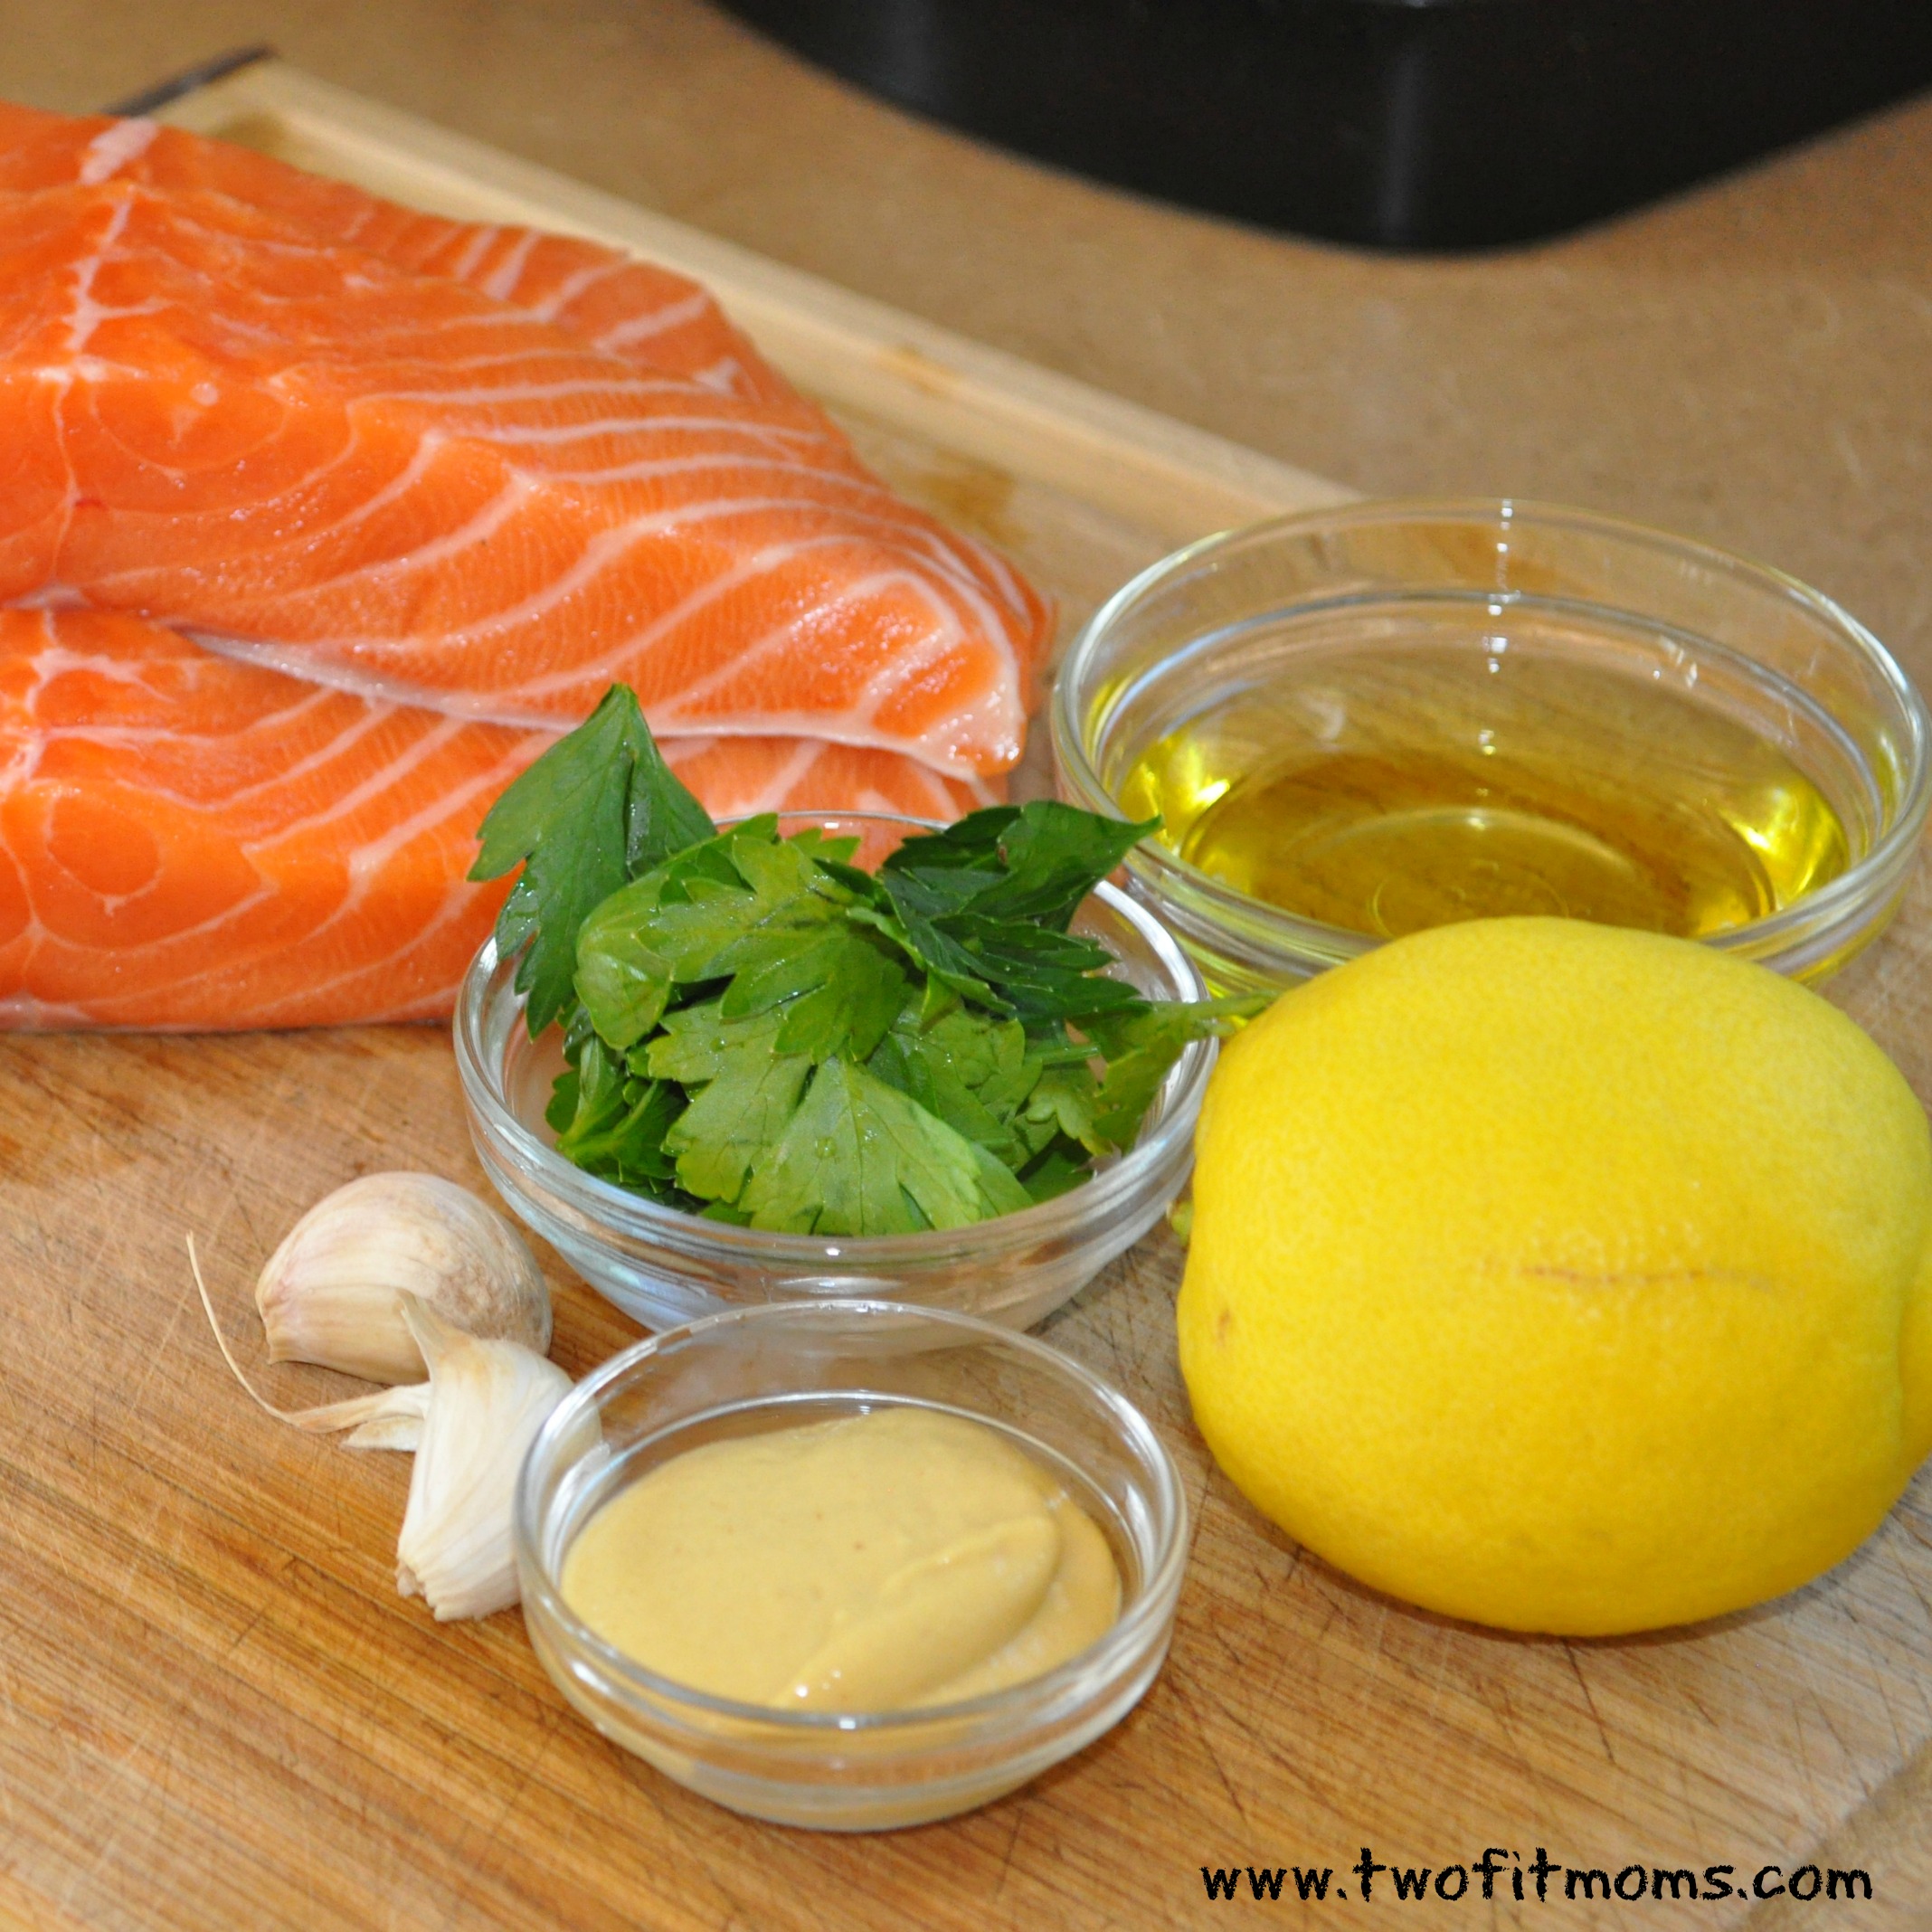
For the dressing:
3/4 cup of roasted peanut oil
1/4 cup of rice wine vinegar
juice of 1 lemon
2 tablespoons of honey
1 tablespoon of Dijon mustard
1 tablespoon of soy sauce
1/4 teaspoon of garlic powder
salt and pepper to taste
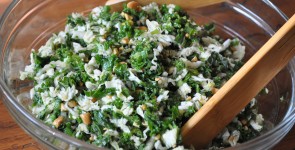
Finely chop (chiffonade) the kale, cabbage, cilantro, scallions and mint (see picture below for desired consistency).
![]()
Add greens to a very large bowl and set aside.
In a separate bowl combine the peanut oil, rice wine vinegar, lemon juice, honey, mustard, soy sauce, garlic powder, salt and pepper, to taste. Whisk the ingredients until they form a dressing consistency.
Pour the majority of the salad dressing over the greens and top with the majority of the roasted peanuts. Toss the salad. Garnish with reserved chopped peanuts.
Helpful hint: Check to see whether or not the salad is dressed enough for you. The cabbage in the salad will break down, releasing water, so you might not find the salad is “wet” enough at first. If you have the time, let it sit about 30 minutes, before adding the rest of the dressing.

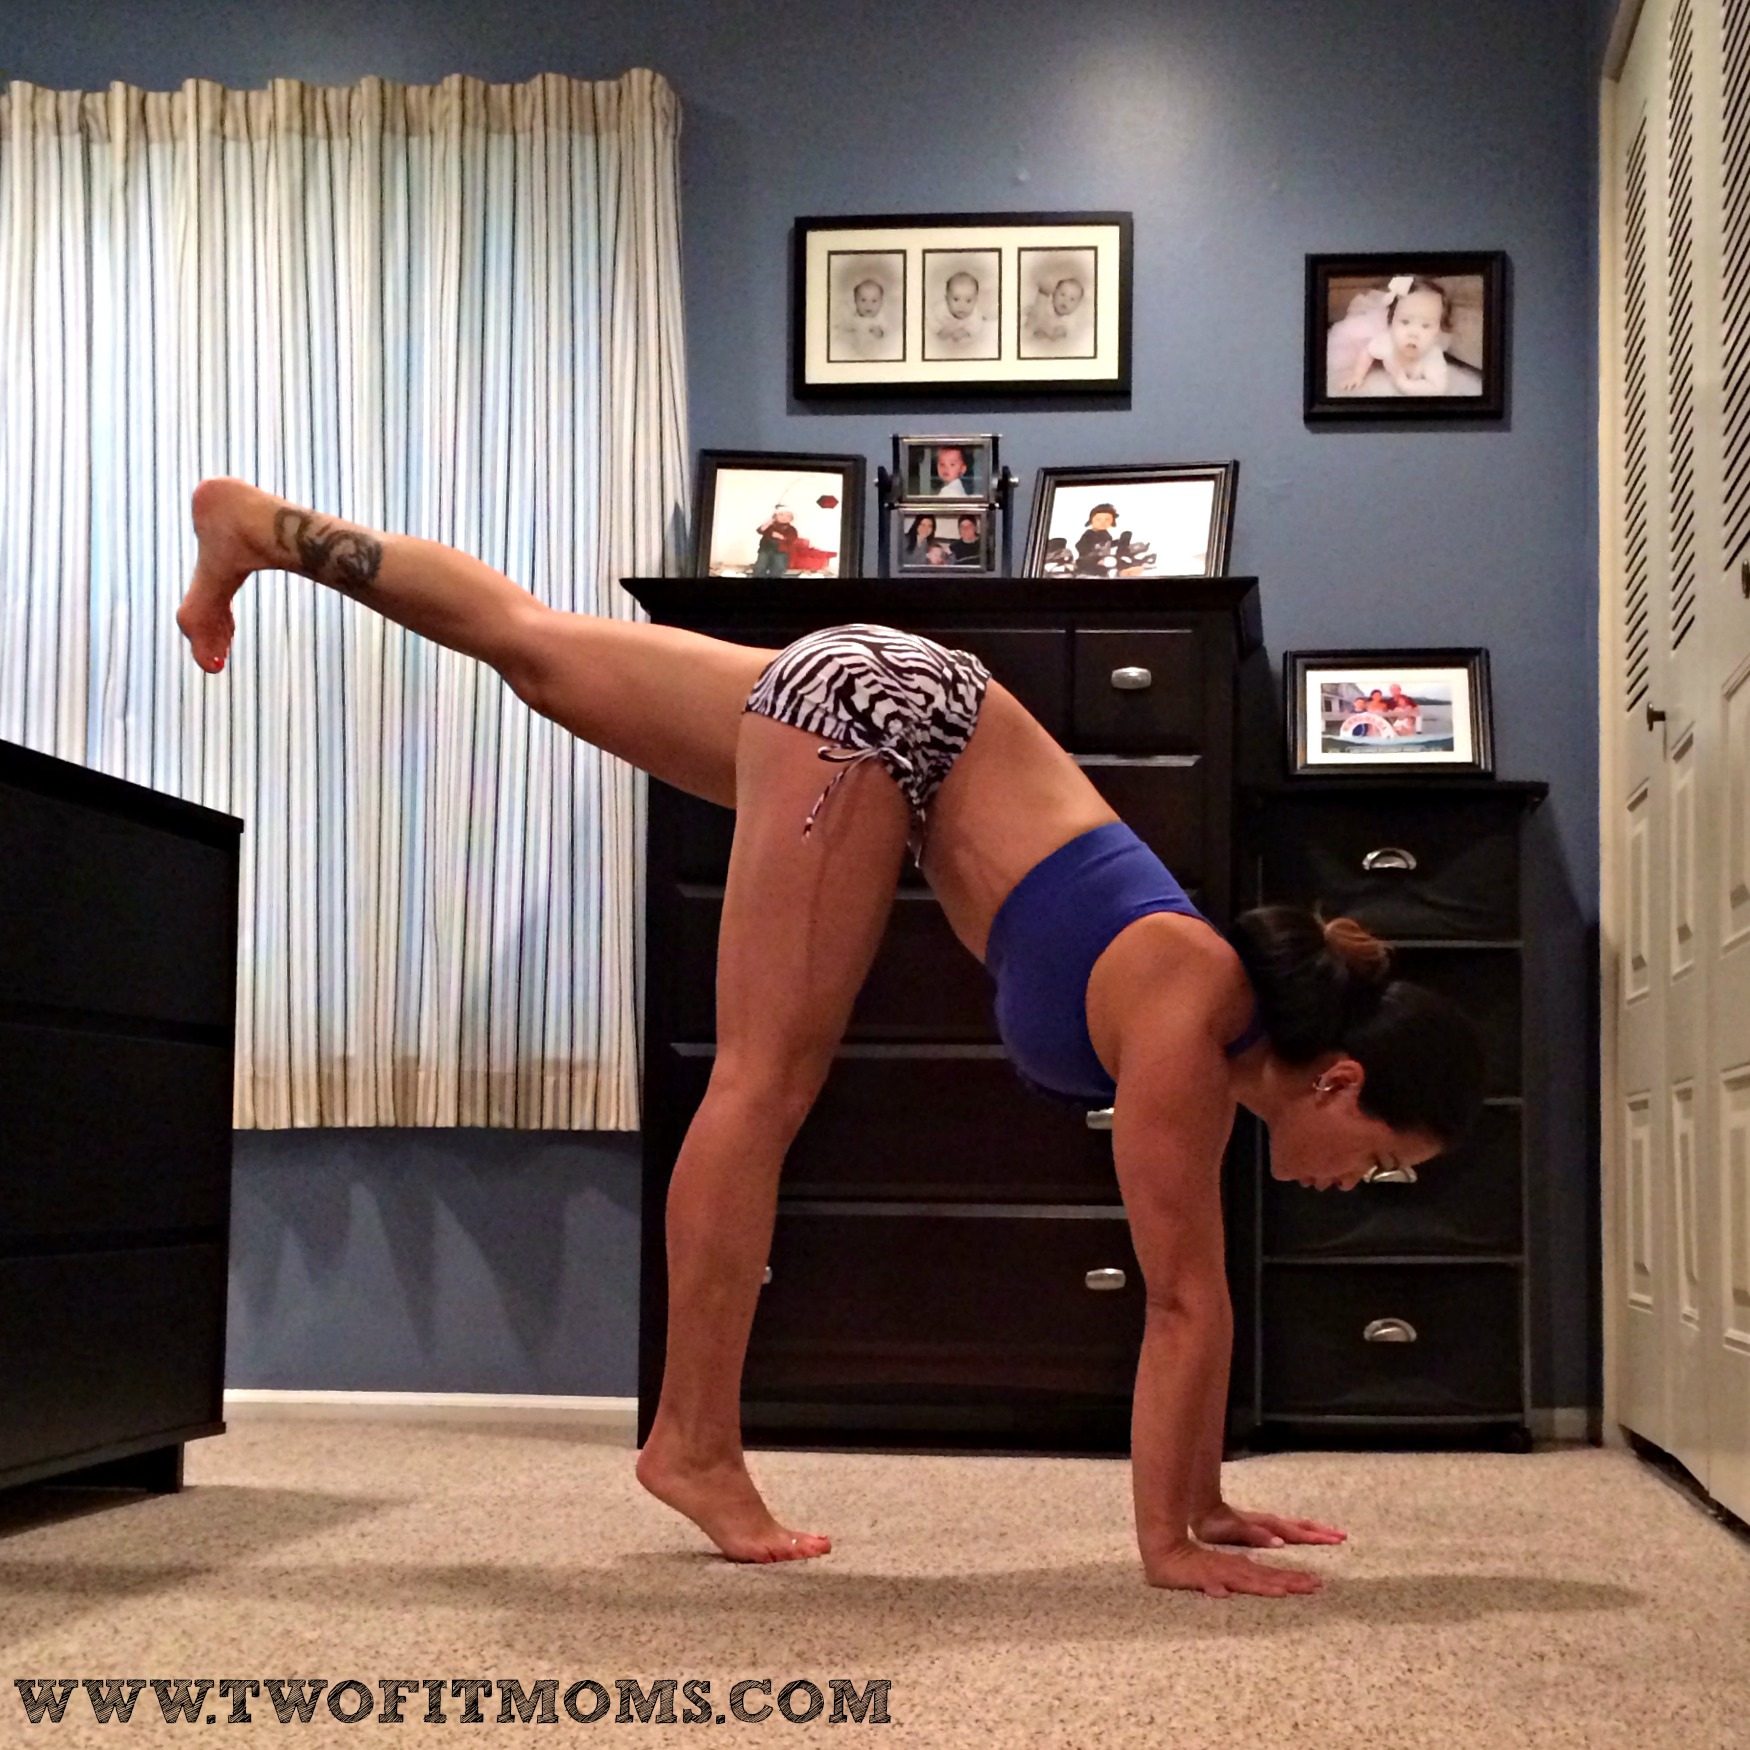
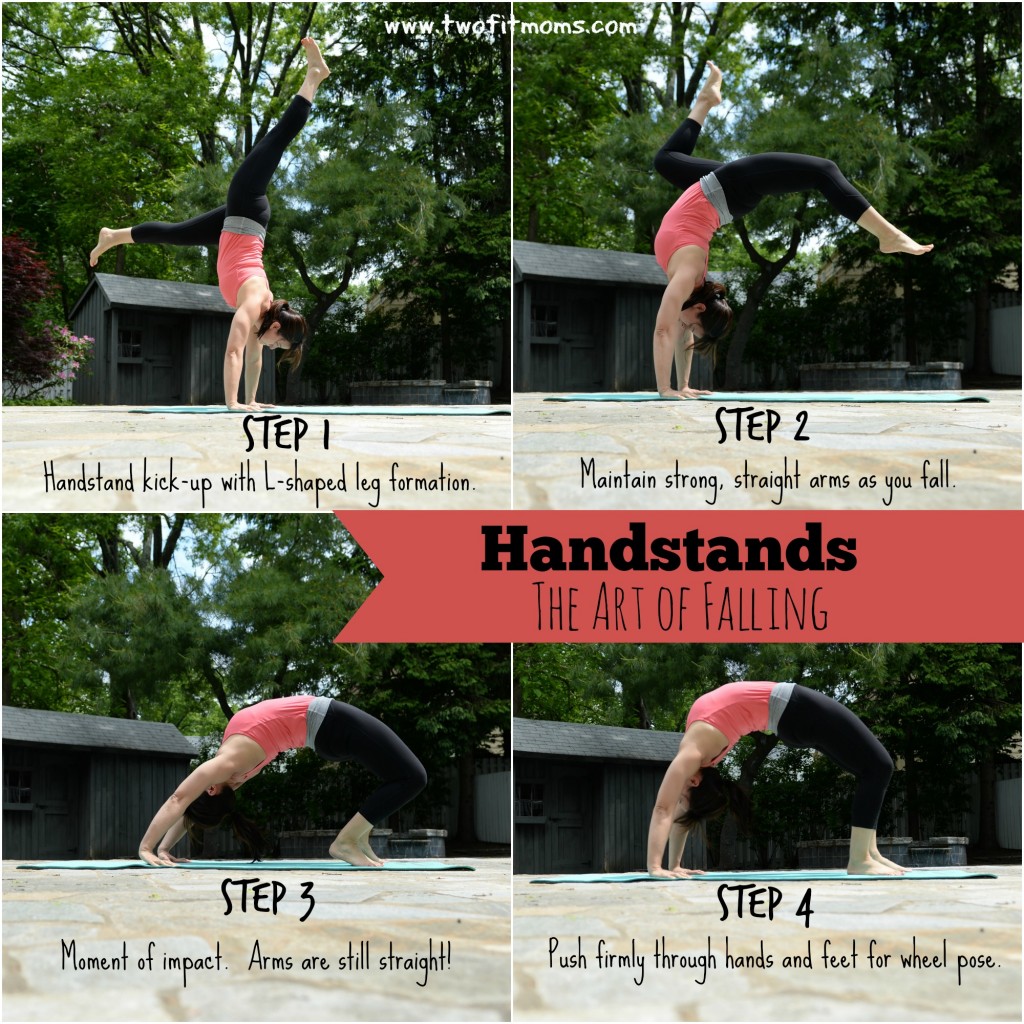
 Let me remind you now that with any great opportunity come feelings of unease…a fear of failure, a fear of success, fear of the unknown and feelings of inadequacy. You may feel that you are being pushed so far past your comfort zone that you cannot succeed, but this is when you must remind yourself that you wouldn’t have been chosen for this great opportunity if others didn’t see your potential. You CAN rise to meet this challenge, and you WILL thrive, if you just believe.
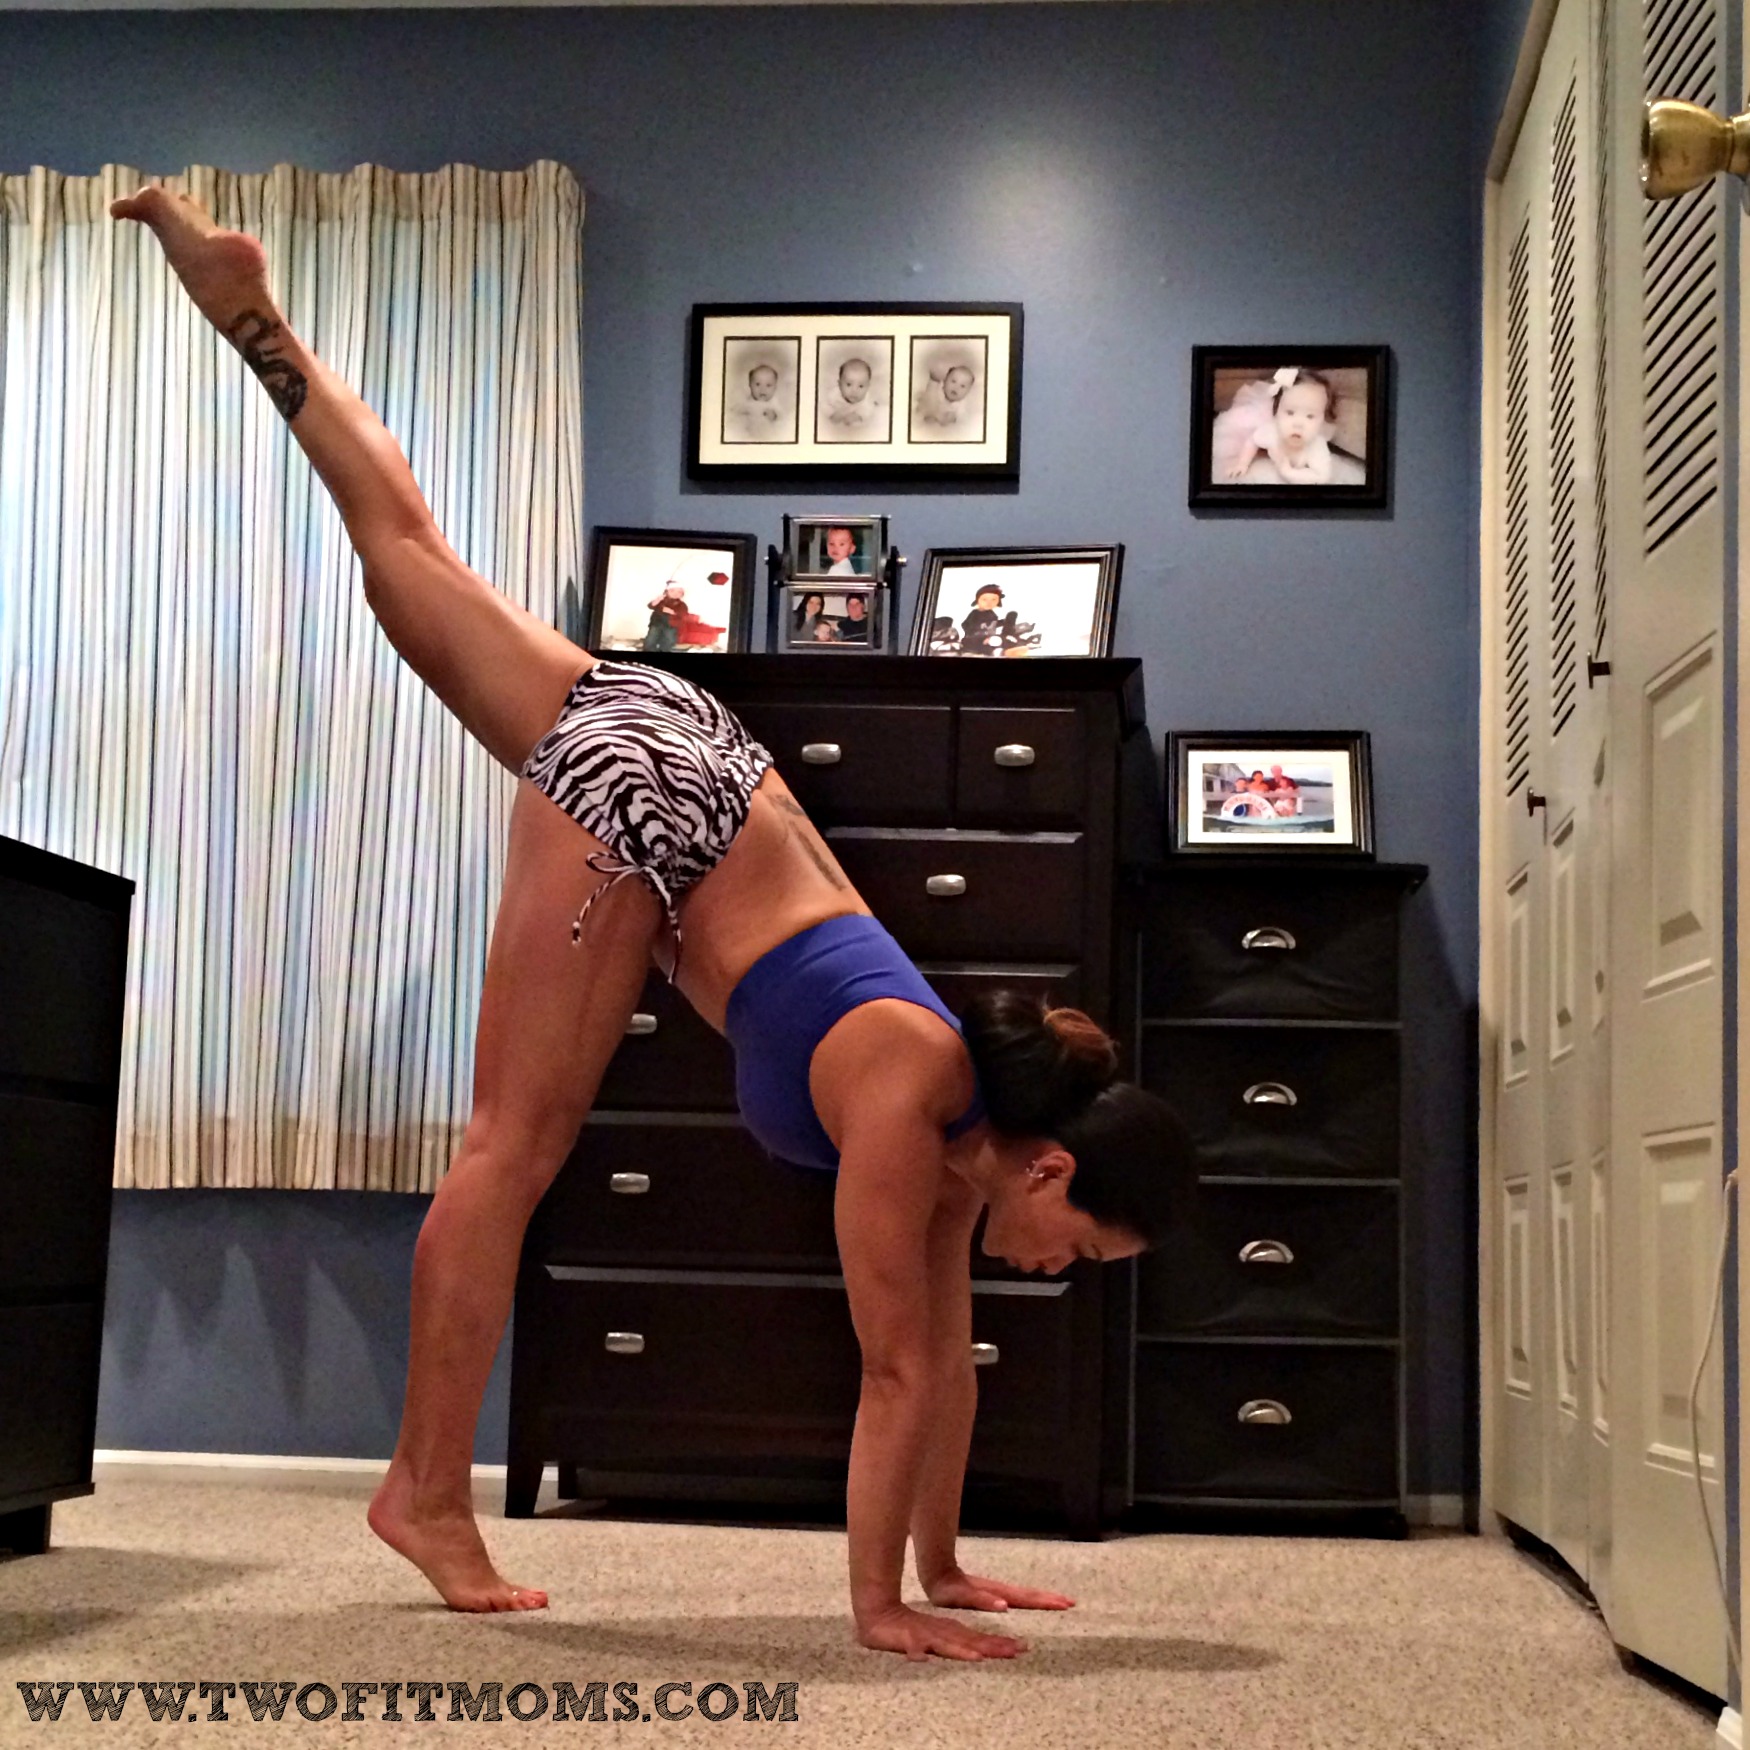
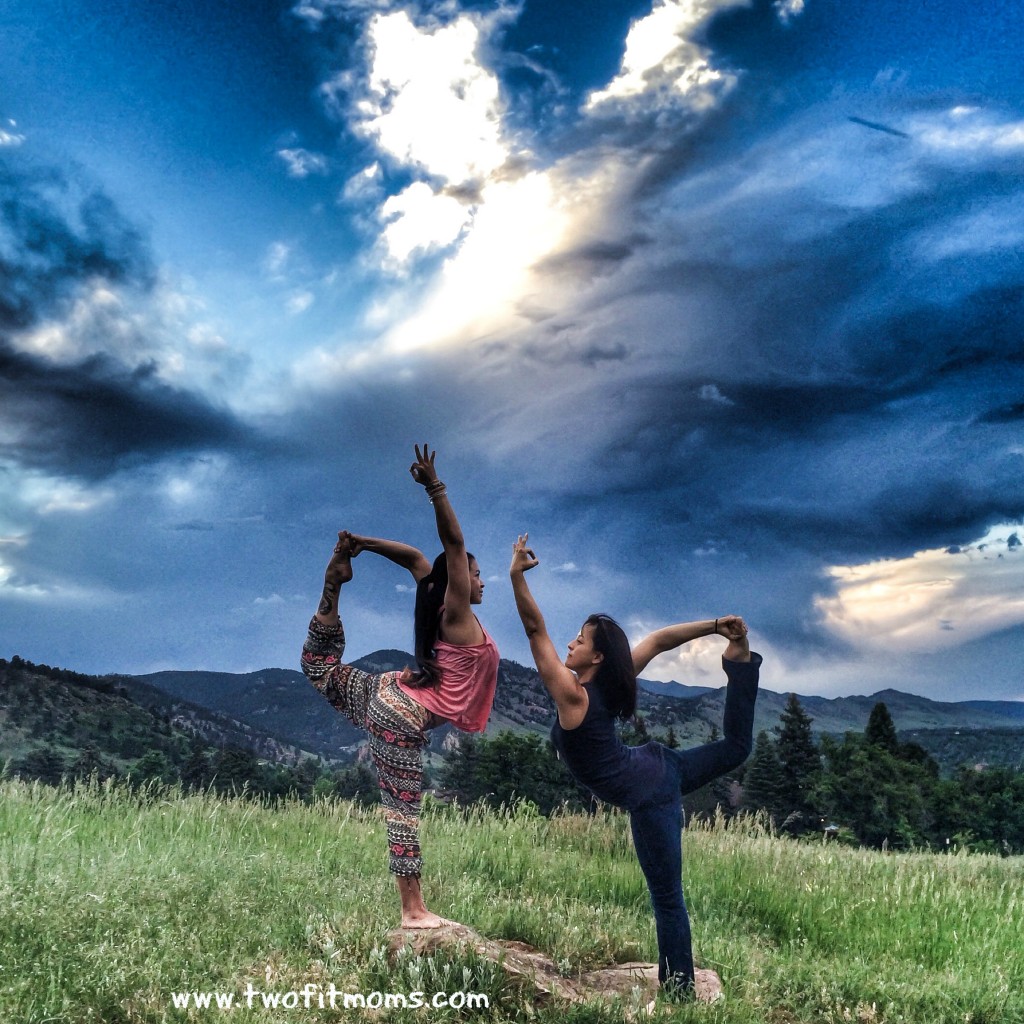
 What we found when we arrived at Gaiam just a few short hours later was comforting. The air was fresh, the surrounding mountains were picturesque, and the familiar stress of New York City was thousands of miles away. We were greeted by friendly faces that felt more like a big family than a big company. This certainly was not the fearful, intimidating environment that I had pictured in my head. Imagine if our fears stopped us from pursuing this opportunity? We would have missed out on this amazing experience.