It’s time to get FUNKY in Pincha Mayurasana! In this variation you are on one forearm and one hand versus both forearms. The key is squeezing the elbows in toward the midline.
It is incredibly important to note that you should have a solid, REGULAR Pincha Mayurasana practice before attempting to kick up in this variation. Feel free to practice funky Dolphin pose to get yourself familiar with the different arm placement.
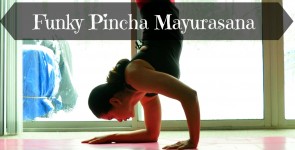
Step 1: What it means to get “funky”
Start off on all fours, Tabletop position… fingers spread wide, shoulders stack directly over your wrists, hips stack directly over your knees. Biceps roll forward, so there is an external rotation of your upper arms. Arm bones plug into their sockets, shoulder blades pull down your back. Keep your toes curled under. It is important to have a solid base to start.
Keeping the external rotation in your right arm, slowly lower your right elbow down onto your mat. Your right forearm should be parallel to the edge of your mat. Even though it is down, feel your right elbow continue to squeeze in.
Move your left hand back so your left fingertips line up with the back edge of your right elbow that is on your mat. You may have to play with this to find what is most comfortable… move maybe an inch or so up. Where ever your hand lands though, squeeze that elbow in!
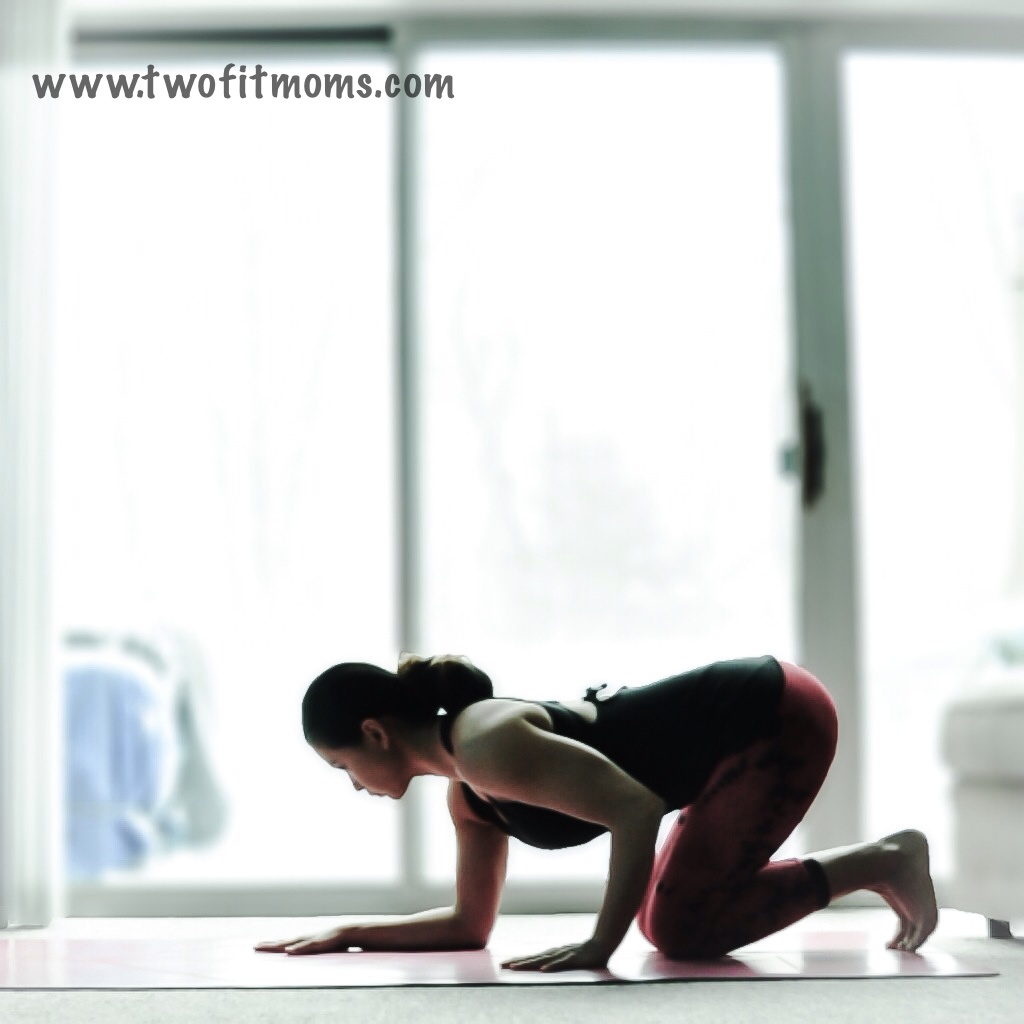
Step 2: Funky Dolphin
Keeping the elbows in, press your forearm and hand firmly into your mat and lift your knees up. Hips will lift and legs will straighten. Walk your feet in towards your arms as much as your flexibility allows. Try to keep equal pressure in your forearm and hand. The tendency will be to put more pressure into your forearm… try to keep the weight equal. Stay here and hold for five breaths. Come down, take a Child’s Pose and repeat on the other side.
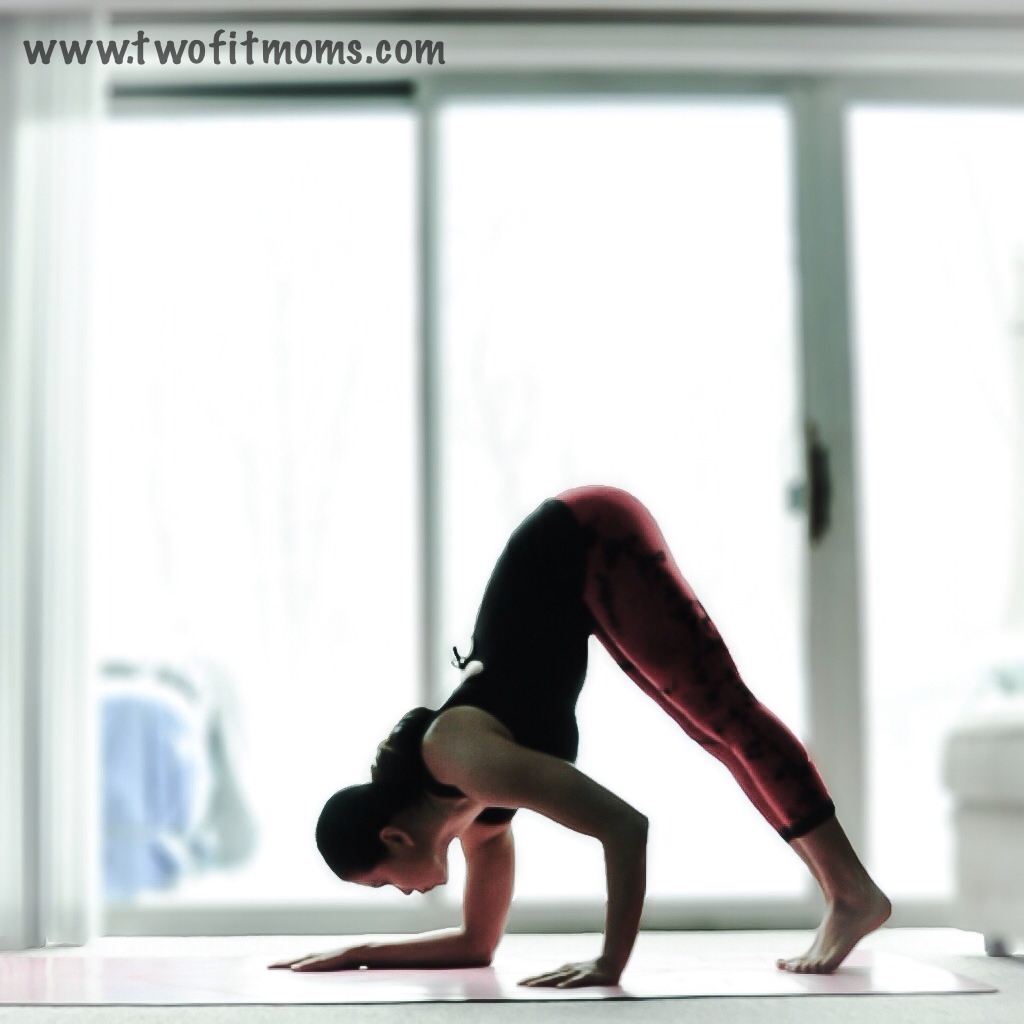
Step 3: Lift a leg
I prefer to lift the leg that is on the same side where the hand is planted. Try both legs though and see what is more comfortable for you. Keep the lifted leg engaged… really energized and pulling up. Remember to keep the elbows pulling in and lifted leg internally rotating… try not to let your hips open too much. Mine tend to open a little, but if they are too open, you will be crooked when trying to kick up and probably fall over. Come down, take a Child’s Pose and repeat on the opposite side.
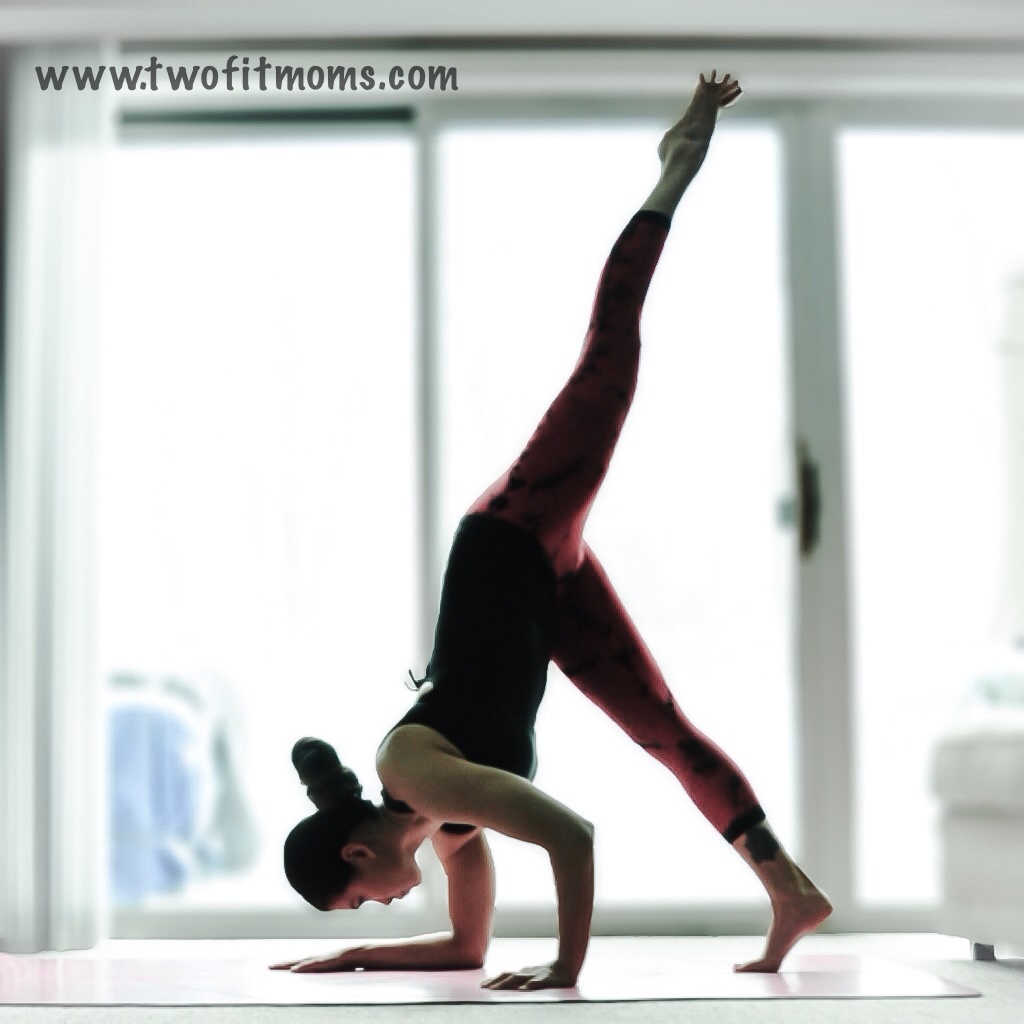
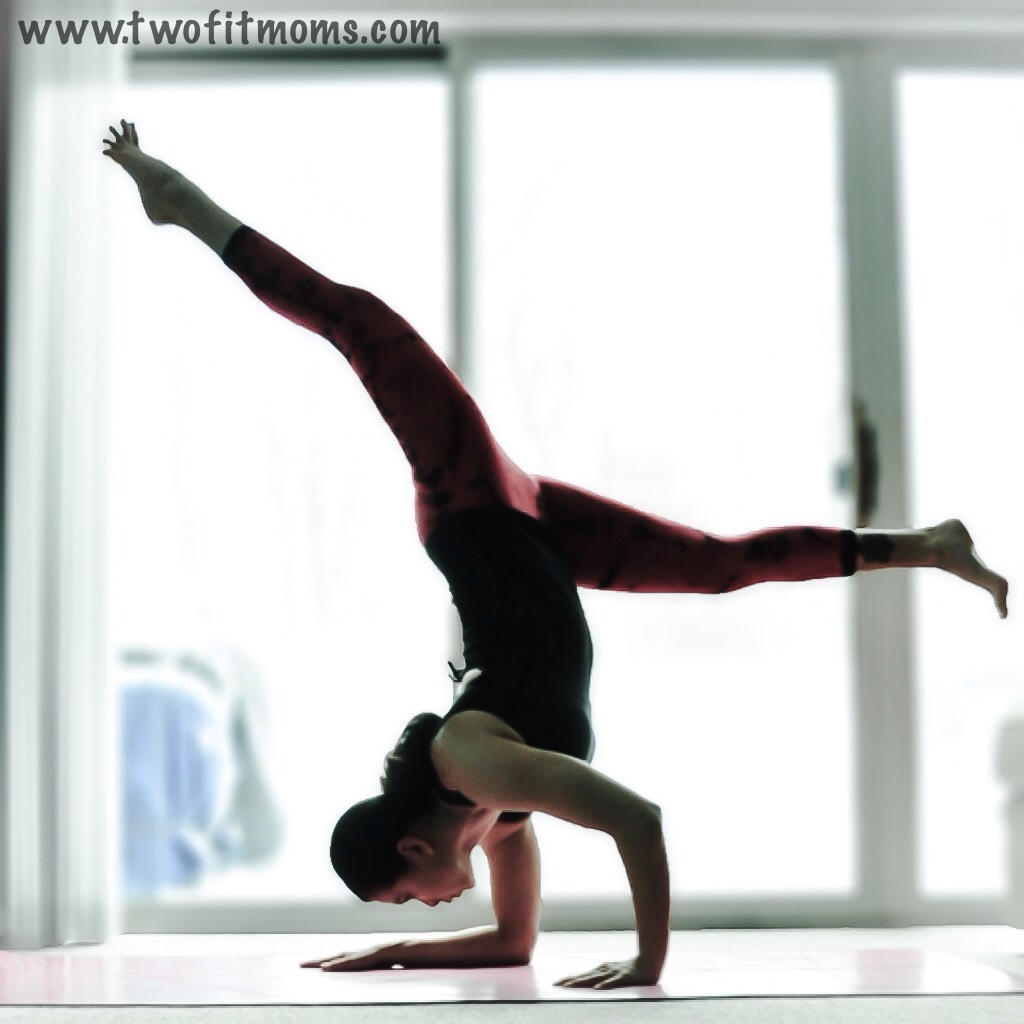
Step 4: Take a few baby hops, maybe catch some hang time
If you are ready to start baby kick ups, please find a wall space and set yourself up about six to eight inches away and come into the previous step, funky Dolphin with one leg raised. Before bending the bottom leg, ask yourself . . . Are you pressing equally into your forearm and your hand? Are your elbows squeezing in? Are your hips relatively square? Is your lifted leg engaged? Are you gazing down at your mat?
When you are ready, put a slight bend into the bottom leg and take a few baby hops. Between each hop, check to make sure you are in form. As you become more comfortable, you will find more hang time. Play with both legs extending out as shown below or bending in the bottom leg.
Come down and take a Child’s Pose… then repeat on the other side!
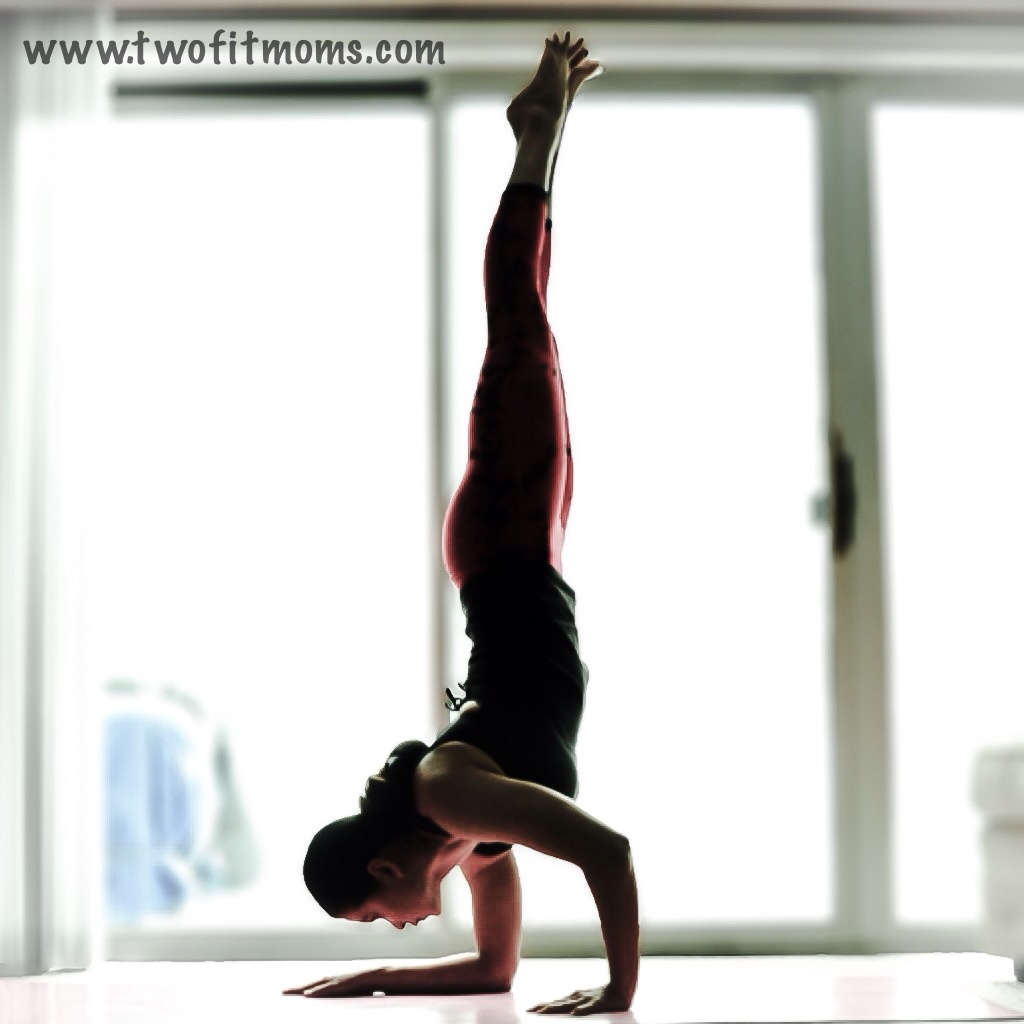
Step 5: Full expression
Once you find your balance with legs apart, you can play with bringing the legs together.
XOXO

Leave a Reply