Category: Yoga

  • Beginners’ Tips to Start a Meditation Practice

    Beginners’ Tips to Start a Meditation Practice

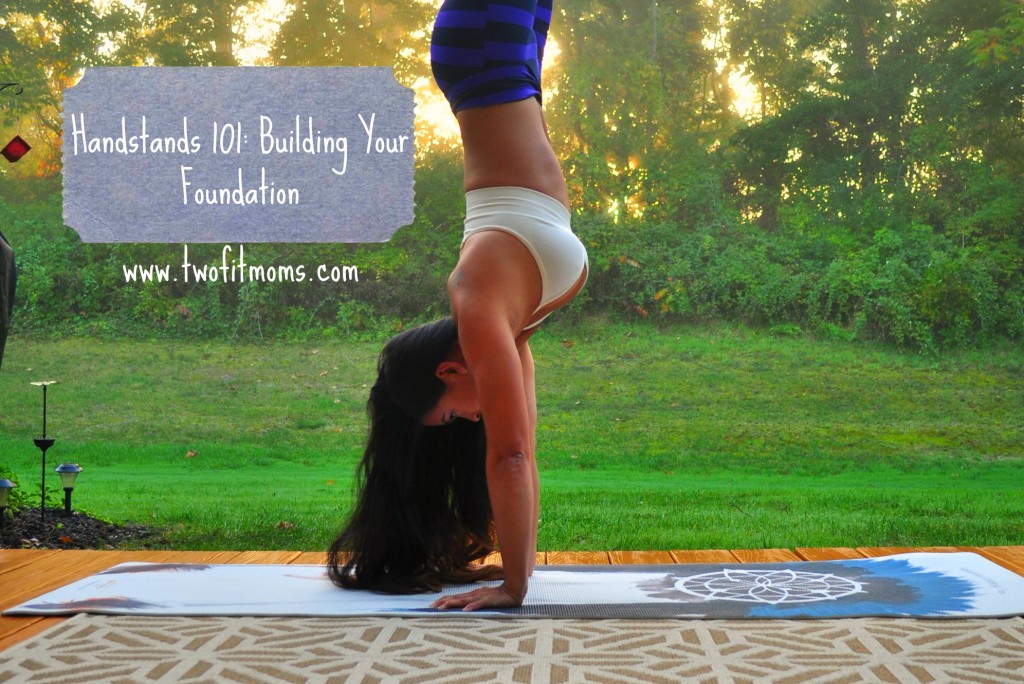
    According to yogic philosophy, it takes 40 days to break a destructive habit or to develop a new, healthy habit.  Today marks day 27 of my 40-day meditation journey.  I’m more than half way through to my 40-day goal, and at the end of it all, there is no end.  The end of 40 days will just mark a new beginning.Meditation

    Ultimately, my hope is to have a meditation practice that is engrained into my daily life.  I want it to feel as natural as brushing my teeth or making my morning tea.  Why am I so set on developing a lifelong meditation practice?  Well, meditation, I’ve heard, has incredible powers—the power to reduce stress, promote deeper sleep—even cure physical ailments and lessen physical pain.  If any of this is true, I need a piece of it.  You probably do, too.

    This is not a post to teach you how to meditate.  Rather, this is just my list of observations based on my own experience.  My journey is just beginning, but I am eager to share what I’ve learned so far: 

    There is no “right” time to meditate.  Originally, I thought the “right” time was at the crack of dawn.  I reasoned that the early morning stillness of my household would be conducive to a peaceful, meditative atmosphere.  I also figured that my mind wouldn’t be racing with work and family obligations so early in the day.  In theory, this all made sense, and I thought I had it figured out.  I didn’t.

    I quickly realized that my body just hurt too much in the morning to meditate.  As a newbie, it’s hard enough to enter a meditative state when all conditions are perfect.  Just imagine how difficult it is if you’re focusing on your arthritic knee the entire time!  Ultimately, I moved my meditation practice to the evening when my joints were generally happier and my body felt pretty good.  I highly recommend that you try meditating early in the morning when your mind tends to be clear, and adjust the time of day if necessary.

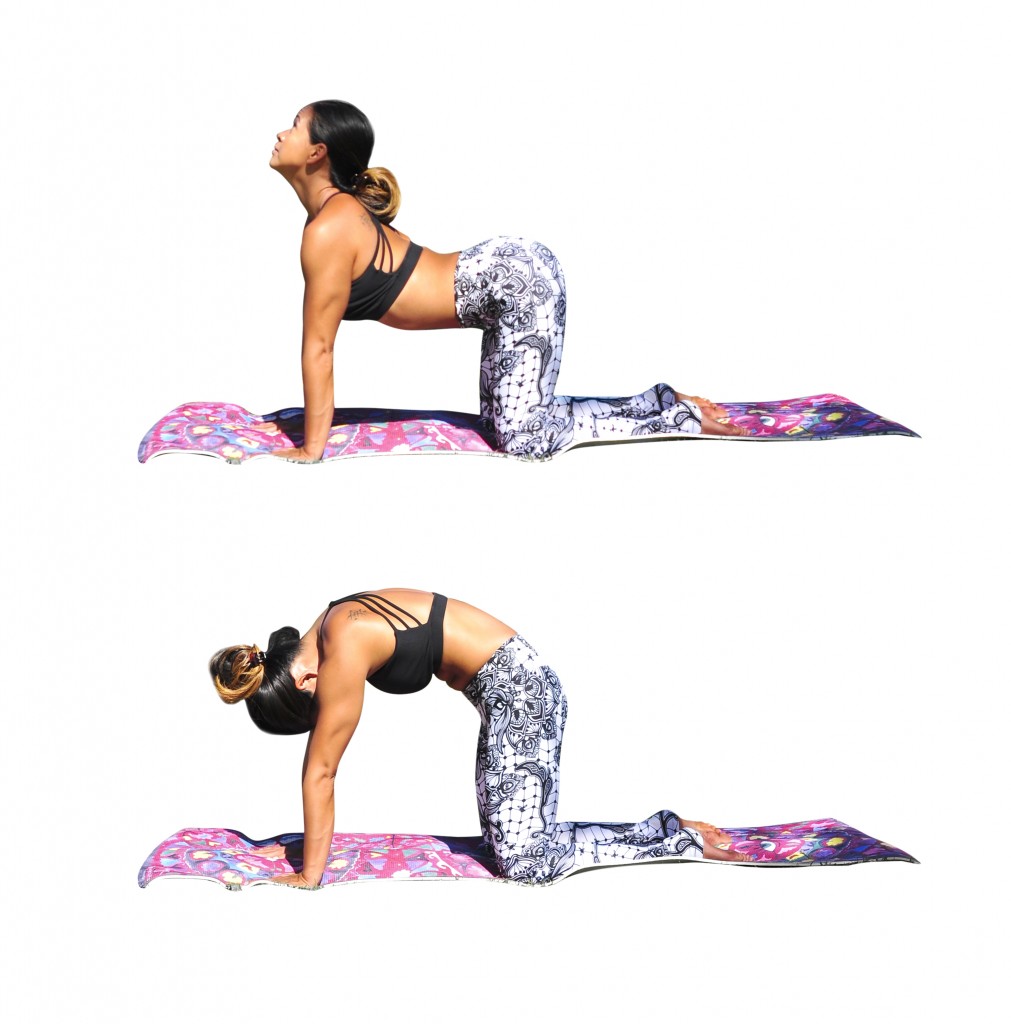
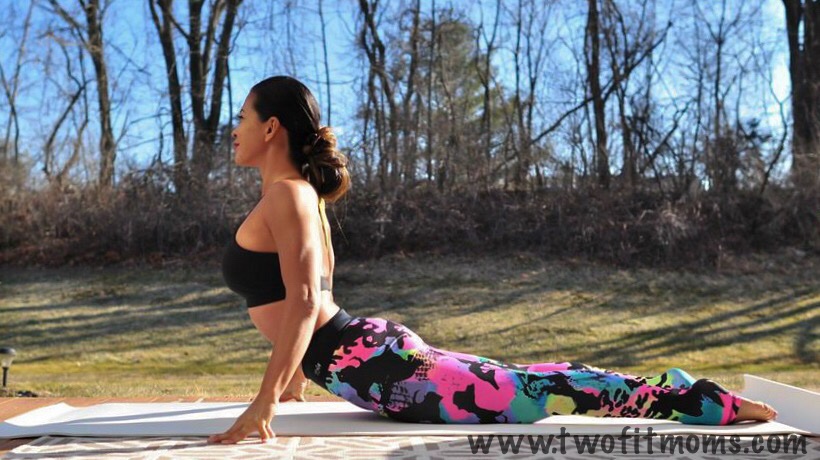
    Moving your body first makes a BIG difference.  It is MUCH easier to sit in stillness if your muscles are warm and loose.  If you can’t fit an entire workout prior to your meditation, you will still feel much more comfortable if you stretch for even just a few minutes.  A few rounds of sun salutations and some gentle hip openers should do the trick.

    Your meditation space may not be the most obvious choice in your house.  The most peaceful place in my home happens to be in my living room next to a large set of windows overlooking my backyard.  I assumed this was the ideal spot to feel enlightened and grounded.  It wasn’t.  Winters in New Jersey are cold, and even with a good heating system, I was freezing my ass off by the windows.  I moved from room to room in my house, and surprisingly, I ended up on the floor of my bedroom closet.  It was the perfect meditation spot.  Go figure.  Start your meditation practice in the most peaceful spot in your house.  Maybe it will work out just fine, but don’t be too surprised if you test out a number of different rooms and then end up in an unlikely location.

    A pillow and a blanket work wonders.  No, it’s not bedtime, but you will probably find use for your pillow and blanket.  I’m not sure if this is typical, but as soon as I close my eyes to meditate, I become hypersensitive and aware of every ache and pain in my body.  My back aches.  My hip suddenly hurts.  My feet feel cold, and I can’t concentrate.  I’ve learned from experience to keep a pillow close by to sit on or to use as a bolster.  Sometimes, I use the blanket across my lap or around my shoulders.  I’m not always cold, and I don’t always use the blanket, but I can pretty much guarantee that I would be freezing if I didn’t choose to have a blanket close by.  That’s just the way life works.

    You will think you suck at meditating, and that’s okay.  At the end of each day, my teacher would send me a text and ask about my meditation.  For the first couple of weeks, my answer was the same.  “Yes, I meditated, but I really sucked at it.  I’m not sure if it’s even fair to call it meditation.”  That’s when my teacher enlightened me.  She said everybody thinks that they suck at meditation.  No one walks around claiming to be excellent at meditation.  It’s an evolving practice.  Some days, you will easily enter the zone, and other days, you will be making grocery lists in your head and thinking about the dry cleaning that you need to drop off.  Don’t beat yourself up.  Everyone who is new to meditation is going through the same thing.

    There is no one-size-fits-all approach to meditation.  I experimented a ton.  One day, I meditated while holding my hands in a strengthening mudra.  The next day, I meditated while practicing a forceful breathing technique.  Then I tried using music in the background.  Then I tried breathing normally while focusing on my third eye.  And then there was this one time that I tried to meditate with my eyes open…while counting backwards in my head.  Each time I tried a new technique, I learned what worked and what didn’t.  Don’t be afraid of trying something new.  Keep experimenting until you find a routine that works for you.

    Your attitude towards meditation matters.  The first few times that I meditated, I felt very antsy.  I had a lot to accomplish, and sitting around doing nothing was a difficult concept for me to swallow.  I’m glad it didn’t take me long to come to this realization—meditation is not “sitting around and doing nothing.”  Well…let me rephrase that.  Meditation IS sitting around and doing nothing, but the effects of meditation are FAR from “nothing”.  Meditation is a form of therapy.  It’s free, it’s available to everyone, and you can perform it on yourself.  Reconsider your attitude if you are concerned about wasting your time “doing nothing”.  I assure you that your mental and physical well being is not a waste.

    The way to get better at meditating is to meditate.  And here is the most important thing I’ve learned so far on my journey:  You can read books about meditation, analyze all sorts of different techniques, and ask for advice from your friends/yoga teacher, but at the end of the day, the way to get better at meditating is to just meditate.  It’s as simple as that.


  • Yoga for Busy Moms

    Yoga for Busy Moms

    The daily demands of being a mom can make it challenging (if not overwhelming) to find an extended block of time to practice yoga on a daily basis.  The good news is that you can reap many of the benefits of a full practice in just a fraction of the time.  If you are having a particularly busy day, practice this sequence just once on each side of your body for a quick 10-minute flow that will leave you feeling refreshed and centered.
    YogaforBusyMoms

    We’ve selected a variety of fundamental poses that will stretch and strengthen the entire body in a short span of time.  If you can fit in a 20-minute routine, practice this sequence twice. Make the most of your abbreviated practice by being mindful and present as you hold each posture for 3-5 breaths.

    Cat/Cow
    Begin your practice in Tabletop position with your shoulders over your wrists and your hips over your knees.  Gently warm up your chest and back with 3 rounds of Cat/Cow.  Inhale, as you sink your chest toward the floor and gaze up.  Exhale, as you round your back like a cat.

    Slides 1-2

    Low Lunge Variations
    After warming up your spine with cat/cow, step your right foot forward between your hands for one of two Low Lunge variations.  Keep your hands on your front thigh for greater stability, or interlace all 10 fingers behind your back for a chest-opener. If you choose to take the backbend, remind yourself to breathe deeply through your nose.
    3

    Revolved High Lunge Variations
    From Low Lunge, align your right knee so that it stacks directly above the right ankle.  Bring your hands together in front of your heart, and twist to the right, hooking the left elbow onto the outside of the right thigh. If you are comfortable, challenge yourself by tucking your back toes, and lifting your back knee off of the floor.Slides 4- 5

    Side Chair
    From Revolved High Lunge, shift your weight into your right foot, and step your left foot forward for Side Chair.  Press into your hands to twist deeply to the right.  If your left knee protrudes forward more than your right knee, make an effort to pull the left hip back in space. Be sure to rock your weight back onto your heels to protect your knees.
    6

    Standing Forward Bend (Uttanasana)
    From Side Chair, untwist your upper body and straighten your legs for a deep forward bend.  Breathe deeply, relax the neck, and allow the weight of your upper body to stretch the hamstrings and release any tension in the lower back. Feel free to take a variation or grab opposite elbows and sway from side to side.
    7

    Chair
    Bend your knees, sweep your arms overhead, and rock your weight back into your heels for this strengthening pose that will energize your legs. Make sure that your weight is distributed properly by confirming that you can lift all ten toes from the mat. Keep your fingers active, shoulders rolled down and core engaged.
    8

    High Lunge
    From Chair pose, shift your weight into your right foot, and take a large step back onto the ball of your left foot for High Lunge.  Feel free to keep your torso perpendicular to the floor, or lift your chest toward the sky for a backbend.  If you choose to take a backbend, remember to keep your biceps along side your ears.
    9

    Warrior 2
    From High Lunge, spin your back heel down for Warrior 2.  Challenge yourself by maintaining a 90 degree angle in your front leg as you stand strong. Resist the urge to lean forward toward your bent knee. Keep your shoulders stacked right over your hips.
    10

    Plank
    From Warrior 2, windmill your hands to the ground and step back into plank pose.  Create a straight line from head to heel.  Engage your core to keep your hips from sagging. If your hips are sagging or lifted toward the sky, take a modification by lowering onto your knees. It’s definitely preferable to perform each pose with good form.
    11

    Downward Facing Dog
    From Plank pose, simply lift your hips up and back to create a shape that looks like the upside down letter V.  Remember to spread your fingers, grip the mat, engage the core and keep the leg muscles active in this pose.
    12

    Pyramid Pose
    From Downward Facing Dog, step your right foot about halfway up the mat, straighten the front leg, and breathe into this intense hamstring stretch.  For the most effective stretch, keep length in your spine as you fold. Whenever your legs are scissored in a yoga pose, be mindful to pull the front hip back, and push the back hip forward. The goal is to have the hips equidistant to the front of the room. 13

  • February Challenge Winner

    February Challenge Winner

    We are excited to announce the winner of our February Two Fit Moms yoga challenge on Instagram! Congratulations to @MAMA_OF2_ROCKS for successfully completing all ten days of the challenge.

    febwinnercollage


    Please contact kate@twofitmoms.com to claim your Gaiam prize package that includes: a Tree of Life Yoga Mat Tote Bag, a Gaiam Sol Power-Grip Yoga Mat, a Cork Yoga Brick and a free download, from the Gaiam.com website, of our Yoga Rising series!

    FebGaiamPrize

    Thank you all for participating!

  • Open Your Heart

    Open Your Heart

    February is all about opening up the HEART! So, try incorporating our favorite heart opening stretches and backbends into your practice this month.

    These six postures will open up your shoulders and your entire front body. In fact, they will leave you feeling stretched, energized and ready to tackle your day!

    Ready to get started? Grab a few blocks and a strap. As always, be mindful of your body, modify when necessary and remember to breathe. Try to hold each of these postures for at least 5-10 breaths.

    Reclined Heart Opener with Blocks

    Photo Feb 06, 9 54 39 PM

    Lie onto your mat with one block (at its lowest height) under your head like a pillow and a second block (at a higher height) between your shoulder blades. Relax your arms alongside your body and stay on the blocks for at least one minute.

    Hero Pose with Gomukhasana Arms

    Photo Feb 06, 9 54 46 PM

    Start out on your shins, bringing your knees together and separating your feet slightly wider than your hips. From there, have a seat in between your ankles coming into Hero Pose. Feel free to prop yourself on a block if this pose hurts your knees.  Sitting up tall, slowly make your way into Gomukhasana arms. Use a strap if you cannot clasp your hands. Relax your shoulders and pull the elbows back. Stay here and hold for 5-10 breaths, then repeat on the other side.

    Wide Cobra Pose

    Photo Feb 06, 9 54 53 PM

    Lie on your belly and bring your feet hips’ width distance apart. Take your hands wide off of your mat and come onto your fingertips. On an inhale, slowly push into your fingertips lifting your heart high. Keep your elbows slightly bent and actively roll your shoulders back.

    Bow Pose

    Photo Feb 06, 9 55 00 PM

    Lie on your belly and relax your forehead on your mat. Bend your knees and grab onto the outside edges of your feet. On an inhale, kick your feet into your hands lifting your heart high. Use the strength of your legs to lift you up! Stay here and hold for 5-10 breaths, then repeat two more times.

    Funky Camel

    Photo Feb 06, 9 55 07 PM

    It’s time to start working on some deeper backbends. Feel free to take a traditional Camel pose or if you’re feeling adventurous, try our funky variations above! Start out on your shins, knees are hips’ width distance apart. From there, step your right foot forward planting the sole of your foot down on your mat. Bring both hands onto your hips squaring them off to the top of your mat. Slowly sweep the left hand up and around bringing your left hand onto your left ankle or sole of your left foot behind you. Take a moment and square your hips once again. Extend your right arm up or bring it to heart center. Take 5 deep breaths, then slowly come up. Repeat on the other side. 

    Wheel Pose

    Photo Feb 06, 9 55 16 PM

    Make your way onto your back and set up for Wheel. Feet should be hips’ width distance apart and parallel to one another. Hands should be shoulder width apart, fingers spread wide. Both arms and legs squeeze in towards one another. Feel free to bring one hand up to heart center as you hold for 5-10 deep breaths.

  • Move over Cupid:  Fallen Angel Tutorial

    Move over Cupid: Fallen Angel Tutorial

    With Valentine’s Day on the horizon, you may be looking to channel your inner cupid.  Well, we are here to help.  Put on your wings and get ready to enter one of the prettiest yoga poses—Fallen Angel.

    Fallen Angel is a great hybrid pose for anyone looking to dabble in the realm of arm balances and inversions — its hybrid nature combines elements of both worlds, resulting in a posture that offers a surprising amount of stability.Photo Feb 02, 1 14 00 PM

    We love teaching this pose because of its beauty and accessibility.  A rock solid arm balance practice is not required.  Side crow is just a brief moment in the transition to Fallen Angel—it’s okay if you can’t hold it for five long breaths!  Likewise, an advanced inversion practice is not a prerequisite for this pose.   The arched shape eliminates the possibility of tipping over, which is a common fear for beginners attempting a traditional headstand where the hips are stacked directly over the shoulders.

    If you need a bit of a pep talk before getting started, start HERE and read about the empowering nature of arm balances.  Once you are inspired, warm up your body by doing a few rounds of Sun Salutations and a series of twists.  You are now ready to move forward.


    Step 1
    Lower your body into a squat, resting on the balls of your feet.  Twist your body to the left, placing your hands onto the mat so that the outside of your left thigh rests along your triceps.

    Step 2
    Begin to lean and shift weight onto your hands, being mindful to keep your elbows squeezing inward.  If you are comfortable, slowly lift your right foot from the mat.

    Step 3
    Here is your (modified) side crow transition!  It’s modified because you are resting your left thigh across both triceps rather than on just the right tricep.  If you are unable to hold this balance for long, don’t worry.  Move right on through to step 4.

    Step 4
    Slowly lower the left side of your head onto the mat, and see if you can lift your right leg off of your left leg even by just an inch or two.  If that goes well, keep lifting the right leg, extending it straight into the air.

    Step 5
    The left thigh will remain on the back of the right arm throughout the pose, but you will need to rotate the left leg a bit in order to be able to point the left leg up to the sky.  In the final expression of the pose, the left leg is parallel to the right leg.


  • Insta-Inspiration

    Insta-Inspiration

    At any given time, you can open your Instagram app to find a vast collection of yoga photos from around the world.  How is this collection of yoga photos any different from a collection of photos that you might find in a yoga book?  Well, the difference lies in the magic of having a centralized hub for a massive community of yogis to come together—a virtual platform for yogis to meet and inspire one another on a daily basis.  In the inspirational world of Instagram, creativity runs rampant, and a traditional pose suddenly morphs into new and interesting shapes.  It’s only natural that with many minds at work, many unusual variations of yoga poses will be born and shared.

    Here are six of my favorite yoga pose variations that were inspired by Instagram posts.  Without this social media platform, I’m not sure if I would have ever seen or attempted these postures.  In 2015, I encourage you to get inspired, get excited, and add some variety to your practice.  Perhaps these interesting variations will be the poses that you attempt this year.

    Here’s a new arm balance for you to try.  It starts out innocently enough as Elephant’s Trunk Pose (Eka Hasta Bhujasana).  It then transforms into this funky shape when the top leg (which usually hooks over the shoulder) straightens, and the bottom leg wraps around an arm.  If you are new to arm balancing, skip this pose and head right over to our crow pose tutorial, which is more appropriate for a first timer.  Still unsure?  Get inspired here.

    Photo Oct 31, 9 36 42 AM

    If the elusive overhand grip is part of your practice, attempt this variation of bow pose, which comes complete with an arm scarf.  If an overhand grip is not yet accessible, you can still receive the same heart-and-shoulder-opening benefits by practicing the five front-body stretching exercises presented here.Photo Aug 20, 11 50 49 AM


    This looks like a standing split variation, but it makes most sense to start in lizard pose.  Once in lizard pose, wiggle your front shoulder under your knee.  If you feel comfortable with your shoulder under your knee, rise back up onto your hands and begin to straighten the front knee while simultaneously lifting the back leg from the ground.  Once you find your balance, bend the lifted leg and reach for your foot with the opposite hand.  This is an advanced pose that requires hip flexibility, hamstring flexibility, balance and strength.  Is it necessary to ever achieve such a pose?  Of course not.  You will receive many of the same benefits by doing much more accessible hip stretches and hamstring stretches.

    Photo Jun 29, 9 53 27 AM

    Once you’ve mastered the tripod egg headstand, challenge yourself by pressing the forearms together and pointing the hands away from one another.  Remember—when practicing any inversion in the middle of a room, you must have an exit strategy!  Stay safe, and have fun.

    Photo Aug 14, 11 02 43 AM

    When you’re ready to take your compass pose to a whole new dimension, give this variation a try where both hands are planted on the ground and the hips are lifted from the mat.  Still working on getting your leg over your shoulder?  No problem.  Skip this pose, and open up the hips.  Maybe you’ll surprise yourself by getting into Elephant’s Trunk Pose.

    Photo Sep 23, 10 21 58 AM

    Is it an inversion, an arm balance or some hybrid of the two?  You decide.  Start out in Fallen Angel pose, and then lift the bottom knee from the tricep.  Feel free to stay in a hovering version of Fallen Angel or straighten the lower leg so that the foot points in the same direction that you are facing.
    Photo Oct 27, 5 32 59 PM

  • 5 Favorite Posts from 2014

    5 Favorite Posts from 2014

    Here they are…your five favorite posts of 2014.  A mixture of yoga, Instagram, and nutrition.  In case you missed these articles the first time around, here is a quick recap.

    Headstands 101:  Your First Inversion
    If you want to invert, but you don’t know where to begin, start here.  Even if you have no previous experience in gymnastics, yoga or dance, we will teach you an accessible way to do a headstand—safely and without fear.

    Headstands101

    Handstands 101—Building Your Foundation
    Once you’ve mastered the headstand and forearmstand, you are ready to move on and fly high in a handstand.  Let this article be your first introduction to handstands.  Start here with a “can do” attitude.DSC_6079

    Bakasana:  Time to Get Your Crow On
    Crow pose (or Bakasana) is often the first arm balance that you’ll learn on your yoga journey.  If you’re ready to get started, grab a yoga block and a bed pillow.  We will guide you through this powerful pose, step by step.bakasana 3

    Banana Oat Muffins
    This article was shared over 4,200 times across Facebook and Pinterest.  We get it.  You can’t beat a healthy, gluten-free muffin that only requires five ingredients.  Try this recipe in 2015, and let us know what you think.  And don’t forget to check out our other Best Recipes of 2014.BananaOatMuffinRecipe

    Instagram Quick Tip:  AfterFocus App
    If your Instagram yoga photos are plagued by cluttered backgrounds or distracting details, we have the app for you.  In less than a minute, you will blur the background and bring yourself into focus.  Check out this article, as well as our other Instagram Quick Tips from 2014.AfterFocus

  • December Yoga Challenge Winner!

    December Yoga Challenge Winner!

    We are excited to announce the winner of our December Two Fit Moms yoga challenge on Instagram! Congratulations to @jinhee_1017 for successfully completing all ten days of the challenge.

    dec winner with logo

    Please contact kate@twofitmoms.com to claim your Gaiam Sol prize package that includes: a Gaiam  Sol Travel Mat in Mulberry, a Black Everything Fits Gym Bag and a free download, from the Gaiam.com website, of our Yoga Rising series!

    decwinnercollag

    Thank you all for participating!


  • 5 Pre-Flight Yoga Stretches

    5 Pre-Flight Yoga Stretches

    Right now, I’m writing to you from a fully-packed flight back to the New York area from Colorado.  (Laura and I were in Boulder for the better part of the week, working on some new projects with Gaiam.)  Tourist info signage in airport in international language
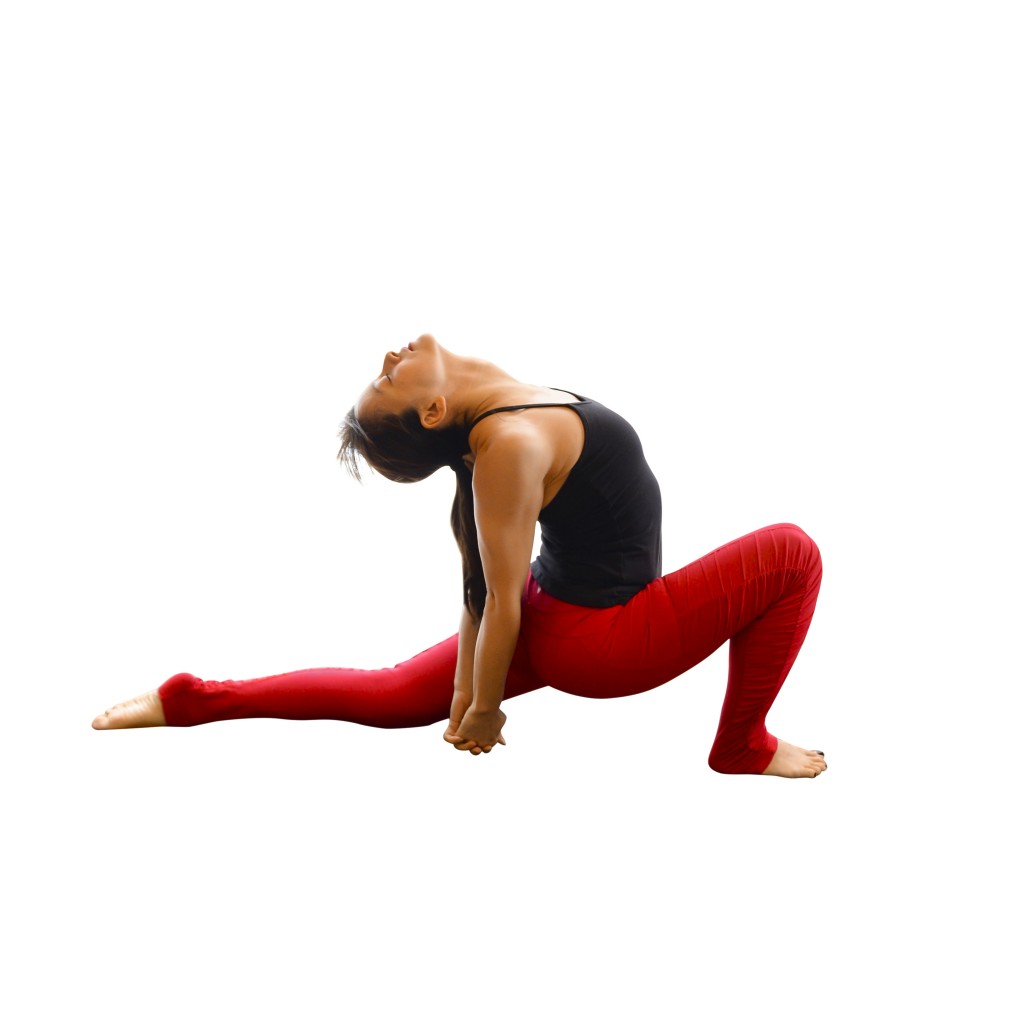
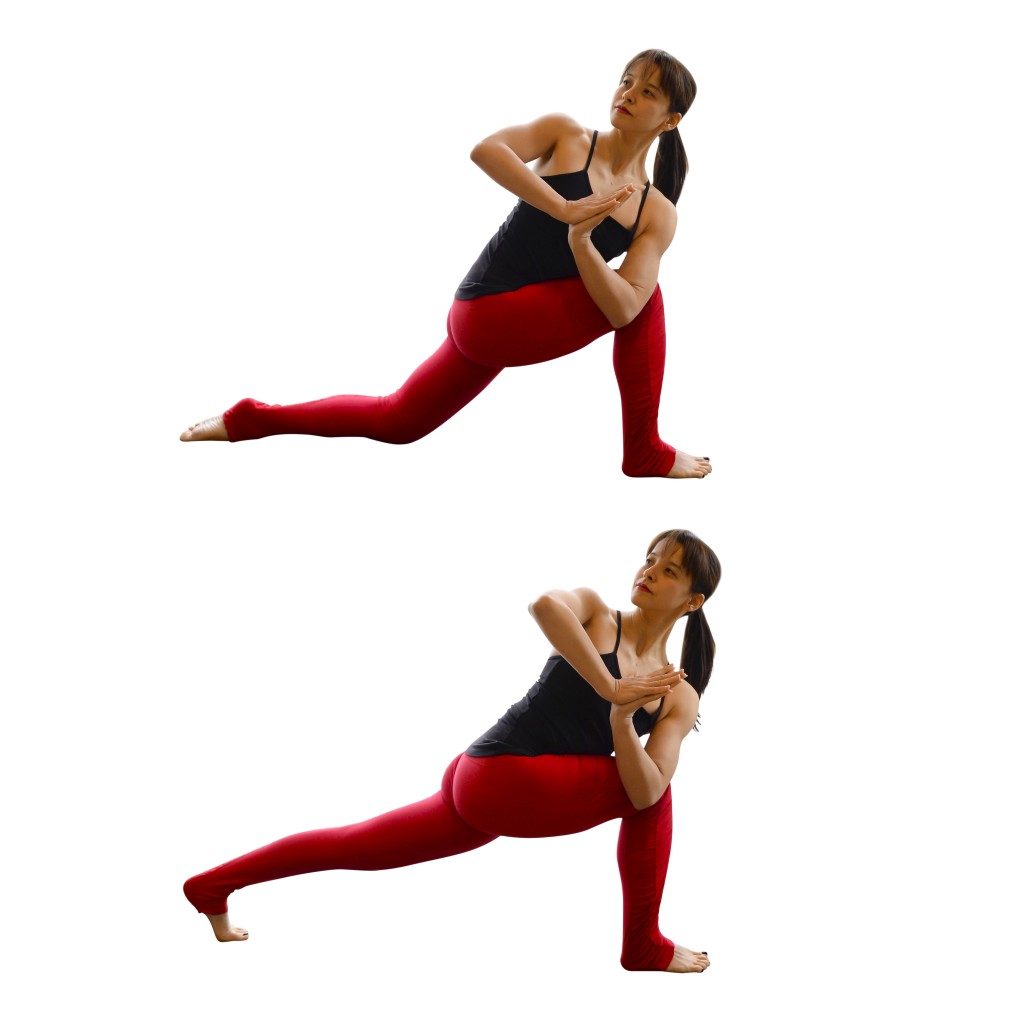
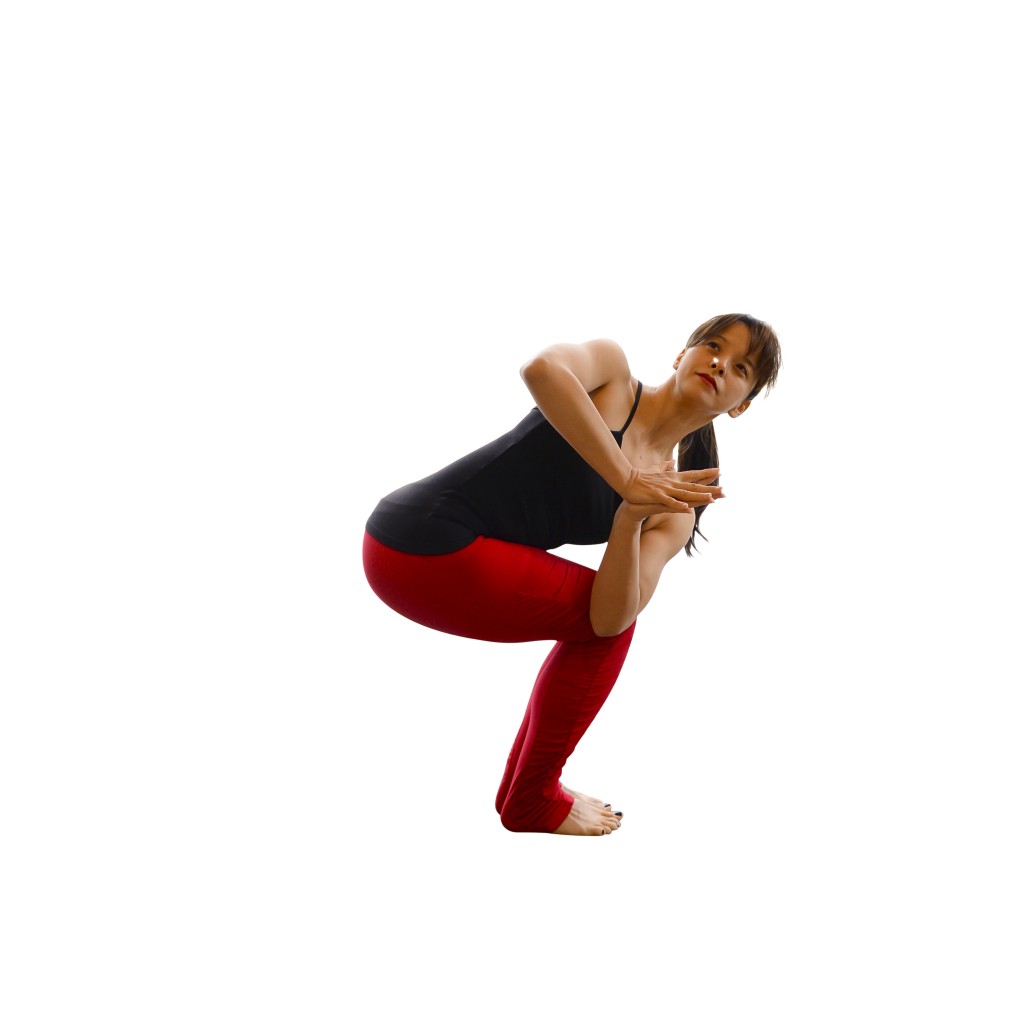
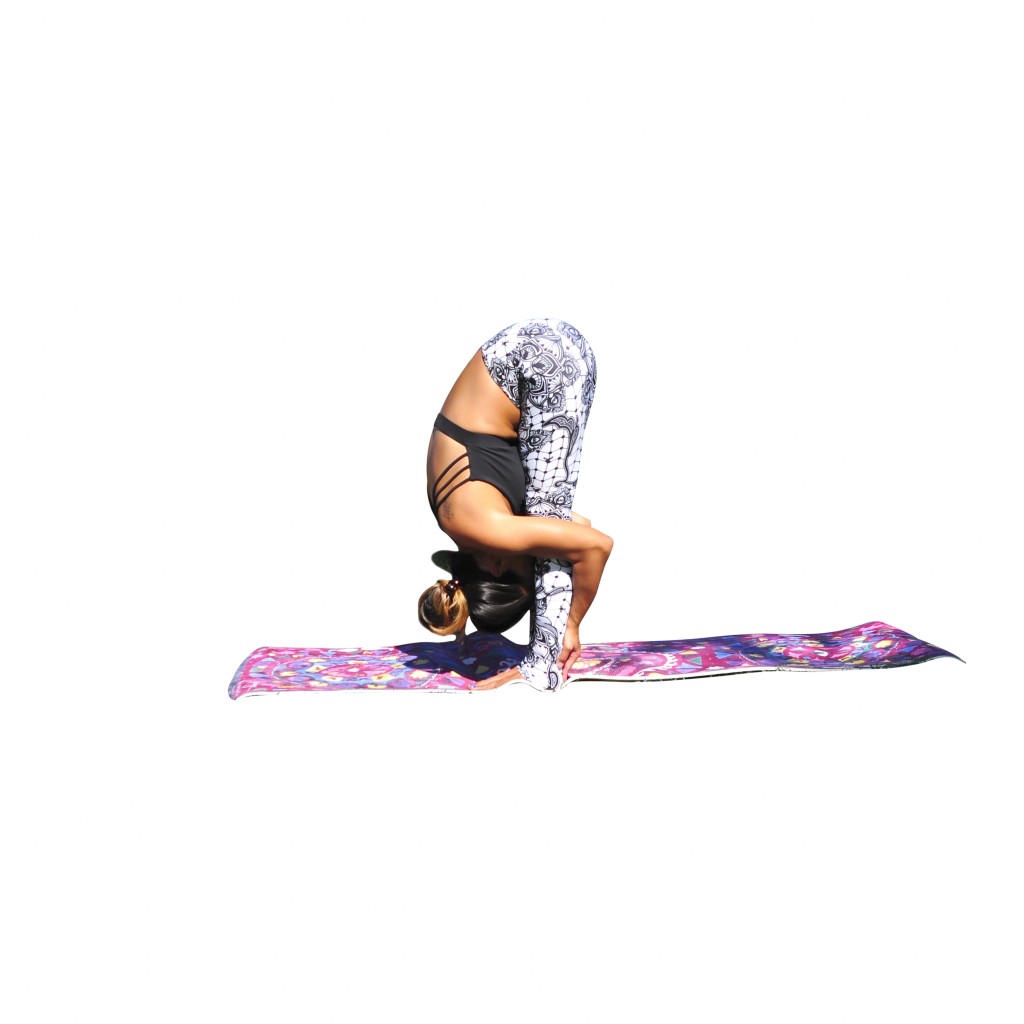
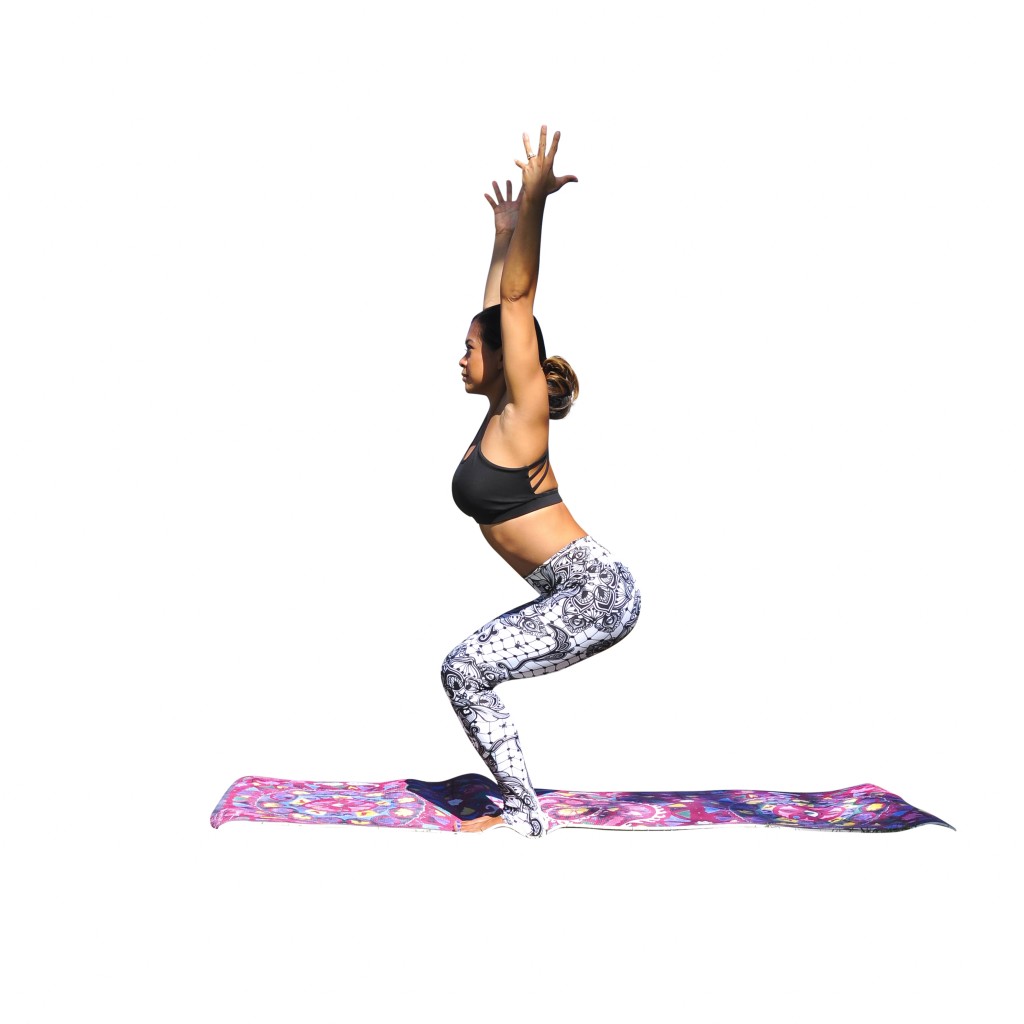
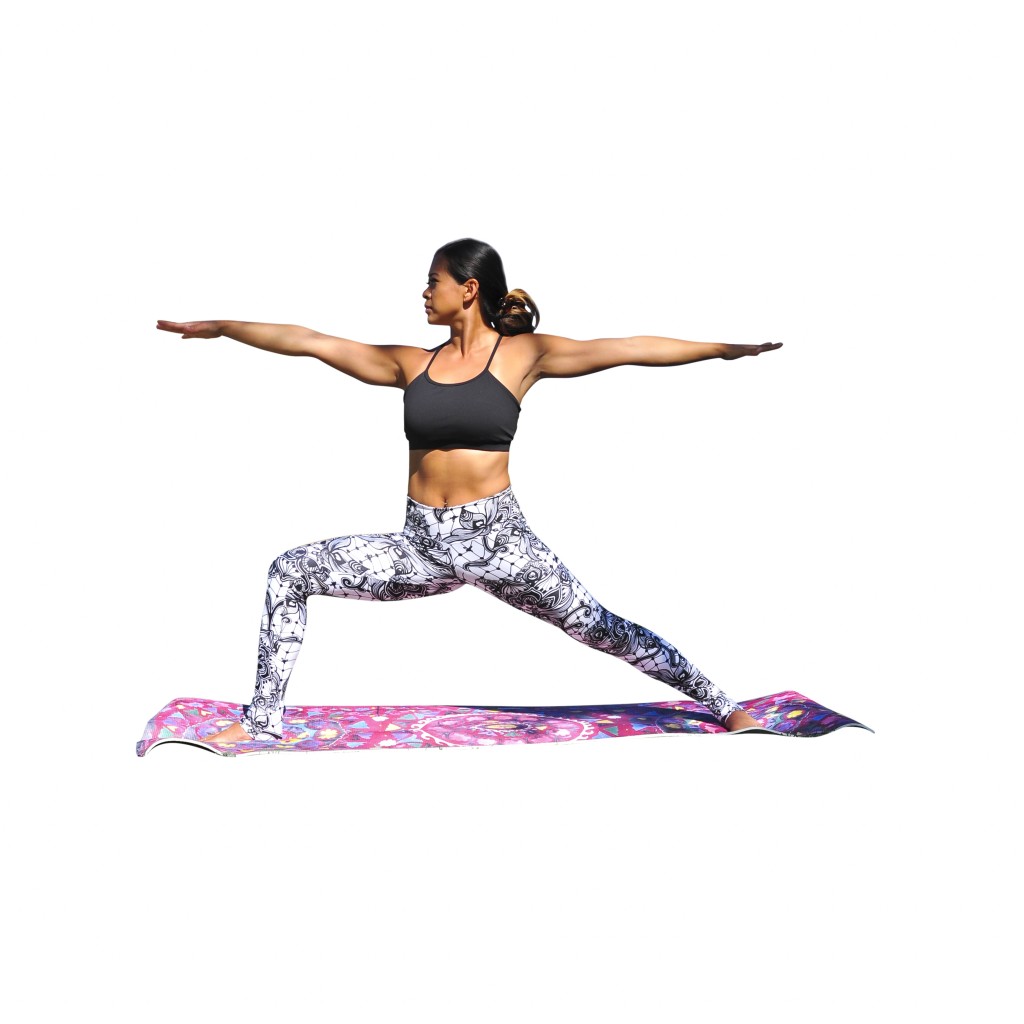
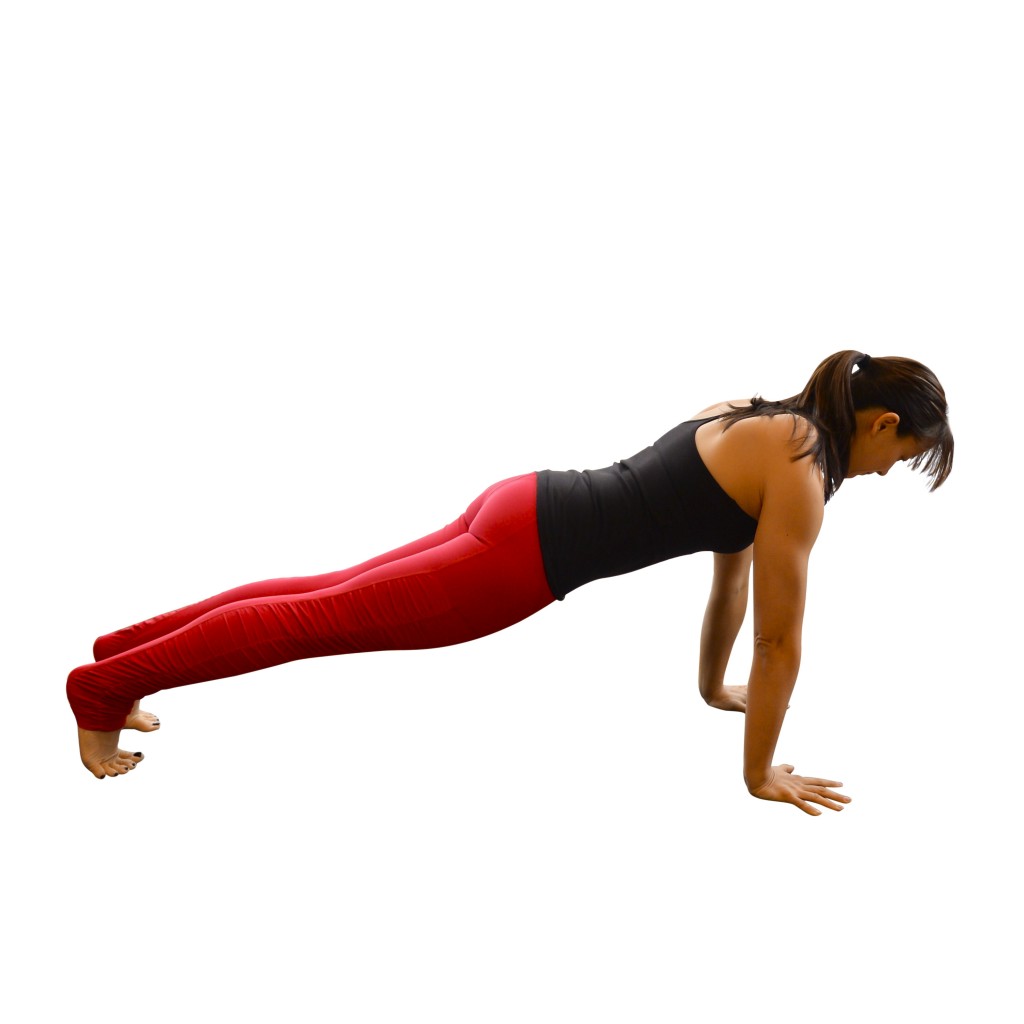
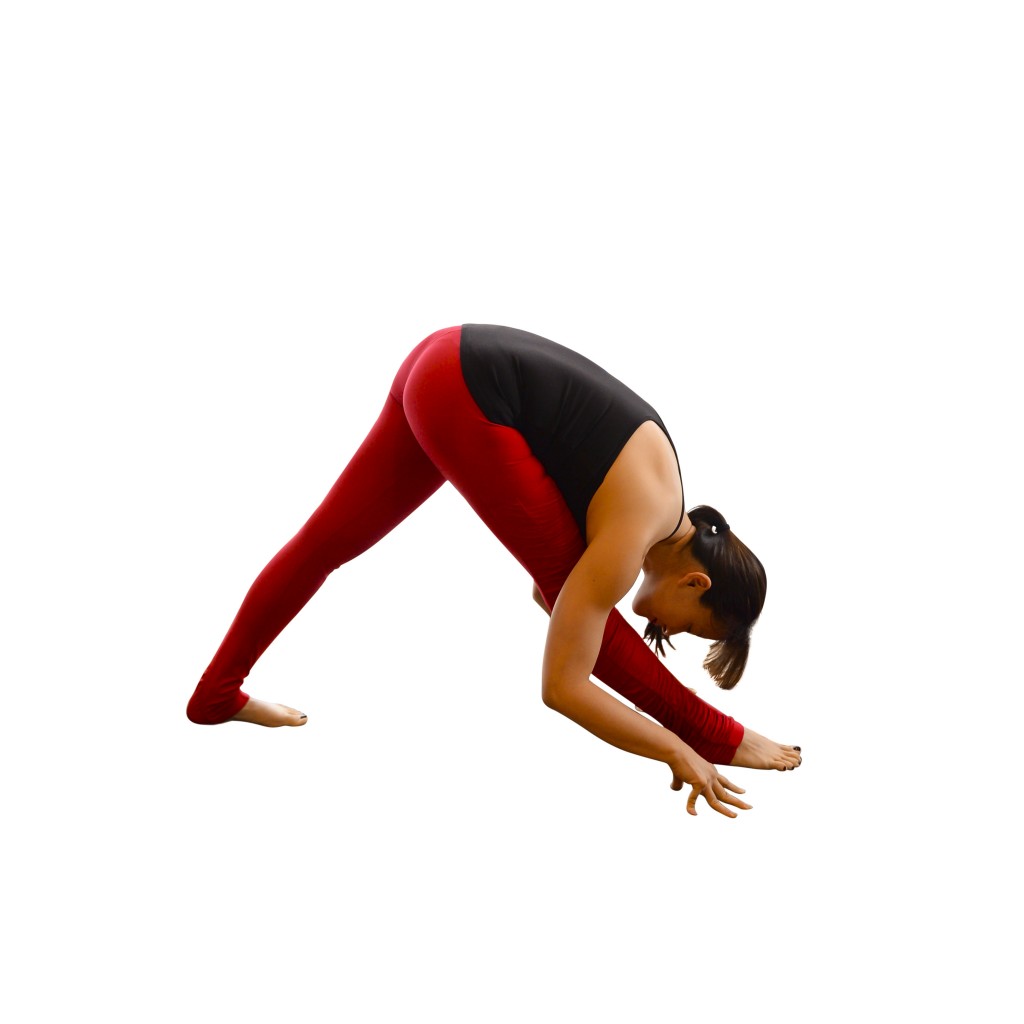
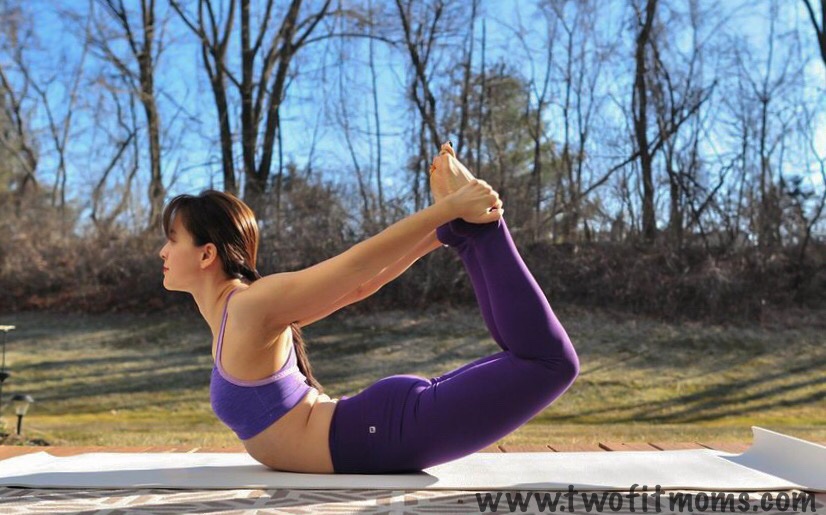
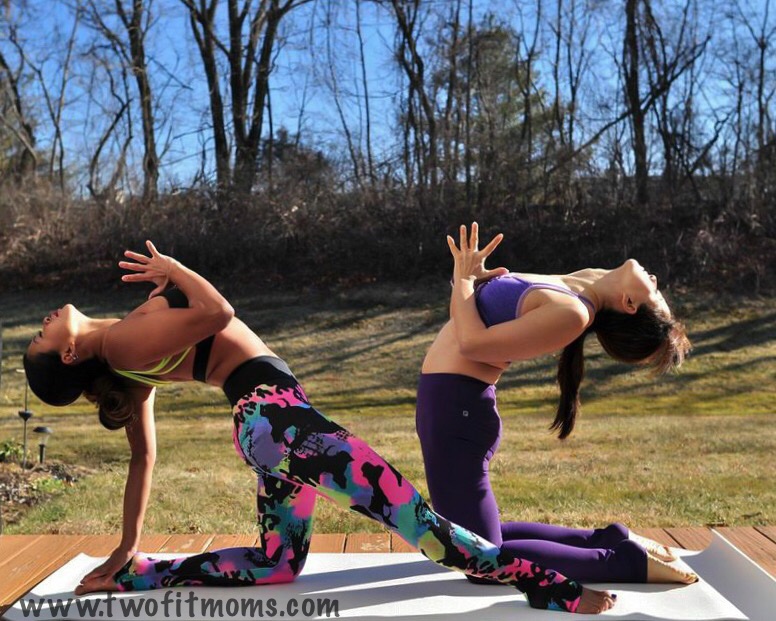
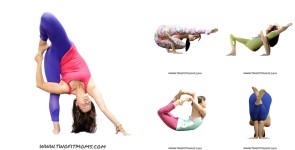
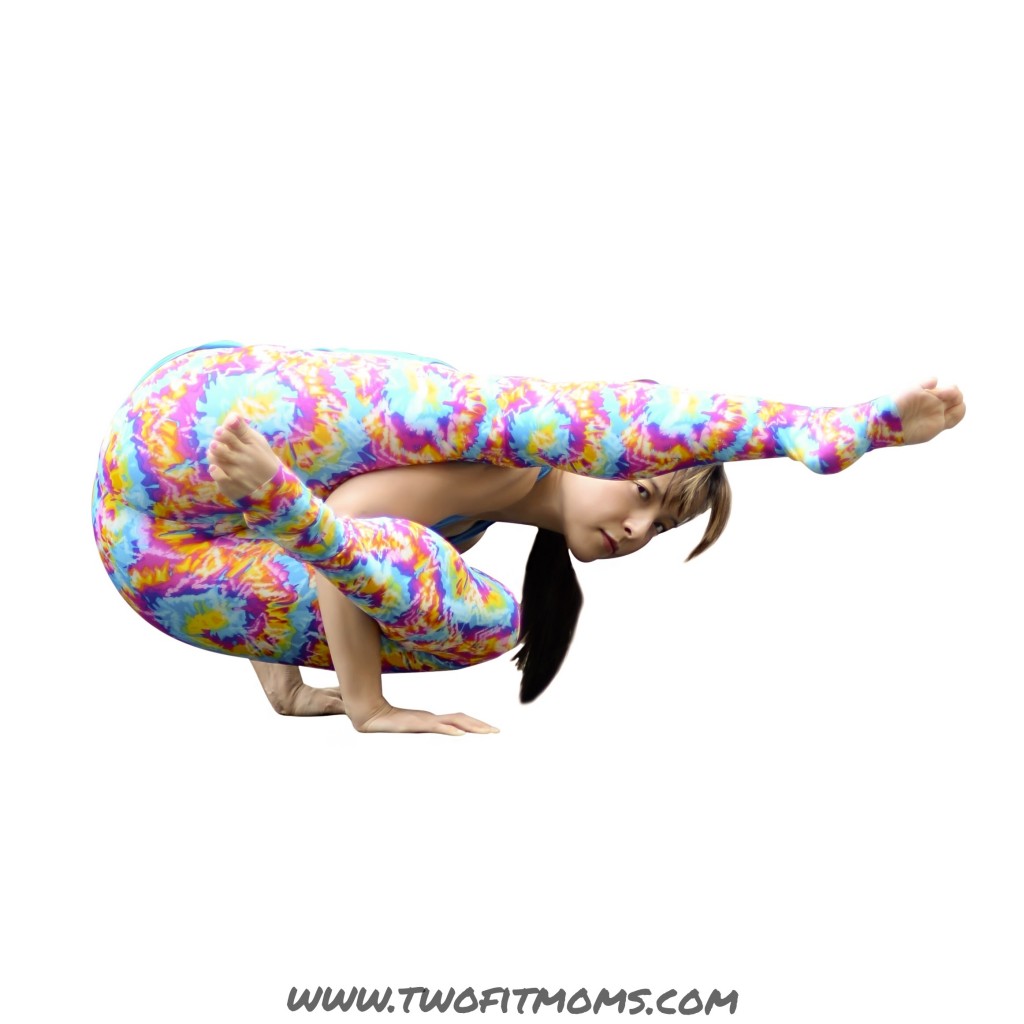
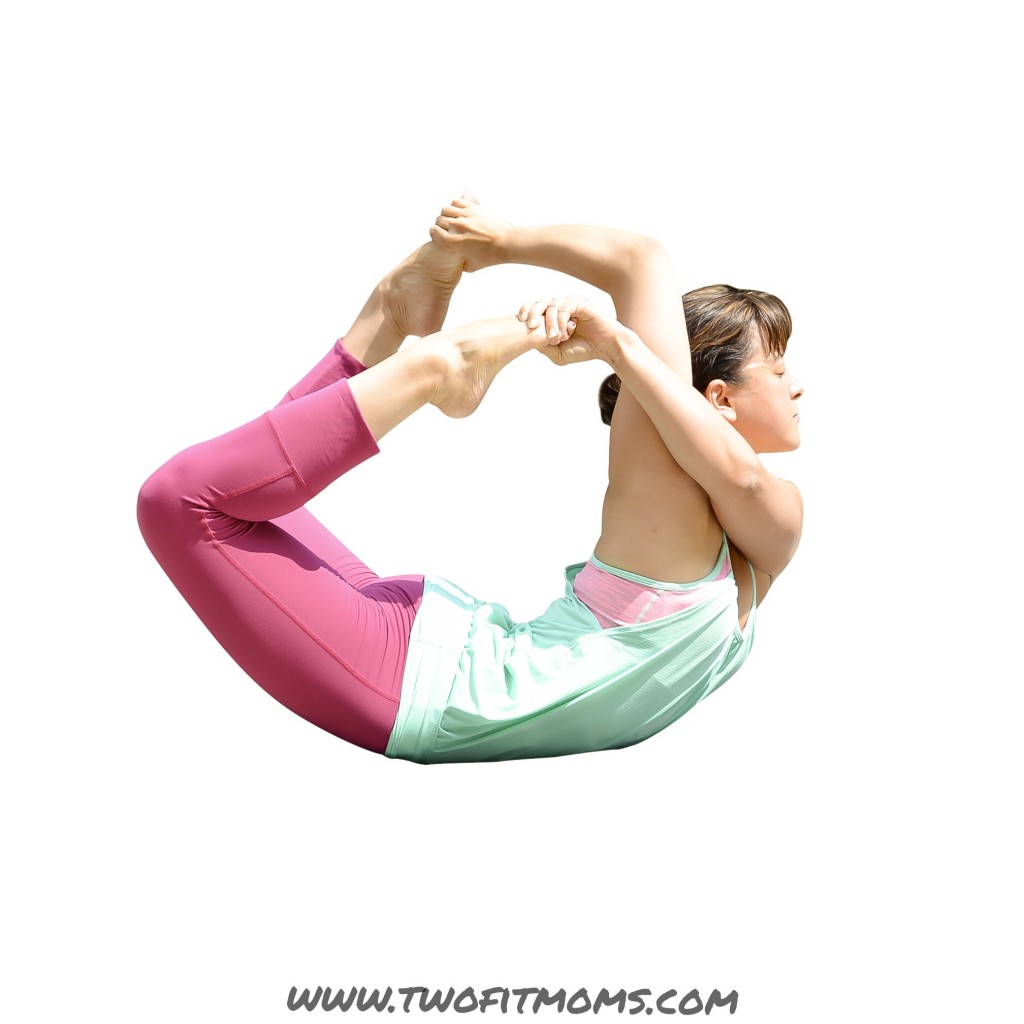
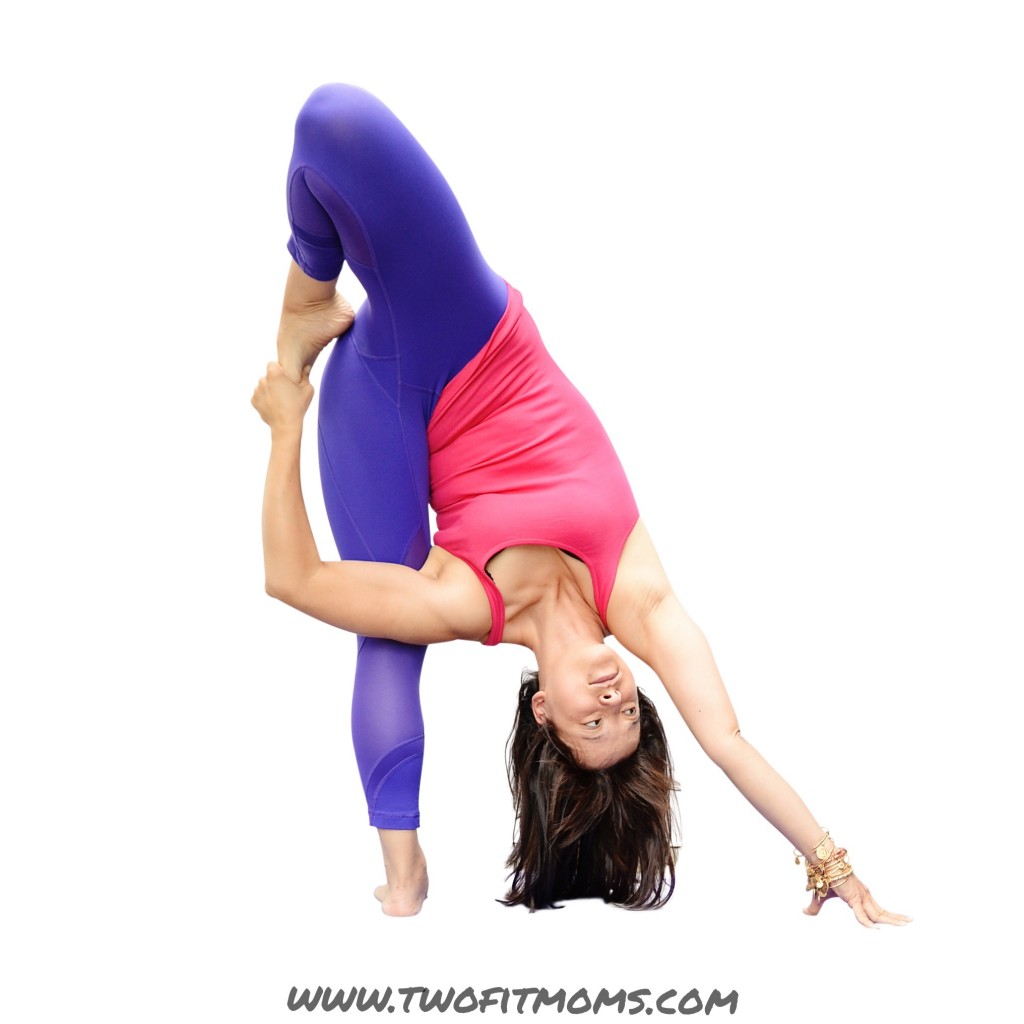
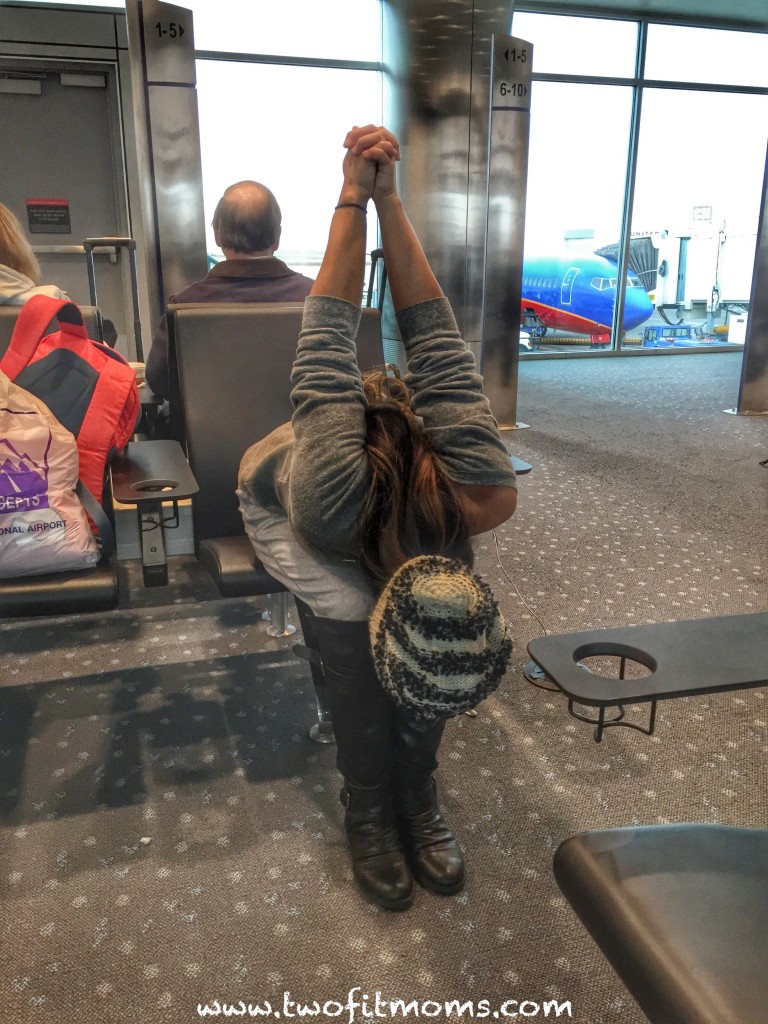
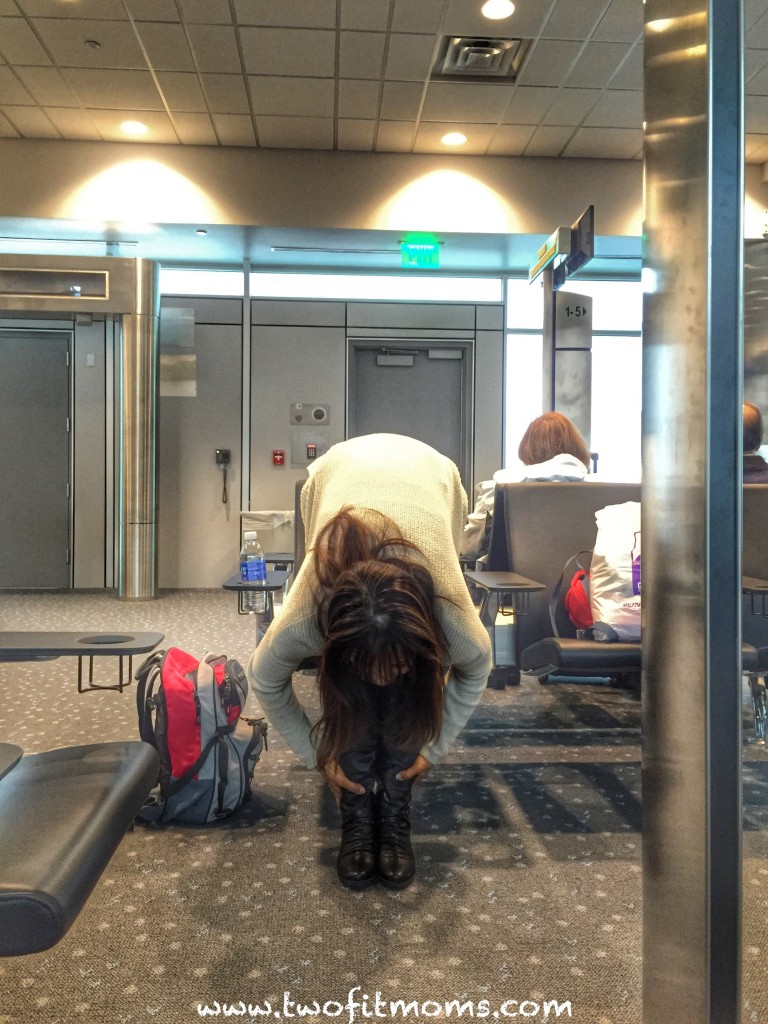
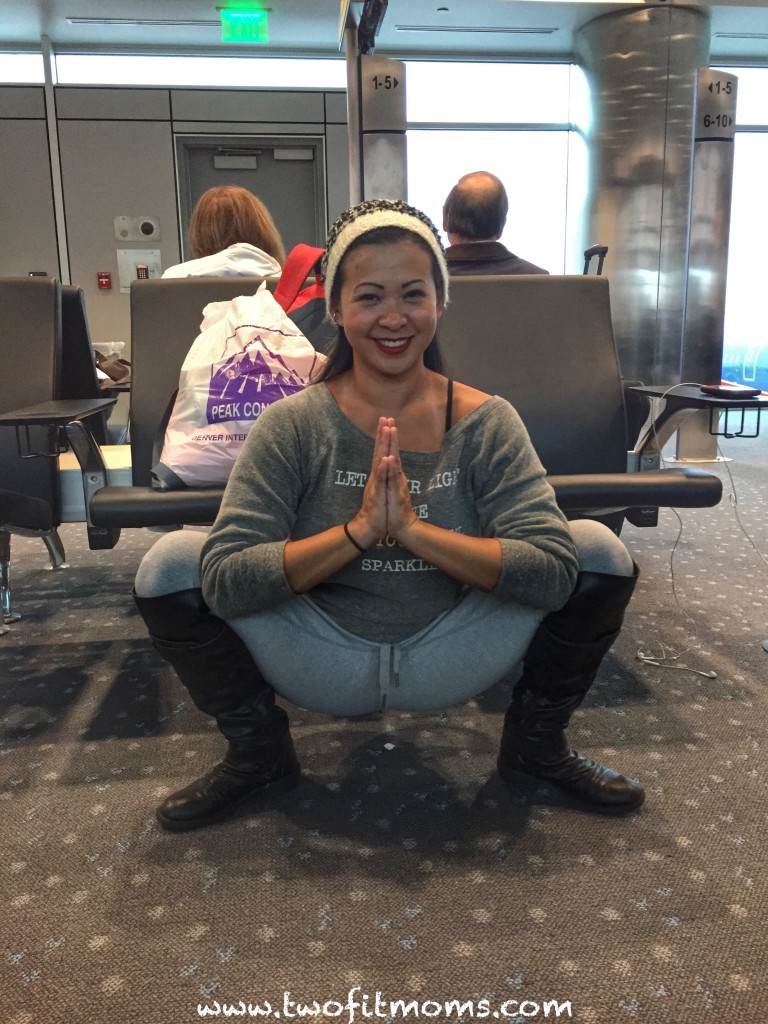
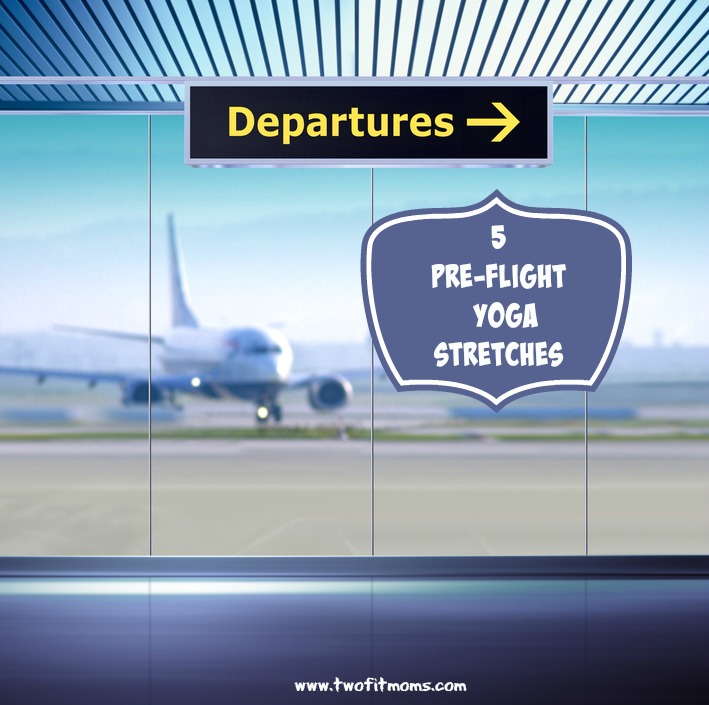
Let me just say that I am relieved to finally be in the air and flying.  Although we arrived at the airport early, we found ourselves sitting at the gate with an hour delay—And it was one of those annoying delays that was supposedly only ten minutes long.  We reasoned that ten minutes wasn’t long enough to shop or eat, so we found ourselves sitting and waiting for the boarding announcement, which of course, didn’t happen in ten minutes.  We hadn’t even boarded the plane, and our bodies felt stiff from sitting.  Laura and I looked at each other and decided it was time for a little airport yoga.

    Next time you find yourself sitting at the terminal with a few minutes to spare, try these five poses, which will loosen up your body before you board the plane.  Don’t worry—there’s no reason to be embarrassed.  You won’t make a scene doing these stretches.  You can do them all at your seat.  Happy flying.

    Chest and Shoulder Stretch
    Sit up tall, engaging your core by pulling your navel toward your spine. Sweep your arms behind your back, and interlace all ten fingers, squeezing your palms together. Roll your shoulders down and away from your ears, and lift your chest toward the sky.  Inhale deeply, then exhale as you hinge forward from the waist, allowing your clasped hands to fall forward.  Continue to breathe deeply.IMG_2452

    Seated Spinal Twist
    Inhale deeply, as you cross your right leg over your left, and place your left hand on the outside of your right thigh.  Place your right hand on the back of the chair, and exhale as you twist your torso to the right.  Press your left hand into your right thigh for leverage while you twist and gaze over your right shoulder.  Hold the stretch for a few breaths and repeat on the other side.IMG_2453

    Hip Stretch
    Sit up tall in your seat, and cross your right ankle over your left thigh.  Flex the right foot, and begin to lean forward, bringing your chest toward your shin.  Maintain length in your spine, and stop moving forward when your spine begins to round.  Breathe deeply through this intense, but very effective hip stretch.  After five breaths, repeat this exercise on the opposite side to stretch the left hip.IMG_2454

    Forward Fold
    Stand with your feet about hip width apart, and fold forward.  Grab opposite elbows, or hold the outsides of your calves as shown here.  Relax your head and neck, and allow the weight of your torso to release the tension in your lower back and to stretch the hamstrings.  Take five long breaths in this pose, then put a slight bend in your knees as you slowly rise to an upright position.IMG_2455

    Wide Squat
    Separate the feet a bit wider than hip width apart. Angle your toes about 45 degrees out to either side. Bring your upper arms to the inside of your thighs, and press your palms together in front of your heart. Lengthen the spine, sit up tall, and use your triceps to press your inner thighs back in space. Breathe deeply, and enjoy the stretch. IMG_2456

  • Yoga Lifestyle:  Pre-Holiday Toy Decluttering

    Yoga Lifestyle: Pre-Holiday Toy Decluttering

    Let’s continue on our quest to create a yoga lifestyle—a life where peace and stillness are not limited to the confines of our yoga mats.  Let’s build a life where clarity and stillness extend to all other areas of our lives.

    A couple of weeks ago, we began the process of removing mental clutter by developing the habit of creating a nightly to-do list.  By creating a to-do list, we made the conscious decision to commit our jumble of thoughts and obligations to paper and set an intention to live the next day with purpose.Wooden alphabet blocks. Baby Blocks

    This week, let’s focus on an area that is the cause of anxiety for so many parents—toy clutter.  Toy clutter is overwhelming because there is just so much of it. Toys can easily overtake bedrooms, play rooms and family rooms.  Trust me, I’ve seen it happen in my own house.

    With the gift-giving season right around the corner, the likelihood of more toys entering your home is very high.  Now is the time to tackle this project of paring down and organizing.

    Your ultimate goal is to declutter your toy collection and organize your play space so that your children are left with items that they enjoy and can easily find.  In the process, you will find that you feel lighter and happier with less.

    Before you begin tackling the clutter, take a moment to consider why the clutter exists in the first place.  Without taking this important step to stop and consider why the clutter exists, the root cause of the problem will not be addressed.  Dealing with physical clutter is only a temporary solution unless you become honest with yourself and do a little bit of soul searching to put an end to the mess.

    Ask yourself the following questions: 

    -Why do my children have so many toys?

    -Am I contributing to the excess by purchasing more?

    -If so, why do I buy more?

    -Do other family members contribute to the glut of toys in the house?

    -If so, can I have a discussion with them to stop the influx of toys?

    -Do I throw an extra toy into the shopping cart just because it’s inexpensive?

    -Do I buy toys throughout the year, even if it’s not a major holiday or a birthday?

    -Do I keep all toys, even if they are not age appropriate?

    -Do I keep toys, even if my children do not play with them?

    This is not an exhaustive list of the questions that you may ask yourself, but it is a place to start.  Once you are done reflecting, it’s time to begin managing the clutter.

    If this is your first time decluttering, I highly recommend distributing the work across multiple days.  Doing it all at once is very overwhelming.

    Start with one large box and one large garbage bag.  The large box will hold all toys that will be donated.  The large garbage bag will hold trash—Not all toys are in good enough condition to pass down to another child.DSC_7182

    When your box and bag are filled, STOP!  Assess your energy level.  Can you tackle another full box and bag today, or are you tired?

    Do not continue if you’ve lost steam.  Your play area/kids’ bedrooms/family room did not become cluttered in one day, so give yourself some time to return your home to working order.  You can do it, one box and one bag at a time.

    Here are some helpful guidelines to consider while you are decluttering:

    -Keep items that can be classified as art supplies:  stencil kits, beading kits, sewing supplies, markers, crayons, glue, tape, paper, paint, stickers, etc.  They foster creativity and will ultimately be used (even if only for homework and school projects).

    -If your child regularly plays with the toy, keep it.  If your child does not play with it, find it a new home.

    -Try to overcome your own feelings of guilt.  Do not keep a toy just because it was a gift or an expensive purchase.  Avoid hoarding, and find a child that will truly enjoy the item.

    -If the toy has significant sentimental value, keep it.  You don’t need to keep 50 stuffed animals, but if your child had a favorite doll or teddy bear as a baby, save it.  There is nothing wrong with maintaining a few mementos of times gone by.

    -If the toy/game is broken or has missing pieces, throw it away.

    -Donate toys that are in good condition and intended for a much younger child.  There is no point in cluttering your home with toys that are not age appropriate.