Category: Yoga

  • Daily Practice: Get Your Down Dog On!

    Daily Practice: Get Your Down Dog On!

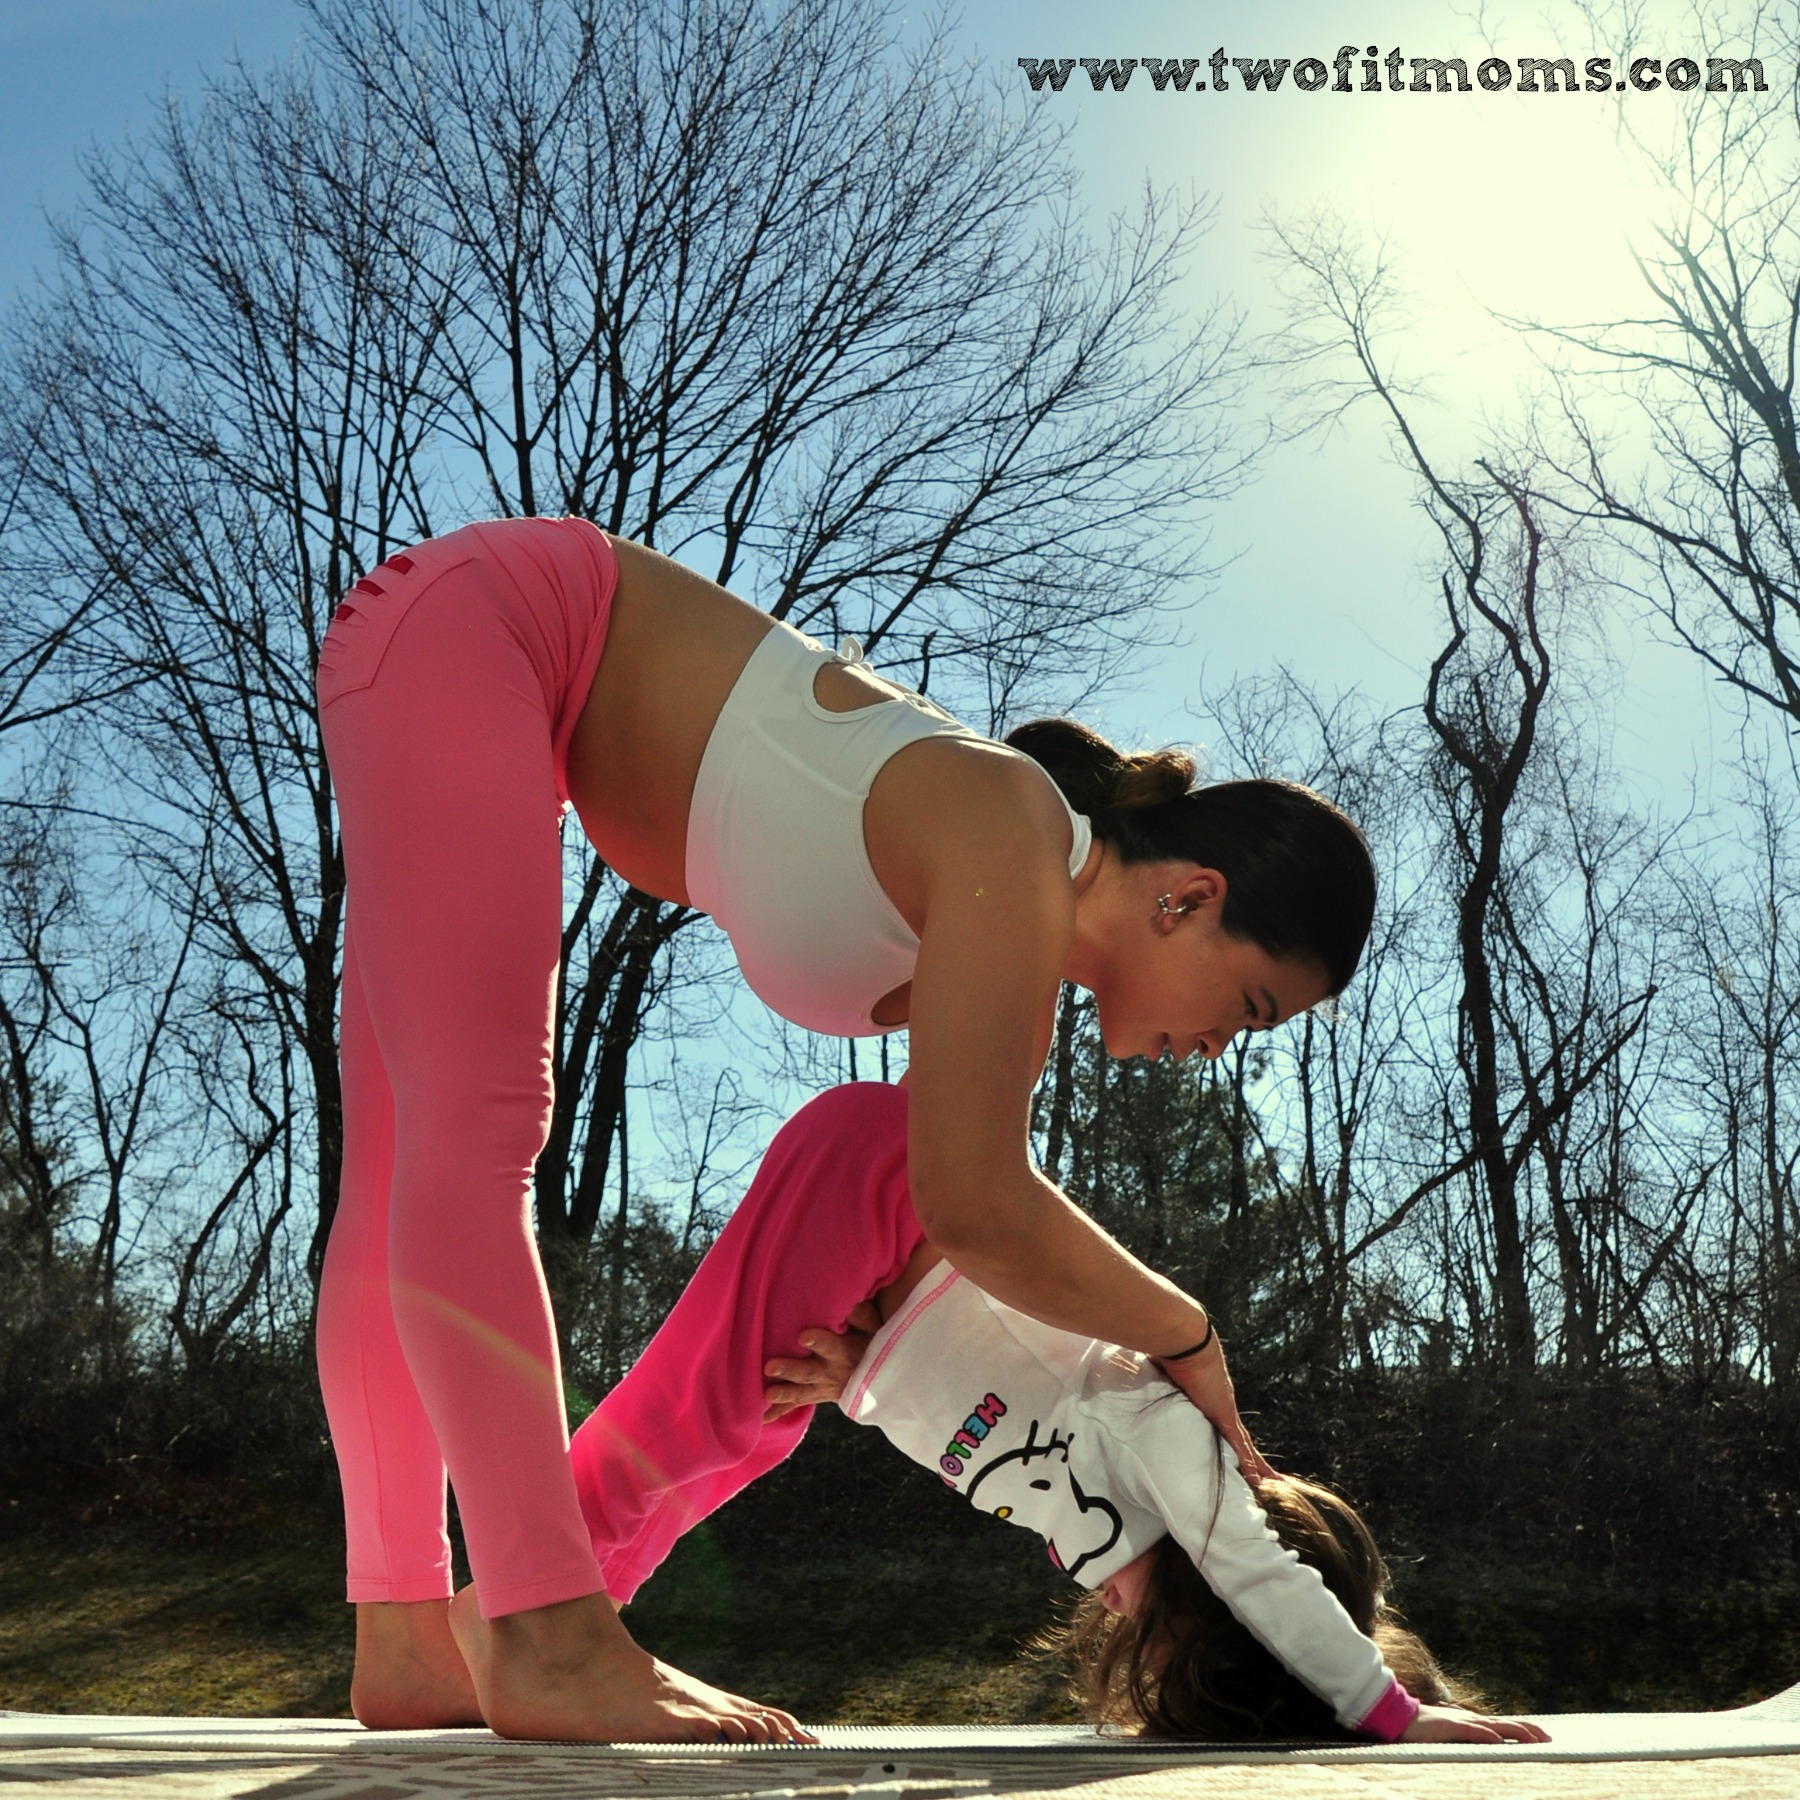
    Downward Facing Dog, or Adho Mukha Svanasana, is one of the most well-known yoga poses. It is the pose we come back to as we move through our flow. It is also a resting pose. Since we are most frequently in Down Dog, we sometimes forget to pay attention to our form.  So, let’s break down Downward Facing Dog to help you get the most out of this pose.

    DSC_4264s


    Hands & Feet: Where should they be?

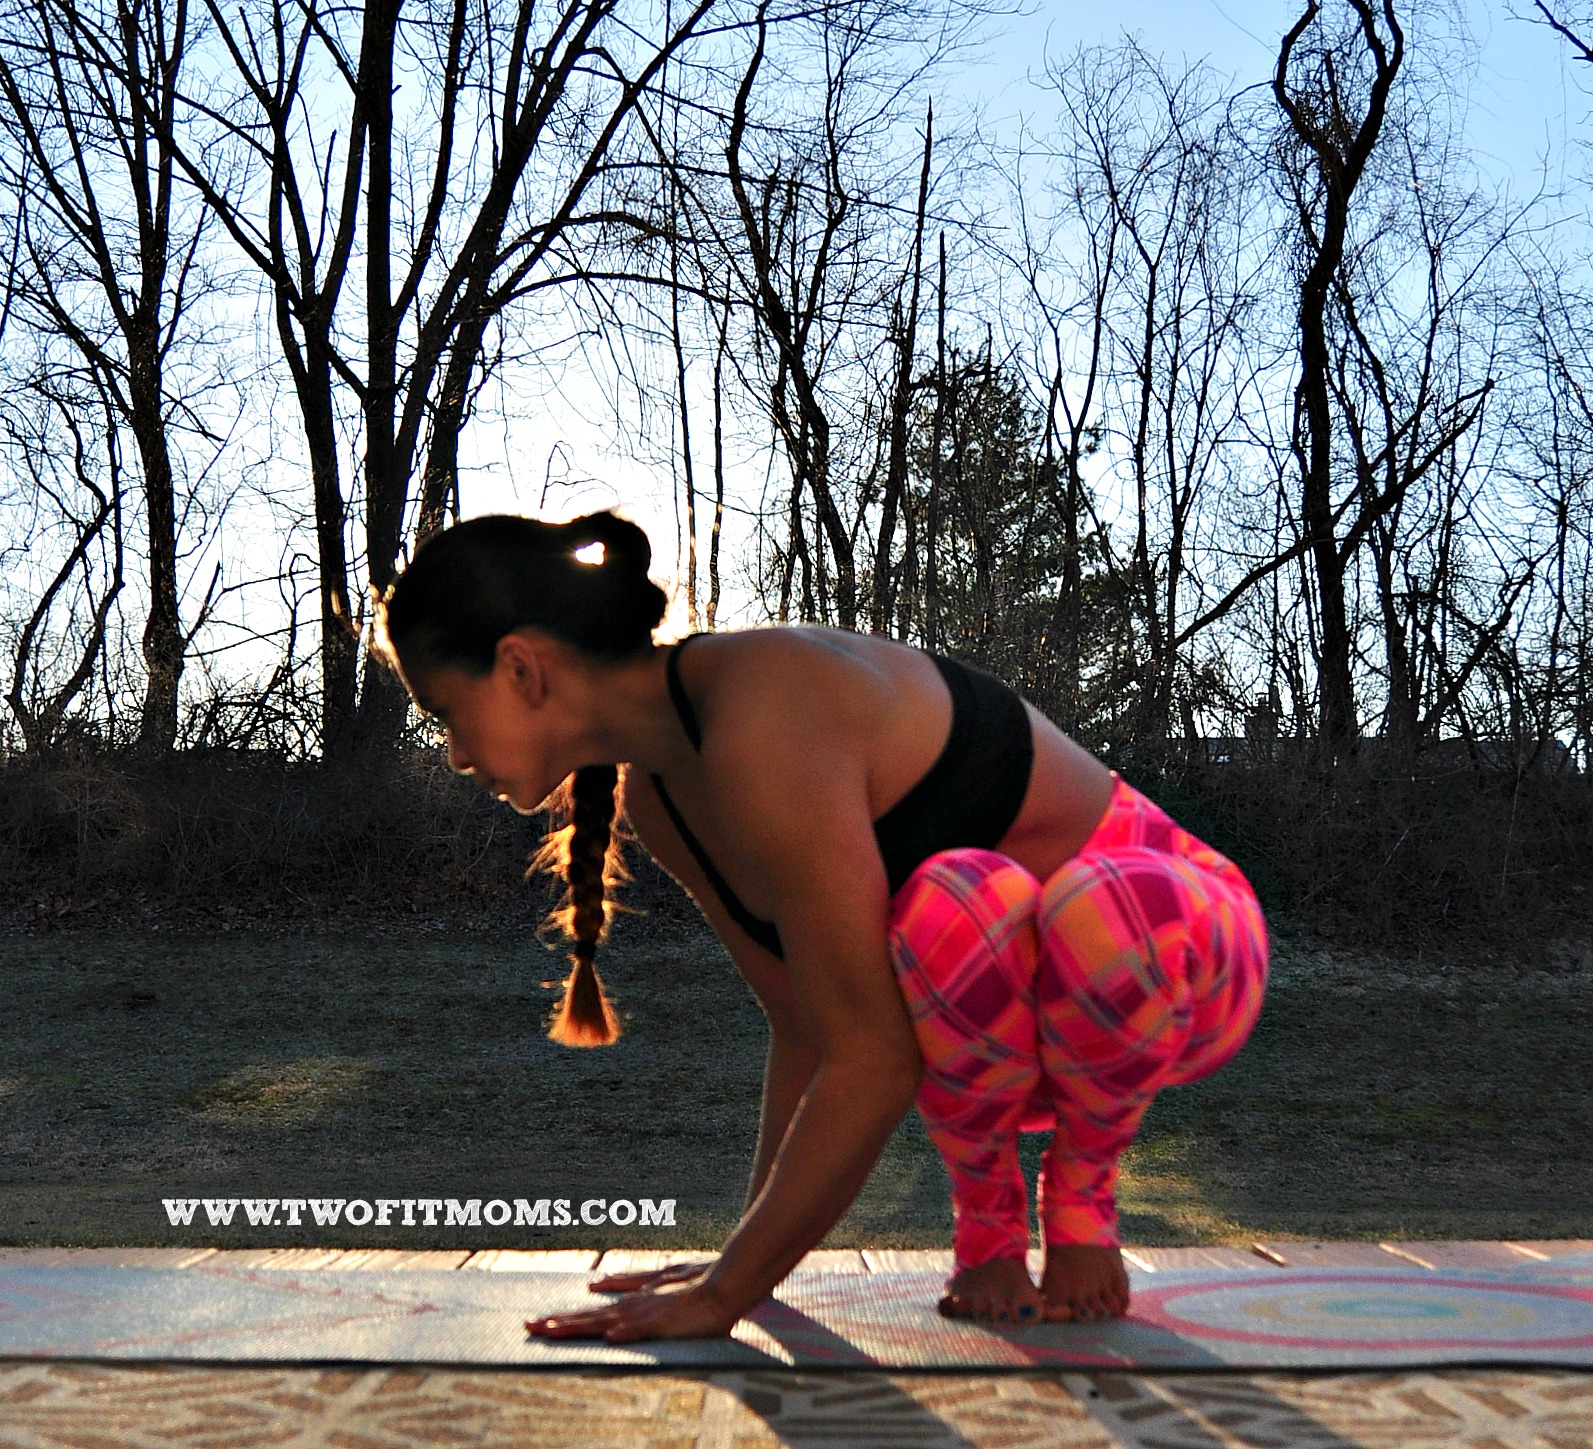
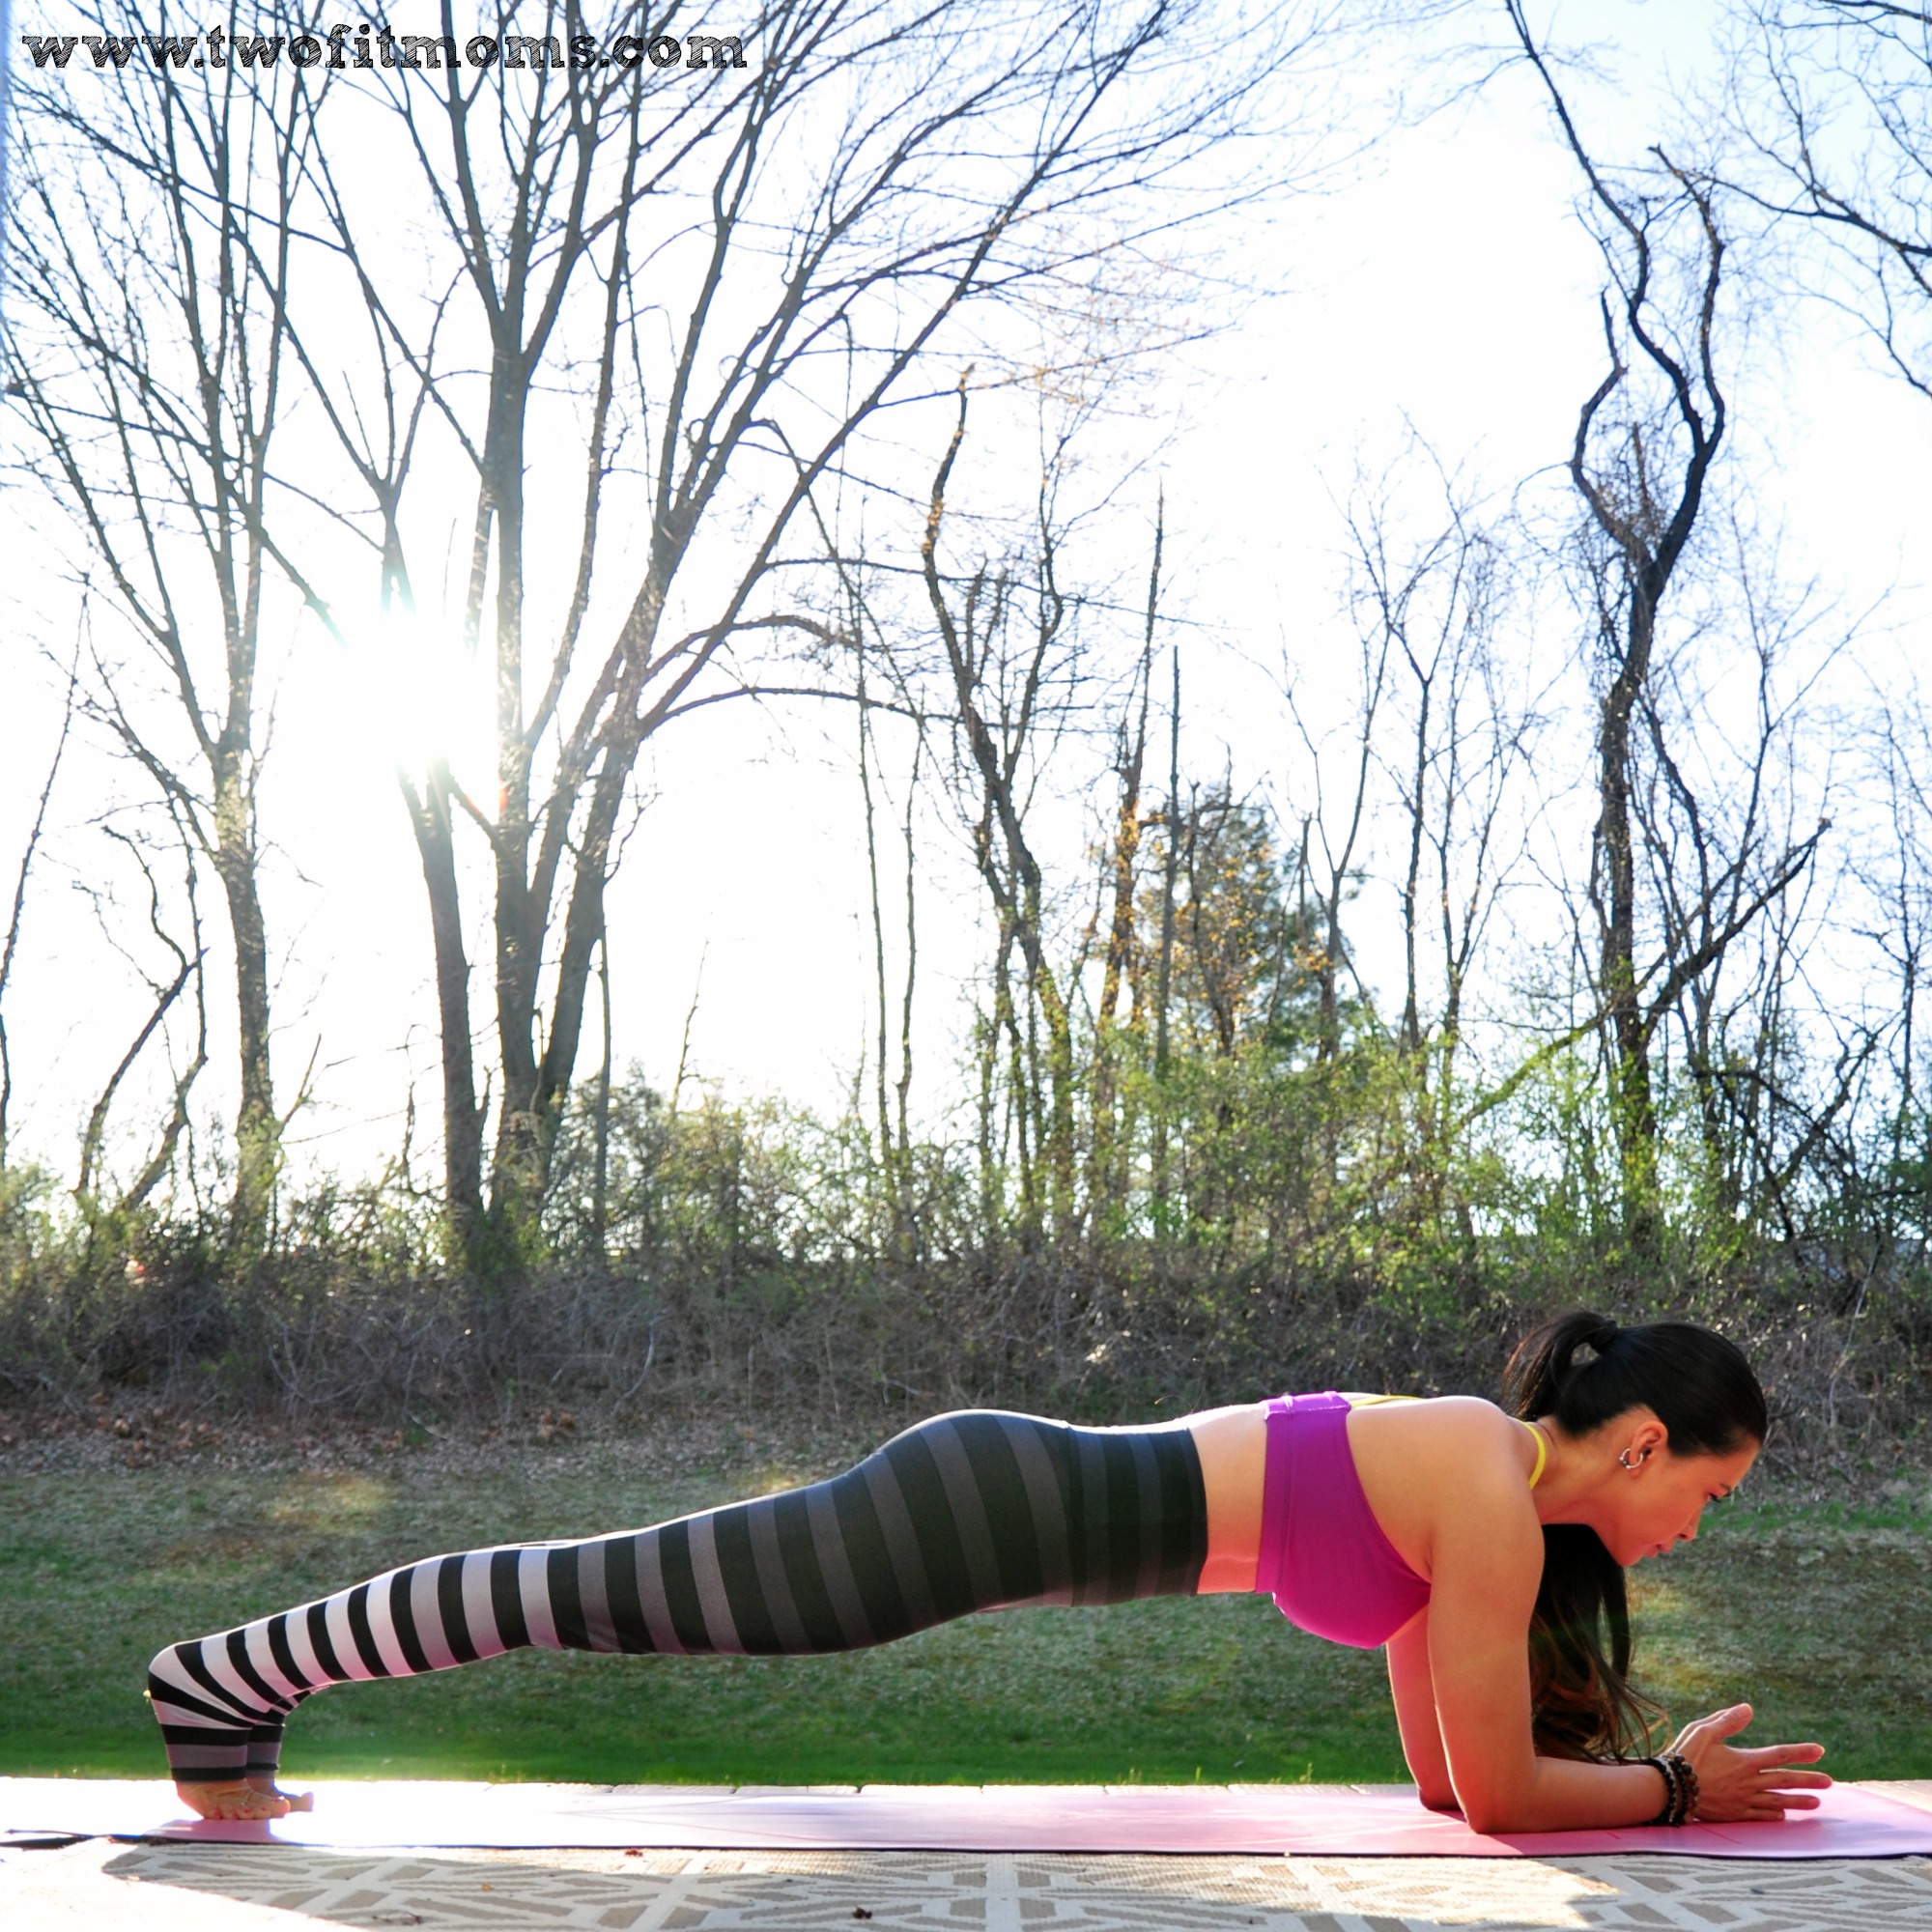
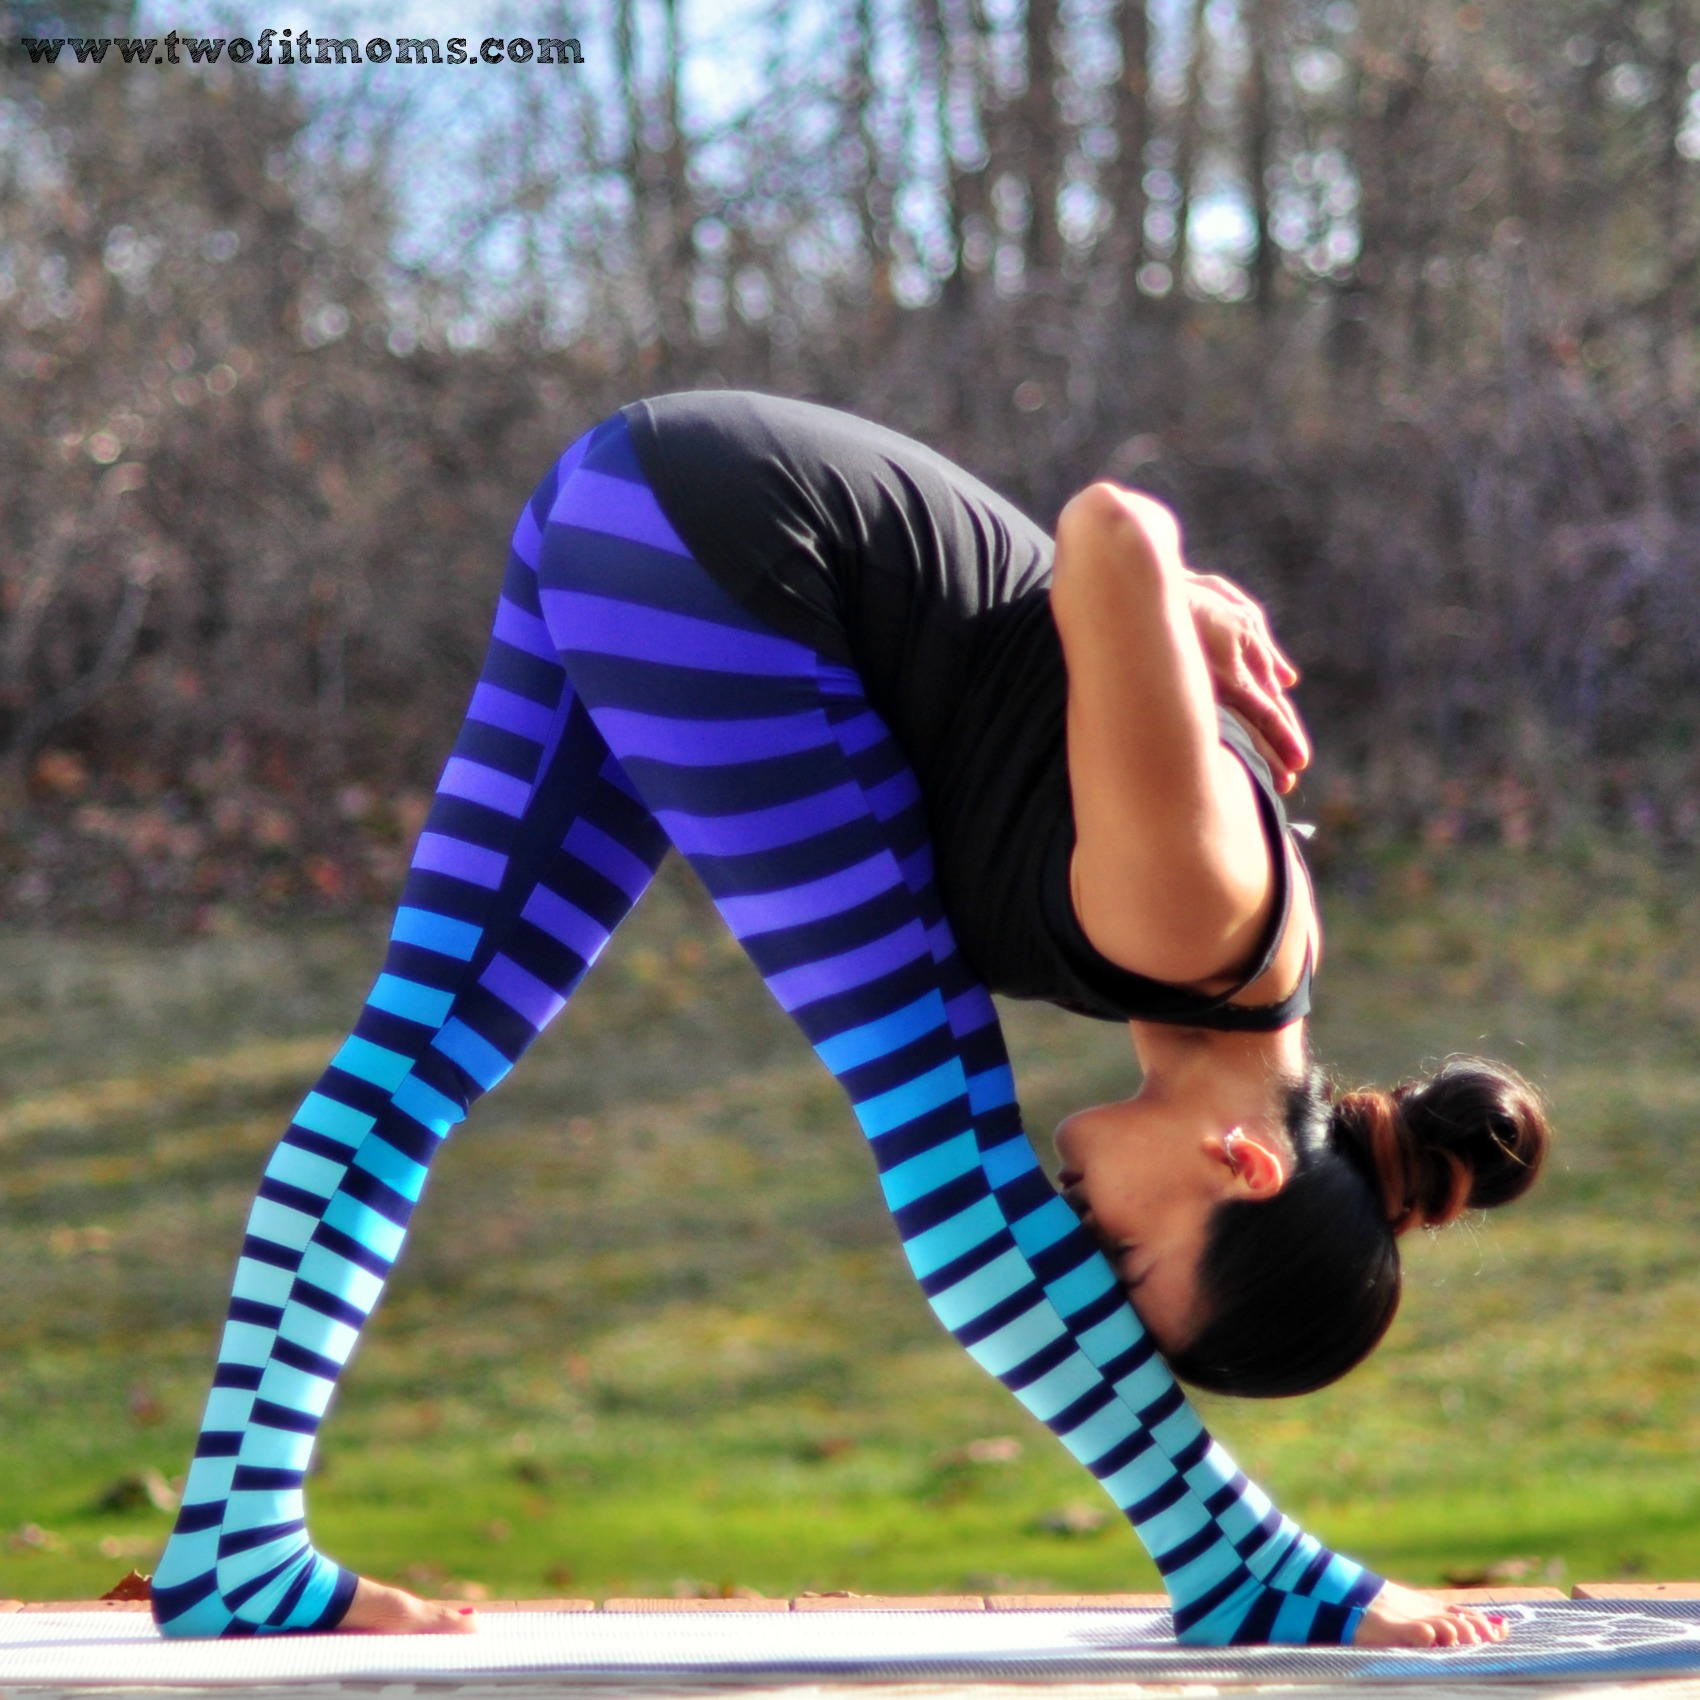
    Generally speaking, if you come into Plank Pose (or the top of a push up), your hands and feet are in the perfect position for Downward Facing Dog. This is the ideal place to start; however, it may not work for you.  I walk my feet in about an inch when doing this. Play with it, everyone’s body is different!

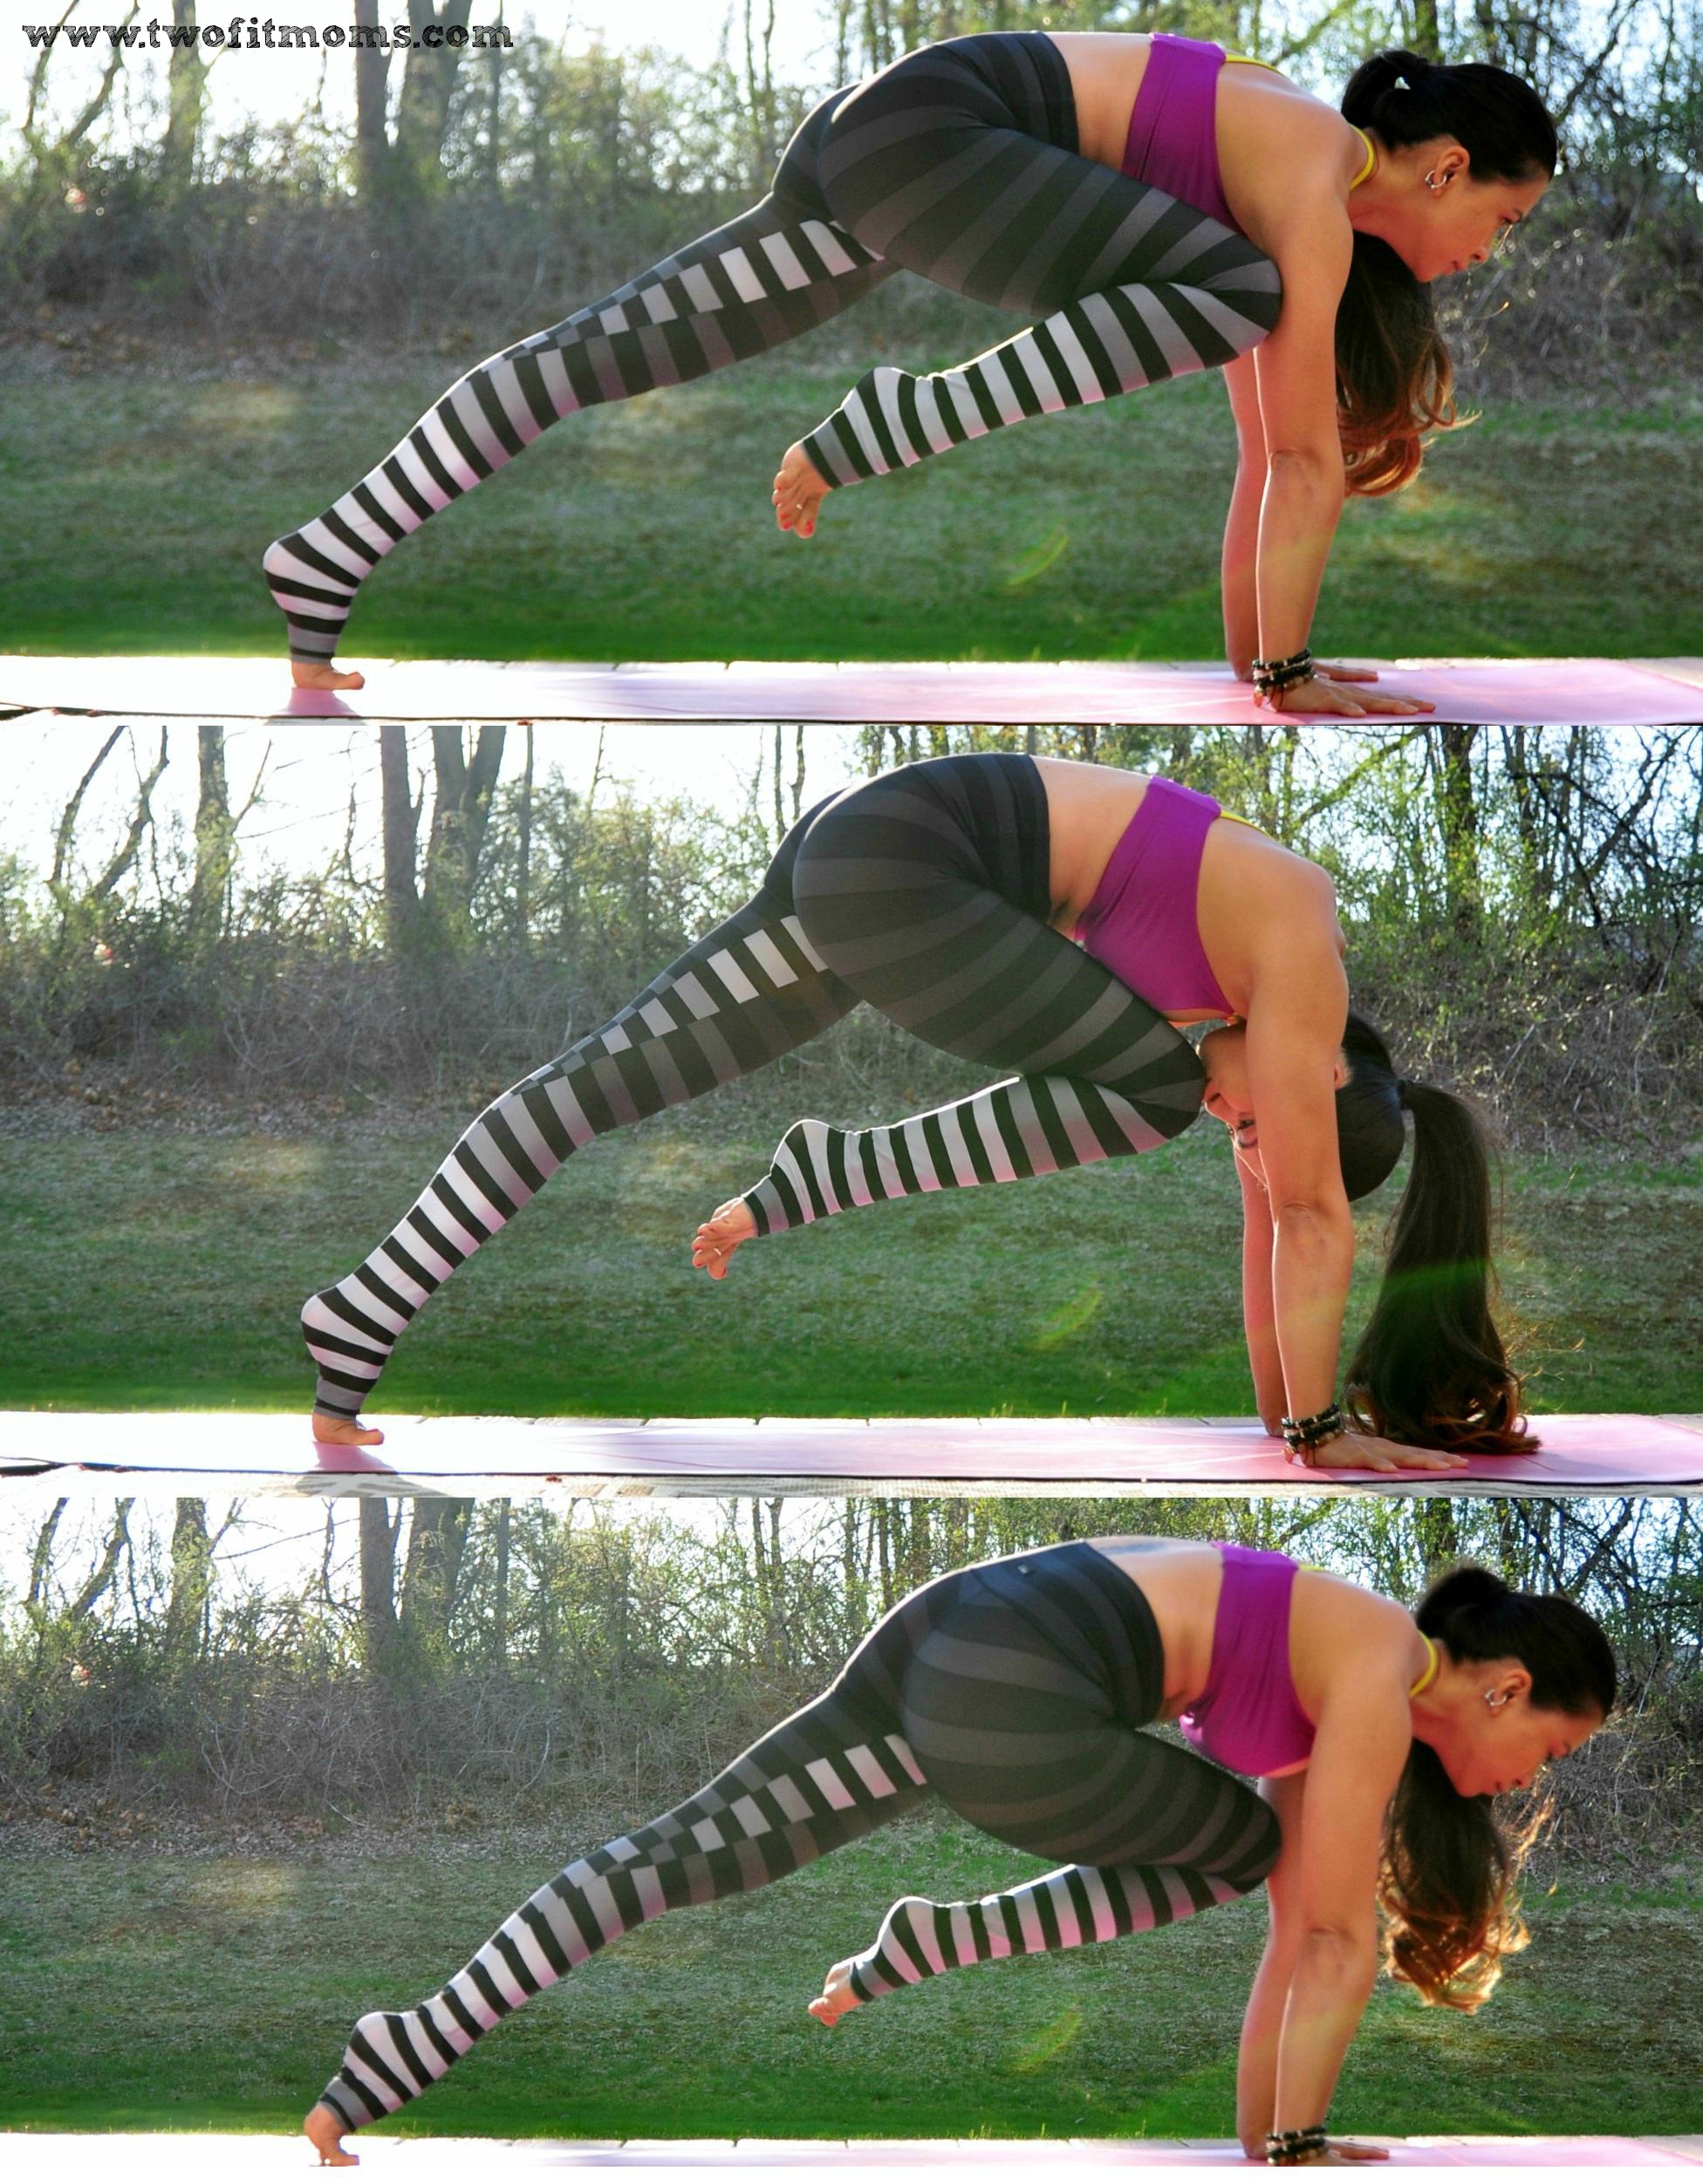
    If you are coming into Down Dog from Tabletop position (on all fours), you can either move your hands a few inches past your shoulders OR move your knees back a few inches before lifting the hips.

    Here’s your Down Dog checklist:

    DSC_4277s

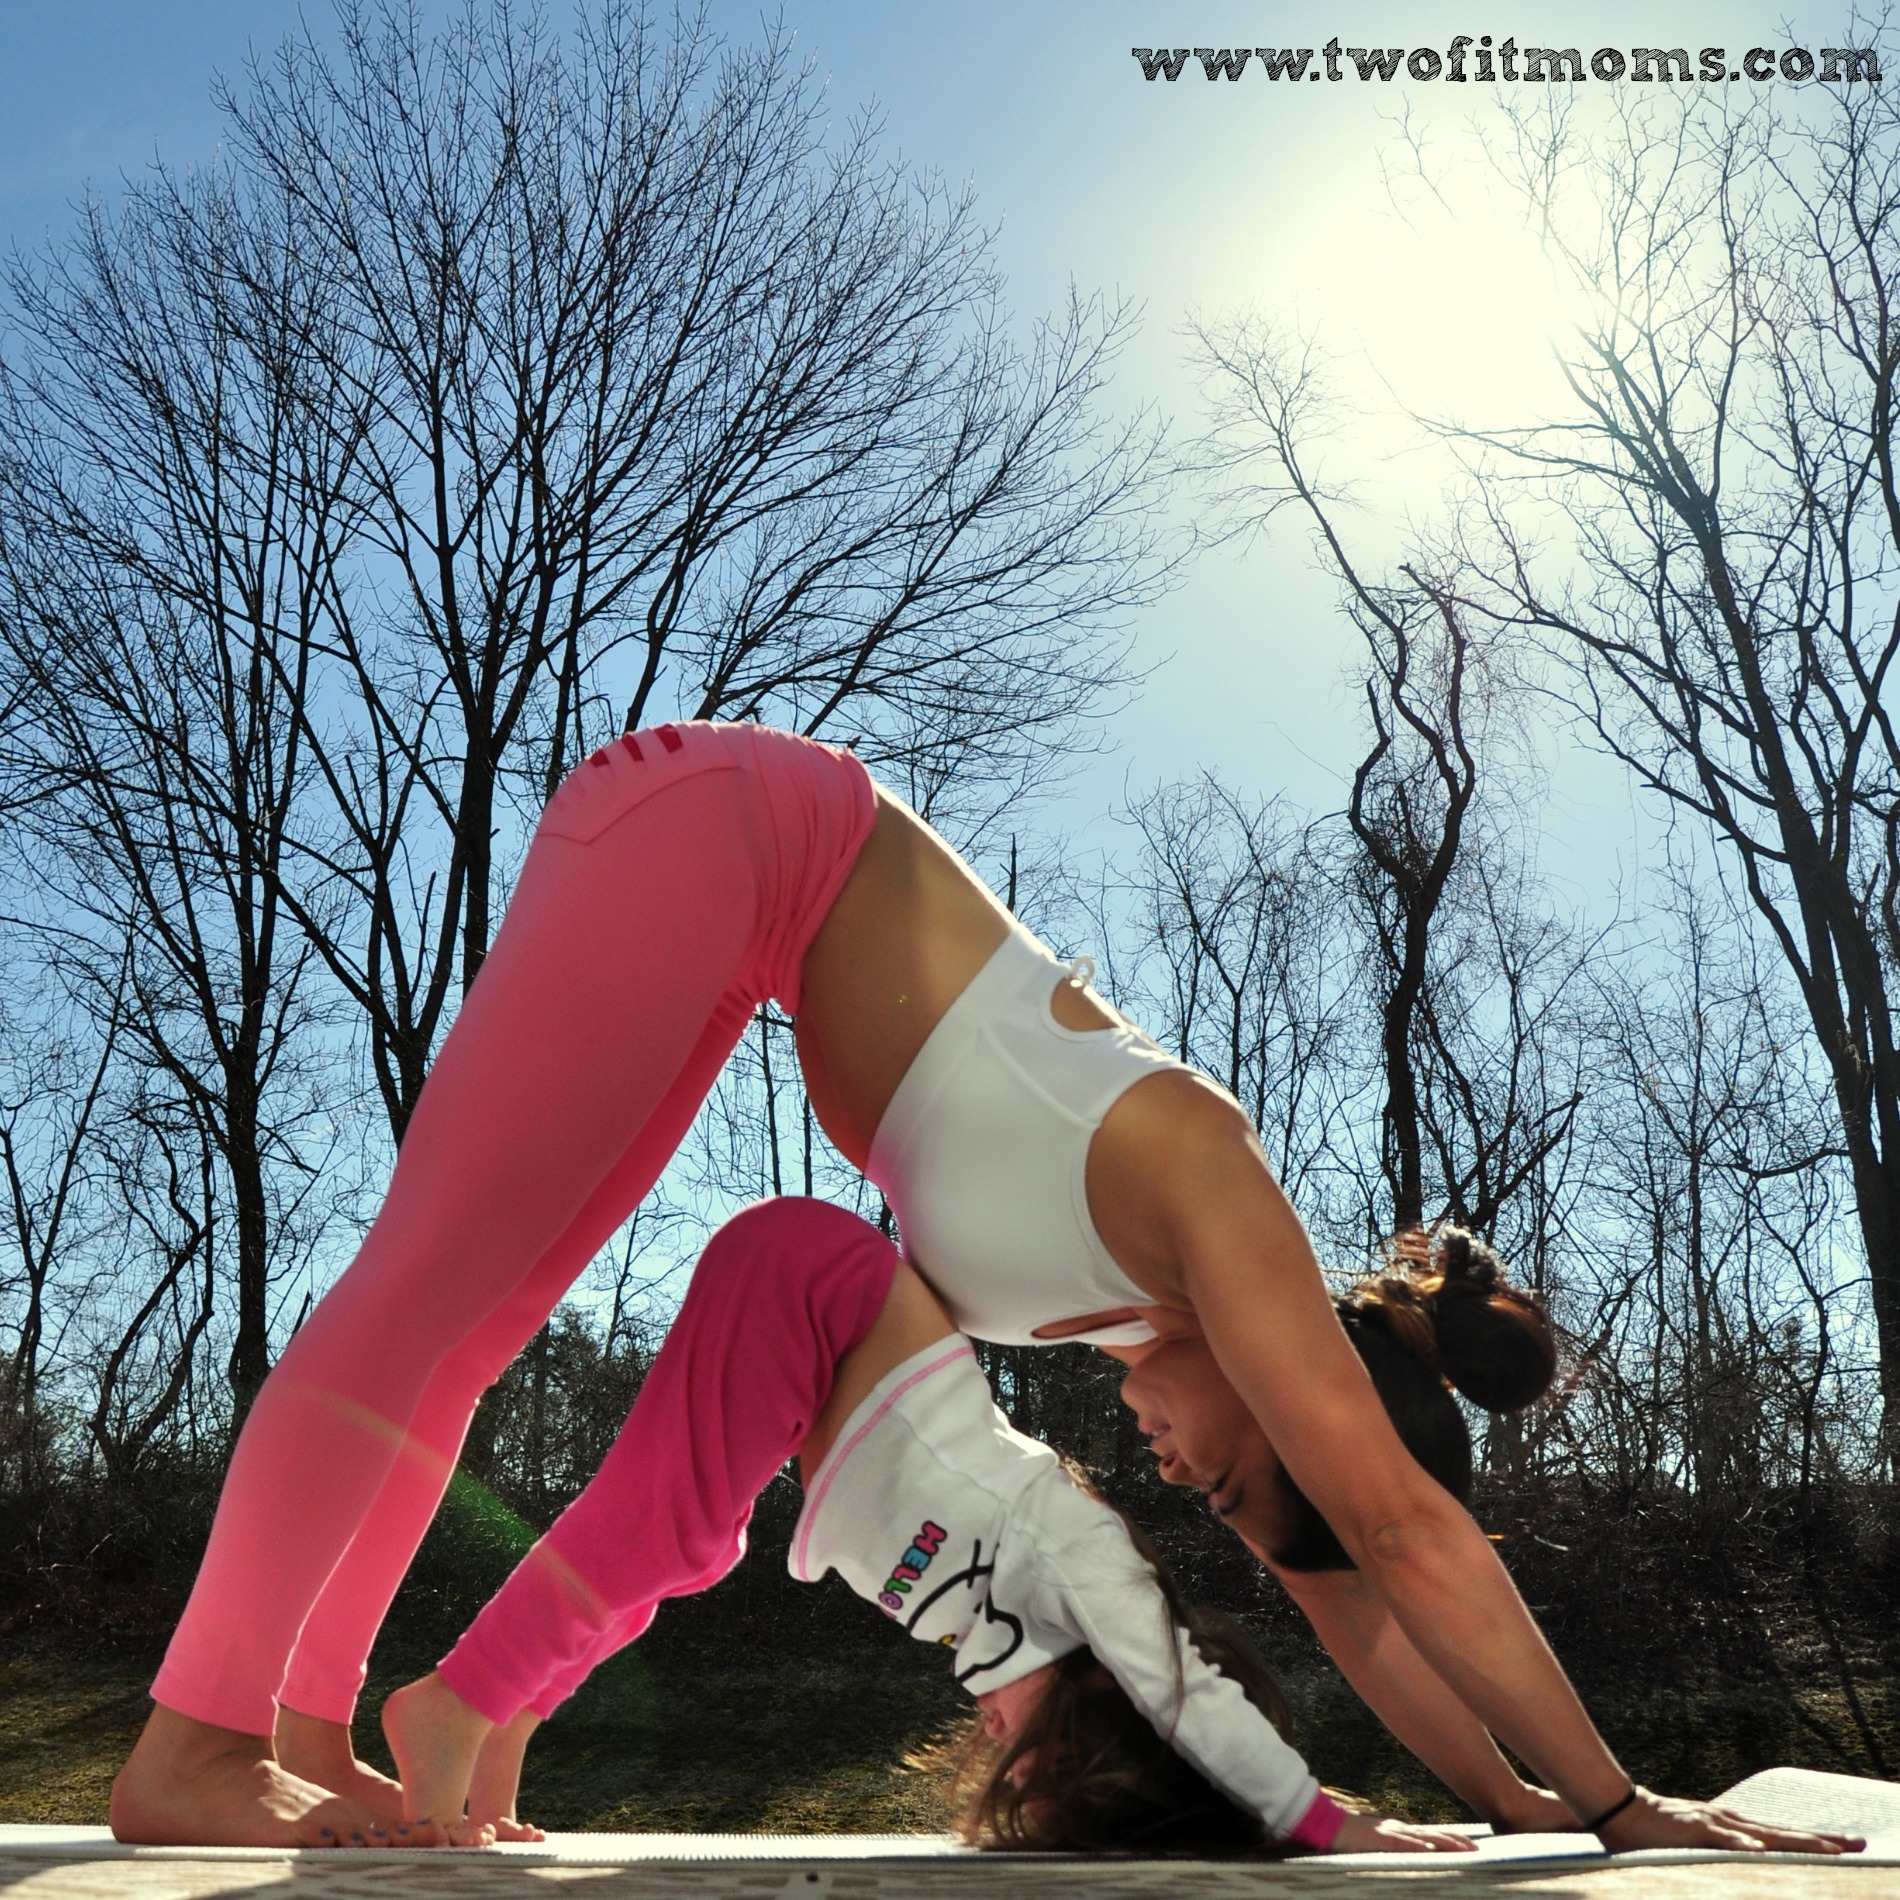
    – Are my hands and feet shoulder width apart?

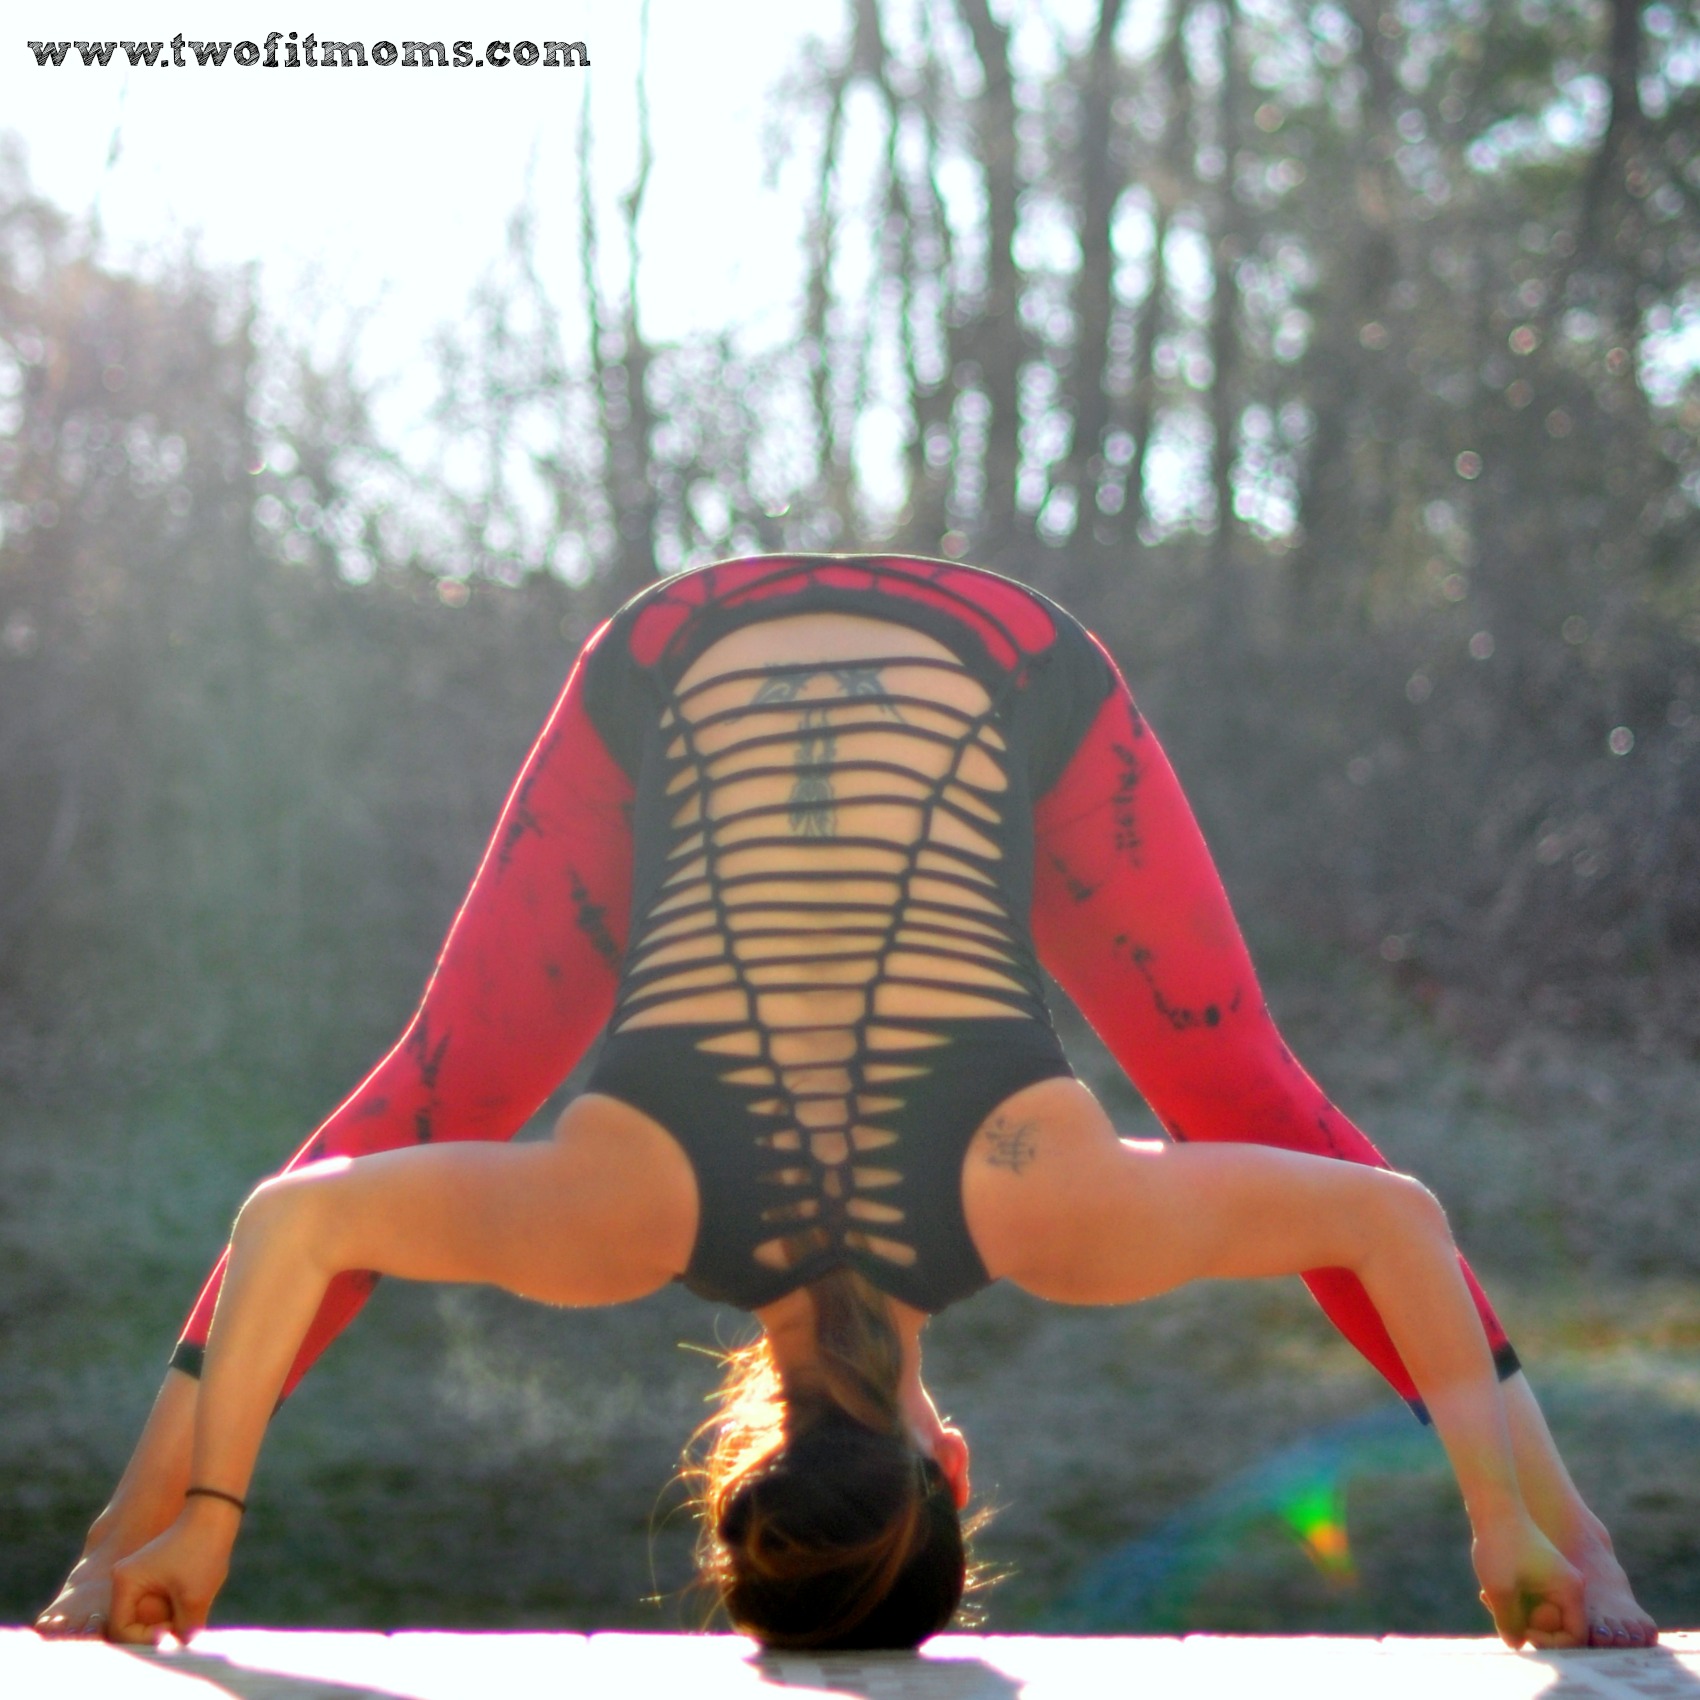
    – Are my fingers spread? Index fingers parallel or slightly turned outward?

    – Do I feel my palms connected to my mat?

    – Are my biceps slightly externally rotating? In simple terms, are the eyes of my elbows moving towards the front of my mat (external rotation) or in towards each other (internal rotation).

    – Are my shoulders rolling down my back away from my ears?

    – Is there any strain in my neck? Are my ears alongside my biceps?

    – Am I sagging into my chest? If so, can I corset my low rib cage together to prevent lower back strain?

    – Are my abs engaged?

    – Is my lower back rounded or strained? If so, maybe I need to put a slight bend in my knees.

    – Are my quadriceps, or the front of my thighs, engaged?

    – Are my inner thighs internally rotating?

    – Is the intention of my heels moving towards my mat?

    I know this is a long checklist, but start by remembering two or three of these pointers until they become commonplace in your Downward Facing Dog.  This pose strengthens every part of your body. Respect it, and show it some love!

    XOXO

    Blog Signature


  • Instagram Quick Tip:  Color Splash

    Instagram Quick Tip: Color Splash

    Here’s another fun and simple app that I like to use from time to time:  Color Splash.  This app converts your color photo into a black and white photo, and then allows you to manually add splashes of color back into your image.ColorSplash

    When would you use such an app?  I find it most effective in two cases.  First, your image contains a bright pop of color that you want to accentuate.  Second, the bright pop of color in the full color version of your photograph is getting lost amongst many other colors in the photo.
    Original
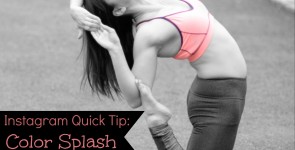
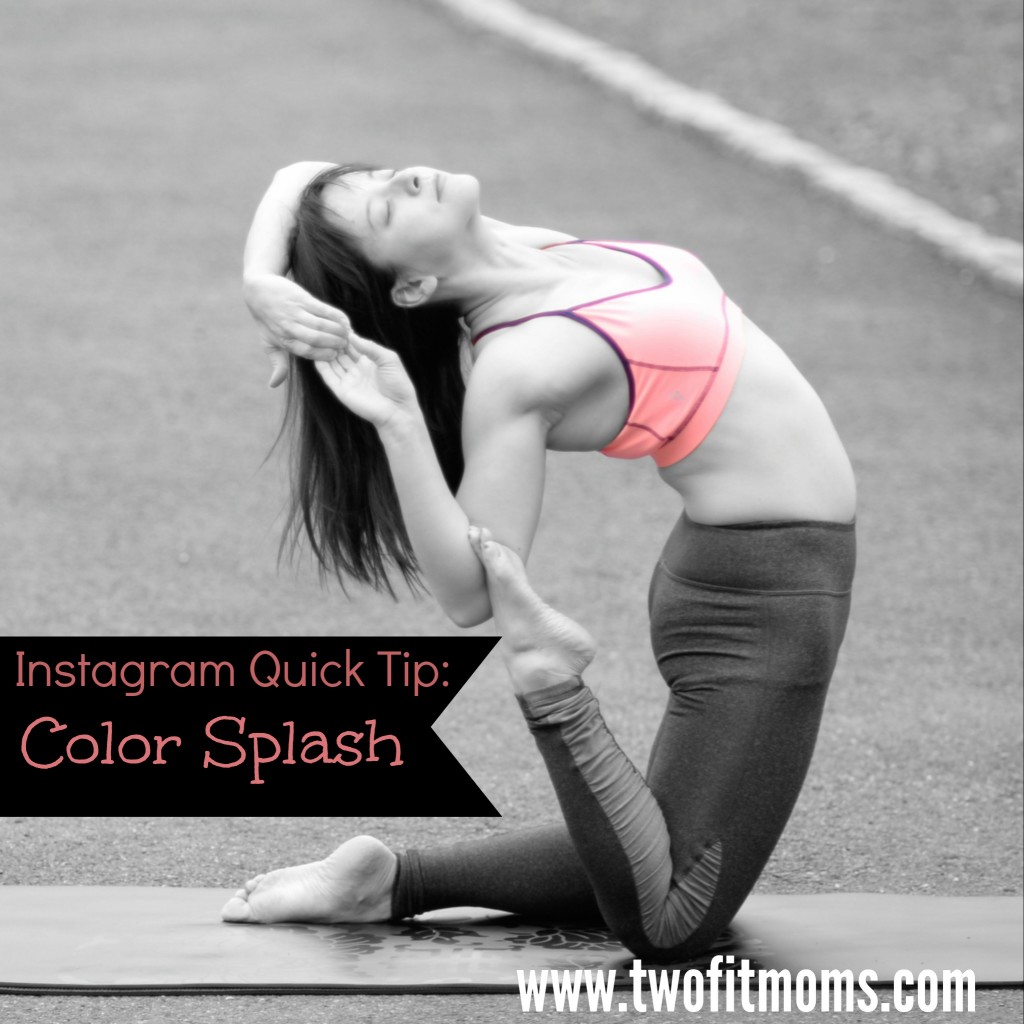
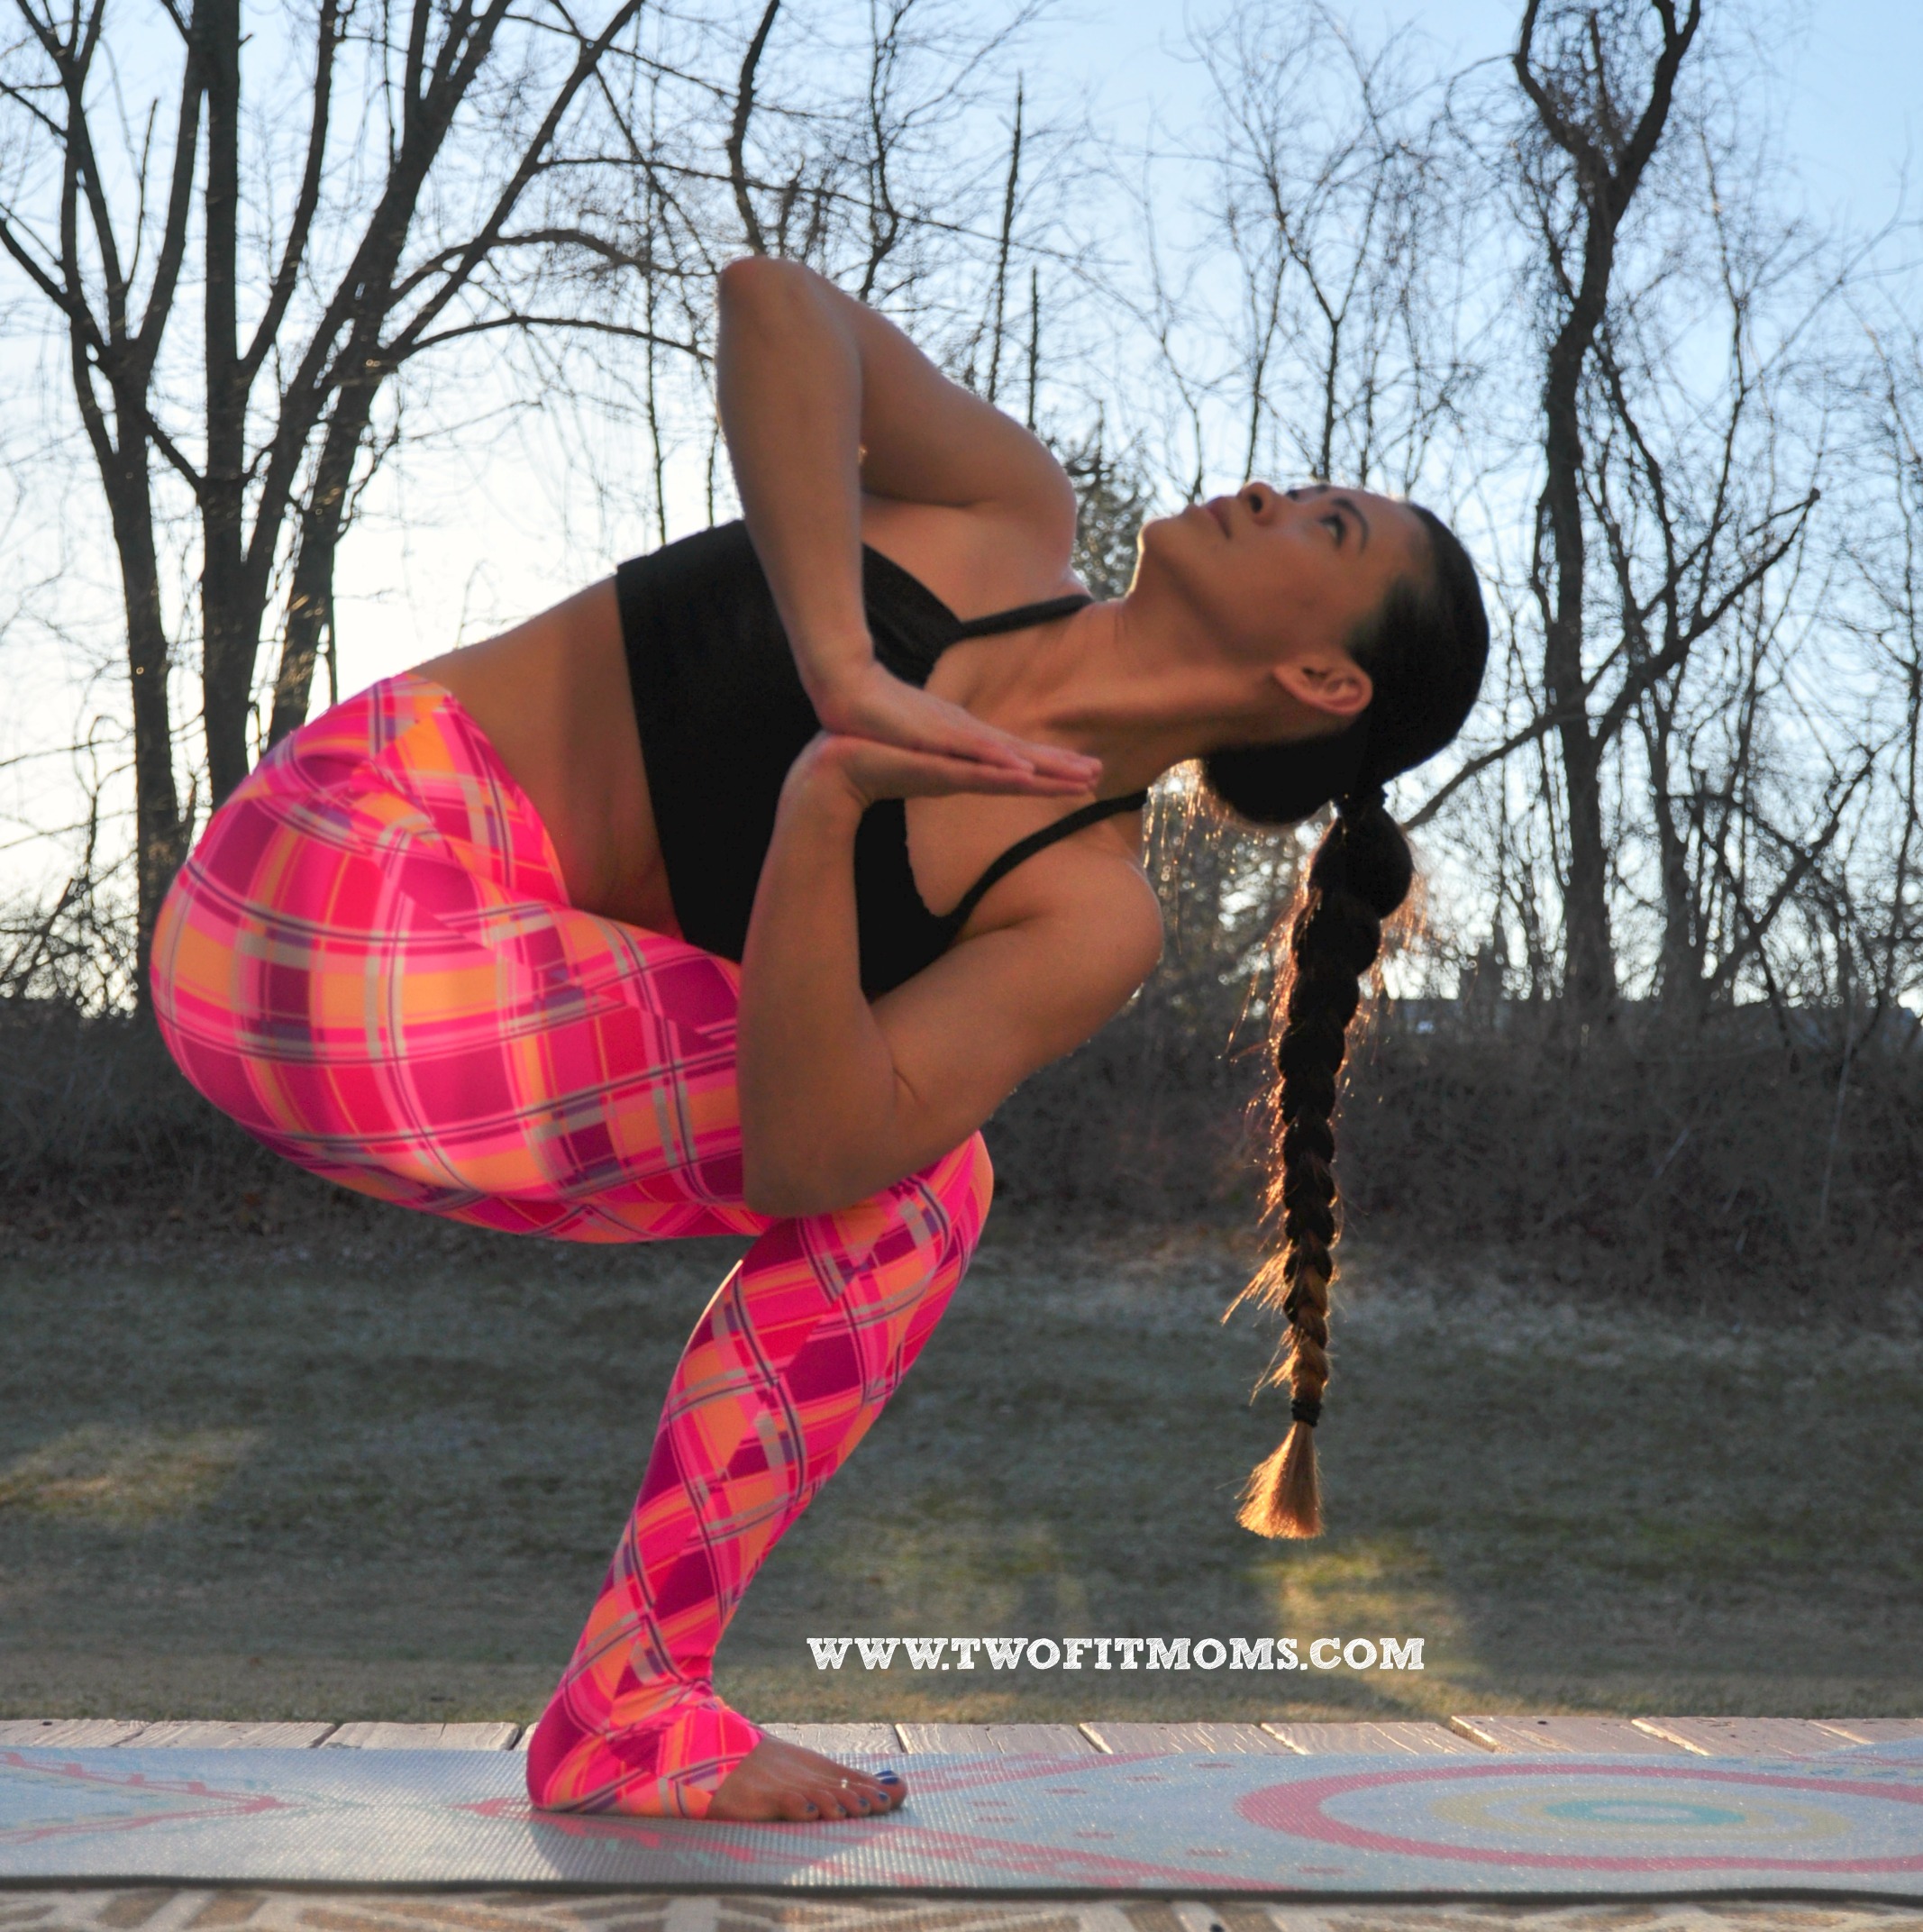
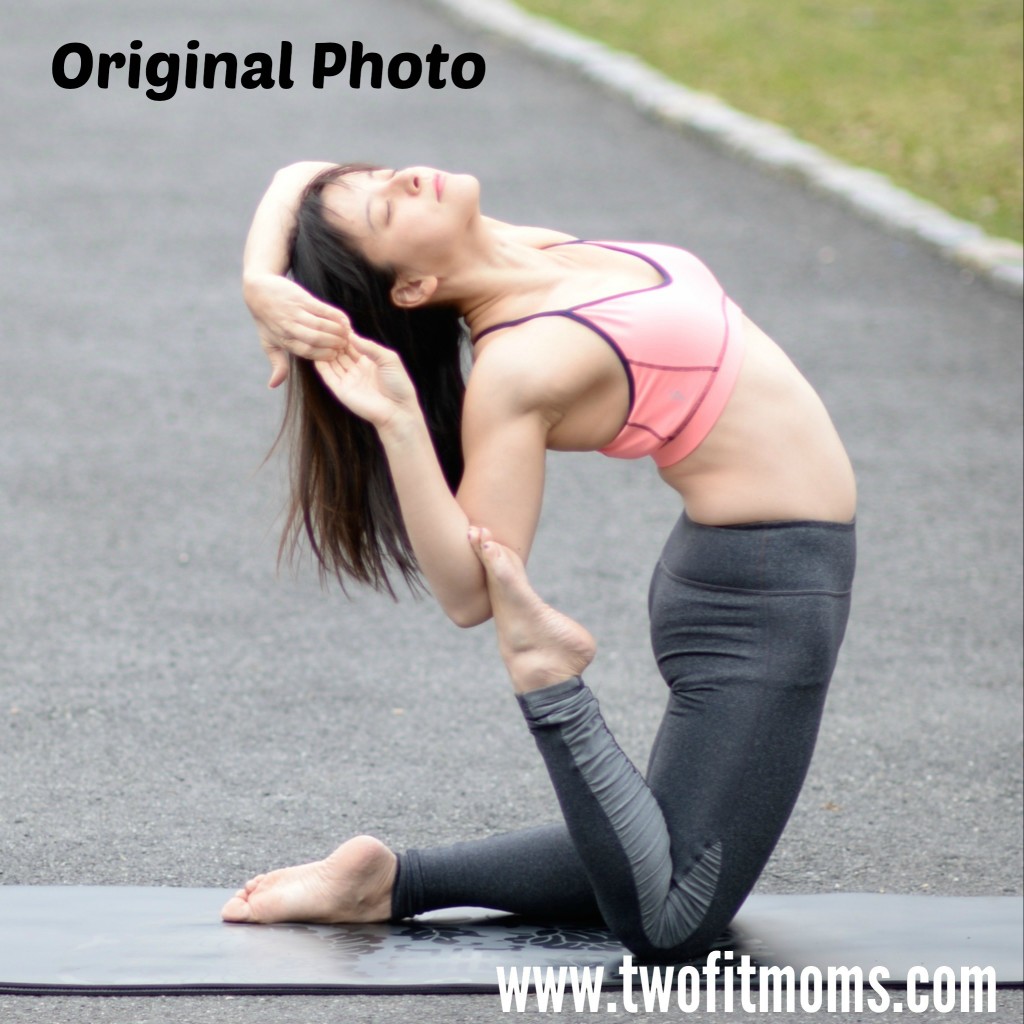
Take a look at my original photo.  It’s fine as is, but the bright pink color of my top is competing with the green grass in the background.  By converting the entire image to black and white, I can remove the background noise and focus on my clothing.

    The app itself is quite easy to use.  Once your photo is loaded into the program, it automatically becomes a black and white image.  Click on the “color” button, as shown on the bottom of each photo below.  Enlarge the image and begin adding color to the photo with swipes of your finger.  If you make a mistake, click on the “gray” button to erase the misplaced color.  The final effect is a dramatic image with a bright splash of color exactly where you want it.

    photo 1

  • Daily Practice: 3 Core Exercises for Everyday

    Daily Practice: 3 Core Exercises for Everyday

    When someone refers to your “core”, people immediately think of the abdominal muscles.  But, your core is so much more! Essentially it is the complex group of muscles in your entire torso…your abdomen, pelvis, spine, back, shoulders and gluteus. All of these muscles work together to help you stand, walk, sit, turn, run and lift. So it is vital, to keep these muscles healthy and strong. Here are three quick exercises you can do daily to strengthen your core.

    #1: Dolphin Plank Pose

    DSC_9263s


    Key Points:

    – Shoulders stack over your elbows creating a 90-degree angle in your arms.

    – Elbows are shoulder width apart.

    – Hands can be flat on your mat or together.

    – Shoulders roll down your back.

    – Navel pulls up toward your spine.

    – Tailbone lengthens towards your heels.

    – Quadriceps, or the front of your thighs, pull up.

    – Try to keep your body in a straight line from head to heel…no butts up in the air and no sagging!

    – Stay here for 15 seconds, eventually working up to a minute or more!

    – Repeat 3-5 times, taking a child’s pose between each set.

    MODIFICATION:

    – Drop onto your knees while keeping the plank shape.

    #2: Boat Twists

    DSC_9233s

    DSC_9240s

    Key Points:

    – Keep your spine lengthened.

    – Try to keep your shins parallel to your mat.

    – Move slowly…tapping the block on one side, pausing at the center, then tapping the block on the other side.

    – Try to repeat this three times…increasing the repetitions as you get stronger.

    MODIFICATIONS:

    – Do not use a block.

    – Keep your feet flat on your mat.

    #3: Knee Planks

    finalxx

    Key Points:

    – Start off in Downward Facing Dog and lift the right leg (Three-Legged Dog). Moving on an exhale…shift forward and bring your right knee to the right tricep. Inhale, go back to Three-Legged Dog. Exhale, shift forward and try to kiss your knee. Inhale, go back to Three-Legged Dog. Exhale, shift forward and bring your right knee to the left tricep. Inhale, go back to Three-Legged Dog. Repeat using the left leg.

    – Move slowly with your breath.

    – Round the upper back and lift the hips slightly.

    – Try to keep the knees tight into your body.

    – Pull your navel up towards your spine as you crunch.

    – Start off by doing a full round of these. You can add on repetitions as you get stronger.  You can also add these movements into your yoga practice.

    MODIFICATIONS:

    – Your knees DO NOT have to touch your arms/face.

    – You can also do this from Table Top position or all-fours.

    XOXO

    Blog Signature

  • Daily Practice: 4 Must-Do Hamstring Stretches

    Daily Practice: 4 Must-Do Hamstring Stretches

    Your hamstrings are the three muscles that run along the back side of your thighs. We use our hamstrings everyday in activities such as walking, running and jumping. In yoga, flexibility in your hamstrings can make all the difference, so it is important to work them everyday. They can be notoriously tight if you spend a lot of time sitting. Here are four hamstring stretches that I incorporate in my daily practice. Take these stretches slowly and never force yourself deeper!

     #1: Uttanasana or Standing Forward Fold

    DSC_2158s

    Key Points:

    – Keep the torso lengthened.  Try not to round the back and hunch.

    – If you cannot reach the ground, use blocks or hold onto opposite elbows.

    – Shift your weight slightly towards the toes so the hips stack over the ankles.

    – Keep a slight bend in your knees to avoid hyper-extension.

    – Upper thighs internally rotate.

    – With every few breaths try to deepen the fold.

    – Stay in the pose for about a minute.

    #2: Parsvottanasana or Pyramid Pose

    DSC_7592s

    Key Points:

    – Both feet face towards the top of your mat.

    – Stance is about a leg’s distance apart.

    – Try to keep your hips as square as possible.

    – Squeeze both thighs in towards one another.

    – Keep your torso lengthened.

    – Use blocks if you cannot reach the ground.

    – Stay in the pose for 30-60 seconds, then switch sides.

    #3: Prasarita Padottanasana or Wide-Legged Forward Fold

    DSC_7102s

    Key Points:

    – Feet will be anywhere from 3-4 feet apart. Try not to over-exaggerate the distance because you are trying to get your head to the ground.

    – Feet will be parallel to each other.

    – Do not roll onto the inside edges of your feet.  Press into the outside edges of your feet.

    – Draw your quadriceps up; keep them engaged.

    – Shift your weight slightly towards your toes so you are perpendicular to the ground. Don’t sink back into your heels.

    – Keep your torso lengthened.

    – Use blocks if you cannot reach your mat.

    – With every few breaths, try to deepen the fold…working the crown of your head towards your mat.

    – Stay in this pose for about a minute.

    #4: Janu Sirsasana or Head to Knee Forward Bend

    DSC_1271s

    Key Points:

    – Use blocks and/or a blanket to support yourself. Sitting on a blanket can ease any discomfort in your sacrum. Use a block or blanket under your bent knee if it does not easily come onto your mat.

    – Keep your torso lengthened as you fold forward.

    – Slightly twist your torso as you fold so the center of your torso folds over the leg.

    – Keep the foot flexed on the straight leg and press the back of the leg down towards the mat.

    – With every few breaths, try to deepen your fold.

    – Stay in this pose for about a minute, then switch sides.

     XOXO

    Blog Signature

  • You Can Be a Mermaid!

    You Can Be a Mermaid!

    YouCanBeAMermaid
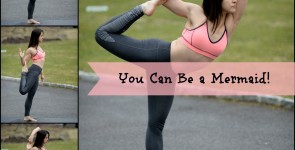
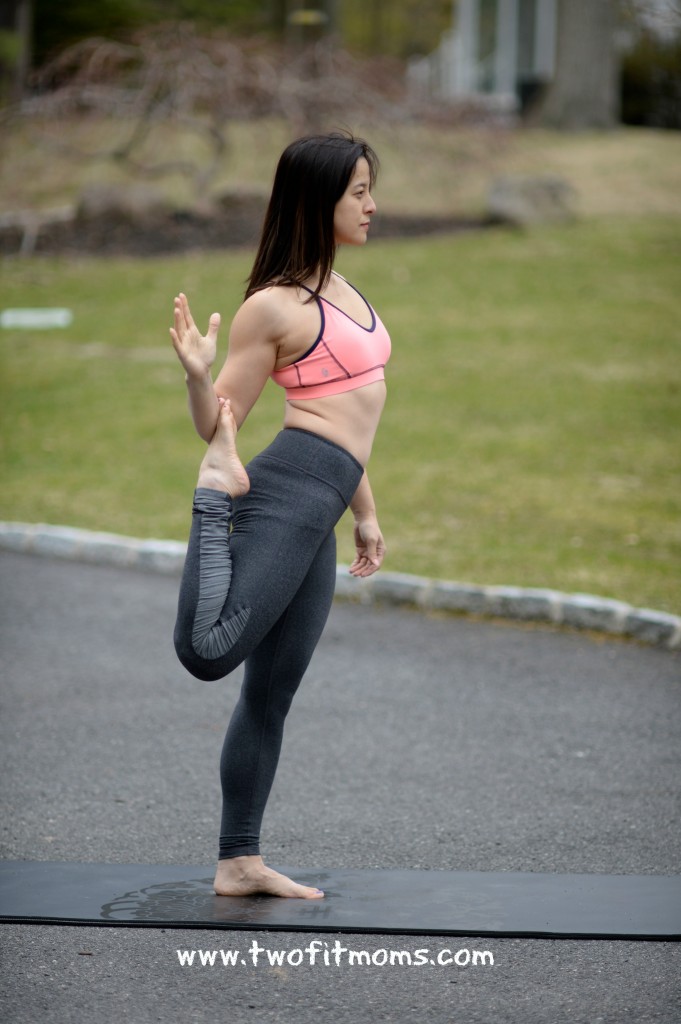
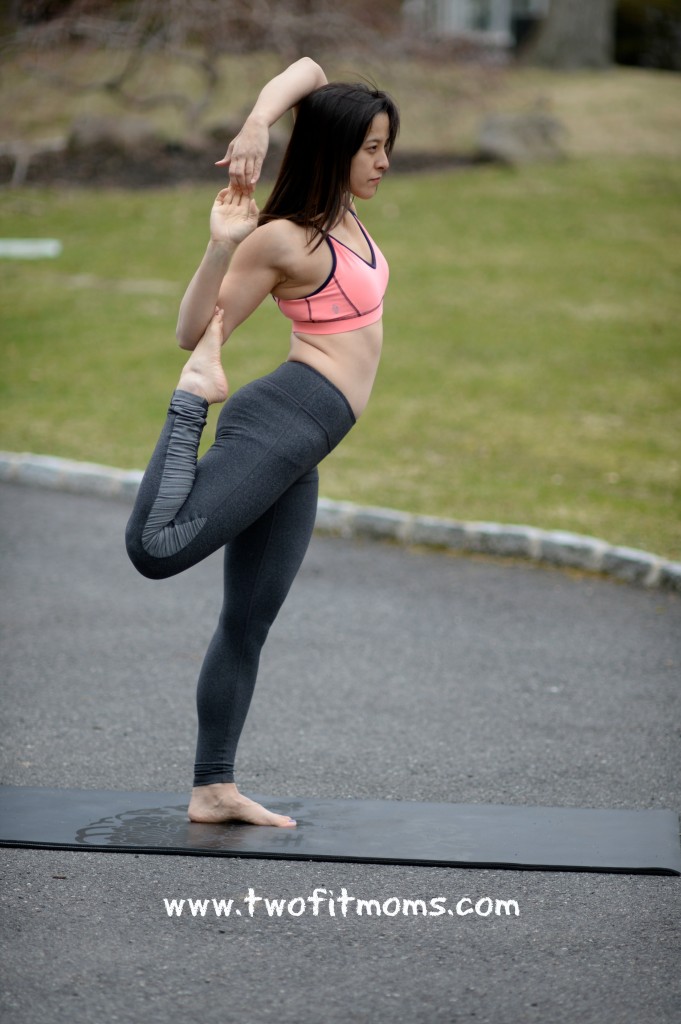
I still remember the first time I saw a photo of standing mermaid pose. I was scrolling through my Instagram feed, and I paused to look at this interesting posture. It appeared to be some kind of dancer pose variation, but I had never seen anything like it before. I had to try it!

    If only I had a video of what followed. What a disaster. Without any instruction, I had absolutely no idea how to get my foot lifted into the air and into the inner elbow crease of my arm. I tied a strap around my foot and did all sorts of crazy moves to see if I could raise my foot into the proper position. Ultimately, I gave up on my strap and realized that it was a much simpler process than I thought. In order to save you some time and aggravation, I will walk you through each step of getting into standing mermaid pose.

    Please keep in mind that mermaid poses of any kind are binding poses. The fingertips of both hands clasp (or bind) together, resulting in a deeper stretch than if the hands remained apart. The purpose of a bind is to intensify a stretch and deepen a posture. In a mermaid bind, your chest, back and shoulders will feel the intensity of the stretch. If you do not have a strong backbend practice, you should consider modifying your mermaid pose by skipping the bind altogether and focusing on keeping the top of your foot pressed into the crook of your arm. Once you improve your flexibility and notice some progression in your backbends, you can re-visit the bind.

    Step 1
    Begin to shift your weight into your left foot. Bend your right knee, and reach back with your right hand, palm facing up. Place the top of your foot into the palm of your hand.
    Step1
    Step 2
    Begin to slide the top of your foot down the length of your forearm until the top of your foot is sitting in the inner elbow crease of your arm.
    Step2
    Step 3
    Extend your left arm up toward the sky, bend your elbow, and see if your fingertips can clasp. If you feel any discomfort in your back, stop at this point.
    Step3
    Step 4
    Begin to press the top of your foot into the crease of your arm and lift your leg higher as you lean your torso forward to maintain your balance.
    Step4

  • Looks Funny, Feels Great!

    Looks Funny, Feels Great!

    Yoga classes are often serious, but once in a while, you find yourself in an embarrassing or funny looking pose that just makes you laugh.  I know, I know… yoga is NOT about how a pose looks, but how it feels. Sometimes though… You just have to LAUGH.

    Here are my top four favorite “It-Looks-Funny-But-Feels-Great” yoga poses.

    #1: Puppy Pose

    Extended Puppy Pose is one that I do everyday and usually very early into my practice.  It feels great on my shoulders and upper back, and just starts to wake up my spine after sleeping. There are a lot of things that race through my mind when doing it but I’ll  keep it G-rated here. After months of teaching it in my classes, it has become clear to me what the actual name of this pose SHOULD be.  It should be called the “Are-My-Yoga-Pants-See-Through” pose. As a teacher who likes to walk around while teaching… It is clear to me that we should also be doing this pose to check the transparency of our new pants.

    DSC_6827s

    #2: Star Pose

    Let’s face it… by the end of my practice, I do not want my face anywhere near my feet, but Star Pose is usually something I will do at the end. Unlike Baddha Konasana, your feet are further away from your body. When you fold forward, your face will come closer to your feet. From this moment on, I shall call this pose… the “Do-My- Feet-Smell” pose.

    DSC_6872s

    #3: Happy Baby (You knew this one was coming!)

    Happy Baby pose or what I affectionately like to call “the hottest pose in yoga”! It feels wonderful rolling around on your mat like a two year old with your legs spread open, right?  To all of my fellow moms… I bet you’ll agree that this stretch should actually be called the “Am-I-Giving-Birth” pose.

    DSC_6913s

    #4: Lion’s Pose or Lion’s Breath

    This one just cracks me up. I usually incorporate Lion’s Breath in Downward Facing Dog after I’ve worked my students hard. It’s a great way to release tension and frustration during your practice.  It’s also hysterical to see how timid students are in letting go of their breath and ego, and allowing themselves to really let it go!  My first-time students usually feel weird when I tell them to stick out their tongues and really exhale. I really think there is no better name for this exercise than the “W…T…F…” pose.

    DSC_6888s

    Always remember to practice safely and stay playful!  You do not always have to take your practice so seriously.  Don’t forget to laugh at yourself once in a while.

    “Don’t sweat the petty things… And don’t pet the sweaty things.” – George Carlin

    XOXO

    Blog Signature

  • Learn to Balance in Toe Stand

    Learn to Balance in Toe Stand

    Toe Stand looks simple, but it actually requires a lot of concentration and focus. You will wobble, fall over and probably be pretty frustrated, but keep at it!  The good news is that the more you practice, the easier it becomes! Make sure to warm up the hips thoroughly. Do not practice this pose if you have any hip, knee or ankle injuries. Always remember to listen to your body and work the pose at your own pace.

    Step 1: Figure “4” it!

    Start by standing up tall, feet together and spine long. Shift your weight into your right foot and cross the left ankle just above your right knee. If you have really open hips, you can place your left ankle up near your right hip bone for half lotus. In either variation, the knee should be pointing down toward the ground. Keep driving the knee back, hips open.

    DSC_5186s

    Step 2: Fingertips to your mat!

    Hinging from your waist, slowly start to bend the right knee and place your fingertips onto your mat or onto blocks.

    DSC_5190s

    Step 3: Squat down

    Slowly lower the hips even further down coming up onto the ball of the right foot.  The right thigh should be parallel to the mat. Your buttasana will rest on your right heel. From here, you can walk your fingertips back so that they are closer to your hips. Keep your core engaged, spine long! This will help you balance. If this is your first attempt, stay here and breath.

    DSC_5197s

    Step 4: Hand up!

    Look straight ahead and find something to focus on! Slowly try to bring one hand up to heart center while maintaining your balance.

    DSC_5200s

    Step 5: Toe Stand!

    Staying focused and calm, try to bring your second hand up to meet the first hand. Namaste!

    DSC_5206ss

    XOXO

    Blog Signature


  • Instagram Quick Tip:  Self-Timers for Everyone!

    Instagram Quick Tip: Self-Timers for Everyone!

    When I wrote my first Instagram Quick Tip article, I assumed that everyone was taking their own yoga photos with a self-timer. It has come to my attention that my assumption was incorrect, and it’s probably worthwhile to start at the beginning for any newcomers to Instagram.

    SelfTimerPic
    If you are wondering who takes my yoga photos, the answer is me.

    I take the vast majority of my photos using the interval timer function on my Nikon DSLR camera. I set my timer to automatically take a photograph every one to two seconds while I get into various poses on my mat. While it is wonderful to have a Nikon with a self-timer, it is unnecessary! Even if the only camera you own is the one that is part of your smart phone, you can take your own yoga self-portraits with an interval timer that you can download from the App Store.

    On my iPhone, I use a free app called “Camera Timer”. I’m sure there are multiple interval timer apps available for either iPhone or android, so if you cannot find the specific app called “Camera Timer”, don’t panic.

    Once you download the Camera Timer app, you will see that you have a single shot option or a multi shot option. I use the multi shot option every time. Why would you ever take one photo when you can take five?

    2014-04-04 13.45.44
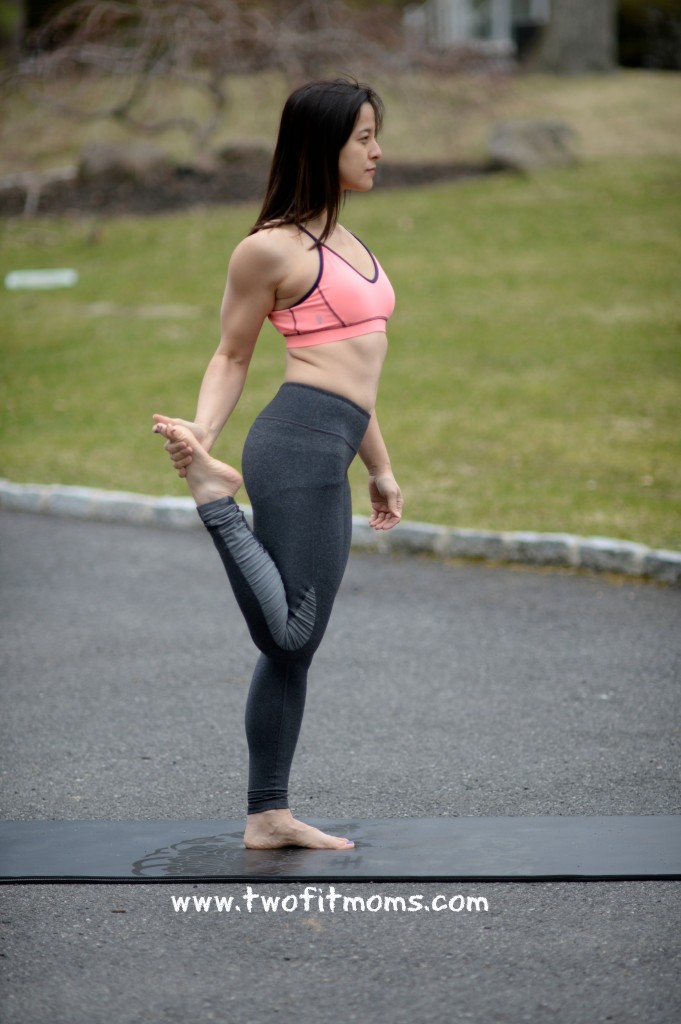
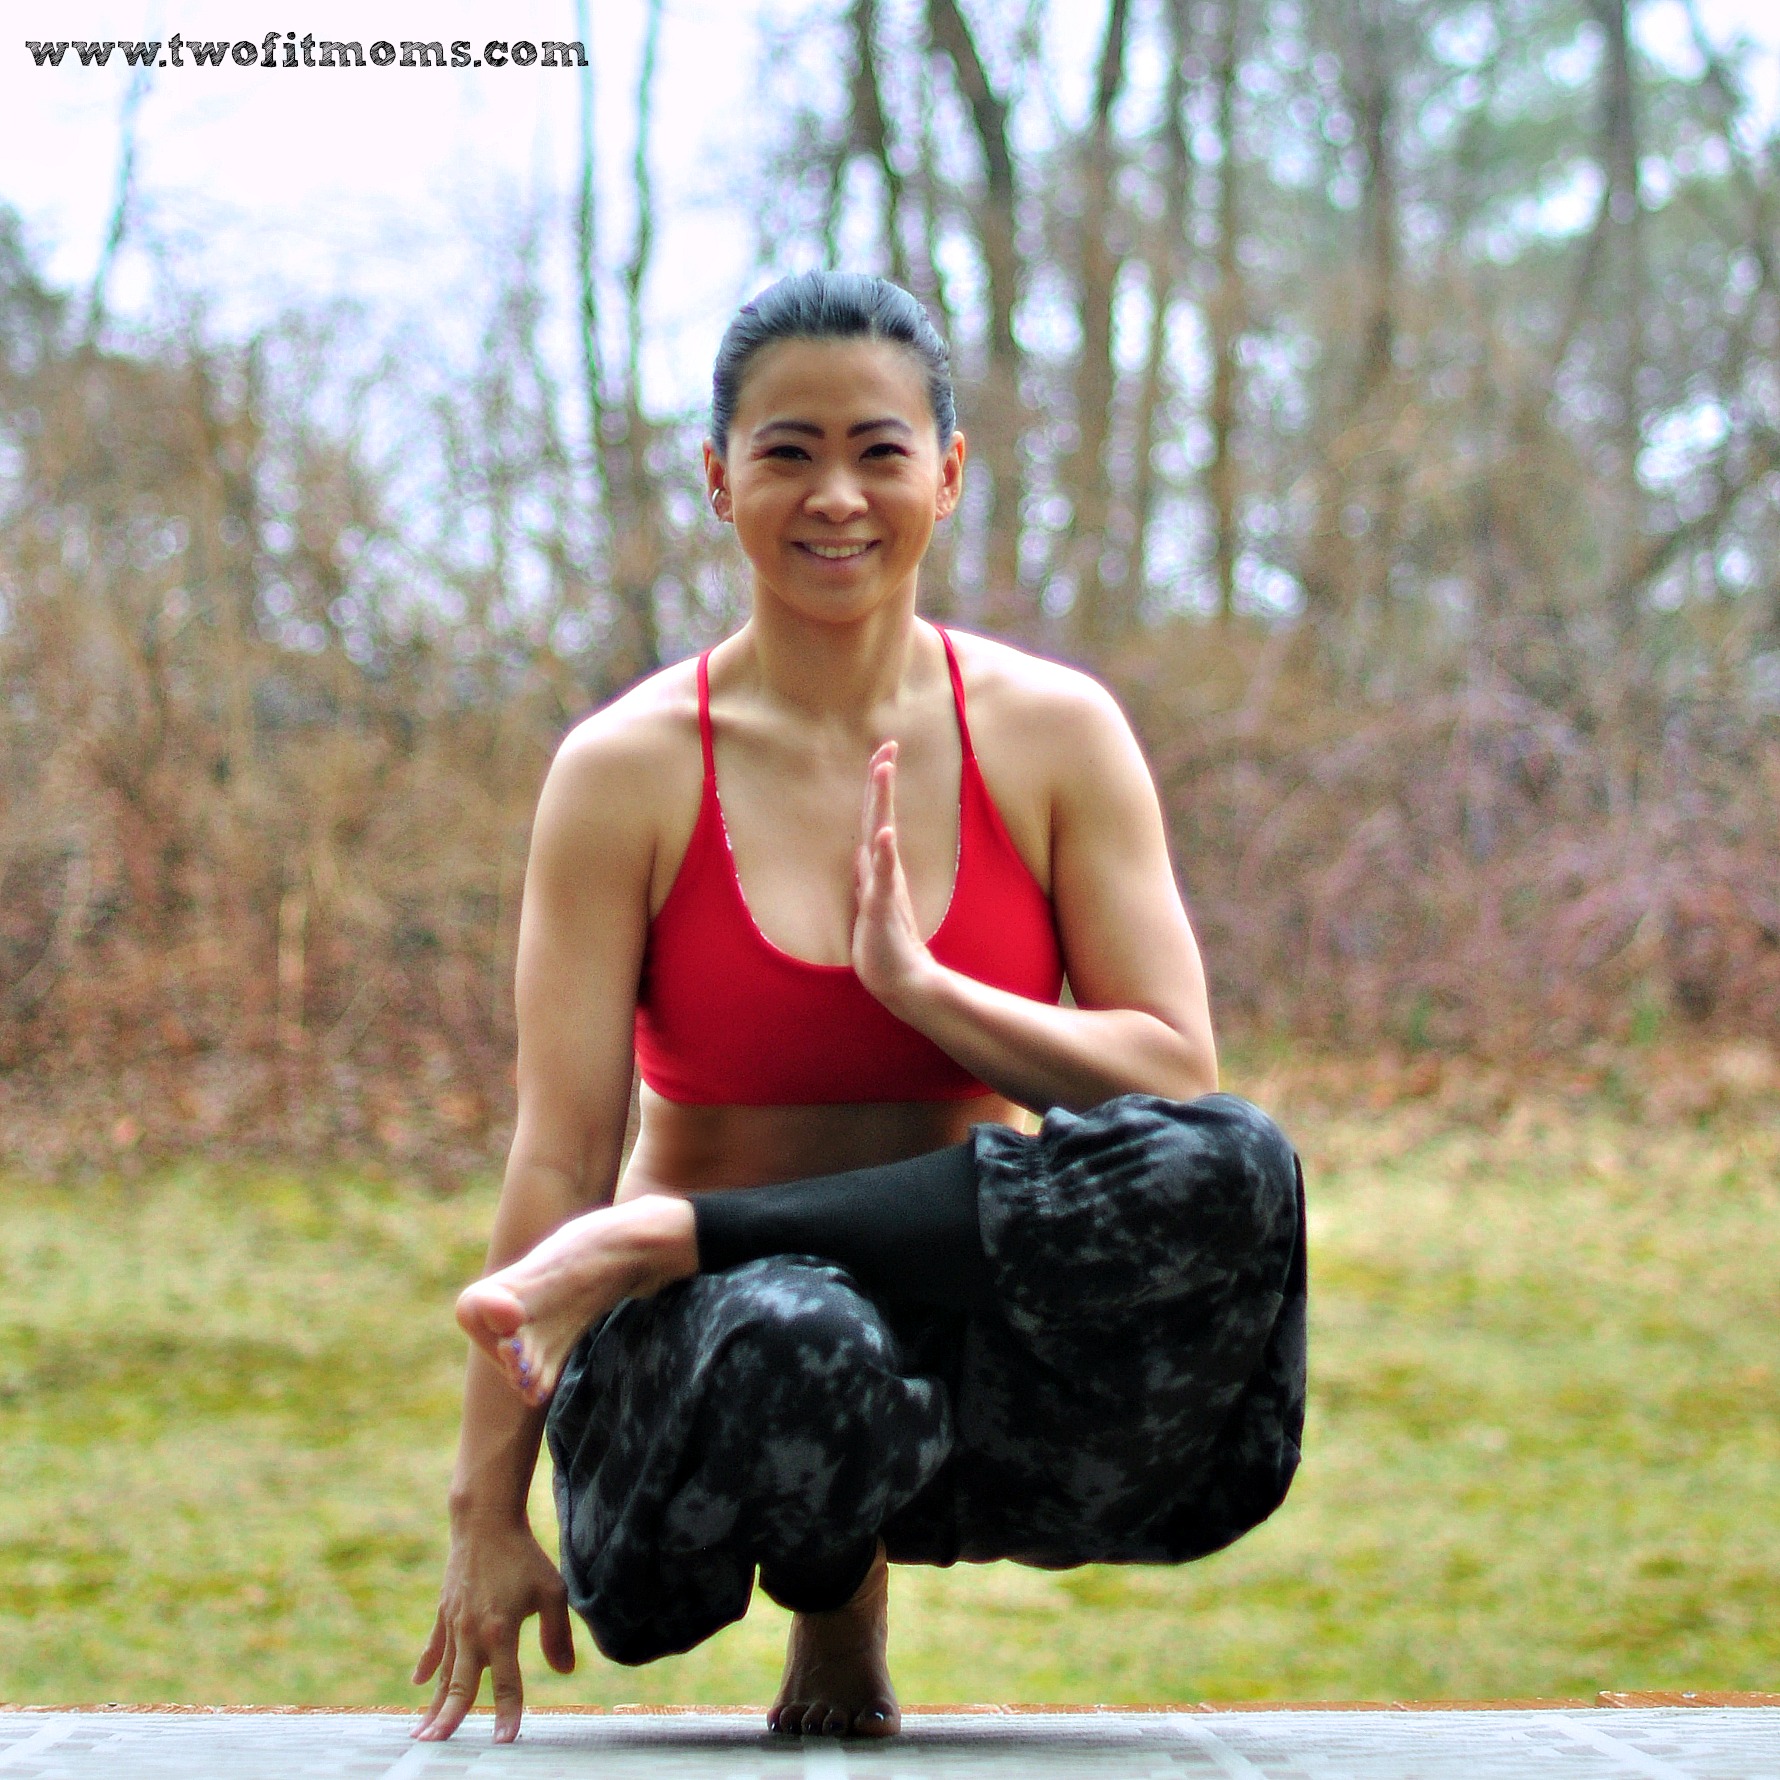
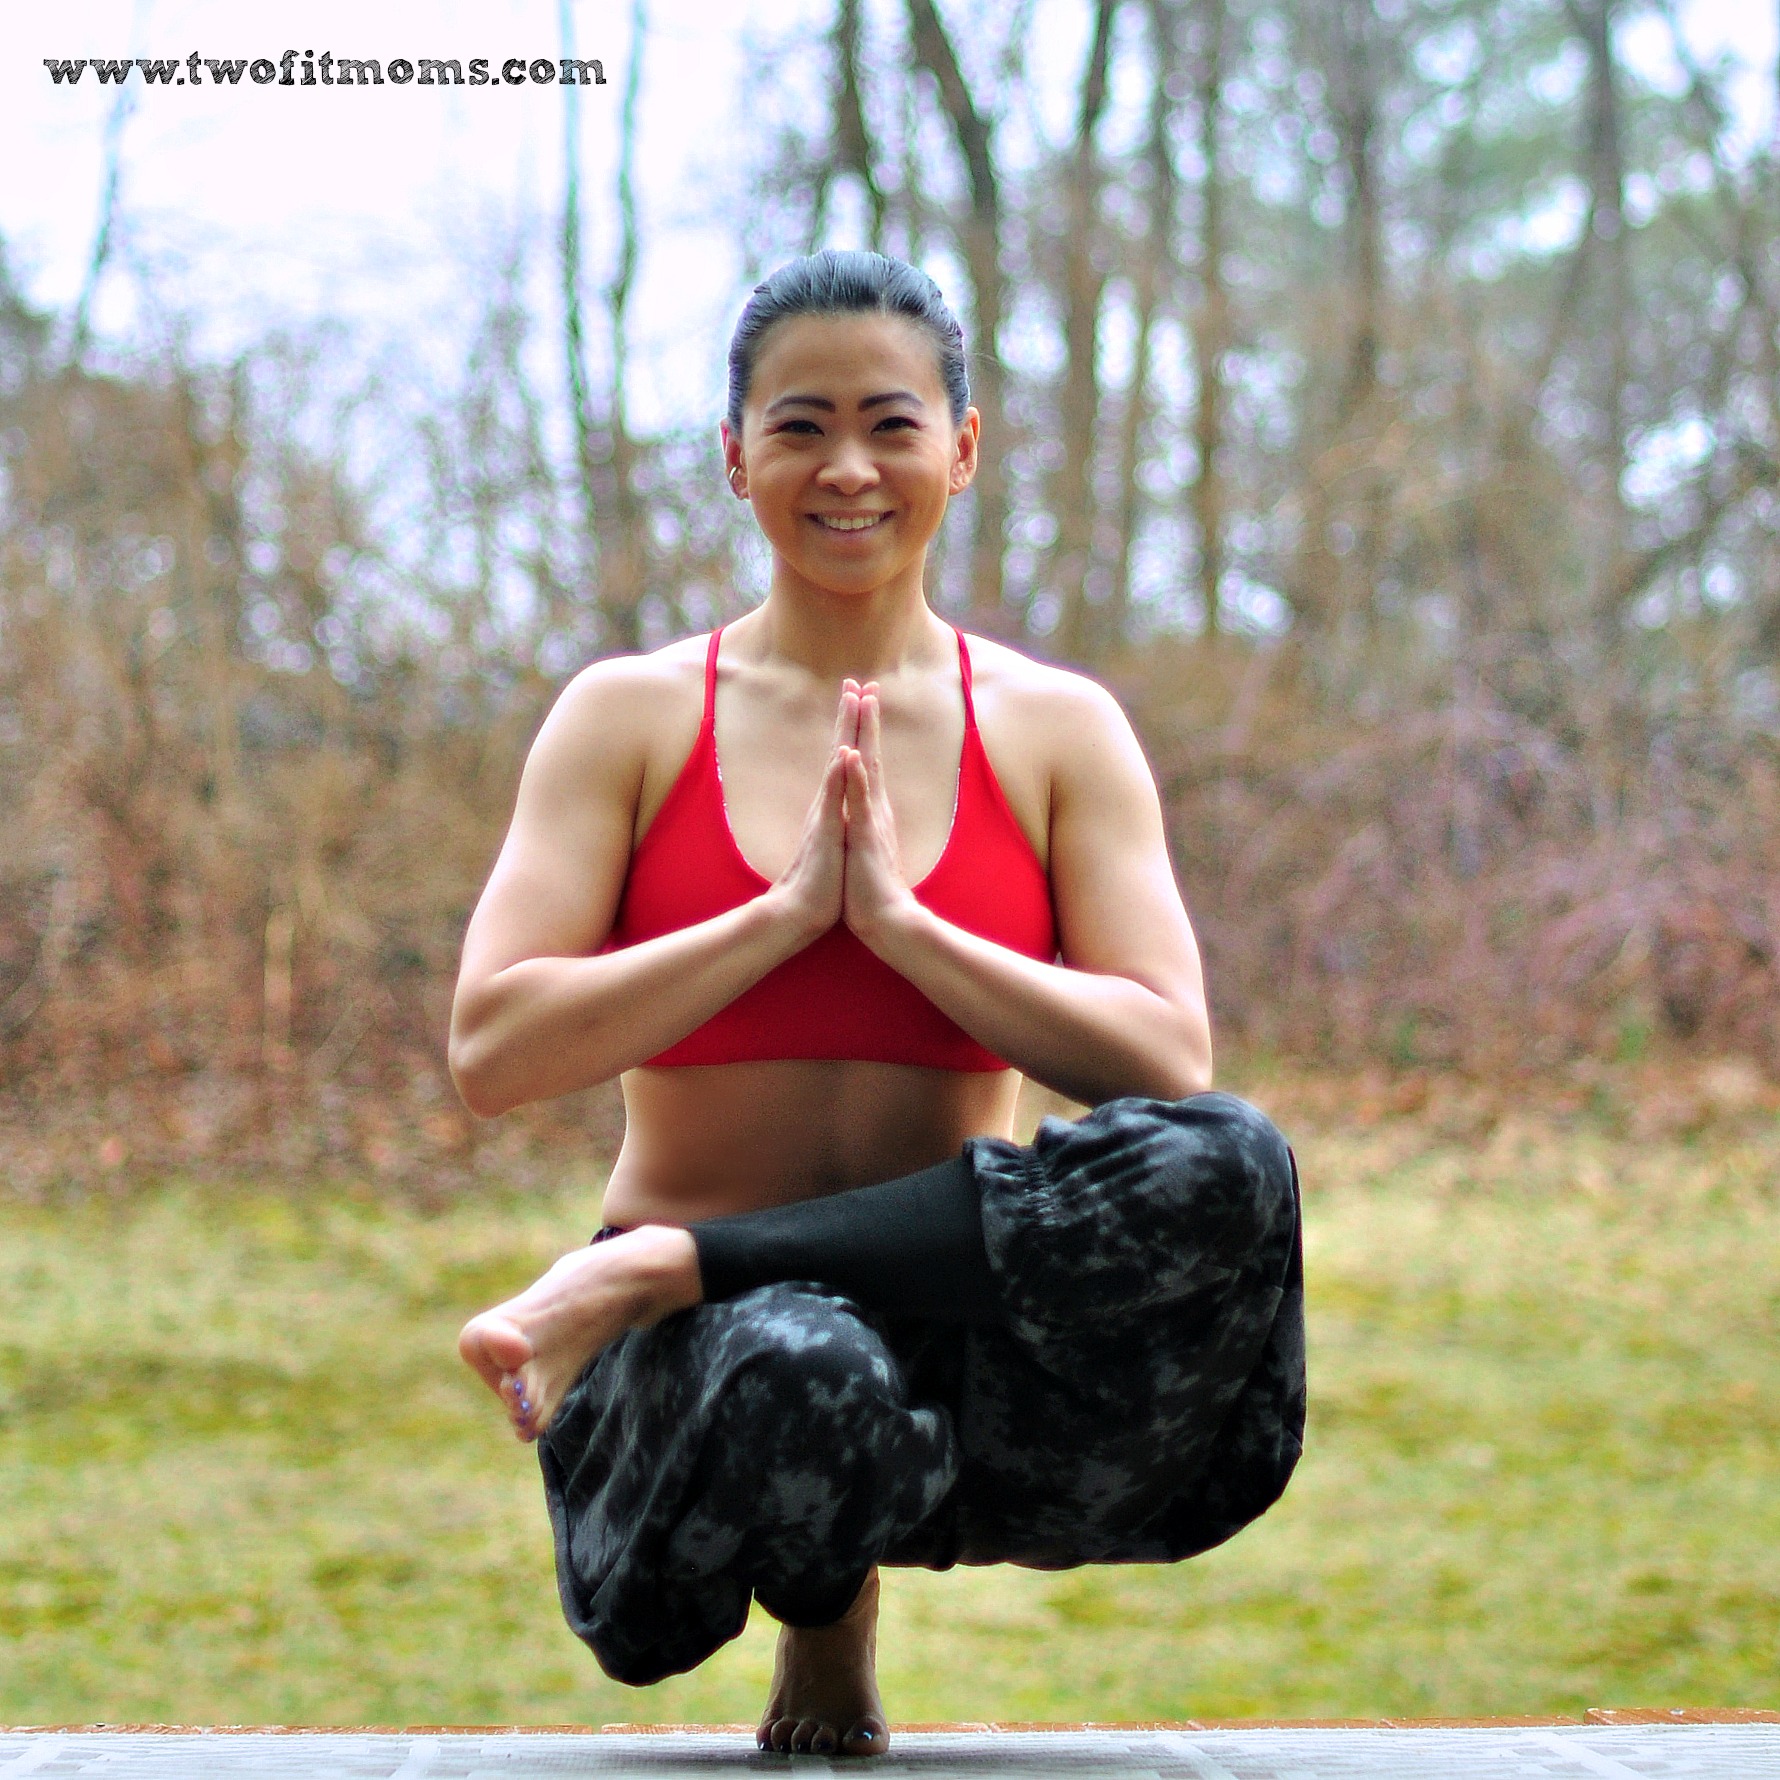
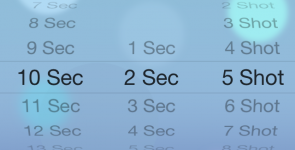
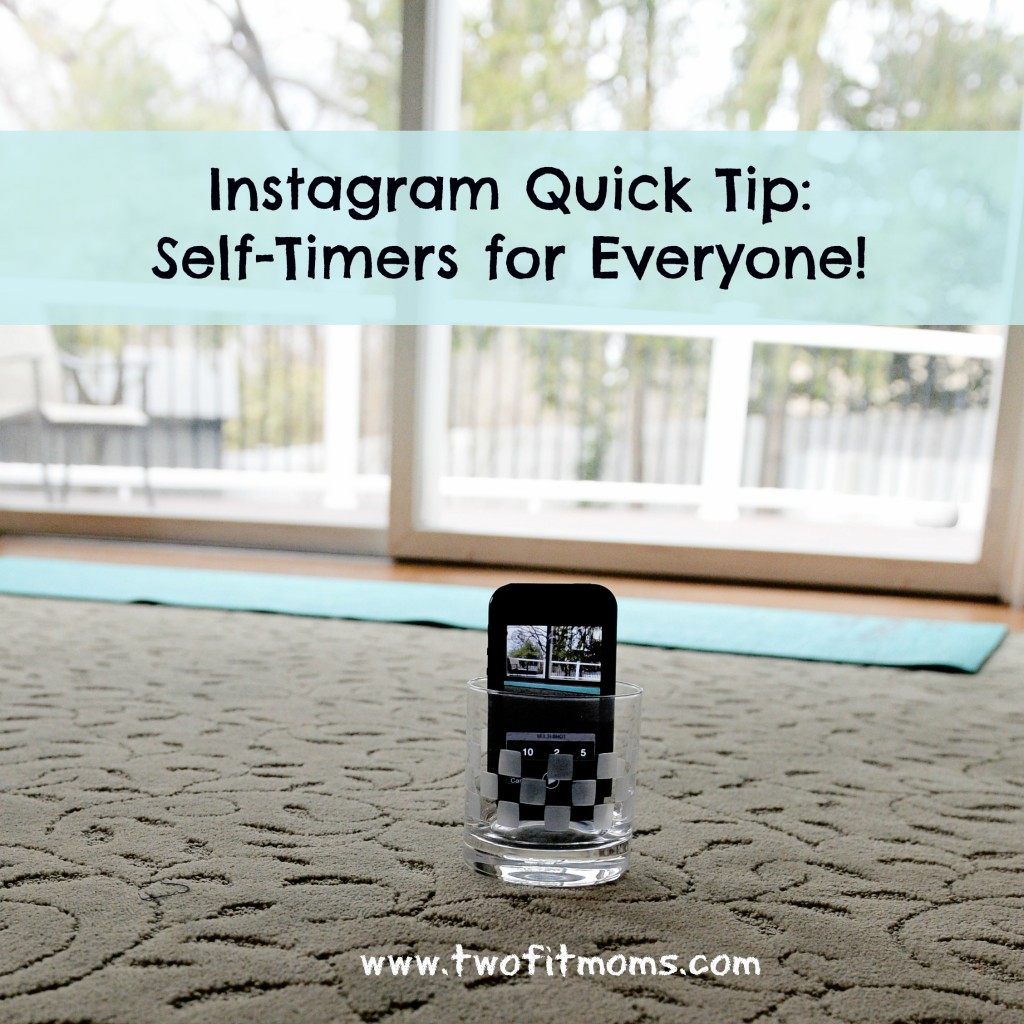
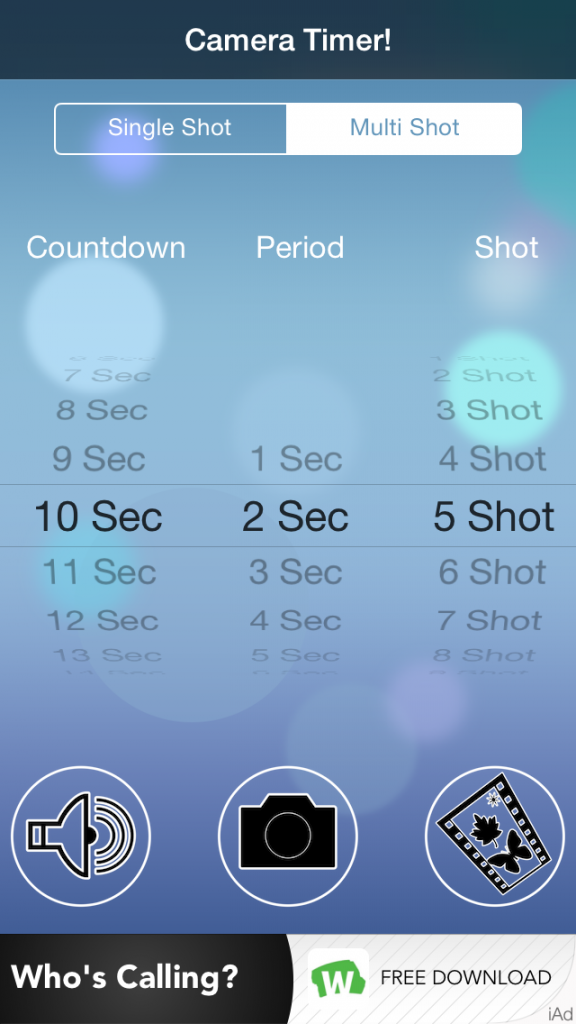
First, set your “countdown”, which is the amount of time that you think you need to get from your phone to your yoga mat and get into your first pose. You might need anywhere between 10 and 20 seconds. Play around with this number. You can also set your “period”, which is the length of time between photos. I prefer two seconds between shots. Finally, you can decide on how many photos you’d like the camera to take. Five photos always seems like a good number to me. Once you set your “countdown”, “period” and “shot”, you are ready to go. Place your phone into a short glass (as explained in my first Instagram Quick Tip article) , and start your timer!

  • Finding Balance…Together

    Finding Balance…Together

    group shot with logo and banner
    This past weekend, we hosted a “Finding Balance” yoga workshop at the North Jersey Muay Thai gym in Lodi, New Jersey where we teach our $5 yoga classes.

    Sixty yogis (many who traveled quite a distance to join us!) assembled to practice, learn and collaborate.

    We created the workshop to accommodate all levels of experience. We began with a few words on the topic of finding balance (both on and off the yoga mat) and continued to teach a well-rounded flow to loosen up the body and engage the core.

    We were so excited, first of all, because it was a sold out event, and secondly, because we had a DSC_0437aura assist
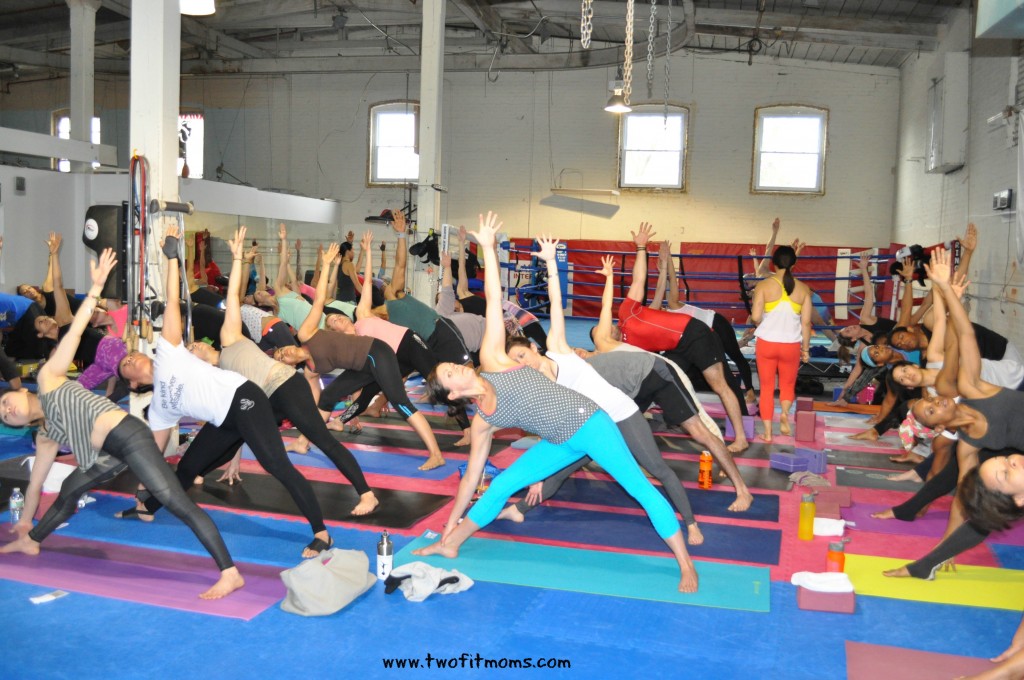
great session planned along with fun vendors and goodies from a leading yogawear brand.  We also just love getting together with fellow yogis.  It’s a wonderful family that we have — relationships that we have been able to nurture and cultivate via Instagram and our weekly classes.

    Over the course of two hours, we explored a variety of standing balance poses, arm balances and inversions.There were so many students who experienced balance breakthroughs that day! Some were able to get into all of the poses, some only one, and some none at all, but everyone tried their best.
    masumi assist logo
    We were so proud of the participants for showing great effort. But what really stood out for us was the overwhelming sense of community.

    Many of the attendees have never met each other — at least not in person.  Up until Sunday, they only knew each other by their Instagram names. They greeted each other, worked together and supported each other as if they’ve known each other for years.  We are so lucky to have such an amazing community.

    side plank

    Thank you for making it an amazing day.

    triangle pose

    We would be remiss if we didn’t thank the fabulous vendors we had on hand — K. Deer Haute Yoga Wear and Love Grace Foods — and Fabletics for providing water bottles and headbands for each participant!

    We can’t wait to get together again soon!
    collage edited 2

  • Parsva Bakasana

    Parsva Bakasana

    Twist, twist, twist! Parsva Bakasana, or Side Crane/Crow, can be a huge challenge for some yogis. Just like Bakasana, this pose requires flexibility, and the more flexibility you have the better! So, don’t be ashamed if you need some help. Use a block to perch on and a strap to keep your elbows in towards your body.


    Step 1: Warm up with a twist

    Begin by standing at the top of your mat, feet together or hip width distance apart. On an inhale, sweep the arms up overhead as you bend your knees and come into Chair Pose. Weight shifts slightly towards your heels…you should be able to lift up your toes! Take 5 deeps breaths.

    Bring your hands in prayer at heart center. On an exhale, twist over to the right, hooking the left elbow to the outside of your right thigh for Revolved Chair Pose. Try to work the left armpit down toward your thigh as your hands press actively together. Your right shoulder will pull slightly back. Try your best to keep your knees in line with each other and your hands at heart center. Take 5 deep breaths then release and twist to the opposite side. Take a forward fold once you have completed this on both sides.

    001

    Step 2: Find your birdie perch!

    Start off in your Revolved Chair Pose. Slowly start to lower your bottom down, coming onto the balls of the feet and bringing your hands down onto your mat. Remember to stay twisted!  If you have trouble here, grab a block and stand on it.  That little bit of added height will help you get your hands onto your mat.

    Spread your fingers and suction the palms of your hands onto your mat. Keep your elbows squeezing in. The outside of your right thigh will be alongside your left tricep.  Your right hip will be between your hands. Take a moment to adjust…working the right thigh up toward the left armpit.

    002

    Step 3: Almost ready for lift off!

    From your little birdie perch, slowly start to lift your bottom up as you lean forward and bend your arms. Think Chaturanga Dandasana arms…so squeeze in your elbows! Gaze forward and try to keep your shoulders square.

    003

     Step 4: Start to take off!

    Keeping your gaze forward, elbows squeezing in, shoulders square…attempt to lift up the top foot.

    004

    Step 5: Take Flight!

    Only when you are ready…try to bring the bottom foot up to meet the top foot and take flight! Squeeze your thighs together, engage your core. If you can, hold the pose for 5-8 breaths before coming back down.

    ***Modification #1:  Place a block, longways, either under your forehead or your chest to give added support. This will allow you to feel what this arm balance is like with both feet lifted!

    ***Modification #2:  Allow your right hip to rest on top of your right tricep so you are balancing your weight between both arms.

    005

    Advanced Option: Straight Arms

    006

    Have fun and be safe!

    XOXO

    Blog Signature