Category: Recipes

  • Our Favorite Farro Salad

    Our Favorite Farro Salad

    farro bannerFarro is an ancient grain, most commonly found and grown in Italy. It can be added to soups and salads, and if you’ve never tried it before, here’s the perfect introduction.

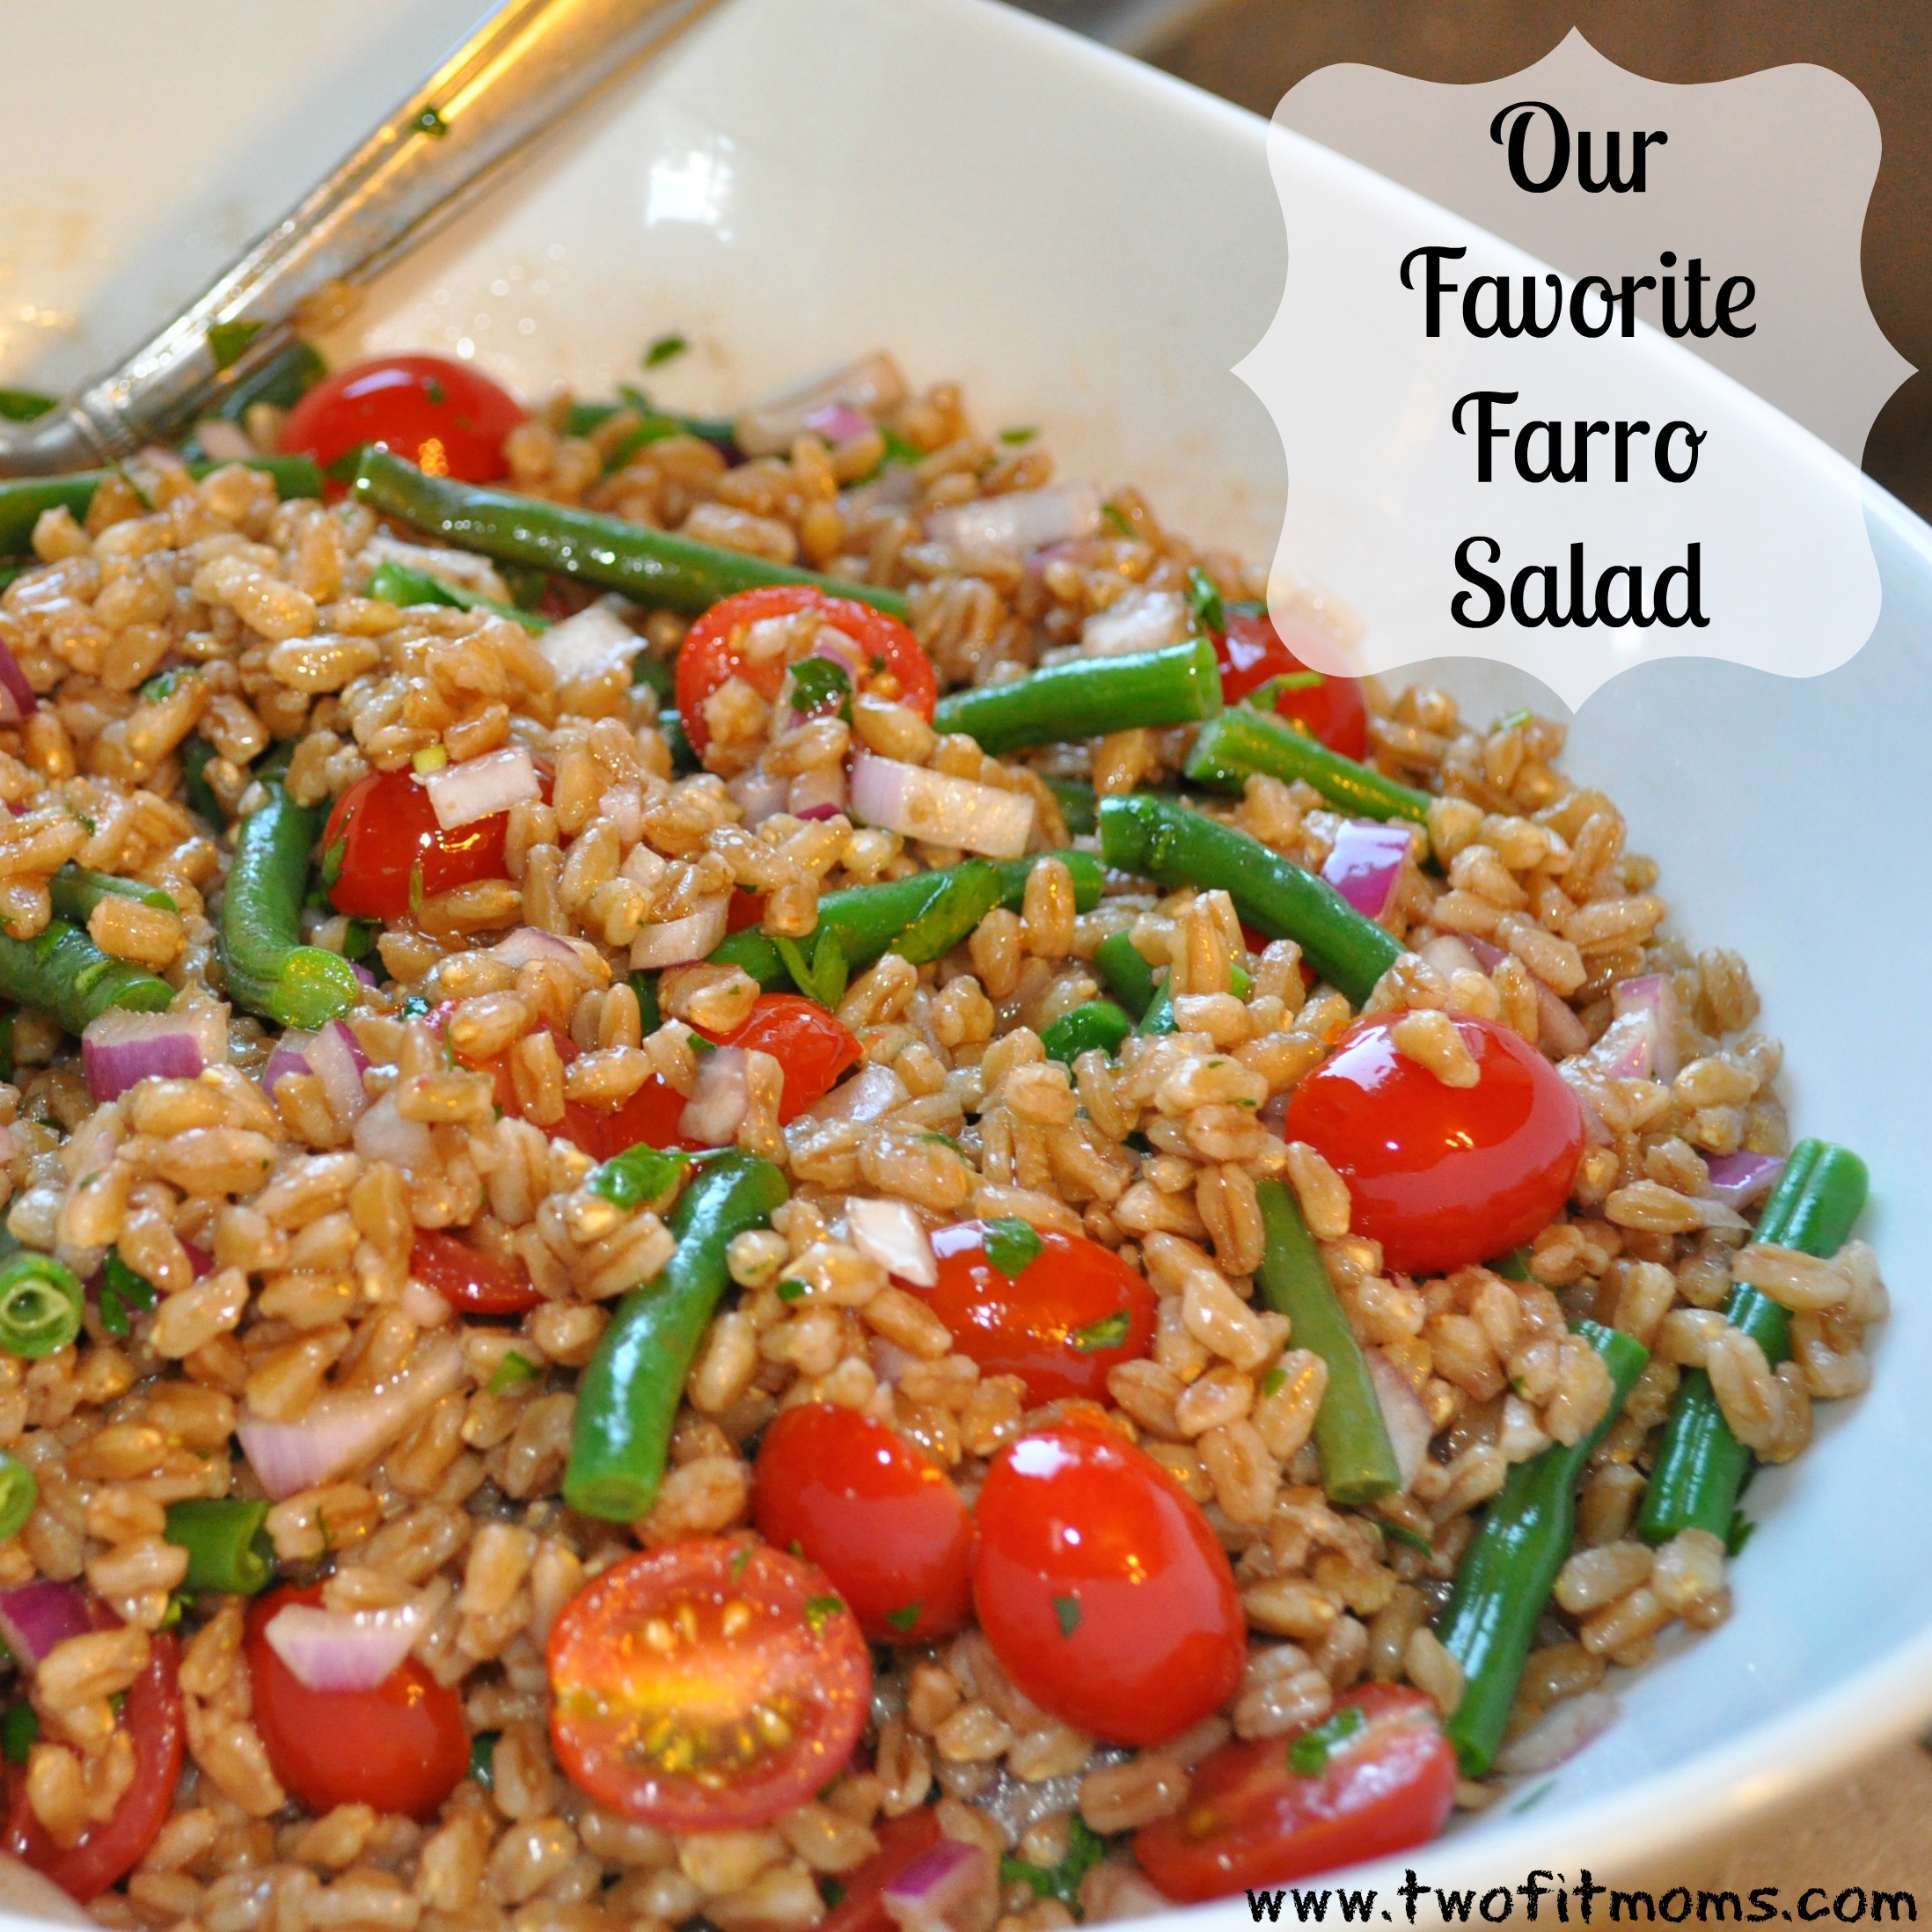
    This farro salad has been eaten, adapted and shared by all three of us at Two Fit Moms.  It’s a staple, the perfect side dish, great for barbecues and events — and everyone loves it.  I make it about once a week during the summer when tomatoes are ripe and plentiful.

    I can bet that my colleagues make certain additions and substitutions to make this salad their own — but I tried to capture the basic salad recipe here for you.  You can feel free to jazz it up — adding chopped cucumbers, or a vidalia onion for a bit more sweetness or other chopped herbs.

    Please let us know what you think of this recipe.  We hope you love it as much as we do!

    Our Favorite Farro Salad
    serves a crowd, or 4-6 people with leftovers!

    1, 14 ounce bag of farro (rinsed and drained)
    4 1/2 cups of water
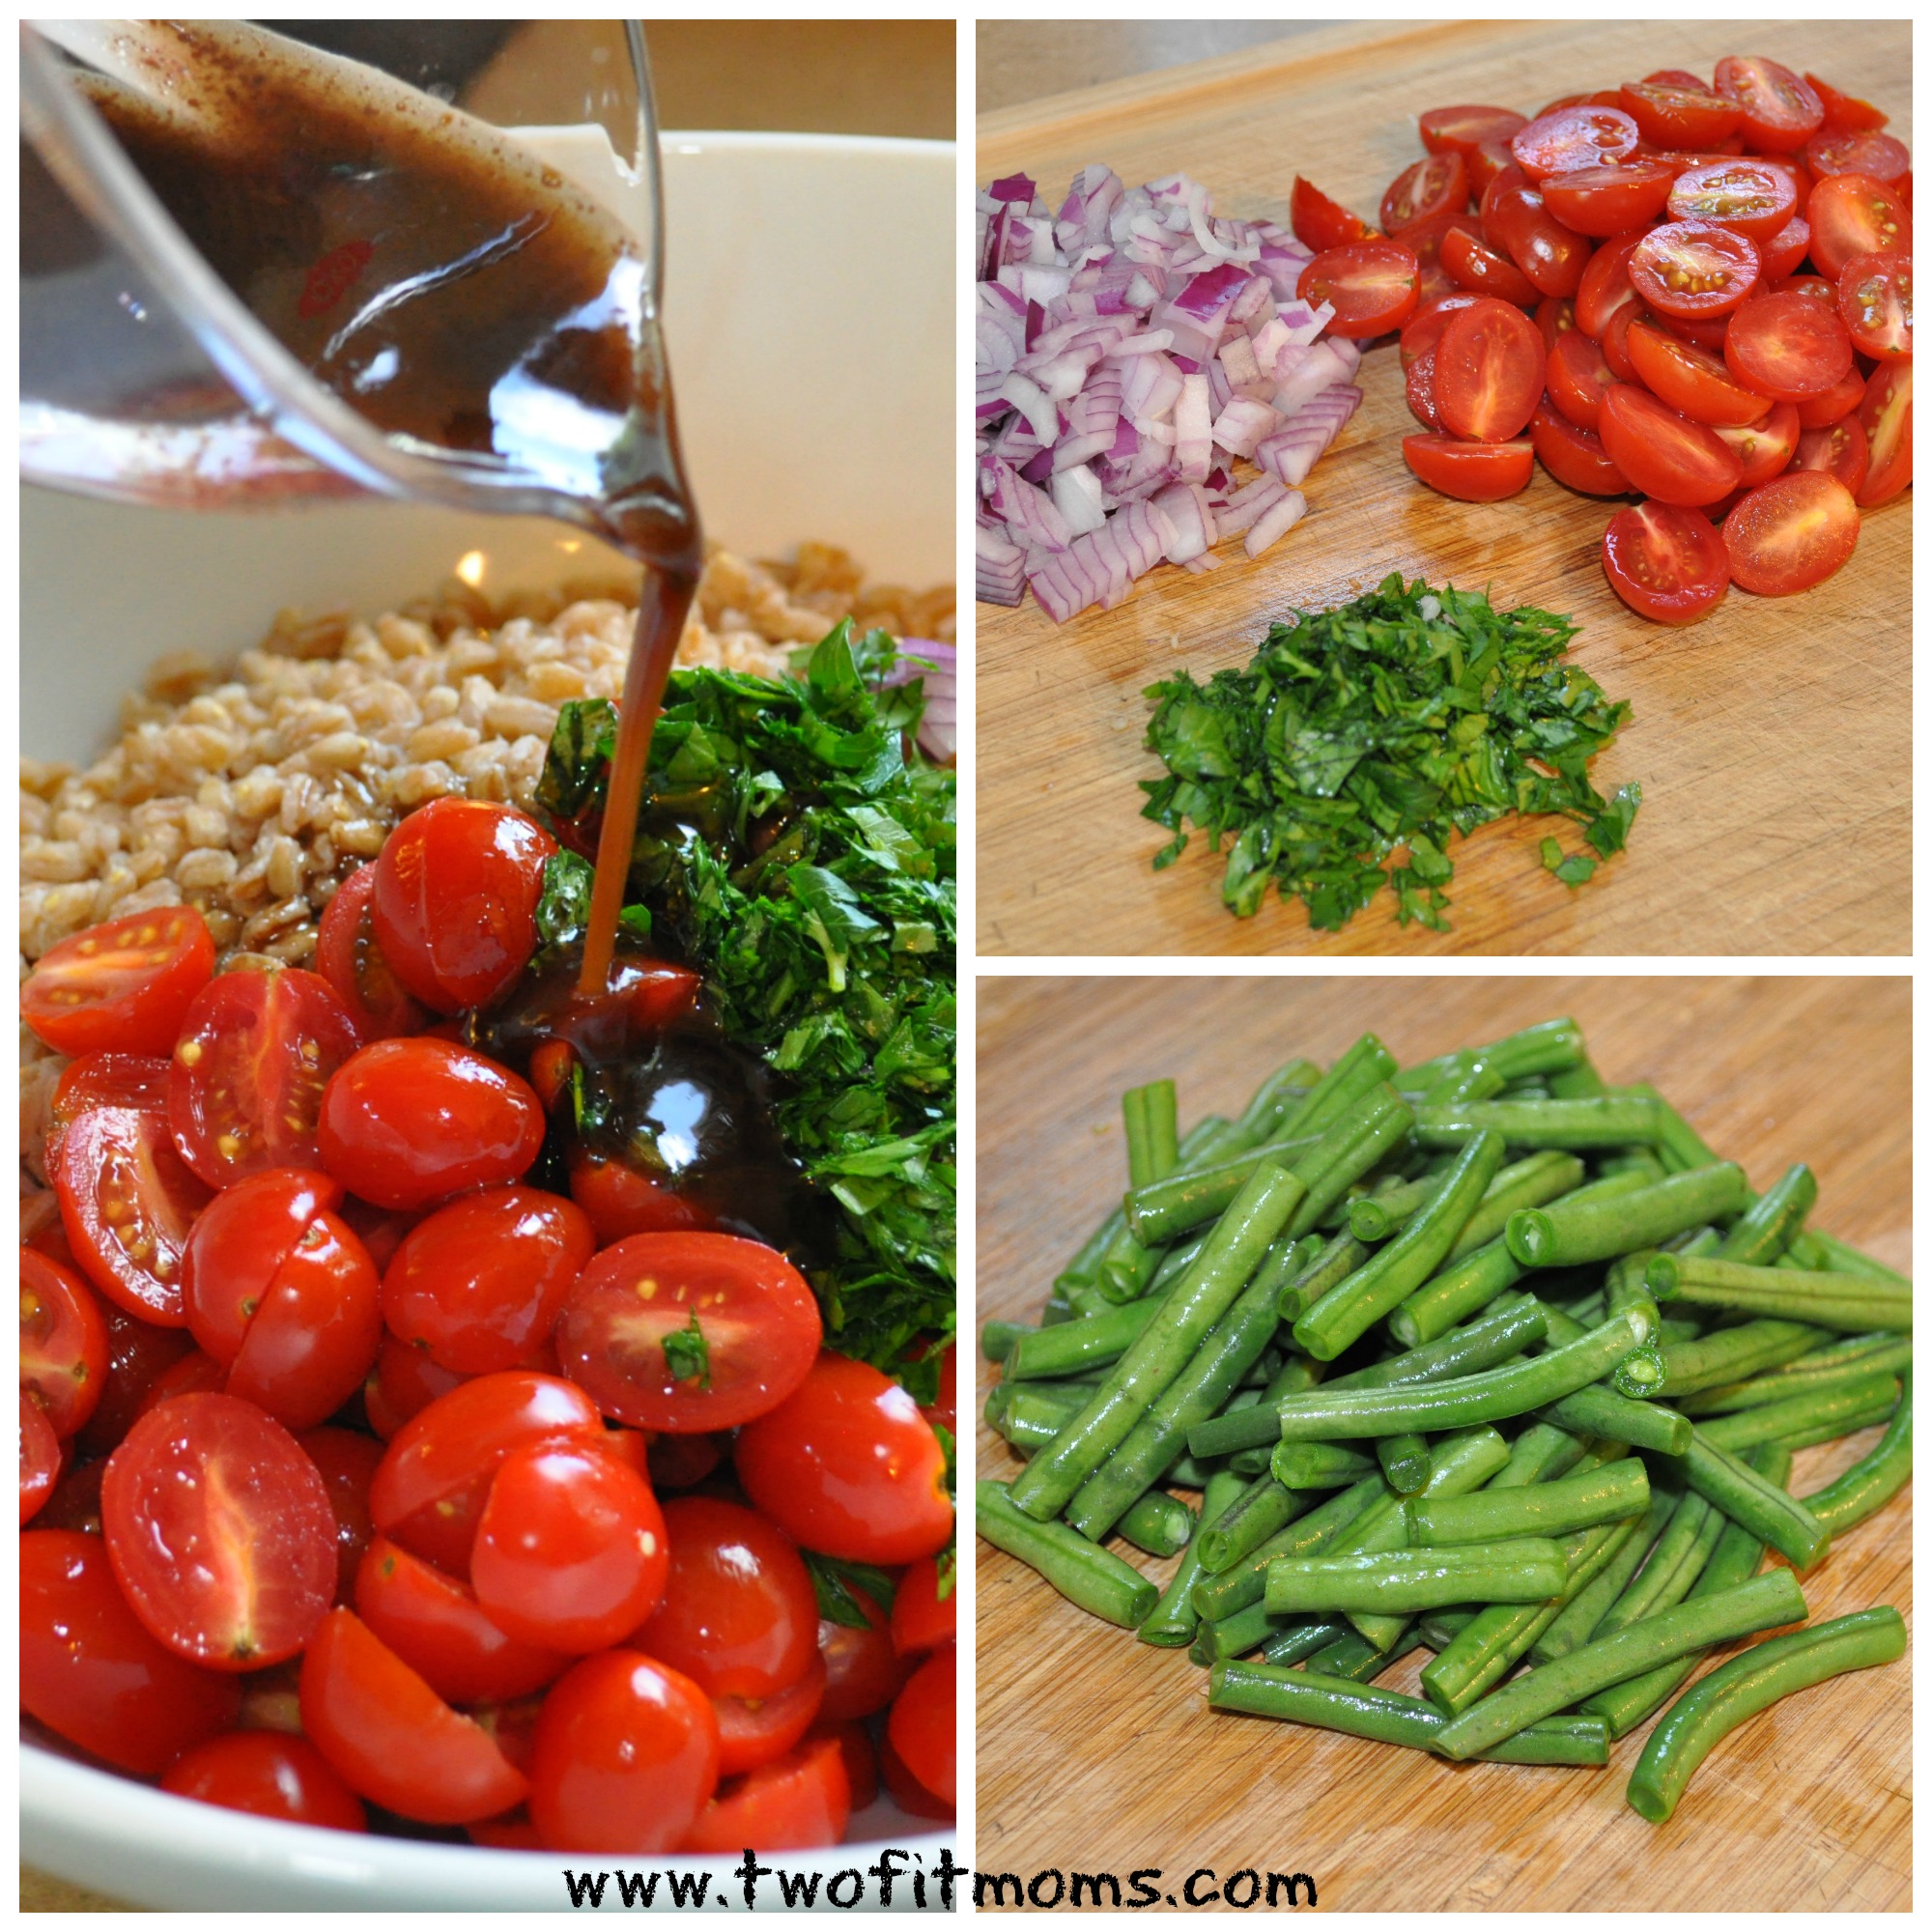
    1 pint of cherry or grape tomatoes cut in half
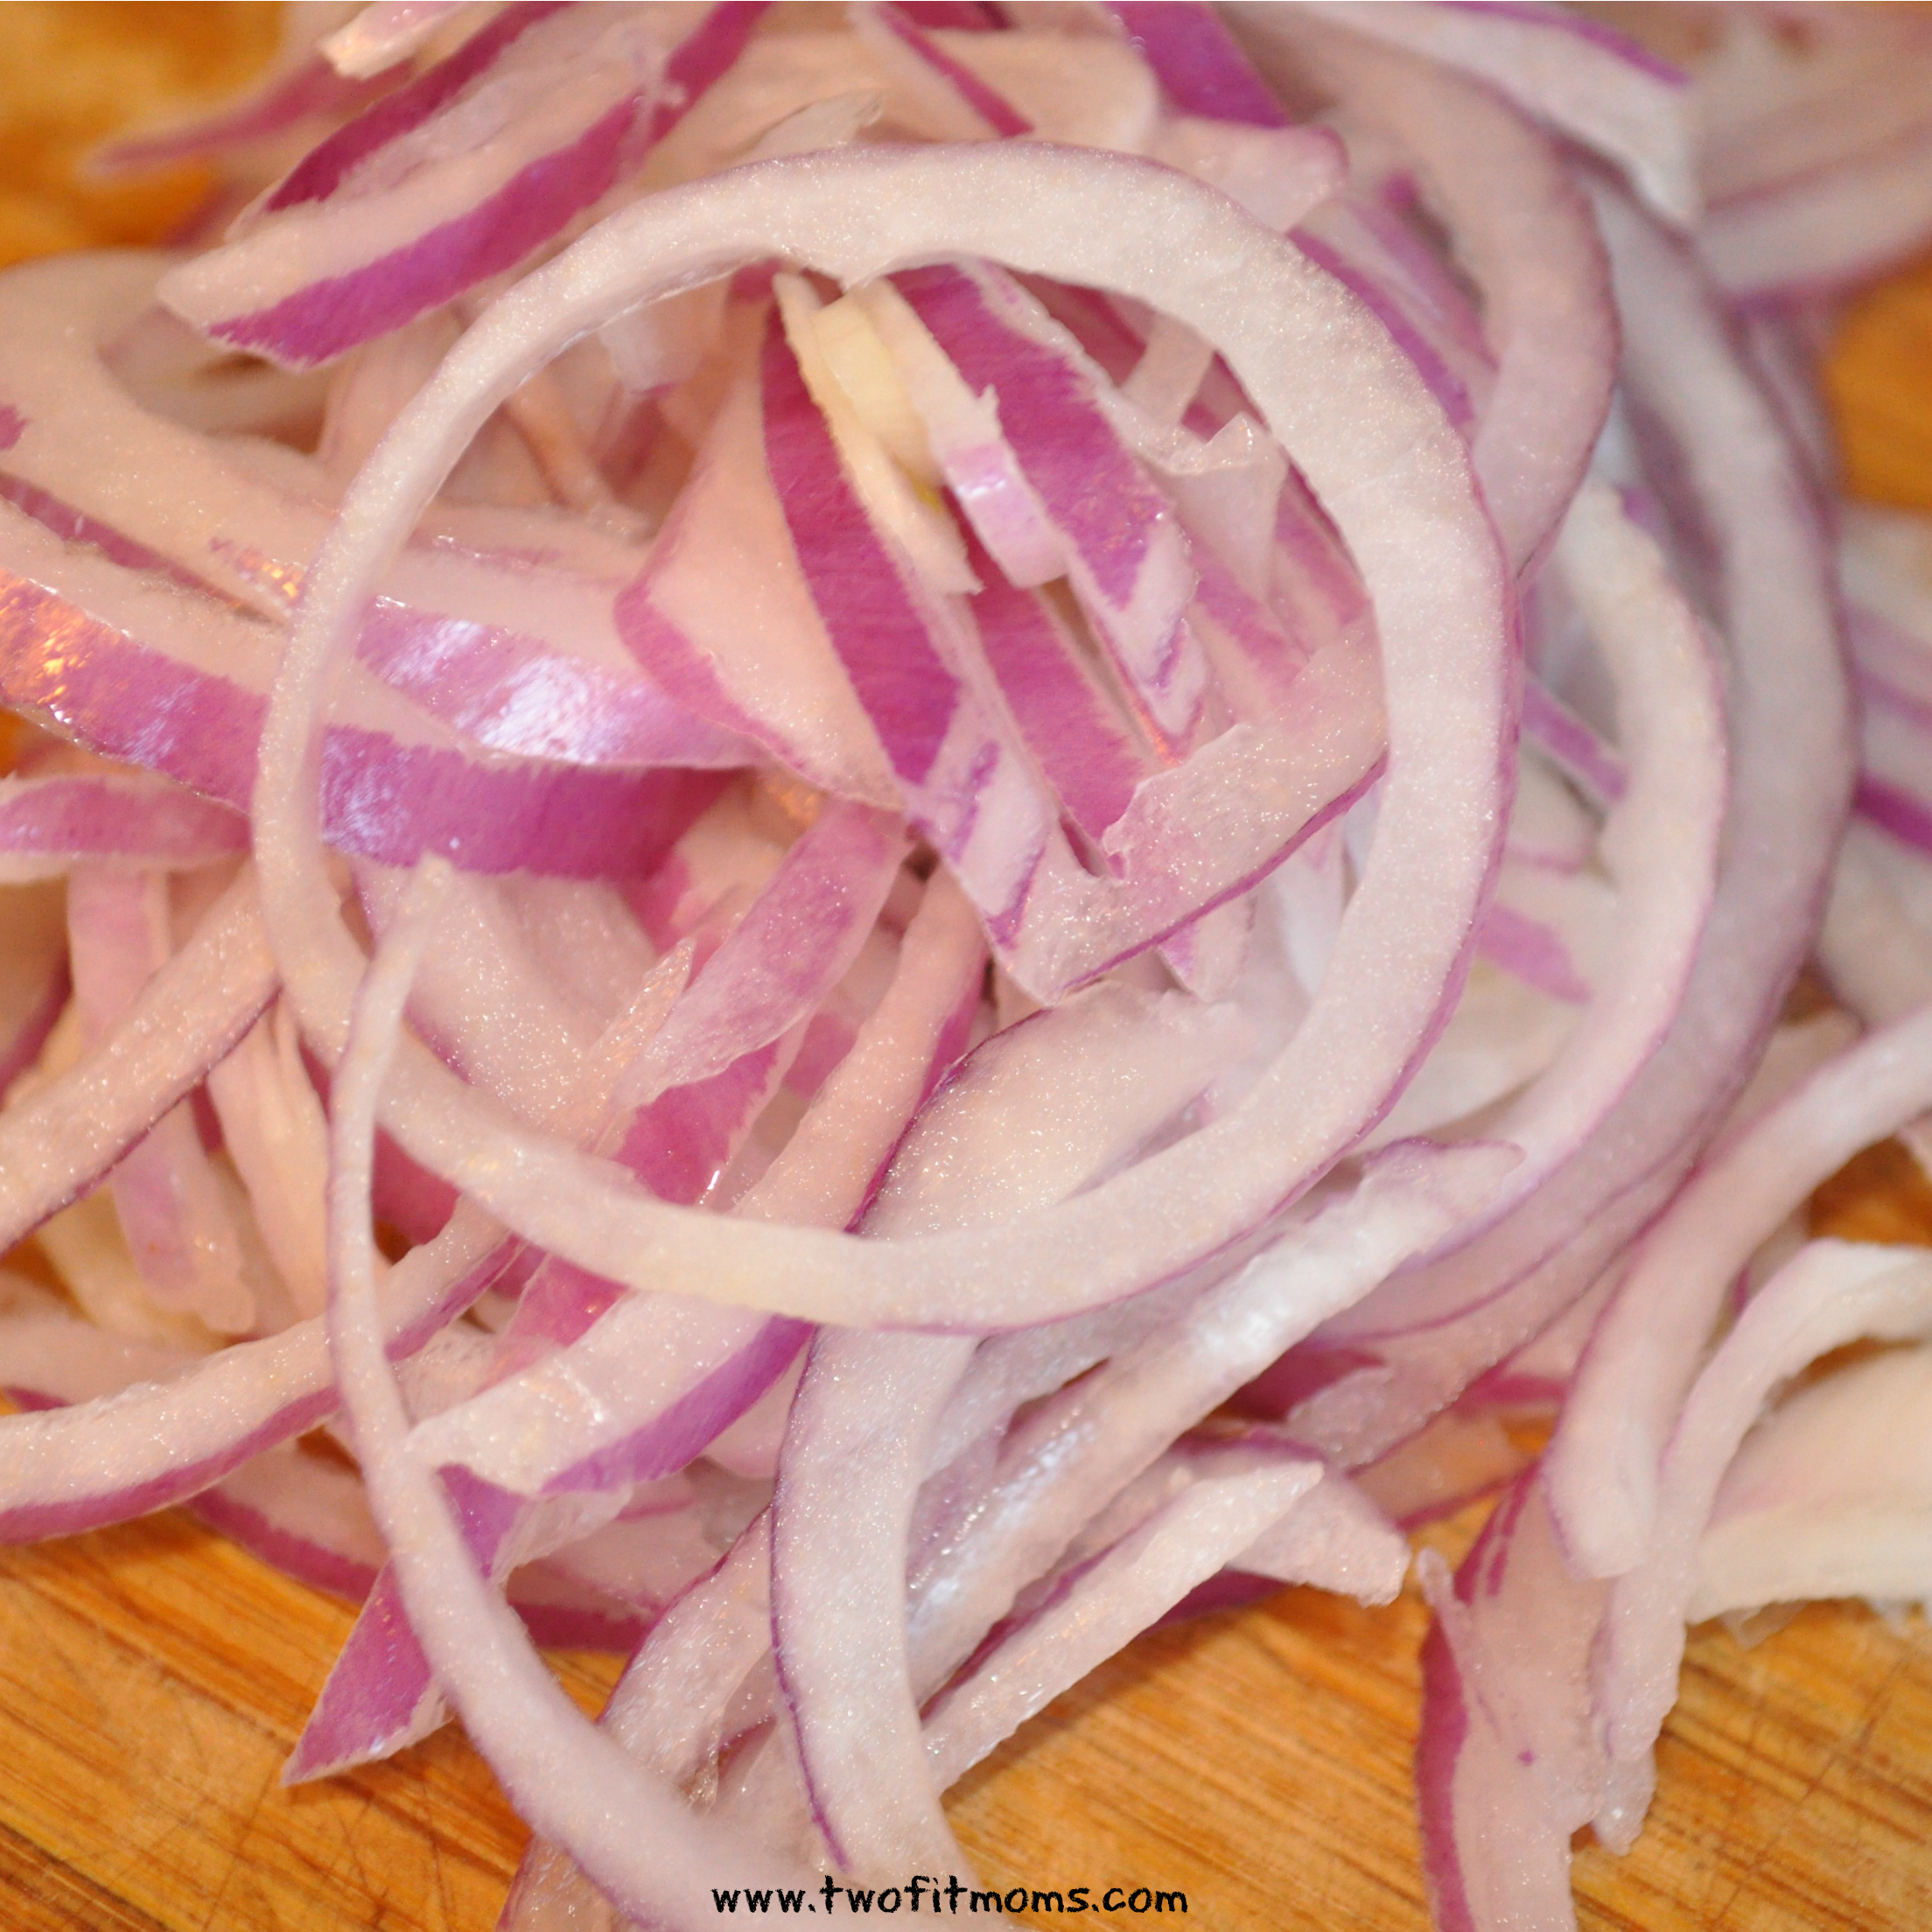
    1/2 red onion, chopped
    1 1/2 cups of steamed string beans, cut into bite-sized pieces
    1/4 cup of parsley, chopped
    1/3 cup of olive oil
    3 tablespoons of balsamic vinegar
    1 clove of garlic, crushed
    salt and pepper

    Add water, two teaspoons of salt and the farro to a large pot and bring to a boil over medium/high heat.  Lower heat and let simmer for approximately 20 minutes until most of the water is absorbed and the farro is tender (but still firm).  Drain the farro and add to a large bowl.  Set aside.

    In a separate bowl, add the olive oil, balsamic vinegar and crushed garlic; whisk until combined.  Add tomatoes, red onion, string beans and parsley to farro. Add the dressing to the farro salad (while still warm). Toss. Season with salt and pepper to taste, and toss again.

    farro collage with mark

    Serve warm, at room temperature or cold (the longer it sits, the better it tastes!)


  • Lemon-Dijon Herbed Salmon

    Lemon-Dijon Herbed Salmon

    lemon dijon salmon with bannerI’m going to be very honest with you. . . . I’ve never liked salmon.

    In fact, I’m the only one in my family who would not eat it.  Even my 2-year old likes it.  Since I’m the odd man out, so to speak, I decided I needed to make a more concerted effort to try salmon.  Plus, it’s healthy and good for your complexion (I’ve heard), so I decided to give it a try.

    I chose wild salmon versus farm-raised salmon at the suggestion of a friend who believes wild salmon has a milder flavor. Plus, wild salmon is supposed to be the healthier option, albeit pricey (a bit of a splurge, and not something we eat every day).

    I went to my local fish monger (luckily I have an amazing one in town), and I bought fresh, wild salmon. Then, I needed to find a good recipe because I think the key to good fish is good preparation.  I can assure you that just throwing some lemon on top would not be appealing to me.

    So, I searched the Internet looking for recipes, and cobbled together a marinade from what I had on hand in my refrigerator – lemon, garlic, dijon mustard, and parsley.  Voila!

    To my surprise, I really liked it.  The whole family liked it!  I’m not sure why — I guess it was just the right combination of flavors between the fresh lemon and parsley, the tangy mustard and spicy garlic.  It was also cooked just right — not overdone, but moist.

    Needless to say, I actually enjoyed the wild salmon.  It was sort of a miracle!  So, I figured, if I like it, you will too.

    Here’s my recipe for Lemon-Dijon Herbed Salmon! Consider serving it with our Shaved Fennel Salad or Lemon-Garlic Scented Roasted Asparagus!

    salmon squareLemon-Dijon Herbed Salmon
    serves 4-6 people

    2 lbs of wild salmon, cut into steaks
    1/4 cup of olive oil
    2 cloves of garlic, crushed
    1/4 cup of parsley, chopped
    1 tablespoon dijon mustard
    1 lemon, juiced and zested
    salt and pepper to taste

    Preheat oven to 400 degrees.

    In a bowl, combine olive oil, crushed garlic, chopped parsley, mustard, juice and zest of one lemon, salt and pepper.

    Place wild salmon in a baking pan, lined with tin foil.

    Evenly distribute marinade over each portion of fish.

    Bake wild salmon for approximately 15 minutes, until firm, but moist.  Serve immediately!

    Helpful hint: Try making this recipe on the grill! You will still want to cook the wild salmon on tin foil.  Try to keep the temperature of the grill at a constant 400 degrees.  I noticed mine cooked a little sooner on the grill, closer to 10-12 minutes.  Keep in mind, cooking times will vary depending on size and thickness of your wild salmon steak. 

  • Smashed Potatoes

    Smashed Potatoes

    smashed pot bannerI love potatoes — mashed potatoes, roasted potatoes, french fries, potatoes au gratin.  The list goes on and on . . . .But, I also like easy recipes and ones that the whole family will enjoy.  This recipe for smashed potatoes is really very simple.  And, they are fun to make, because you get to smash the potatoes with a mug — almost as if you were making tostones.

    However, nothing is fried, so this is a great healthy side dish.  The potatoes are oven baked and seasoned with delicious smoked paprika, garlic powder, salt and pepper. They are a great alternative to a roasted potato — and I market them as french fries to get my kids to eat them!

    So, next time you are at the market, grab a bag of baby new potatoes (they can be white, Yukon gold, or red potatoes).  And because all bags of potatoes seem to come in different weights, you choose the amount of olive oil and seasoning you put on them.

    Smashed Potatoes

    1 bag of baby new potatoes (I like the white or Yukon gold varieties)
    A few tablespoons of olive oil
    Smoked paprika
    Garlic powder
    Salt
    Pepper

    Add cleaned potatoes to a pot of water.  Bring the water and potatoes to a boil over medium-high heat.  Boil until potatoes are fork-tender — mine took about 25 minutes.  Drain potatoes and let them cool so that you can handle them.

    smashing potatoIn the meantime, preheat your oven to 400 degrees.  Take a large cookie sheet and coat the bottom lightly with olive oil.  Place potatoes on the cookie sheet a few inches apart so that you can allow them to spread when you smash them.  With a flat bottomed coffee mug, push down on the potato until it flattens (check out the picture to the right).  Once you have flattened all of the potatoes, drizzle a few tablespoons of olive oil over them and sprinkle with paprika, garlic powder, salt and pepper.  There’s no precise measurement for the spices, but take a look at the picture in the header to get a sense of how much spice I used.

    Bake until potatoes crisp up a bit – time will all depend on how many potatoes you have and their size, but 20 minutes is probably a good estimate.

    Enjoy!

    Helpful Hint: If you tend to be short on time in the evening, boil your potatoes during your morning routine. Drain them, and leave them on your countertop (or in the fridge, if you prefer) for smashing and oven roasting later.


  • White Bean Dip with Seasoned Pita Chips

    White Bean Dip with Seasoned Pita Chips

    white bean dipThis white bean dip recipe that I’m sharing with you is a modified version of a dip that I found in a Giada DeLaurentiis cookbook (Everyday Italian) years ago.  It’s become our hummus alternative.  In fact, it’s a family favorite and frequently graces our events (right alongside my husband’s famous guacamole!).  And, it very may well be on the menu this Memorial Day weekend!

    It’s really a cinch to make.  With only a few ingredients, and a food processor on hand, you will have a delicious homemade white bean dip in no time!

    I serve my dip with seasoned pita chips — a homemade take on a store-bought favorite.  This too requires very little effort and, I bet you have most, if not all, of the ingredients in your pantry.  Once you make homemade pita chips, you will turn your nose up at the store-bought kind! The pita chip recipe follows as well.

    As with most of our recipes, this one can be modified and adapted to suit your needs and tastes.  You will also notice that we generally “season to taste” which allows you to control the amount of spices, specifically salt.

    Enjoy!

    white bean fp upcloseWhite Bean Dip

    Yields approximately 2 cups of dip.

    2, 15 ounce cans of white cannellini beans, rinsed and drained
    1/2 cup of olive oil
    1/2 cup of parsley
    1 clove of garlic, crushed
    1 teaspoon of salt
    1/8 teaspoon of pepper
    4 tablespoons of fresh lemon juice

    Add beans, olive oil, parsley, garlic, salt, pepper and juice of one lemon to the bowl of a food processor.  Pulse until combined and creamy.

    Serve with homemade pita chips (recipe follows) or fresh veggies.

    pita  upclose
    Homemade Seasoned Pita Chips

    four large, whole wheat pita rounds, cut into eighths
    olive oil
    oregano
    garlic powder
    salt
    pepper

    Preheat oven to 400 degrees.

    Arrange pita on an oiled sheet pan (you might need two depending on the size of your pan).  Drizzle with olive oil and sprinkle with oregano, garlic powder, salt and pepper.

    Bake for 10-15 minutes until toasted and lightly browned.

    Pita will harden as it sits.

  • Weeknight Marinara

    Weeknight Marinara

    marinaraWhy would you open up a jar of marinara sauce when you can easily whip up a homemade batch? I know, it seems like way too much work, especially on a weeknight when time is limited, but I can guarantee, in just a few simple steps you will have a hearty tomato sauce (a double batch, in fact) that would put any jarred sauce to shame.

    The beauty of this marinara, is that it only requires a few ingredients, all of which you likely already have in your pantry: canned tomatoes (I prefer crushed), olive oil, garlic, onion, dried herbs, salt and pepper.

    And, you can modify it to your liking.  If you have more time and can let the sauce cook for a few hours, throw in a bay leaf.  If you like a spicy sauce add some crushed red pepper. If you prefer other herbs, throw in some oregano, parsley – and of course, use fresh herbs when they are available.

    This marinara can also serve as the basis for other tomato-based sauces.  Add some veggies and create your own primavera, or add some ground turkey, beef or sausage and you have a meat sauce . . . the possibilities are endless.

    Weeknight Marinara

    Yields enough for a pasta dinner for four with leftovers!

    2, 28 ounce cans of crushed tomatoes (I use San Marzano, but you can use any brand that you like)

    1/2 onion, chopped

    2 cloves of garlic, crushed

    a few tablespoons of olive oil

    1/2 teaspoon of dried basil (or oregano, parley, etc.)

    salt and pepper to taste

    Add a few tablespoons of olive oil to a large pot over medium heat.  Add the chopped onion, and let it cook until softened, 5-7 minutes.  Add the garlic until lightly browned (but not burned!).  Add the dried basil to the onion and garlic mixture — cooking it at this stage helps draw out its flavor.  Then, add the crushed tomatoes, salt and pepper to taste. If your sauce is too thick, feel free to add some water (or wine) — I would start with 1/2 cup.

    Let the sauce come to a full boil, and then reduce to low heat. Simmer for a minimum of 20 minutes.  Serve over a pasta of your choice.


  • 5-Ingredient Guacamole

    5-Ingredient Guacamole

    guacamole with banner updatedCinco de Mayo is around the corner and what better way to celebrate then to whip up some guacamole?

    Rumor has it that my husband makes some of the best guacamole around.   His guacamole is usually a big hit at our parties, with guests parking themselves in front of it, so I thought it was worth sharing!

    It’s really very simple to make and only includes five main ingredients — avocados, garlic, lime, salsa, cilantro — and, some spices that you likely already have on hand. We suggest you serve it with tortilla chips — or raw veggies if you want to offer a healthier option.

    Of course, as with all of our recipes, you can modify it to your liking and substitute ingredients, as necessary.  For example, if ripe tomatoes are available in your neck of the woods, throw some chopped tomatoes into your guacamole (vs. the salsa we suggest).  If you don’t like cilantro, skip it.

    Make the recipe your own! (but, it’s pretty good as is!)

    5-Ingredient Guacamoleguacamole ingredients

    4 ripe Haas avocados

    1 large clove of garlic, crushed

    juice of 1 lime

    1/2 cup of store bought salsa

    handful of cilantro, chopped

    1 teaspoon of salt

    1/2 teaspoon of cumin

    1/8 teaspoon of pepper

    Cut avocados in half, remove pit, score each avocado and scoop flesh out into a bowl.  Mash the avocado with a fork until you achieve the desired consistency (some people like their guacamole chunky, others like it more mashed — all a matter of preference).  Add crushed garlic, juice of one lime, chopped cilantro, salt, cumin and pepper.  Mix until incorporated.  Serve immediately!

    Enjoy~


  • Quick Tips for Preparing Asparagus

    Quick Tips for Preparing Asparagus

    asparagus with bannerI love asparagus, and recently my kids started to really like it too – which means it will be a staple on my menu this season.

    I have a feeling, though, that many people pass up asparagus because they don’t know how to prepare it.  So, this article serves two purposes — one, to get you to try asparagus, and two, to help you learn how to prepare it properly.

    First, when you go to the market, look for a bunch of asparagus that has uniform thickness.  This will ensure that the asparagus cooks evenly. You also want to make sure it’s fresh — it should be crisp and bright green.

    The most important part of prepping asparagus is removing the lower, tough portion of the spear.  Most people just chop the bottoms off the spears without much thought, but there’s actually a method to trimming asparagus.

    Rather than randomly cutting a portion off the bottom, you take the spear between both of your hands and bend.  The spear will break naturally separating the tough lower portion from the more tender, upper portion of the spear. (For those of you looking to make use of the trimmings, you can reserve them for stock!)asparagus collage
    The spears may not all be the same exact length, but that won’t affect the cooking process.

    asparagus zfeatured

    Now that we have prepped the asparagus, let’s cook them! I prefer to roast them, but you could also saute them in a pan with olive oil or blanch them in a pot of boiling water. We are big on roasting our veggies these days, so here’s a quick and tasty preparation for roasted asparagus!

    Lemon-Garlic Scented Asparagus

    Serves 4-6 adults (with leftovers!)

    Before we launch into the recipe I just want to point out that you DO NOT want to pour lemon juice on top of your asparagus.  The lemon juice will turn your asparagus gray — it will turn most other green veggies the same color.  Instead, we are using lemon zest which will not affect the color of your asparagus, but will scent it with a wonderful lemon flavor!

    2 bunches of asparagus, stems trimmed

    1 lemon, zested

    1 garlic clove, crushed

    olive oil

    salt and pepper to taste

    Preheat oven to 400 degrees.

    Arrange trimmed asparagus in a single layer on a large baking sheet. Drizzle a few tablespoons of olive oil over the asparagus, season with salt and pepper to taste. Roast asparagus for approximately 20-30 minutes, turning them occasionally, until tender and browned (cooking time will vary based on the width of the asparagus).

    While the asparagus is roasting, mix together the lemon zest, crushed garlic and 2 tablespoons (or so) of olive oil in a small bowl.

    Remove asparagus from the oven and arrange on a platter.  Drizzle lemon/garlic/olive oil mixture on top of the asparagus.

    Serve and enjoy!

    The good thing about this recipe is that you can modify the amount of garlic and lemon zest you use, so make it your own!

  • Roasted Potato Leek Soup (Gluten- and Dairy-Free!)

    Roasted Potato Leek Soup (Gluten- and Dairy-Free!)

    leek soup updatedLeeks are a spring vegetable.  And, now that they are in season, it’s the perfect time to incorporate them into into your cooking.

    If you’ve never cooked with leeks, this roasted potato leek soup is a great, and simple, introductory recipe. The roasted vegetables offer depth of flavor and compensate for the lack of dairy in the soup (potato leek soup usually contains cream).  It’s also gluten-free!

    Leeks have a mild onion flavor.  The dark green portion of the stalk, which is too tough to eat, is removed (wash and save it for stock!), using only the light green and white portion. Learning how to clean the leek is important since sand tends to get caught in the stalk.  Therefore, you need to take a few steps to prep the leeks before proceeding with the recipe.

    First, remove the dark green portion of the stalk.
    leek 1
    Then cut about a 1/4-1/2 inch from the bottom, white portion, of the stalk.
    leek 2
    Next, cut the leek lengthwise.
    leek 3
    Rinse the leek under cold running water to remove the sand.
    leek 4
    Then, put the leeks cut side down and cut the leeks in 1/2 inch slices.
    leek 5
    Toss the leeks into a colander, separate the layers and run under cold water to make sure all of  the sand is removed.
    leek colander

    Now you are ready to prepare the soup.

    Here’s the full recipe:

    Roasted Potato Leek Soup

    4 leeks, washed and prepared as noted above (1/4-1/2 inch slices)

    3 large russet potatoes, peeled and chopped into 1/2 inch dice

    1 teaspoon of salt

    1/2 teaspoon of dried thyme

    1/4 teaspoon of black pepper

    3-4 tablespoons of olive oil

    6 cups of organic, gluten-free chicken stock or vegetable stock (non-tomato based)

    chopped chives for garnish (optional)

    Preheat oven to 400 degrees

    Arrange sliced leeks and diced potatoes on a large cookie sheet.  Top with salt, thyme, pepper and olive oil (feel free to add more olive oil if necessary) and mix to coat.  Roast the vegetables for approximately 50 minutes, stirring them frequently.  Once potatoes are tender, remove from oven.  At this point, you might notice a few dark pieces of leek, you can toss those.  Transfer roasted leeks and potatoes to a large stock pot.  Add the six cups of chicken stock and bring to a boil over medium heat.  Remove mixture from the heat.  Blend the soup in two batches in a blender (please note, a Vitamix or other high powered blender, may be too strong for this job — you do not want to over-blend the soup.  It will yield a gummy consistency).

    Serve hot or at room temperature.  Top with chives.

    Yields two quarts of soup.


  • How to Roast Veggies

    How to Roast Veggies

    If you think you are too busy to cook and prepare vegetables for yourself each day, I have the perfect solution for you.  Embrace your cookie sheet.  My cookie sheet allows me to prepare larger HowToRoastVeggies
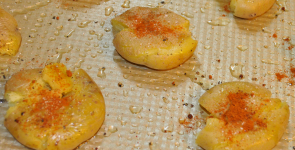
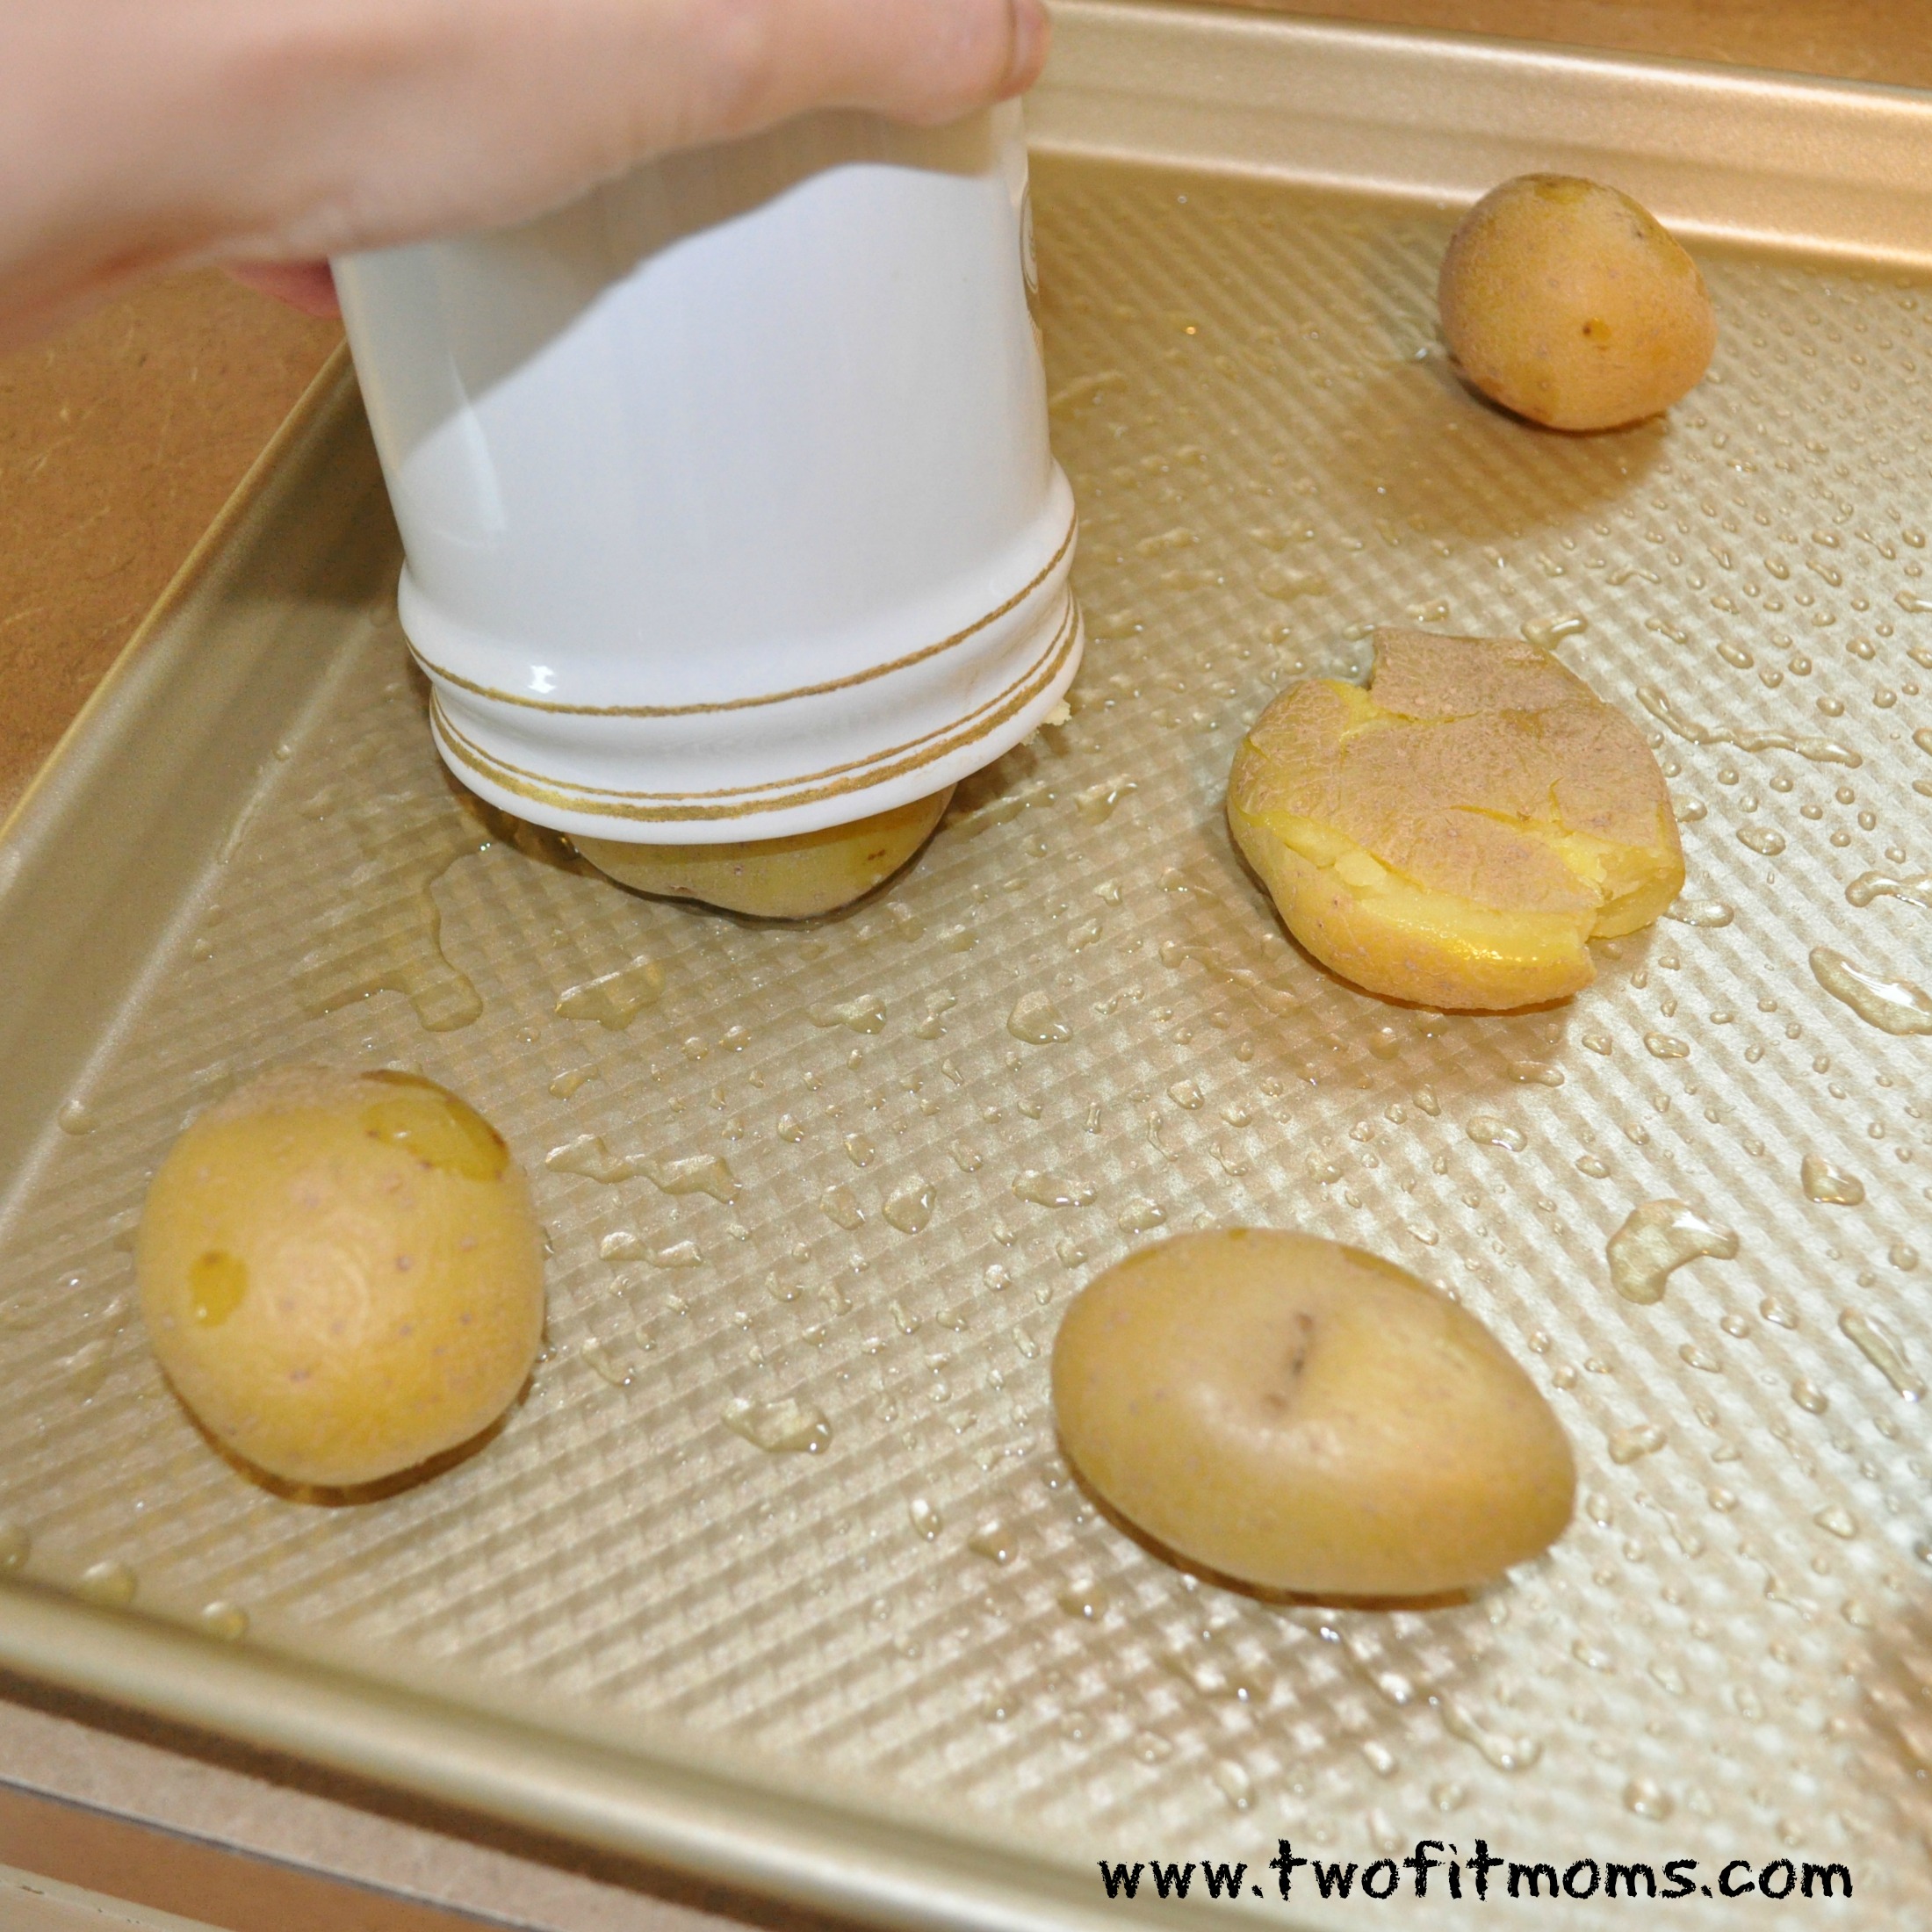
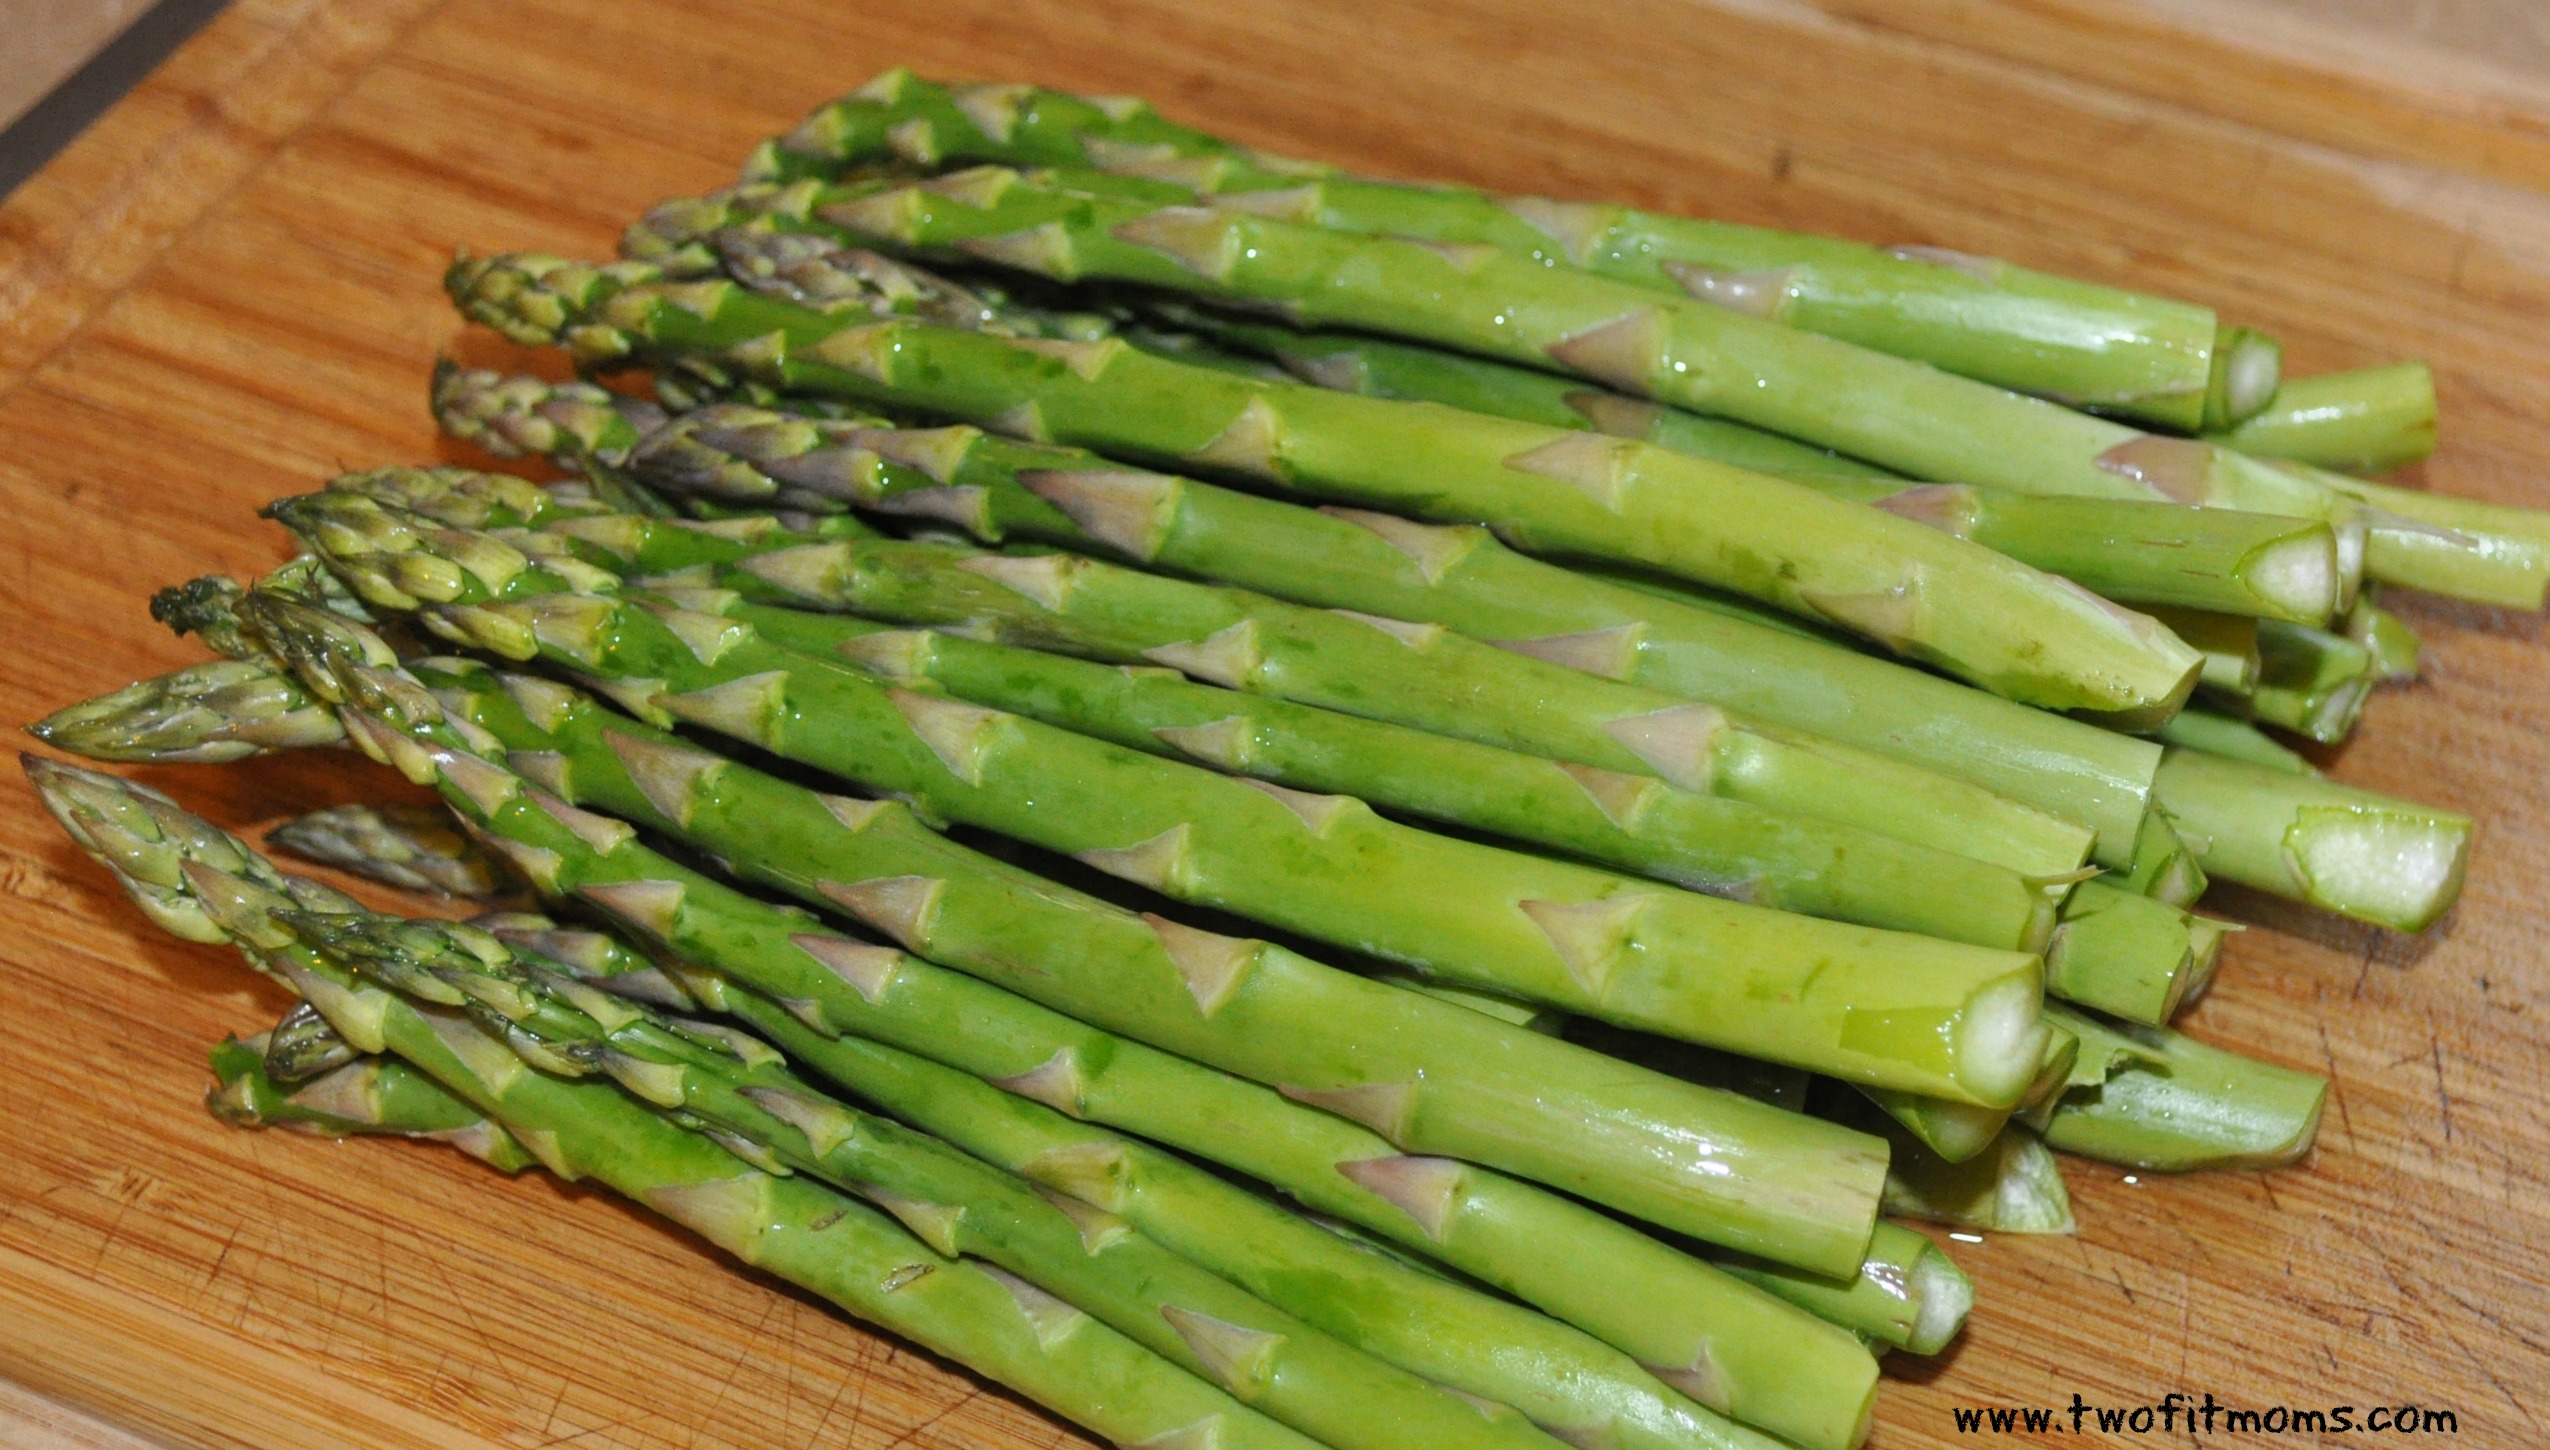
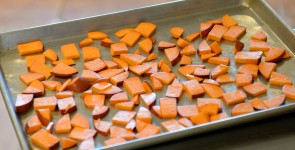
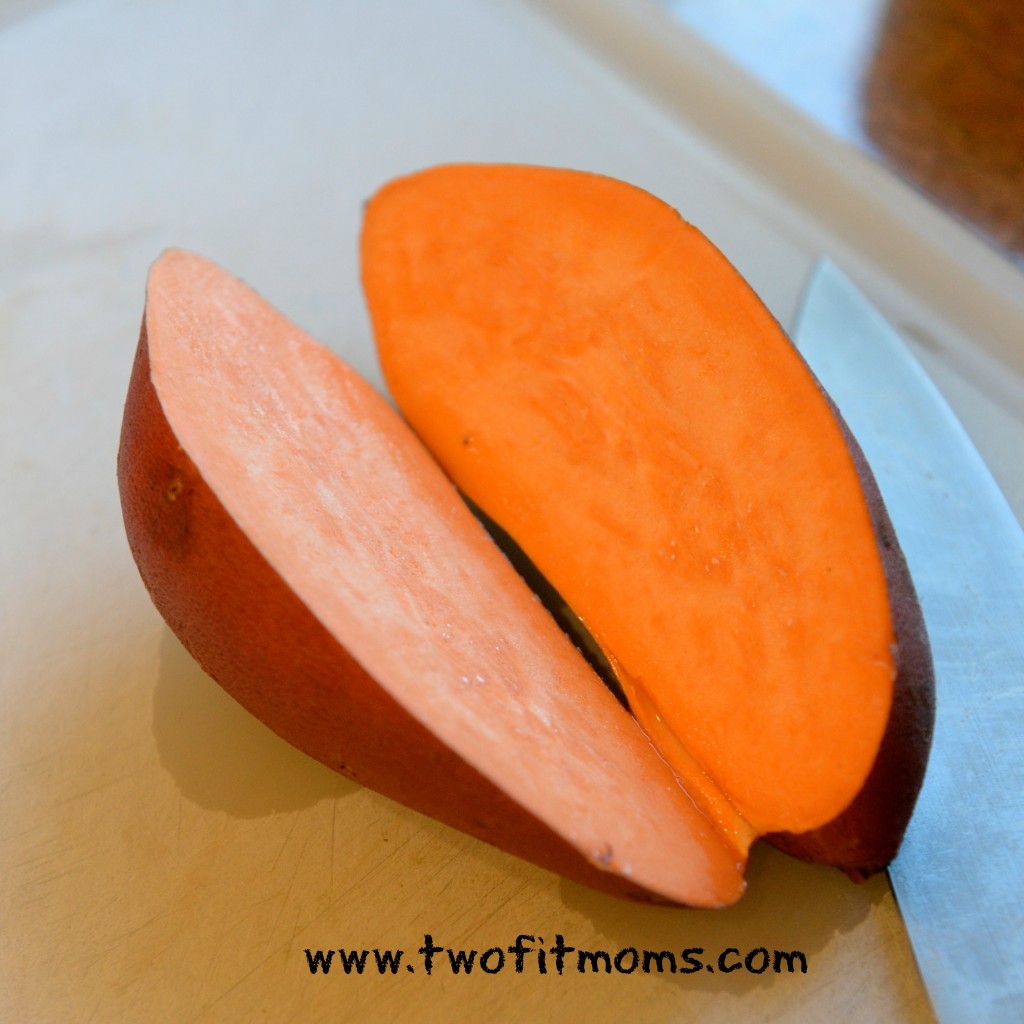
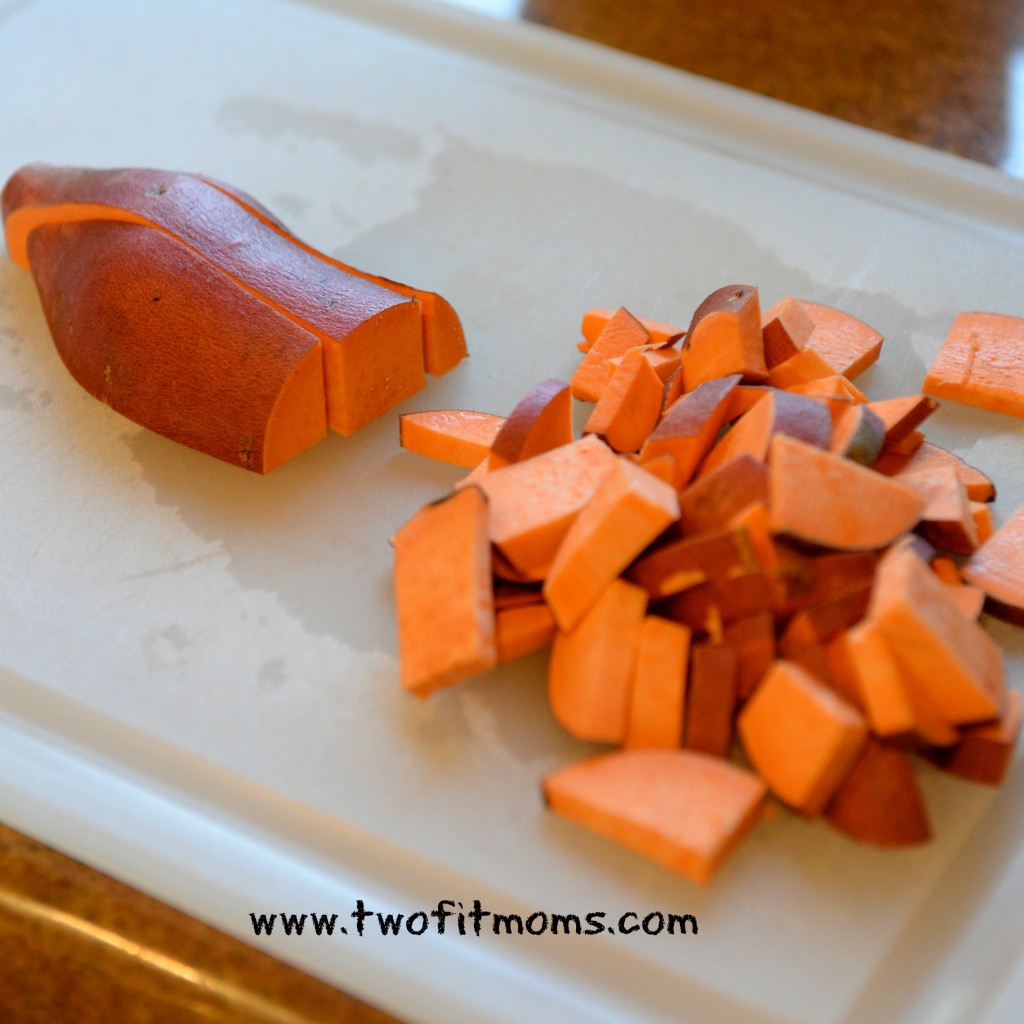
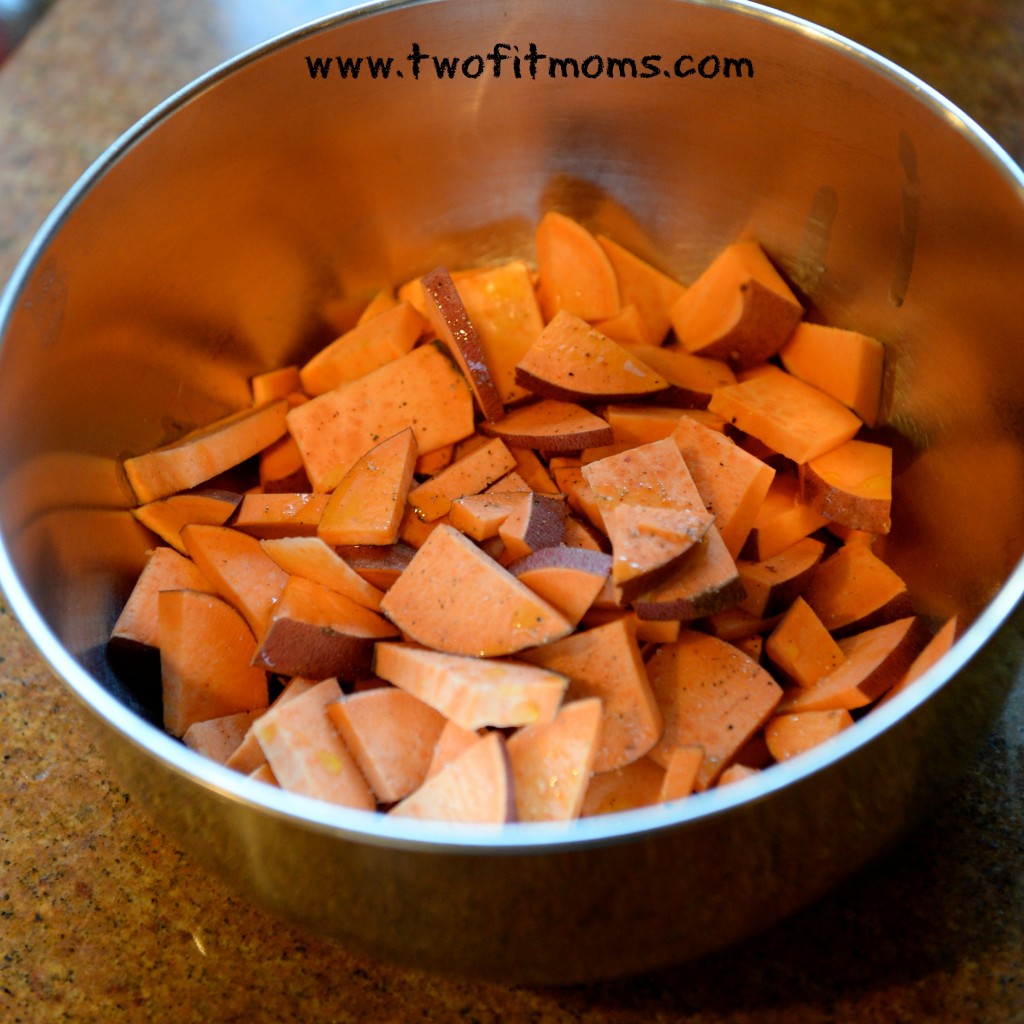
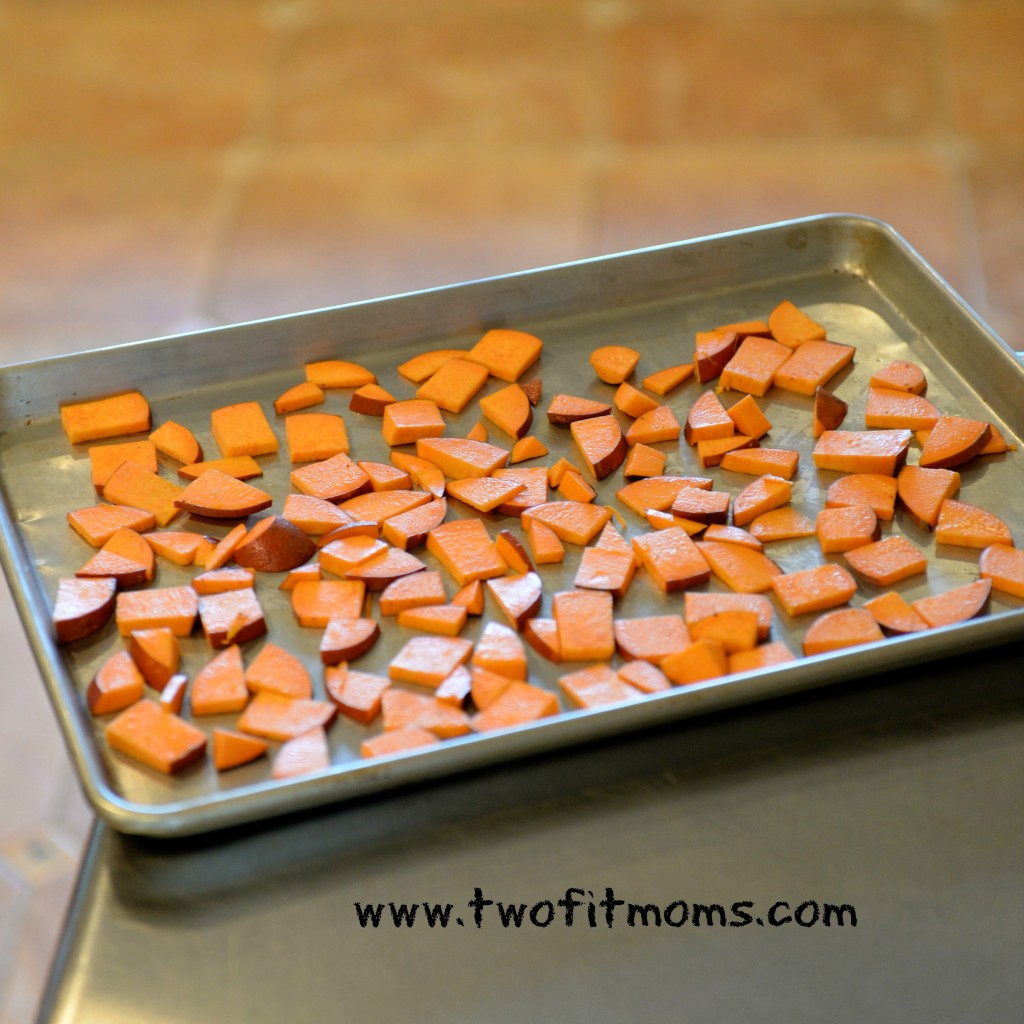
quantities of vegetables at one time.  Instead of cooking for just one meal, I roast enough veggies for two or three meals.  Unlike boiled or steamed vegetables, which may feel soggy and limp on day two or three, roasted vegetables maintain a delicious flavor and can be chopped into omelettes, pureed into soups or layered onto a sandwich with a balsamic glaze.  Let me show you a basic technique.

    I happen to be working with yams in this tutorial, but I highly recommend using this method for all sorts of vegetables.  Broccoli, cauliflower, carrots and different types of squash are all good choices.

     Step 1
    Pre-heat your oven to 375 degrees.  If you are working with yams, buy organic so you can just scrub the skin and keep it on.  Cut the yam in half lengthwise.

    CutinHalf
    Step 2
    Place each half, face down onto your cutting board.  Slice each half into thirds, lengthwise.
    InThirds

    Step 3
    Now that each yam is cut in half and then into long strips, cut these strips into smaller bite-sized pieces (about ¼ inch or ½ inch thick).
    BiteSize

     Step 4
    Toss the bite-sized yam pieces into a bowl with olive oil.  My rule of thumb is to use about 1 tablespoon of oil for each yam in my recipe.  The yams should not be dripping with oil but have a slight sheen.  Season with salt and pepper.

    InBowl

    Step 5
    Spread the oil-coated vegetables in a single layer onto a cookie sheet.  Bake in the oven for 20-25 minutes.
    CookieSheet

    Use this method to prepare all of your vegetables when you are short on time!  Enjoy your roasted yams/vegetables as a side dish or as an ingredient in a completely new dish!


  • Shaved Fennel Salad

    Shaved Fennel Salad

    shaved fennel salad with bannerSpring has sprung, and while it’s still a little chilly in our neck of the woods (e.g., New Jersey), we are eagerly embracing the change of season.  Soups and stews and hearty meals have dominated our menus, and maybe yours too!  But, in honor of spring, we are going to lighten things up a bit, and we thought this delicious shaved fennel salad was the perfect recipe to ease us into the season!

    There’s really nothing to it, but I think what makes it so tasty is the fennel itself.  We are using the fennel bulb which has a slightly sweet yet subtle licorice flavor.  It is refreshing and offers the added bonus of being great for digestion.

    The other thing that sets this salad apart is the combination of textures — the crisp greens and the shaved vegetables — makes a tremendous difference adding unexpected layers of depth.  If you don’t already have a mandoline, I suggest you run out and buy one.  I have a handheld mandoline that fits nicely in my cutlery drawer.  However, if you don’t have a mandoline on hand, you can still make this salad, you will just need a knife sharp enough to cut very thin slices.

    The recipe is fairly simple and can be adjusted to suit your tastes and diet. It is also just gorgeous and makes a lovely presentation, as you can see from the picture above.

    Shaved Fennel Salad (serves 4-6)fennel ingredients

    1 five oz bag of spring mix (or any other salad combination you like)

    1 large bulb of fennel (tops removed)

    1/2 red onion

    A few turns of cracked black pepper

    Shaved parmigiano reggiano (optional)

    Your favorite balsamic vinaigrette

    Step 1:
    Wash and spin your greens and set aside in a large bowl.

    Step 2:
    Prep the fennel.  Remove the tops of a large bulb of fennel and cut about a half inch off the bottom of the fennel bulb.
    cut fennel

    Cut the fennel in half lengthwise.
    fennel cut lengthwise

    Next, remove the core with a sharp knife.
    fennel core

    Last, shave each half with a mandoline or cut it thinly with a sharp knife.
    fennel shaved

    Step 3:
    Peel half of a red onion and either shave it using a mandoline or cut it thinly with a sharp knife.  Onion slices should resemble a half moon.
    shaved red onion

    Step 4:
    Assemble the salad. Add fennel, red onion, a few turns of cracked black pepper and your favorite salad dressing (I suggest a balsamic vinaigrette) to your lettuce greens.  If you like, top with shaved parmagiano reggiano.  Toss and serve.

    Voila!
    If you are interested in using a mandoline to create thin vegetable slices for your salad, here is a mid-priced option for you to consider.