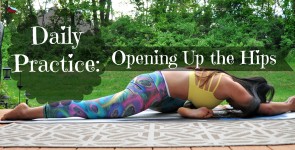
When I became serious about my yoga practice, getting into inverted lotus was one of my goals. However, it was no small feat with naturally tight hips (which became even tighter after two kids!). The pose seemed nearly impossible. Even seated lotus was hard…my knees would bother me, and my ankles would hurt. Opening up my hips was the obvious answer and only after adding hip openers to my daily practice did I see any progress. Here are the five hip openers that I try to incorporate daily. I recommend having a block nearby if you have tight hips. As always, be mindful of your practice and move at your own pace!
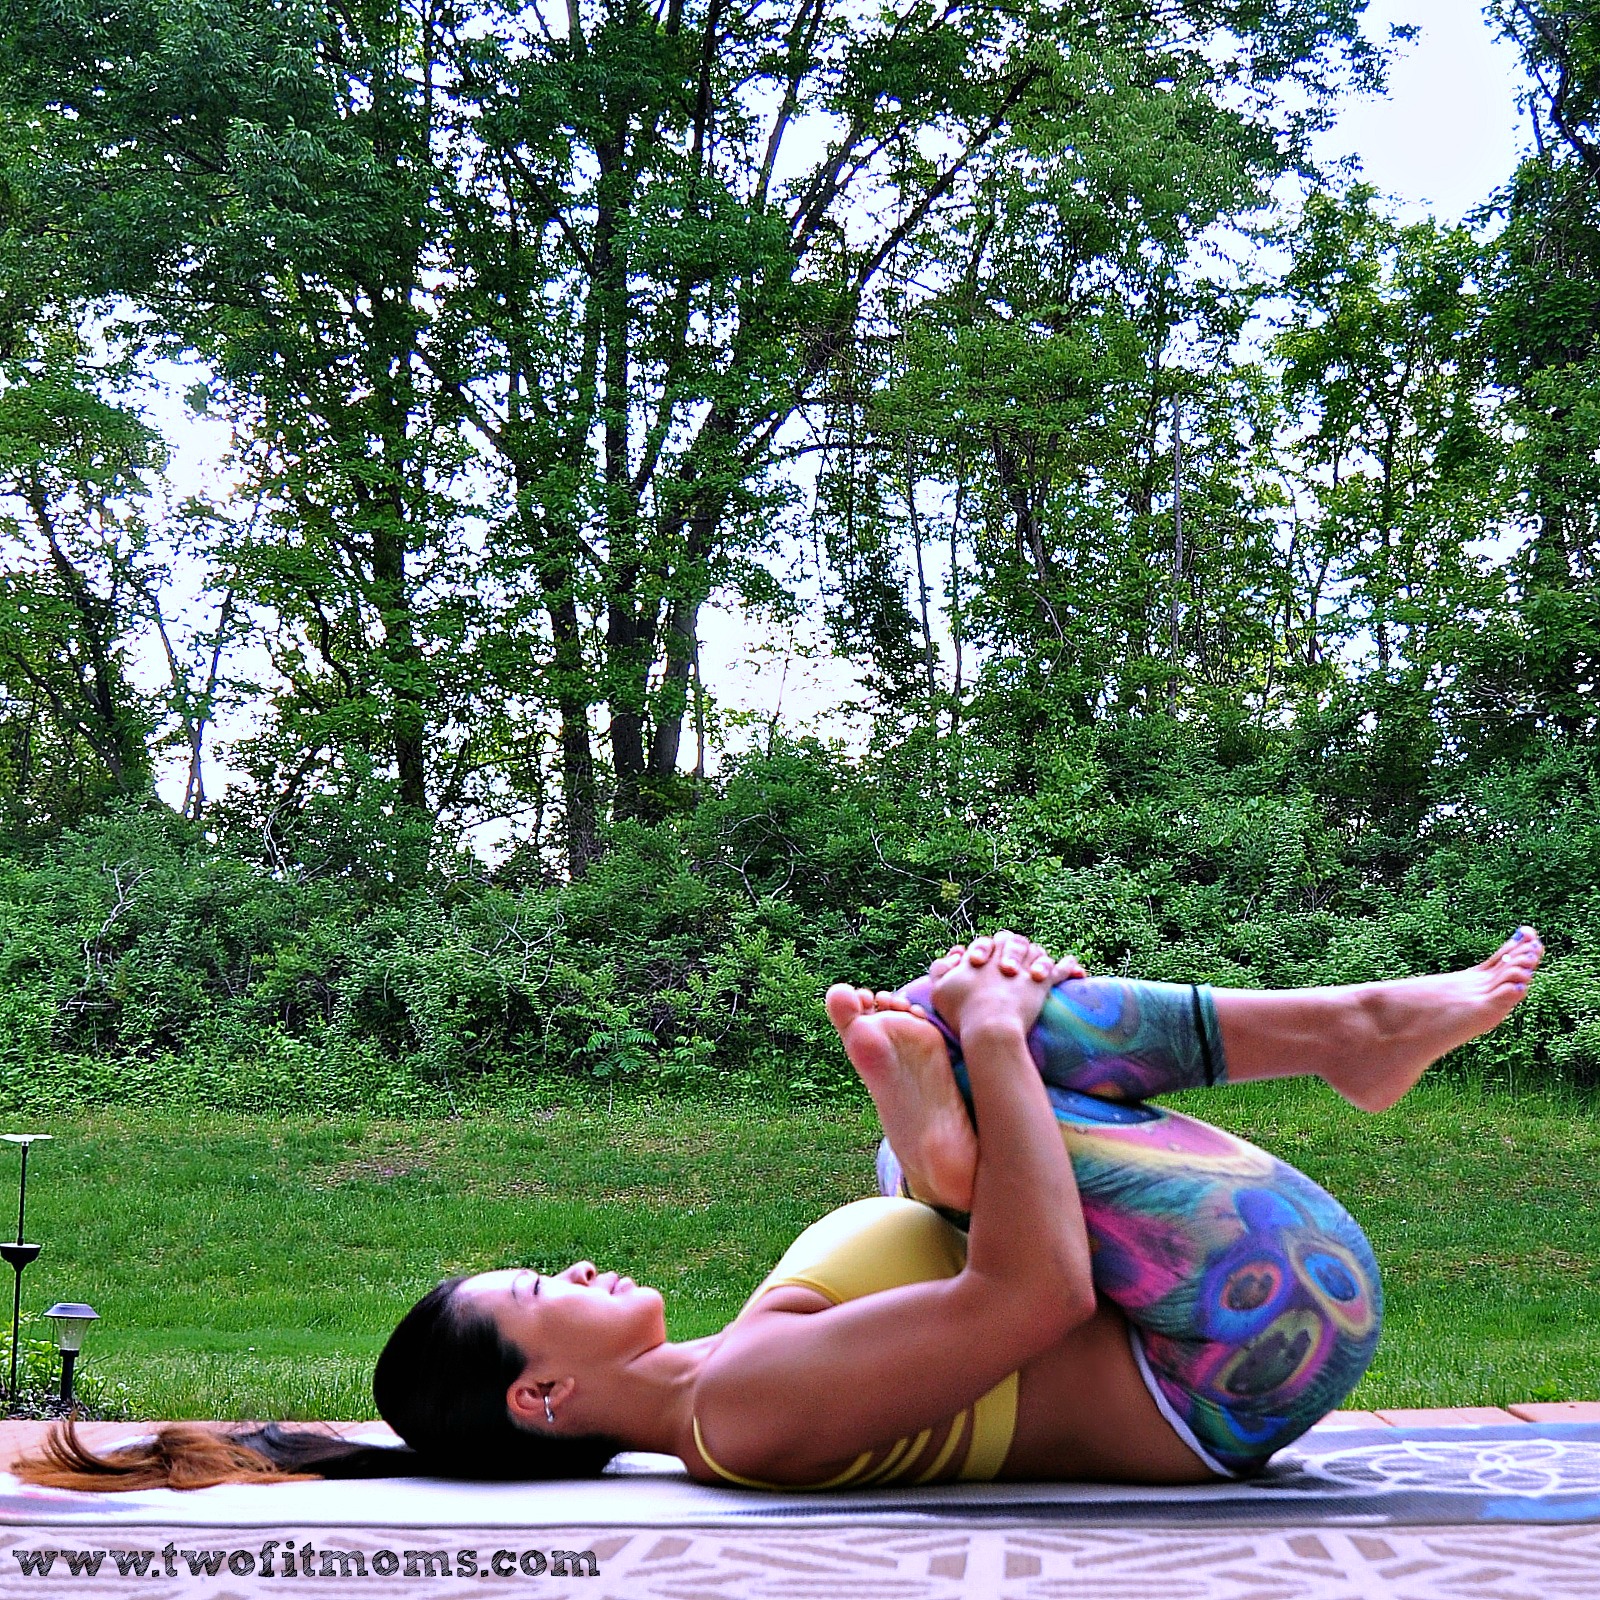
#1: Reclined Thread the Needle
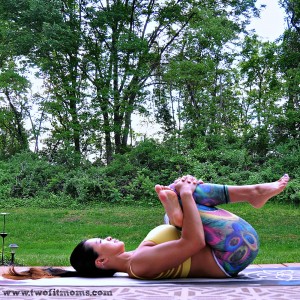
– Start out lying down with your feet planted on your mat.
– Cross your right ankle over your left thigh, just above the knee. Flex your right foot.
– Bring the legs into your body. The right hand will go through the triangle in your legs.
– Grab onto the back of your left thigh or you can grab onto your left shin.
– Hug the legs into you.
– For a deeper stretch, push the right elbow into your inner right thigh to open the hip even more.
– Hold for about 10 breaths, then switch sides.
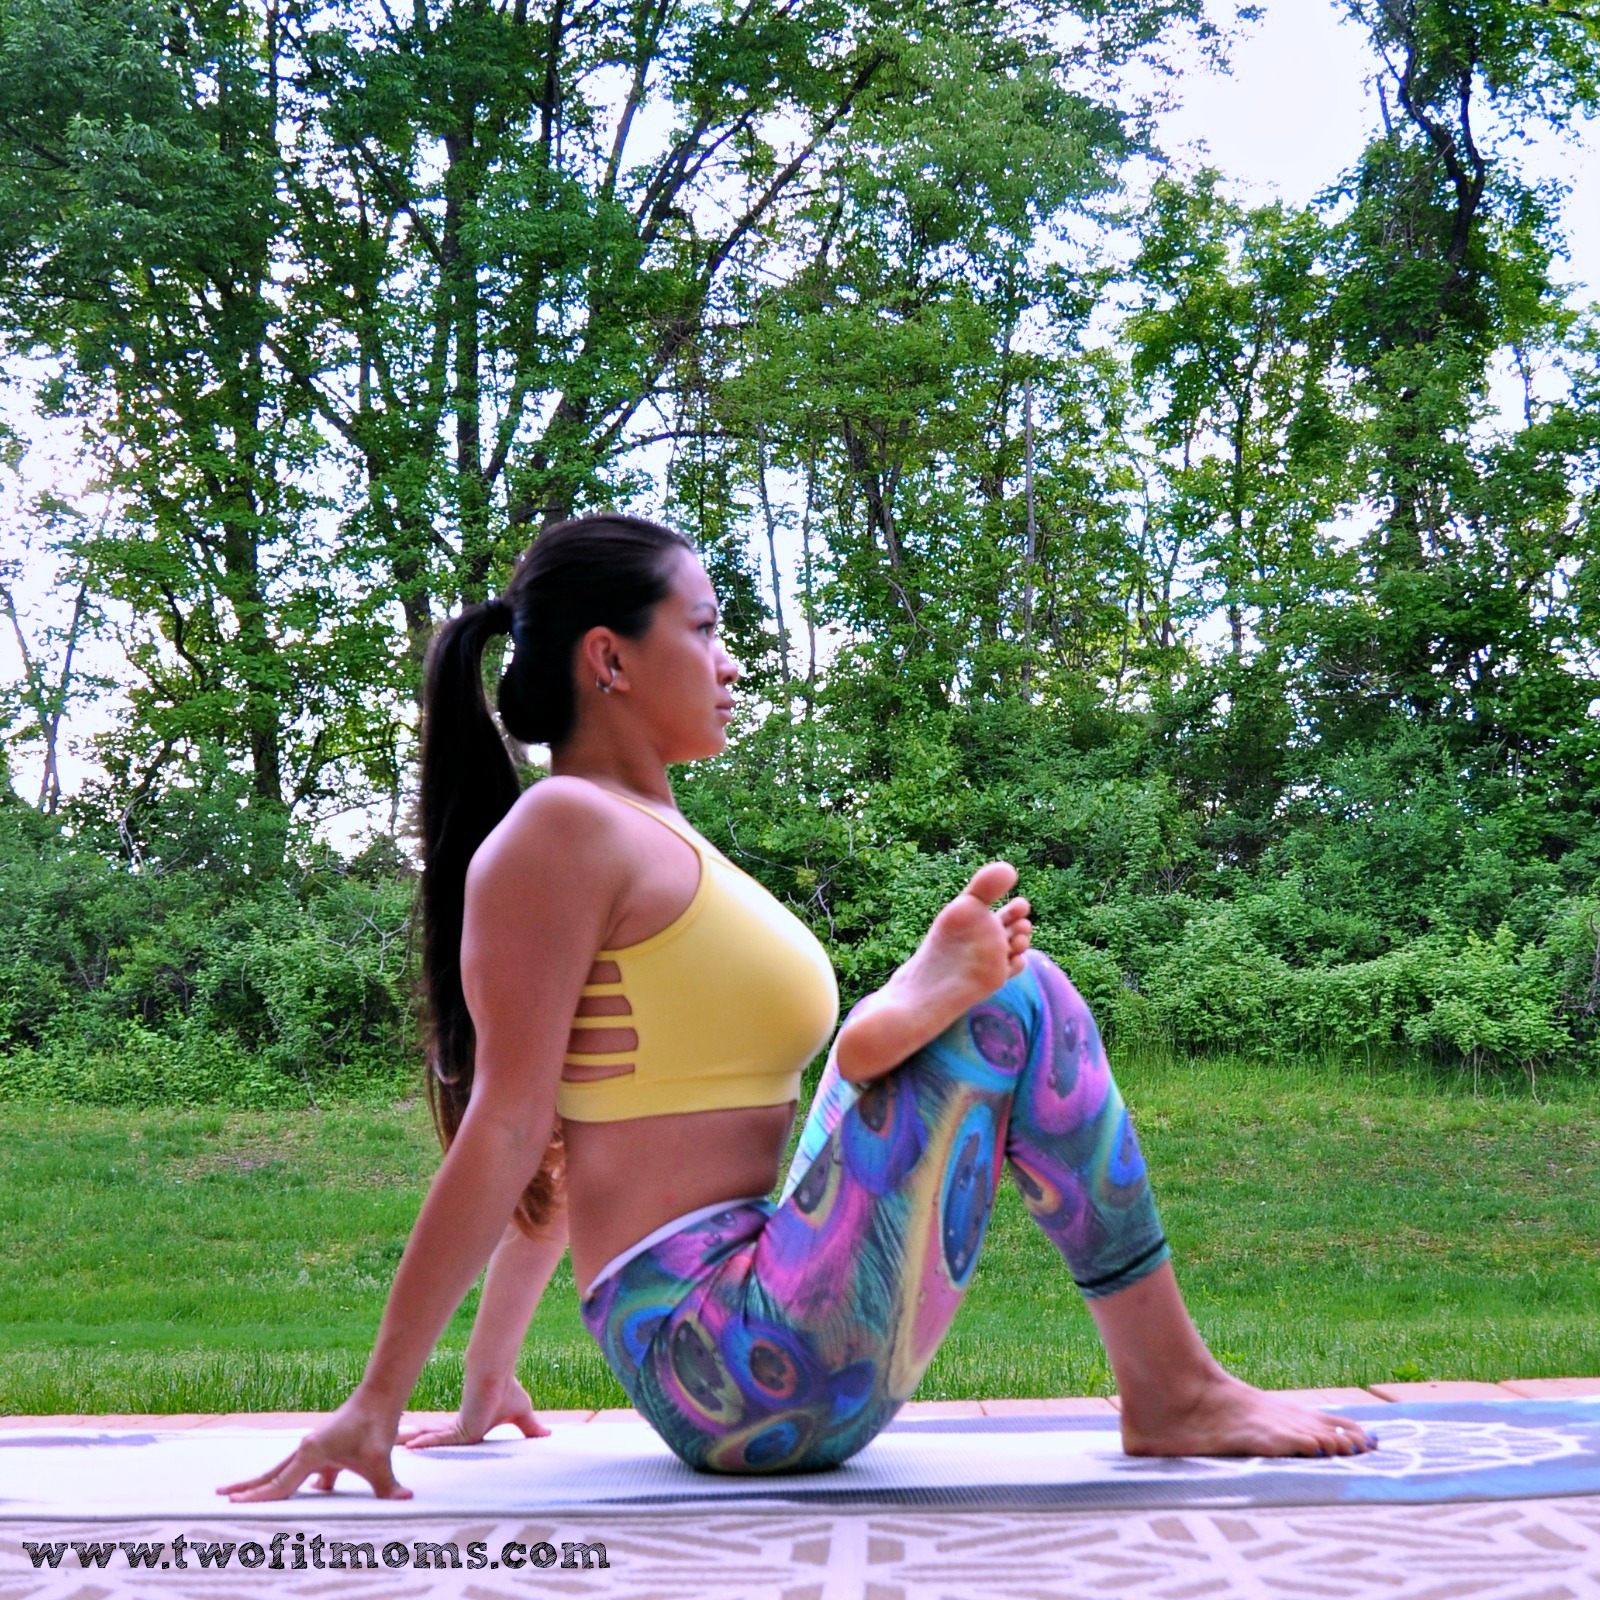
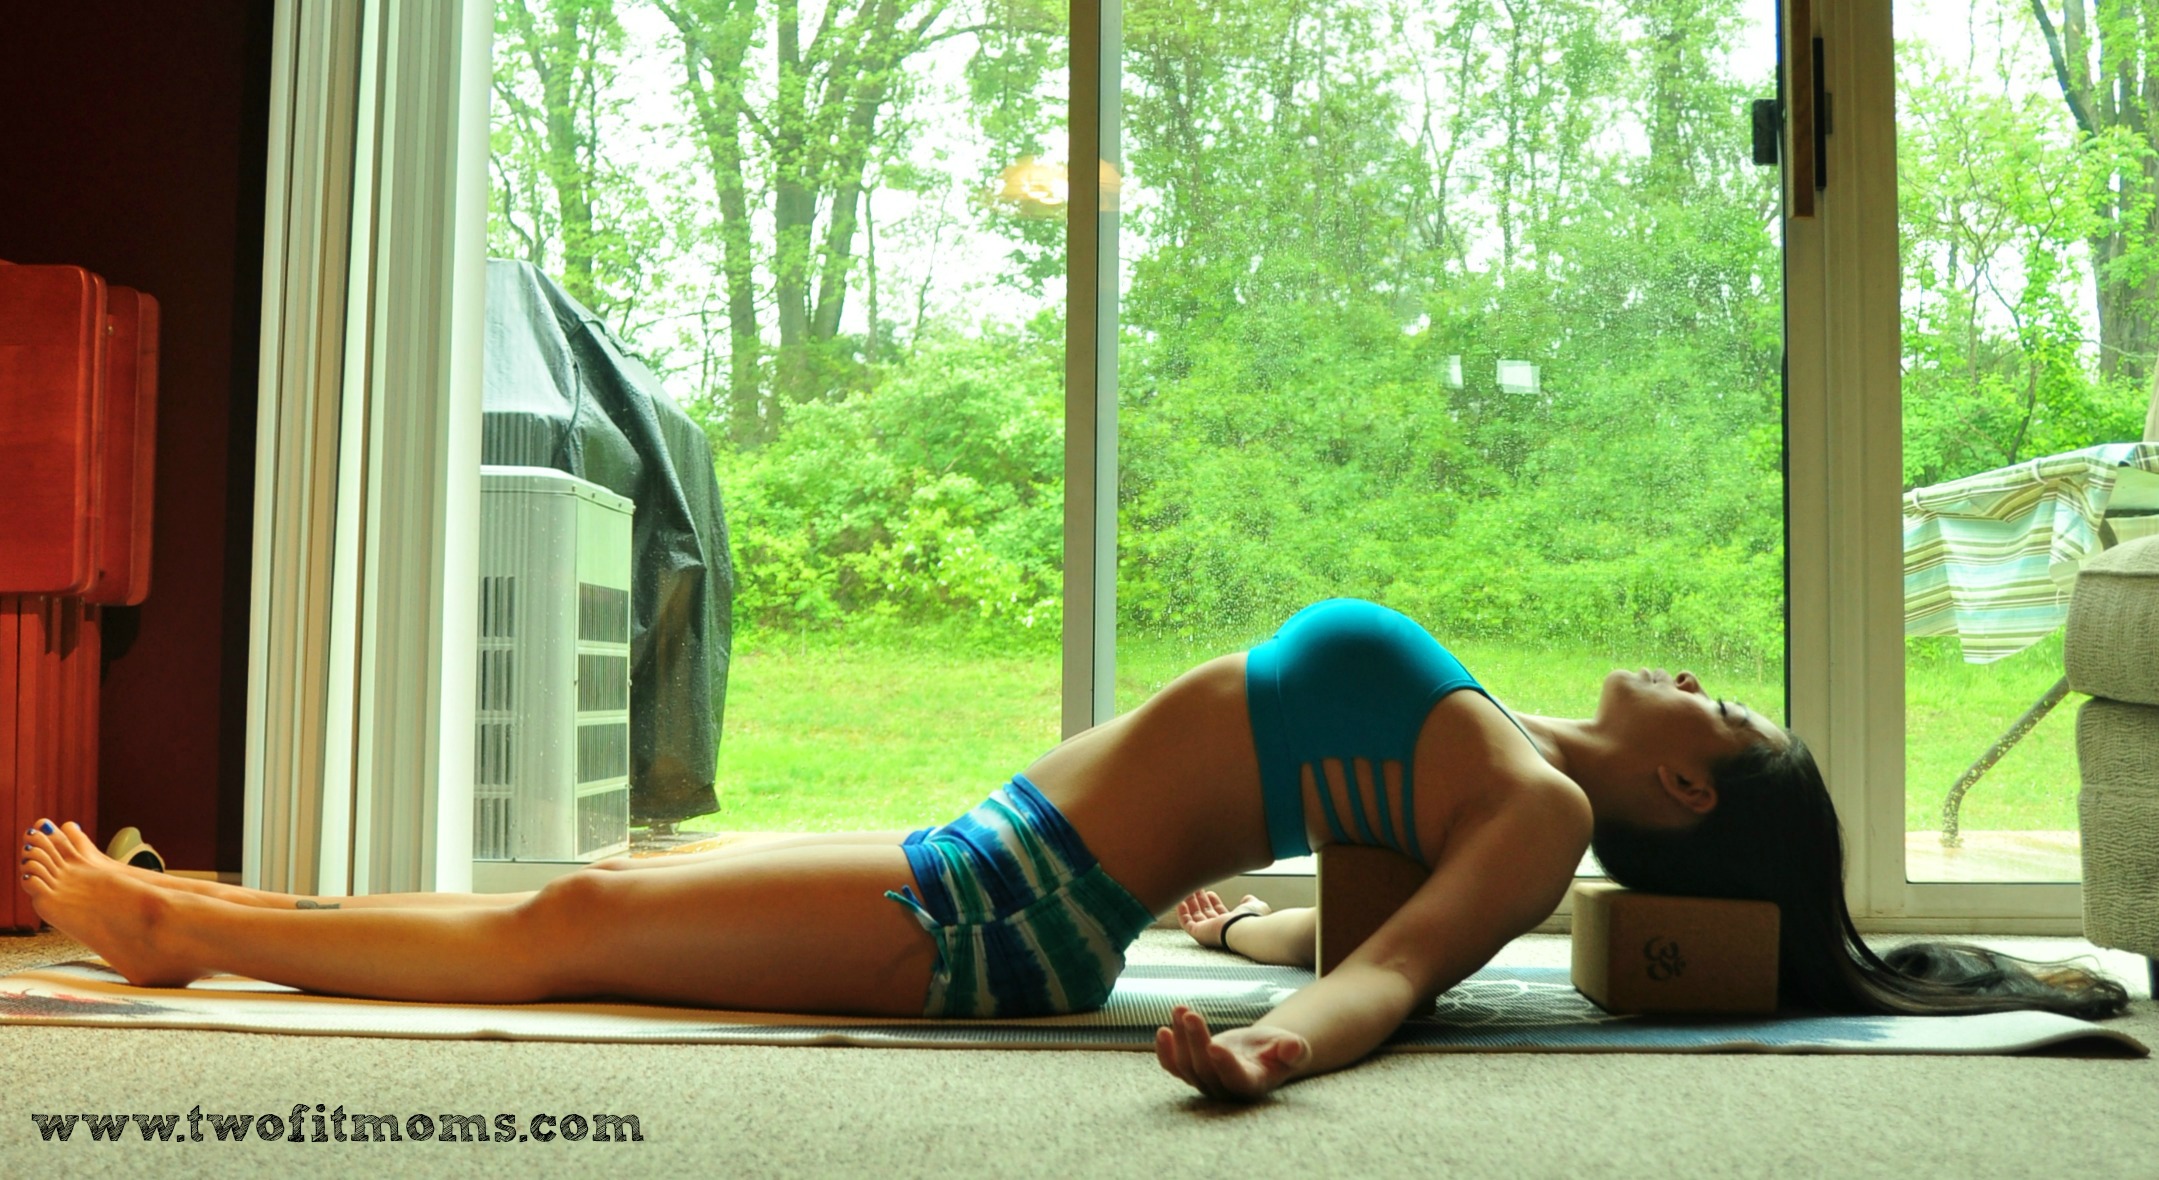
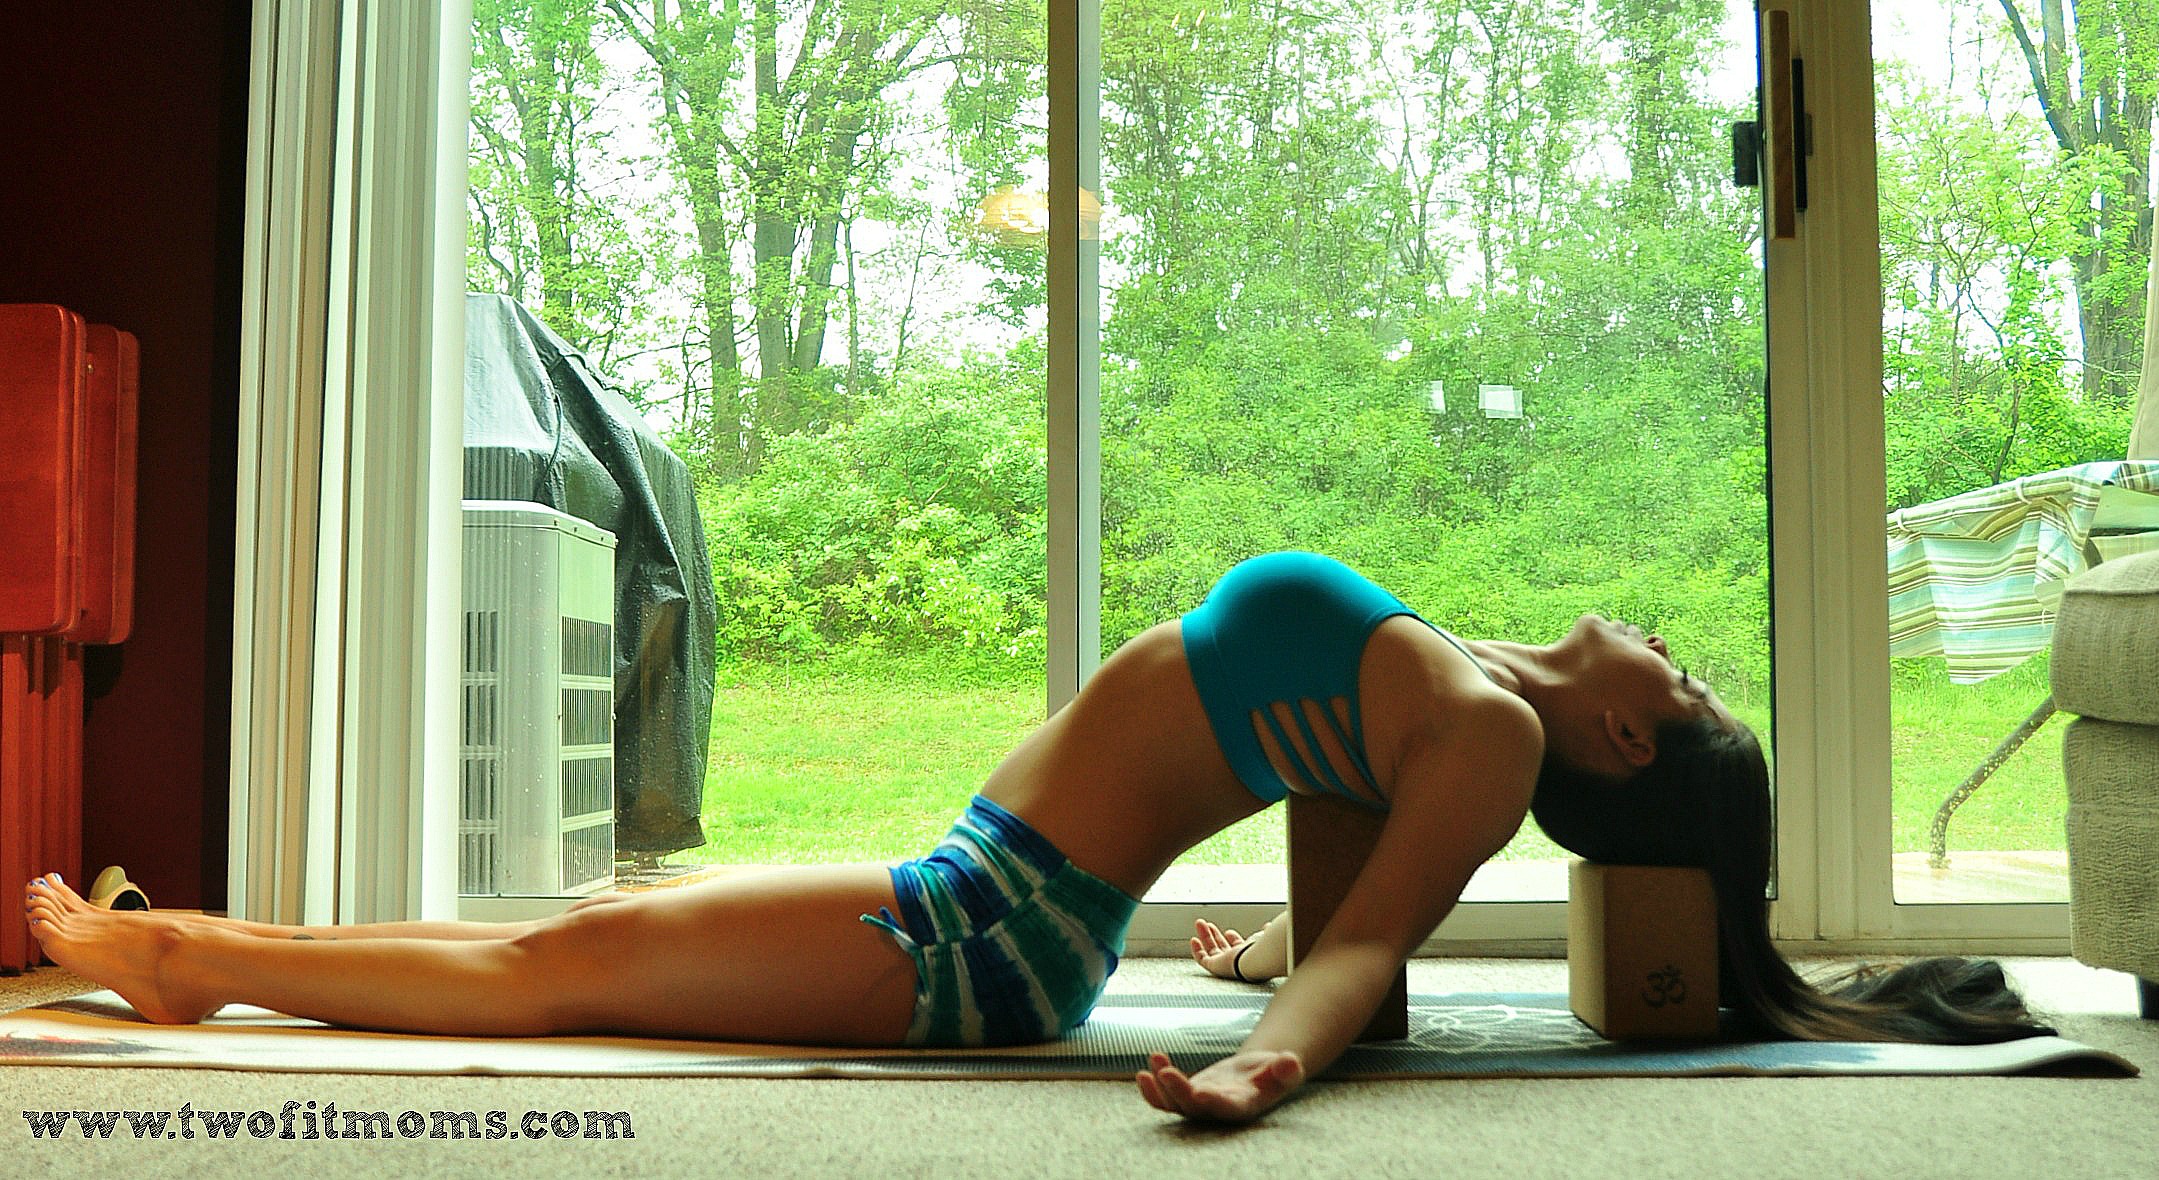
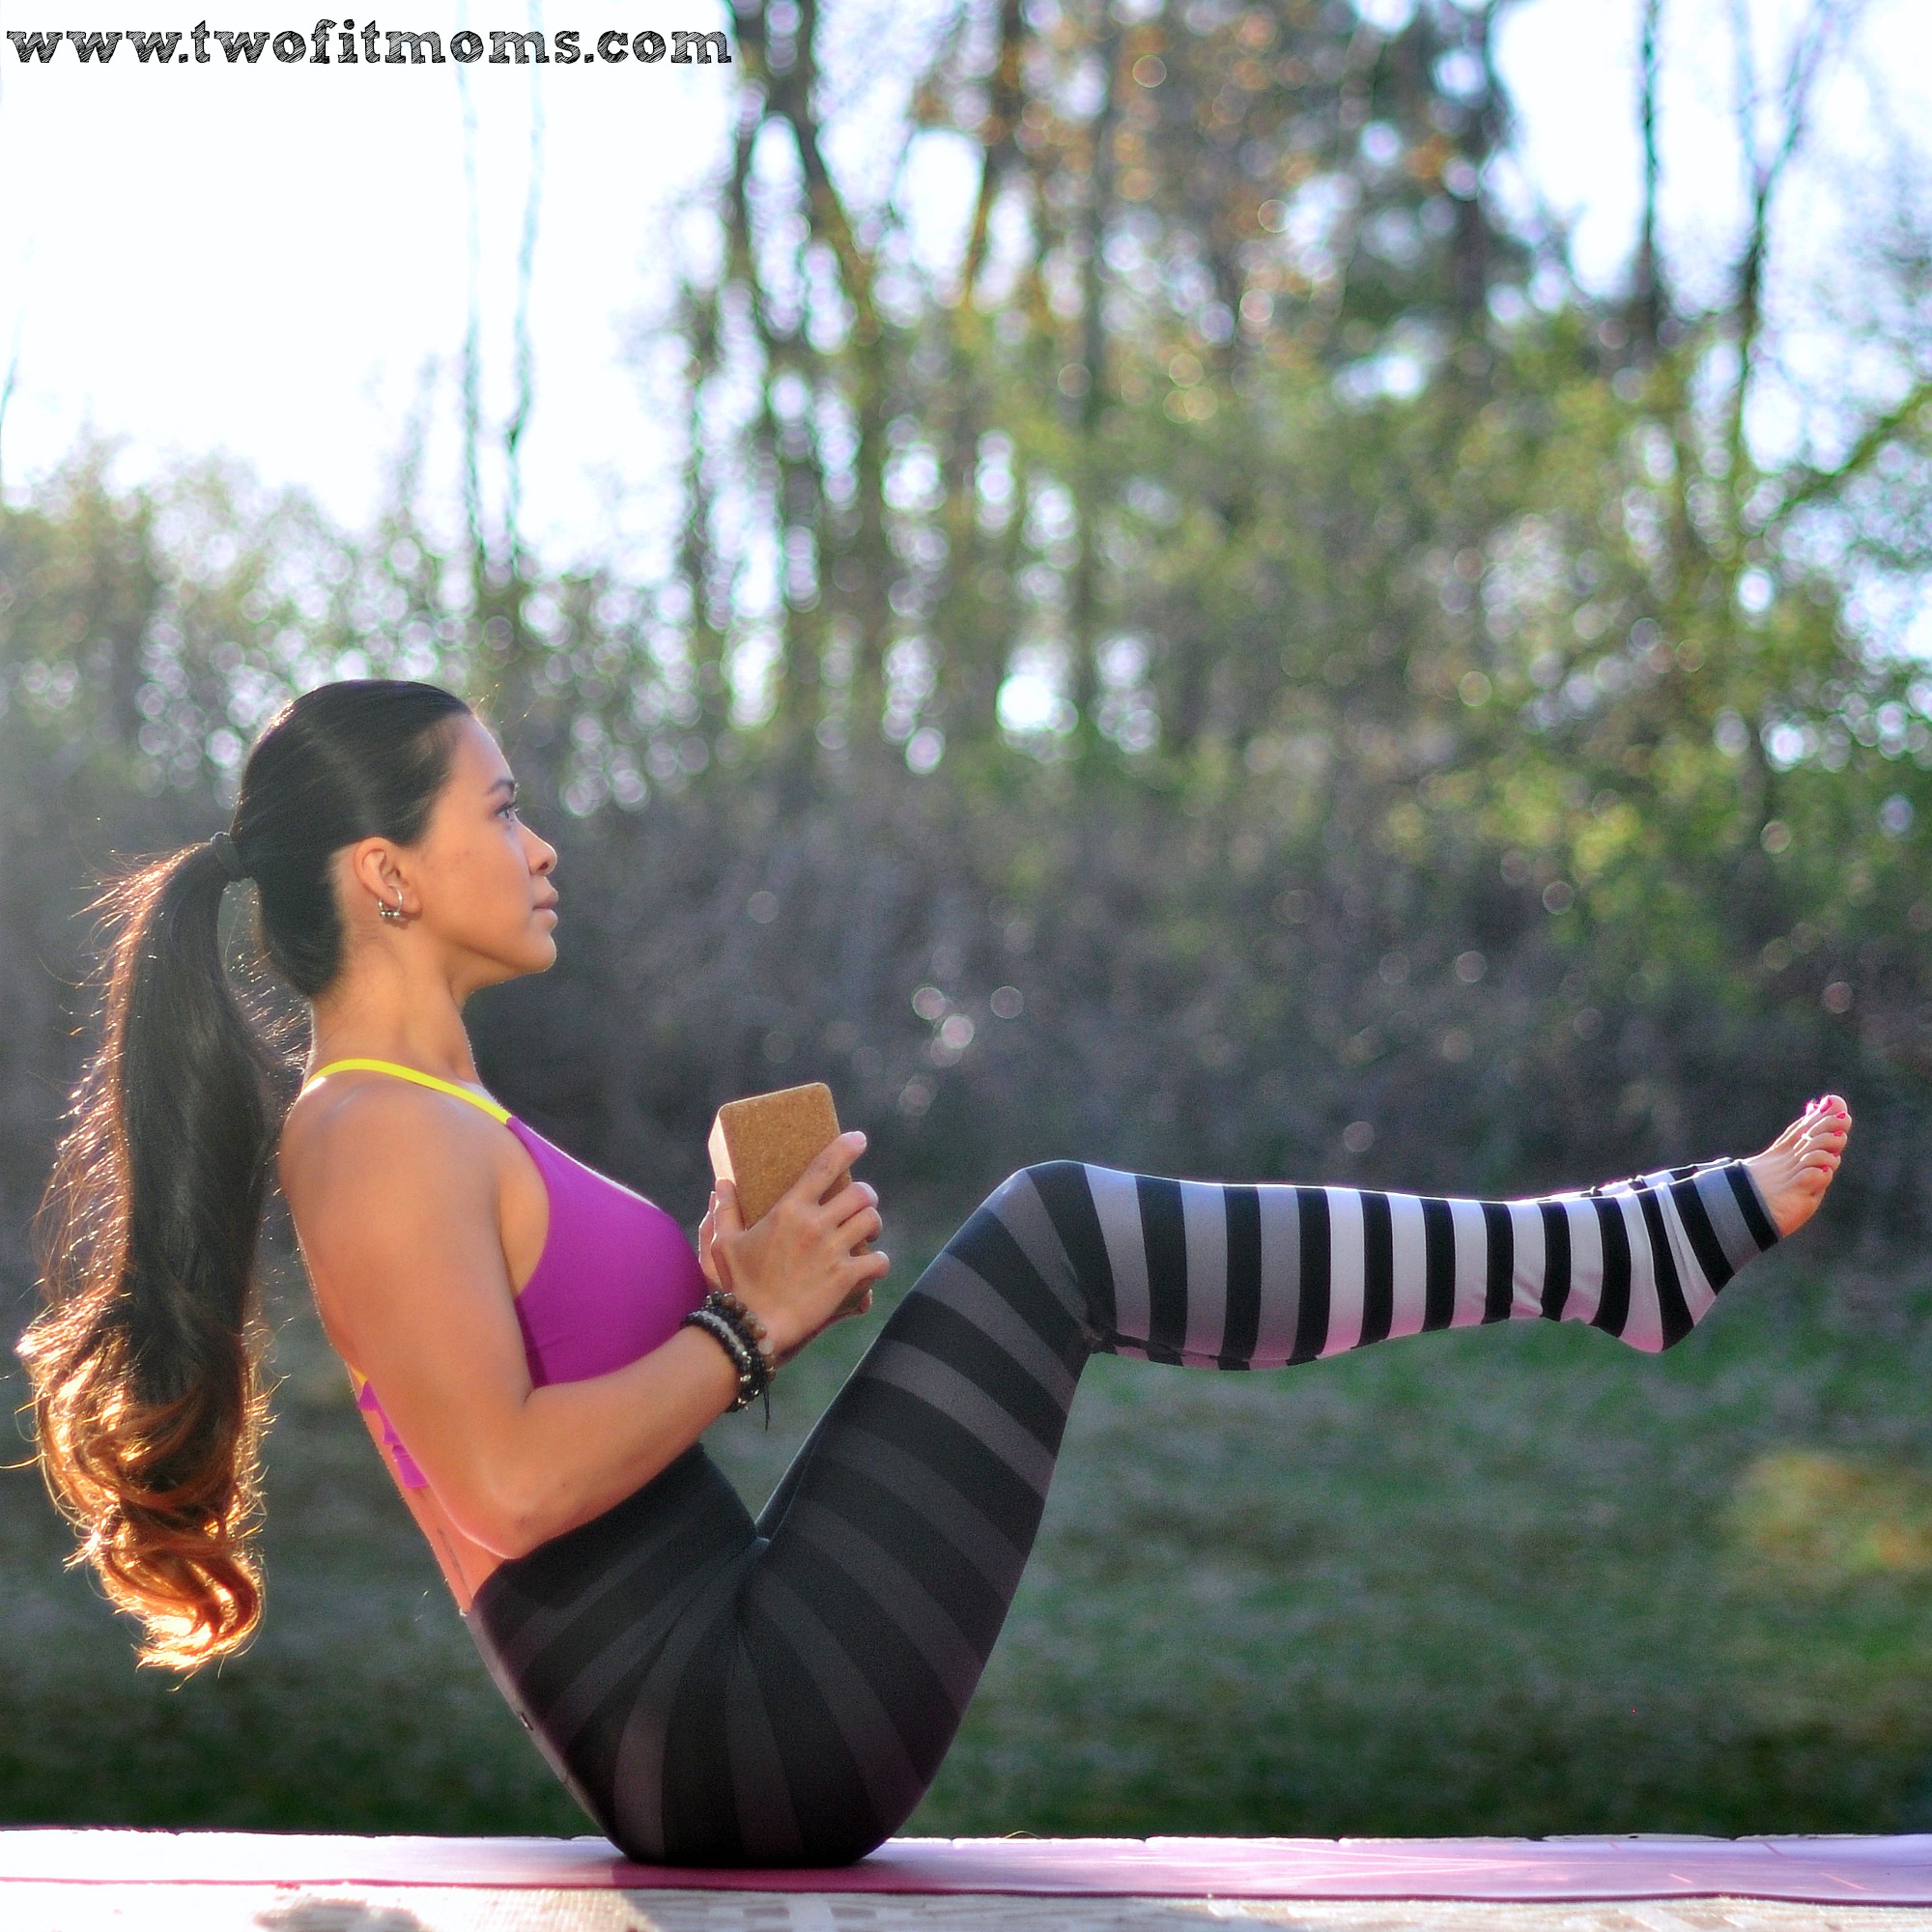
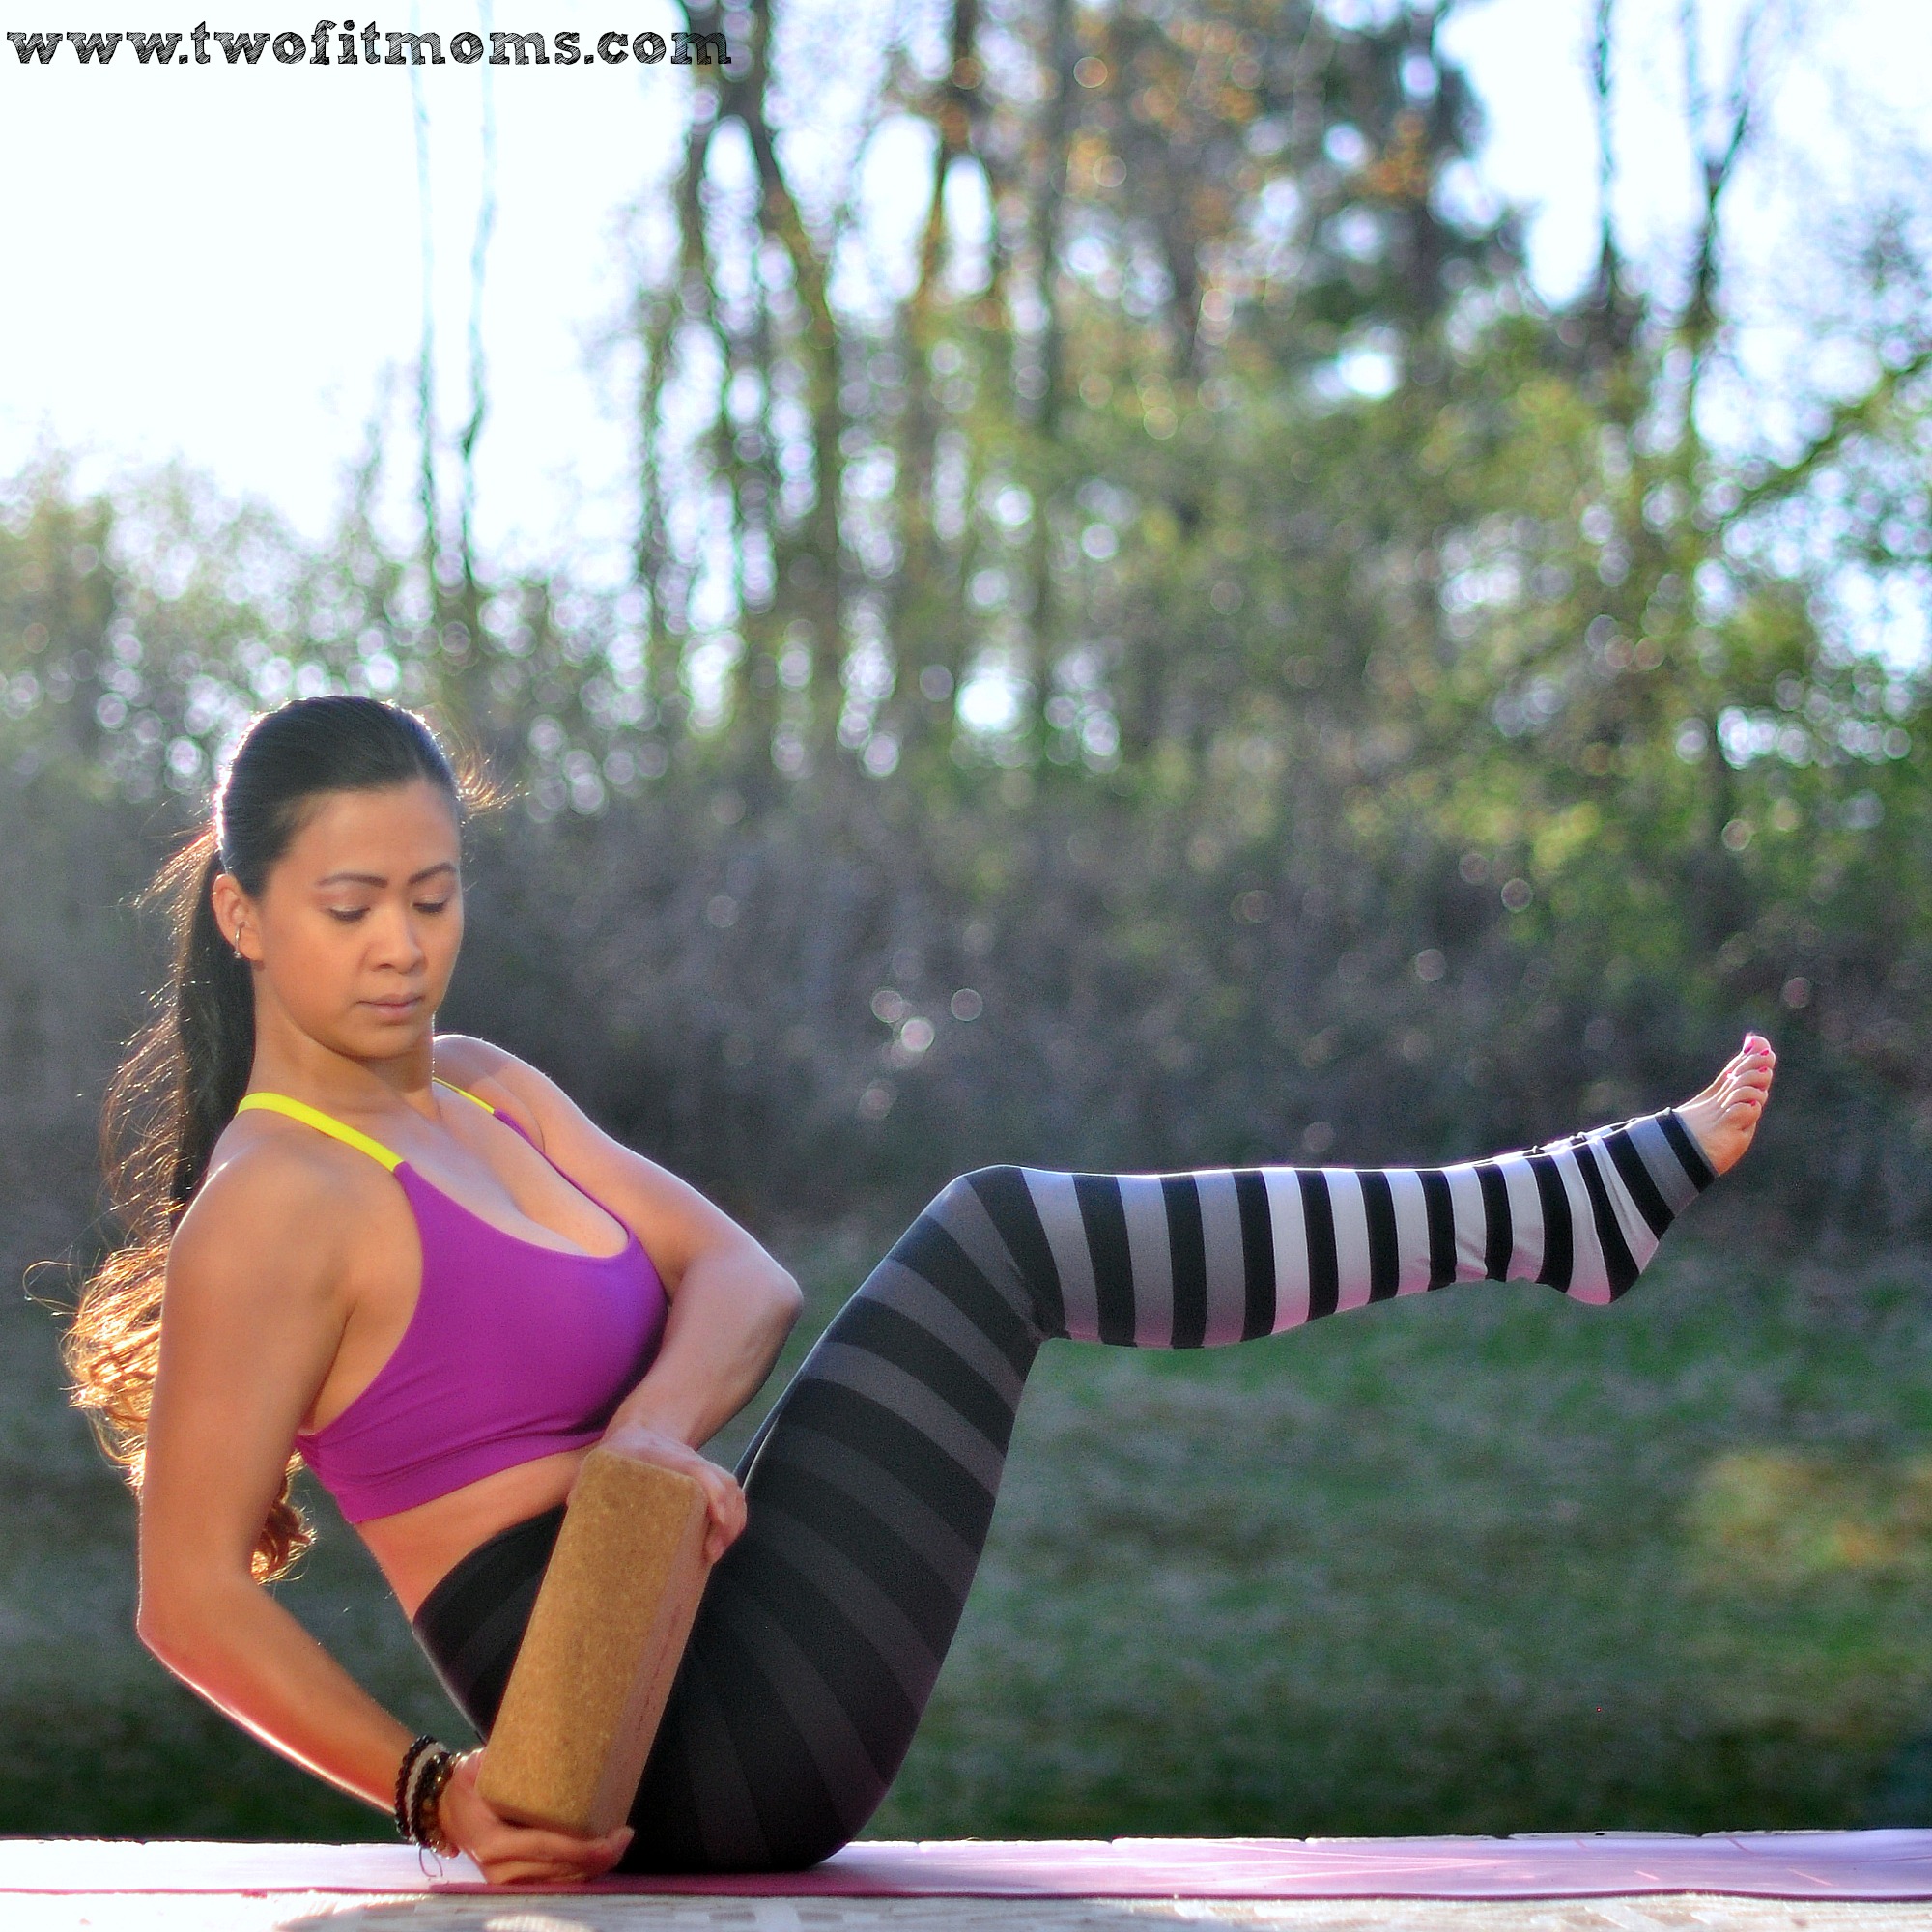
#2: Easy Seated Hip Opener

– Sit on your mat and extend both legs out in front of you.
– Bend the left knee and plant the left foot firmly on your mat…not too close to your body at first!
– Cross the right ankle once again over your left thigh, just above the knee.
– Bring your hands behind you and sit up tall, bringing your chest towards your right shin.
– For a deeper stretch, move the left foot closer to your body.
– Hold for about 10 breaths, then switch sides.
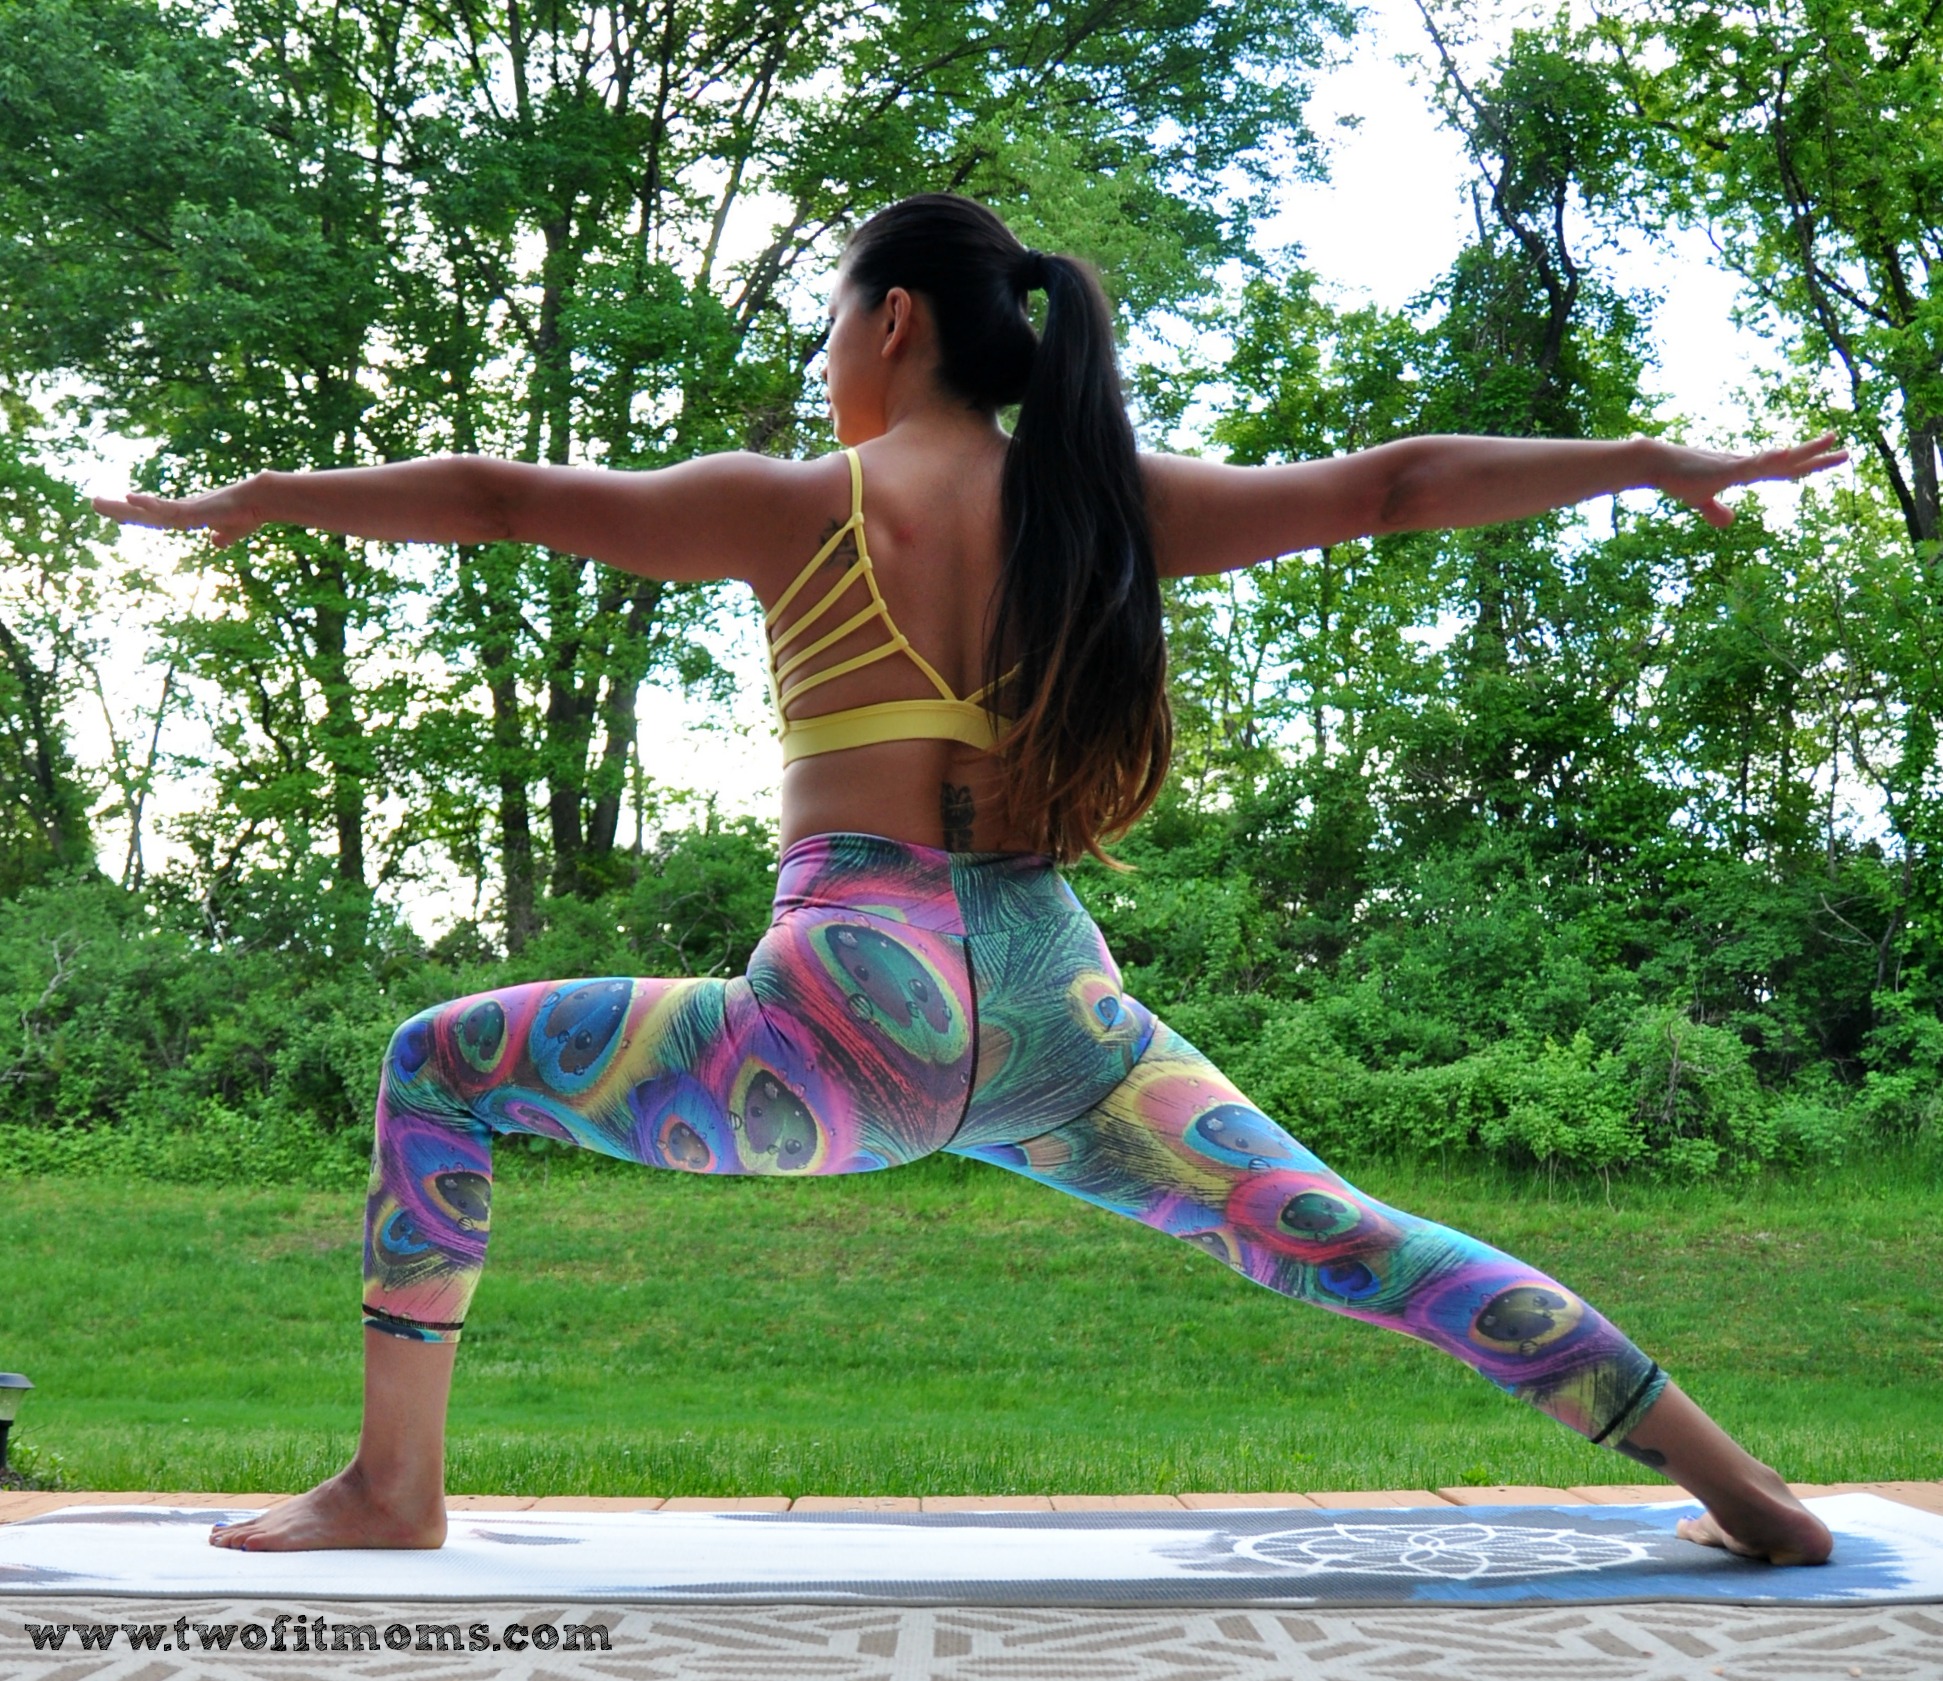
#3: Warrior II

This might seem weird, but holding a standing posture like Warrior II builds heat in your hips.
– From Downward Facing Dog, step your right foot in between your hands and spin the back heel down.
– Windmill the arms up to shoulder height, straight line from fingertip to fingertip.
– Right knee stacks directly over the right ankle.
– Right knee is parallel to your mat.
– Shoulders stack directly over your hips; shoulders relax away from your ears.
– Gaze out past your right middle finger.
– Hold for 10 breaths, then switch sides.
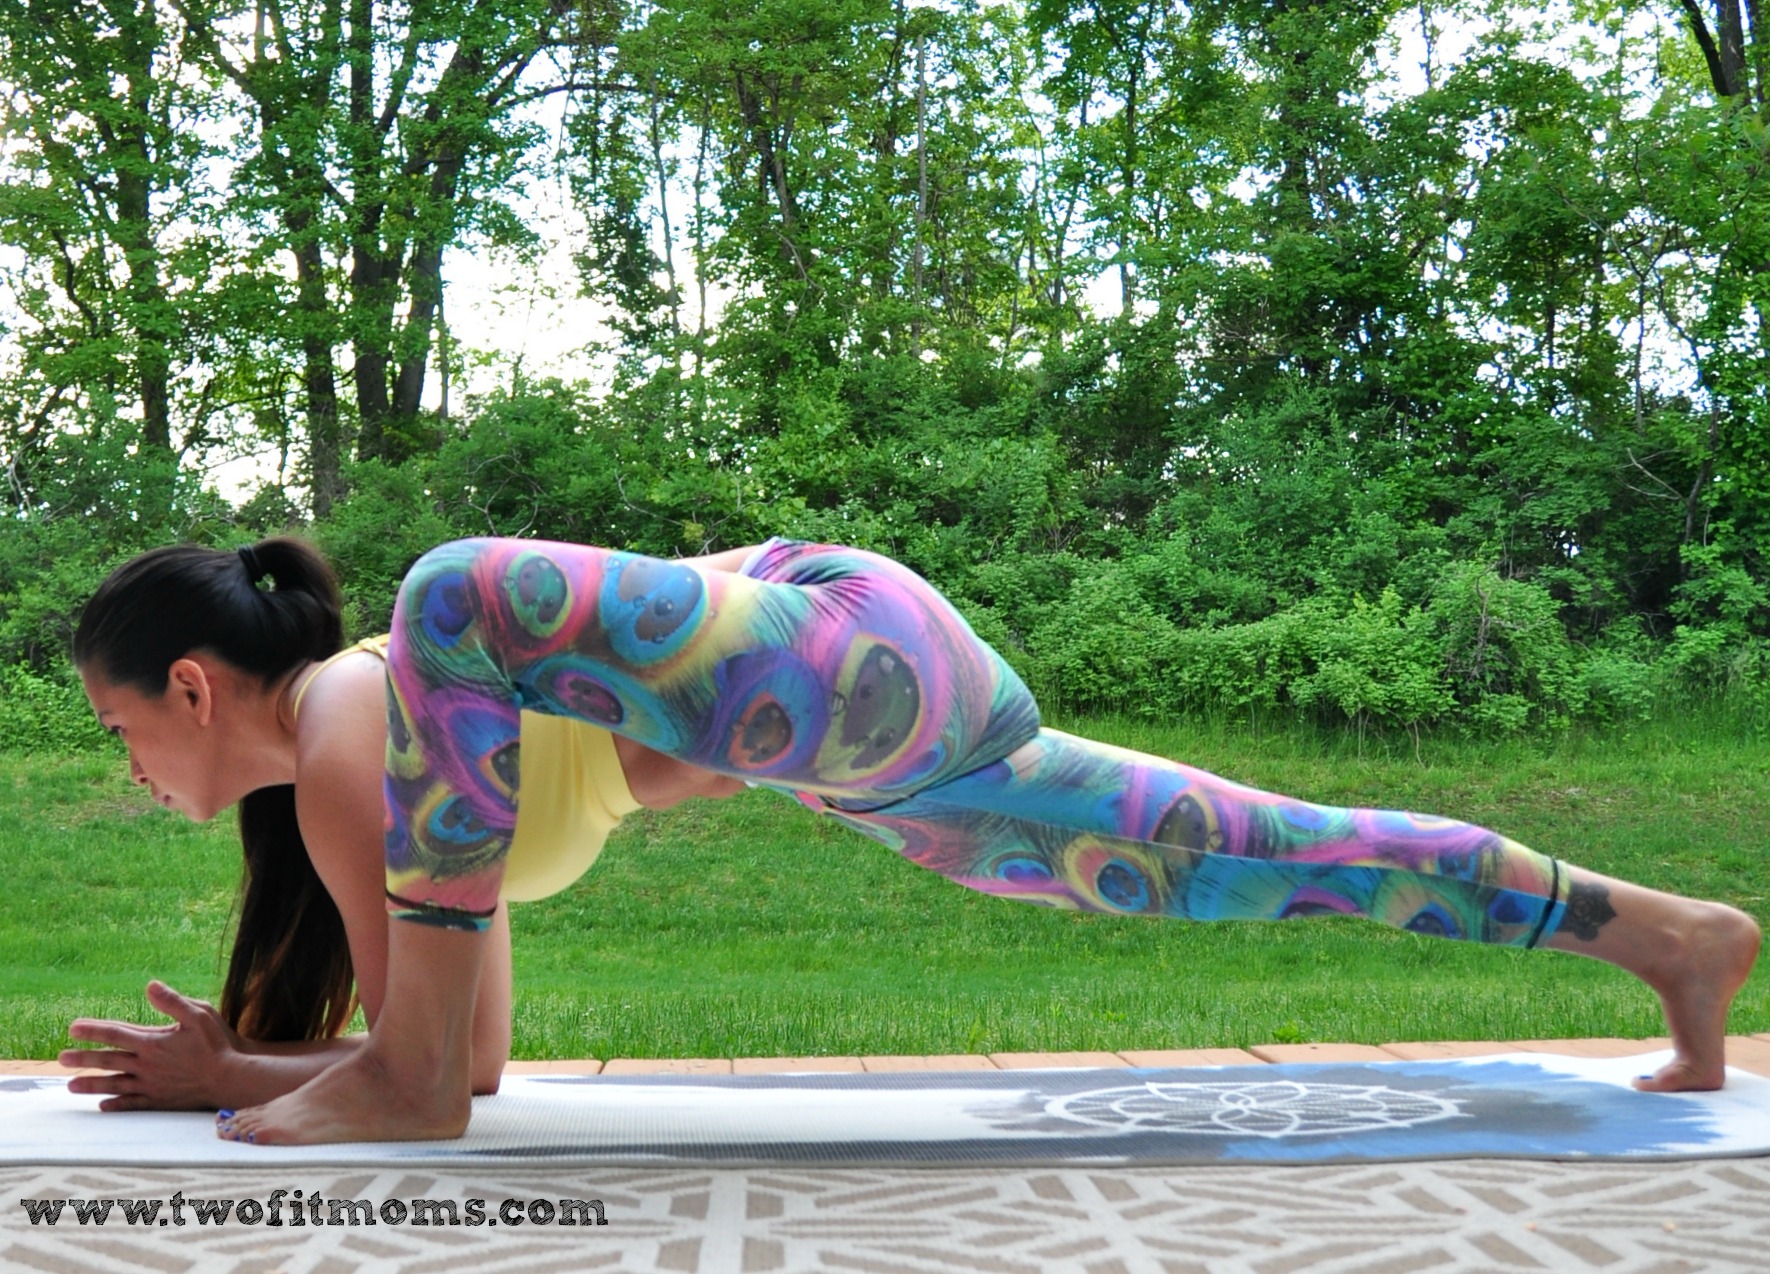
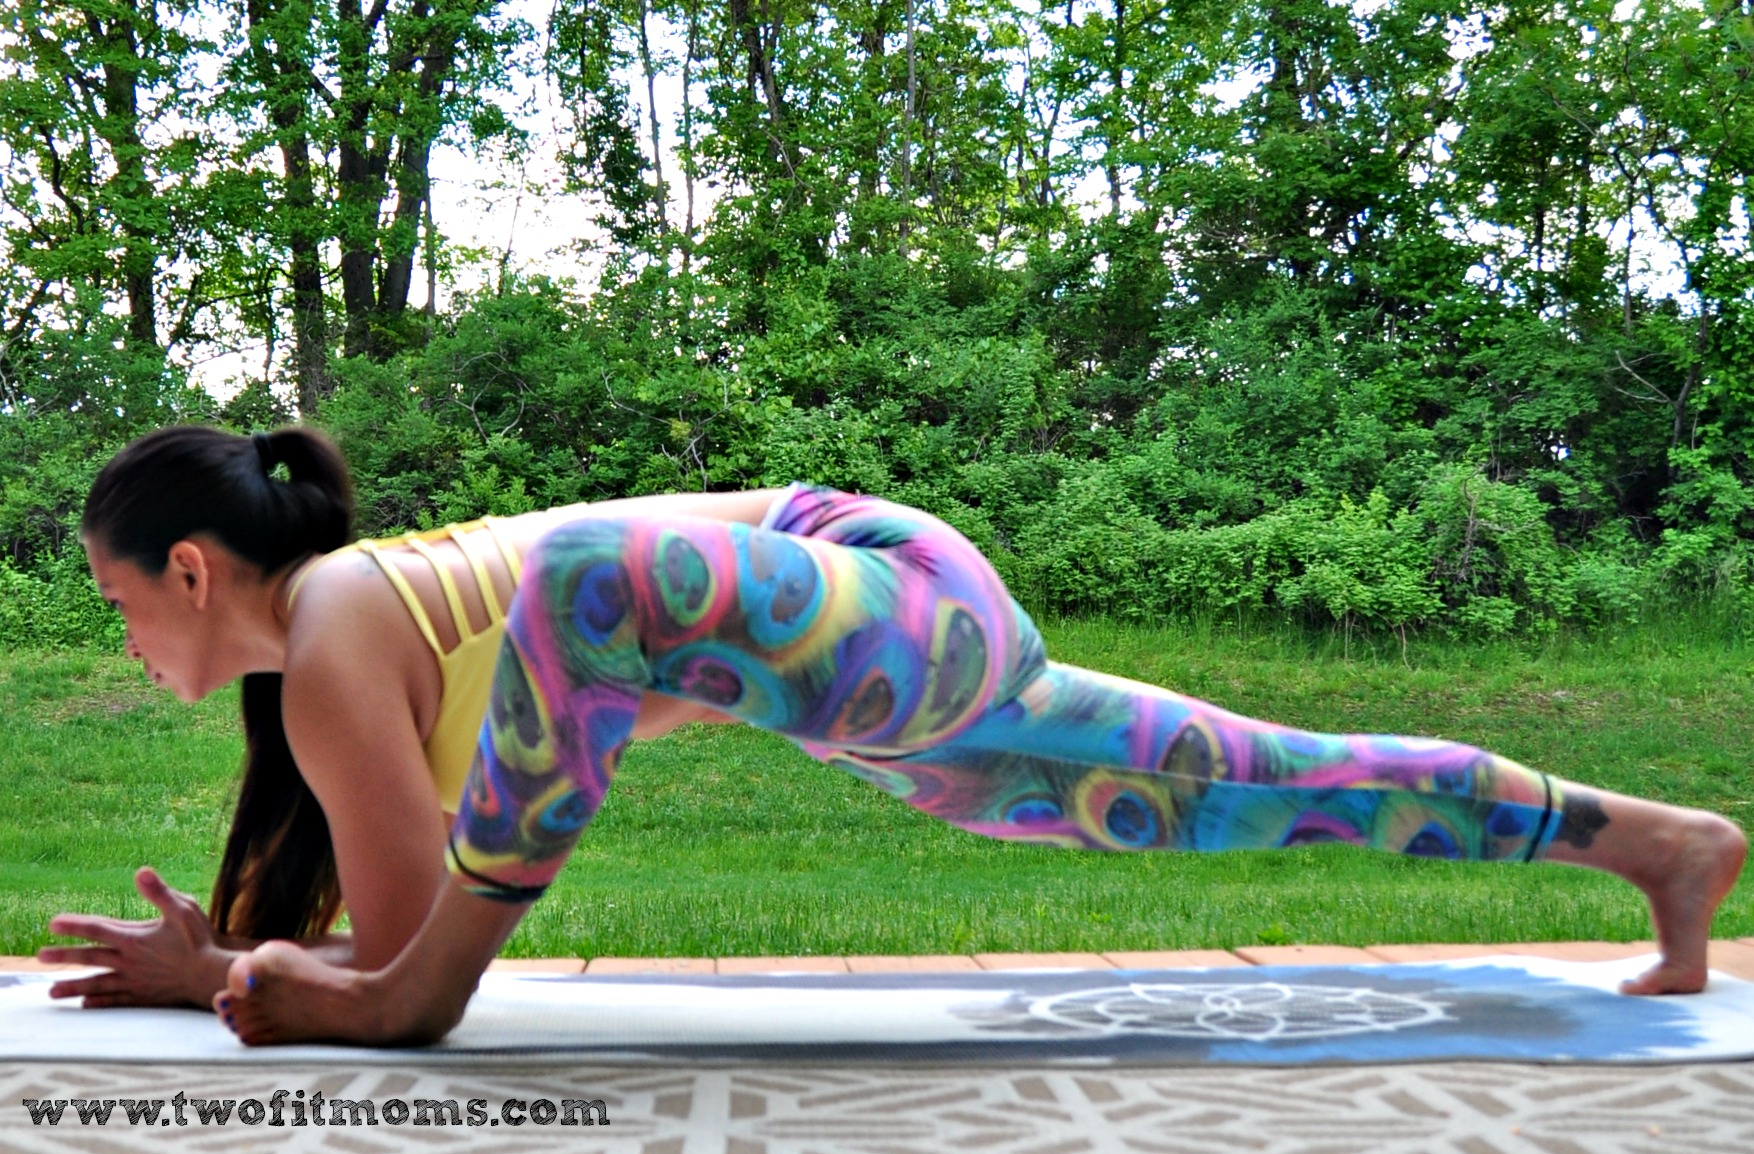
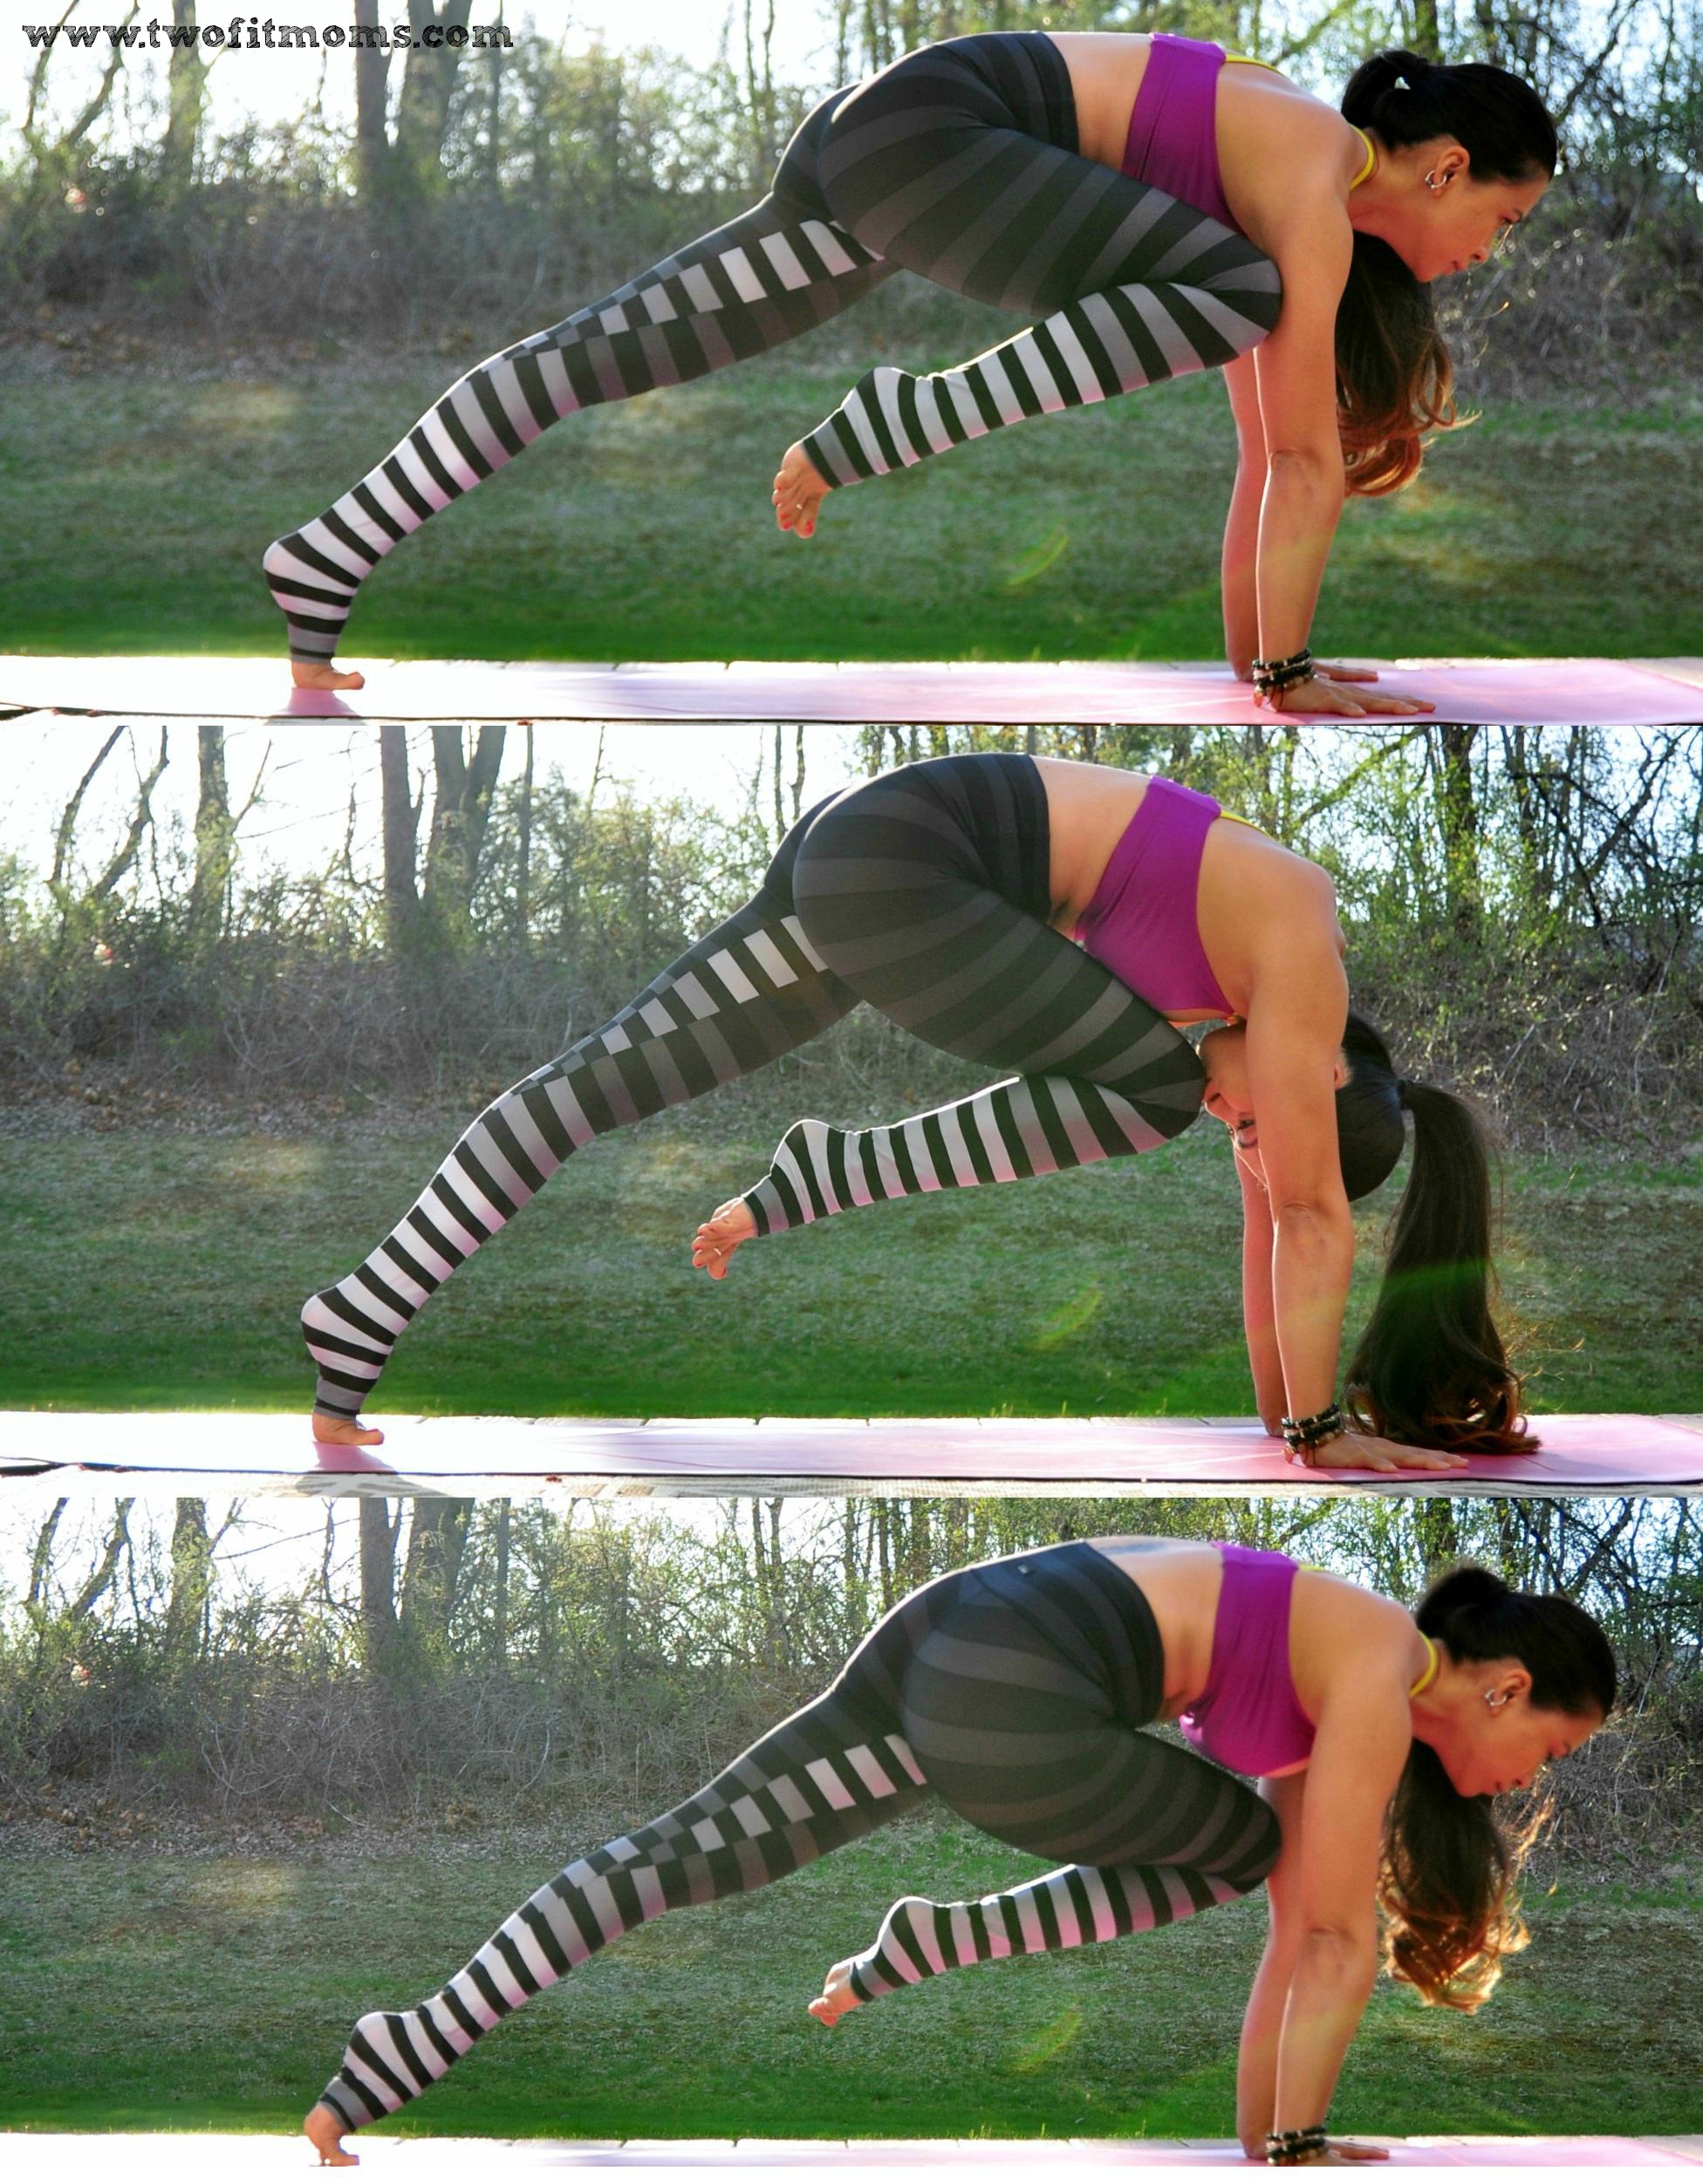
#4: Lizard Pose

– From Downward Facing Dog, step your right foot to the outside of your right hand and lower your left knee onto your mat.
-Drop down on your forearms. If this is highly uncomfortable, use a block to bring the ground up to you.
– Keep your gaze forward; think Upward Facing Dog in your torso.
– Keep your right knee squeezing in at first. Then if accessible, roll onto the outside edge of your right foot. Keep your right foot flexed.
– For a deeper stretch, curl your back toes under and lift the back knee up.
– Hold for 10 breaths, then switch sides.
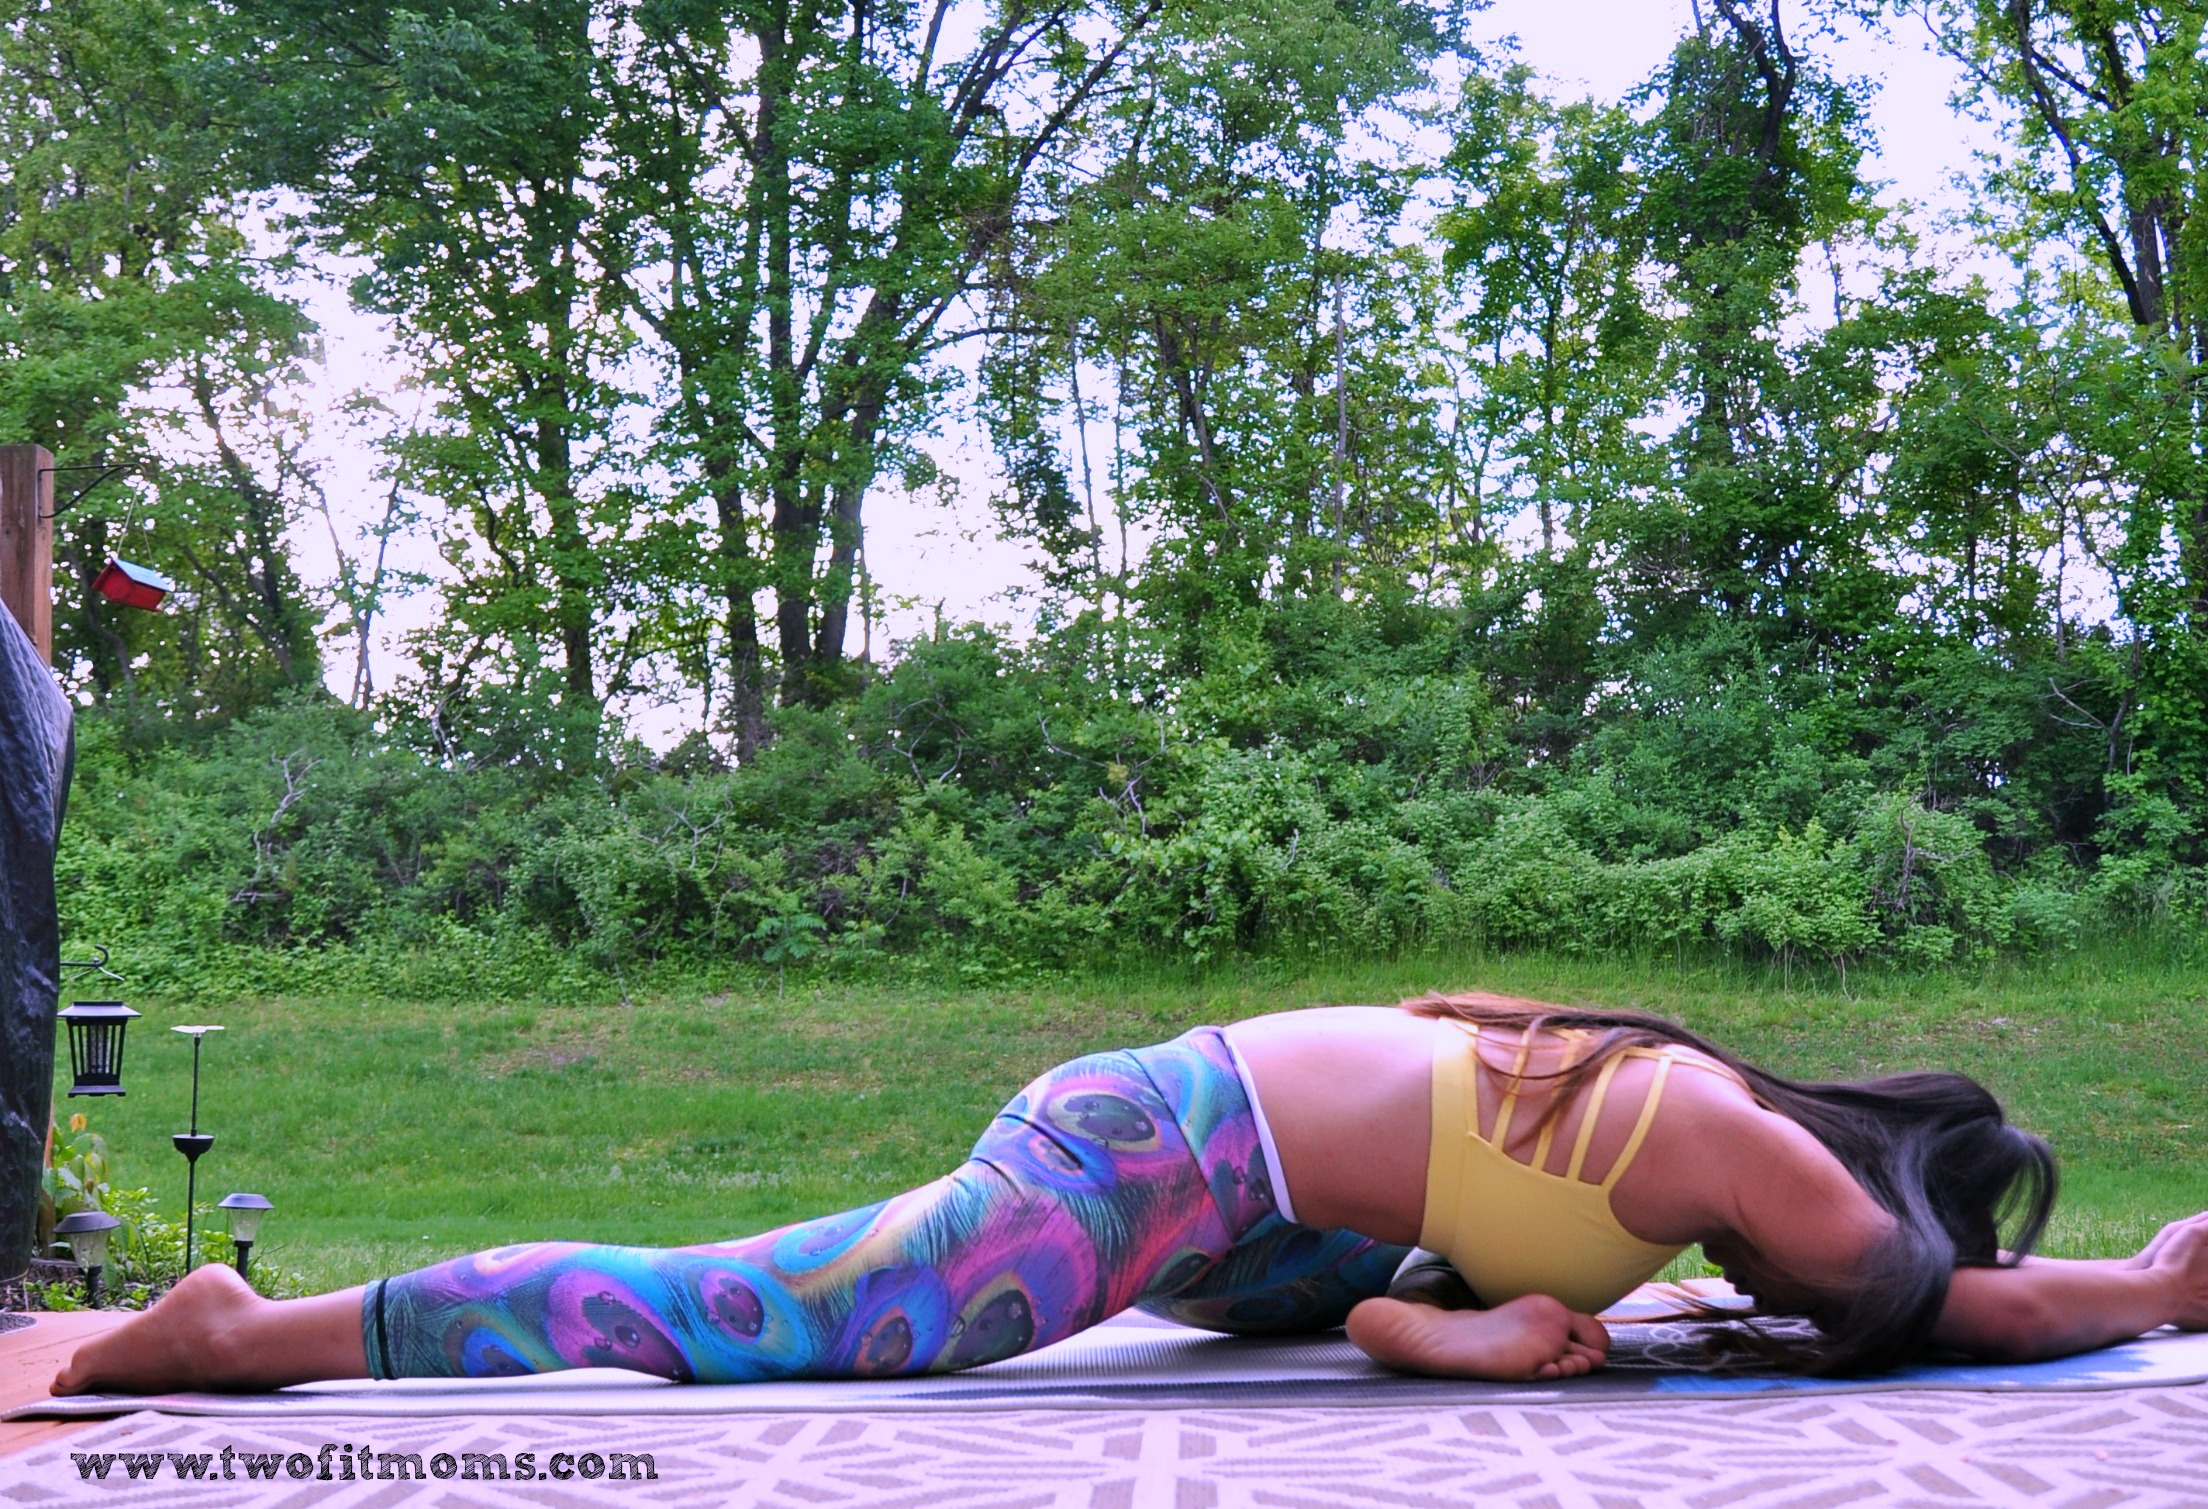
#5: Pigeon Prep

– From Downward Facing Dog, bring the right knee behind the right wrist and drop the shin down onto your mat. Depending on how open your hips are, the shin may be parallel to the top of your mat or closer in towards your body.
– Square off your hips. If you are way up off of your mat when you do this, place a block or blanket underneath you.
– Take a peak behind you and make sure the back leg is going straight back.
– Sit up tall, then walk your hands forward over your right shin. You can rest your forehead on a block, your hands or the ground.
– Hold for 10-20 breaths, then switch sides.
Remember to always be patient with yourself during your practice. Your hips will open up with time and consistent practice.
XOXO