Tag: recipe

  • 5 Favorite Posts from 2014

    5 Favorite Posts from 2014

    Here they are…your five favorite posts of 2014.  A mixture of yoga, Instagram, and nutrition.  In case you missed these articles the first time around, here is a quick recap.

    Headstands 101:  Your First Inversion
    If you want to invert, but you don’t know where to begin, start here.  Even if you have no previous experience in gymnastics, yoga or dance, we will teach you an accessible way to do a headstand—safely and without fear.

    Headstands101

    Handstands 101—Building Your Foundation
    Once you’ve mastered the headstand and forearmstand, you are ready to move on and fly high in a handstand.  Let this article be your first introduction to handstands.  Start here with a “can do” attitude.DSC_6079

    Bakasana:  Time to Get Your Crow On
    Crow pose (or Bakasana) is often the first arm balance that you’ll learn on your yoga journey.  If you’re ready to get started, grab a yoga block and a bed pillow.  We will guide you through this powerful pose, step by step.bakasana 3

    Banana Oat Muffins
    This article was shared over 4,200 times across Facebook and Pinterest.  We get it.  You can’t beat a healthy, gluten-free muffin that only requires five ingredients.  Try this recipe in 2015, and let us know what you think.  And don’t forget to check out our other Best Recipes of 2014.BananaOatMuffinRecipe

    Instagram Quick Tip:  AfterFocus App
    If your Instagram yoga photos are plagued by cluttered backgrounds or distracting details, we have the app for you.  In less than a minute, you will blur the background and bring yourself into focus.  Check out this article, as well as our other Instagram Quick Tips from 2014.AfterFocus

  • Harvest Salad with Arugula, Roasted Butternut Squash and Quinoa

    Harvest Salad with Arugula, Roasted Butternut Squash and Quinoa

    I like to mix grains and seeds into my salads. They offer an interesting texture and help fill me up. In fact, recently I attended an event where they featured a green salad and a quinoa salad, and I wondered why they didn’t just combine the two. harvest salad square So, I decided to make one beautiful salad with greens and quinoa — along with the addition of some nice seasonal ingredients.

    This salad includes a blend of peppery arugula juxtaposed by sweet roasted butternut squash. I added cooked red quinoa, roasted pumpkin seeds for crunch and pomegranate seeds for some added texture and color! I also topped mine with some nutty shaved parmigiano-reggiano cheese, but that’s completely optional.

    It’s a beautiful salad — perfect for the fall — and, I think, perfect for a holiday table.

    Harvest Salad with Arugula, Roasted Butternut Squash and Quinoa
    Serves 4

    5 ounces of arugula greens (I used half of a bag of pre-washed arugula)
    1 cup of cooked red quinoa
    2 cups of roasted butternut squash (which was salted, peppered and olive oiled)
    1/3 cup of pomegranate seeds
    1/3 cup of roasted pumpkin seeds (mine were salted)
    1/4 cup of balsamic vinaigrette
    1/4 cup of shaved parmigiano-reggiano cheese

    In a large bowl, add the arugula greens, quinoa, butternut squash, pomegranate seeds, pumpkin seeds, balsamic vinaigrette (recipe follows) and toss to combine. Top with shaved parmigiano-reggiano cheese.

    Simple Balsamic Vinaigrette
    Yields 1 cup

    3/4 cup of olive oil
    1/4 cup of balsamic vinegar
    2 teaspoons of brown sugar
    1 clove of garlic, crushed
    salt and pepper to taste

    Add, to a mason jar or lidded container, olive oil, balsamic vinegar, brown sugar, crushed garlic, salt and pepper to taste — shake until combined.  Vinaigrette will keep in the refrigerator for at least one week.

  • Simple Broccoli Rabe Pesto

    Simple Broccoli Rabe Pesto

    broc rab pesto up close with banner with tfm squareDo you ever get sick and tired of the taste of your own recipes?  Some days, I feel like all of my meals taste the same, even if I change most of the ingredients.  When I fall into this kind of cooking funk, I call up my childhood friend, Kate, for inspiration. I know that Kate will have a delicious recipe for me that can be modified to fit my diet, even on its strictest days.  She also has an amazing knack for creating meals that my children find just as delicious as I do.  This recipe is no exception and will become a staple in your house, as it is in mine.

    Today, I want to introduce you to a versatile, easy-to-make sauce:  broccoli rabe pesto.  In the summer, we generally turn to herbs like basil and parsley for pesto, but this time of year, let’s work with a cold weather green like broccoli rabe.

    Broccoli rabe is known to be a little bitter, however, blanching it takes away the bitterness and makes it perfect for blending into a tasty pesto.

    Traditionally, pignoli nuts (and sometimes walnuts) appear in pesto recipes. This recipe, however, is nut free.  Feel free to experiment and make this recipe your own!  Throw a handful of toasted nuts into the food processor along with the rest of the ingredients.

    This pesto can also be used as a condiment on sandwiches, a marinade for fish and poultry, or a sauce to toss with pasta.  While Kate’s original recipe was made with cheese and wheat pasta, we were able to modify it so that it was both gluten and dairy free.

    Enjoy!

    Broccoli Rabe Pesto

    1 large bunch of broccoli rabe (stems removed)

    3 cloves of garlic, crushed

    ¼ cup of olive oil

    Salt

    Pepper

    1 lb of cooked pasta of your choice

    Cook broccoli rabe in a large pot of salted boiling water for 3-5 minutes – until just tender.  Drain and rinse with cold water to stop cooking.  Pat dry with a towel/paper towel.  Add broccoli rabe to the bowl of a food processor, add crushed garlic, olive oil and salt and pepper.  Pulse until emulsified.

    If you would like to add cheese, feel free to mix in ¼ cup of parmigiano reggiano cheese after the mixture has been pureed.

    Serve over pasta — or any other way you would like!

    Yields 1 healthy cup of pesto (enough to top approximately a pound and a half of pasta)

  • Balsamic Brussel Sprouts

    Balsamic Brussel Sprouts

    Brussel sprouts conjure up images of my childhood….not the good moments, unfortunately.  I remember whining and crying at the dinner table as I faced a plateful of mushy baby cabbages that made me BrusselSproutsPicwant to gag.  I know that so many of you must have had similar experiences, which is why I am SO excited to introduce you to THIS recipe.  I’m not exactly sure when my mom started making this version of brussel sprouts, but I am very grateful for the change.  Trust me.  This recipe makes me WANT to eat brussel sprouts just about every day.  Give this a try.

    Ingredients:

    1 lb brussel sprouts
    1 Tbsp olive oil
    2 tsp balsamic vinegar
    ¼ cup vegetable broth
    ⅓ cup crushed walnuts
    salt & pepper (optional)

    Step 1
    Cut the hard end off of each brussel sprout, and slice each one into fourths.
    Step1

    Step 2
    Heat 1 tablespoon of olive oil in a deep pan, and sautee the brussel sprouts for 5 minutes until they are golden in color.
    Step2

    Step 3
    Add ¼ cup of vegetable broth and 2 teaspoons of balsamic vinegar to the pan.  Stir the liquid, and then cover the pan.  Allow ingredients to simmer over a low flame for 5 minutes.
    Step3

    Step 4
    Mix ⅓ cup of crushed walnuts into the pan.  Add salt and pepper to taste.
    Step4

  • Our Favorite Veggie Chili

    Our Favorite Veggie Chili

    The snow is falling here in Northern New Jersey. The kids are home from school, the fireplace is lit, and there is a delicious pot of veggie chili simmering on the stove. On a cold day like this, I look forward to warm, cozy, comforting foods. This particular recipe really hits the spot. I first had this chili at a friend’s house, and now it’s been passed down to me, slightly doctored, and now, passed on to you. Enjoy!

    VeggieChili


    Serves 6

    What’s great about this chili is that you can control the spice.  I used half of a seeded jalapeño, but you can certainly use the whole pepper, plus seeds, if you like the heat. You can also add more or less chili powder and cumin depending on your liking. And, feel free to substitute veggies — make the recipe your own!

    2 tablespoons olive oil
    1 large yellow onion, diced
    3 garlic cloves, minced
    ½ jalapeño pepper, finely diced
    1 tablespoon of chili powder
    ½ teaspoon of dried cumin
    1, 10 oz package of white button mushrooms, diced
    1 zucchini, diced
    1 large russet potato, diced
    2 15-oz. cans of black beans, rinsed
    2 15-oz. cans of kidney beans, rinsed
    1 28-oz. can of crushed tomatoes
    2 cups of water
    2 tablespoons maple syrup
    1 teaspoon kosher salt
    1 cup of frozen organic corn
    2 cups raw kale, chopped (garnish)

    Add olive oil, onion, garlic and jalapeño to a pot under medium to low heat. Cook until the onion is translucent.  Add the mushrooms, zucchini, potato, chili powder and cumin.  Sauté the ingredients until the potatoes are tender.  Add the beans, crushed tomatoes, 2 cups of water, maple syrup and salt.  Cover the pot, reduce heat to low and cook for 30 minutes (or all day).  Add the frozen corn and cook for another 5-10 minutes.

    Serve the chili warm over chopped raw kale.


  • Green Smoothies 101:  Buying the Basics

    Green Smoothies 101: Buying the Basics

    One of the quickest and easiest ways to improve your diet and to start each day with a nutritional bang is to blend green smoothies.  If you are ready to join the green smoothie bandwagon, you will need a few kitchen staples on hand to make this a simple, natural process each day.

    Stock Your Kitchen

    Surprisingly, you can create many different, delicious green smoothies with the same few base ingredients.  Just mix and match the Stock-Your-Kitchenfollowing items in your blender with a couple of new ingredients each day to change the flavor.  If you are working with recipes rather than mixing up your own concoctions, don’t worry—many recipes will include a few of these ingredients.  You might need to add one or two new items from the supermarket, but the staples listed here will be used repeatedly.  Nothing listed here will be wasted.

    -Greens

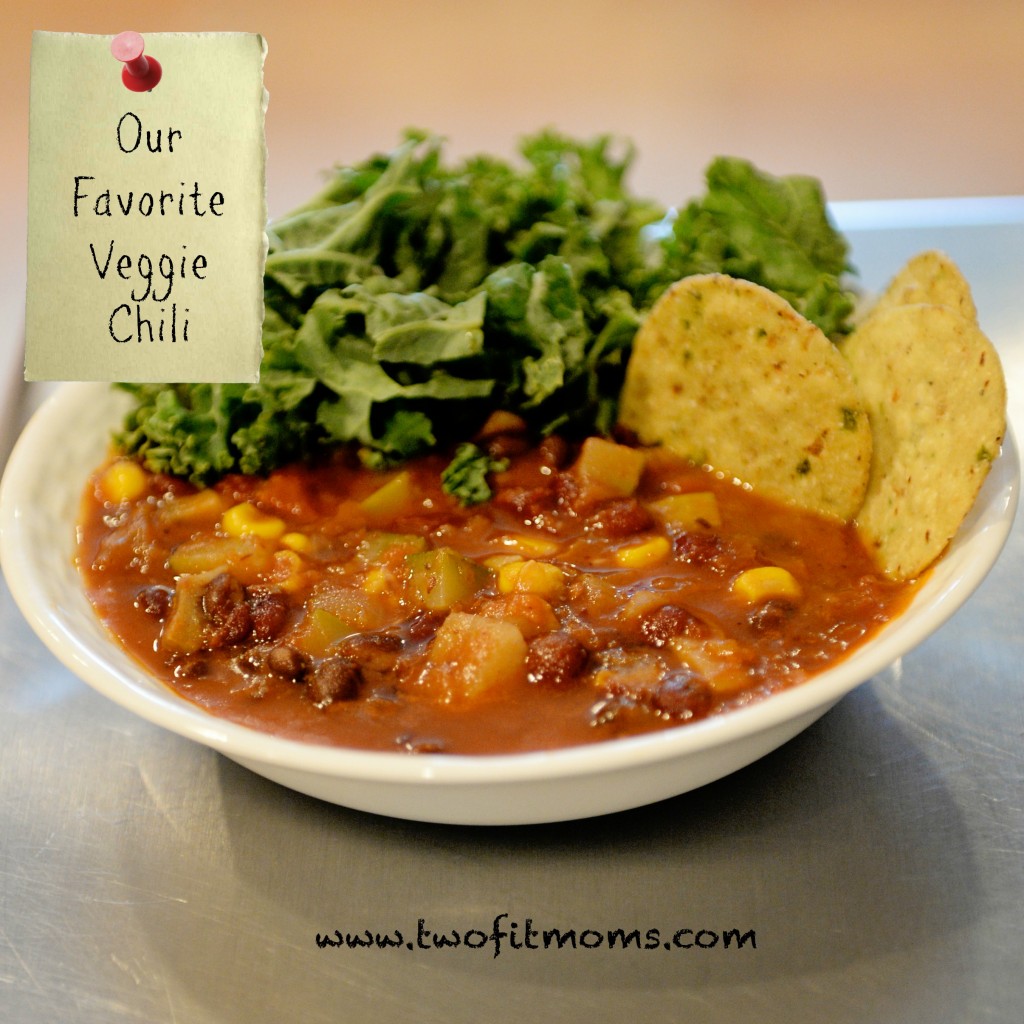
    In order to make green smoothies, you will obviously need to keep green leafy vegetables on hand.  If you are short on time, you can buy plastic containers full of pre-washed organic greens from the produce section of your supermarket.  It’s as simple as grabbing a handful of leaves and throwing them into the blender with your other ingredients.  If you happen to have an autoimmune illness that affects your joints, I recommend working with greens that are low in oxalic acid, such as kale or collard greens.  Stay away from spinach and swiss chard, which are both high in oxalic acid and can aggravate your joint condition.
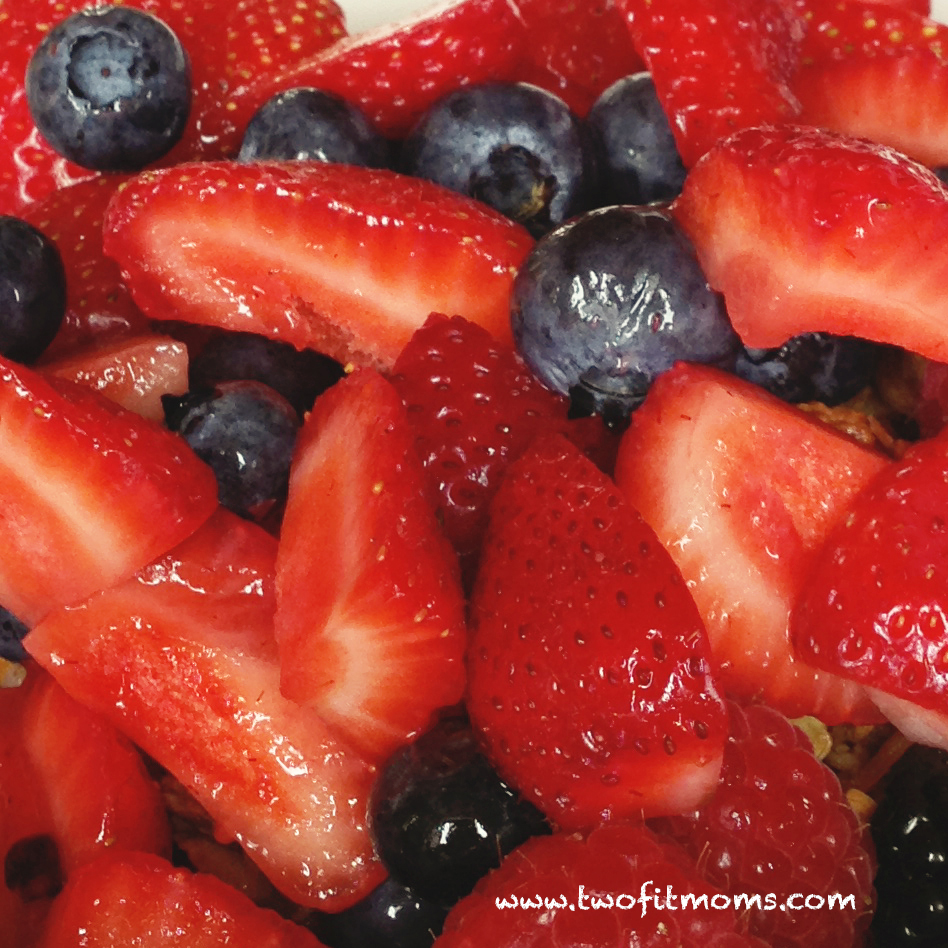
    -Frozen berries

    These days, you can find bags of frozen organic berries at most supermarkets.  Buy a couple of bags of strawberries, blueberries, raspberries or blackberries.  You can buy mixed bags of berries or bags of each individual type of berry.  I recommend buying berries that you typically DO NOT eat often or do not enjoy.  It’s a great way of adding berries-finalwmvariety and new nutrients to your diet.  I know that sounds counterintuitive, but smoothies happen to be a great way of consuming foods that you’d rather not.  Flavors and textures of any particular fruit or vegetable just disappear into blended goodness.  Personally, I am not a huge fan of eating fresh blackberries.  I happen to enjoy the flavor, but I can’t deal with all of the seeds.  It drives me crazy, so now I consume all of my blackberries in pureed form.  I just throw a nice big handful of frozen blackberries into my blender, and I get all of the benefits of eating them without actually having to deal with the unpleasant texture of the seeds.

    -Frozen bananas
    brownbanana
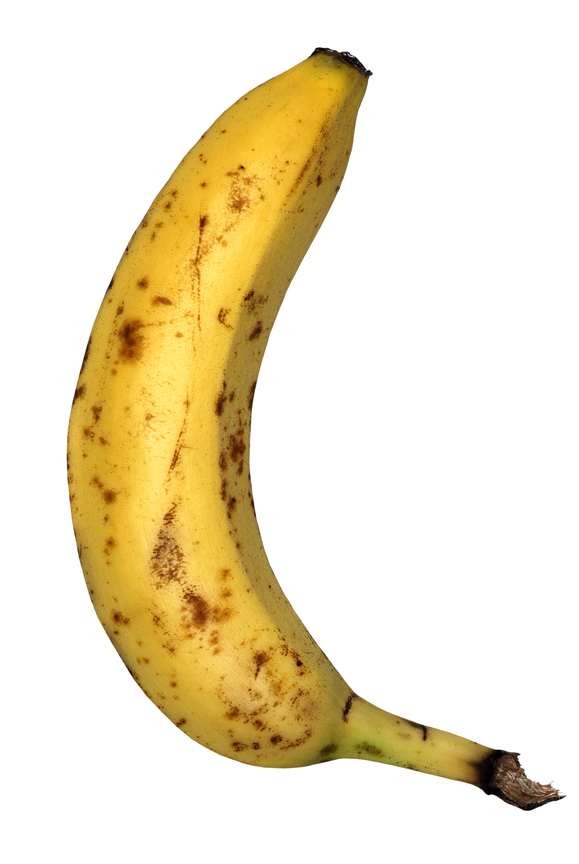
    Buy a bunch of bananas, and allow them to ripen on your countertop for a few days. Brown bananas are not particularly appetizing to eat as a snack, but they are perfect for smoothies.  Slice each banana, and freeze the slices.  Frozen bananas slices blend much more easily than frozen bananas that haven’t been sliced.

    -Liquid for your smoothies

    I like to stock my pantry with organic, non-GMO soy milk, almond milk, and coconut water.  If you prefer a smoothie with a juice base, keep your fridge stocked with orange juice, apple juice, or whatever it is that you prefer.

    -Almond butter

    If you are worried about getting hungry within an hour or so after consuming your smoothie, turn your drink into a stick-to-your-ribs meal by adding a tablespoon of almond butter to your blender.  If you aren’t a huge fan of almond butter, try another type of nut butter, or maybe even a piece of non-GMO organic tofu.

    -Fresh Ice

    Three melting ice cubes
    I can’t even tell you how many times I’ve reached into my freezer to grab a handful of ice for my smoothie and realized that my ice smelled a little funky.  Whether you have an automatic ice maker in your freezer like me or a few trays of ice that you fill with water and freeze yourself, check your ice before you actually need to use it!  Once a month, I dump all of my ice out of the freezer bin that collects my ice cubes from the ice maker.  I scrub the ice container with hot soapy water, and I collect all new ice cubes.  There’s really no easier way to ruin a delicious smoothie than to fill your blender with old, stinky ice.  Take the time to make sure you are using good ice.  And don’t forget that you always have the option of skipping ice altogether and just adding more frozen berries instead!
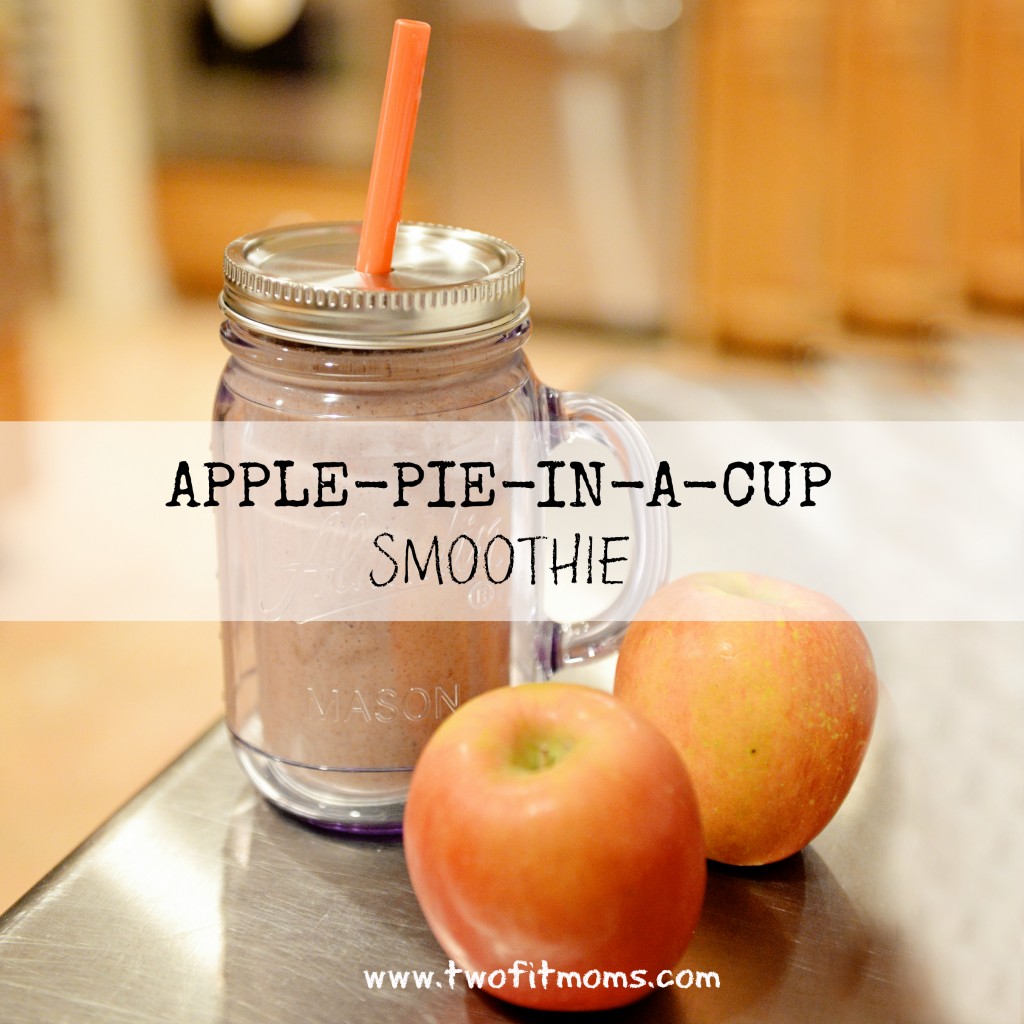
    -Lemons/limes

    When you first start making green smoothies, you will most likely dapple with recipes that include lots of fruit.  Once you become accustomed to these smoothies, you will probably start lowering the quantity of fruit and increasing the quantity of greens and other vegetables.  If you move on to these more savory green smoothies, you will want to have fresh lemons and limes on hand.  A good squeeze of lemon or lime really compliments any greens or herbs, like parsley, that you might add to your blender.  Lemons and limes have quite a long shelf life in the refrigerator, so go ahead and buy a few.  Even if you don’t use them today, you can use them in a few weeks, and they will be just as good.
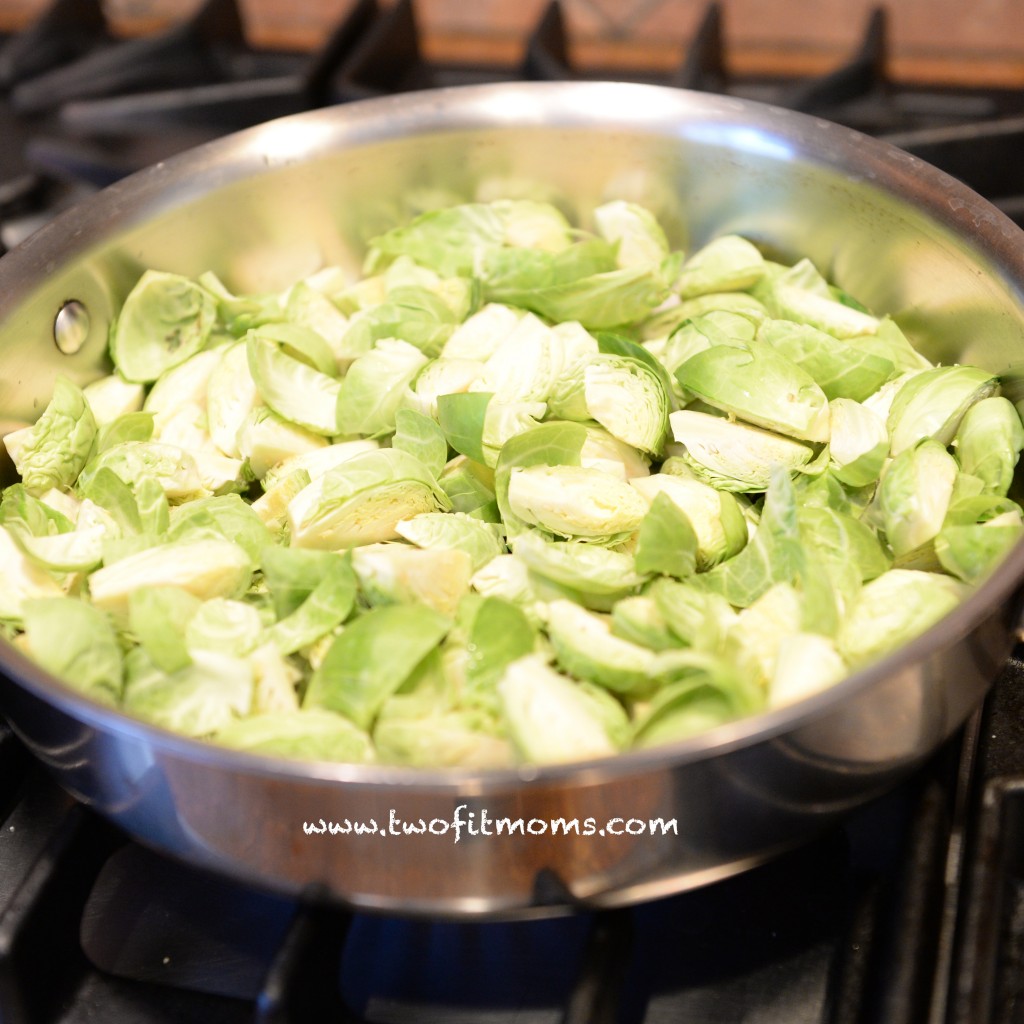
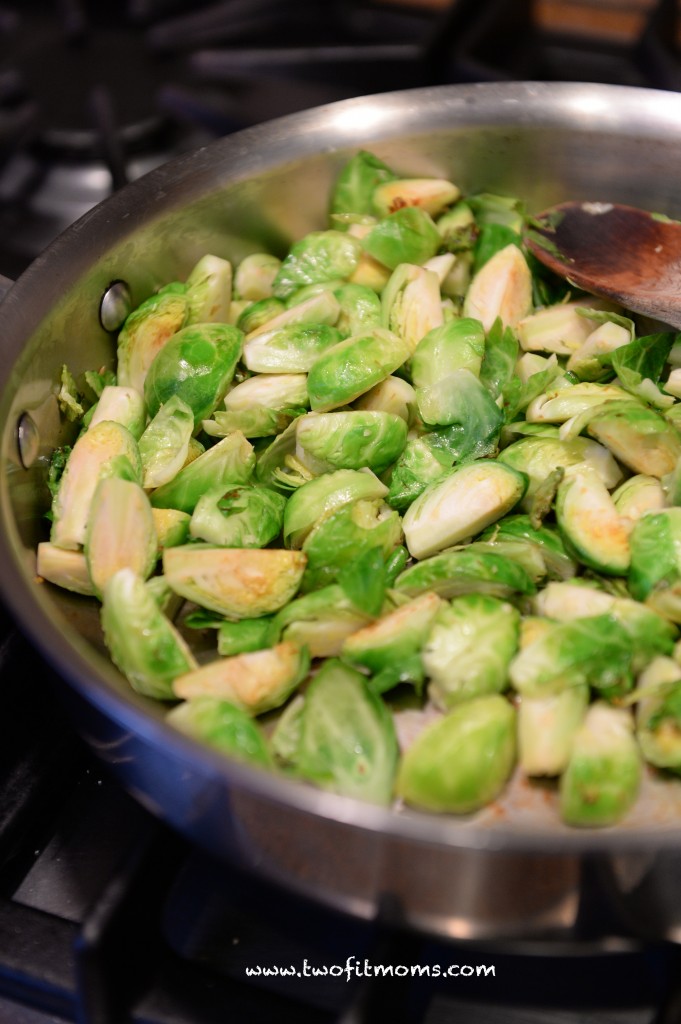
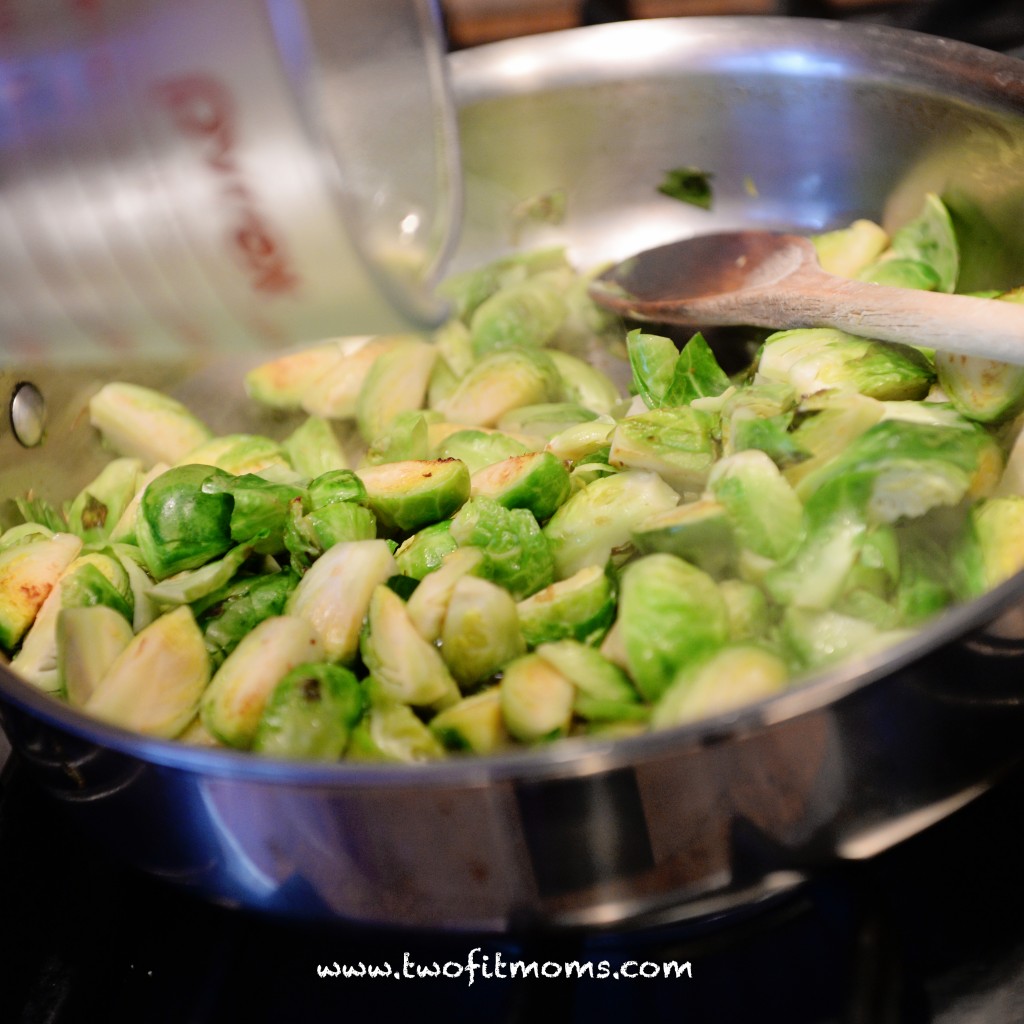
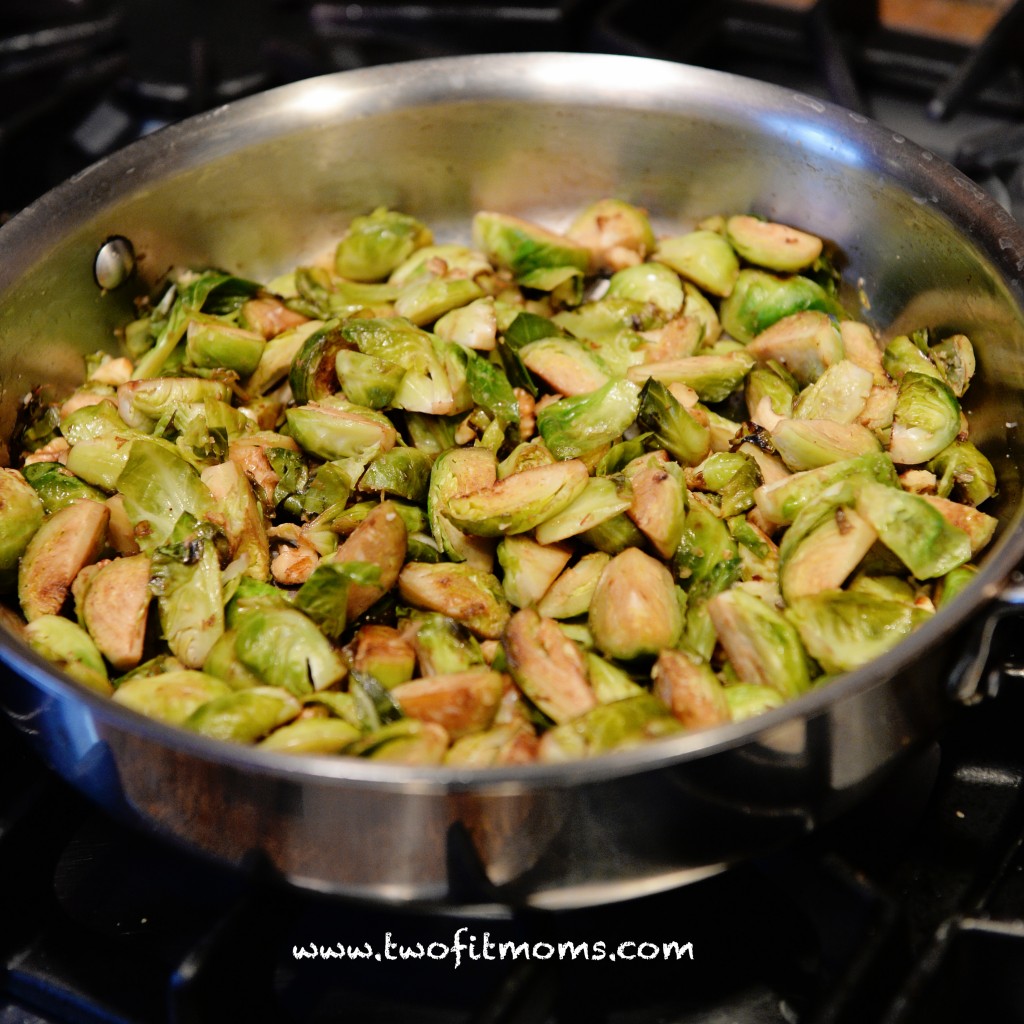
     

  • Apple-Pie-In-A-Cup Smoothie

    Apple-Pie-In-A-Cup Smoothie

    This might be my favorite dessert smoothie ever.  I call it a “dessert” smoothie because the apple-cinnamon flavor reminds me of apple pie.  Turn to this drink instead of taking down a box of cookies and a half-gallon of ice cream.  It has the perfect level of sweetness to satisfy your cravings.

    Feel free to add a generous handful of baby kale leaves to this recipe.  If you don’t mind the green hue, you will benefit from the added nutrition, and honestly, I don’t detect much of a difference in flavor.

    Remember to honor yourself and the experience of consuming this delicious drink. It somehow tastes better when you sit down and sip it slowly out of a beautiful glass. I know you are busy. I’m tempted as much as anyone else to just pour my smoothie into a random old mug and drink it while multi-tasking around the house. Let’s change how we eat. Let’s make a real effort to eat mindfully.
    ApplePieSmoothie

    Blend:

    1 Fuji apple
    1 frozen banana (sliced before freezing)
    1 Tbsp almond butter
    1 Tbsp cinnamon
    1 cup soy/rice/almond milk
    2 handfuls of ice
    1 handful baby kale (optional)

    Makes about 20-ounces of smoothie.