Category: Uncategorized

  • December Yoga Challenge Winner!

    December Yoga Challenge Winner!

    We are excited to announce the winner of our December Two Fit Moms yoga challenge on Instagram! Congratulations to @jinhee_1017 for successfully completing all ten days of the challenge.

    dec winner with logo

    Please contact kate@twofitmoms.com to claim your Gaiam Sol prize package that includes: a Gaiam  Sol Travel Mat in Mulberry, a Black Everything Fits Gym Bag and a free download, from the Gaiam.com website, of our Yoga Rising series!

    decwinnercollag

    Thank you all for participating!


  • Entertaining 101: Best Dishes for Feeding a Crowd

    Entertaining 101: Best Dishes for Feeding a Crowd

    Now that we’ve got our planning down, let’s figure out what types of dishes are best for entertaining.  When you are expecting a large crowd, individual portions become difficult to manage.  Family style (or buffet style), is the way to go. But, what will you serve that will feed a crowd?  You need dishes that spread.

    Here are my suggestions for the types of recipes (appetizers to desserts!) that work best when entertaining a group of people.
    Below view of people clinking glasses with each other
    Simple dips and crudite platters
    You can make them in advance, and they can generally work for vegetarians and meat-eating folks.  And, if you don’t have time to make your own dip or vegetable platter, you can purchase the individual items and assemble.  There’s no shame in picking up a store bought hummus or guacamole.  Do what works for you.

    Pasta
    A big bowl of pasta is hearty and can feed many.  Make a homemade pesto or marinara or any other sauce of choice and top it onto your favorite pasta.  We do not have dietary restrictions in our house, but some of our guests do, so we make brown rice pasta and semolina pasta — two big bowls — both with the same sauce.  You can also make a baked pasta — a lasagna or stuffed shells — or baked manicotti (which is what my family eats during the holidays). Generally, kids and adults are both happy with it!

    Salads
    They will go a mile and everyone enjoys them.  My recommendation is to make a green salad and a grain salad.  Not everyone at your party may be well versed on farro and quinoa, but everyone can relate to a nice green salad.  Make both. Throw some seasonal ingredients into them to make them more festive — like pomegranate seeds, cranberries, toasted walnuts.  You get the picture.

    Veggies
    A big platter of vegetables is always welcomed.  You can grill them and serve them along with other appetizers, including breads and cheeses.  Or, you can include them on your buffet along with your other dinner items.  You can never go wrong with grilled vegetables and they taste even better room temperature.

    If it’s too cold to bust out your grill, try a roasted vegetable platter instead — beets, butternut squash, throw some nuts and maybe cheese on top.  Yum!

    Meat or Fish
    This is a little more complicated because cooking meat and fish requires timing it, carving it, etc.  That being said, if you don’t mind stealing away from your guests to do so, there are definitely some options.  You can roast a whole fish or salmon fillets and arrange on a platter.  You can also bake a ham or roast a whole filet mignon and serve it room temperature.  I tend to include meat on my holiday table because the older crowd look for it, but I’m seriously considering skipping it this season — just to give myself a break and offer myself a chance to not cook while my guests are around.

    Dessert
    Well, dessert is easy.  Make a big fruit crisp.  You can make it in advance, and just pop it in the oven to warm it before serving (with ice cream, or whipped cream or nothing because it’s so delicious on it’s own!).  You can make cookies or cupcakes or a cake or pie or two.  Just don’t make too much.  I prefer quality over quantity.

    In addition to the sweets, put out some fruit and nuts as well.  Not everyone will be up for a heavy dessert after a big meal.

    I hope these tips help make your holiday entertaining a bit easier and a lot less stressful.

  • 5 Pre-Flight Yoga Stretches

    5 Pre-Flight Yoga Stretches

    Right now, I’m writing to you from a fully-packed flight back to the New York area from Colorado.  (Laura and I were in Boulder for the better part of the week, working on some new projects with Gaiam.)  Tourist info signage in airport in international languageLet me just say that I am relieved to finally be in the air and flying.  Although we arrived at the airport early, we found ourselves sitting at the gate with an hour delay—And it was one of those annoying delays that was supposedly only ten minutes long.  We reasoned that ten minutes wasn’t long enough to shop or eat, so we found ourselves sitting and waiting for the boarding announcement, which of course, didn’t happen in ten minutes.  We hadn’t even boarded the plane, and our bodies felt stiff from sitting.  Laura and I looked at each other and decided it was time for a little airport yoga.

    Next time you find yourself sitting at the terminal with a few minutes to spare, try these five poses, which will loosen up your body before you board the plane.  Don’t worry—there’s no reason to be embarrassed.  You won’t make a scene doing these stretches.  You can do them all at your seat.  Happy flying.

    Chest and Shoulder Stretch
    Sit up tall, engaging your core by pulling your navel toward your spine. Sweep your arms behind your back, and interlace all ten fingers, squeezing your palms together. Roll your shoulders down and away from your ears, and lift your chest toward the sky.  Inhale deeply, then exhale as you hinge forward from the waist, allowing your clasped hands to fall forward.  Continue to breathe deeply.IMG_2452

    Seated Spinal Twist
    Inhale deeply, as you cross your right leg over your left, and place your left hand on the outside of your right thigh.  Place your right hand on the back of the chair, and exhale as you twist your torso to the right.  Press your left hand into your right thigh for leverage while you twist and gaze over your right shoulder.  Hold the stretch for a few breaths and repeat on the other side.IMG_2453

    Hip Stretch
    Sit up tall in your seat, and cross your right ankle over your left thigh.  Flex the right foot, and begin to lean forward, bringing your chest toward your shin.  Maintain length in your spine, and stop moving forward when your spine begins to round.  Breathe deeply through this intense, but very effective hip stretch.  After five breaths, repeat this exercise on the opposite side to stretch the left hip.IMG_2454

    Forward Fold
    Stand with your feet about hip width apart, and fold forward.  Grab opposite elbows, or hold the outsides of your calves as shown here.  Relax your head and neck, and allow the weight of your torso to release the tension in your lower back and to stretch the hamstrings.  Take five long breaths in this pose, then put a slight bend in your knees as you slowly rise to an upright position.IMG_2455

    Wide Squat
    Separate the feet a bit wider than hip width apart. Angle your toes about 45 degrees out to either side. Bring your upper arms to the inside of your thighs, and press your palms together in front of your heart. Lengthen the spine, sit up tall, and use your triceps to press your inner thighs back in space. Breathe deeply, and enjoy the stretch. IMG_2456

  • Entertaining 101: Planning Makes Perfect (well, almost)

    Entertaining 101: Planning Makes Perfect (well, almost)

    I love entertaining, but it’s a lot of work.  Creating the menu, buying the food, cleaning the house, setting the table, slaving over a stove . . . . all while managing kids and work and possibly wrapping and decorating too! This doesn’t sound like fun at all.  In fact, entertaining can be really stressful.
    Closeup of christmas placecard holders with plates and intencils
    So as the holidays get closer, consider these tips that are sure to make entertaining more manageable this year, especially if you are planning for a crowd.

    1. Plan Your Menu in Advance. In fact, write down your menu. While you are at it, make your grocery list too! We love lists, and this is definitely time to pull one or two together.  Try to avoid any guessing.  Even with a list, you may forget an item or two, but not having a list will be a disaster.

    2.Keep it Simple. There’s no need for 10 appetizers and 12 desserts.  Limit your menu to a few really good, quality dishes. And, while you are at it, don’t use the holidays to test a new recipe.  Stick to familiar favorites — and ones that are easy to prepare.

    3. Start Cooking Ahead of Time.  Make as much of your meal, as far in advance as possible.  Soups, sauces, appetizers are all things you can generally prepare ahead of time.  I make my Marinara Sauce a day or two in advance of serving it — the same with my Roasted Butternut Squash Soup.  We like to make our White Bean Dip in advance (in fact, it tastes better once it’s flavors have had a chance to meld.) You can also wash and cut veggies a day in advance of cooking them.  Don’t forget that prepping a recipe in advance saves time too!

    I always make my pies the day before I serve them.  Our Maple Sweet Potato Pie is the perfect example of a make-ahead dessert.  Crisps and cakes can also, usually, be made a day ahead of time too. This is true for our Blueberry Crisp (try it with apples this season) and our Apple Raisin Clafoutis.

    Ultimately, the key is to get as much cooking and prepping done before the actual event to avoid slaving over a stove while your guests have already arrived.

    4. Set Your Table the Night Before.  Iron your table linens, pull out your dinnerware and cups and cutlery and decorative accents ahead of time.  If you can set your table a few days in advance all the better — if not, the night before is perfect.  No one needs to worry about ironing a tablecloth the day of the event.

    5. Make a Buffet. A sit down dinner is all nice and good, but it’s much harder to pull off! Create a more casual vibe by arranging your food family style.  If you have a counter or island in your dining area, arrange the dishes on it so that people can get up and help themselves. You can use chafing dishes to keep things warm.  Crock pots are also great. They not only keep food hot, but you can serve from them too.

    A buffet offers a much more relaxed environment — and it works out well for families (especially those with young children) and in homes where seating is an issue.

    As you can see, all of these tips largely center around planning in some way, shape or form.  We guarantee that if you plan in advance, and spread the work over a few days, you will successfully entertain this season.  In fact, you may even enjoy yourself!

    Now, if you need some ideas on the types of dishes that work best when entertaining large groups, check out our next article . . .


  • The Backbend Flow to De-Stress

    The Backbend Flow to De-Stress

    After a long day hunched over a computer, the body craves movement – particularly, expansive movement to counteract the back-rounding posture that is so commonly seen in office parks around the world. Paperwork, computer work, web surfing and, even texting on mobile phones, are all culprits in creating tightness in the chest, shoulders and back.

    A backbend practice is a great way to relieve everyday stress and loosen up a tight upper body.

    2014-10-28 11.56.32


    The biggest misconception about backbends is that you need a flexible back in order to do poses such as Full Wheel or Camel, or asanas involving an over-hand grip such as One-Legged King Pigeon or King Dancer. Yes, you do need some mobility in your back, but in reality, it is the entire front body and shoulders that can make or break a backbend.   With consistent practice, you will find that your backbends will be deeper and easier to perform.


    As with any asana, take your backbend practice slowly, and never force your body into postures.  Start off your practice with a few rounds of Sun Salutations, then use our Backbends Practice to fire up your entire front body and shoulders.  Make sure to keep your abdominals engaged in your backbends and more importantly, make sure to breathe!


    Extended Puppy Pose (Uttana Shishosana)
    5

    This is one of our favorite poses for stretching the upper back and shoulders. Beginners should consider modifying the pose by placing their forehead on the mat. This will help relieve any potential strain in the neck. Start off in tabletop position and slowly walk the hands forward dropping your chest onto the mat. Keep your hands actively pressing into the mat and arms hugging in towards one another.

    High Lunge or Crescent Lunge Variation
    7

    While in high lunge, open your chest and shoulders by bending your elbows to create 90 degree angles with your arms (think goal-post arms!)  A more traditional version of this pose is with arms extended straight overhead.  Regardless, be sure to keep your head aligned between your arms.  Do not allow the head to fall back which will cause strain to your neck. Remember to engage the back quadricep and sink your hips toward the floor to activate your hip flexor and psoas muscles.

    Low Lunge or Anjaneyasana Variation
    2

    Clasp your hands behind your back, drawing your shoulder blades together to open up the front of your shoulders and your chest. Keep your core engaged as you take a mini-backbend moving your clasped hands towards your mat.

    Reclined Half Hero or Ardha Supta Virasana
    4

    Try a gentler modification of this pose. Rather than lying down completely, begin by leaning back onto your forearms.  This will produce a nice stretch in the front of the thigh.  For a more intense stretch, lie back further.  You should not experience any discomfort in your knee.

    Bridge Pose or Setu Bandha Sarvangasana
    6

    This is a great backbend for beginners. Use a block or blanket to relieve stress from your lower back or neck. Your feet should be parallel to each other and your knees should stack directly over your heels.  When you begin to lift up, keep your thighs hugging into the midline. Press actively into the mat with your arms and shoulders. Keep the neck long. You can lift one leg up for a deeper posture.

    Camel Pose or Ustrasana
    1

    There are many variations of this pose – from keeping your hands on your low back for support to tucking your toes under so that the backbend is not as deep to the full posture shown here. Find the one that works for you! Just remember to keep your hips pushing forward so the thighs remain perpendicular to your mat.

    Upward Bow or Urdhva Dhanurasana
    3

    Make sure your front body and shoulder are warmed up before trying this pose. Keep your feet parallel, hug your knees and thighs in – and don’t forget to breathe!

  • November Yoga Challenge Winner!

    November Yoga Challenge Winner!

    We are excited to announce the winner of our November Two Fit Moms yoga challenge on Instagram!

    Congratulations to @frenchie63 for successfully completing all ten days of the challenge. Please contact kate@twofitmoms.com to claim your Gaiam Sol prize package that includes: a DryGrip Mat, two blocks, a yoga strap and a free download, from the Gaiam.com website, of our Yoga Rising series!

    Thank you all for participating, and for a sneak peak of the December challenge poses, click HERE.

    November Challenge Winner

  • #YogaWithTFM December Challenge!

    #YogaWithTFM December Challenge!

    Our December yoga challenge has not yet been announced on Instagram, but you know we like to give our @TwoFitMoms followers a sneak peak of what’s to come next month. Here are the 10 poses we will be covering starting on December 1.

    December Yoga Challenge

    Welcome to our #YogaWithTFM December Challenge, sponsored by Gaiam! This month’s focus will be on balance. As always, this challenge will be open to all levels, and modifications will be given each day on our website.


    Be sure to follow @TwoFitMoms, @laurasykora, @masumi_g and @gaiam on Instagram, and remember to always use the #YogaWithTFM hashtag when posting challenge photos.


    Need help preparing for this challenge?  Check out our Balance practice available for purchase here.

  • Thanksgiving Starters, Sides & Desserts

    Thanksgiving Starters, Sides & Desserts

    Thanksgiving is one week away. Is your Thanksgiving dinner menu planned? If you are still searching for starters, sides and desserts, we have some great recipes for you.  In fact, they are not only delicious dishes, but they are healthy alternatives to traditional Thanksgiving favorites.

    Check out some of our favorite recipes below:

    A wonderful, light and delicious appetizer is our White Bean Dip with Seasoned Pita Chips.

    white bean dip

    And, what better way to start your dinner than with a savory Roasted Butternut Squash Soup with Sage Croutons?

    butternut squash with header

    Looking for a festive salad? Try our Harvest Salad with Arugula, Roasted Butternut Squash and Quinoa.

    harvest salad square

    We have some great sides to accompany your turkey or veggie loaf, including our Balsamic Brussel Sprouts.

    BrusselSproutsPicRoasted Sweet Potatoes.

    HowToRoastVeggies

    And, our Smashed Potatoes.

    smashed pot banner

    For dessert, we try our Apple Raisin Clafoutis.

    apple cake slice square

    And, our Maple Sweet Potato Pie!

    sweet potato pie

    We hope some of our delicious starters, sides and desserts make it onto your table this holiday season!

  • Maple Sweet Potato Pie

    Maple Sweet Potato Pie

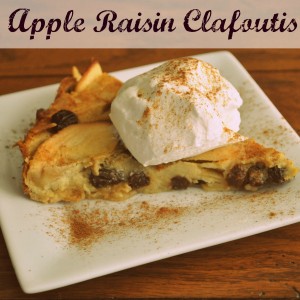
    Thanksgiving is one of my favorite holidays because the focus isn’t on gifts, but on family — and food! And, not just any food — familiar and traditional food.

    In fact, I bet your family is expecting a decadent pecan pie, sugared yams and your famous stuffing. I think the one thing to keep in mind is that it’s a special day — a day to splurge — a day to delight in familiar traditions and recipes, but you might want to consider adding a new recipe or two!  This particular recipe is a great alternative to heavier pies made with white sugar and cream.  Everyone will love this version of sweet potato pie that lightens up the ingredients but does not compromise flavor. sweet potato pie

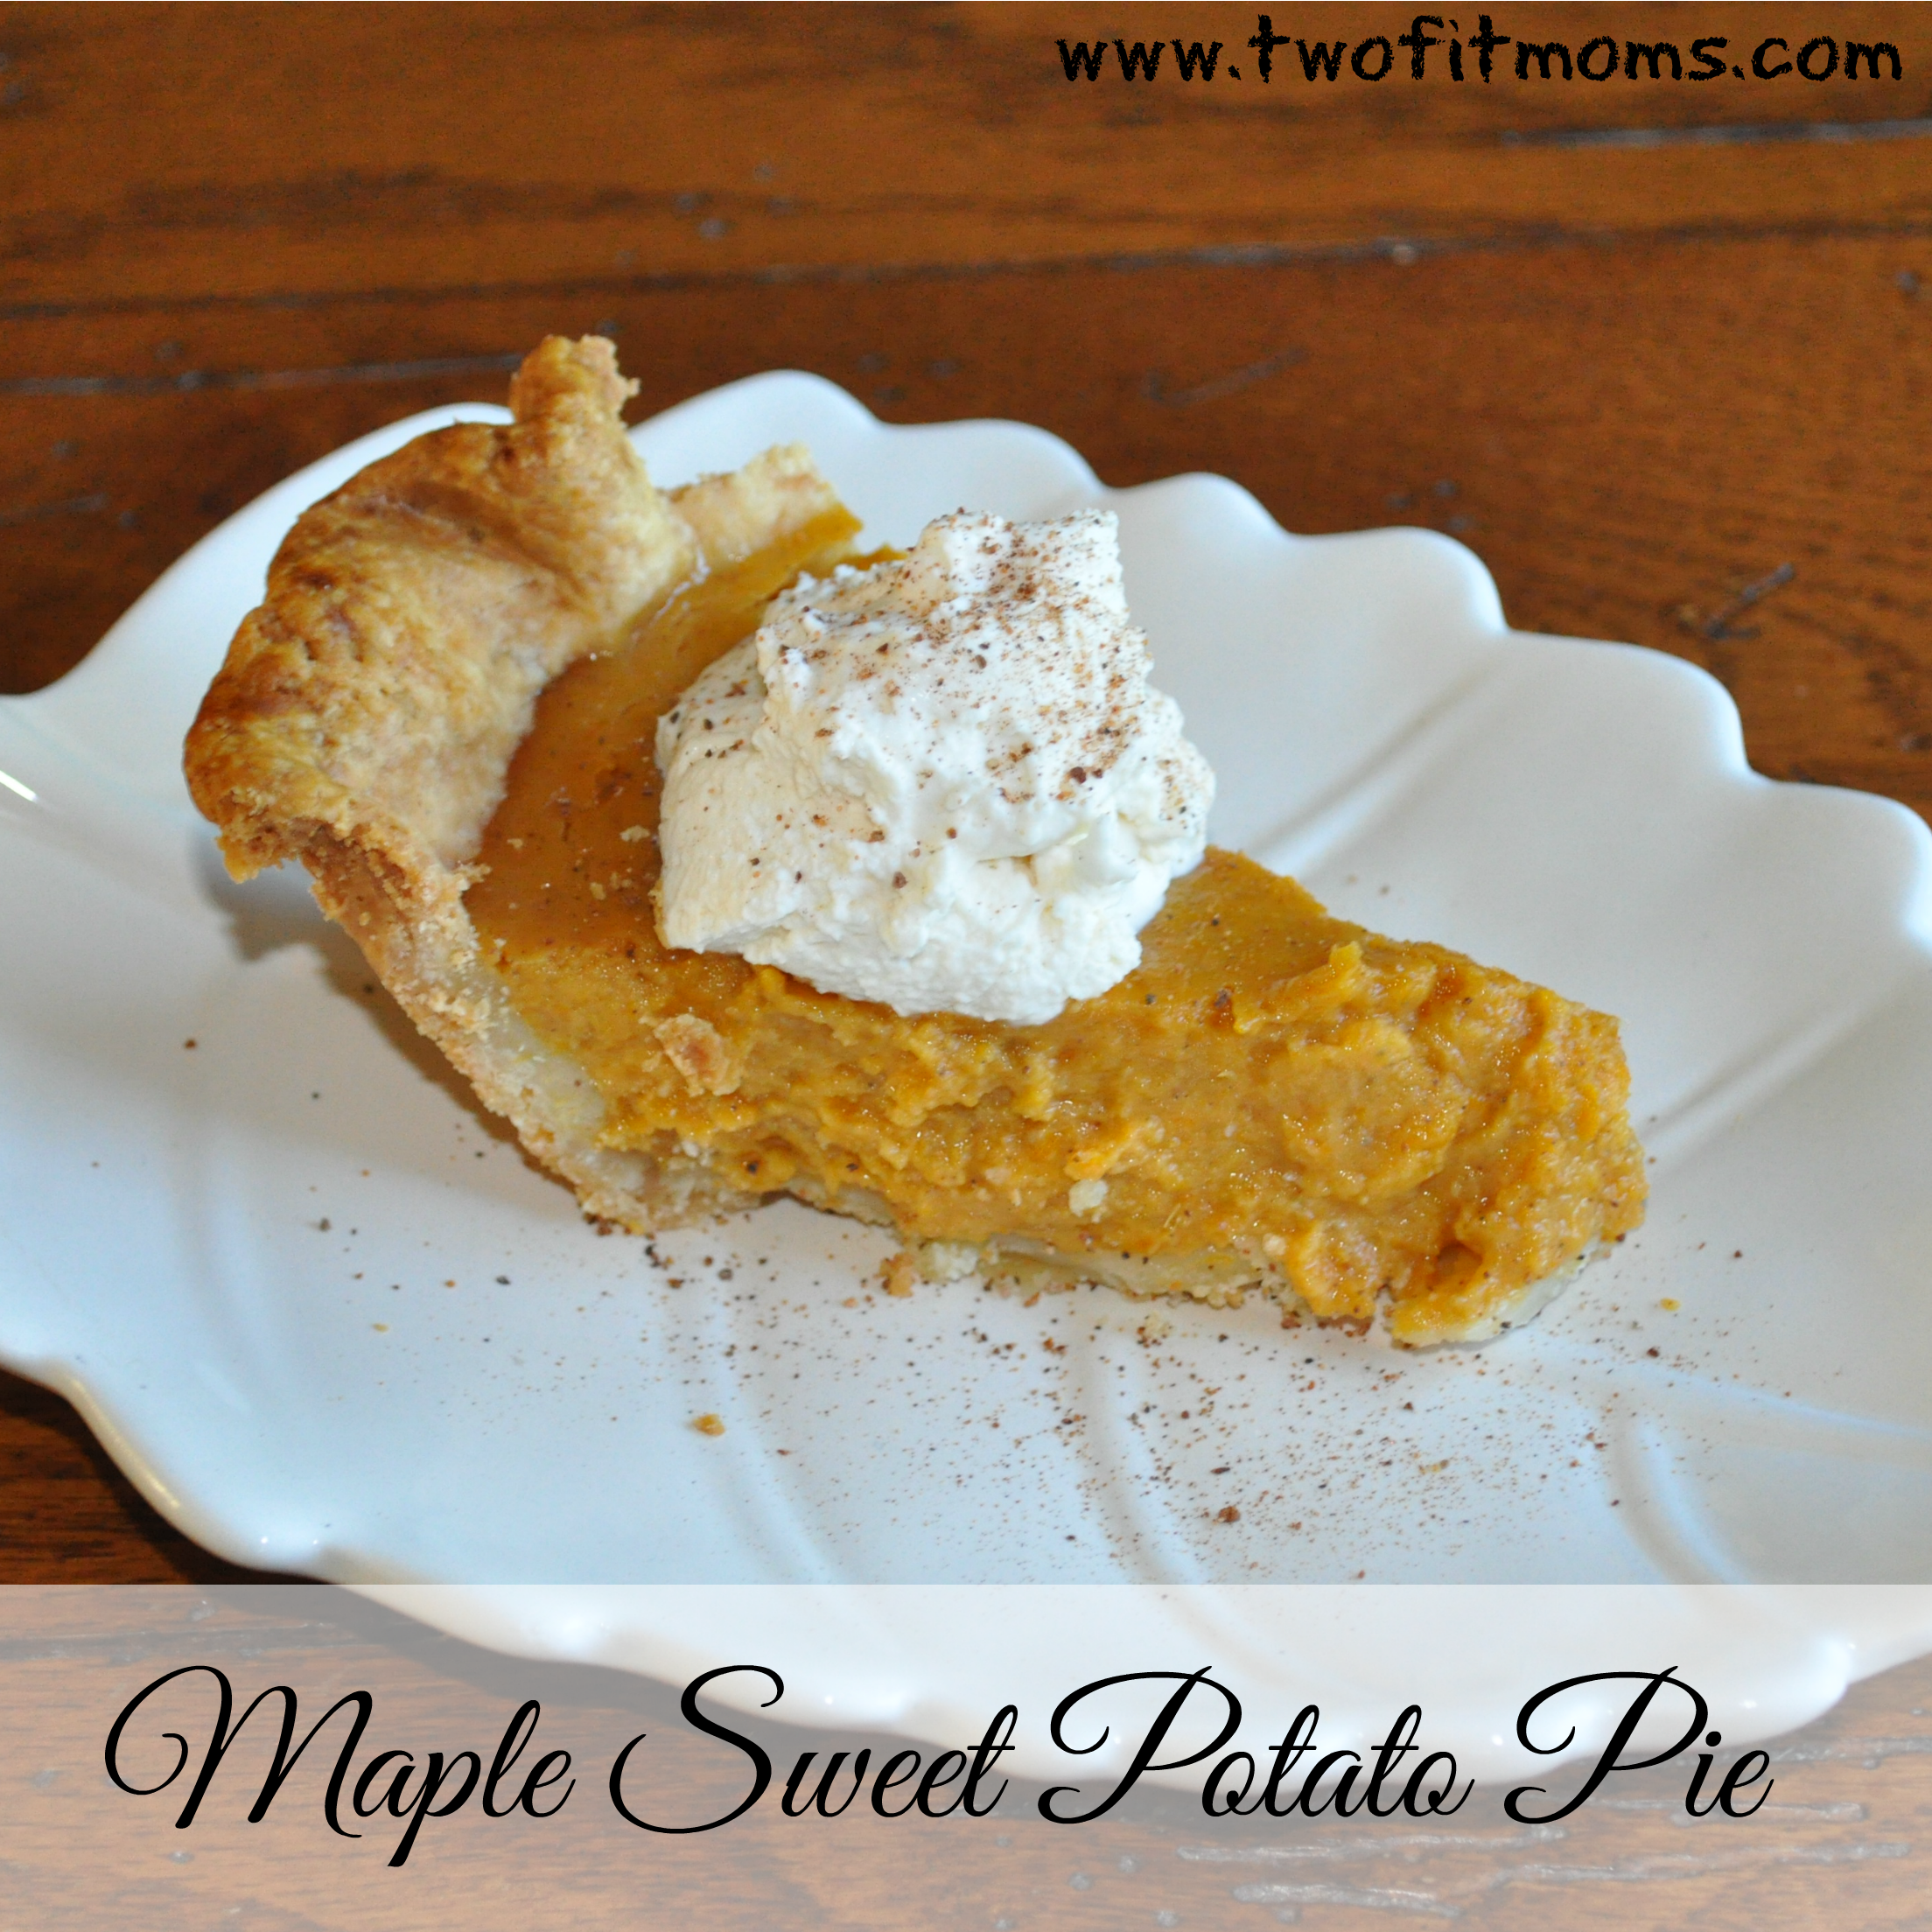
    I used a traditional recipe, but swapped out the white sugar for grade B maple syrup.  I generally substitute maple syrup for white sugar — 1:1.  However, I used half the amount of maple syrup this time, and it was perfect. You would never know the recipe was altered. I promise!

    The key to this recipe is roasting your sweet potatoes.  DO NOT use canned sweet potato puree.  As a busy mom, I tried a short cut.  It didn’t work.  Take the time to roast your own sweet potatoes .  . . it will set up perfectly and have a delicious, dense texture.

    You can use any pie crust that works for you.  I tend to use pre-made pie crust.  There are some really good ones on the market — I like Trader Joe’s frozen pie crust.  It saves time, which is important, especially around the holidays.

    You can make one 9-inch deep dish pie with this recipe — or two shallow 9 inch pies.

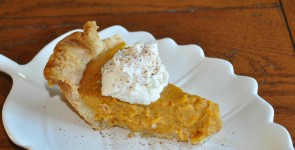
    If you are considering a new Thanksgiving dessert, I hope you try our Maple Sweet Potato Pie.  It’s so good, you may even consider it a replacement for your traditional pumpkin pie!

    Maple Sweet Potato Pie
    Yields 8 slices

    2 cups of roasted sweet potato puree (I roasted 3 medium sized sweet potatoes in their skin, in foil, at 400 degrees, until they were fork tender. I peeled them and mashed them in a bowl)
    2 eggs, beaten
    1 cup of milk (I used 2% milk, but feel free to substitute)
    3/4 cup of grade B maple syrup
    1 teaspoon, vanilla extract
    1/2 teaspoon of ground cinnamon
    1/4 teaspoon of ground ginger
    1/8 teaspoon of salt
    1, 9-inch prepared deep dish pie crust or 2, 9-inch prepared shallow pie crusts (like the ones you find in the freezer case of your supermarket!)

    Preheat oven to 400 degrees.

    In a large bowl, add the mashed sweet potatoes, eggs, milk, maple syrup, cinnamon, ground ginger, salt and vanilla extract to a large bowl and beat with a hand mixer until combined.

    Pour sweet potato mixture into a prepared pie shell (or two depending on whether you use one deep dish or two shallow pie crusts).  Bake for 10 minutes at 400 degrees and then lower the temperature to 350 degrees and bake for an additional 30-40 minutes for the two shallow pies and an additional 40-50 minutes for the deep dish pie.  The pie will be done when the center is set and not jiggly.

    Let the pie cool and serve at room temperature — or cold — and top with whipped cream — or nothing — it’s delicious either way!!

    Helpful Hint: If your sweet potatoes are too stringy, you can press them through a potato ricer.
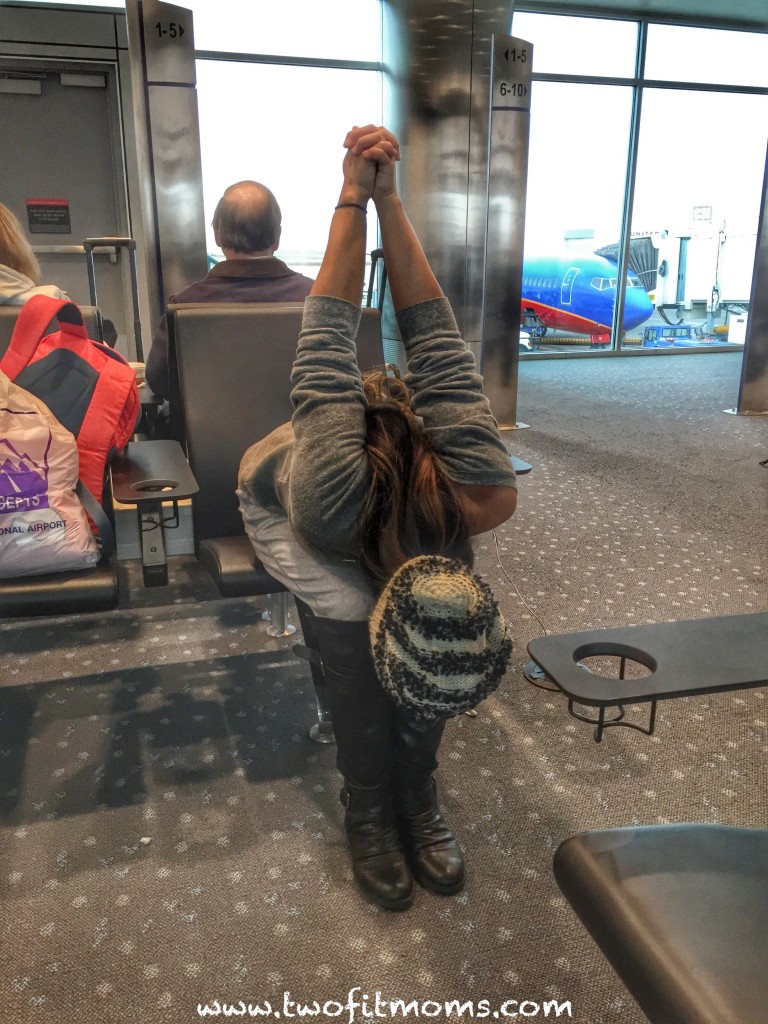
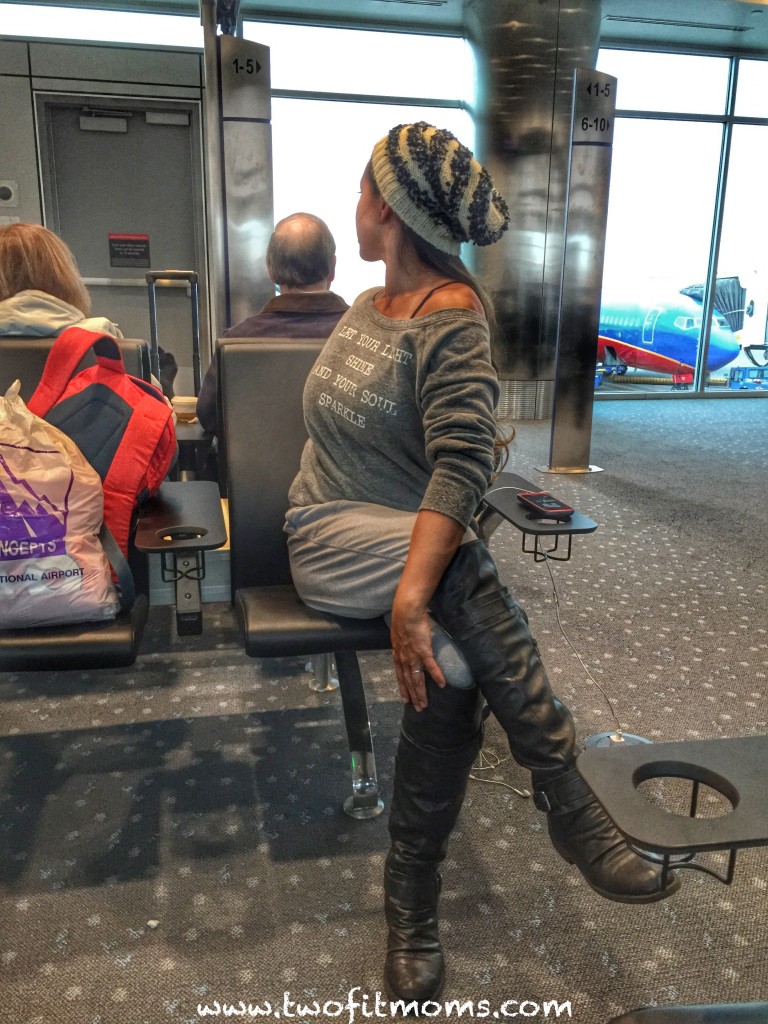
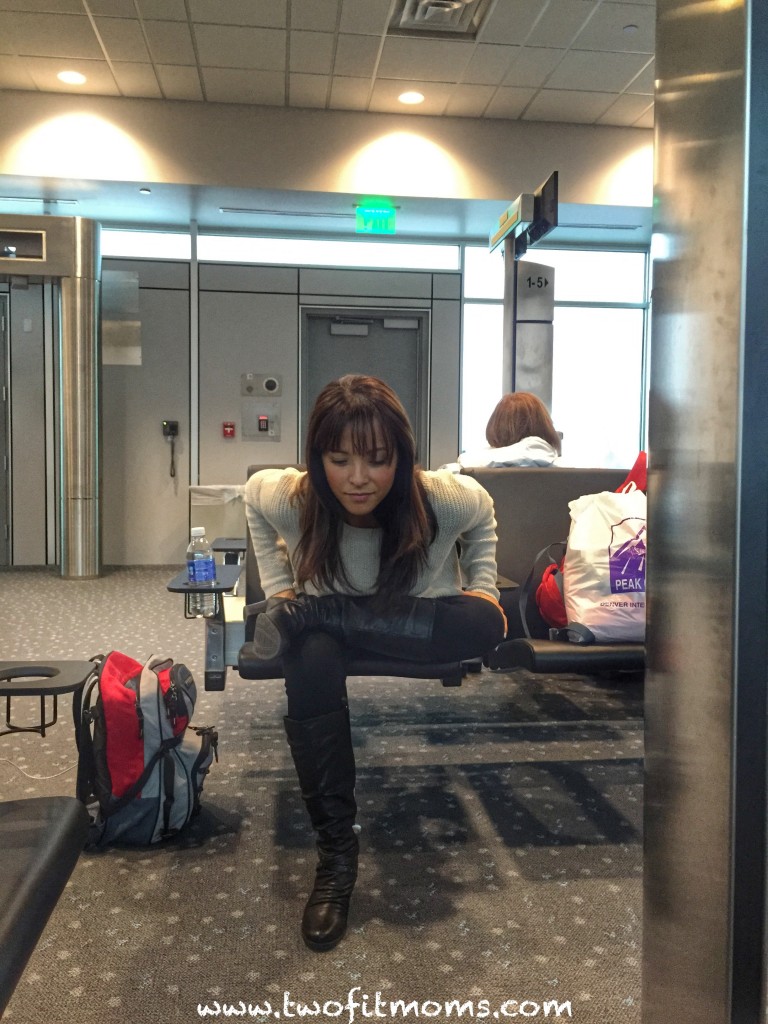
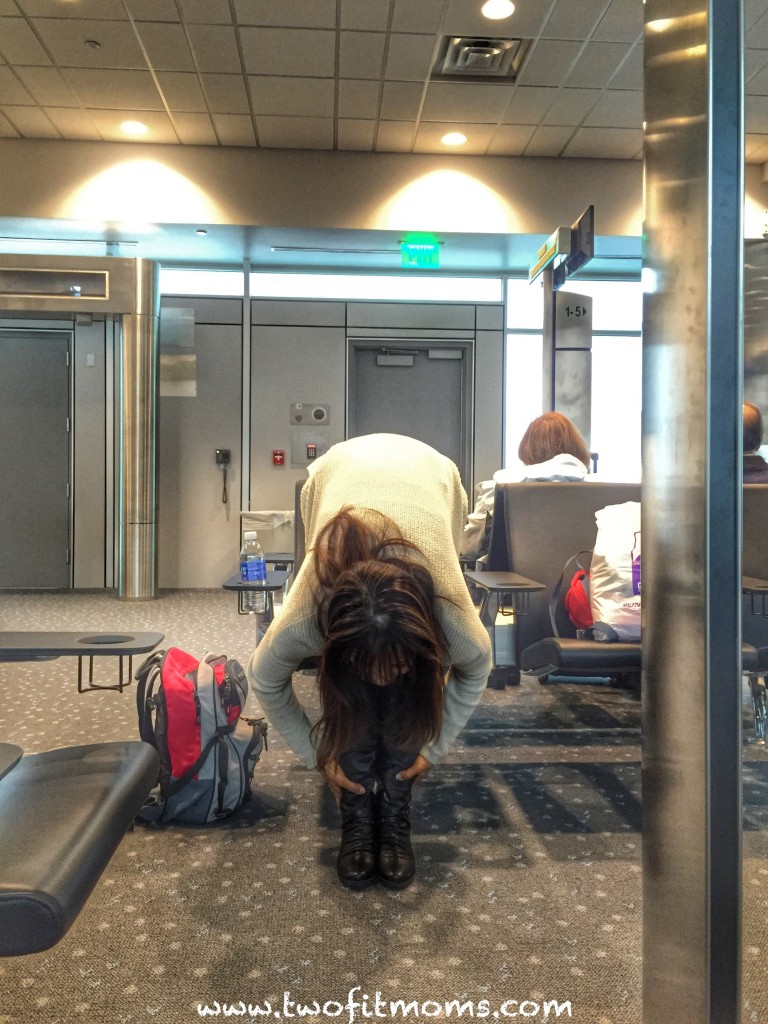
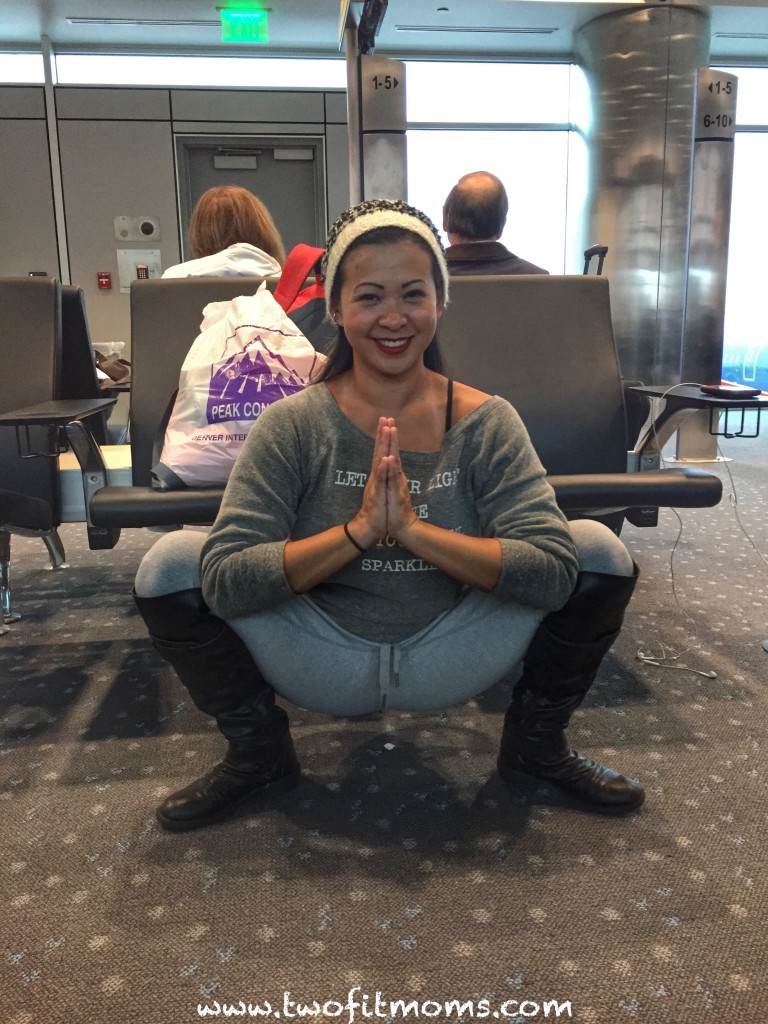
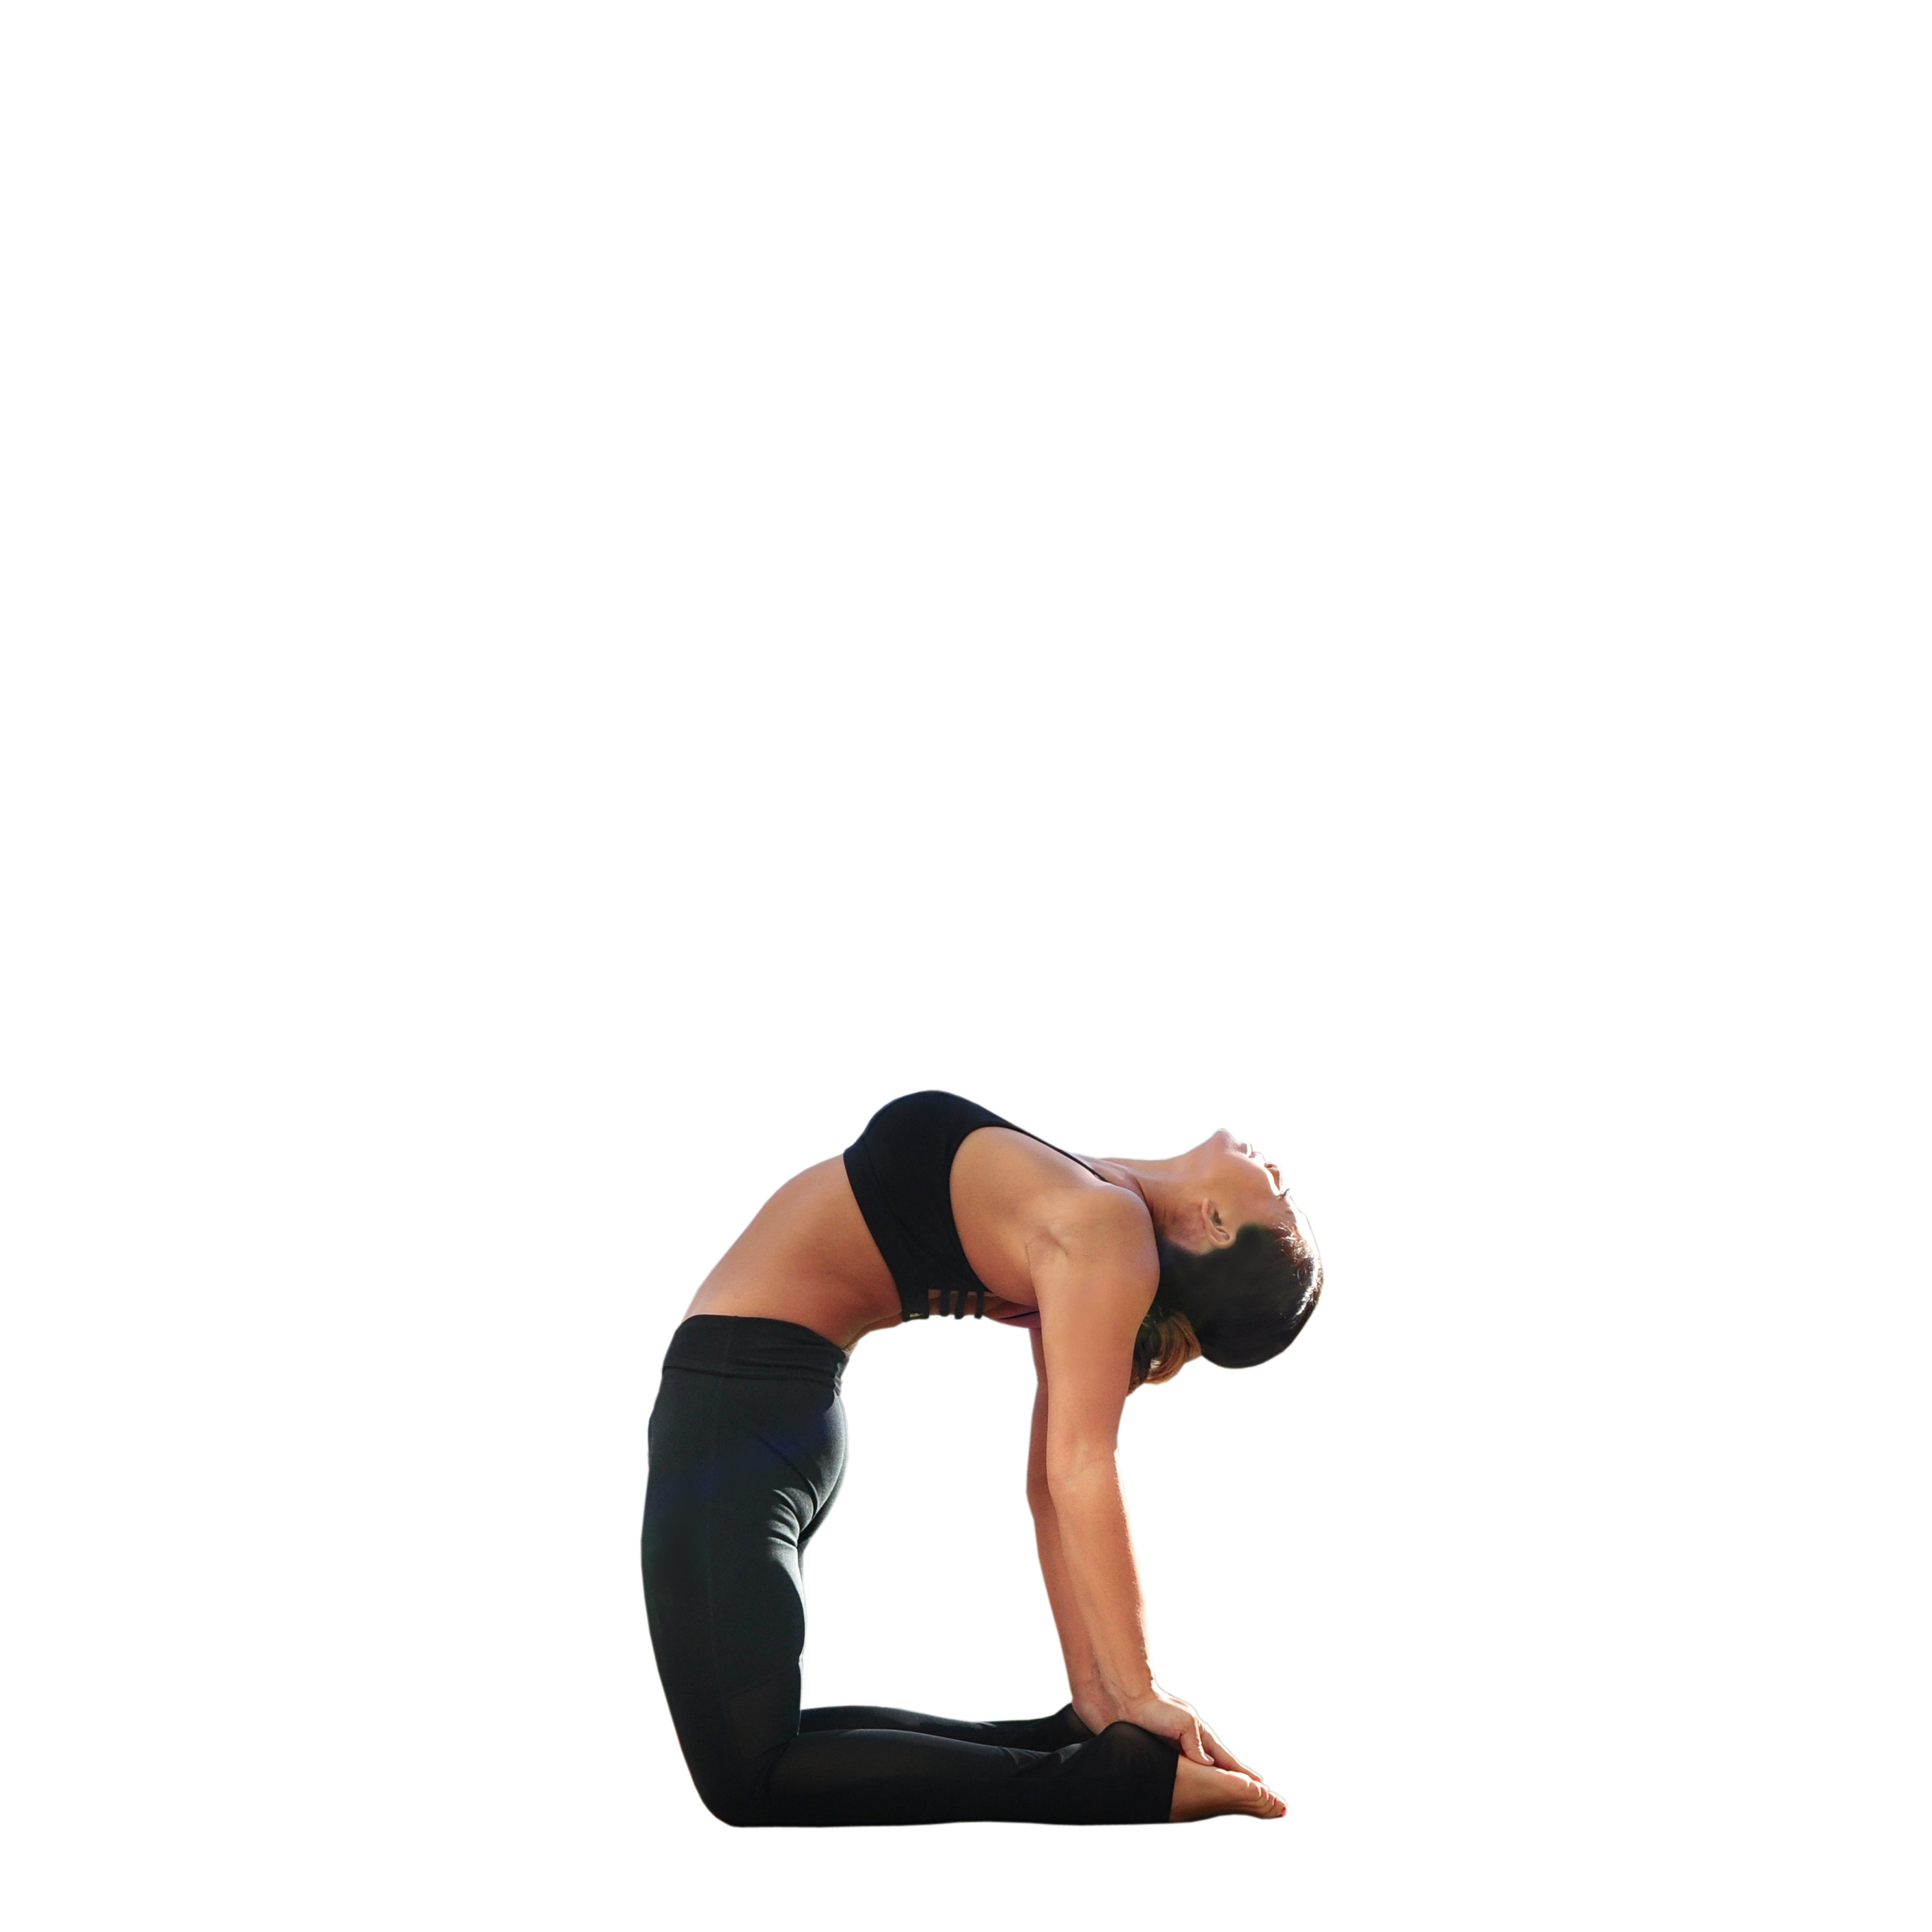
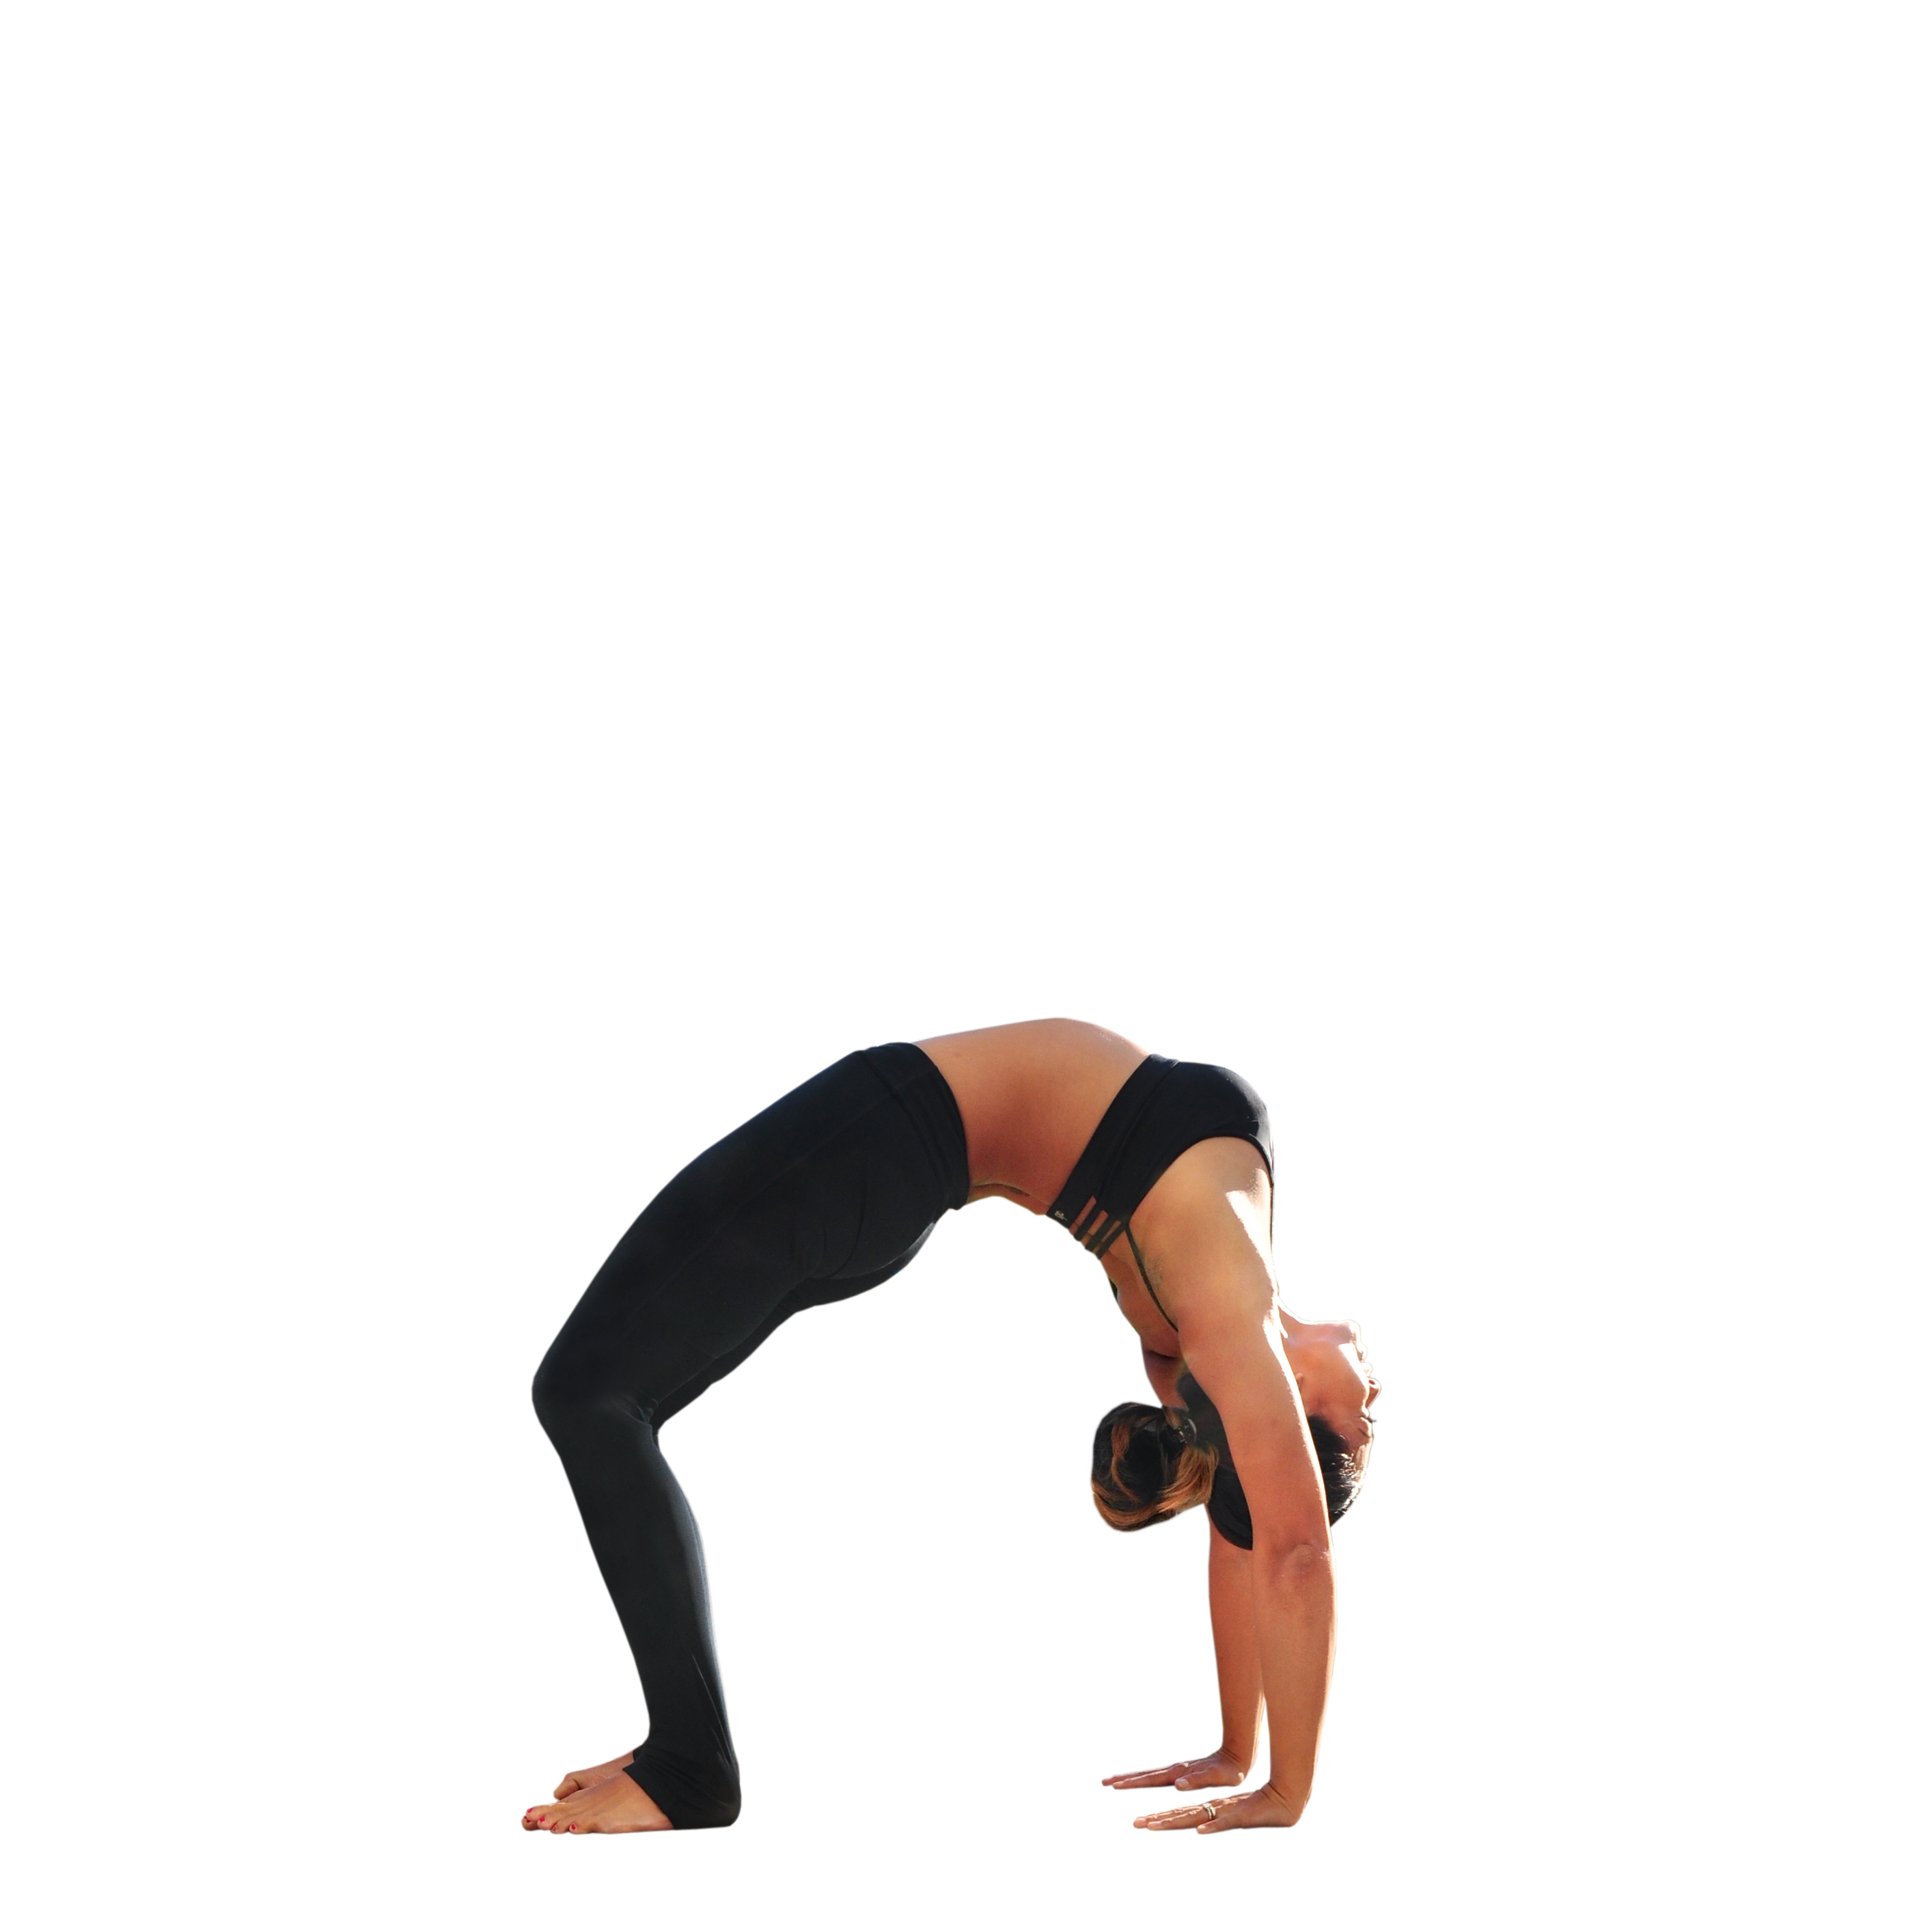
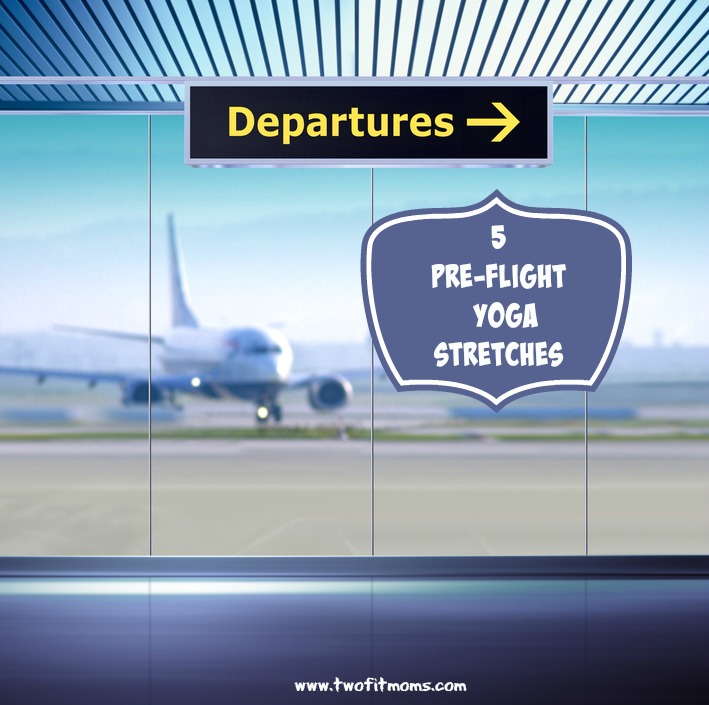
  • Day 10: Scorpion Pose or Vrschikasana

    Day 10: Scorpion Pose or Vrschikasana

    Welcome to Day 10 of the November #YogaWithTFM 10-Day  Challenge!  Today’s pose is Scorpion or Vrschikasana. Day-10 IG

    See the video below for a tutorial on how to get into Scorpion Pose, and keep in mind these three tips:

    1. Do not force yourself deeper by dumping into your low back.  Keep your abdominals engaged and move slowly.

    2. As you curl your legs to scorpion, start to drop your chest as a counterweight.

    3. Always think about bringing your head up to your feet, not your feet down to your head!

    Please remember to warm up before participating in any challenge.  If you would like to practice with us, download our 24-minute Backbends Practice class here.

    [KGVID poster=”http://www.twofitmoms.com/wp-content/uploads/2014/11/Video-Nov-09-2-16-44-PM_thumb19.jpg” width=”640″ height=”360″]http://www.twofitmoms.com/wp-content/uploads/2014/10/Video-Nov-09-2-16-44-PM.mov[/KGVID]