Category: Uncategorized

  • Pincha Mayurasana

    Pincha Mayurasana

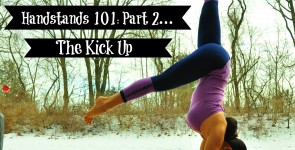
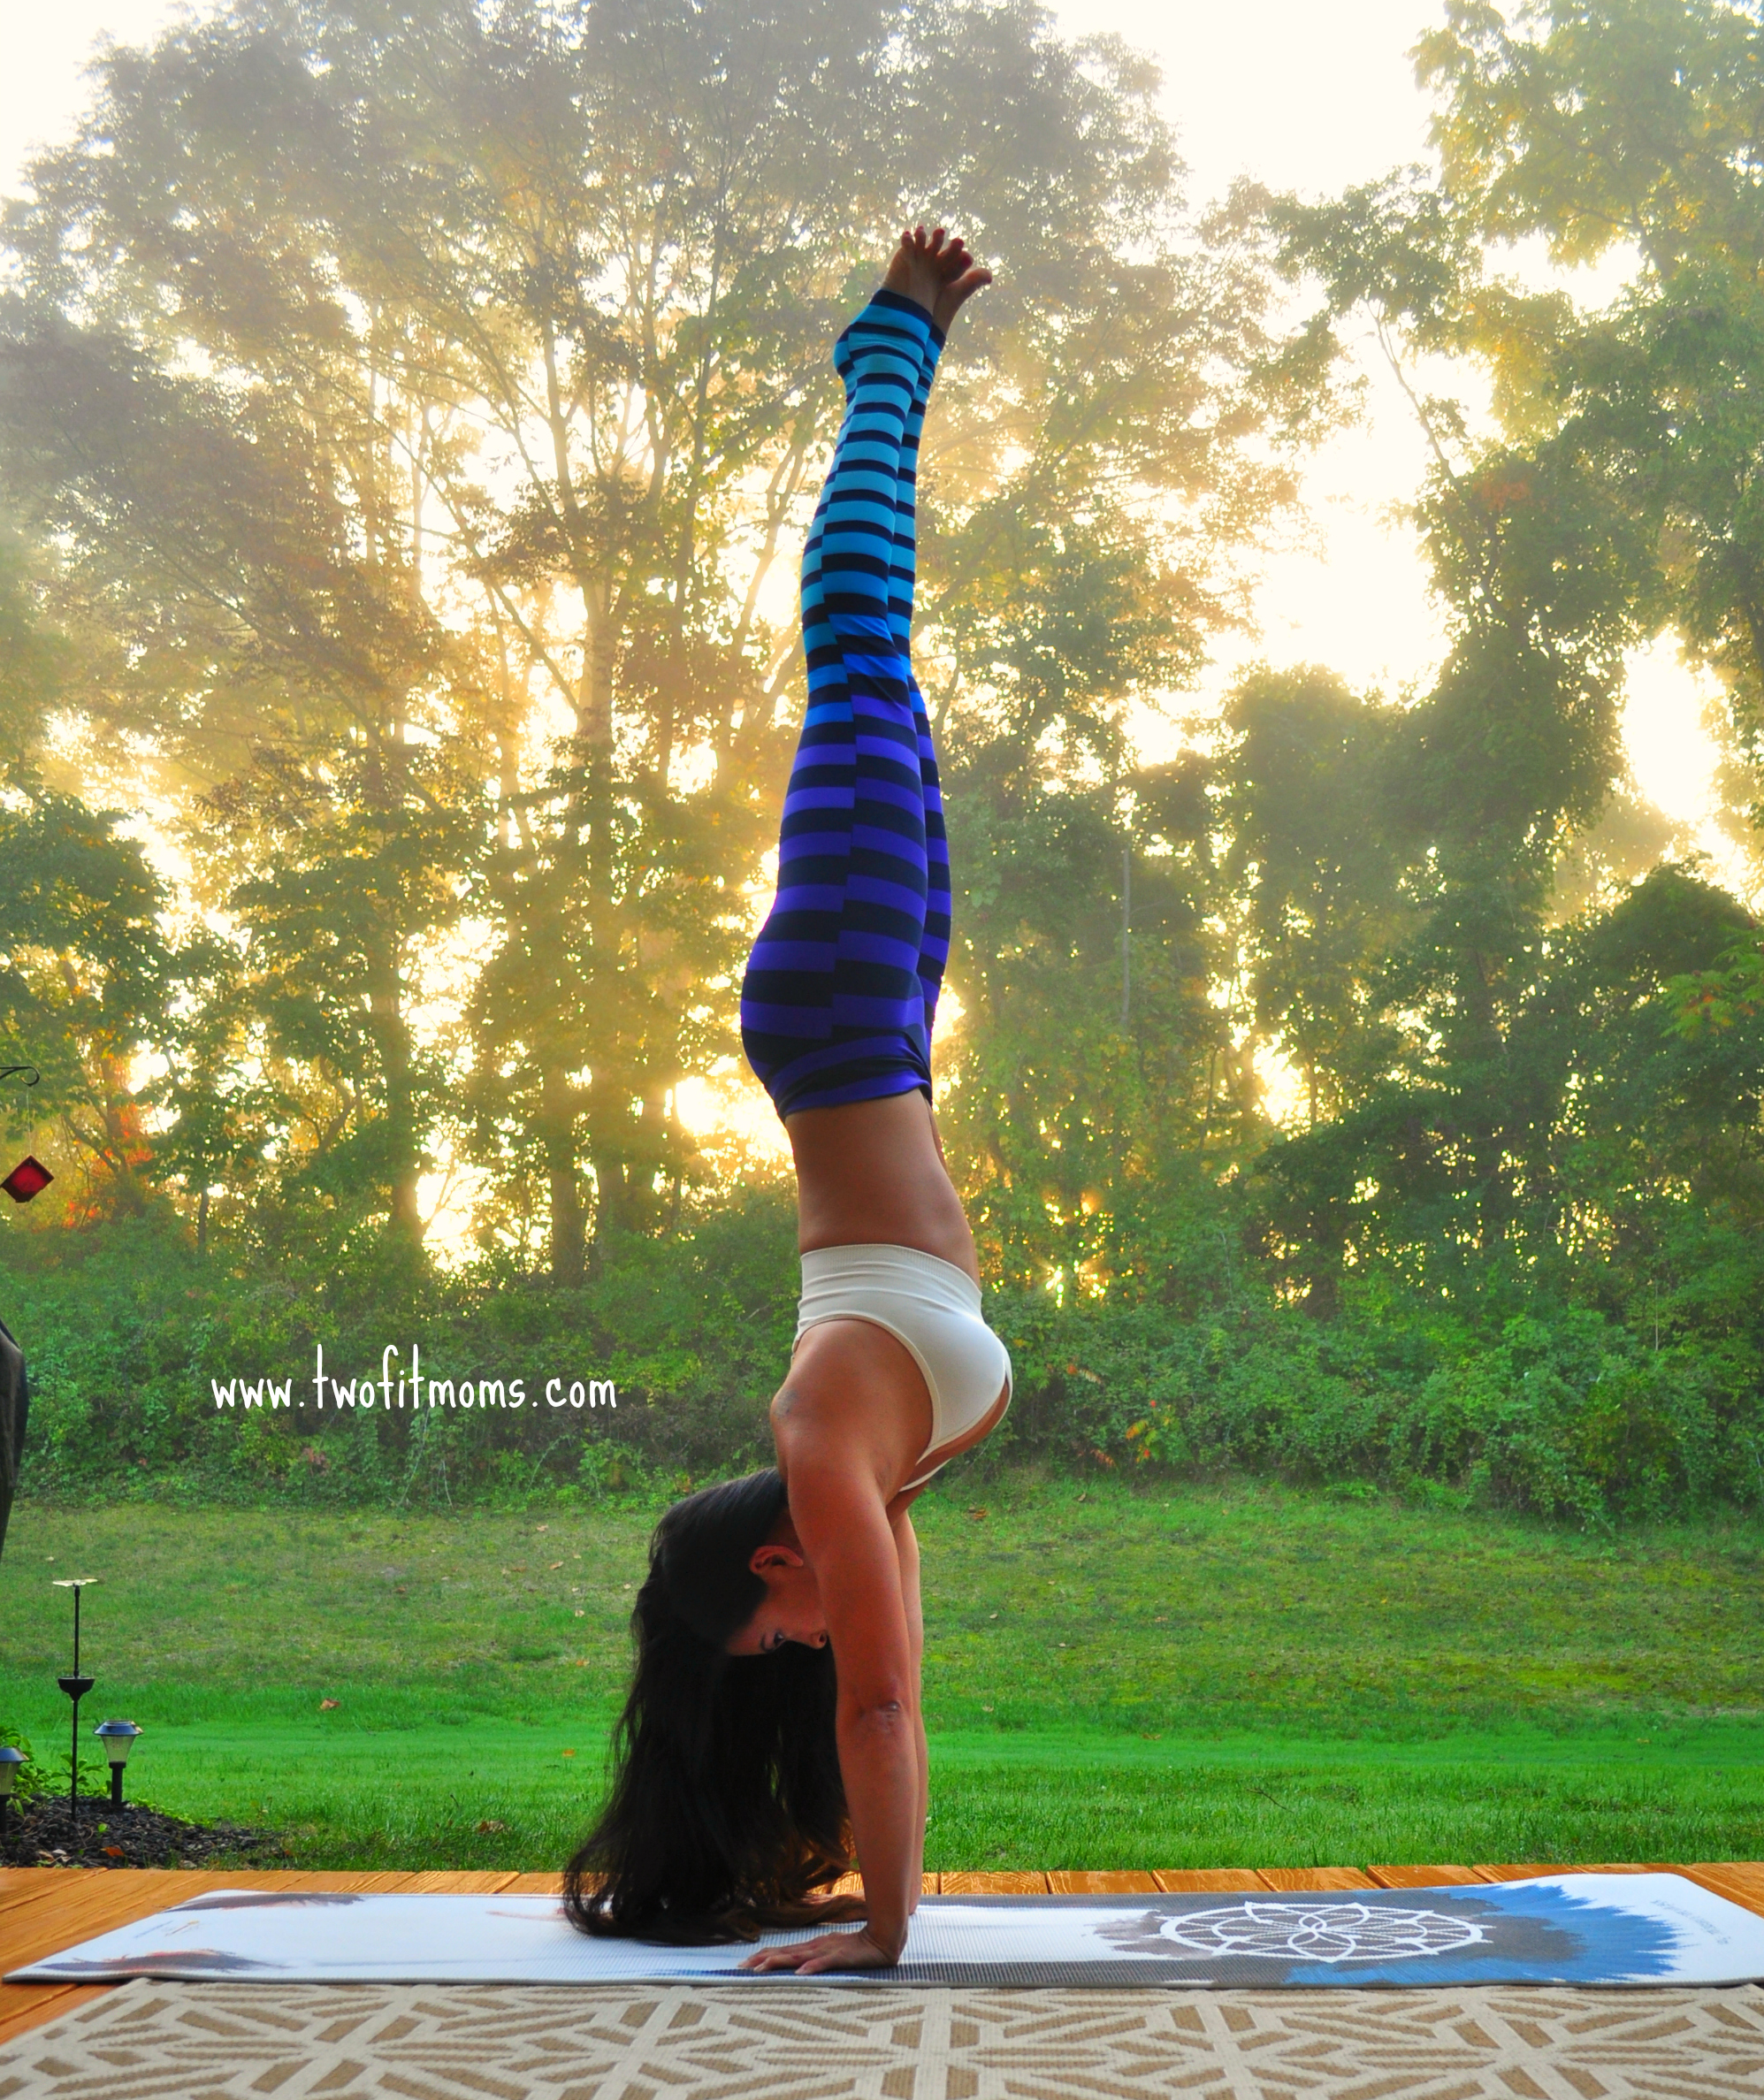
    Pincha Mayurasana, or Forearmstand, is probably the scariest of all of the inversions. There is just something about being on the forearms that seems harder. I highly recommend having a block, a yoga strap and a wall nearby to practice.

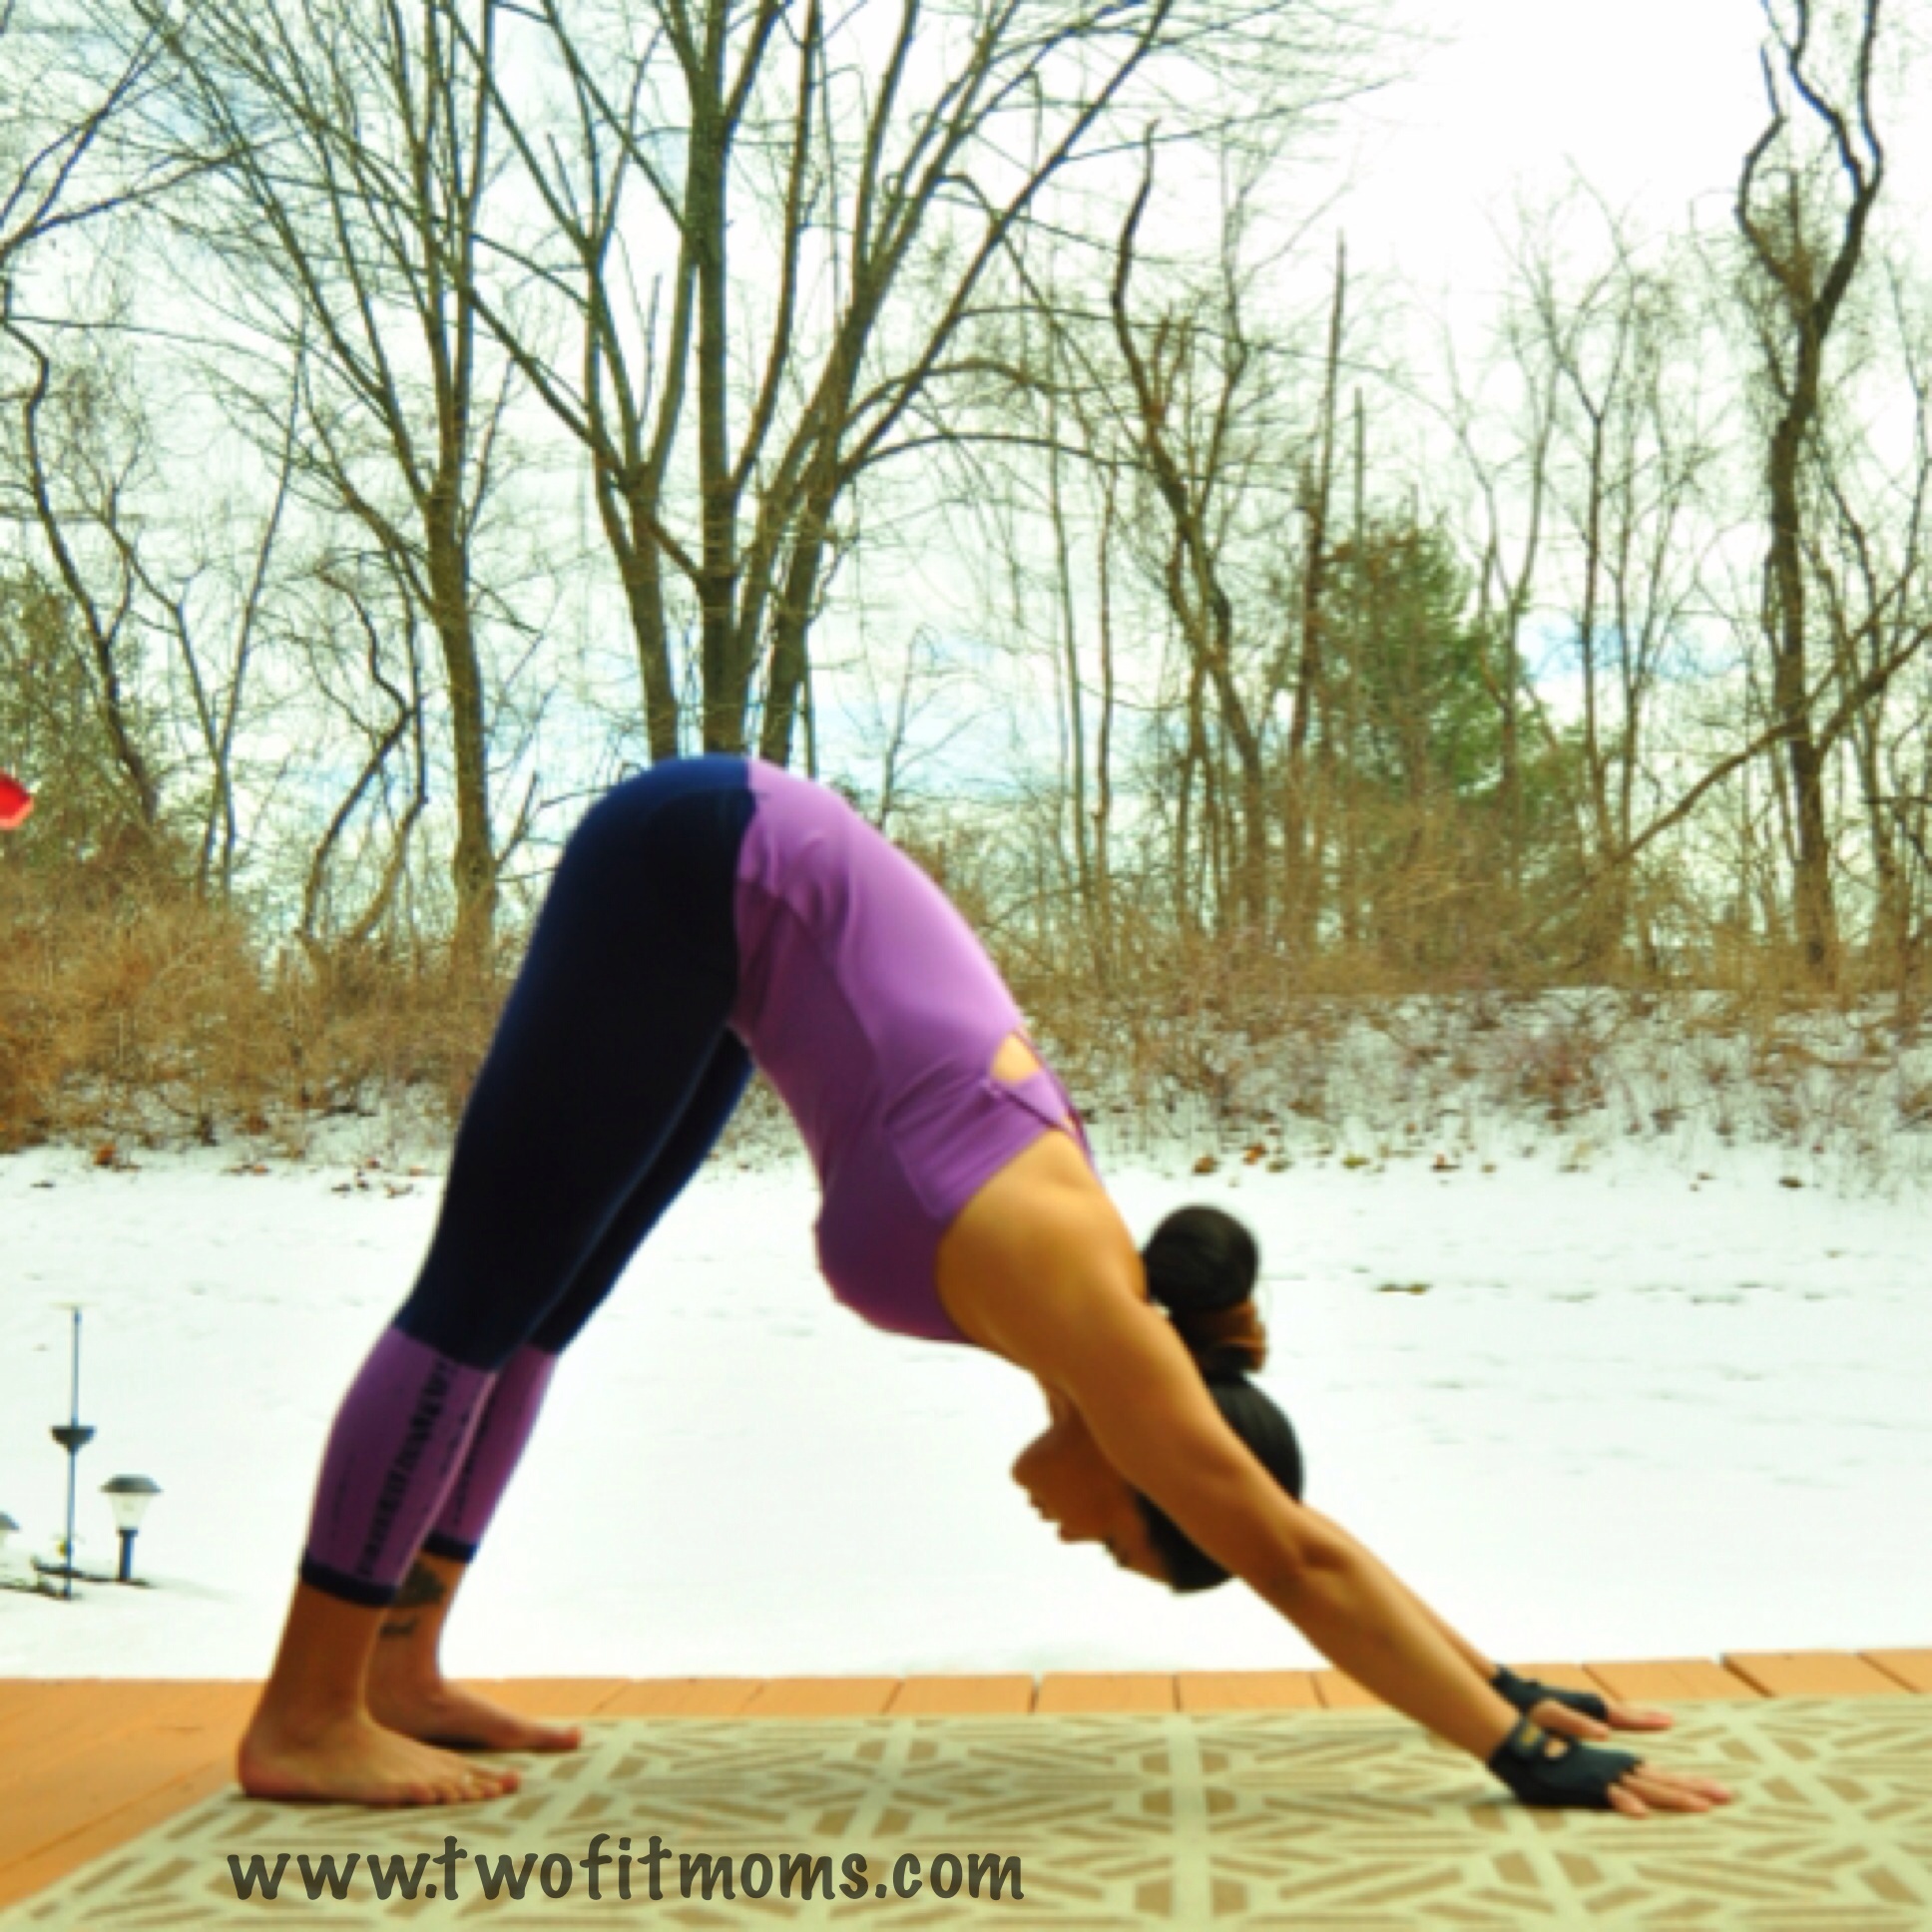
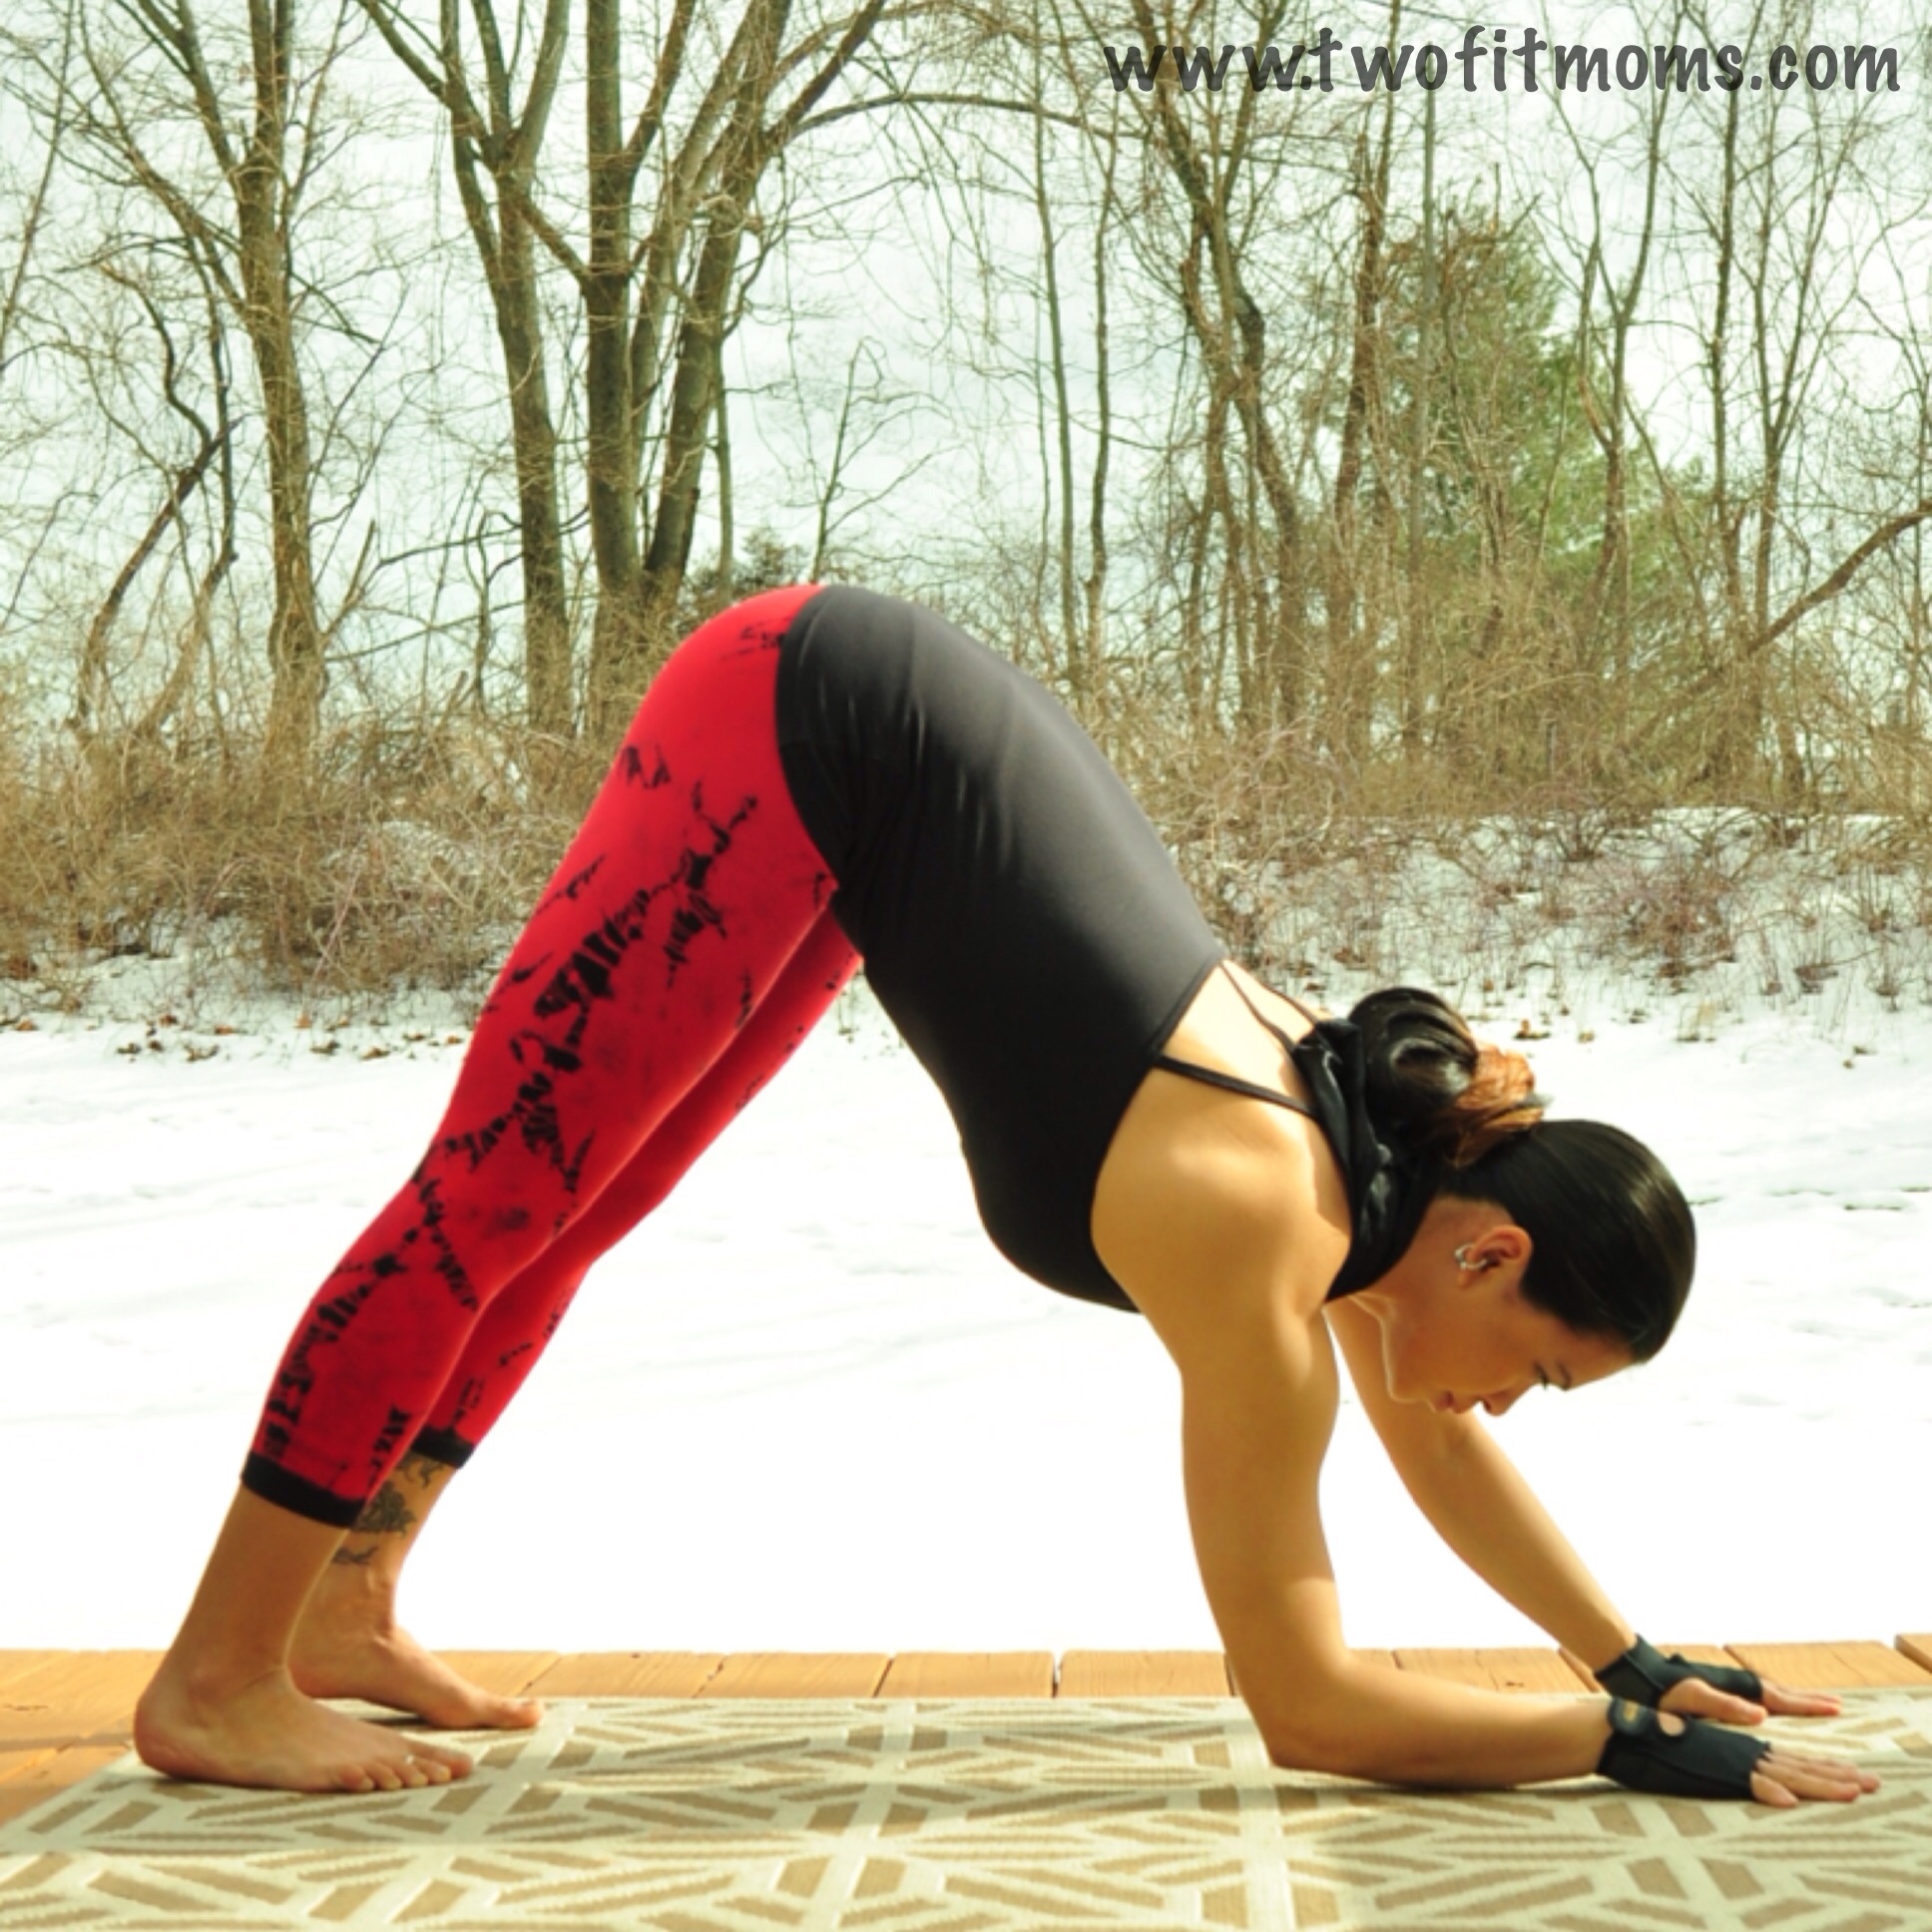
    Step 1: Downward Facing Dog

    Photo Feb 05, 4 52 42 PM

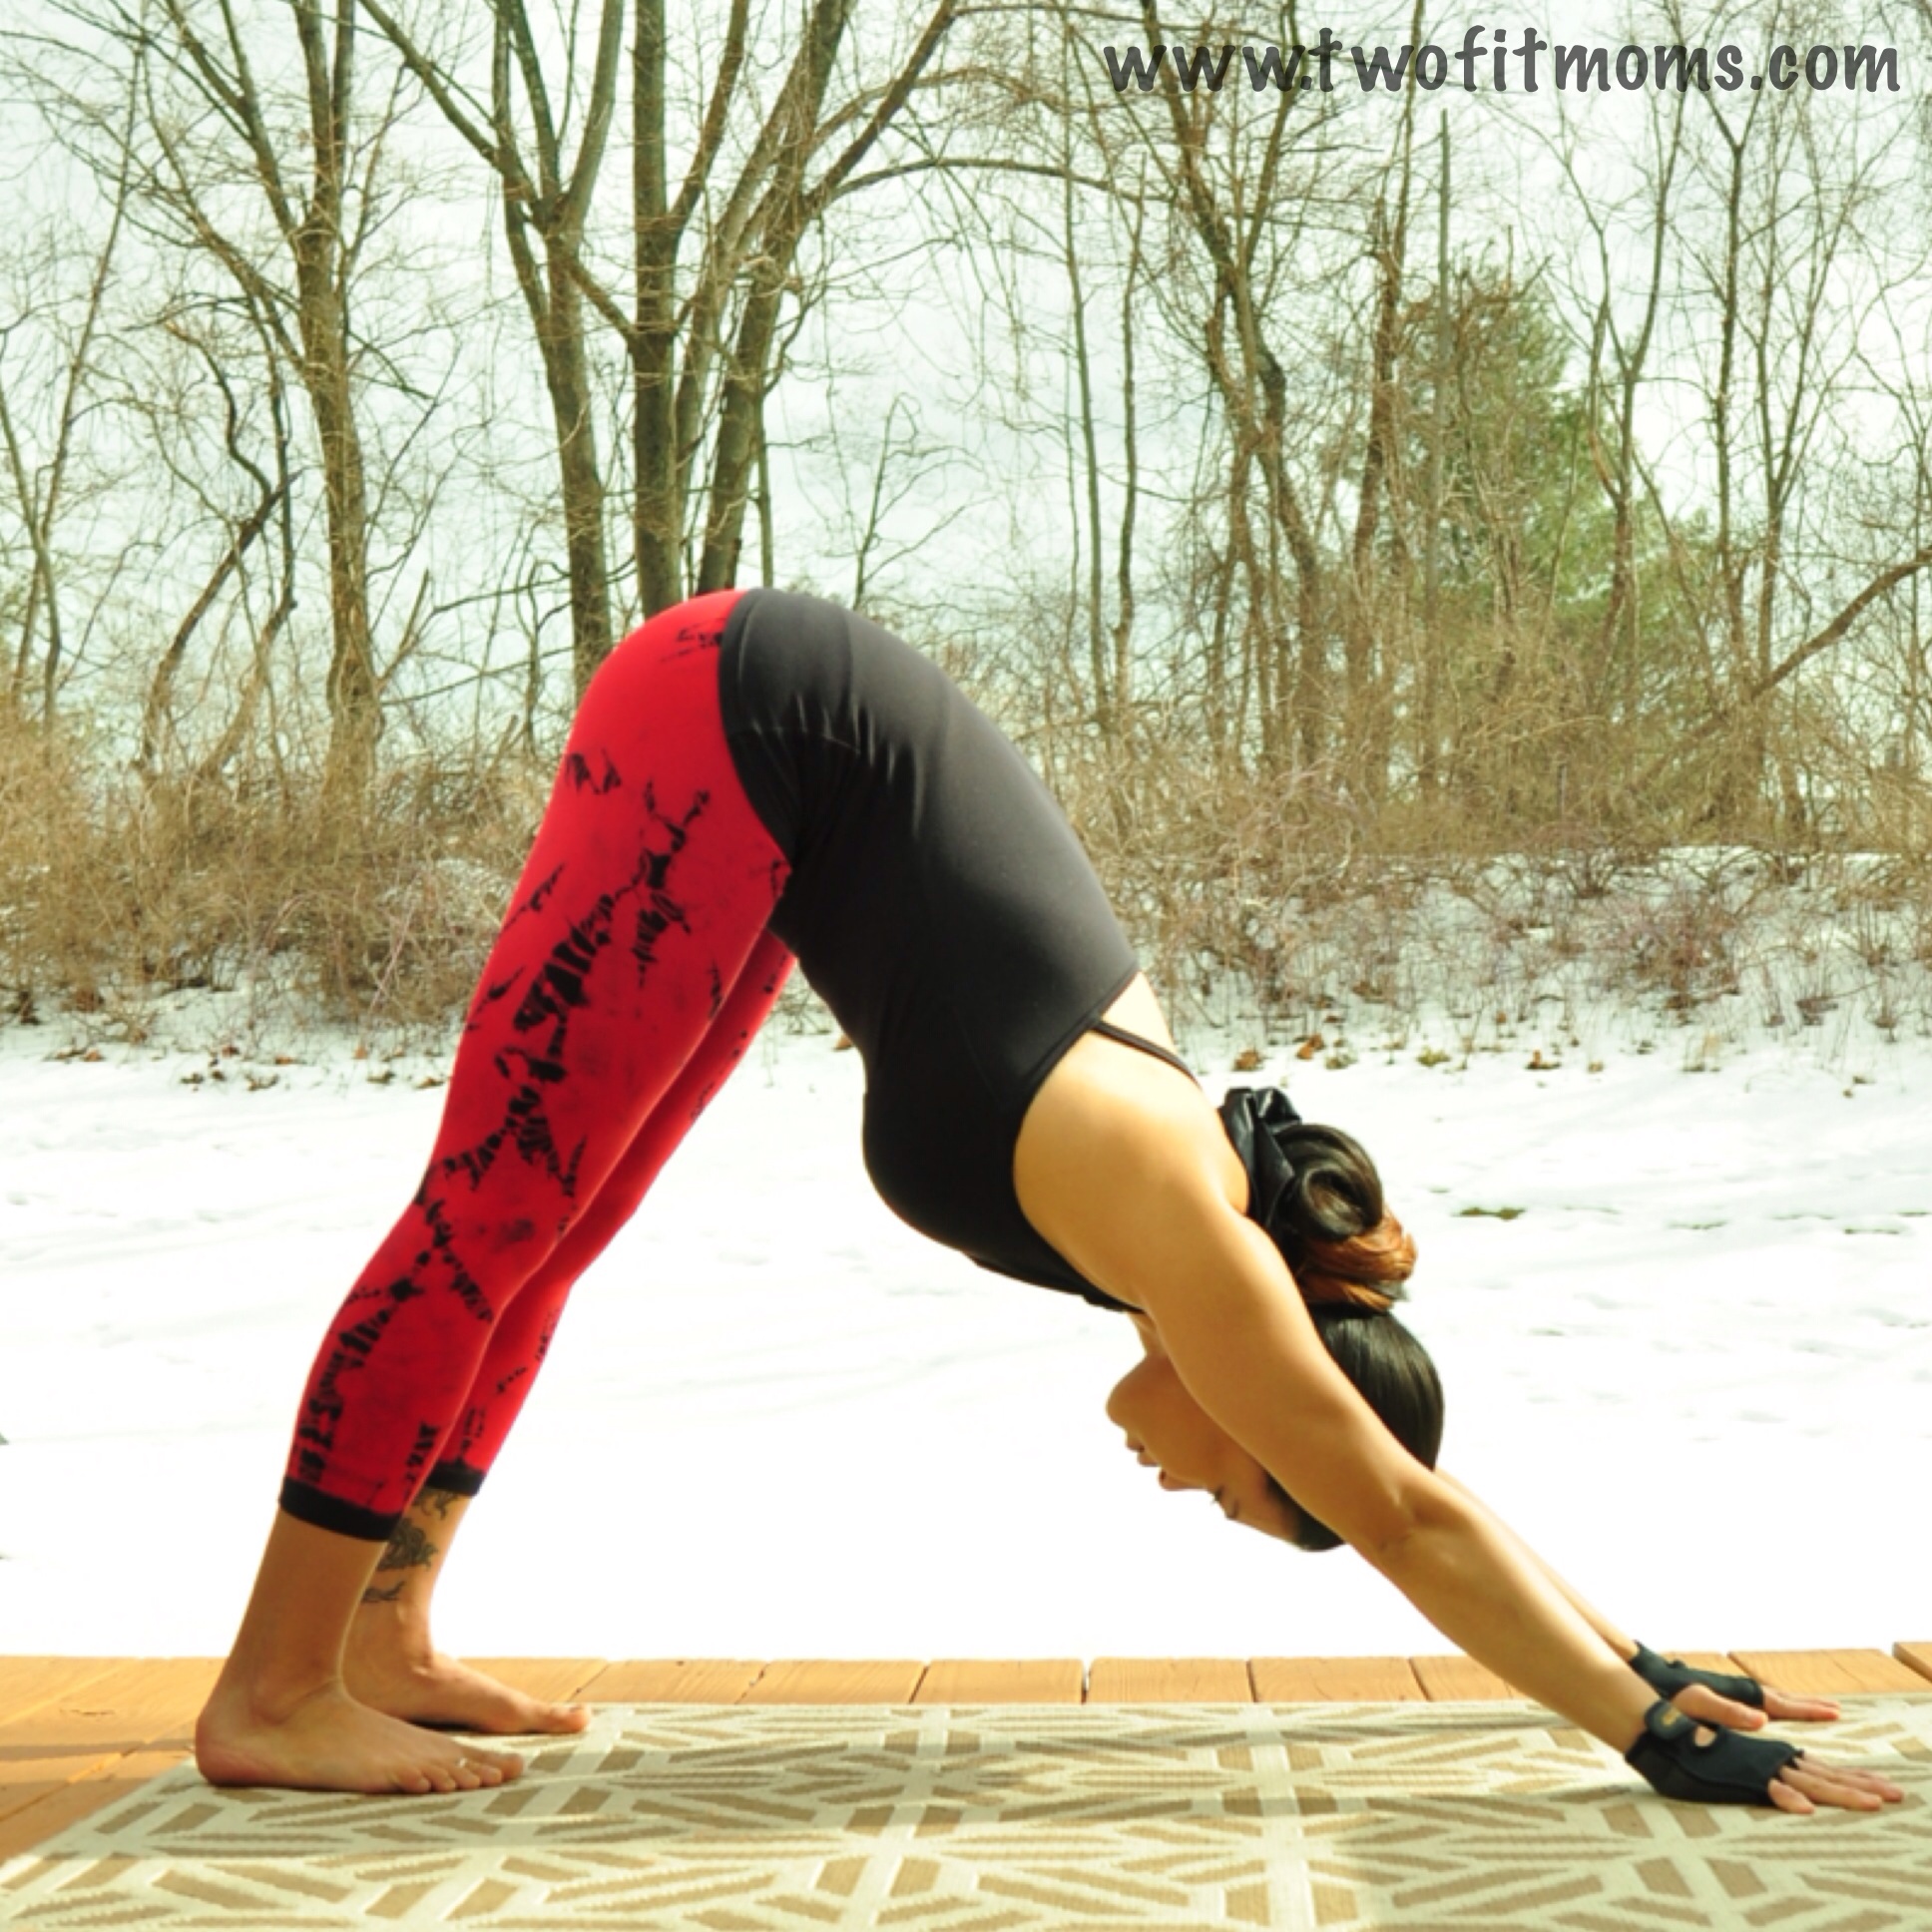
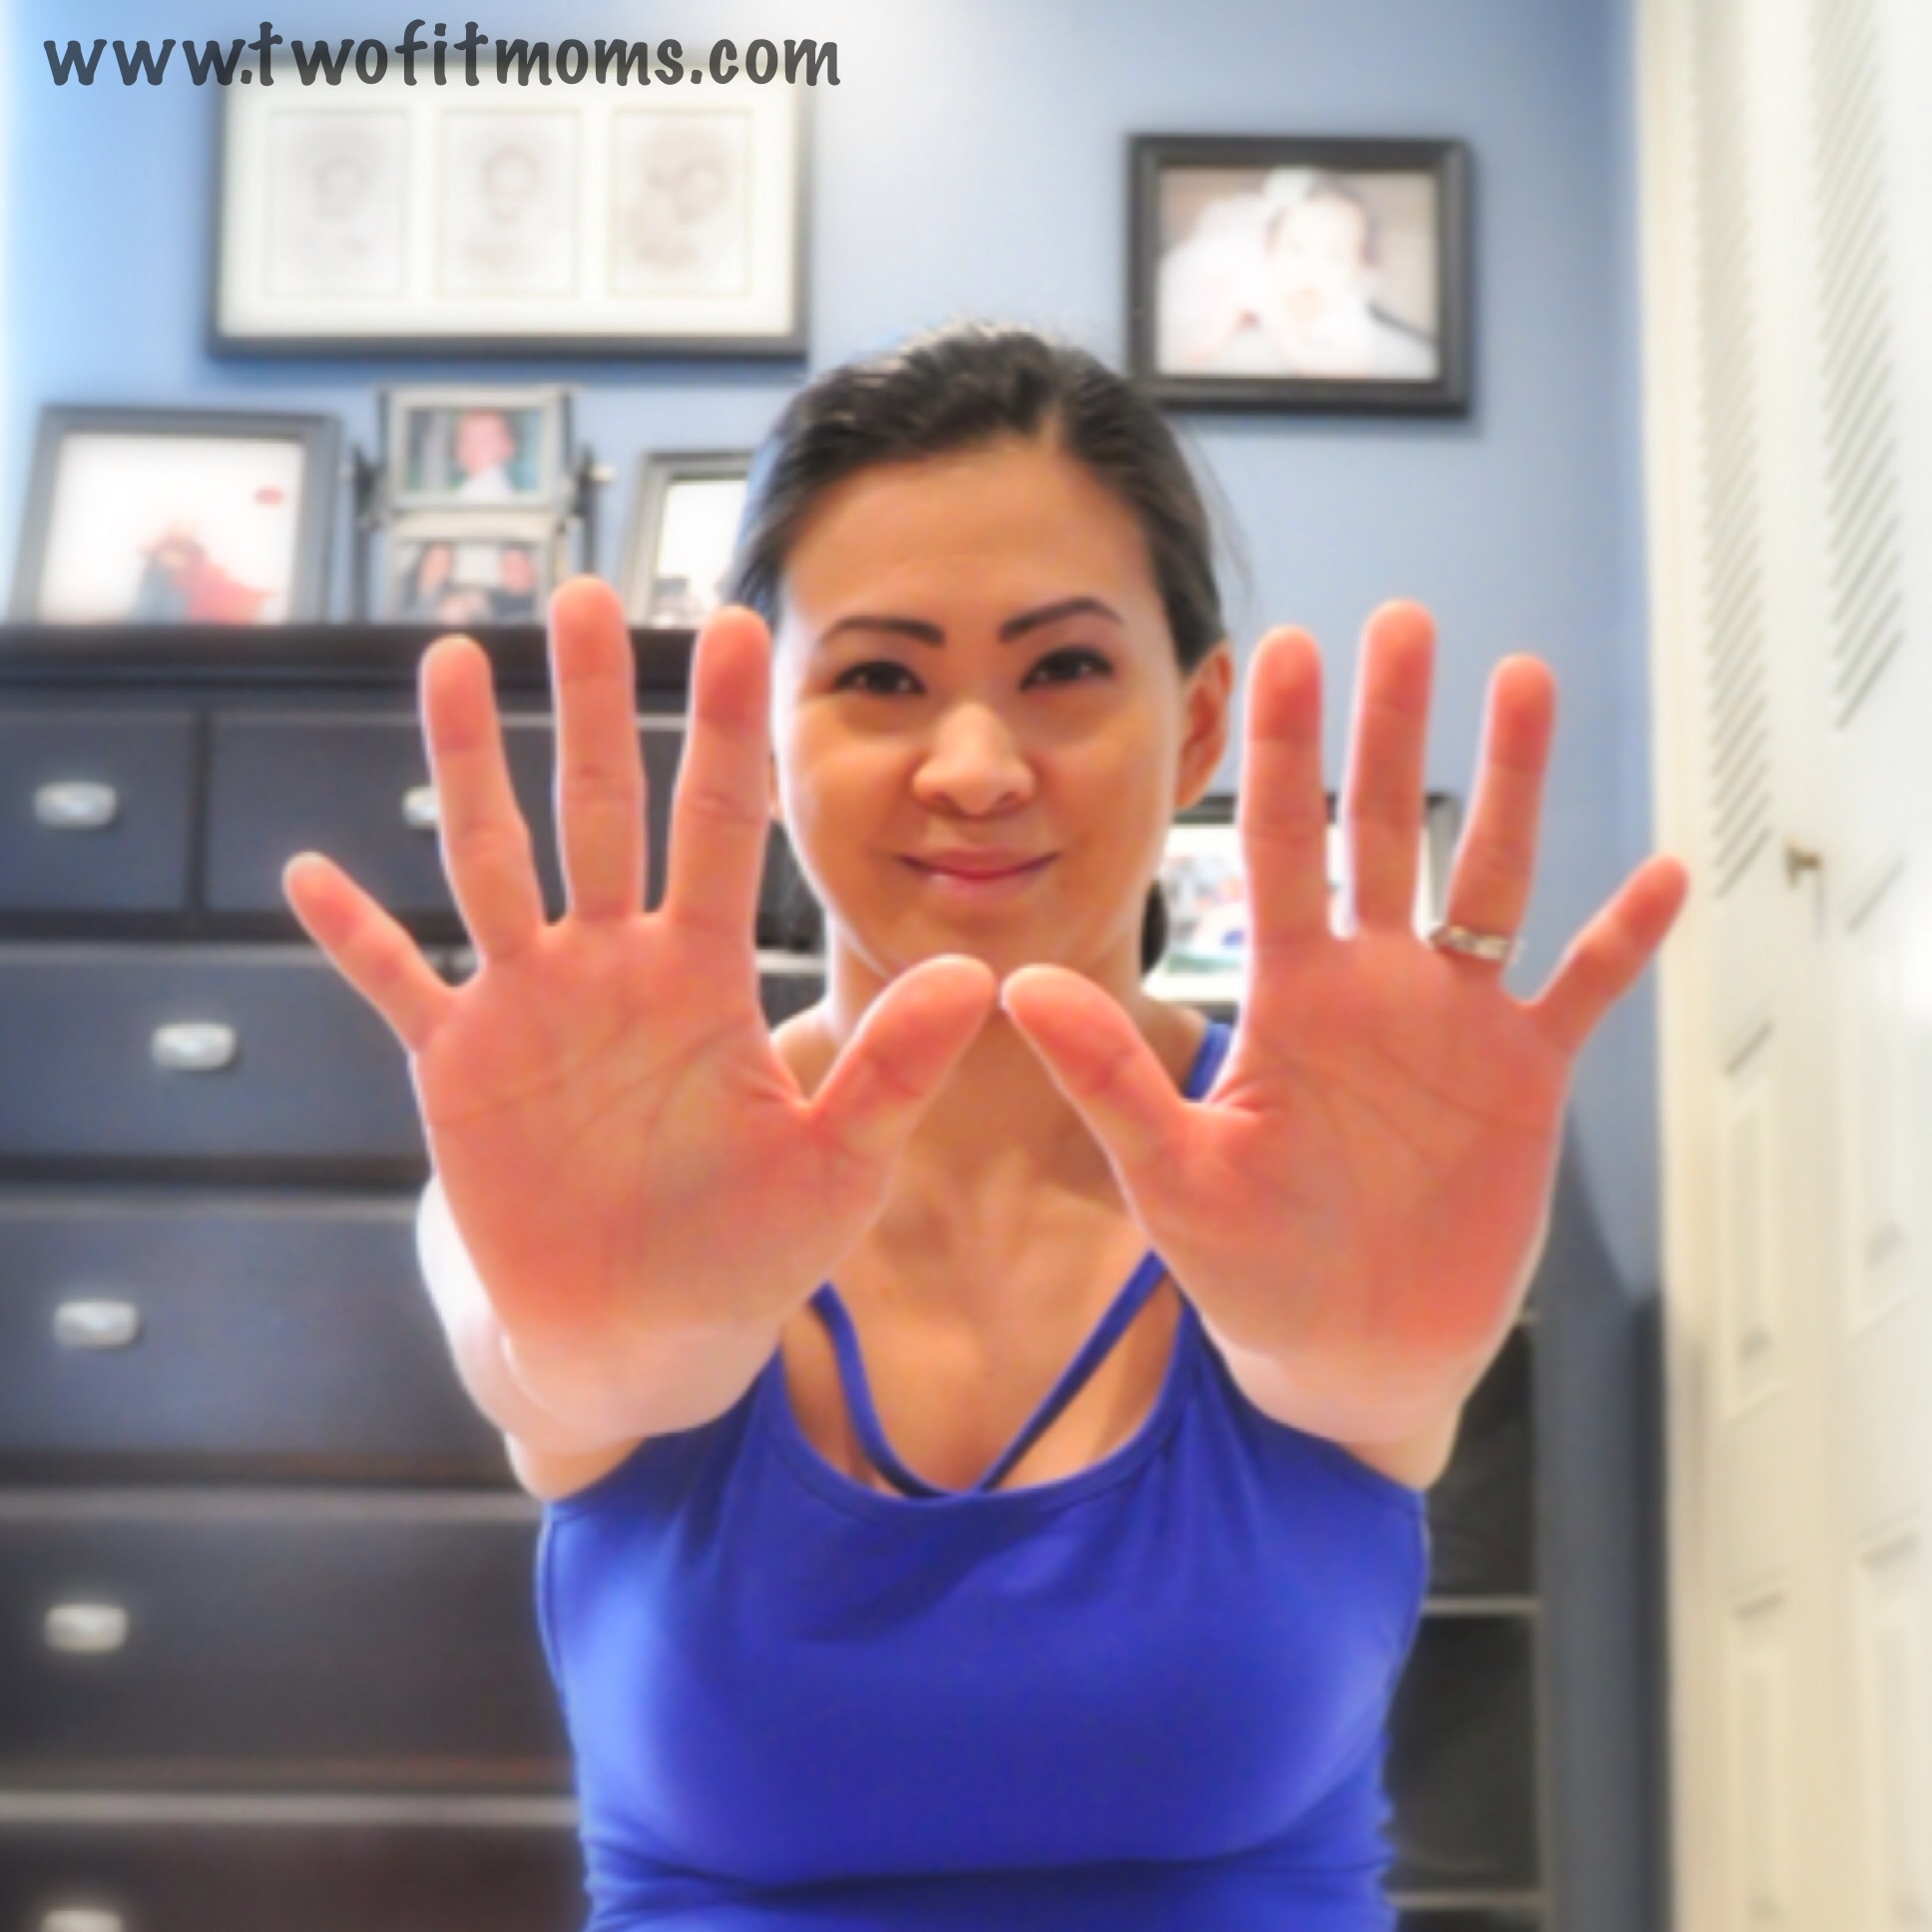
    Start off in Downward Facing Dog, or Adho Mukha Svanasana.  Hands are shoulder width apart, fingers are spread wide and grip the mat, weight is equally distributed through all four corners of your palms, biceps externally rotate out, upper arm bones plug into their sockets, shoulder blades roll down the back, lower ribs corset in, navel pulls in, core engages and inner thighs rotate in. It’s a long checklist, but a solid down dog will translate to a solid inversion practice. I like to start with my fingers and move down to my feet when mentally adjusting myself.

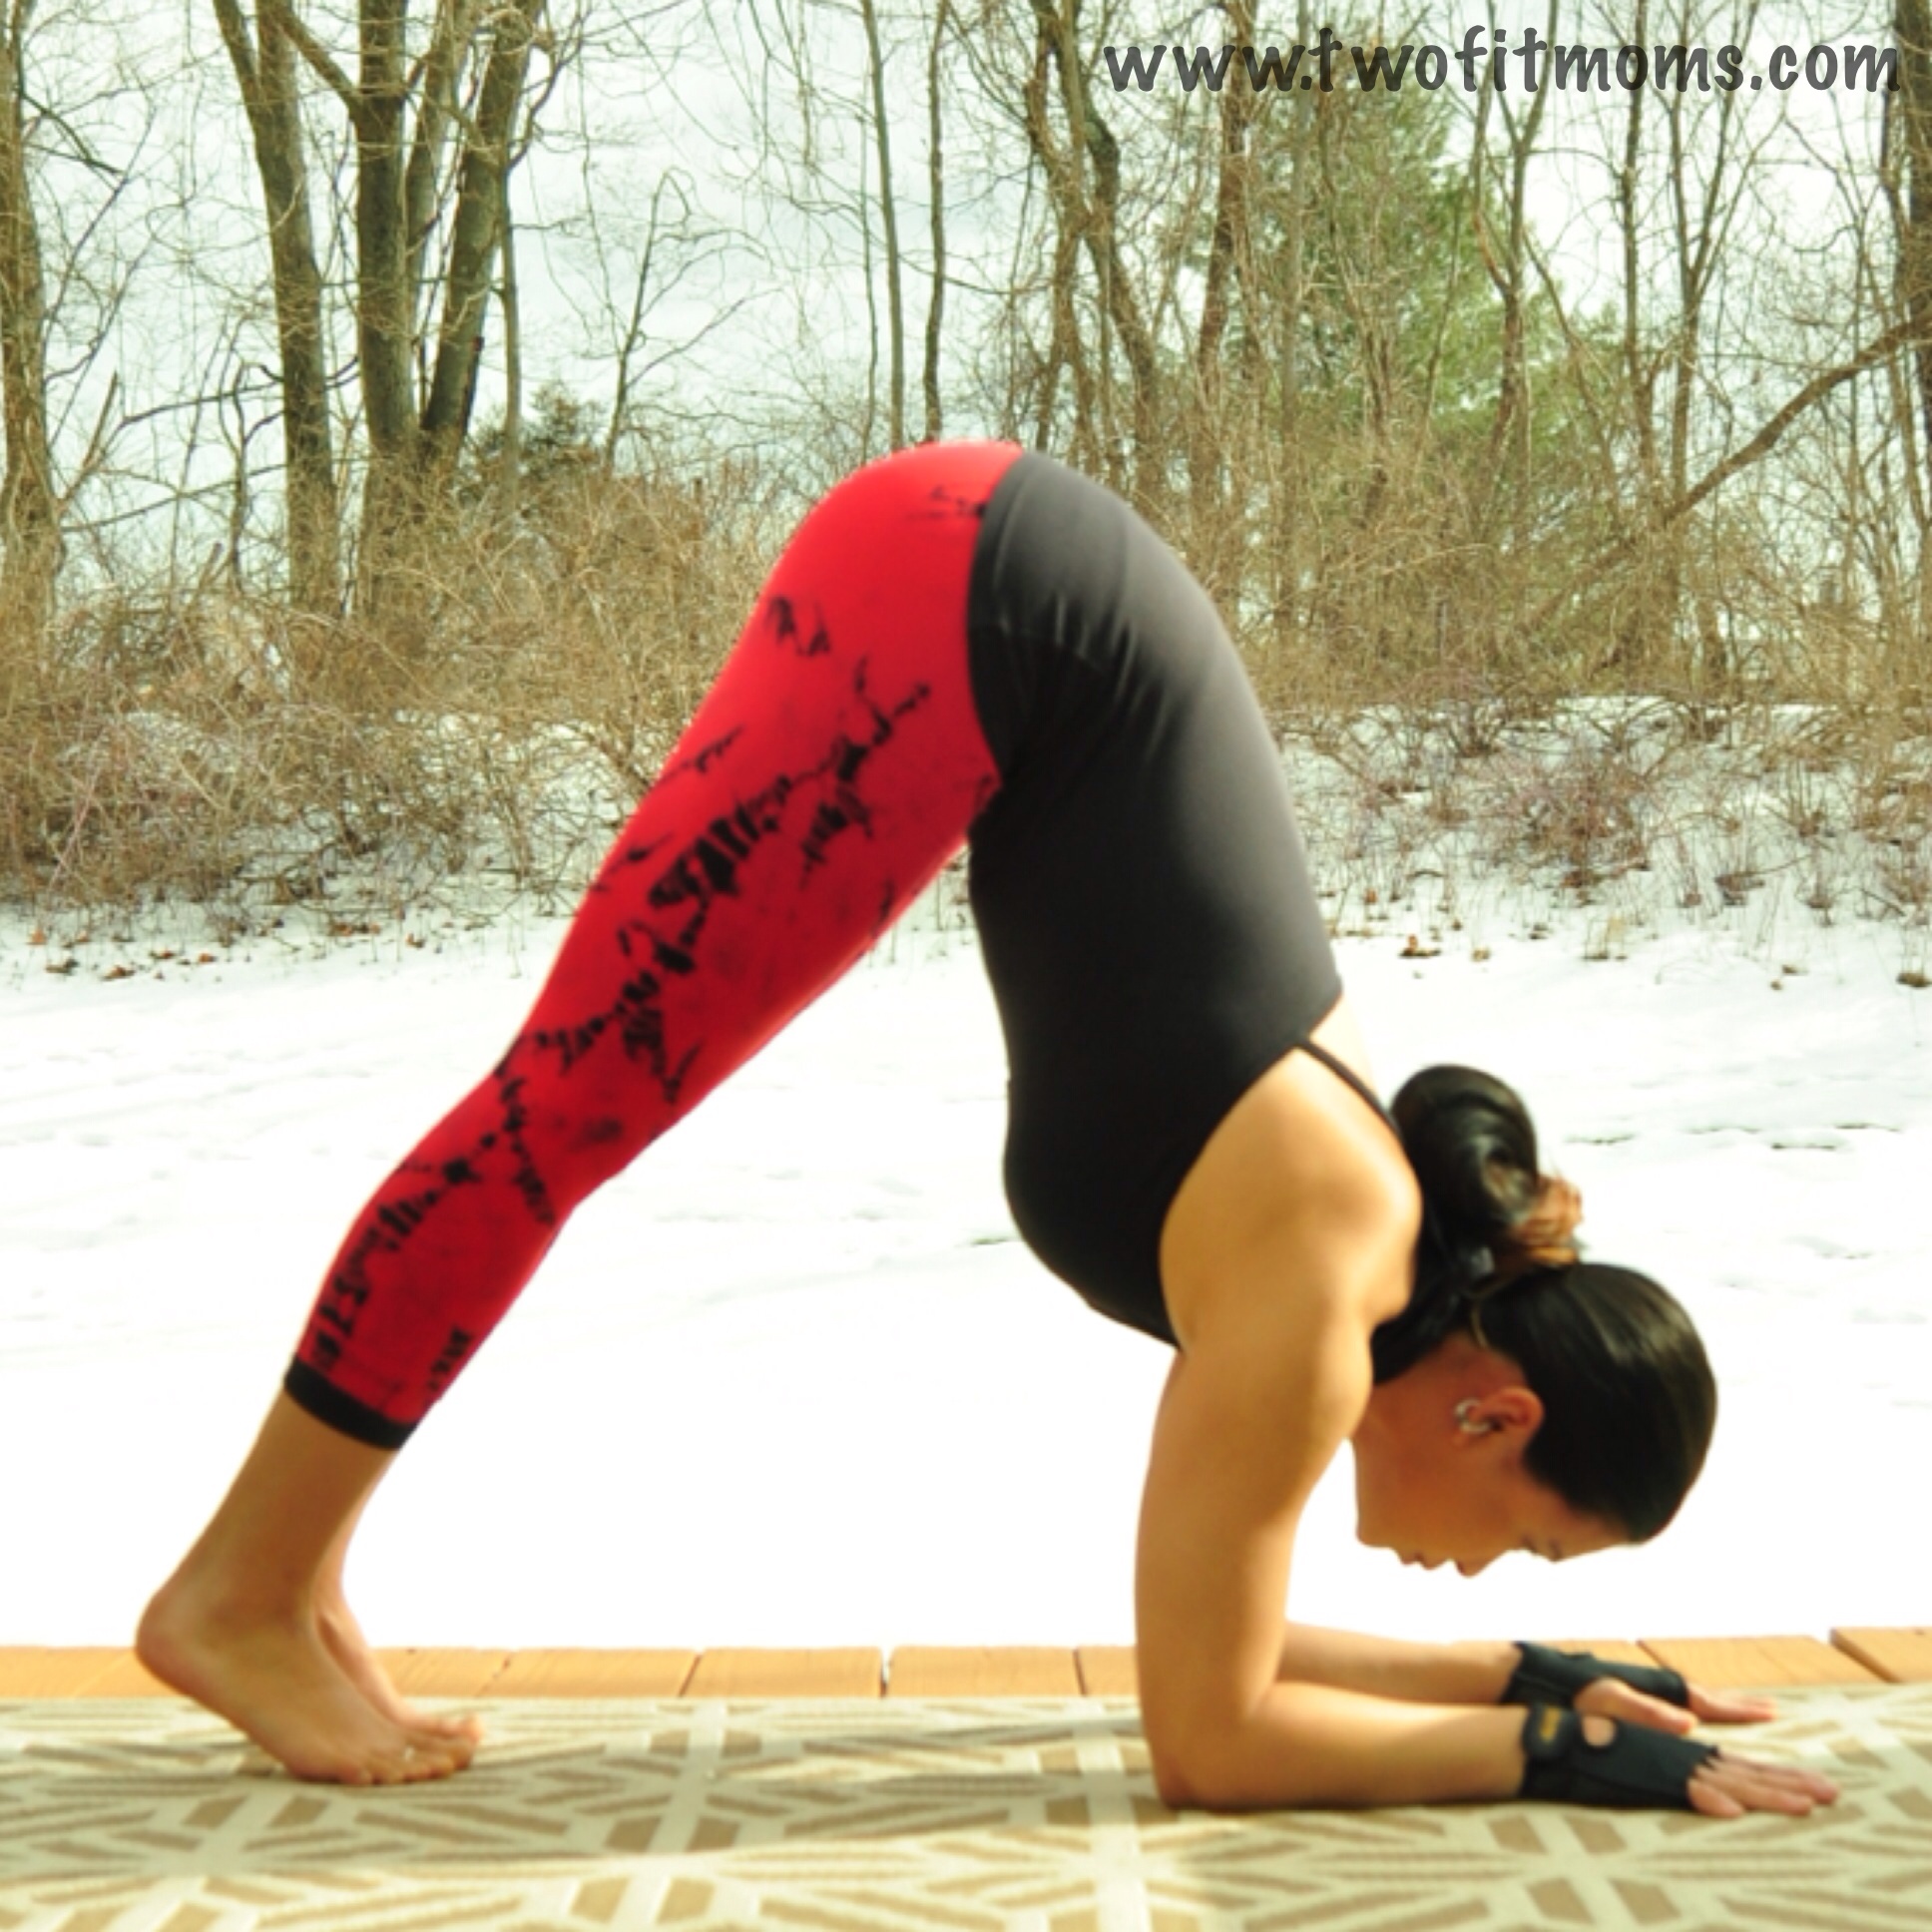
    Step 2: Dolphin Pose

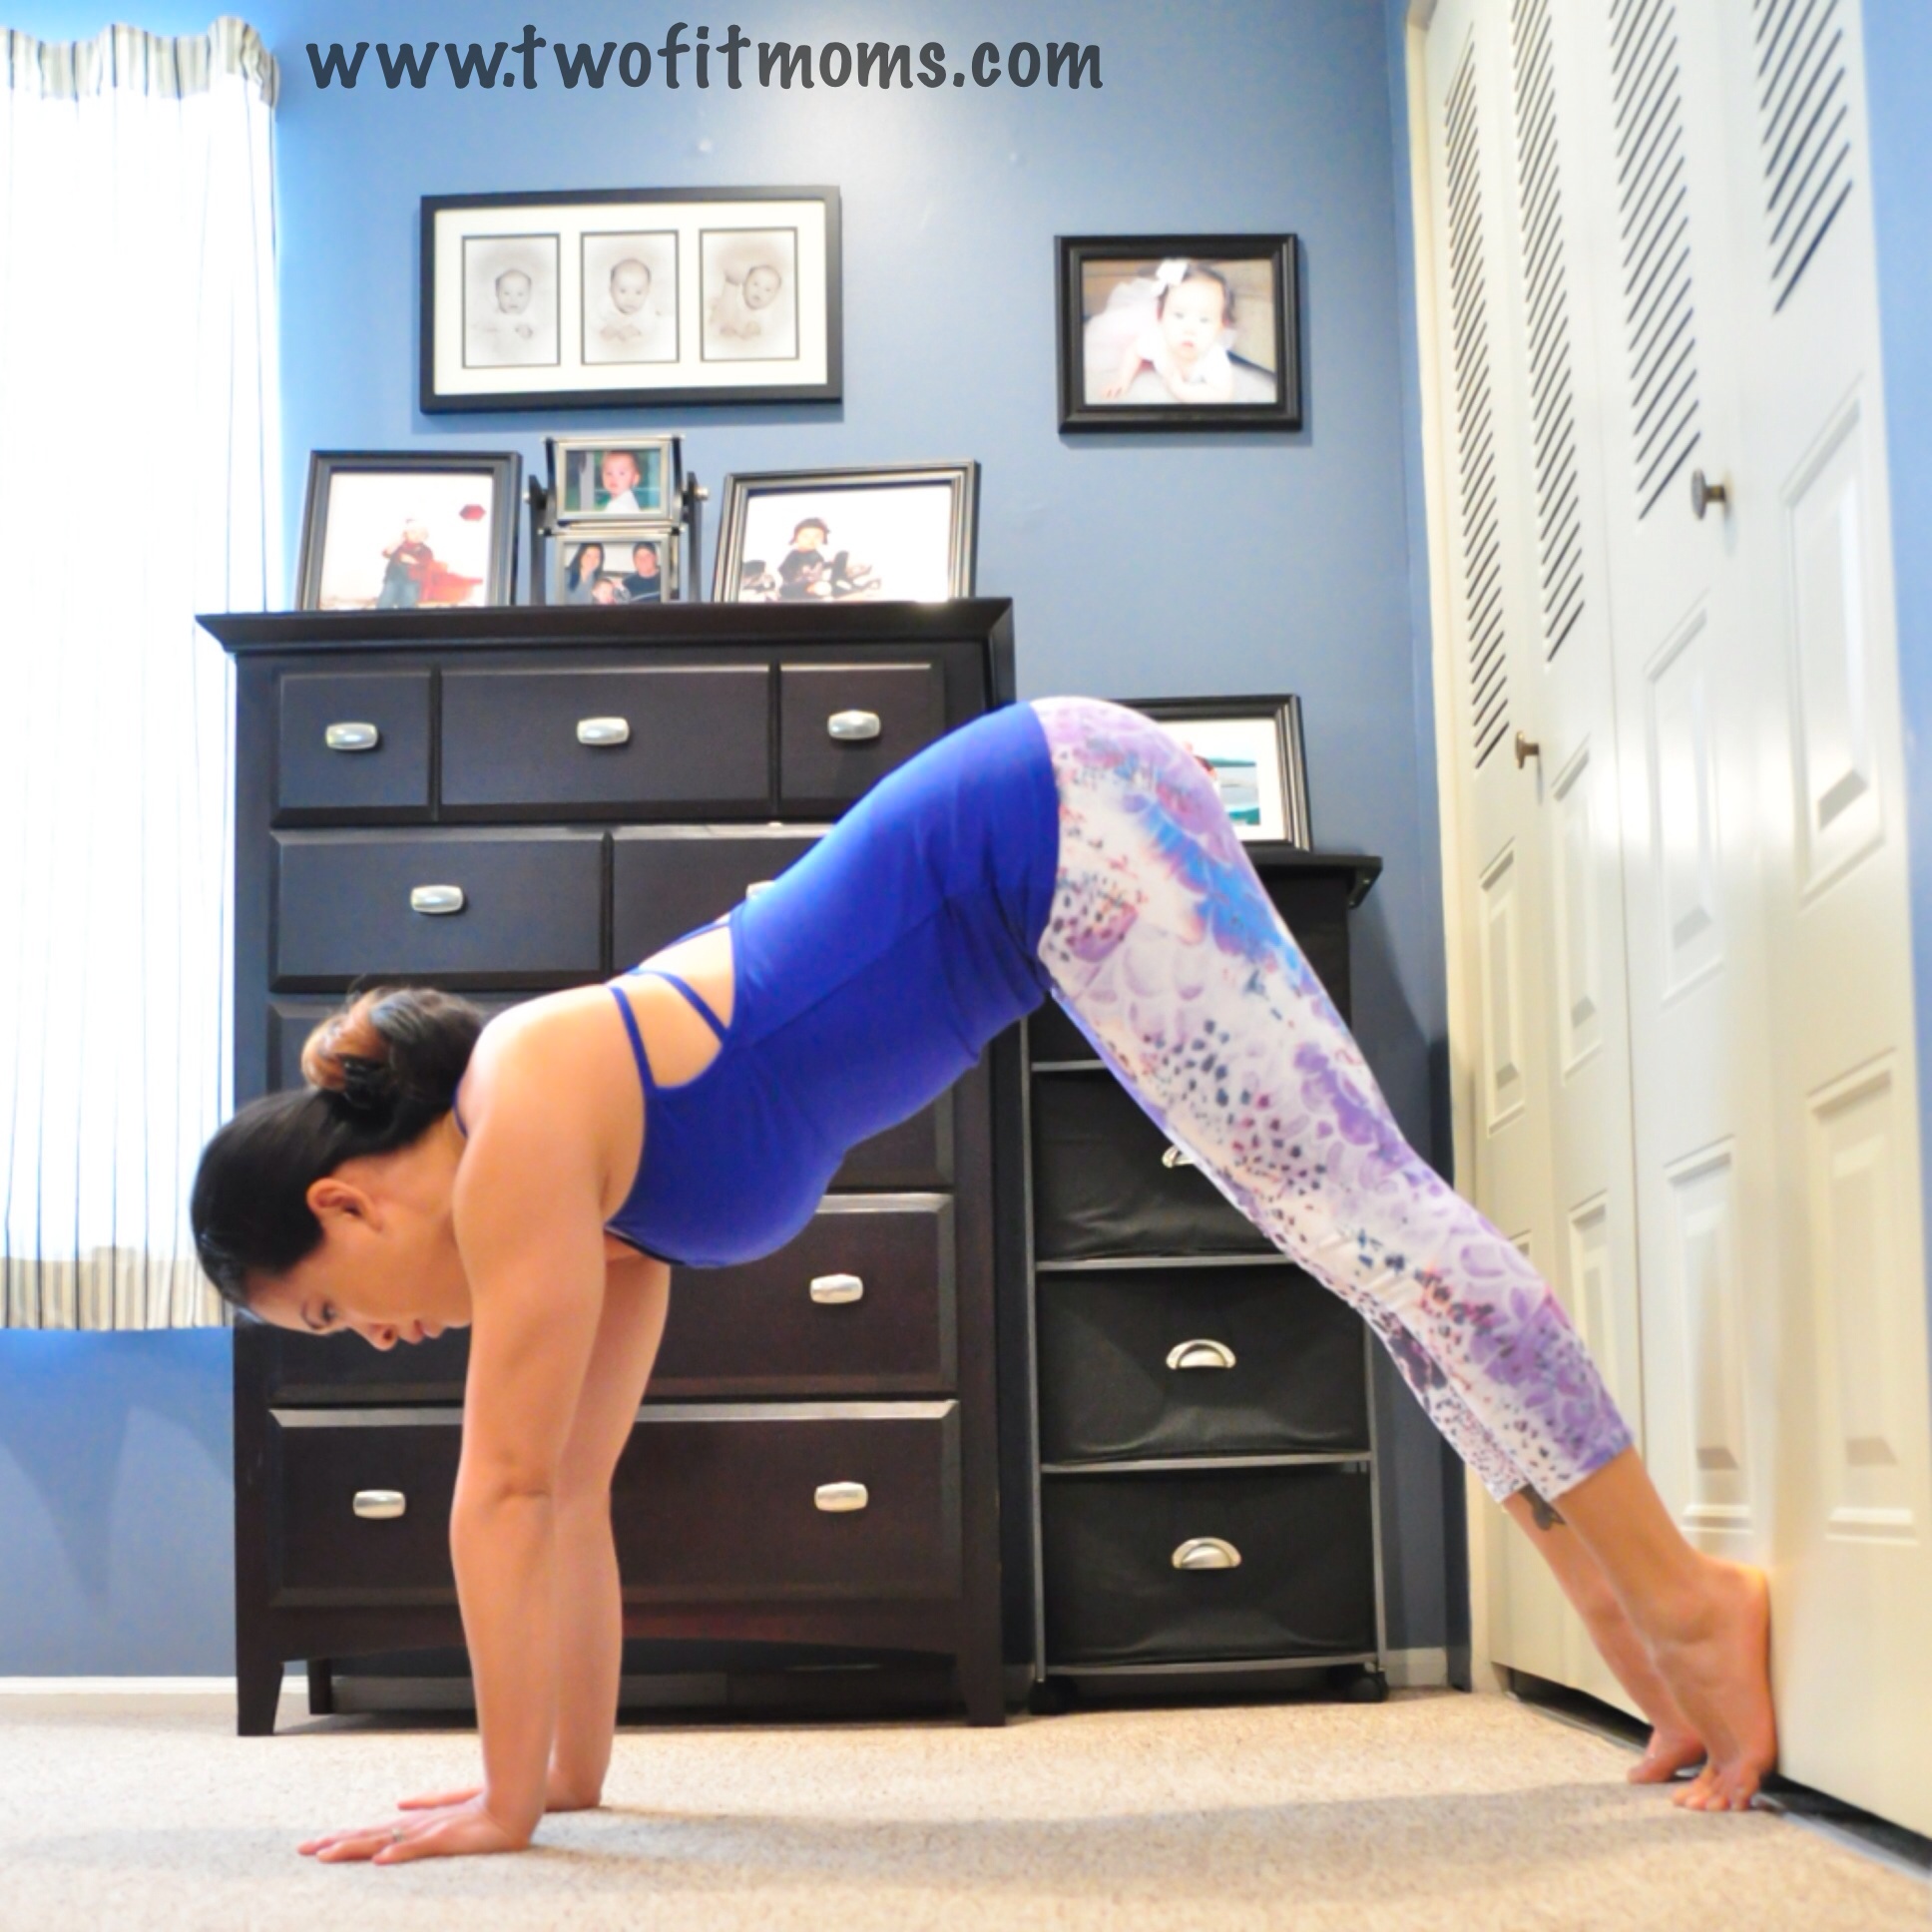
    Keeping the external rotation in those arms, slowly make your way onto your forearms. Forearms should be shoulder width apart and parallel to each other. Let the head hang neutral. Push firmly into your hands and forearms, and keep the elbows and upper arms squeezing in.  Stay here and breathe.  This is a great preparatory pose, and it will build arm/shoulder strength. You will probably start to feel this about three breaths in.  Try to stay here for five breaths and then take a Child’s Pose before continuing.

    Photo Feb 05, 4 52 56 PM

    When you are ready, come back into Dolphin Pose and walk your feet in as much as your flexibility allows. Look down and focus on the space in between your forearms.

    Photo Feb 05, 4 53 07 PM

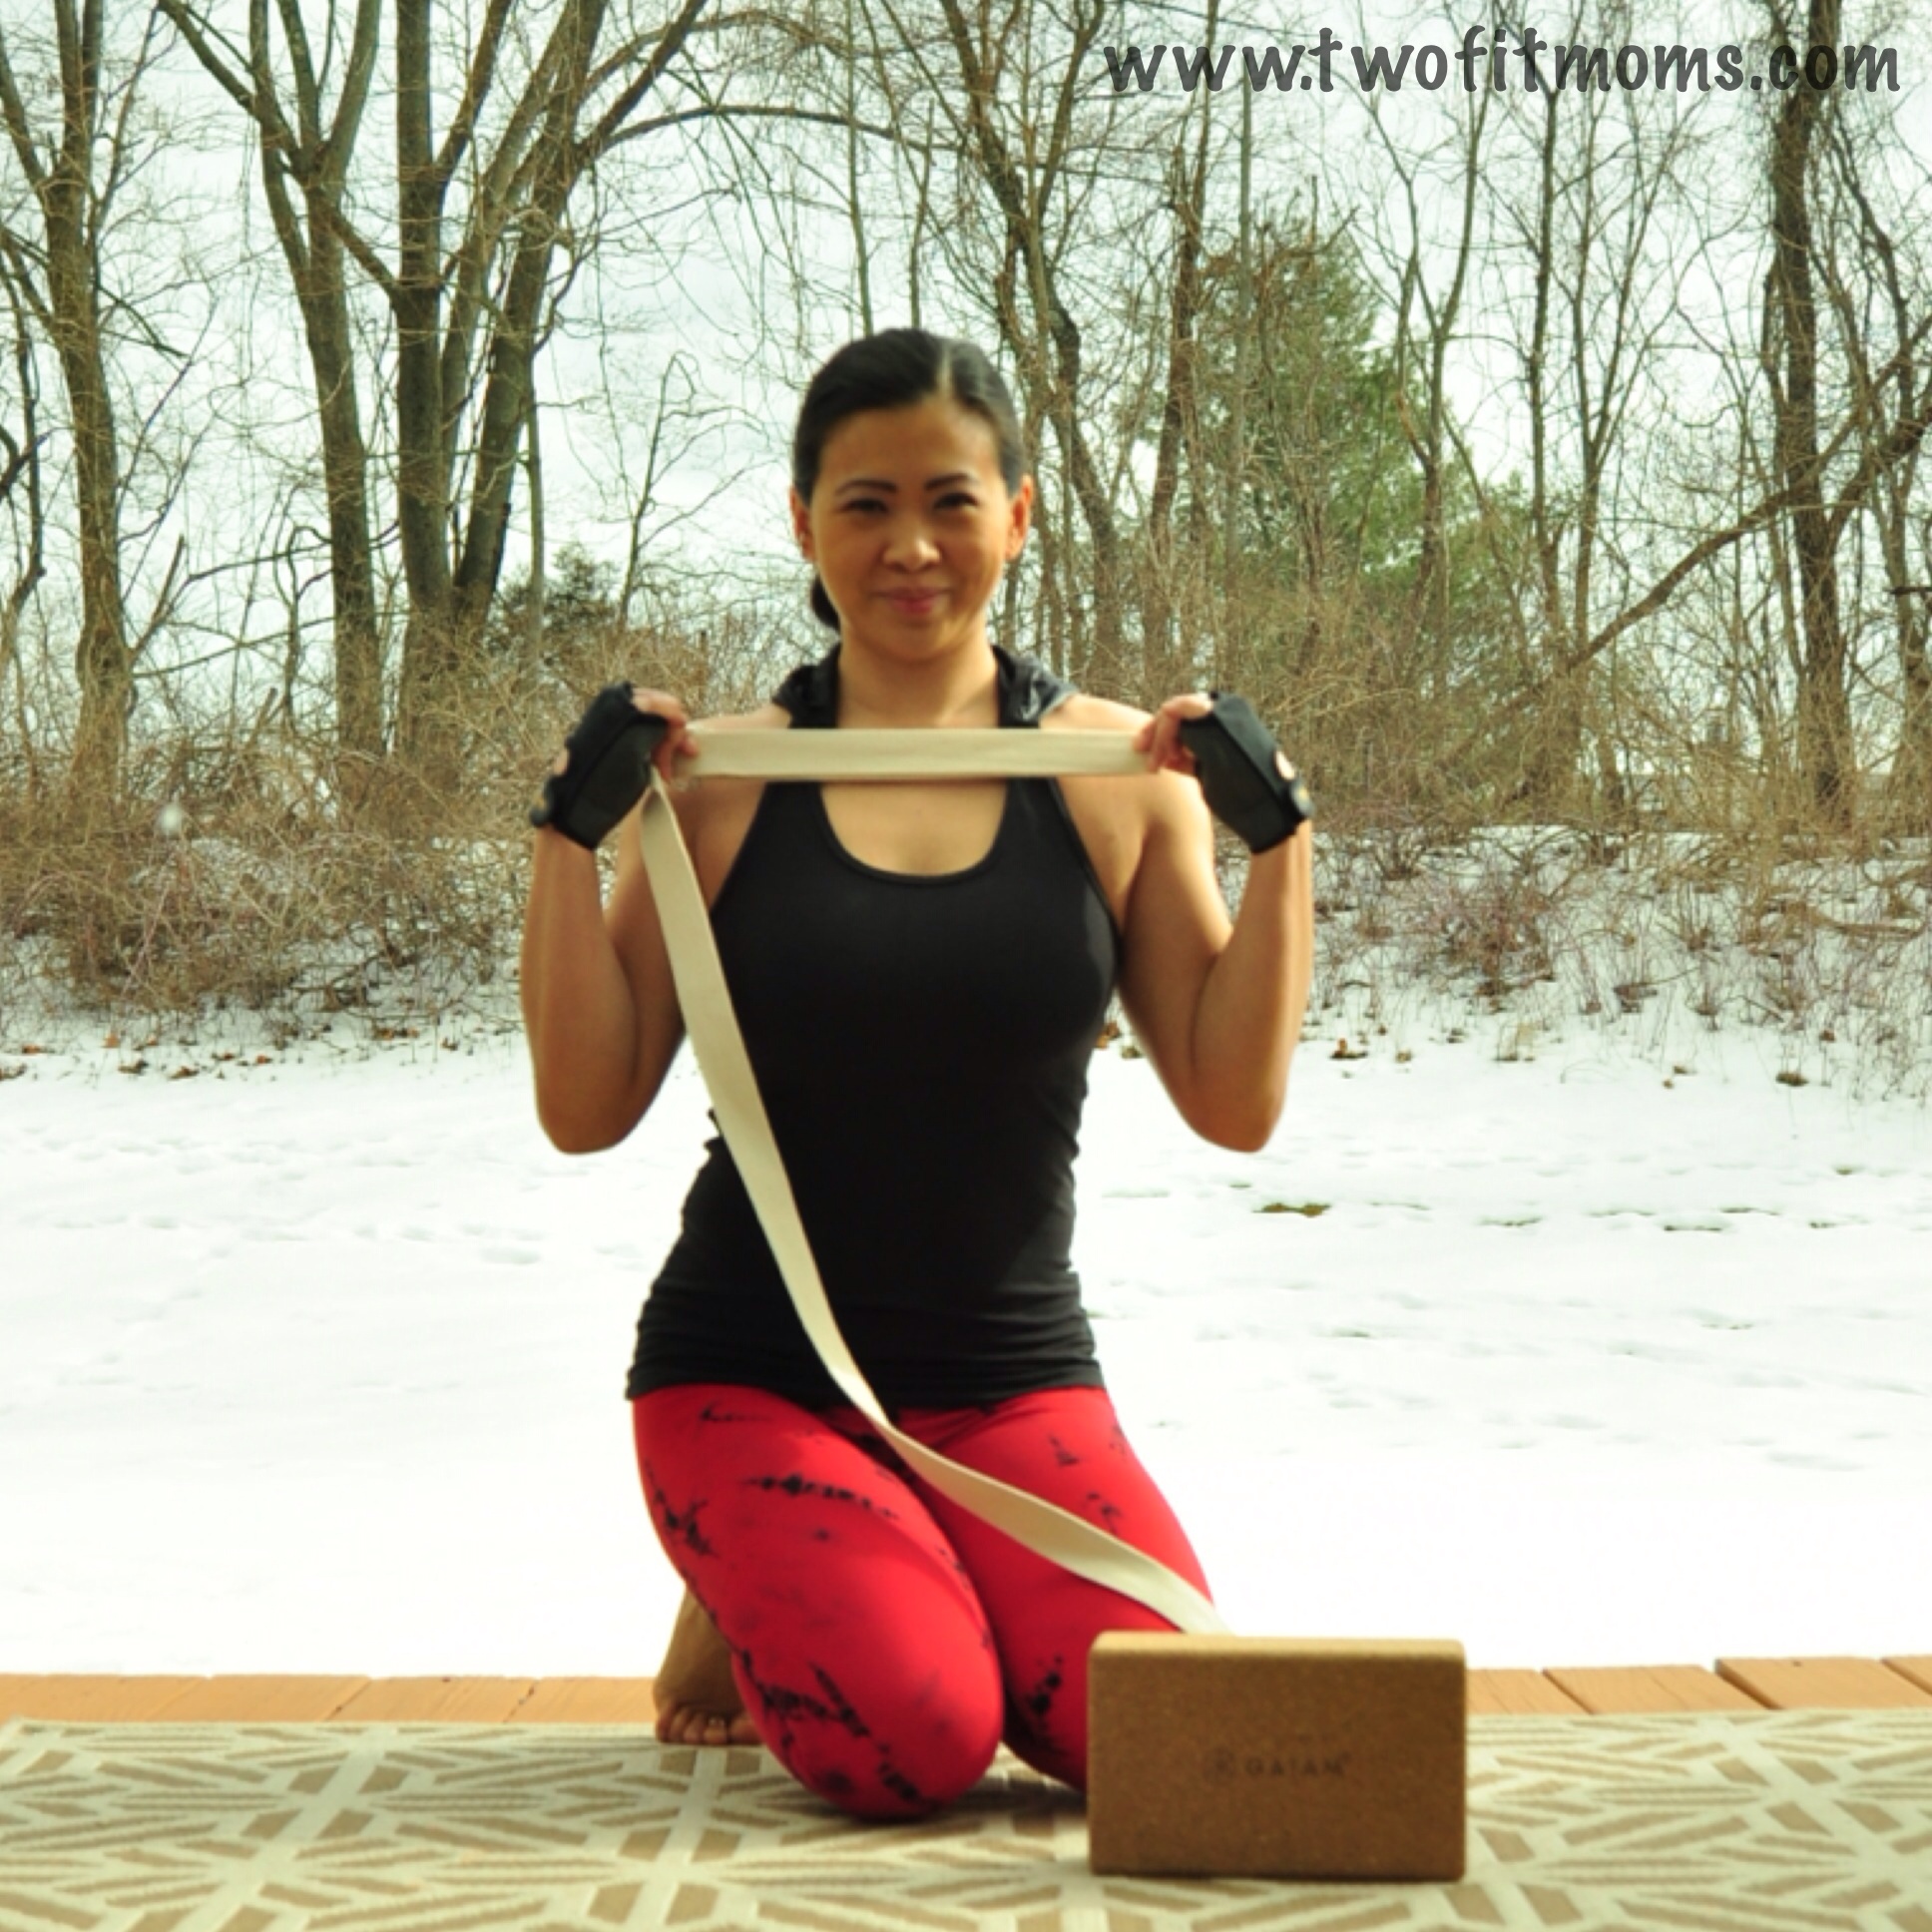
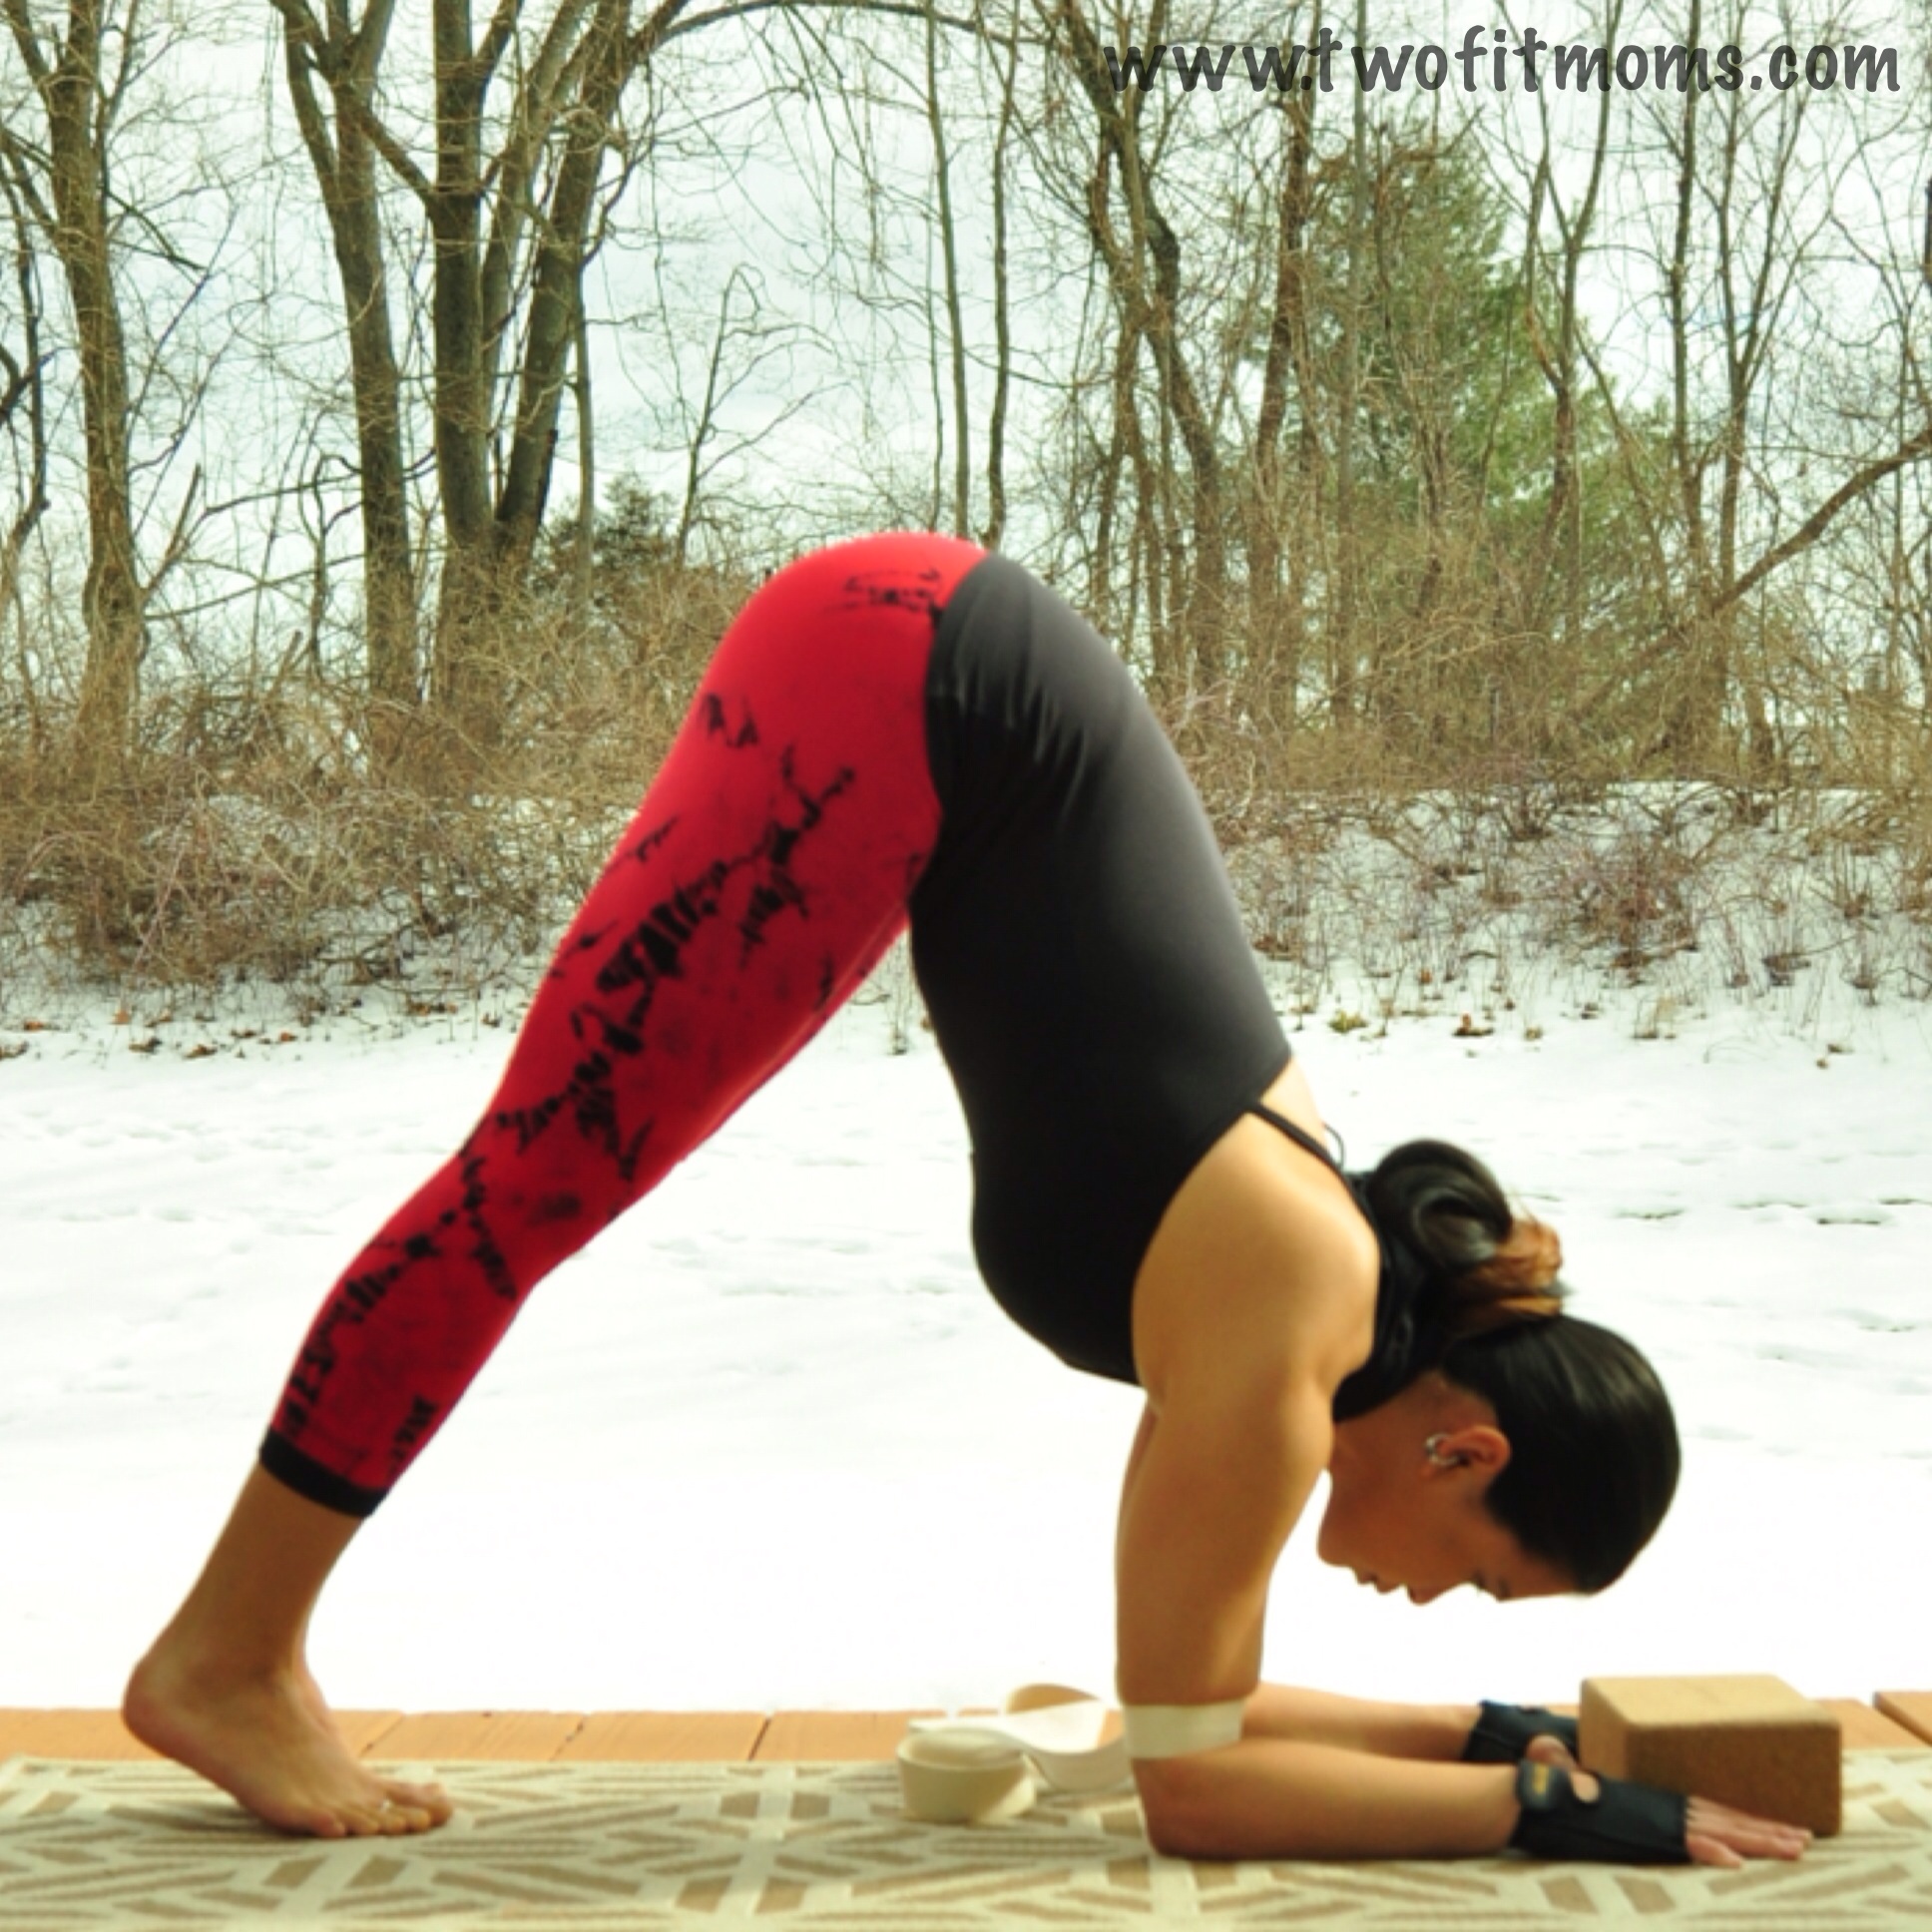
    If you are having trouble keeping your elbows in, create a loop in your yoga strap.  Measure the loop so that it is as wide as your shoulders.  Place the strap just above your elbows. Additionally, you can also use a block in between your hands.  The block should be placed longways.   Using the corners of the block, set your hands up so the index fingers squeeze the sides while the thumbs squeeze the bottom.
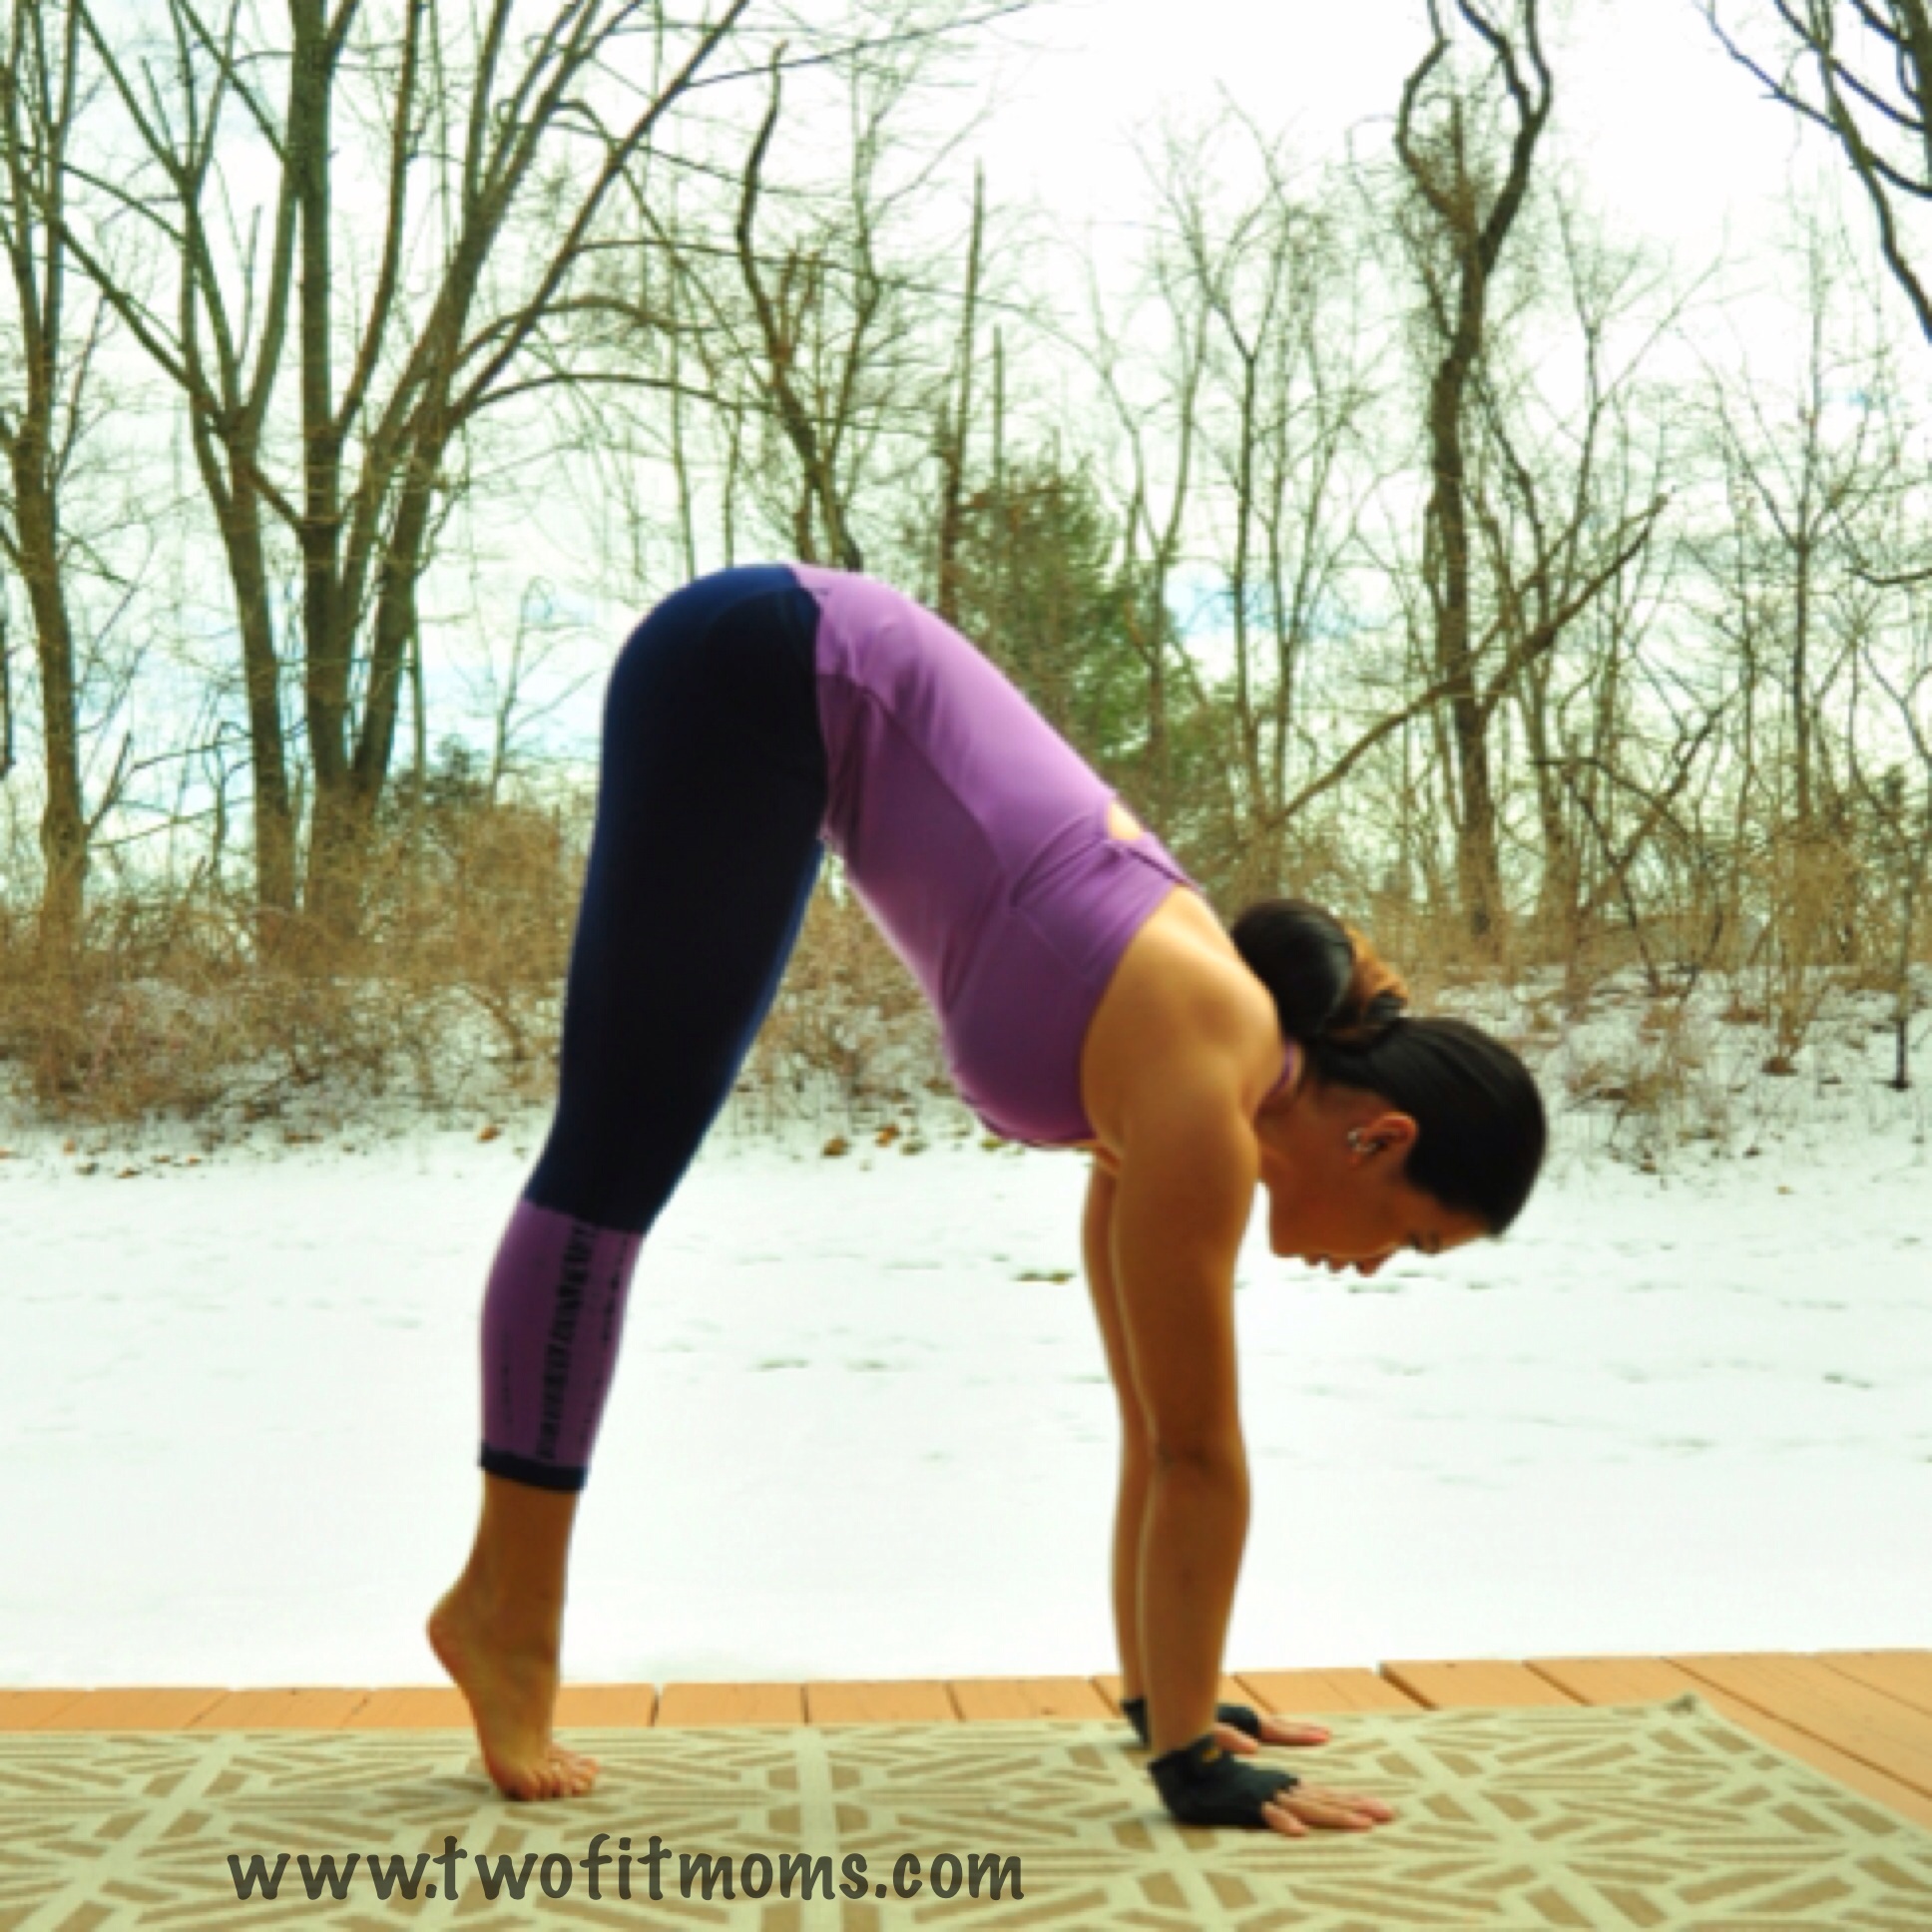
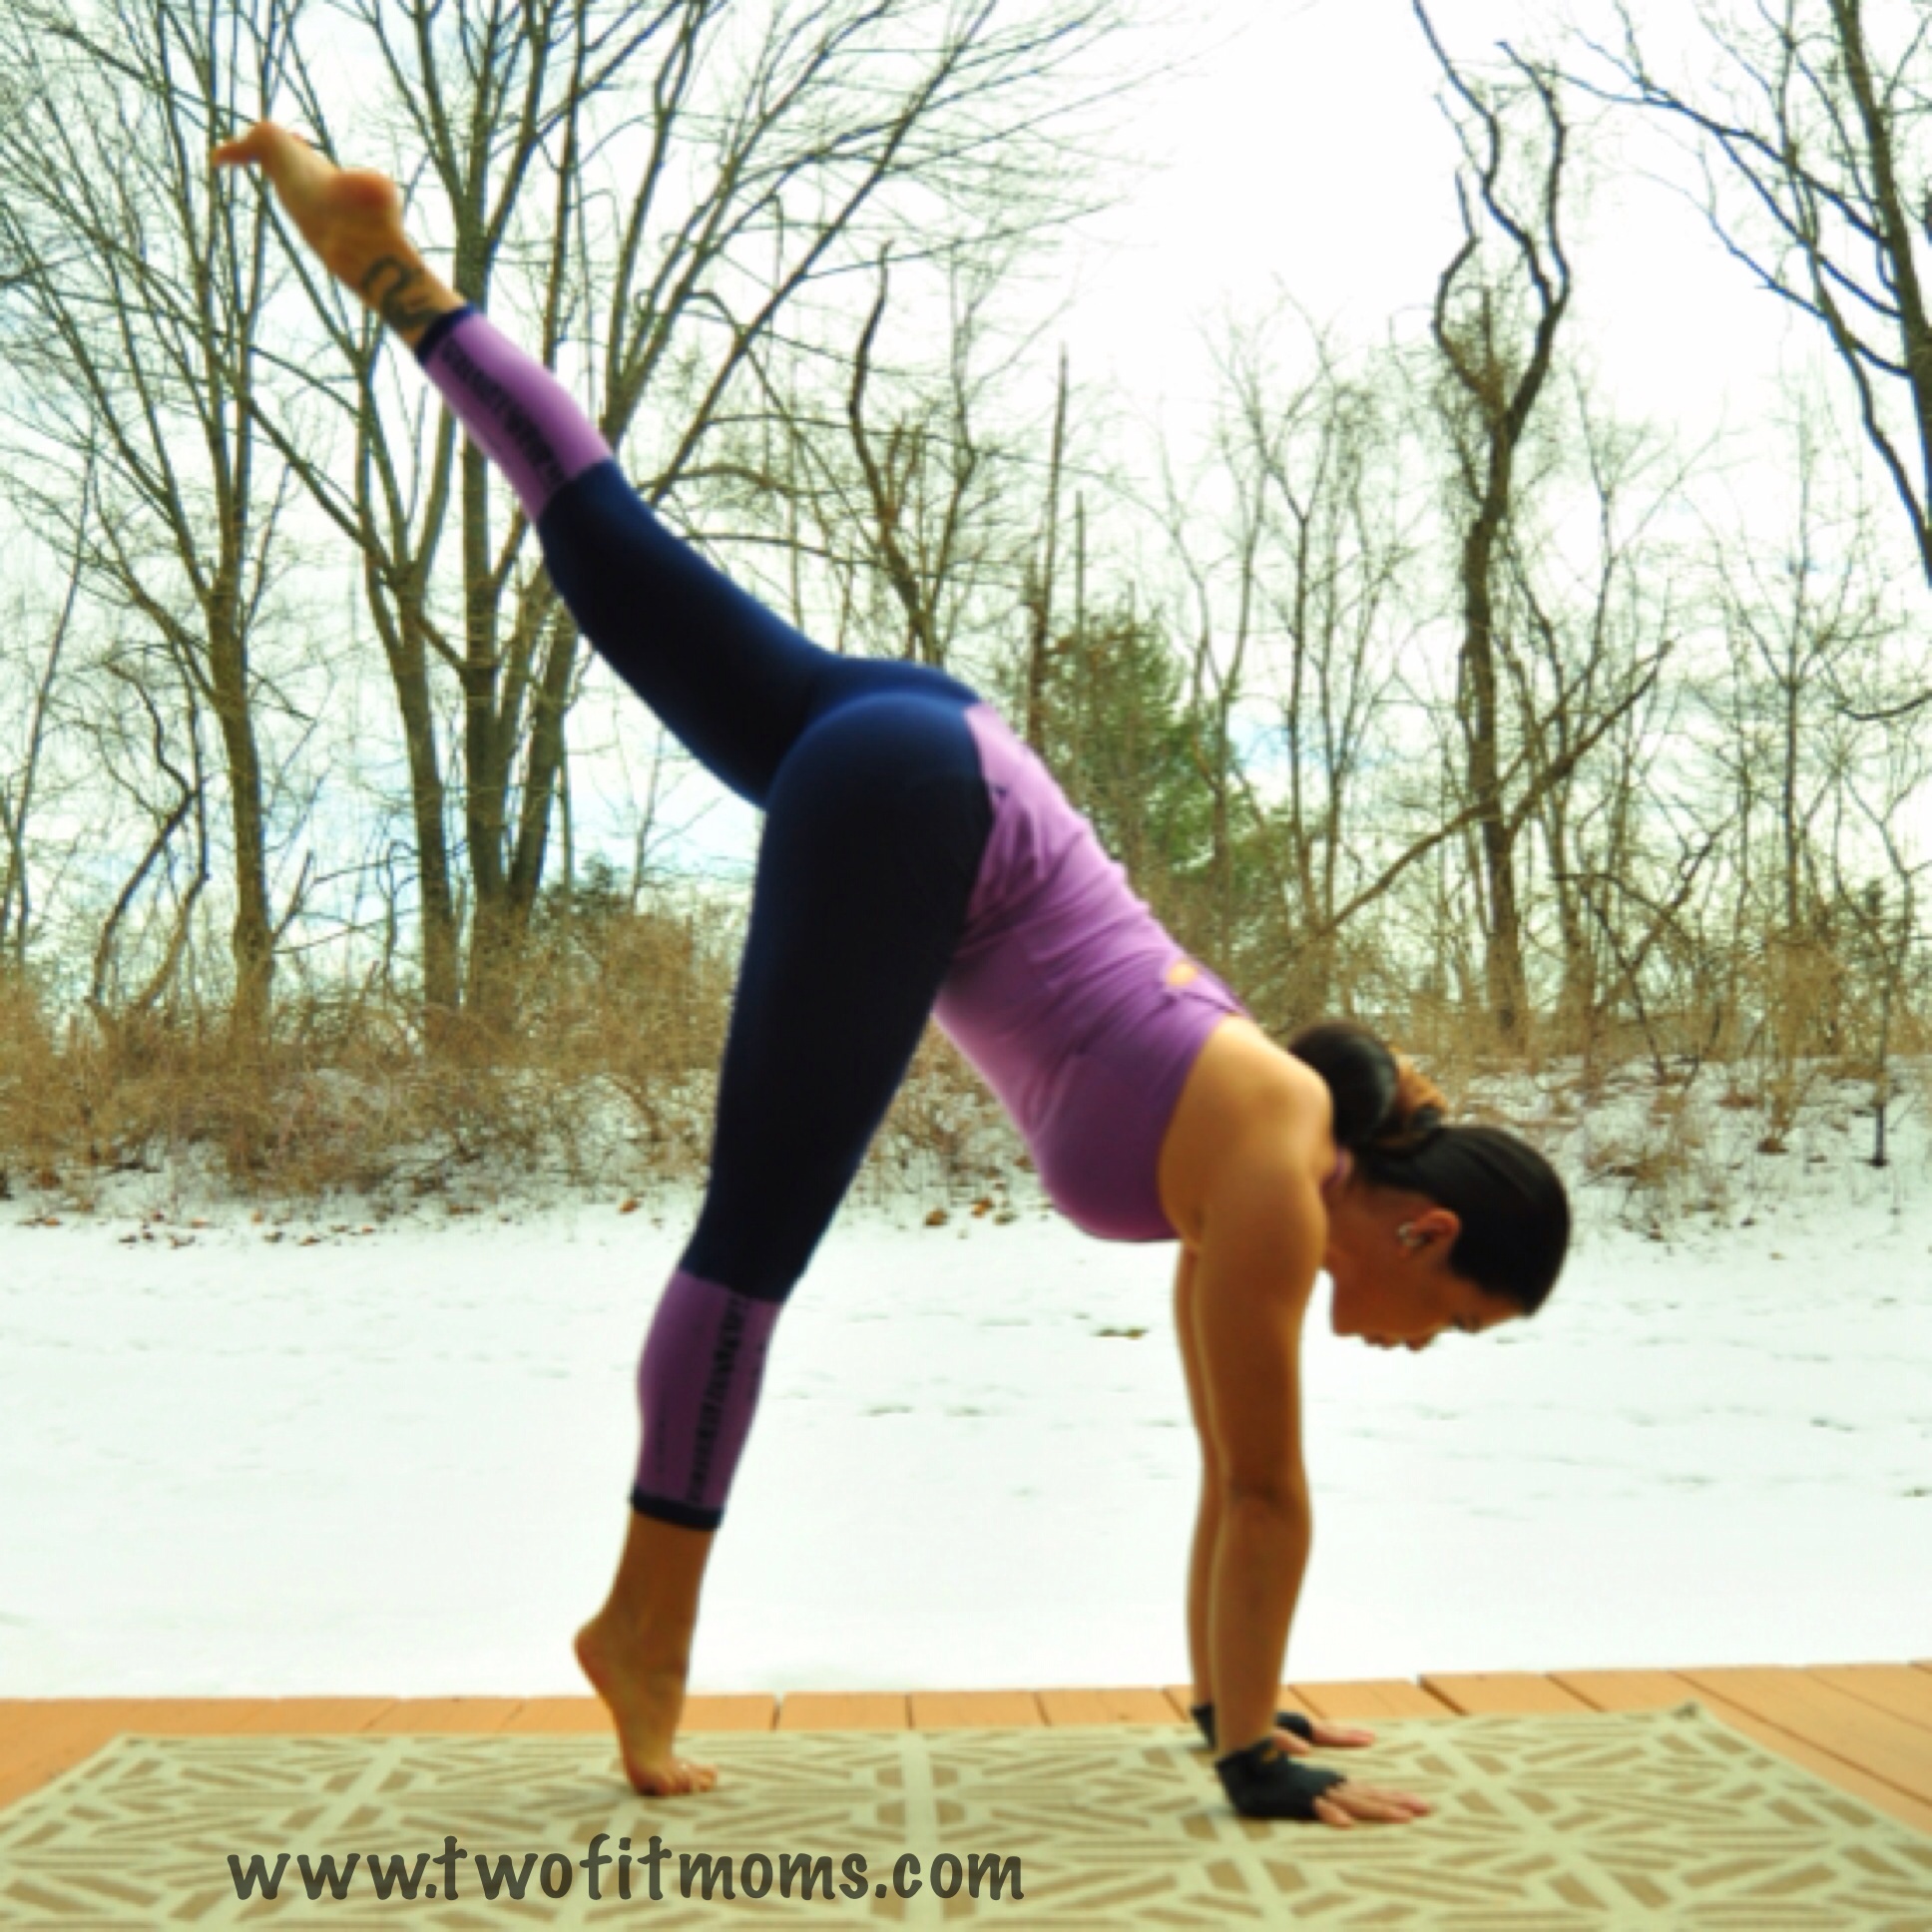
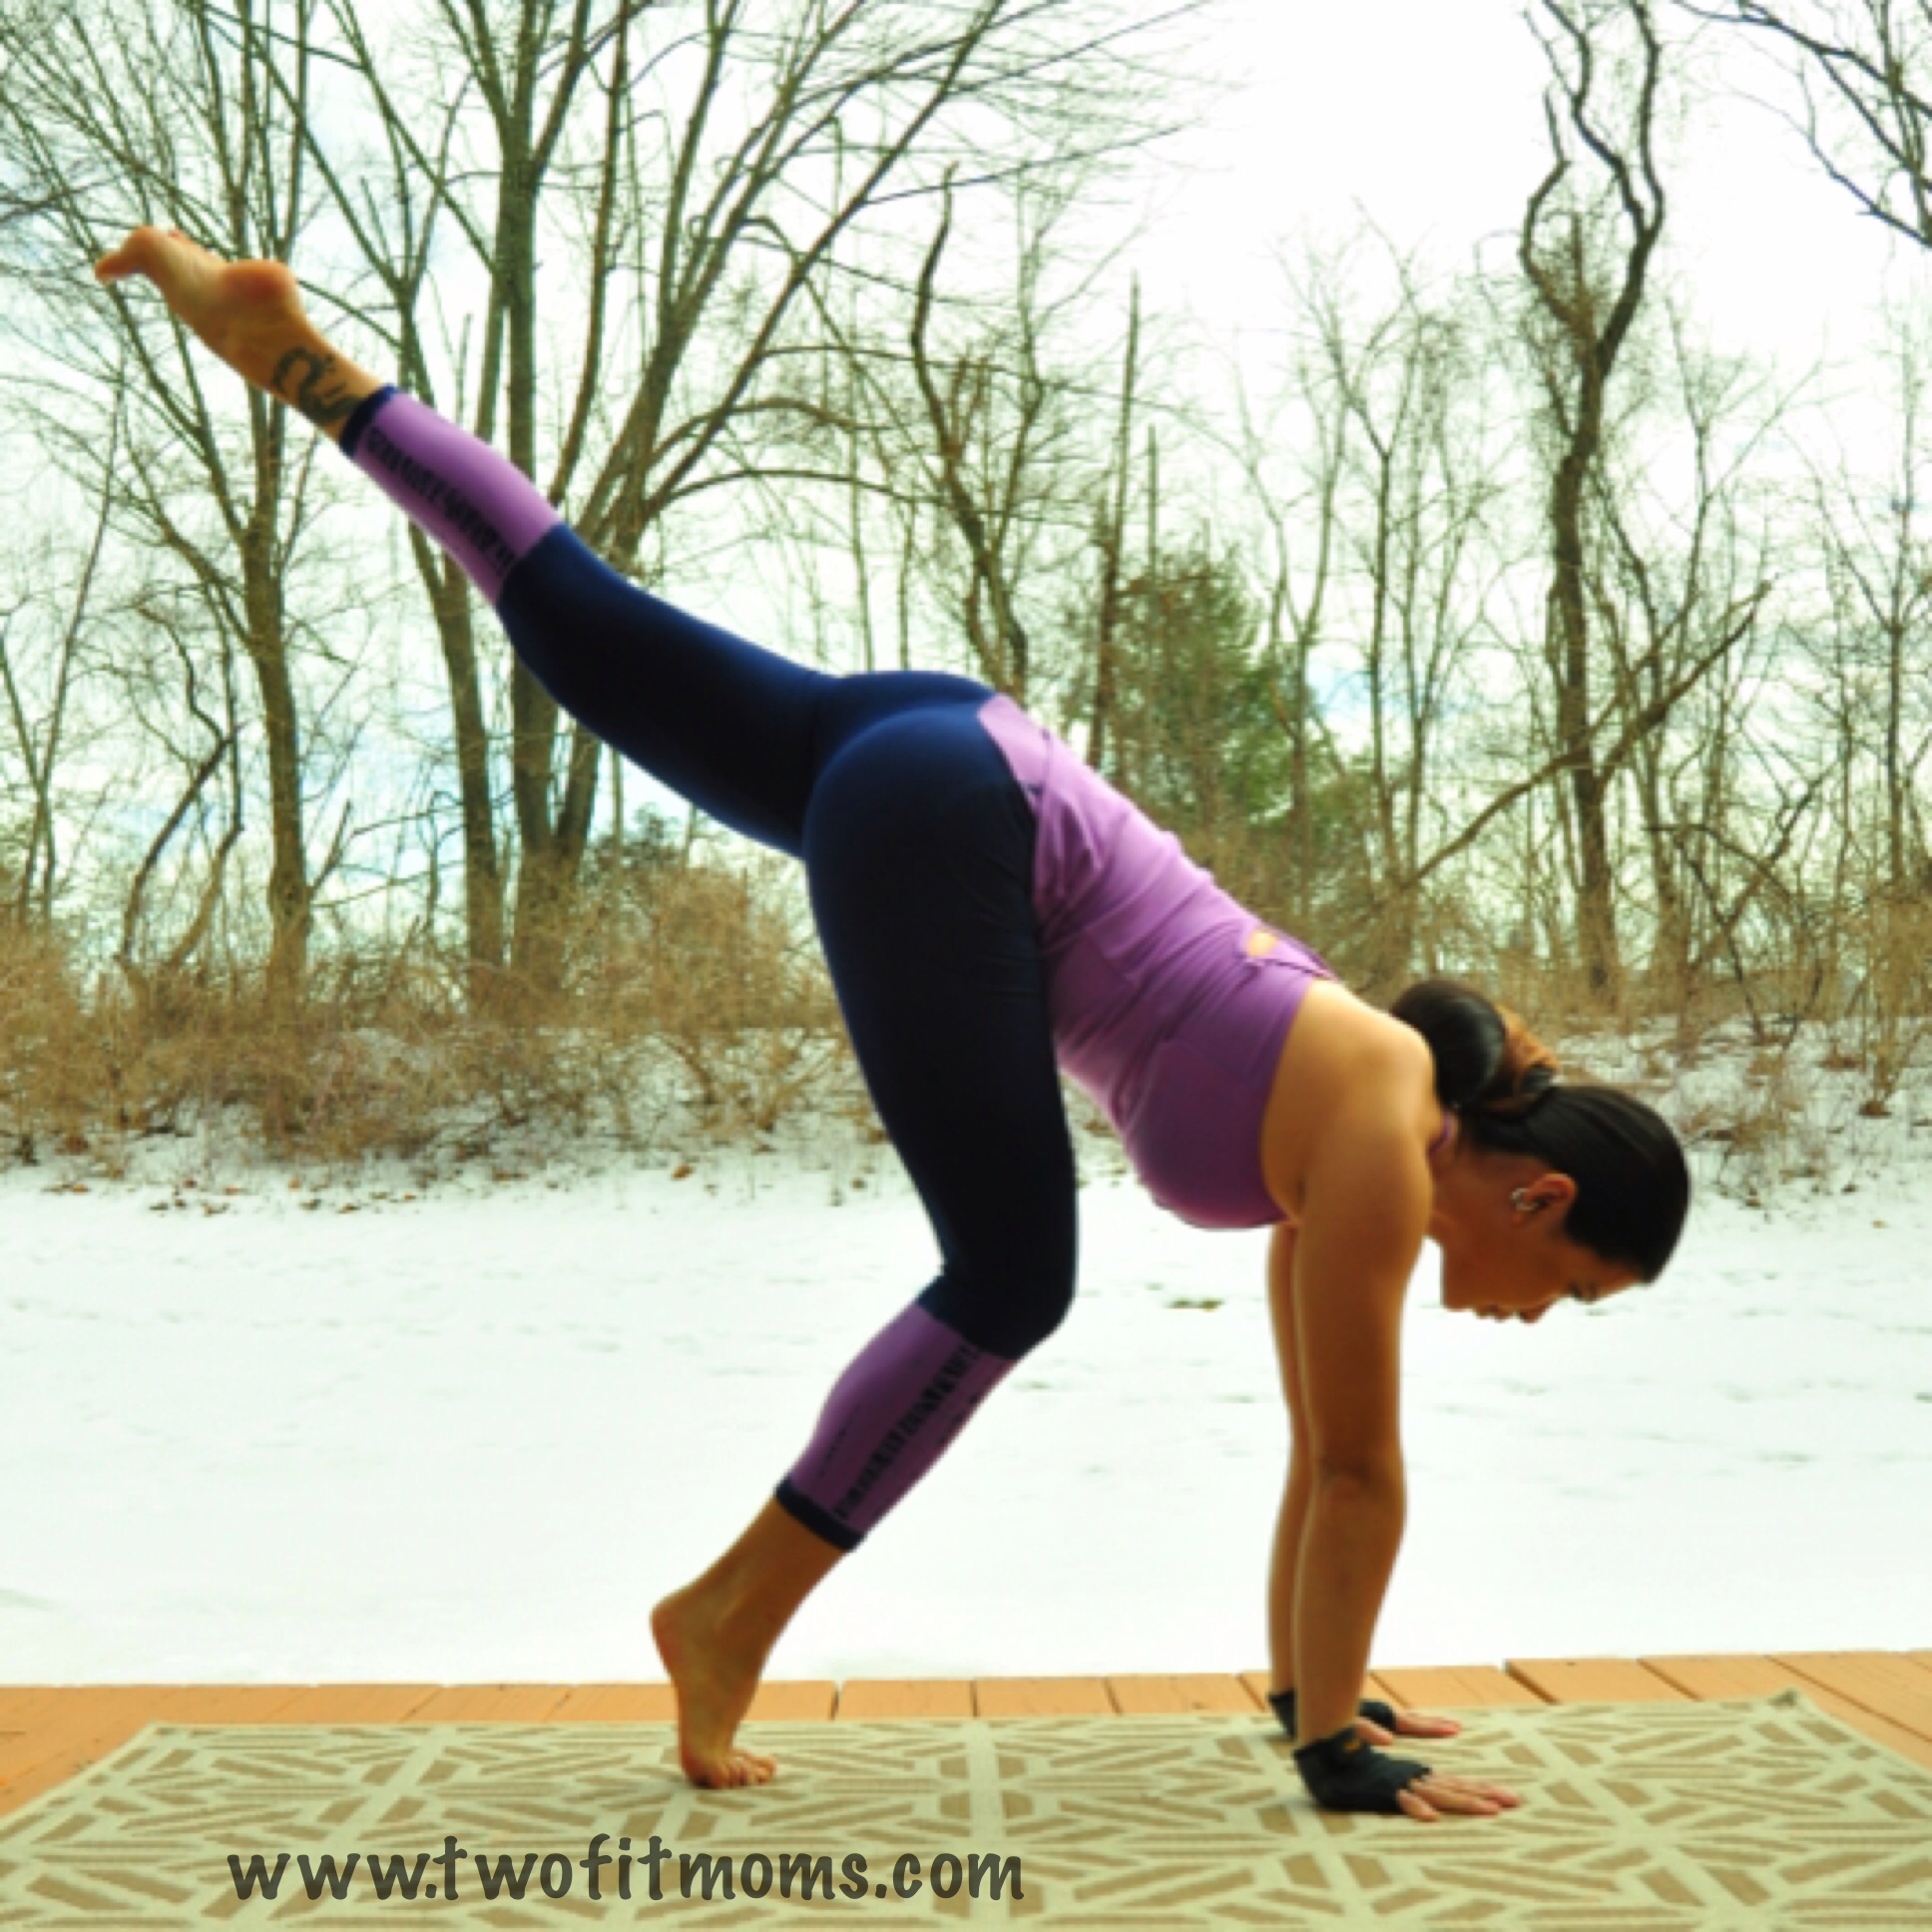
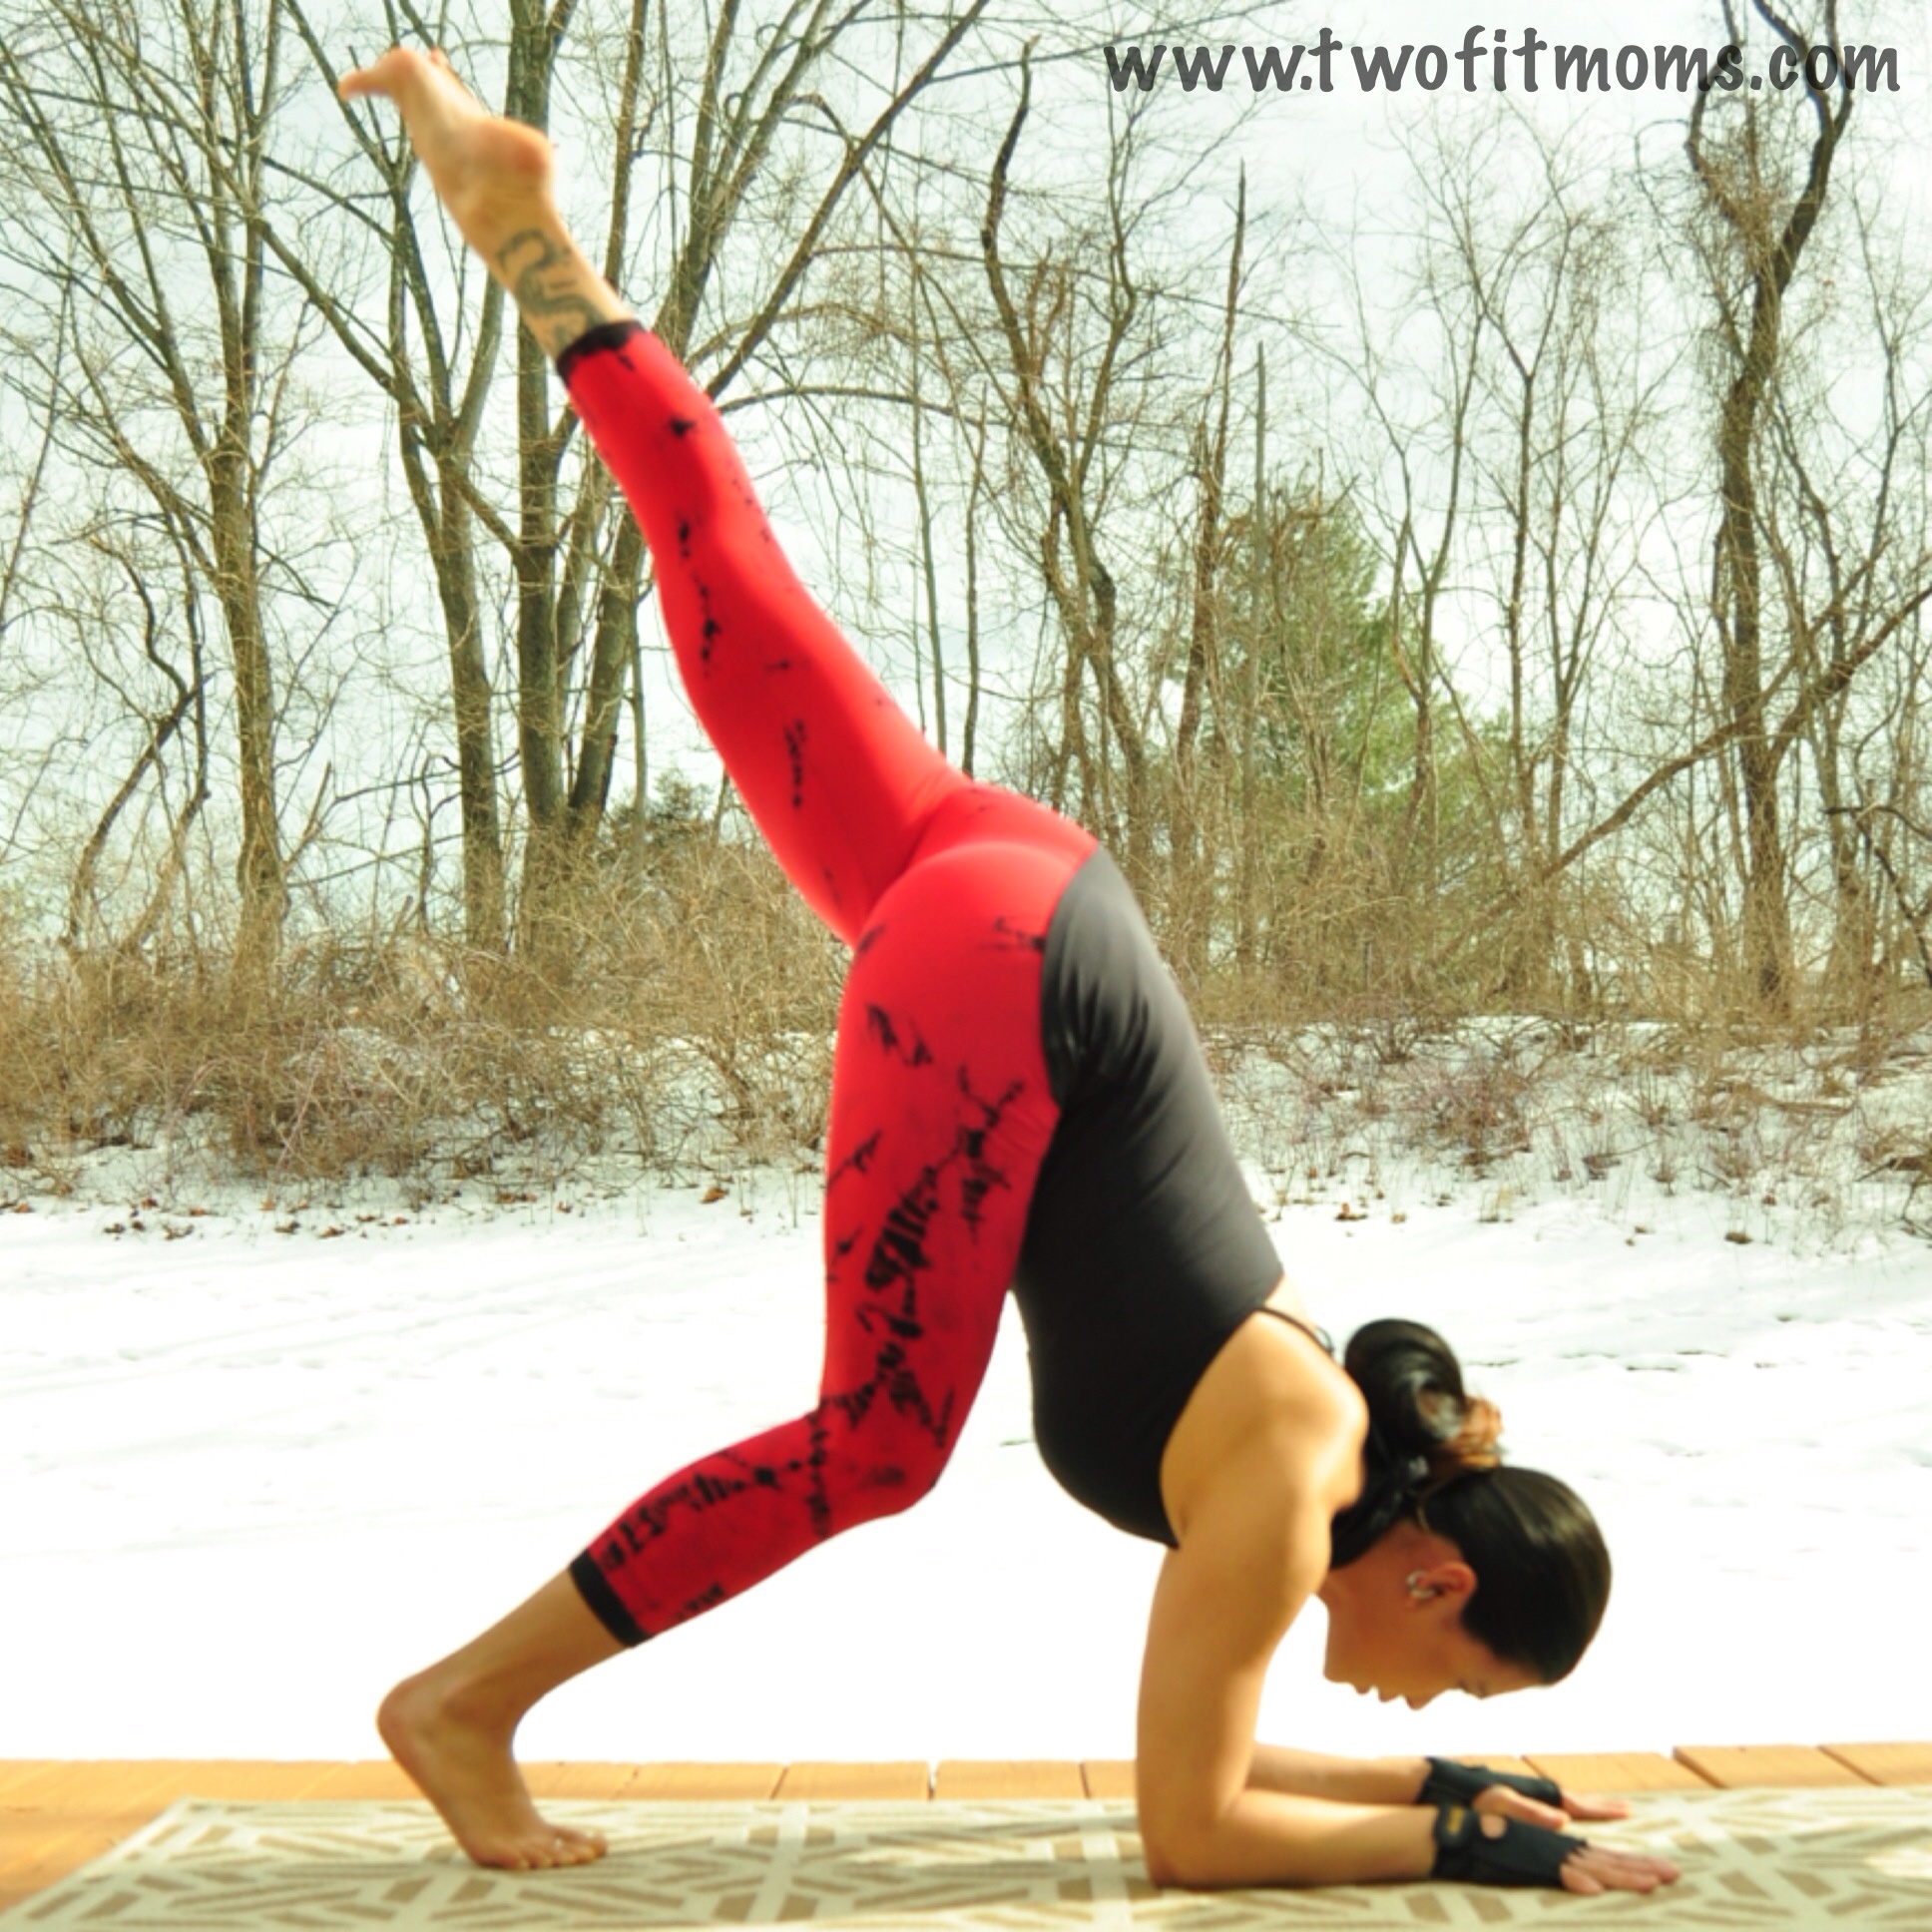
    Photo Feb 05, 4 53 19 PM

    Photo Feb 05, 4 53 30 PM

    Step 3: Lift a leg

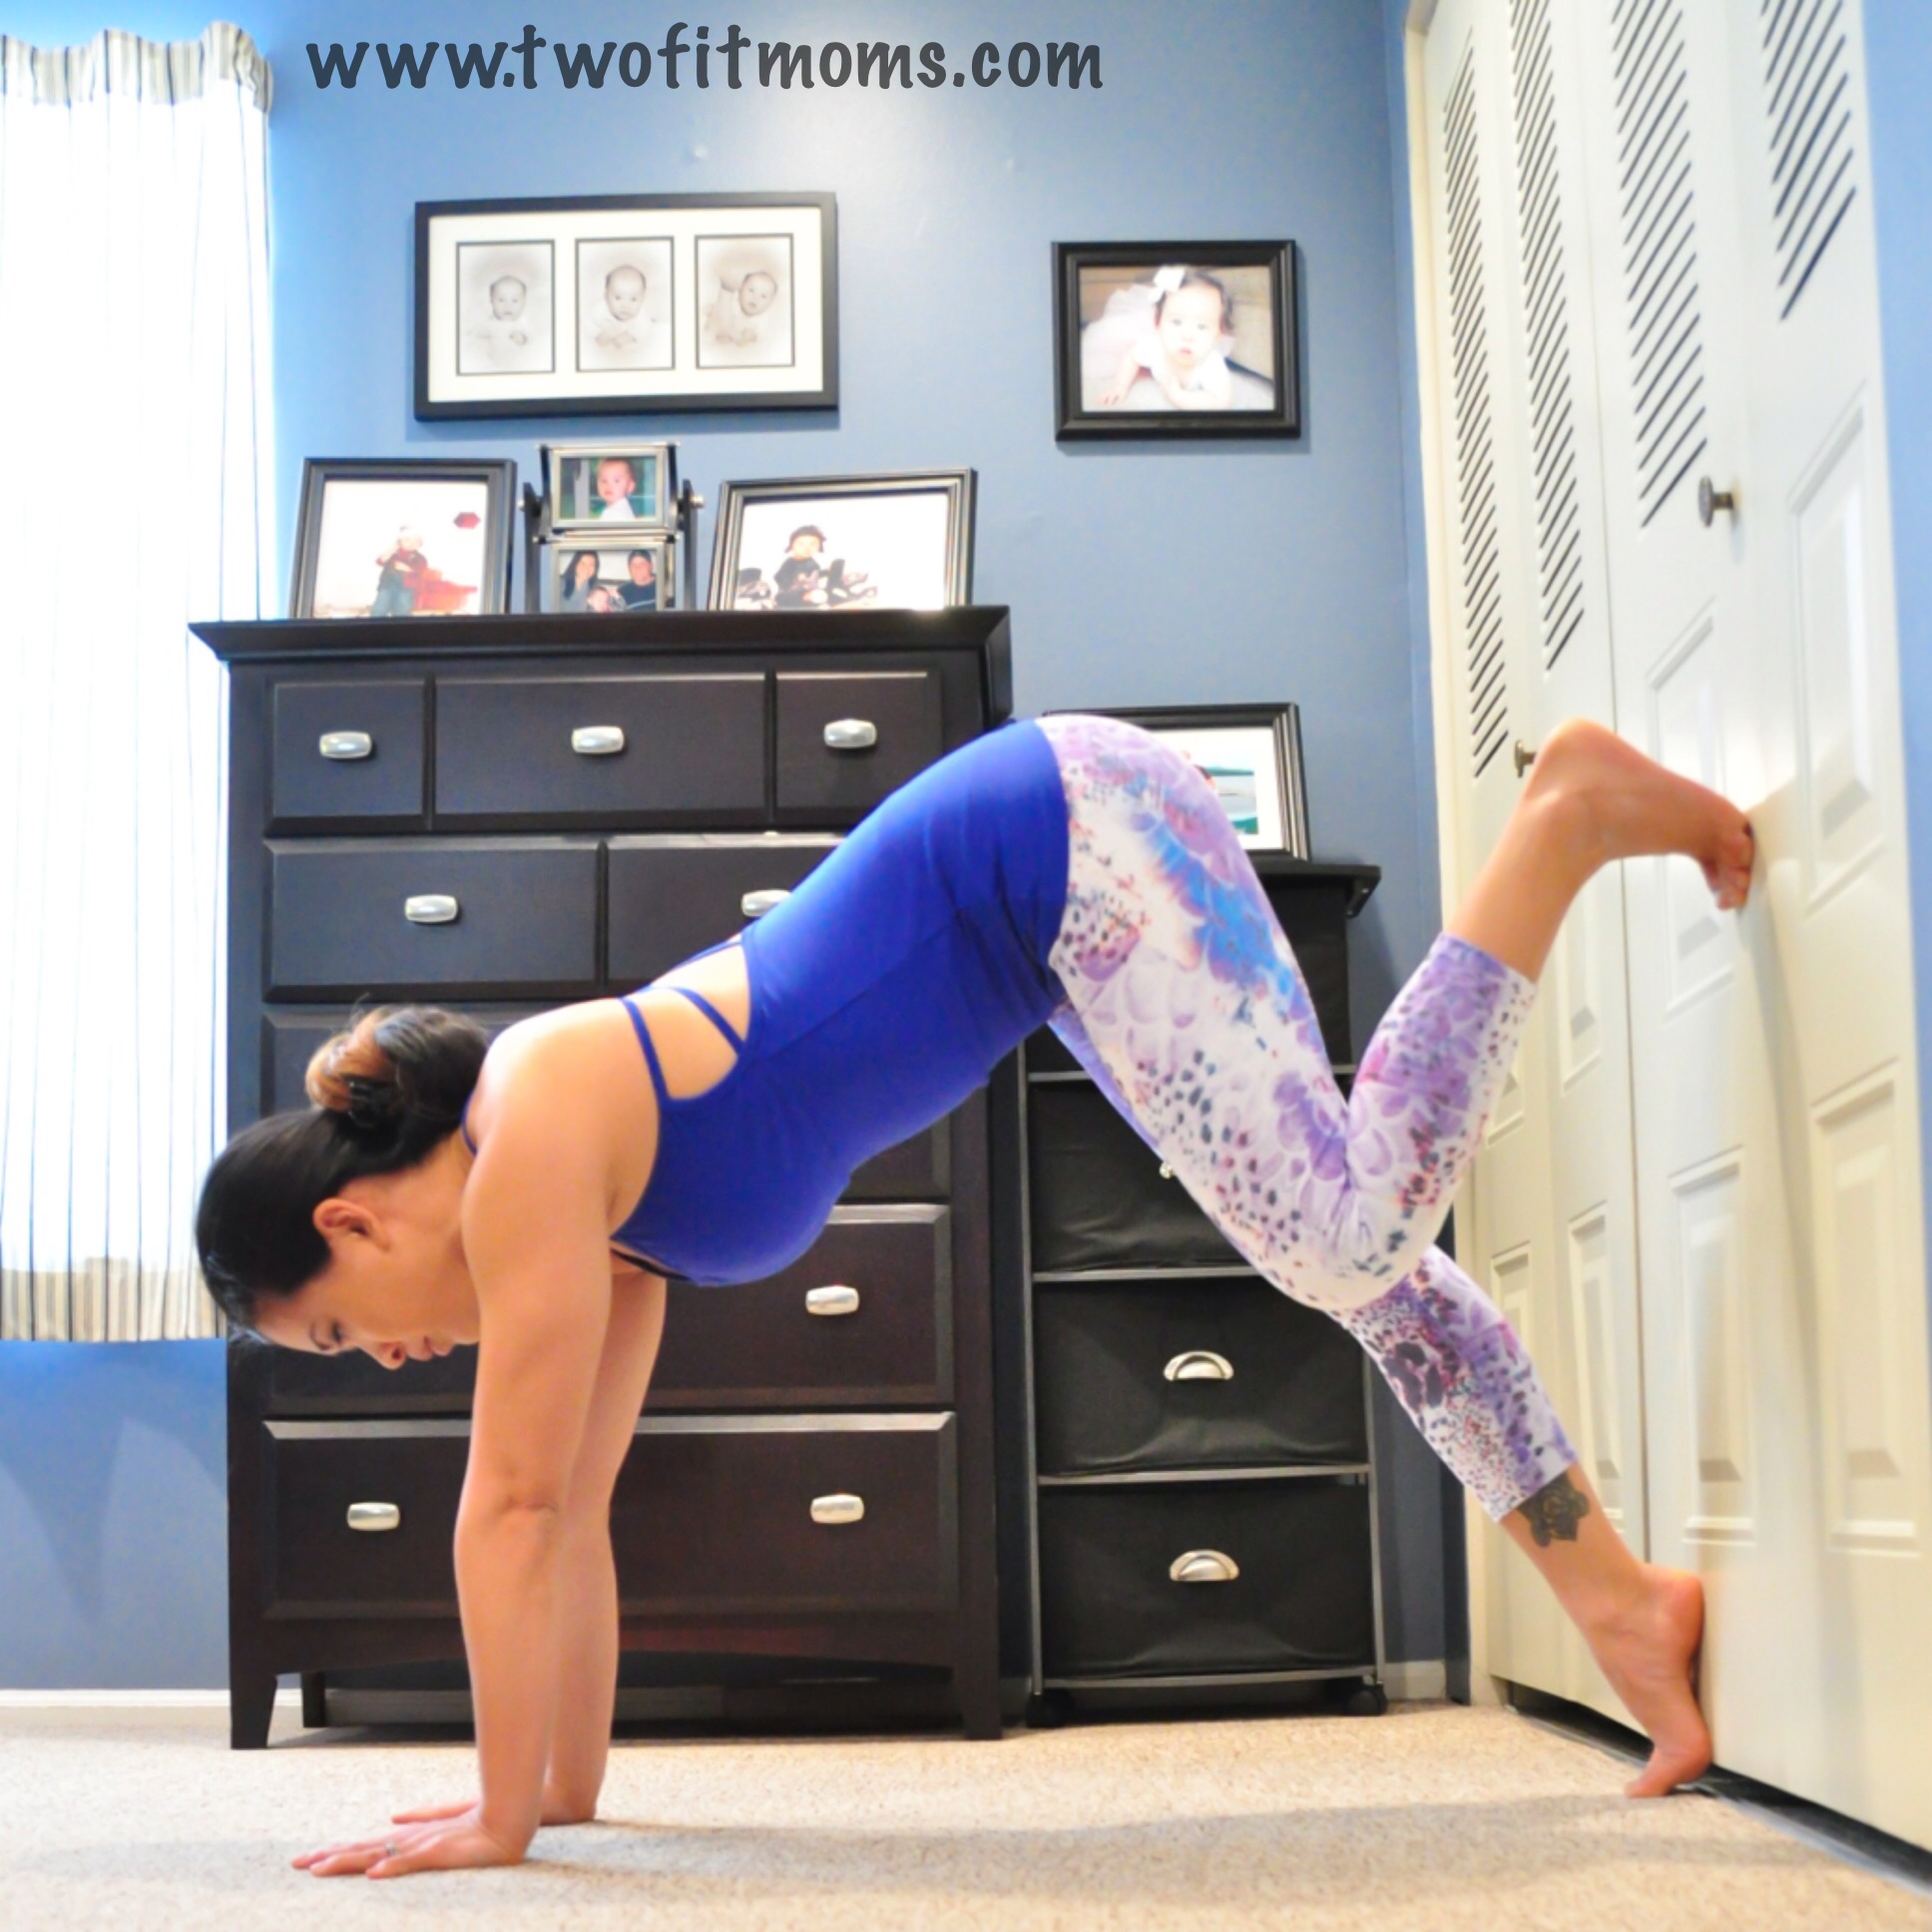
    Slowly lift one leg high into the air.  Keep the hips square by flexing the foot of the lifted leg and pointing the toes down toward your mat. PLAY with lifting both legs up.  Everyone usually has a more dominant side or one that just feels more comfortable.  In the beginning, stay with the dominant leg. Once you get more comfortable, THEN practice using both!

    Photo Feb 05, 4 53 42 PM

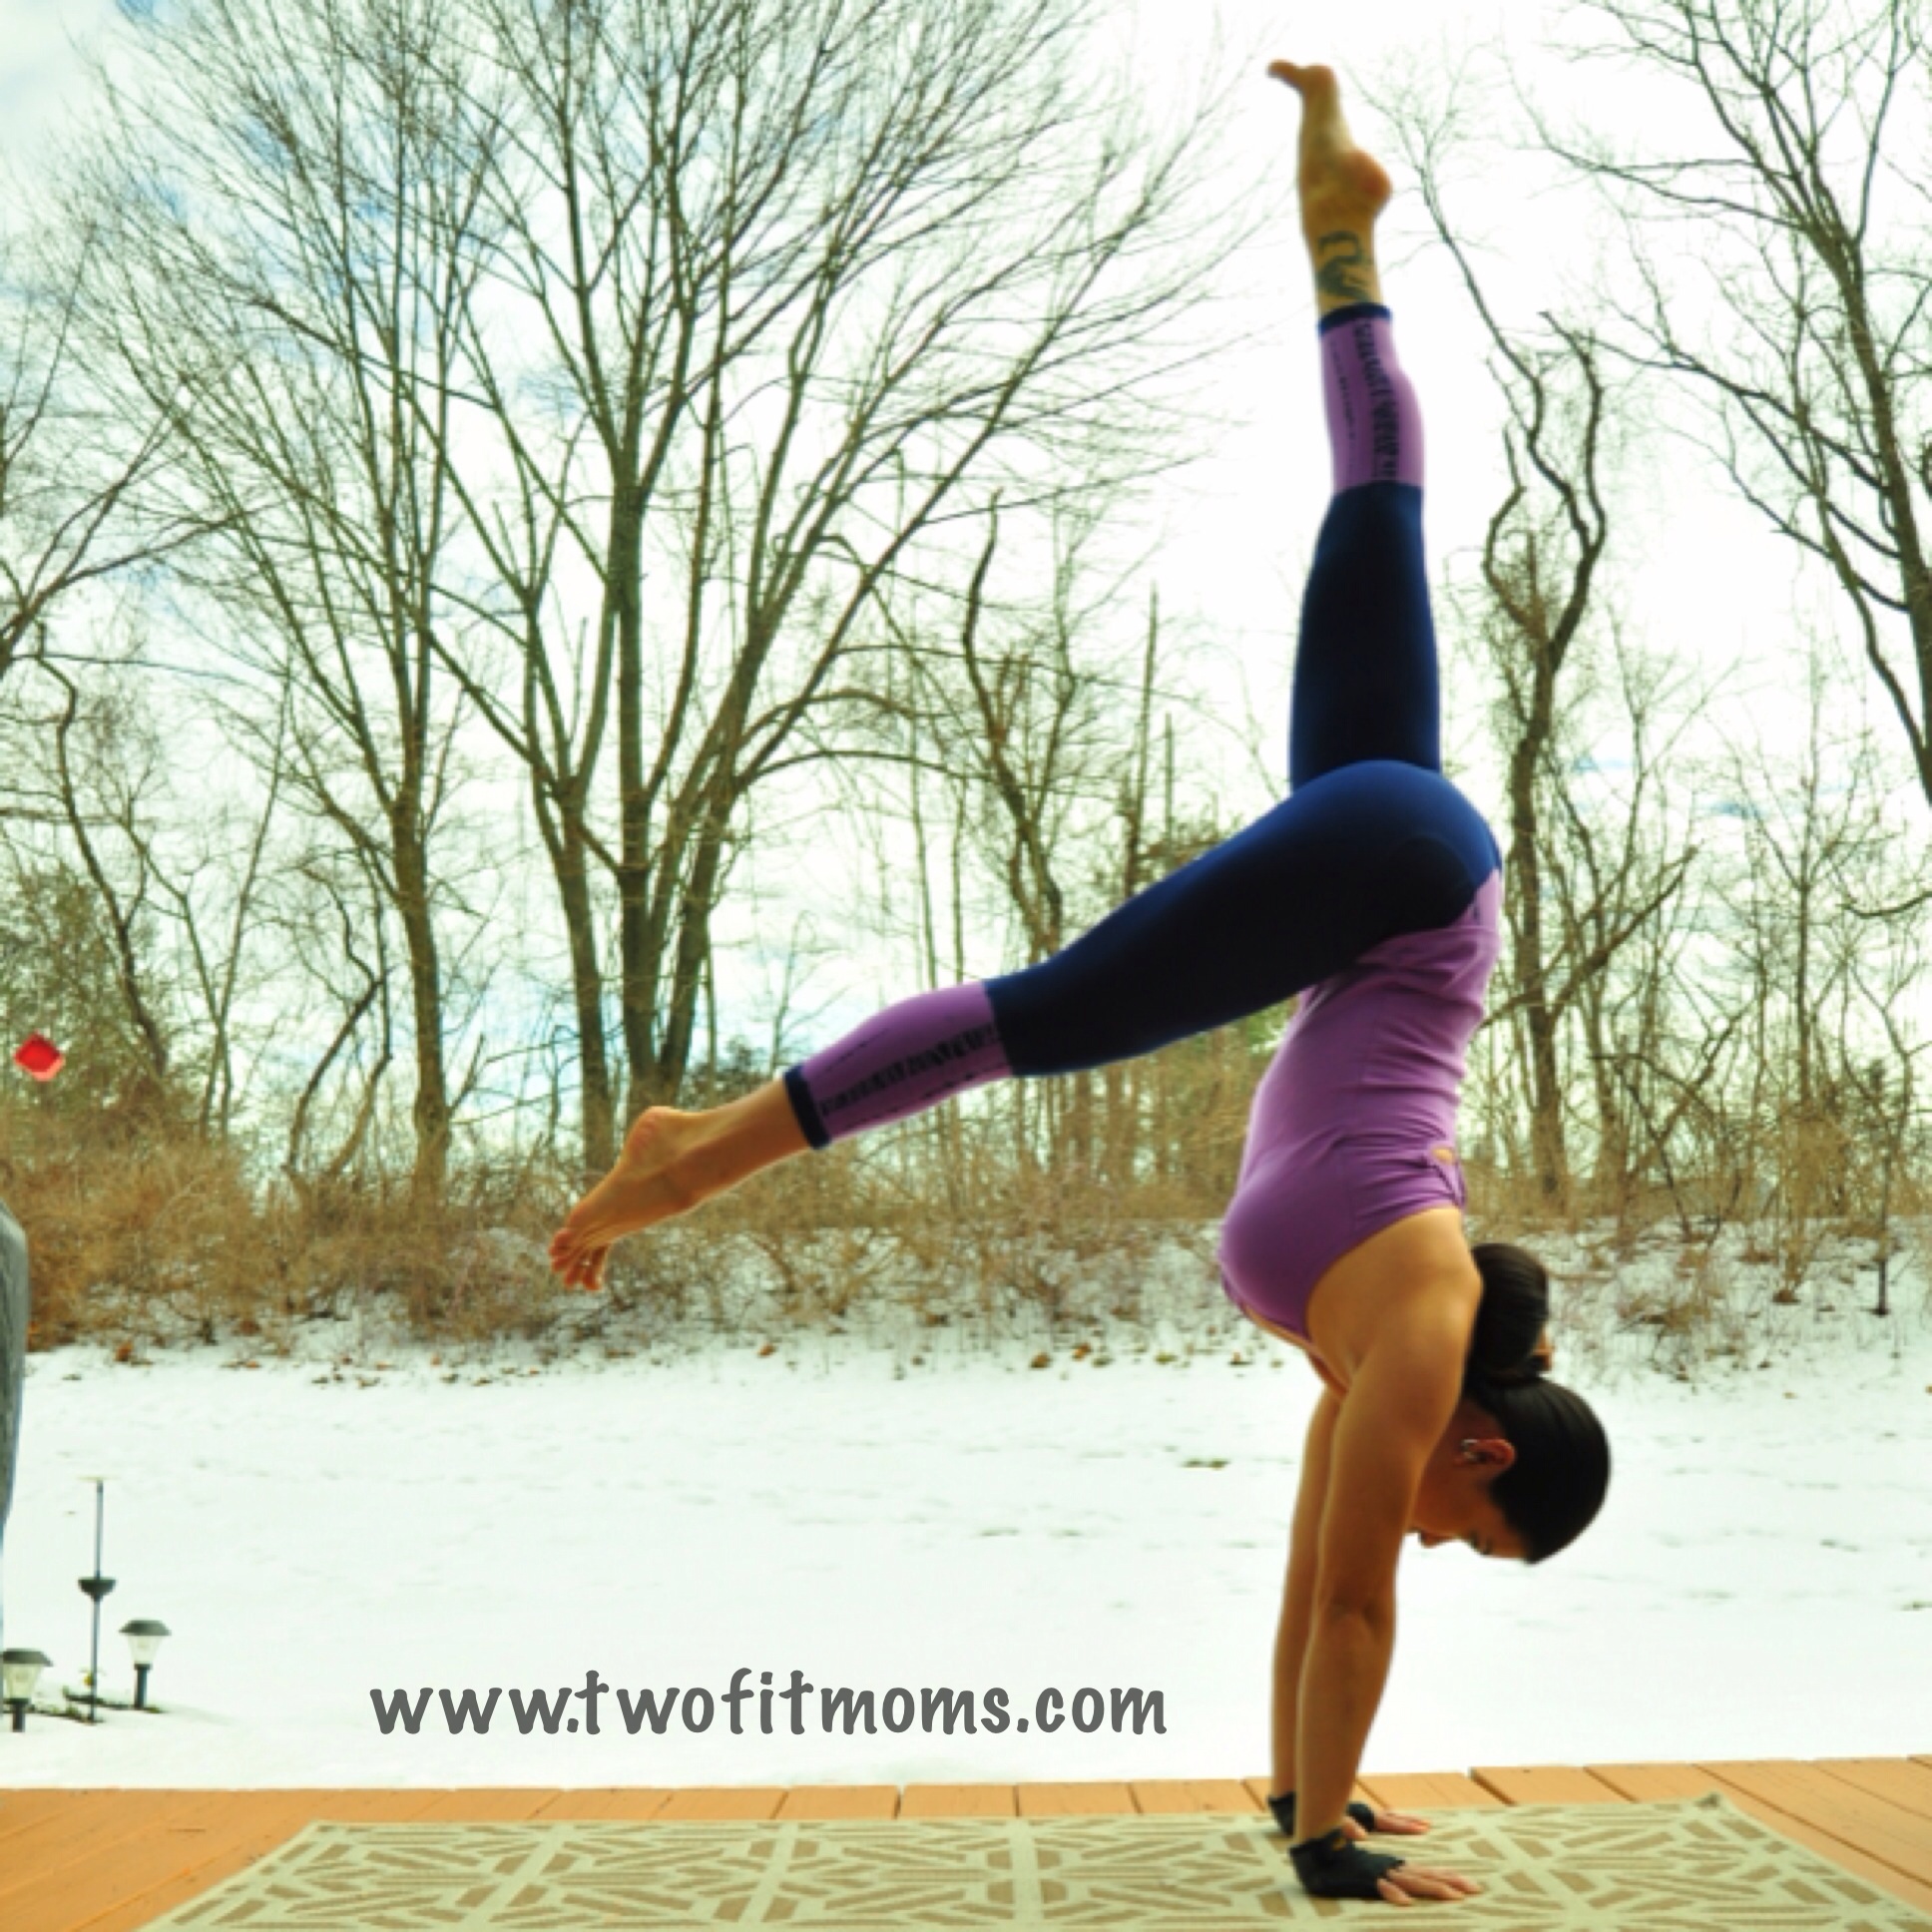
    Step 4: Baby kick ups

    Bend the bottom leg and lightly push off of the foot – maybe only an inch or so off of your mat.  Keep the top leg energized and extended toward the sky, while the bottom leg extends out.  Both legs need to be active. Make sure not to let your face sink towards your mat.  Push actively into your forearms and hands, keep the shoulders down and away from your ears. Try to keep the arms at 90 degrees.

    Photo Feb 05, 4 53 53 PM

    Be patient. When you feel ready, you can start kicking up a bit harder to try to get the hips up over the shoulders and maybe gain more hang time.

    Photo Feb 05, 4 54 05 PM

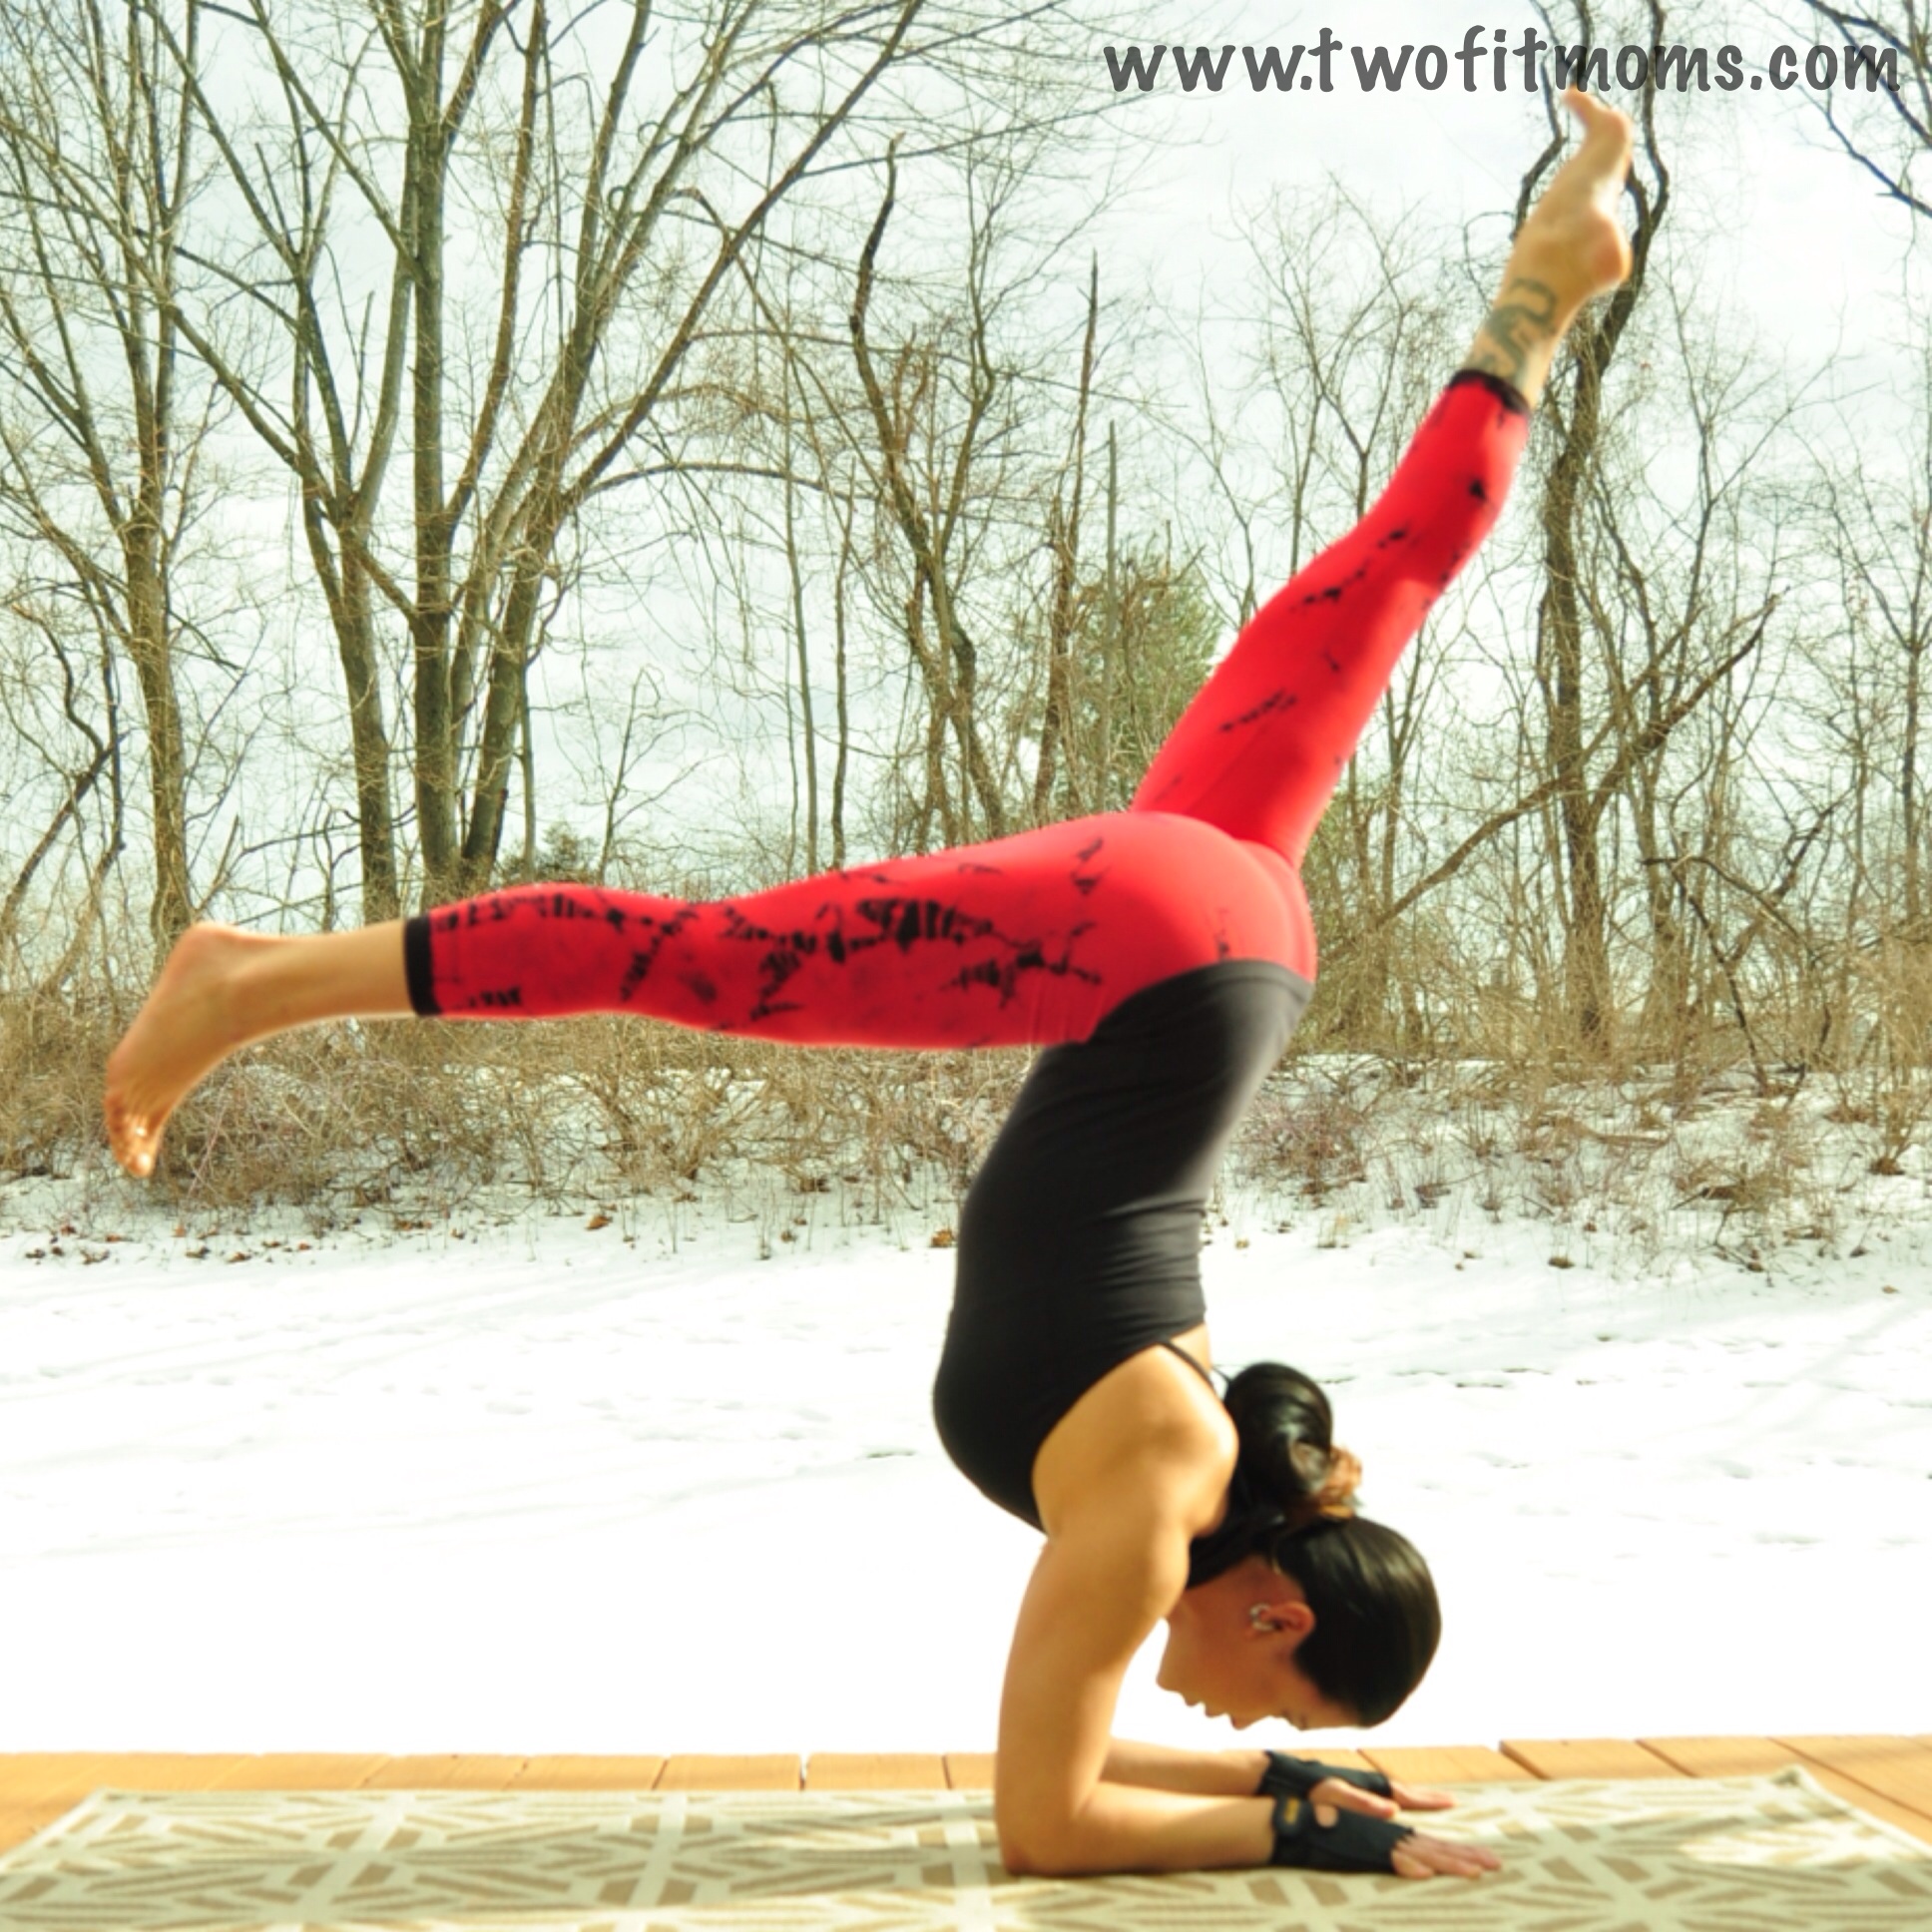
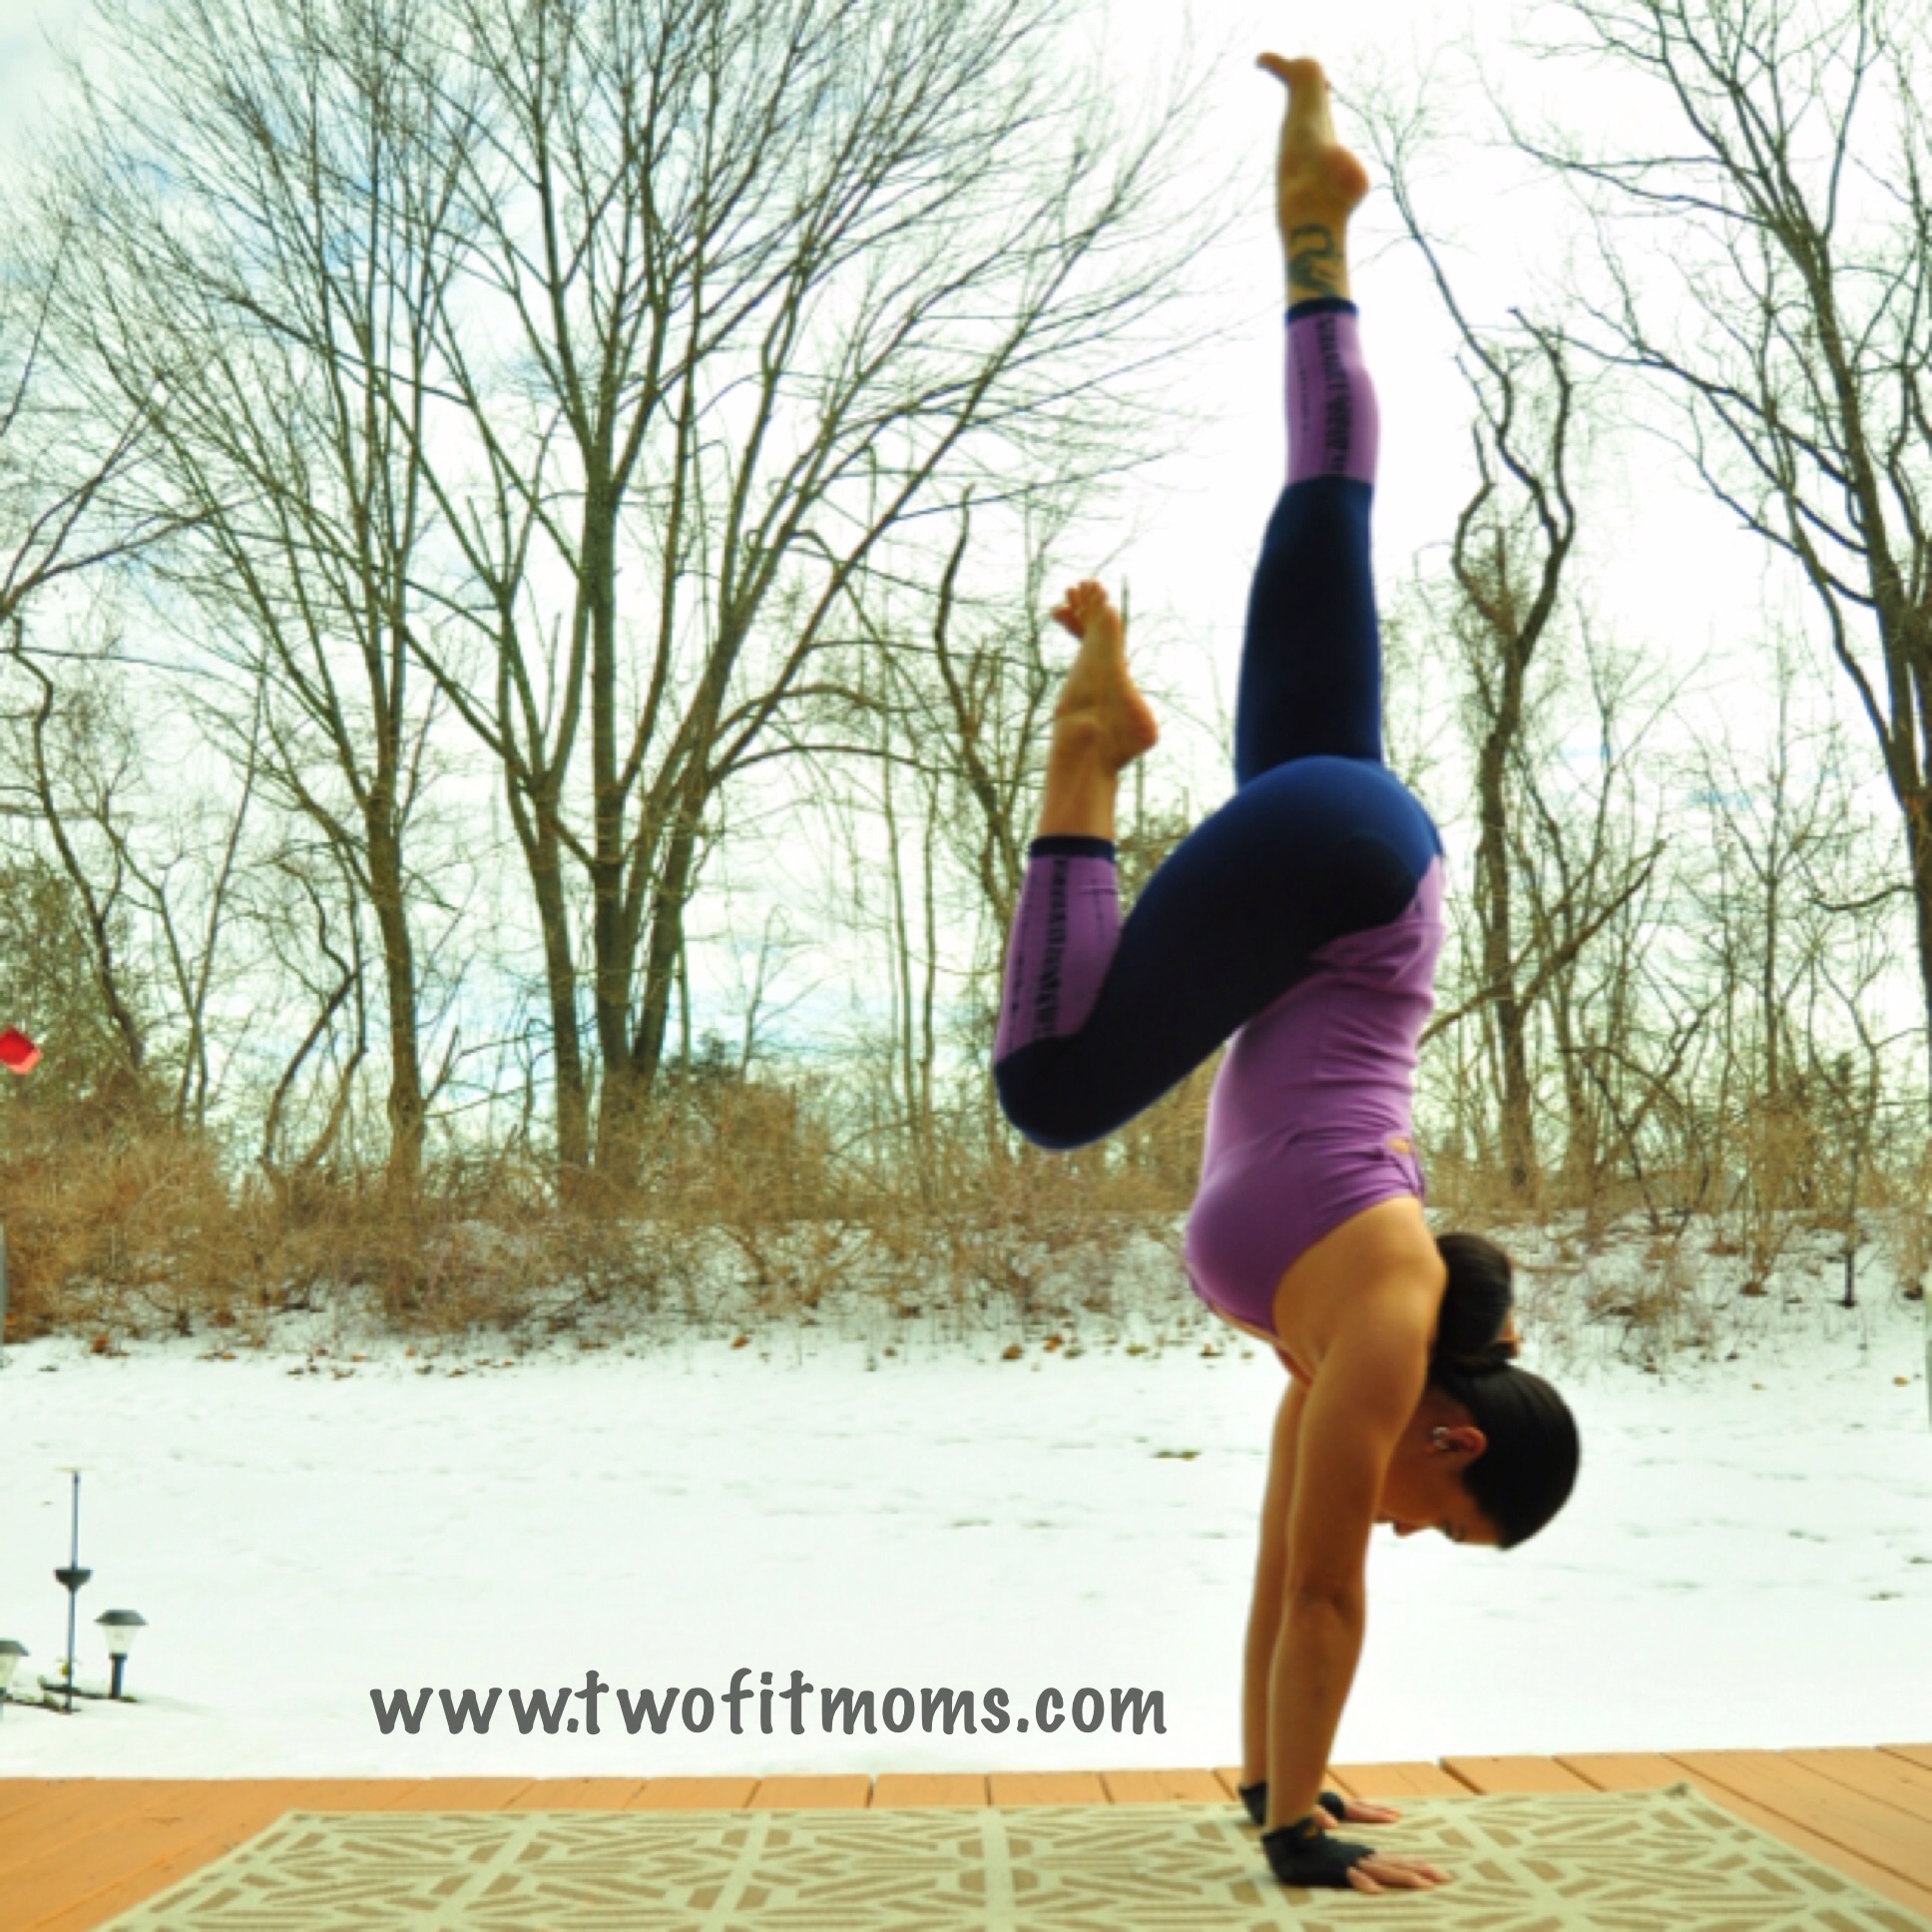
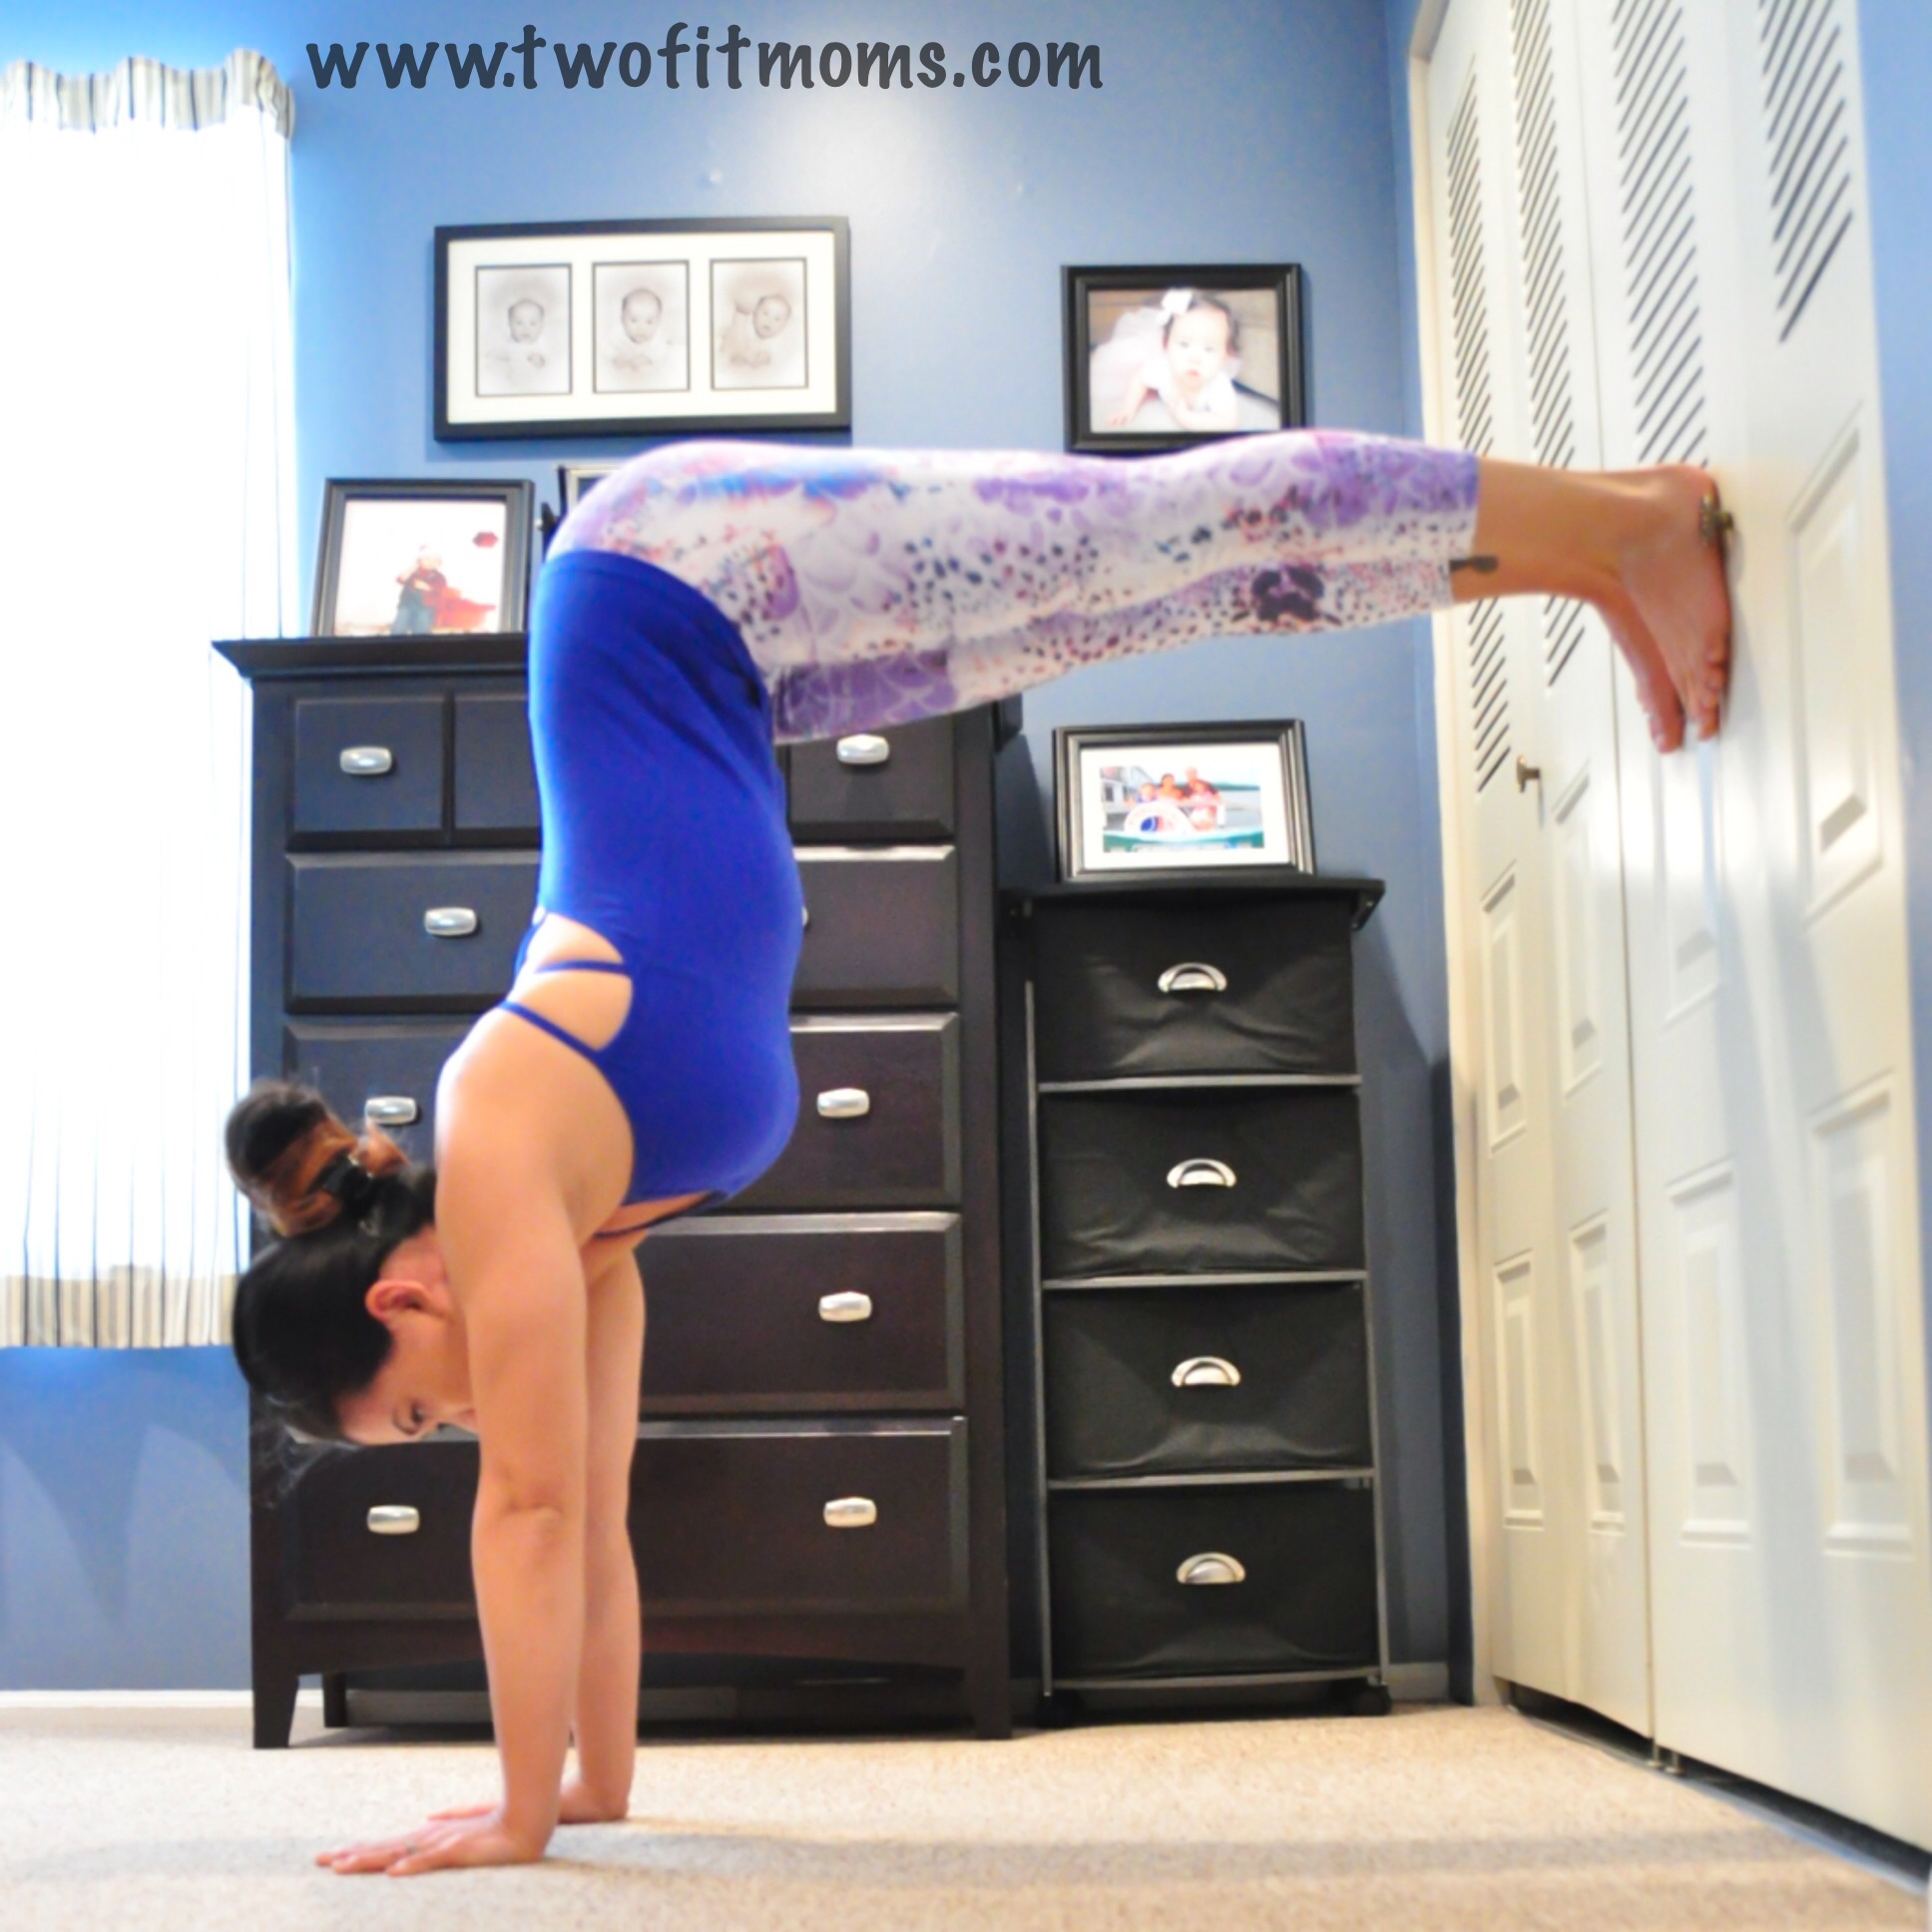
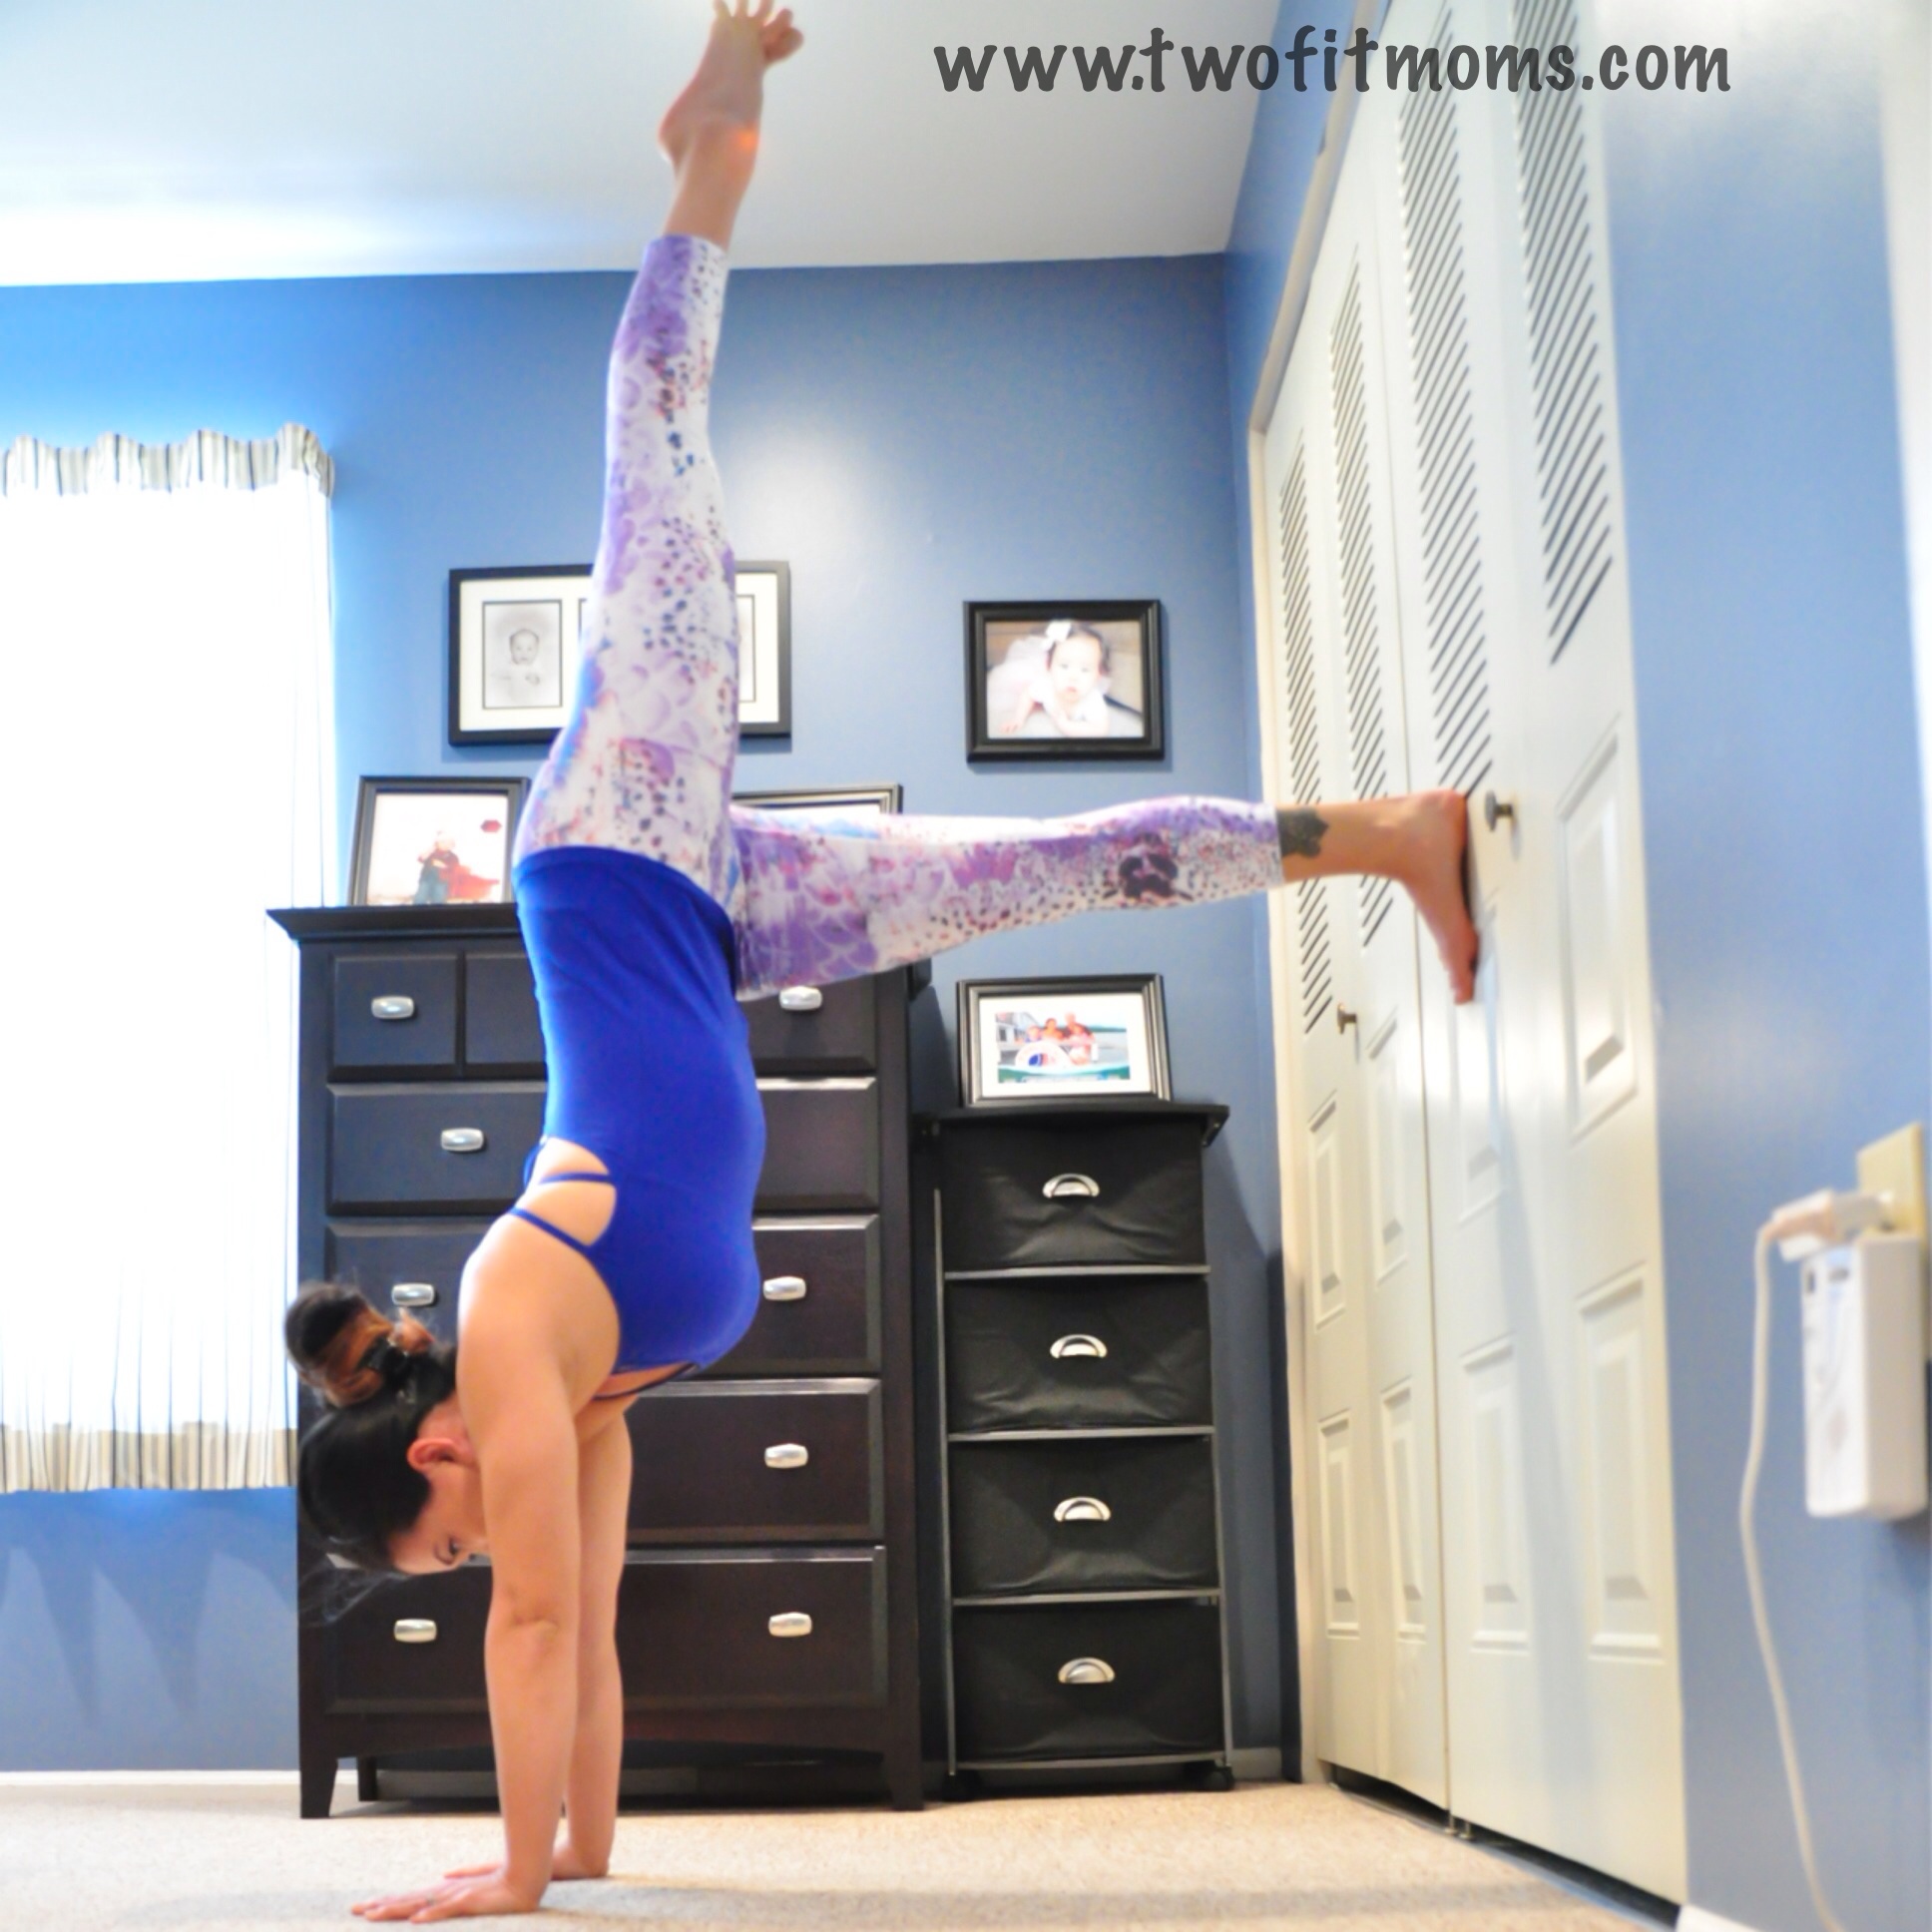
    Step 5: Full expression

    Once you are comfortable kicking up into an “L” shape and holding it, you can start to play with bringing the bottom leg up to the top leg.

    Keep your lower ribs pulled in and your core engaged to avoid banana back.

    Photo Feb 05, 4 54 15 PM

    Don’t be frustrated if this pose does not come easily.

    “Even if you fall on your face, you’re still moving forward.” – Victor Kiam

    XOXO

    Blog Signature

  • Banana-Oat Muffins

    Banana-Oat Muffins

    Let me tell you why I love these banana-oat muffins:

    They are quick and easy to make.
    You don’t need to drag your electric mixer out of the cabinet for this recipe.  You just need a big bowl, a whisk, and a good masher—like what you’d use to smash your potatoes.  Making the batter is BananaOatMuffinRecipe
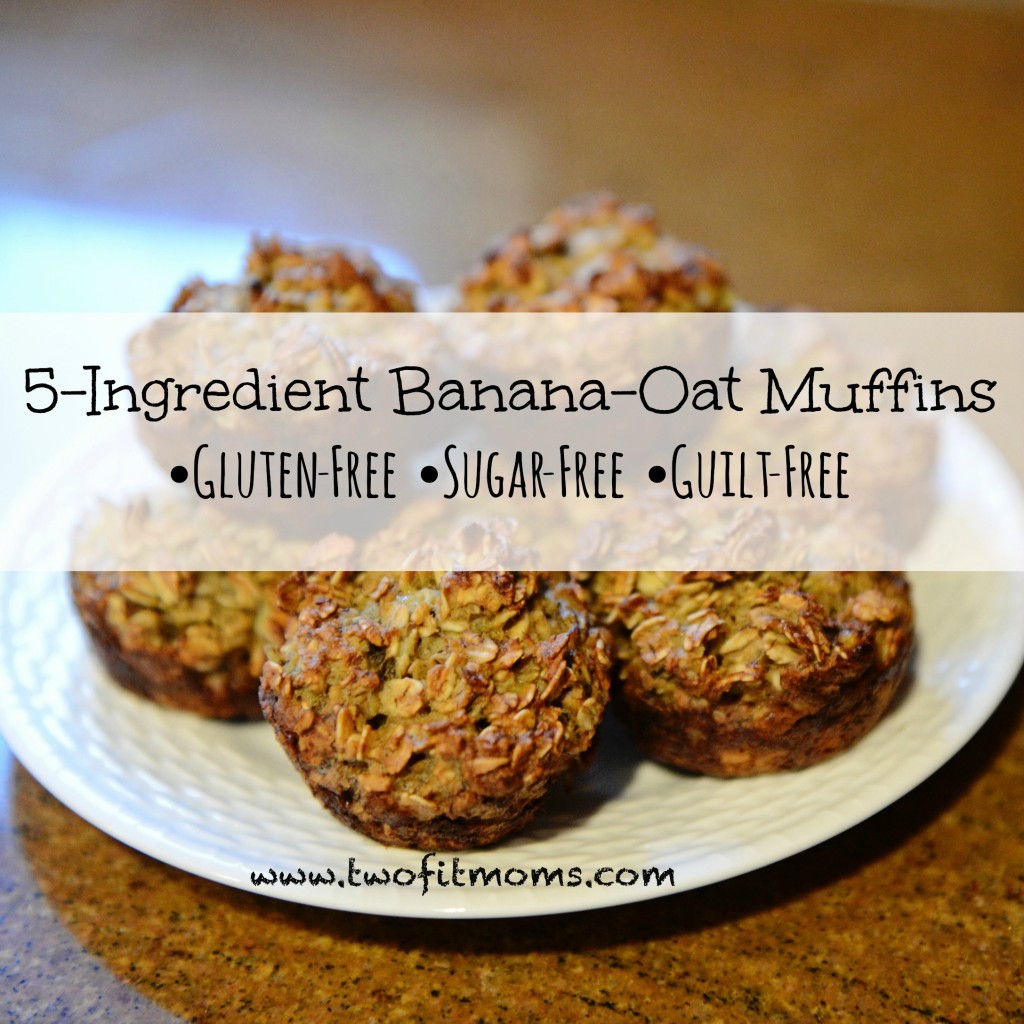
quick, and 18 minutes in the oven is all it takes to have piping hot muffins on your table.

    They are minimally processed.
    Forget your highly processed pantry items!  No need for white sugar, brown sugar, white flour or flour of any kind.  These muffins are sweetened with just bananas.

    They make use of old brown bananas.
    I can’t handle seeing old brown bananas on my counter top, and there are only so many brown bananas that I can save in my freezer for smoothies.  I love that this recipe makes great use of bananas that are no longer edible.

    They are gluten-free.
    This recipe is gluten-free, so it’s perfect to share with all of your friends.  These days, we all know somebody with allergies, so it’s nice to have a few recipes for baked goods that work for everyone.  If you have a gluten allergy/sensitivity, please make sure you are using gluten-free baking powder.  Your oats should also be labeled as “gluten-free”.  Although oats do not naturally contain gluten, they could have traces of gluten if the oats have been grown next to a wheat field or processed in mill that also processes wheat.

    They are guilt-free.
    All natural ingredients and no added sugar or flour?  I would definitely say that this qualifies as a guilt-free recipe.

    And, they are kid-approved.
    My kids will actually eat these muffins.  I usually sprinkle a few mini chocolate chips on the top of a few of the muffin tins before baking.  It adds a little sweetness and feels like more of a treat.  Feel free to add your own toppings like blueberries or coconut!

    Preheat oven to 400 degrees.

    Ingredients:

    2 ½ cups old fashioned oats
    2 eggs
    3 brown bananas, mashed
    1 ½  teaspoons baking powder
    ½ teaspoon baking soda

    Mix all ingredients together, and divide into 12 muffin tins. Bake for 18 minutes.

  • Handstands 101: Part 2… The Kick Up

    Handstands 101: Part 2… The Kick Up

    If you are comfortable walking your feet up the wall and being on your hands, you are ready for the next move (if not, check back to my last post  here for a refresher).  The next step on your journey to handstand is the “kick up.”  As the name implies, it involves kicking your legs up into the air and placing all of your weight onto your hands.  I highly encourage you to have a person, and a wall, nearby  if this is your first time!

    Let’s get started!

    Step 1: For my newbies

    If you are completely new to the handstand and nervous, please ask a friend, partner, spouse or family member to spot you.  Sometimes just having someone there as an added safety measure reduces the fear.  Also, I recommend positioning yourself  8″-12″ inches from the wall.  This time, fingers will face the wall so that you are kicking up towards it.

    Step 2: Get set in downward facing dog

    Photo Feb 02, 2 21 03 PM

    Considered a mild inversion itself, Downward Facing Dog, or Adho Mukha Svanasana, offers the perfect starting position for your handstand practice.  Many of the alignment cues for handstand should also be applied in this pose.  Here is a quick rundown of what I discussed in my previous post.

    – Fingers are spread wide and grip the mat
    – Weight should be equally distributed through all 4 corners of your palms
    – Biceps externally rotate out
    – Arms remain straight!
    – Upper arm bones plug into their sockets
    – Shoulder blades roll down the back
    – Lower ribs corset in
    – Navel pulls in, core engages
    – Inner thighs rotate in
    – BREATHE, BREATHE, BREATHE!

    Step 3: Stack the shoulders over your wrists

    Photo Feb 02, 2 21 18 PM

    From Downward Facing Dog, slowly walk the feet in towards the hands so that the shoulders stack directly over your wrists and you come onto the balls of your feet.  Keep your gaze down. I usually gaze slightly past my fingertips.  Make a mental note – even though you have shifted slightly forward and put more weight into your hands, the above key alignment points have not changed.

    Step 4: Lift a leg

    Photo Feb 02, 2 21 33 PM

    Slowly lift one leg high into the air.  The key is to avoid opening up your hip.  A good way to keep the hips square is to flex the lifted foot and keep the toes pointing down toward the mat.  PLAY with lifting both legs up.  Everyone usually has a more dominant side or one that just feels more comfortable.  In the beginning, stay with that leg. Once you get more comfortable, THEN practice using both!


    Step 5: Get ready to spring!

    Photo Feb 02, 2 21 51 PM

    Keeping the hips square, bend the bottom leg.  DO NOT lower the top leg down towards the ground!  Keep the lifted leg extending up towards the sky.


    Step 6: Take flight!

    Photo Feb 02, 2 22 30 PM

    Pushing off of the bottom leg, GENTLY… I repeat.. GENTLY kick off of the ground.  The first few times you try, you may only get a few inches off of the ground.  THAT IS TOTALLY FINE!  You are building confidence and trust in yourself!  Take your time and set yourself up in between attempts.  Remember that checklist in the beginning of this tutorial?  Keep going through it in your mind.

    Remember, handstands are a full body posture… so claw your mat, engage your core, floint or point those feet!

    Once you kick up, the bottom leg can extend out straight which is usually called an “L” handstand or you can bend it in towards your body (shown below).  When learning, I preferred the “L” better for gaining hangtime but please try both.  Everyone is different!


    Photo Feb 02, 2 22 12 PM

    Whatever method you choose, ALWAYS remember to breathe.  The traditional way is to inhale while kicking up.  I like to exhale on the way up. I know, it’s weird. ..but I feel more connection to my core this way.  When you are learning and trying to remember what to do, I think it’s more important to just REMEMBER to breathe.  So play around with it, and try it both ways.


    HAVE FUN and BE SAFE!

    XOXO

    Blog Signature


  • Handstands 101: Building Your Foundation

    Handstands 101: Building Your Foundation

    Handstands have become an integral part of my practice.  They can be fun and exhilarating, and can take your practice to a whole new level.  For beginners, they can be scary and seem impossible.  Here is how you can comfortably start a handstand practice. 

    DSC_6079

    Step 1: Get out of your head!

    The phrase “I can’t” can no longer be in your vocabulary. Although the journey to a free-standing handstand may seem impossible for you, it isn’t!  Handstands are not built in a single day… for most people it takes time, practice and patience.  If you cannot do something today, that does not mean you will never do it.  All of us START some where, and all of us were BEGINNERS at some point.  So get it out of your head that you can’t do a handstand and get it into your head that you WILL!

    Step 2: Your phalanges are your best-friend

    Photo Jan 31, 8 04 34 AM

    Just as the name implies, the goal is to be able to balance on your HANDS.  Your ten little fingers are the key to helping you balance and connect with the earth.  The weight of your body should be equally distributed through all four corners of your palms.  Too far toward the heel of your hand, you will come down immediately… too far toward your fingers, you will fall the other way and hurt your fingers.

    GRIP your mat with your fingers!  Keep your fingers active by clawing your mat.  Those ten little digits can make or break your handstand.  By actively using them, it will keep your weight centered and help you stay balanced.

    Step 3: Building your foundation

    Photo Jan 31, 8 04 50 AM

    Time to find a wall space!  Begin at the wall and make your way into tabletop position with your heels going up the wall.  Set yourself up so that your shoulders are directly over your wrists and your hips are over your knees.  Hands are shoulder width distance apart.  Remember what we just talked about?  Spread your fingers wide, index fingers will be parallel to one another or close to that.  Everyone is different, so play with this!

    Roll the biceps out!  You will hear this often and may think… What the hell does that mean?  What this implies is an external rotation of your arms.  Still lost?  Try this little exercise… Sit up tall and extend both arms out in front of you so that hands are shoulder width apart, hands are flexed and index fingers are parallel to one another.  Slowly rotate the hands so that the index fingers start to point towards one another… Feel the upper arm bones pull out of their socket and feel your upper back round? This is NOT what we want.  Now, slowly start to rotate the hands back out and bring the index fingers back to parallel… Feel the arm bones plug back in, the upper back straighten and shoulder blades roll down the back.  Bingo!  You can exaggerate this feeling by actively rolling the shoulders away from your ears.

    Now take that external rotation into your tabletop position against the wall!

    Step 4: Lift those hips!

    Photo Jan 31, 8 05 06 AM

    Time to add some more weight onto those hands and arms! From tabletop position, push into your hands and lift your hips up into a shortened downward facing dog.  Your feet will press into the wall.  Keeping your hands and arms exactly as is, slightly shift forward so that the shoulders line up directly over the wrists again.  Keep your gaze focused on the ground and slightly beyond your fingers.  Feel the weight distribute equally through your palms, feel your fingers claw at the earth.

    Take a few breaths and come down if you need to rest!

    Step 5: Walk the feet up the wall

    Photo Jan 31, 8 05 21 AM

    Slowly bend one knee and bring the foot higher onto the wall.  Push into the wall with that foot so the bent leg straightens and you can slowly bring the second foot up to meet the first.


    Step 6: Congratulations on your first handstand!

    Photo Jan 31, 8 05 36 AM

    When you straighten both legs, your hips will stack over your shoulders which should already be over your wrists. Suck your bottom ribs in by not dumping into your chest.  This will help prevent the “banana back” or curve in your spine.  Engage your core and bring your navel in.  Masumi described it best… It’s similar to the feeling you get when someone throws a football to you to catch.  Your ribs pull in, your core engages to prepare for the impact.  Keep your legs engaged, feet pushing into the wall!

    Congratulations!  You’ve done your first handstand!  Stay here and breath.  Try to work your way up to ten deep, slow breaths in and out through your nose.  Not only will this get you comfortable on your hands, this exercise will also start to build strength in your wrists, arms, shoulders, core and legs.

    Step 7: Take it up a notch!

    Photo Jan 31, 8 05 58 AM

    Only when you are ready, you can start to play with lifting one leg actively into the air. Keep the hips square towards the wall and the inner thigh rolling in.  A great way to practice this is by keeping the lifted foot flexed.  Are your toes still pointing toward the wall?  Always keep one foot solidly pressing into the wall.


    Step 8: Relax and do a happy dance!

    Congratulations! You did it! Remember… everyone’s practice is unique and progresses at a different pace. Do not compare yourself to others.  Your practice is YOUR own.

    XOXO

    Blog Signature