Category: Latest News

  • A Fresh Look at Fitness

    A Fresh Look at Fitness

    I went for a run today and had an unexpected realization. Within 30 seconds of putting my headphones on, zipping up my hooded sweatshirt, and starting my stopwatch, I had a series of thoughts and flashbacks that stopped me in my tracks. For some odd reason, I was momentarily transported back in time to the summer that I spent at my grandmother’s house in Japan when I was Mechanical stopwatch
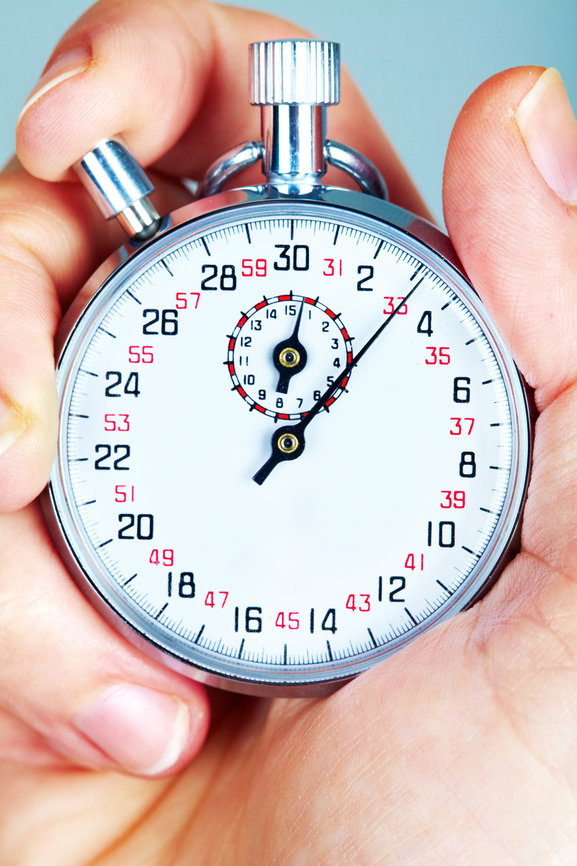
eight years old. I suddenly remembered the voice that I heard over a megaphone every morning, announcing the daily exercises that would soon begin at the park. And then I remembered the steady stream of neighbors, young and old, stepping out of their little homes and walking toward the field. No one was wearing a stopwatch. No one was displaying strong, “go get ‘em” attitudes. This was just a way of life, and there was no competition or sense of urgency associated with participating in this routine. If you were well, you got yourself up out of bed and went to exercise with everyone else.

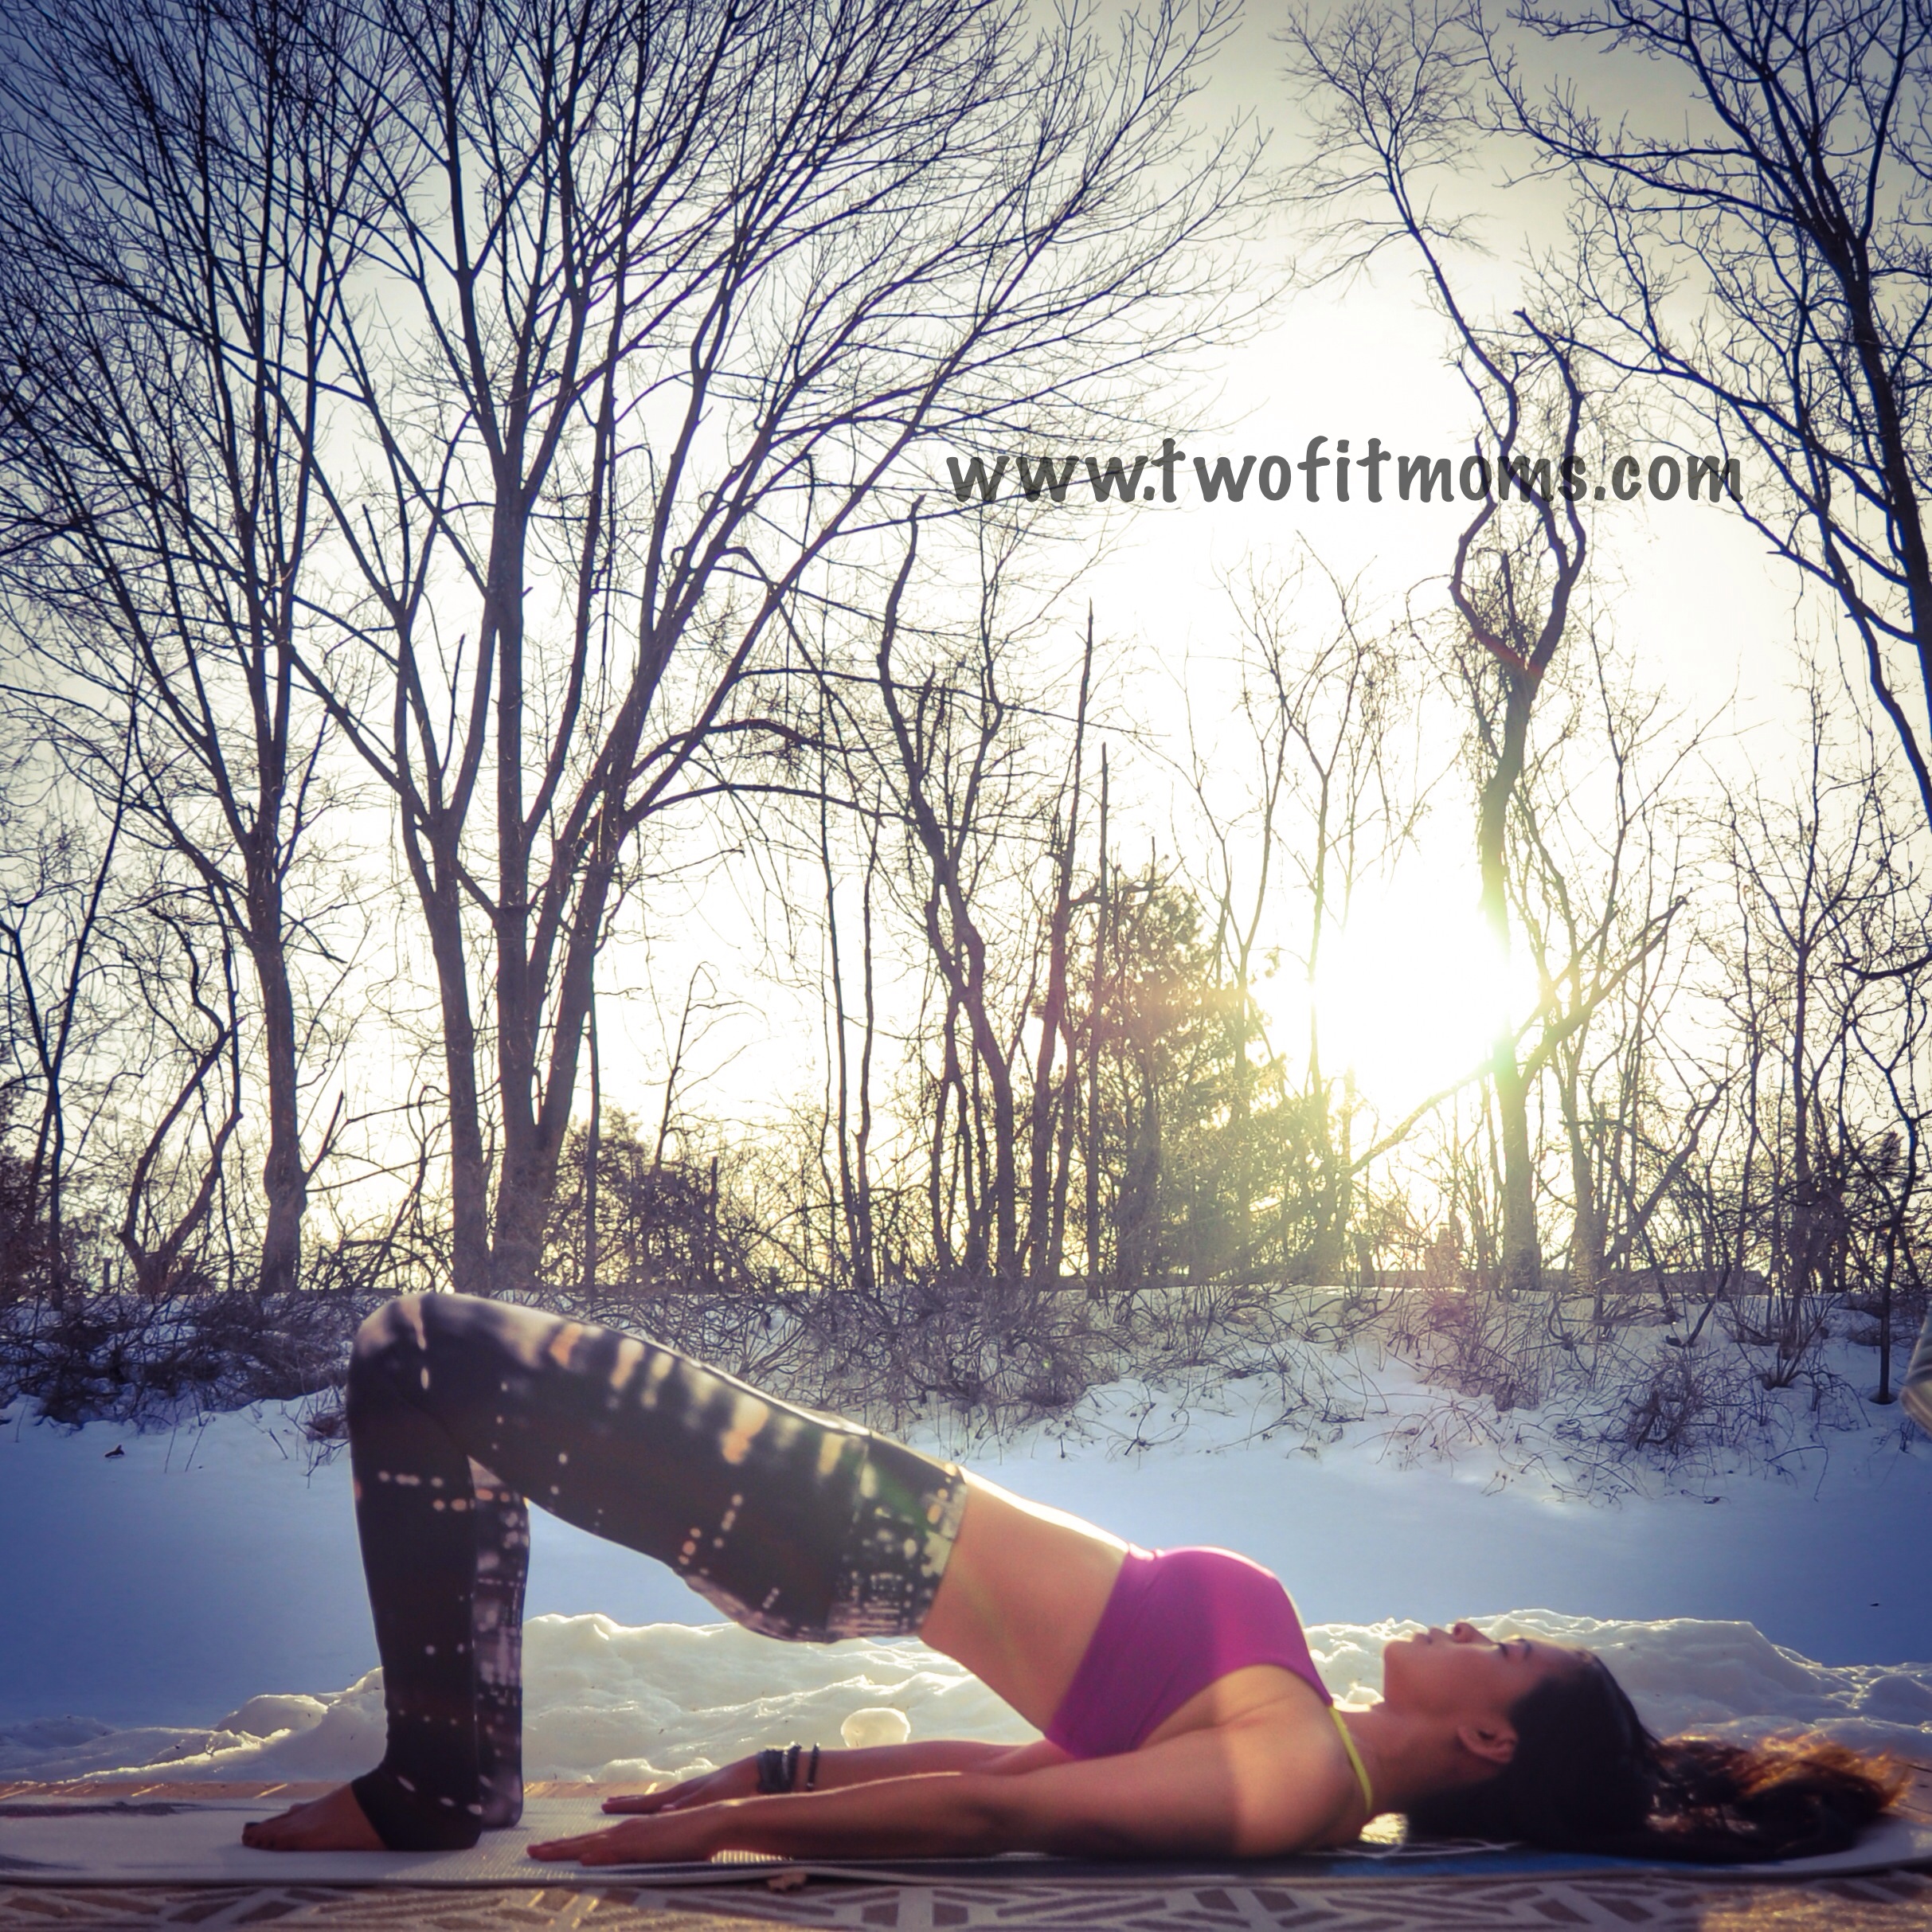
    As I stood on the pavement in the present moment, I longed for that incredible feeling of wanting to exercise as a way of life, not as a means to an end. I just wanted to jog because it felt good. I didn’t want to look at my stopwatch. I didn’t care how quickly I could cover the same distance repeatedly.

    We live in a culture of 30-day weight loss plans, 60-day intense training programs, road races, timed obstacle courses and 7-day jumpstart programs. All of these things are wonderful fitness tools, but maybe it would be enjoyable to just get back to the mindset of moving our bodies for the sake of wellness.

    In this game called life, none of us are getting out alive. The goal is to make our time here on Earth healthy and enjoyable—to balance our life activities so that we spend the vast majority of our time LIVING rather than dying.

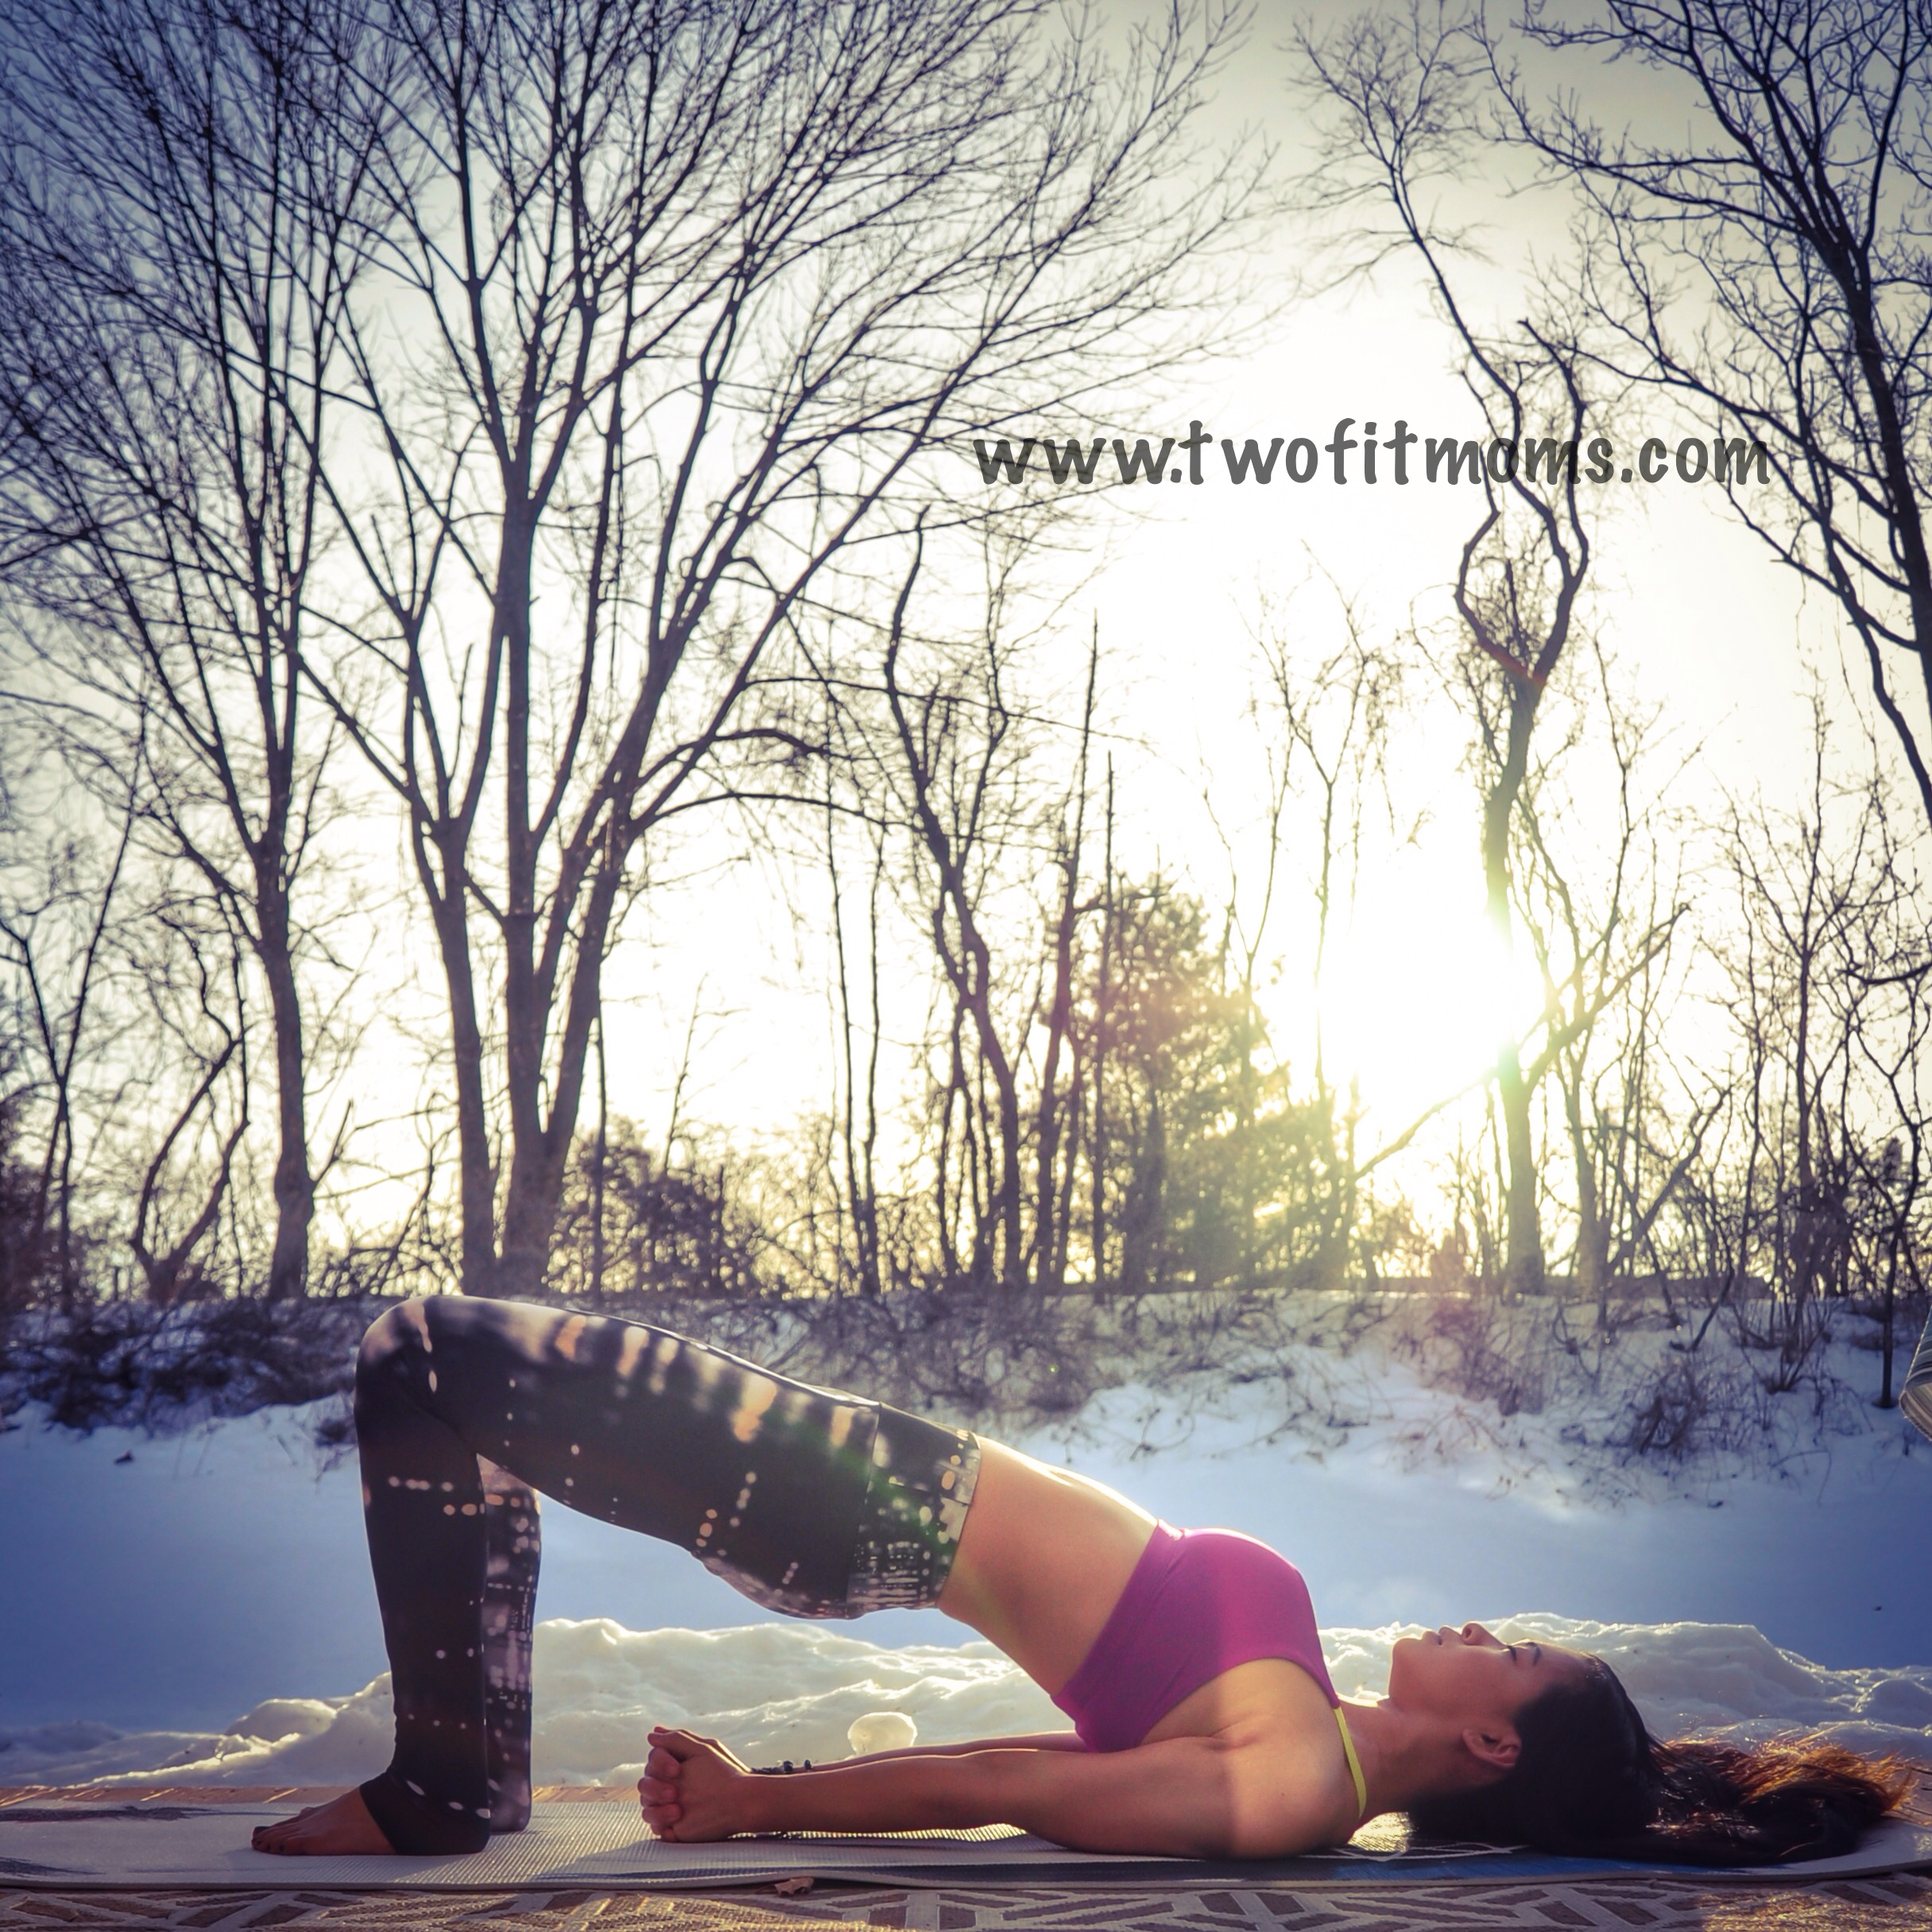
    What’s the point of making exercise such a painful, dreadful experience? For most of us, the goal is not to become an elite level athlete. We just want to feel good, look good and maintain a healthy lifestyle. Can’t we just achieve all of that with moderation?

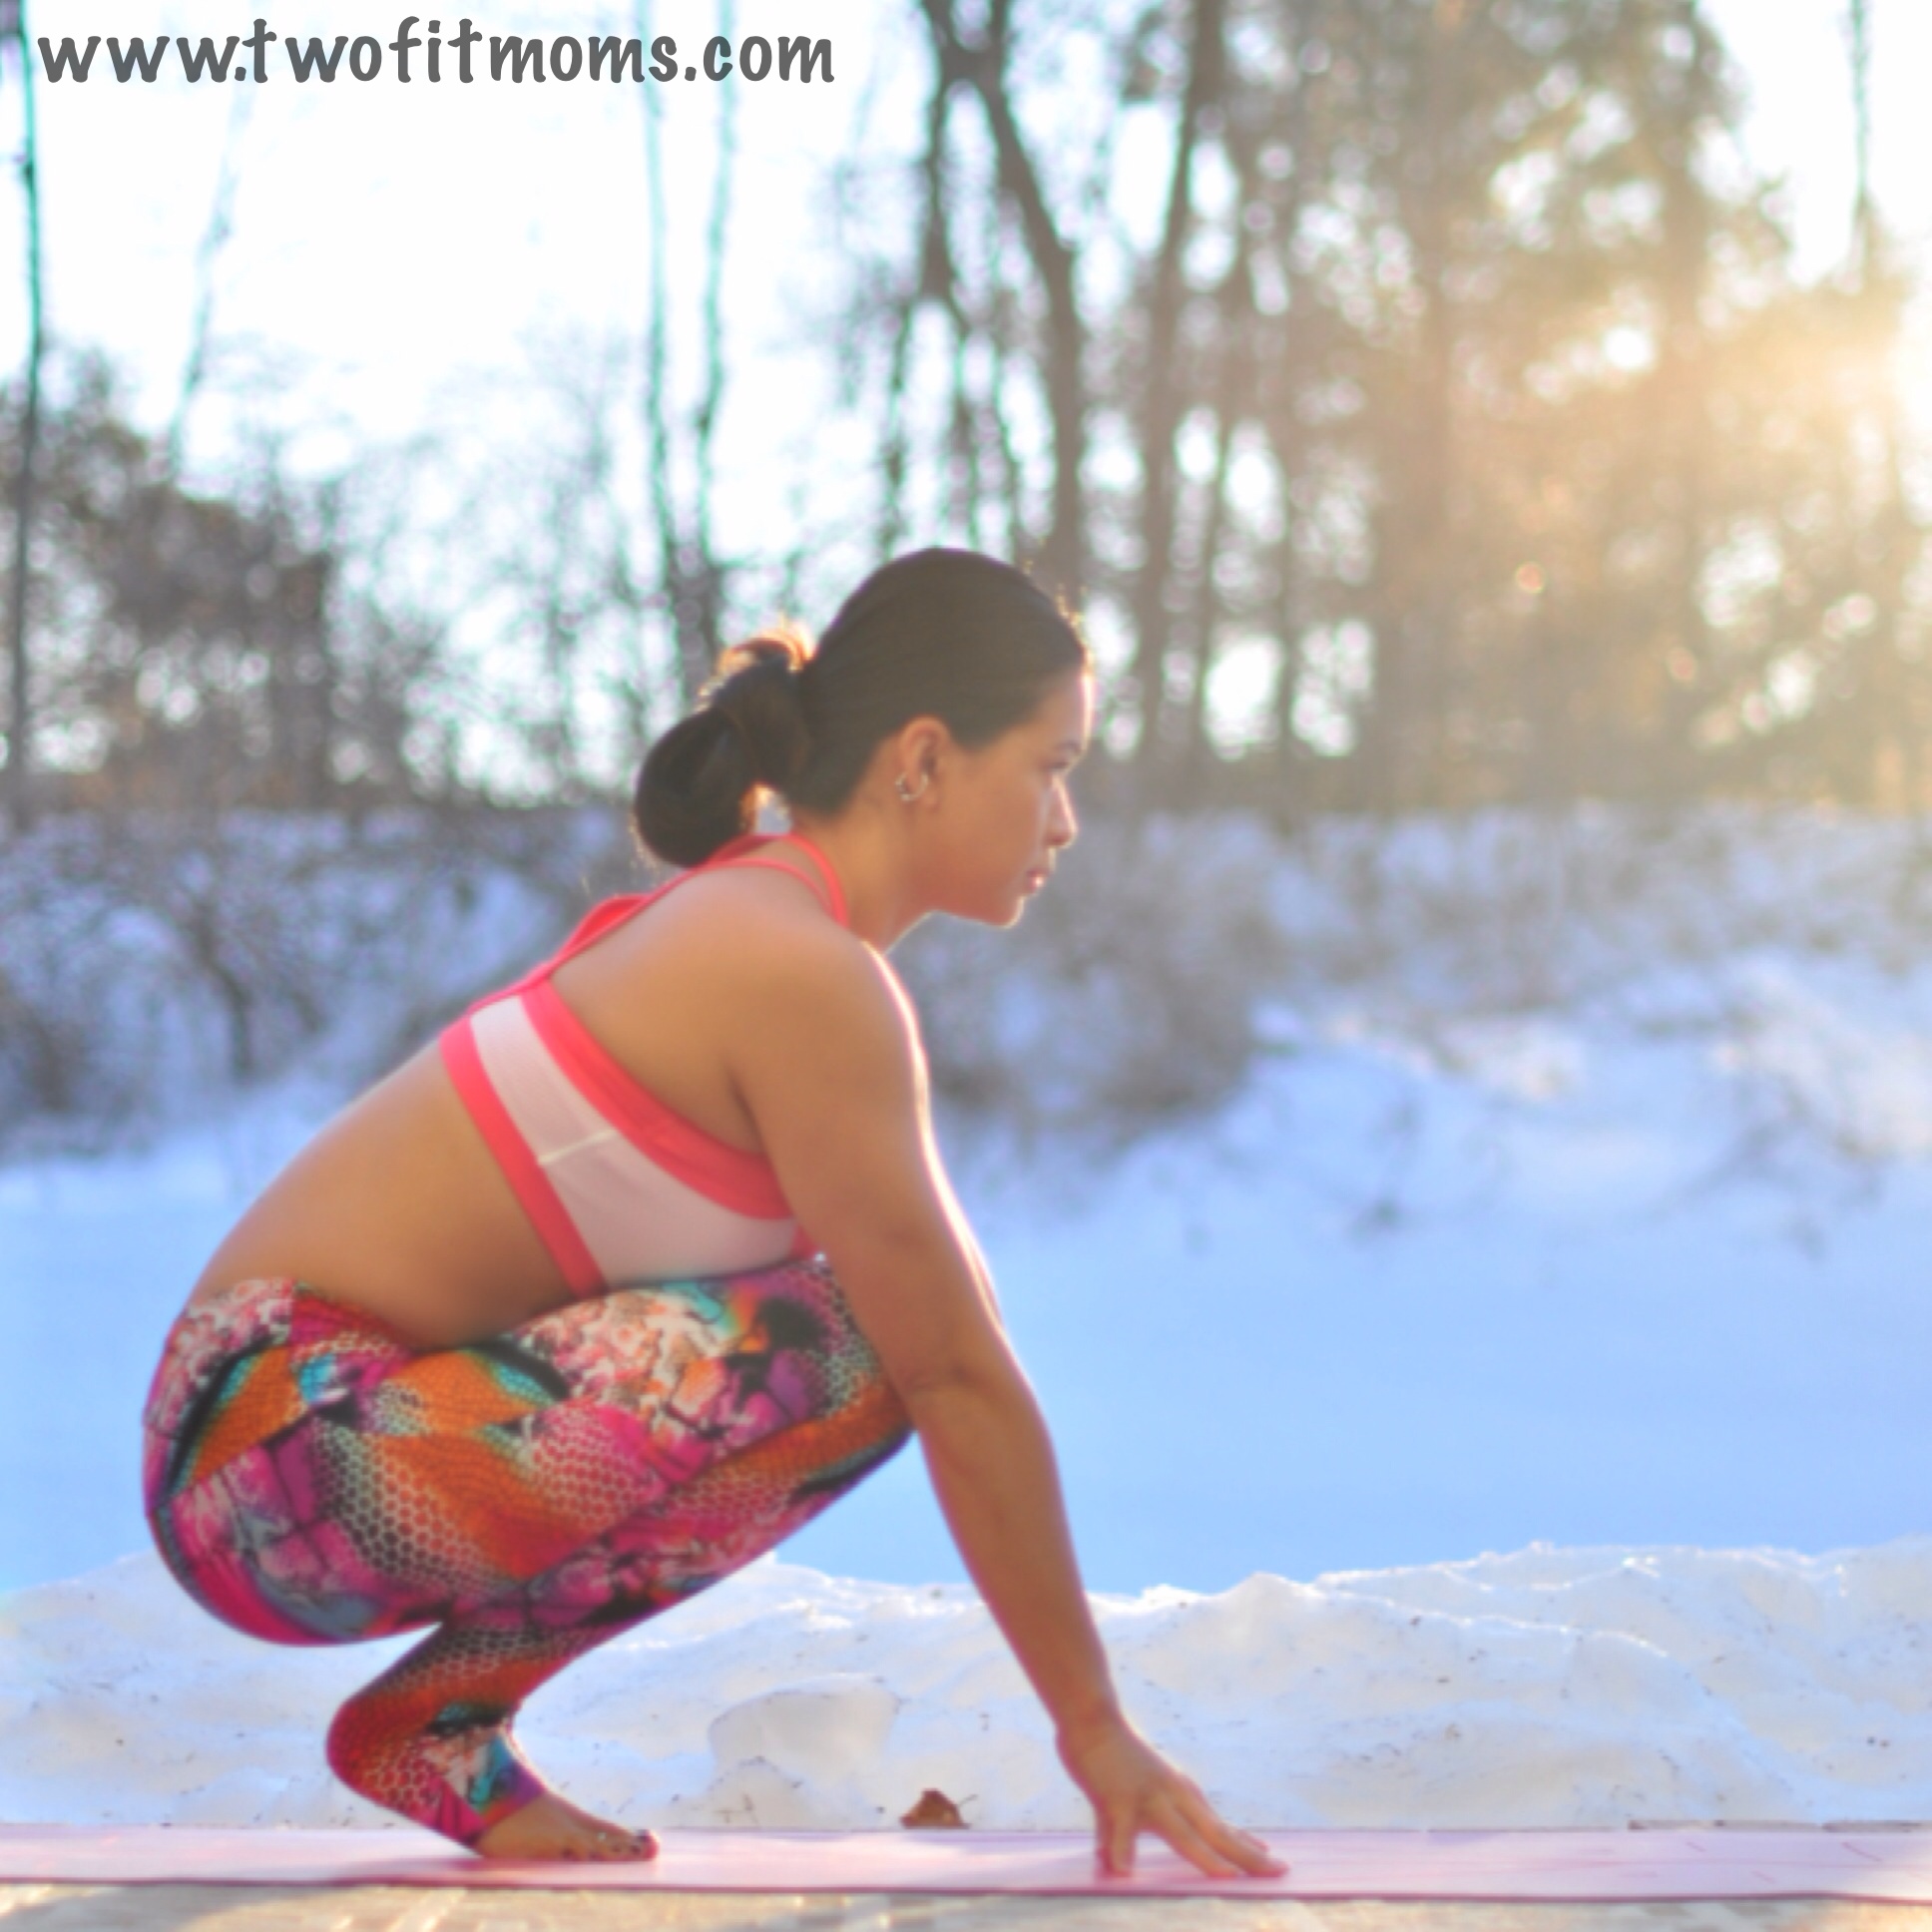
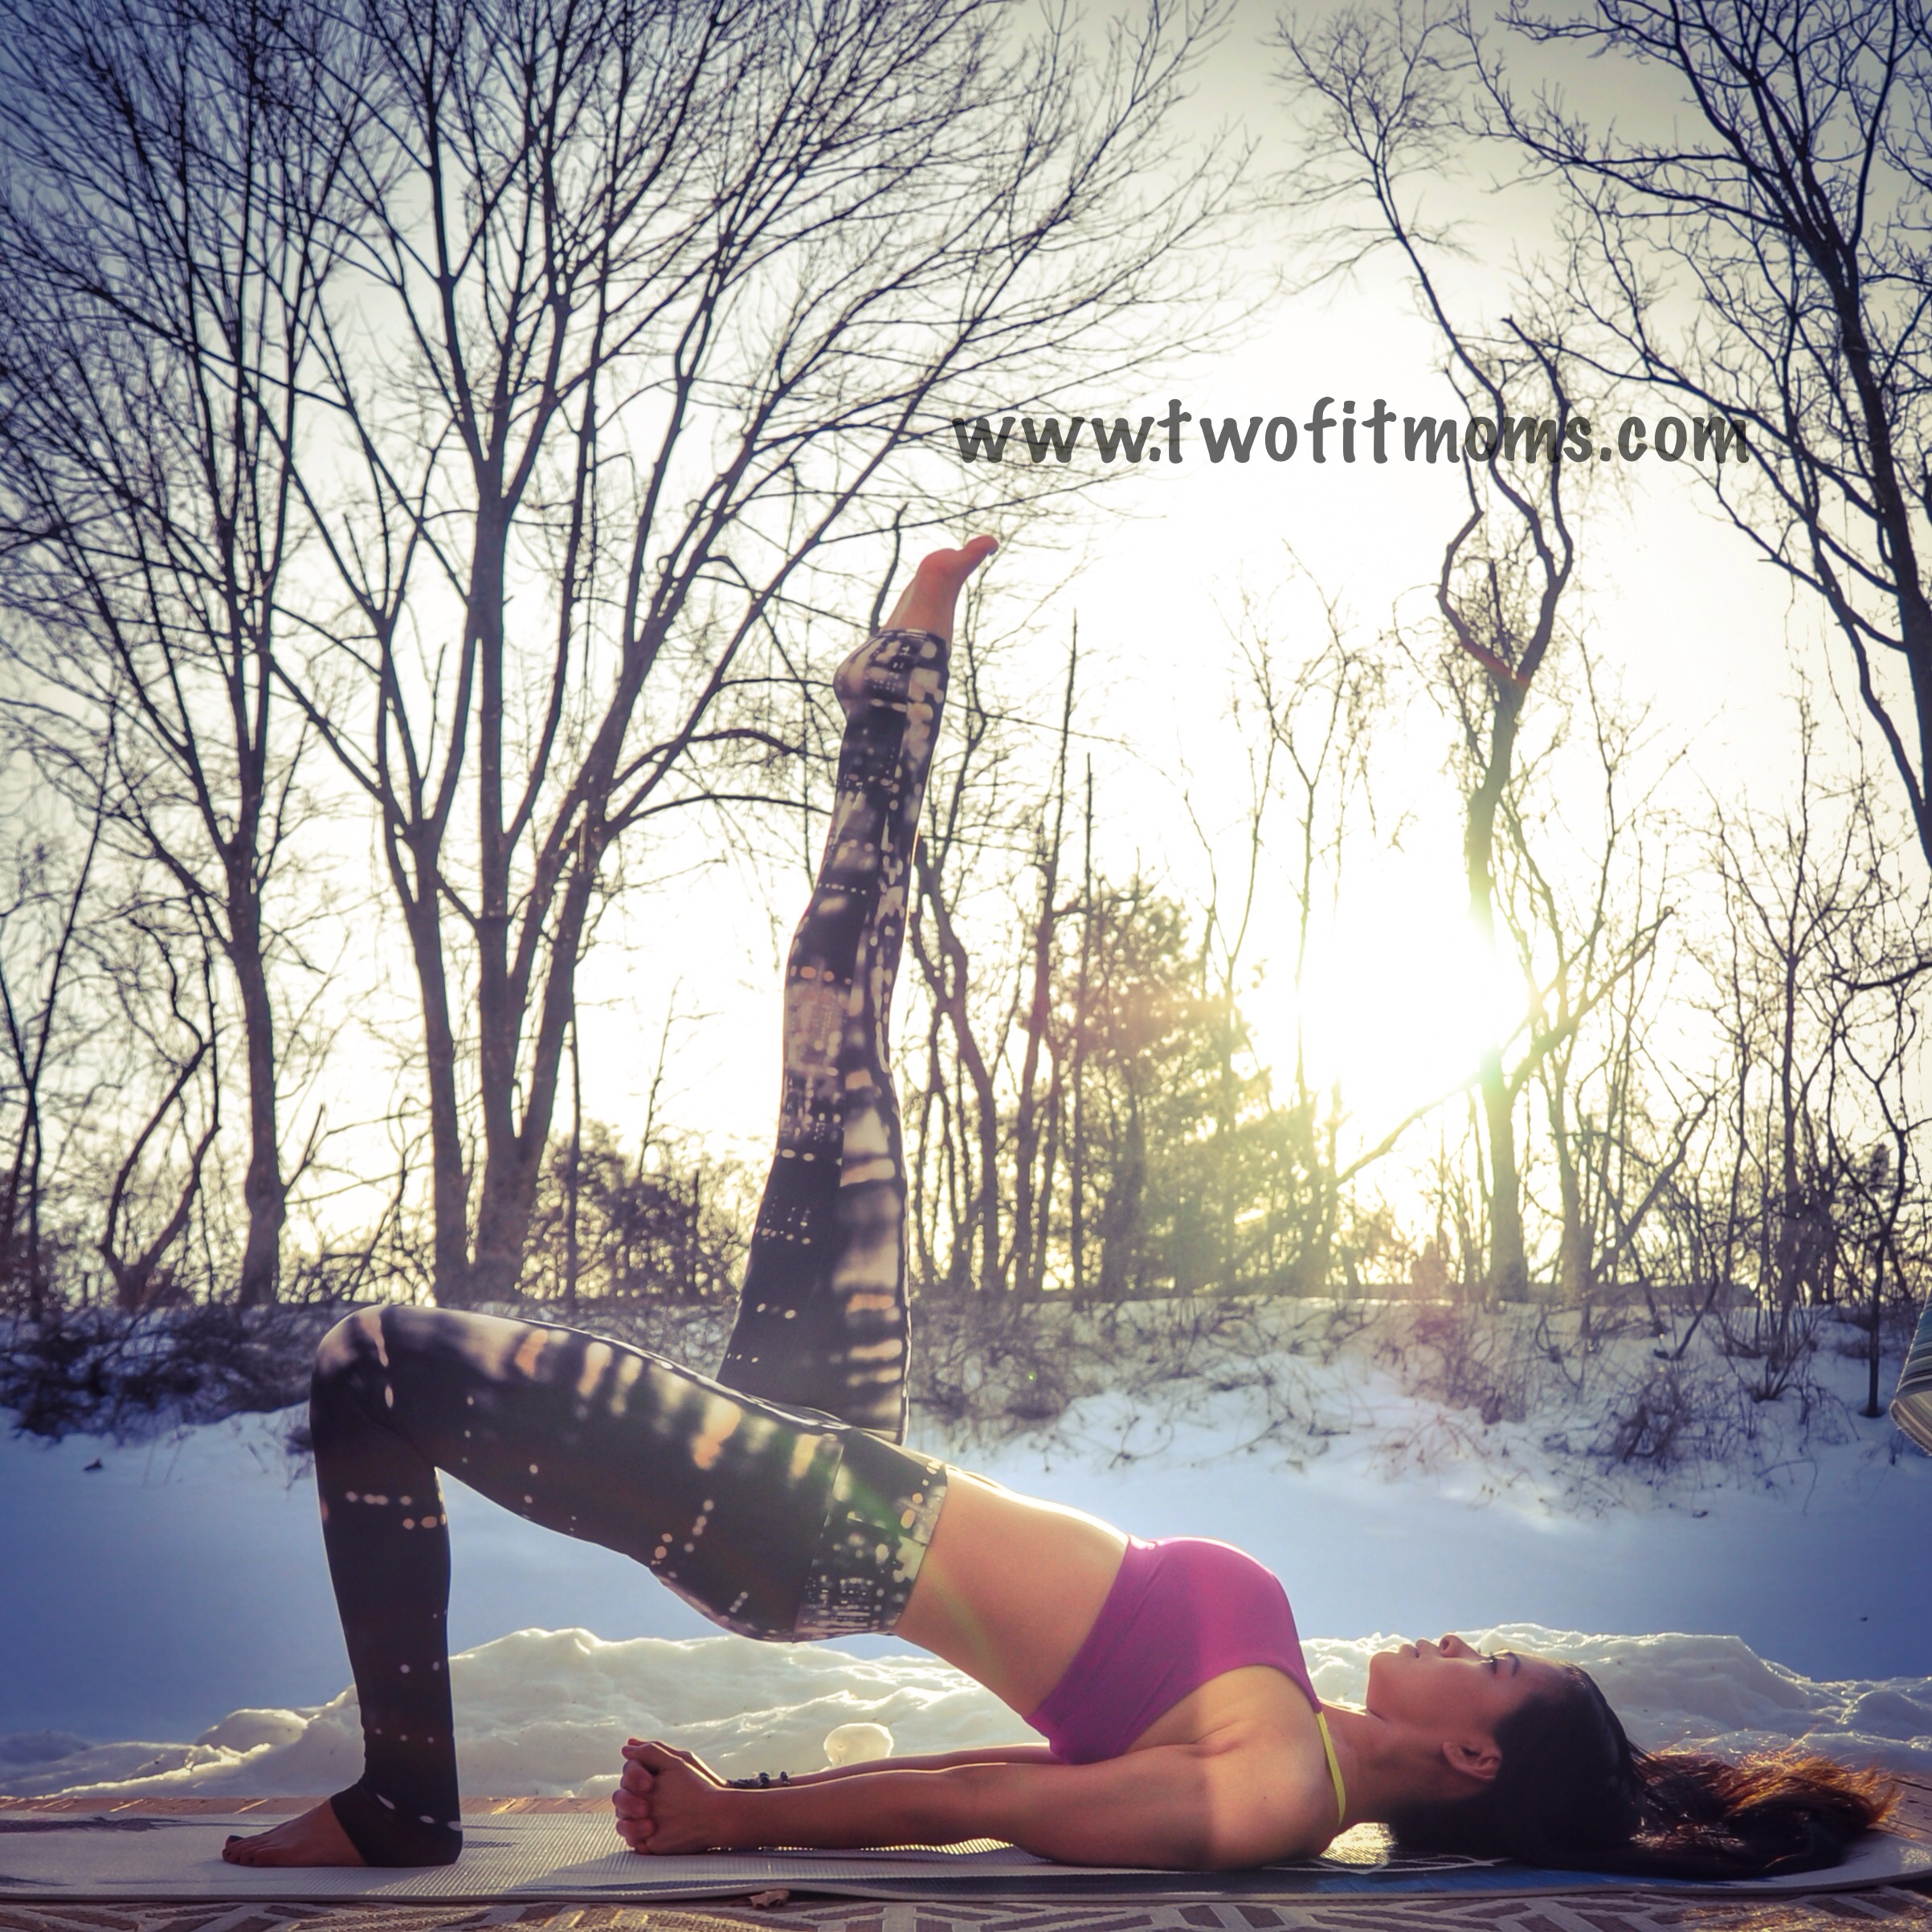
    This week, I challenge you to approach your exercise routine with a different mindset. Exercise only because it feels good. When it stops feeling good, go do something else. Jog until it isn’t fun. When jogging isn’t fun anymore, grab a jump rope. When jumping rope isn’t fun, walk. When walking isn’t fun, go stretch, lift, tumble or balance. Do something! And do it only for as long as you perceive it to be fun. The second it stops being fun, it stops being sustainable. Practice moving for fun so that exercise can become a natural part of life. Remove the stress and the competition for one week, and see how you feel.

  • Instagram Quick Tip:  AfterFocus App

    Instagram Quick Tip: AfterFocus App

    One of my yoga students recently asked me if I had an app that would clean her house.  I laughed, but then I realized that for Instagram purposes, I had an app that virtually accomplished the same thing.  Do you find that many of your Instagram yoga poses are plagued by cluttered backgrounds or distracting details?  If so, look no further.  I have the perfect app for you:  AfterFocus.

    With a few swipes of your finger, you can keep the subject of your photo in perfect focus while blurring the background.  This is a great app for removing the focus from other people or objects that happen to make it into the frame of your photo and detract from your fabulous yoga pose.

    AfterFocus
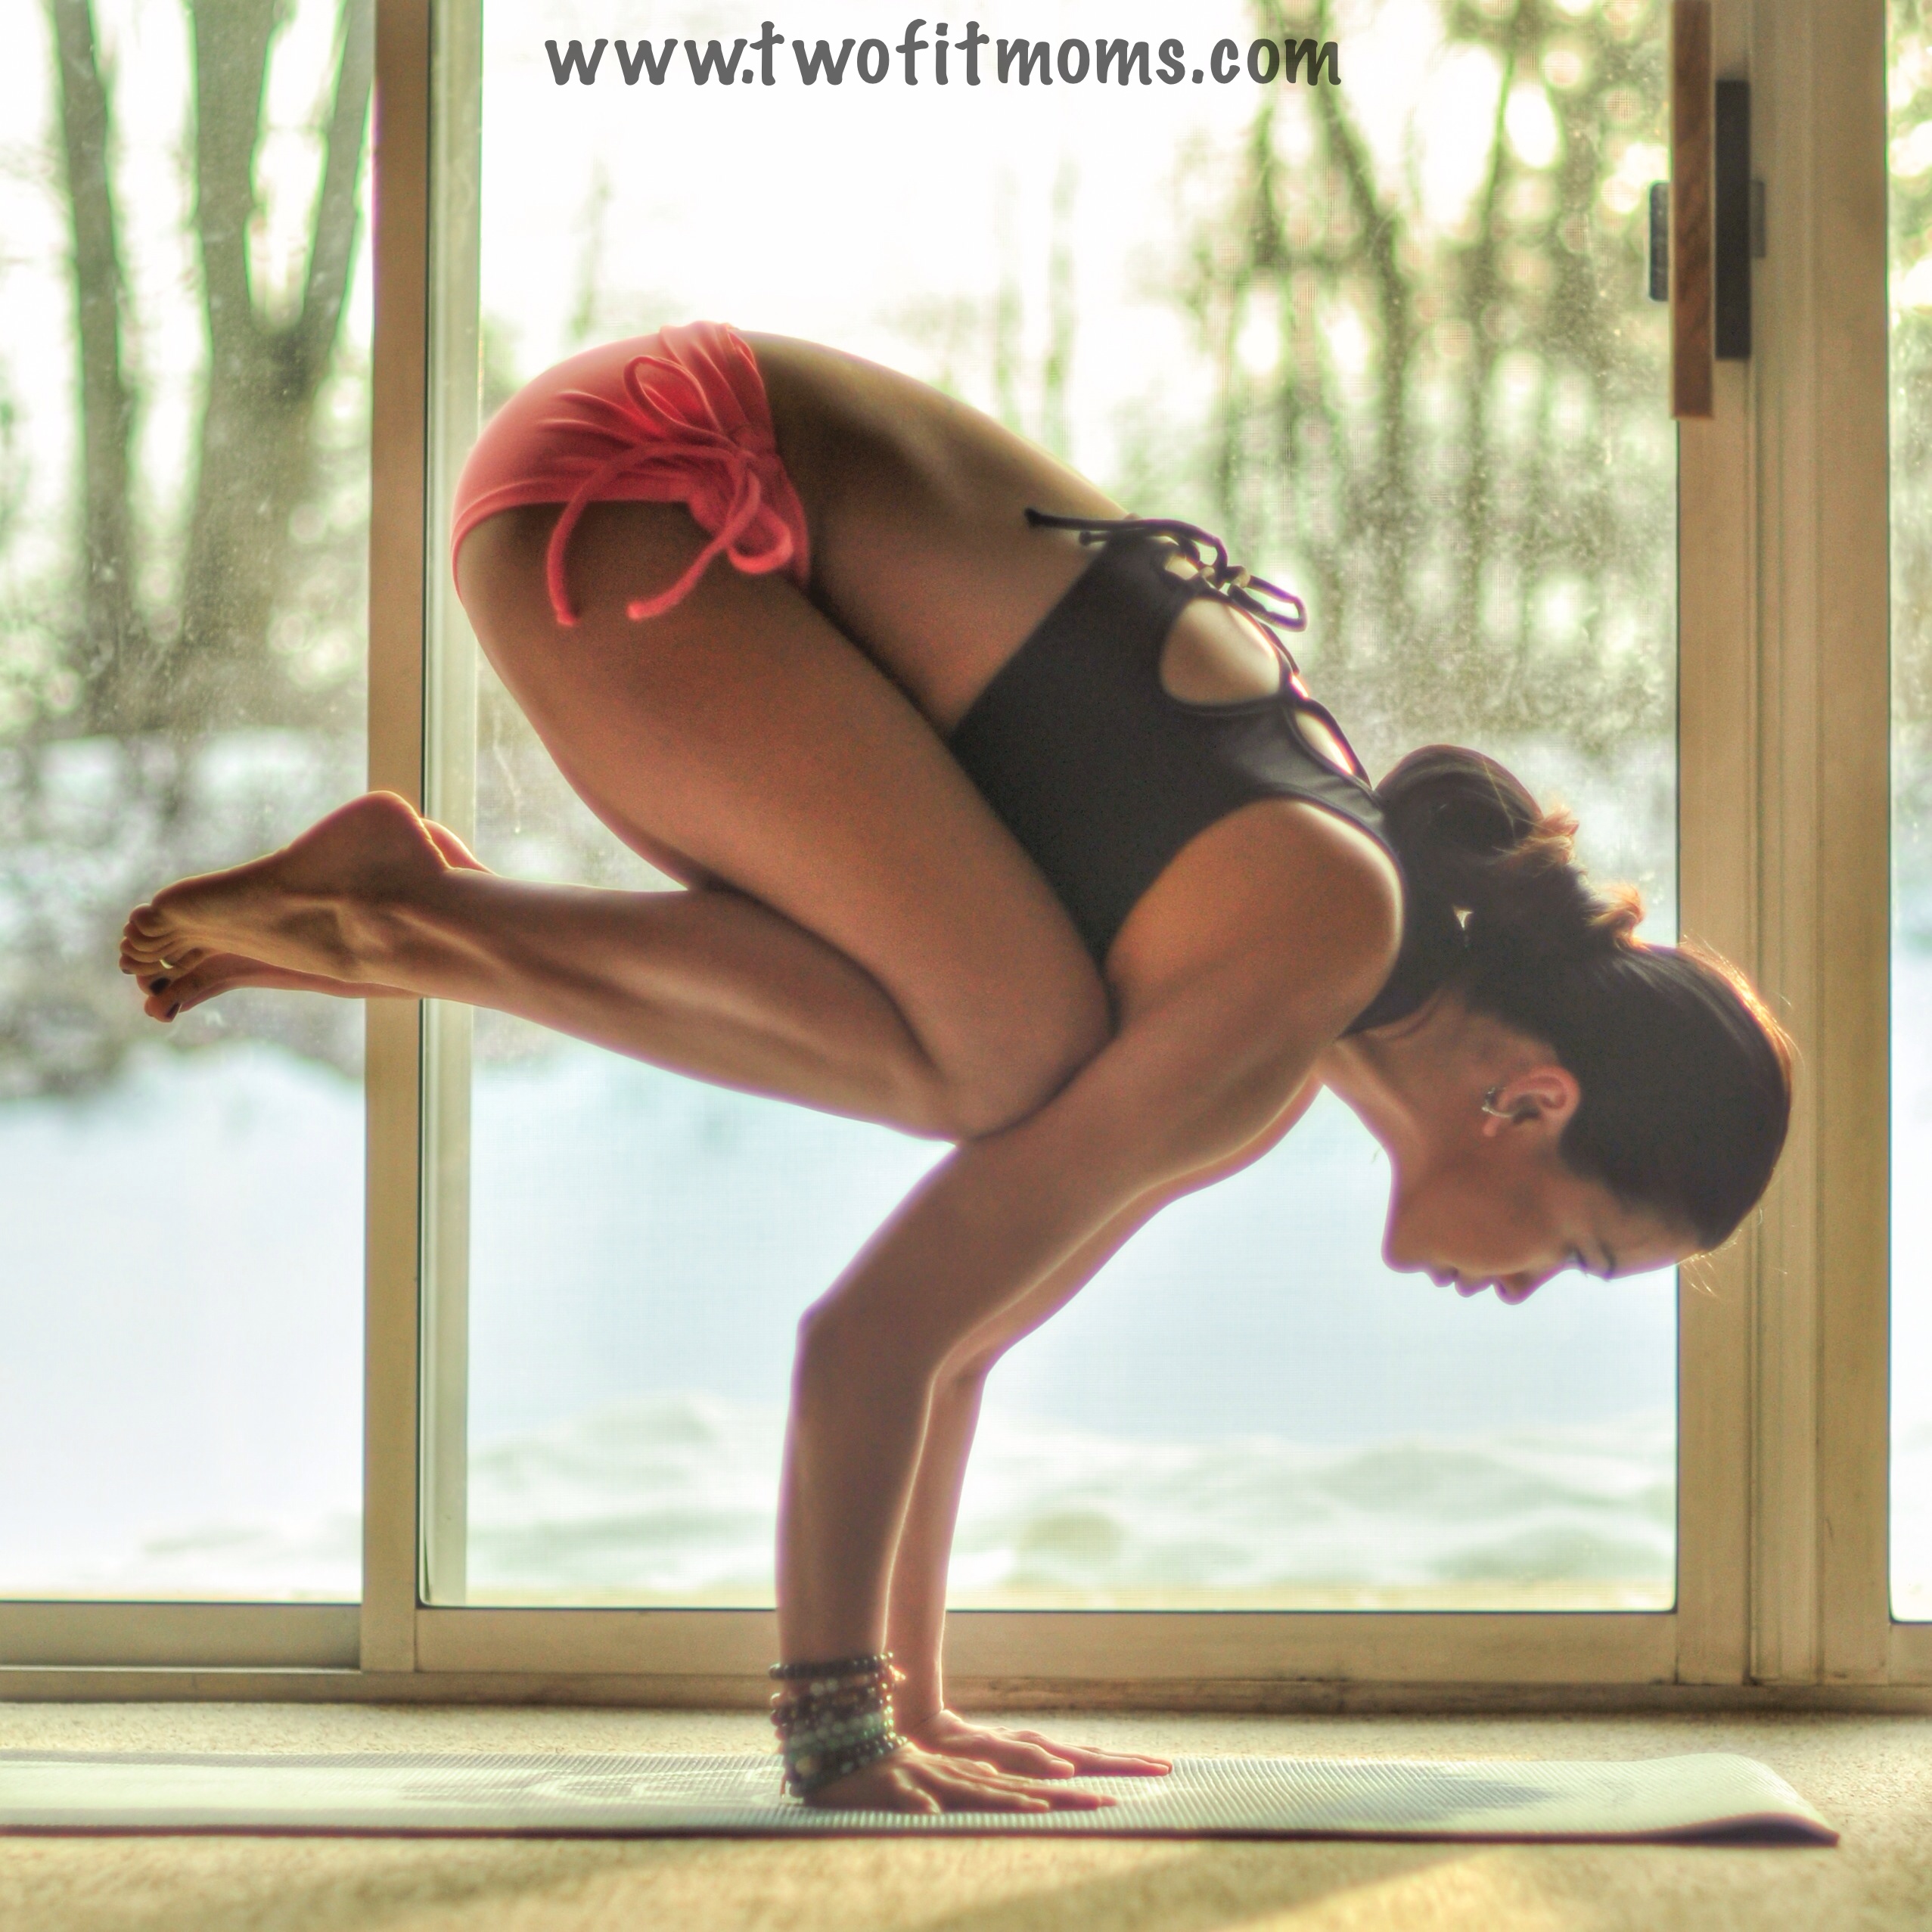
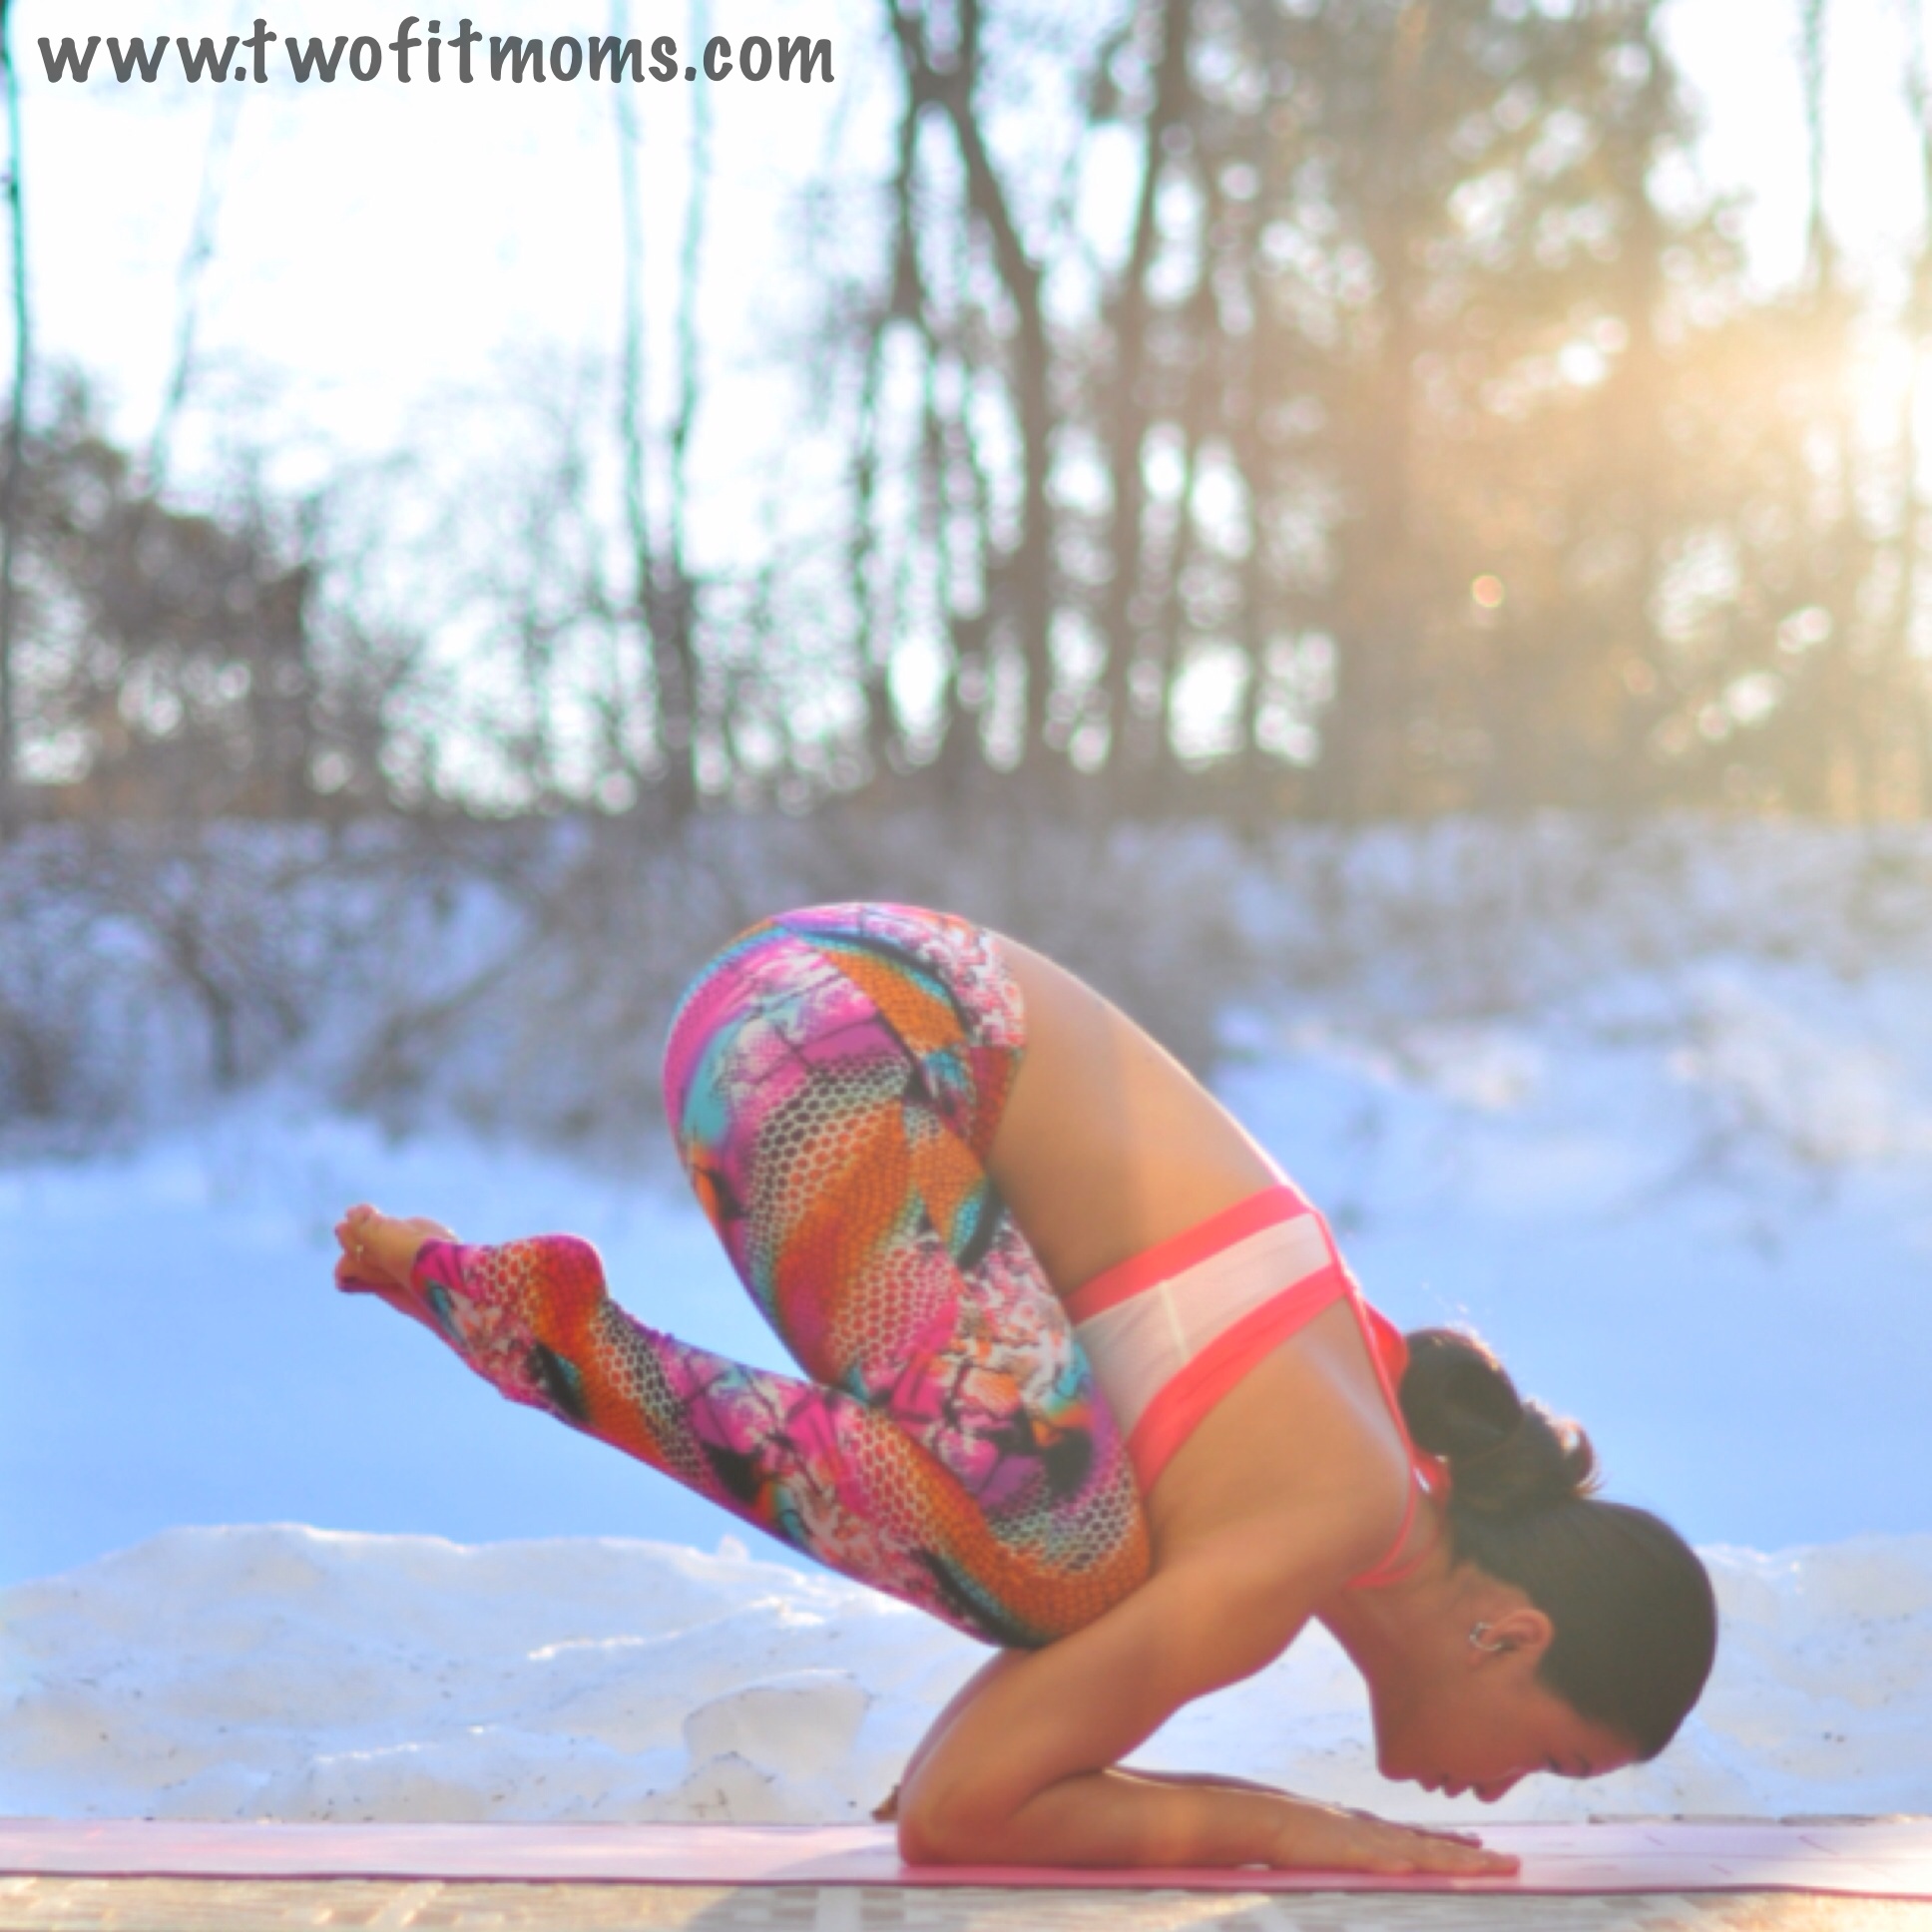
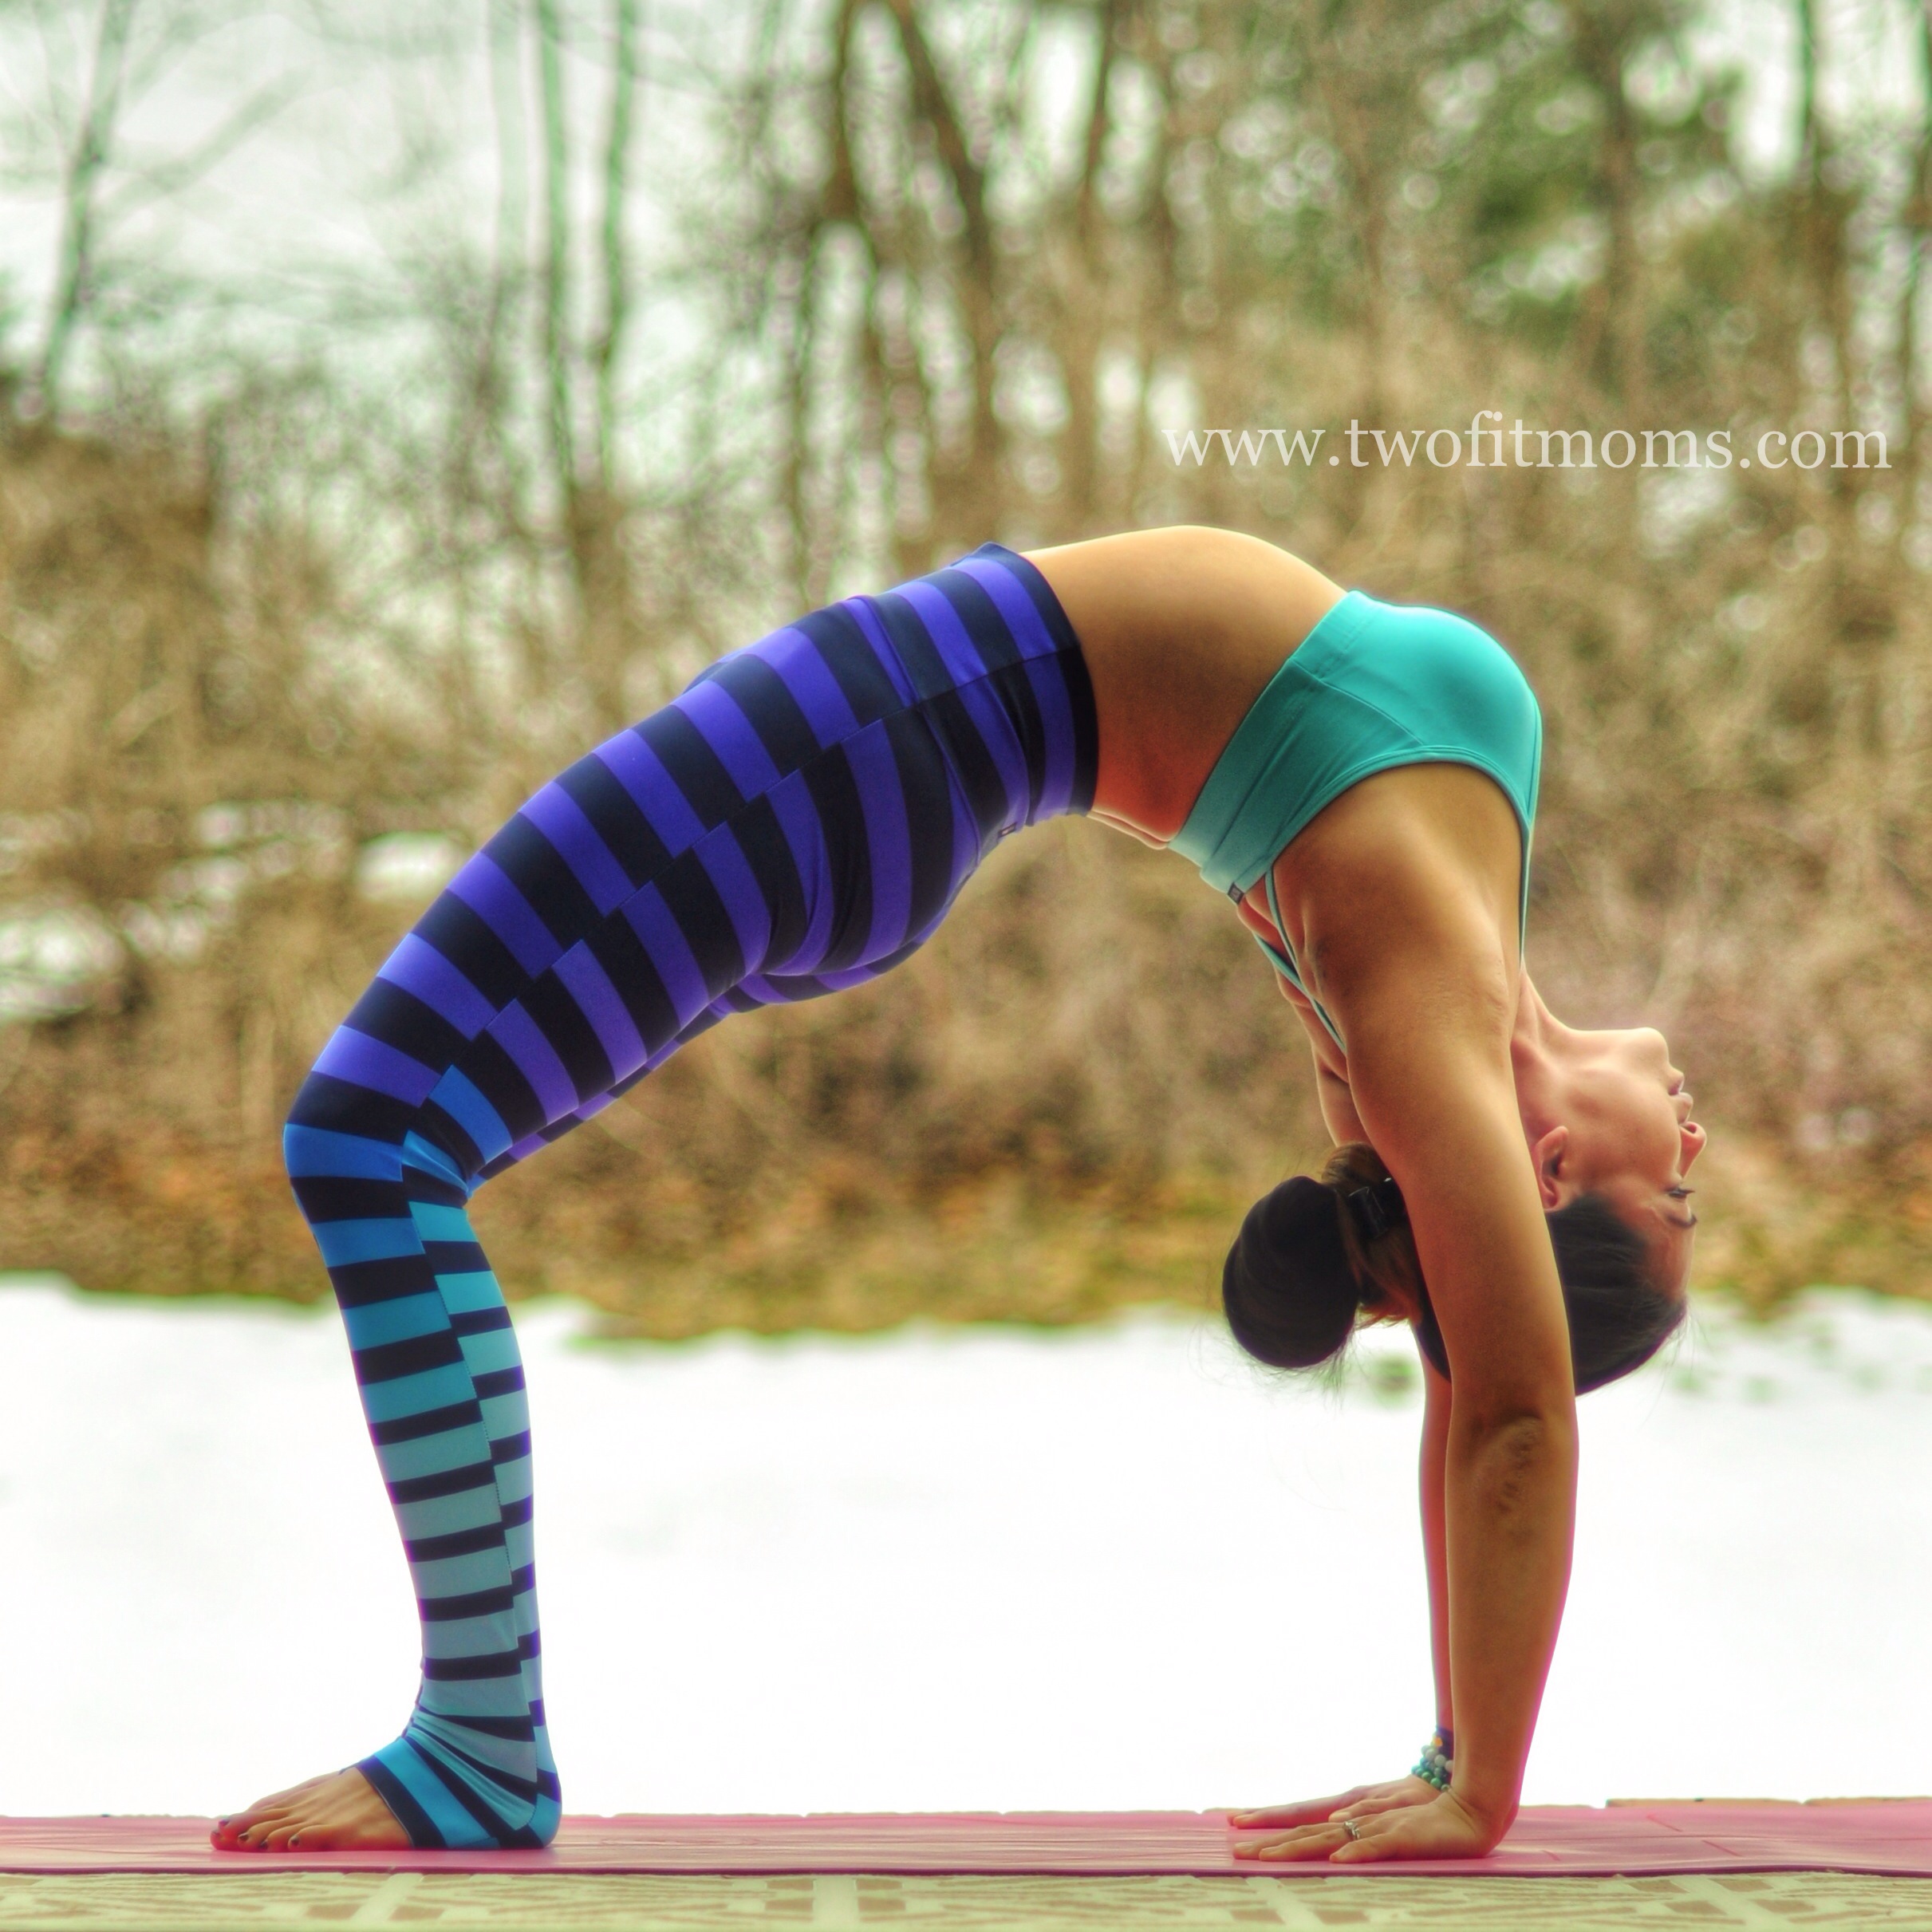
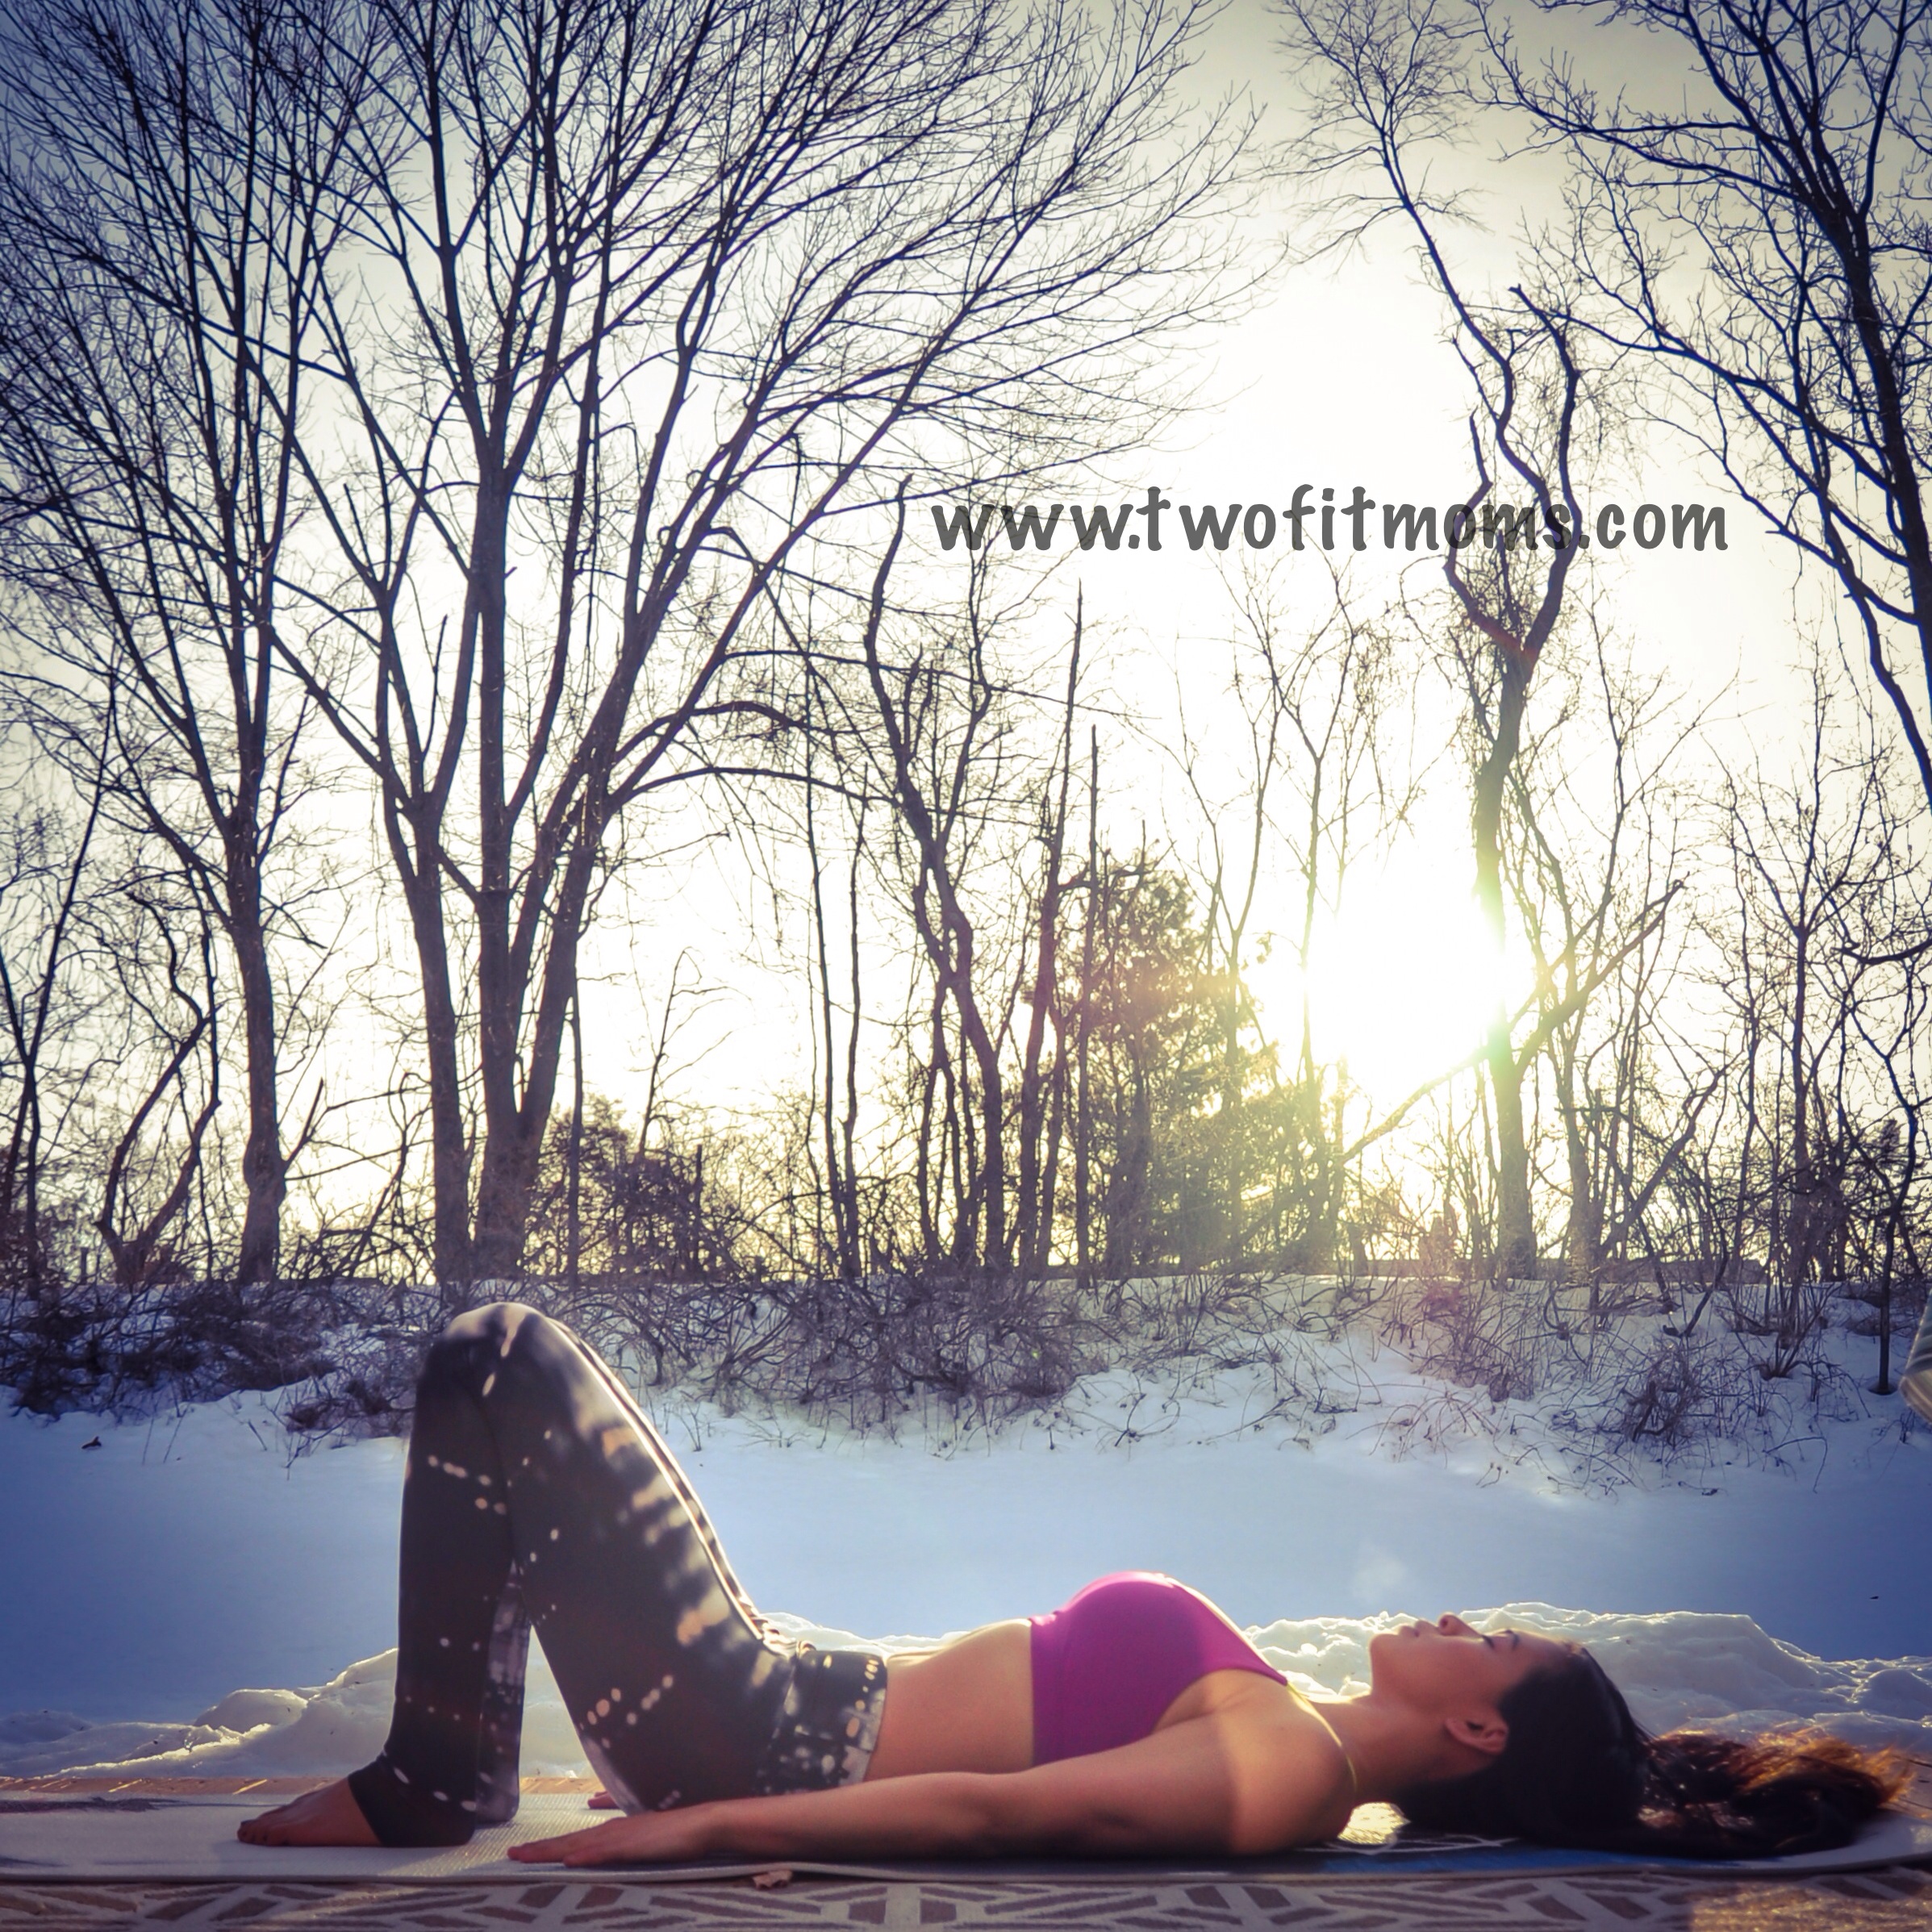
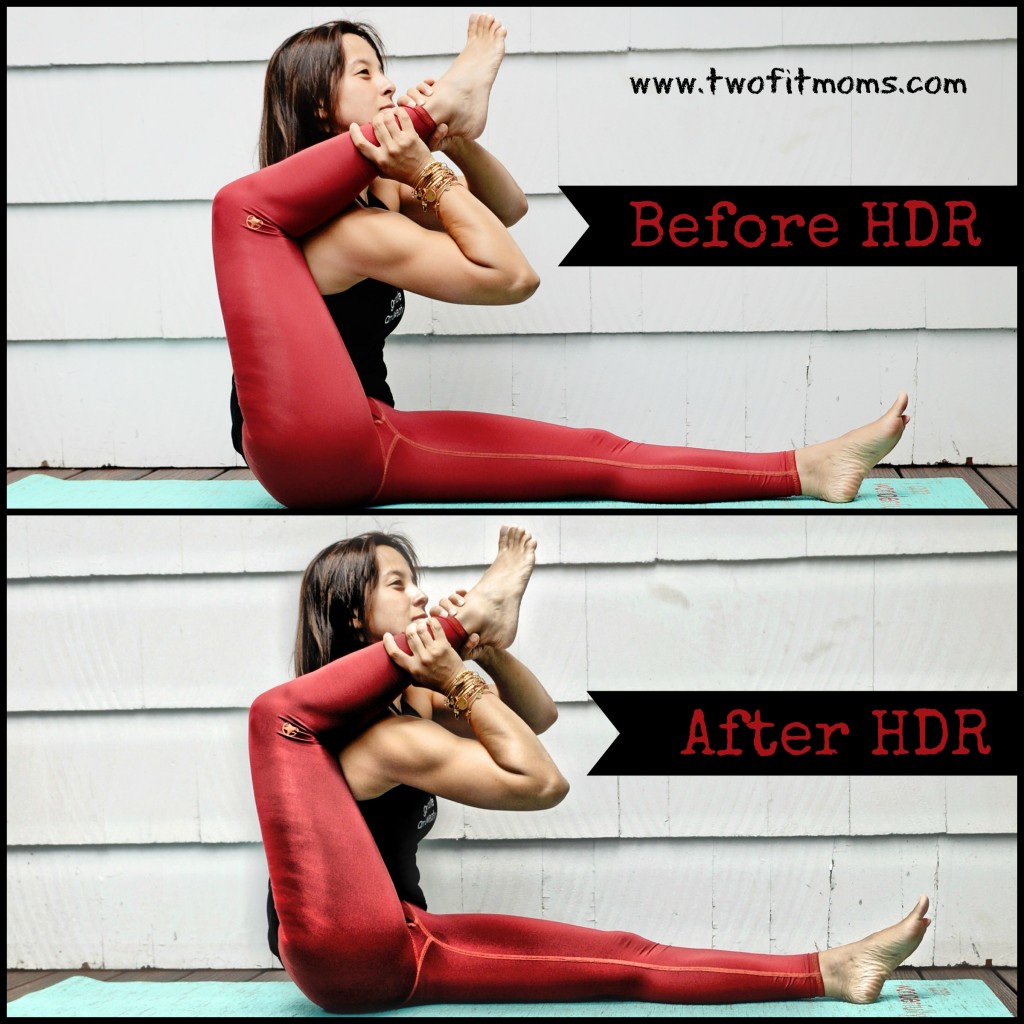
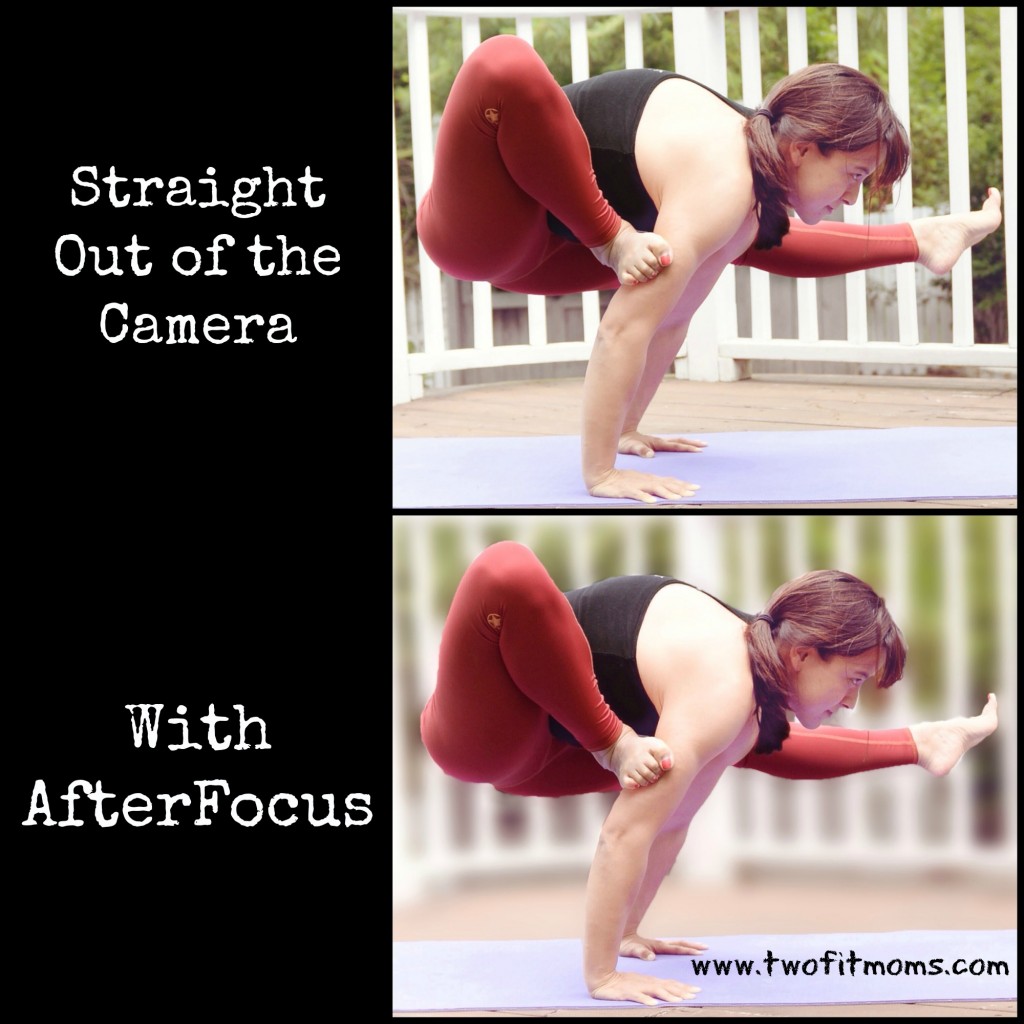
Take a look at my two photos.  In the top picture, the white fence in the background isn’t an eyesore, but it is receiving the same amount of attention as the yoga pose.  By running the photo through the AfterFocus app, I can blur the fence into the background. This app will automatically recognize your focus object and blur the background, just by drawing a few lines with your finger inside the object of focus.

    Give this app a try, and allow some of the visual clutter and distractions to blend away into a soft haze. Enjoy this Instagram quick tip, and please let us know if there are specific topics that you would like to see addressed in this series!

  • Urdhva Dhanurasana: Getting into Wheel Pose

    Urdhva Dhanurasana: Getting into Wheel Pose

    Our journey into backbending continues with Urdhva Dhanurasana or Wheel Pose. As we discussed in the Bridge Pose tutorial, backbends can be energizing…flooding your body with oxygen while stretching out the entire front body, shoulders and chest. Be mindful when practicing and continue to take each posture slowly.

    Step 1: Lie down on your mat. Extend your legs out and take a couple of deep breaths. Bend your knees and bring your feet down onto your mat. Your feet should be parallel to one another and hip-width distance apart. Try to get your heels as close to your buttasana as possible. Bend your elbows and place your hands down alongside your ears. Fingers will point TOWARD your body. Squeeze the elbows in.

    Photo Mar 12, 1 57 37 PM

    Step 2: Take a deep inhalation. On the exhale, push into your feet and lift your hips up. Feet remain parallel and knees squeeze in. Try to keep your buttasana relaxed by drawing the tailbone slightly up. Take a breath. On another exhale, push into your hands this time and come up onto the crown of your head. Elbows squeeze in as your shoulder blades hug your back. I like to walk my hands closer to my body at this point. This is just an option though! Take a breath or two here.

    Photo Mar 12, 1 57 44 PM

    Step 3: On an exhalation, push firmly into your mat with your feet and hands and try to straighten the arms. Remember to keep the feet parallel. There will be a slight internal rotation of the thighs…this is what will prevent your feet and knees from spinning outward. Draw your tailbone down and relax your buttasana.  Keep your shoulders engaged and hugging your back.  Let your head fall neutral. Stay here and take 3-5 breaths.

    Photo Mar 12, 1 58 08 PM

    When you are ready to come down, bring your chin to your chest and slowly bend your elbows bringing the back of your head and your body gently onto your mat. Hug your knees into your chest and relax.

    XOXO

    Blog Signature

  • Getting Your Kids Involved In Your Yoga Practice

    Getting Your Kids Involved In Your Yoga Practice

    Health and fitness has always been an integral part of my life. When I found out that I was pregnant in March of 2005, I was overjoyed that I was going to be a mom, but I was also panicked about how it was going to change my body and how I was going to get it back to its pre-pregnancy state. It wasn’t until after I had my son that I realized that life and fitness don’t end when you have a child. My body was still mine. I just had to reclaim it!


    Fast forward to today. I’m 36, I have two kids, a husband, a full time job and a growing business…My goals of staying fit have not changed…HOW I make the time and get it done has changed. One of my favorite things to do now is to get my kids on my mat with me! Whether it’s for 5 or 10 minutes, it’s an opportunity to get them involved in my exercise routine.

    Here are five quick tips on how I got my kids involved!

    1. DO NOT expect them to do a full practice! I know that sounds obvious, but when my son and daughter started to join me, I thought they would just fall in love with yoga and practice the full 30-45 minutes with me. WRONG. Children under the age of 10 do not have that long of an attention span, but they can manage 5-10 minutes on the mat. So, start there!

    2. Begin with the basics! Kids love Downward Facing Dog. Another favorite is Cobra pose, Tree Pose, Warrior II and seated Easy Pose or Sukhasana. These are great beginner poses, in general.

    3. Teach them…but don’t expect perfection! Teach them the names of the poses. You will be amazed how quickly they will pick them up. Teach them what they SHOULD be doing, and don’t fret if the poses aren’t perfect. Just make sure they are not going to hurt themselves.

    4. Get them their own yoga gear! I don’t know about your kids, but mine love to have their own stuff…their own space and their own gear. So maybe look into a toddler mat or even an inexpensive full-sized mat! They will feel grown up and you won’t have to share your mat!

    5. Make it fun! Remember to keep it light and fun! In my experience, it’s all about the memories you are building with your child while instilling the importance of fitness. Keep your practice with them consistent.  It builds their knowledge and makes it part of their daily routine…something that can last a lifetime!

    “The best thing to hold onto in life is each other.” – Audrey Hepburn

    Yoga with mini
    [KGVID poster=”http://www.twofitmoms.com/wp-content/uploads/2014/03/Video-Mar-13-11-40-24-AM_thumb9.jpg” width=”1280″ height=”720″]http://www.twofitmoms.com/wp-content/uploads/2014/03/Video-Mar-13-11-40-24-AM.mov[/KGVID]


    XOXO

    Blog Signature

  • Start Your Backbend Journey with Bridge Pose

    Start Your Backbend Journey with Bridge Pose

    Backbends are extremely powerful and energizing poses. They open up the heart, the chest and the shoulders.  They stretch out the spine, the neck and the entire front body. They flood the body with oxygen and have the ability to quickly get you out of a funk.  Backbends are also known to offer relief from fatigue, stress, anxiety and depression, to name a few.

    Deep backbends can be extremely intimidating for beginners. Bridge pose or Setu Bandha Sarvangasana is a great intro pose to set you on your backbend journey. Take it slow and be mindful.  Do not do this if you have any neck or shoulder injuries. Always respect your limits.


    Step 1: Lie down on your mat. Extend your legs out and take a couple of deep breaths. Bend your knees and bring your feet down onto your mat. Your feet should be parallel to one another and hip-width distance apart. Relax your shoulders and release any tension you may have in your face.

    Photo Mar 06, 8 44 50 AM

    Step 2: On an exhale, press your feet and hands firmly into your mat as you lift your hips up. Keep your neck long, do not bring it down towards your chest. Draw your tailbone up and be careful not to clench your bottom. No squeezed cheeks allowed!

    Photo Mar 06, 8 45 05 AM

    Step 3: Keeping a firm base, start to work your shoulders underneath your body. Your shoulder blades draw in towards one another. Clasp your hands together underneath your body and straighten your arms. Press your arms firmly into your mat as you actively reach your clasped hands toward your heels. Be mindful to stay evenly on the soles of you feet and keep your knees directly stacked over your ankles. Do not let them sway in or out. Stay here and take 5-10 breaths. To release, unclasp your hands and set them down beside you, then slowly lower your hips down. Relax.

    Photo Mar 06, 8 45 20 AM

     Optional Variation: Extend on leg up and hold for a 3-5 breaths.  Lower the leg and extend the second leg up.  Hold for the same number of breaths as the first side. Lower the leg and hold in regular Bridge pose for 3-5 breaths…Then slowly lower down and relax.

    Photo Mar 06, 8 45 29 AM

    Remember to have patience with yourself and your practice. Speaking from experience, backbends can be frustrating…but they can also be very rewarding. Take your time.  In the words of K. Pattabhi Jois: “Practice and all is coming”.

    XOXO

    Blog Signature


  • Instagram Quick Tip:  Accentuate Muscle Tone

    Instagram Quick Tip: Accentuate Muscle Tone

    Navigating the world of photo-editing apps is tedious, especially if you are new to photography and new to Instagram. Rather than wasting money on apps that you may not like or use, let me introduce you to my favorite tips and programs for creating visually appealing photos.

    “Simply HDR” is one of my favorite apps for adjusting shadow, light, grain and contrast. The result of using such an app? Greater detail and more dramatic photos. Do you want to accentuate your existing muscle tone? If so, this is the app for you.
    HDRBeforeAfter
    Take a look at the two images of me lifting my leg over my shoulder. The top photo is straight out of the camera with no editing at all. The bottom photo is the same image with about 10 seconds of editing in “Simply HDR.” As you can see, the app doesn’t create muscles where there are none, but it certainly accentuates what currently exists!

    Photo editing is a fun and creative way to express yourself. Create beautiful and dramatic images by adding depth and shadow. Please keep in mind that I just focused on one aspect of this app. Obviously it can be used in many ways, not just to define one’s physique. Accentuating bodies is clearly not the purpose of this program, but it’s one application of it. Take a look at this app, and research some others on your own. Have fun!

  • Instagram Quick Tip:  Use Your Glassware!

    Instagram Quick Tip: Use Your Glassware!

    Over the past year and a half, we have received numerous questions about our Instagram photos.  These questions have ranged from, “Who takes your photos?” to “What app did you use to create that effect?”

    In order to help you navigate the fun world of Instagram, we will be writing short posts to bring you Instagram quick tips!  We will share our ideas for creating fun and interesting content for your own Instagram pages, and we will share our favorite apps for editing photos and videos.

    Today’s Quick Tip
    Stop putting your phone at risk each time you take an Instagram photo!  Many of you who use a self-timer to take your own yoga portraits are leaning your phones on precarious ledges around the house in order to find the perfect photo angle.  If you haven’t cracked your phone screen as a result of it tipping over onto a hard surface, InstagramQuickTipconsider yourself lucky.

    Here’s our solution to taking photos and videos with your phone safely.  Place your phone into a heavy, short glass.

    Carry the glass around the house with you and place the glass, rather than the phone itself, onto ledges, bookshelves, counters, etc.  If necessary, stuff a washcloth in front of (or behind) the phone to get the desired photo angle.  Get the perfect shot every time using this method without the fear of cracking your phone screen!

  • Quest for the Press 101: Toe Taps

    Quest for the Press 101: Toe Taps

    My quest to press into a handstand probably started around eight months ago. “Pressing” is when you can place your hands onto the ground and float your legs up into a handstand…No kicking required! There is no science to pressing into a handstand, and everyone’s experience is unique. I am going to show you how I learned — hopefully it will help you!

    The only prerequisite is that you MUST have a solid Bakasana practice. You can view my tutorial for this particular asana here.

    Step 1: Start in Bakasana

    Key points to remember in Bakasana…Fingers should be spread wide to help grip the mat. Hands are shoulder width apart. Elbows and knees squeeze in toward the midline.  Upper back rounds to avoid “dumping” into your arms and making the pose feel heavy. Navel pulls in toward your spine to activate the core.

    Photo Feb 27, 8 56 45 AM

    Step 2: Flex the feet

    Flex both feet so your toes point down towards your mat.  Using your core to keep the knees on your arms, slowly start to shift forward slightly as you bring your toes toward your wrists. You may only get an inch or two down before you fall… That’s Okay! Try again!

    As you move your feet down, concentrate on rounding the upper back and squeezing your arms in. If your arms begin to open out, try using a strap.  Measure the loop shoulder width in length and place the strap just above your elbows.

    Photo Feb 27, 8 56 47 AM

    Step 3: The toes have landed!

    Eventually, your toes will touch your wrists! Once you get to this point, try to hold them there for as long as possible.  Not only will this build arm strength, but it will build your core strength as well!  You will begin to feel your deep ab muscles engage. These are the ones that will eventually help lift you up.

    Photo Feb 27, 8 56 49 AM

    Step 4: Lift up!

    Once you can hold your toes to your wrists for a few breaths, you can try lifting your bottom up towards the sky and taking the knees off of your arms to hover. To do so, actively push your toes into your wrists and engage your core (Uddiyana Bandha). Press actively into your mat using your fingers for grip. Start out by trying to lift your butt higher! If that goes well, then try to straighten the legs. Proceed slowly and with patience.

    Photo Feb 27, 8 56 53 AM

    As always… Have FUN and be SAFE!

    XOXO

    Blog Signature

  • Baby Bakasana

    Baby Bakasana

    Baby Bakasana is the world’s smallest arm balance. And although it may look pretty simple, this little gem of a pose can be pretty tough. Moving the shoulders past the elbows can be difficult. The trick to this pose is to round the upper back to help resist the urge to dump into the arms.

    Step 1: Take a squat

    From standing, bend your knees and squat down coming onto the balls of your feet. Bring your fingertips to your mat.

    Photo Feb 24, 11 40 55 AM

     Step 2: Drop on down

    Separate your knees and make your way onto your forearms. Forearms should be parallel and at shoulder width distance apart. Spread your fingers wide to create a solid base. Your knees will be just outside of your triceps and should hug in.

    Photo Feb 24, 11 41 07 AM

    Step 3: Lift it up

    Keeping your gaze slightly past your fingertips and the knees squeezing in, slowly start to raise your buttasana up. You can adjust and place your knees directly onto your triceps or keep them slightly wider. As you rise up, start to lean forward bringing your face closer to your mat and shoulders past your elbows. Round your upper back and start to hug the shoulders in; stay here and take a few breaths.

    Photo Feb 24, 11 41 21 AM

    Step 4: Baby step

    Shift your weight and face even further toward your mat and slowly pick up a foot.  Hug the heel of your foot in towards your bottom.  Continue to round your upper back and squeeze in so you do not collapse!

    Photo Feb 24, 11 41 34 AM

    Step 5: Take flight!

    Round and squeeze…round and squeeze…round and squeeze! Maybe pick the second foot up towards your bottom to get your Baby Bakasana to take flight!

    Hold for five to eight breaths and slowly release down.

    Photo Feb 24, 11 41 58 AM

    Advanced Option

    Please only try this if you have a solid Pincha Mayurasana practice. Take this super slow if you have never attempted this…and expect to fall! I know I did when I started. Do not be discouraged if you cannot do this!

    From Pincha Mayurasana or Forearmstand, slowly bend your knees. Actively press into your forearms and hands as you move your knees into your torso. As you descend, your shoulders will start to move past your elbows and your face will move closer to your mat. Arms and shoulders hug in to maintain a solid base for your knees to land. The key to this transition is engaging the core and bandhas…which we discussed in my last post. As gently as you can, bring the knees down onto your triceps into Baby Bakasana!

    [KGVID poster=”http://www.twofitmoms.com/wp-content/uploads/2014/02/Video-Feb-24-12-56-23-PM_thumb11.jpg” width=”960″ height=”540″]http://www.twofitmoms.com/wp-content/uploads/2014/02/Video-Feb-24-12-56-23-PM.mov[/KGVID]

    XOXO

    Blog Signature

  • Floating Down

    Floating Down

    Slowly floating the legs down from any inversion can be challenging. It takes time, patience and practice to develop the strength and body awareness to successfully lower down. It also requires being able to engage deep abdominal muscles.  Despite popular belief, you don’t need a six-pack to float down!  And, once you float down, floating up will likely follow — it did for me!

    DSC_1228a

    What muscles do we need to engage?

    There are a total of six abdominal muscles in your body; from deepest to superficial they are the the transversus abdominis, the internal obliques, the external obliques and the rectus abdominis. The deeper the muscles, the more impact they will have on your posture and maintaining a healthy spine. Here is a brief description of each:

    Transversus Abdominis: It is the deepest of your abdominal muscles, and it wraps around your torso. You cannot feel this muscle from the outside. The best description I’ve read for this muscle is that it is like a back support belt but for the front of your body.

    Internal Obliques: These are a pair of muscles that run alongside your torso that help your spine twist and move laterally.

    External Obliques: These are another pair of muscles that also run alongside your torso and help your spine twist and move laterally.

    Rectus Abdominis: These are the most superficial muscles of the group and the ones that make up the “six-pack” abs.

    Do I need six-pack abs to do this?

    Quite simply… No, you do not. In fact, a six-pack will help you the LEAST when working with floating down or pressing up for that matter. It is the ability to engage the transverse abdominal muscle that will have the most impact on your inversion practice.

    Engage those bandhas?

    Before going through my yoga teacher training, I’d always hear teachers say “engage your bandhas”! If you haven’t been practicing long, more than likely your first reaction is “what the heck does that mean??!! Simply put… a “bandha” is a lock in the body that helps seal in the energy and engages the muscles.

    The two bandhas that most teachers will reference during inversions are the Mula Bandha and the Uddiyana Bandha. In very simple terms, the Mula Bandha occurs in the pelvic area and low belly while the Uddiyana Bandha occurs in the upper abdominals. The best way to describe the Mula Bandha is the feeling you get when you have to go to the bathroom and are holding it. The Uddiyana Bandha can be felt when you draw your navel up toward your heart while wrapping your lower ribs in towards one another.  I learned how to do this by placing my hands on my lower ribs, fingers facing in towards each other, and by making believe my hands were a corset.  As I exhaled and drew my navel up and in, I closed my hands towards one another.

    Start the float down from Tripod Headstand

    If you are new to this, start off by attempting this from your Tripod Headstand. Working the float down from here will also help you gain strength within your core!

    Slowly come into your Tripod Headstand. Start by flexing your feet to activate your entire lower body… and also to prepare your feet for the landing! Take a deep breath in. On the exhale, engage those bandhas and try to lower your legs down a few inches. Inhale. On the exhale, lower them down a little more.  Make a mental note where your legs come down if you cannot float them gently onto the ground.

    Come back into your Tripod Headstand again.  This time, float them down to your “breaking” point or slightly above that… On the inhale, try to lift them back up again. Try to do this three to five times. This small action will help strengthen your core over time. Keep working this as low as you can go… eventually coming all the way down onto the ground gently and maybe back up!


    [KGVID poster=”http://www.twofitmoms.com/wp-content/uploads/2014/02/IMG_3117_thumb5.jpg” width=”640″ height=”360″]http://www.twofitmoms.com/wp-content/uploads/2014/02/IMG_3117.mov[/KGVID]

    Ready to move on?

    Once you can comfortably float down and up in Tripod Headstand, you can start to work on your float down from Handstand. Feel free to use a wall if you have trouble balancing and you can even press the crown of the head into the wall to help slow your descent. You may feel this in your wrists, so take it slow! Remember the foundations of a handstand and press firmly into the ground with your hands. Engage your core and slowly start to float down.  If you are having serious trouble with this, you can also try straddling your legs to float down! Play with it…but most importantly, have patience!

    [KGVID poster=”http://www.twofitmoms.com/wp-content/uploads/2014/02/Video-Feb-21-1-14-35-PM_thumb19.jpg” width=”1920″ height=”1080″]http://www.twofitmoms.com/wp-content/uploads/2014/02/Video-Feb-21-1-14-35-PM.mov[/KGVID]

    XOXO

    Blog Signature