Category: Latest News

  • My Yoga Bag Essentials

    My Yoga Bag Essentials

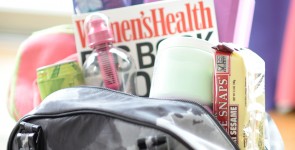
    When I roll into class to teach yoga, I look like a pack mule.  I’m not even kidding— I have my yoga mat slung over one shoulder, my portable sound dock hanging over the other shoulder, and my bag YogaBagEssentials
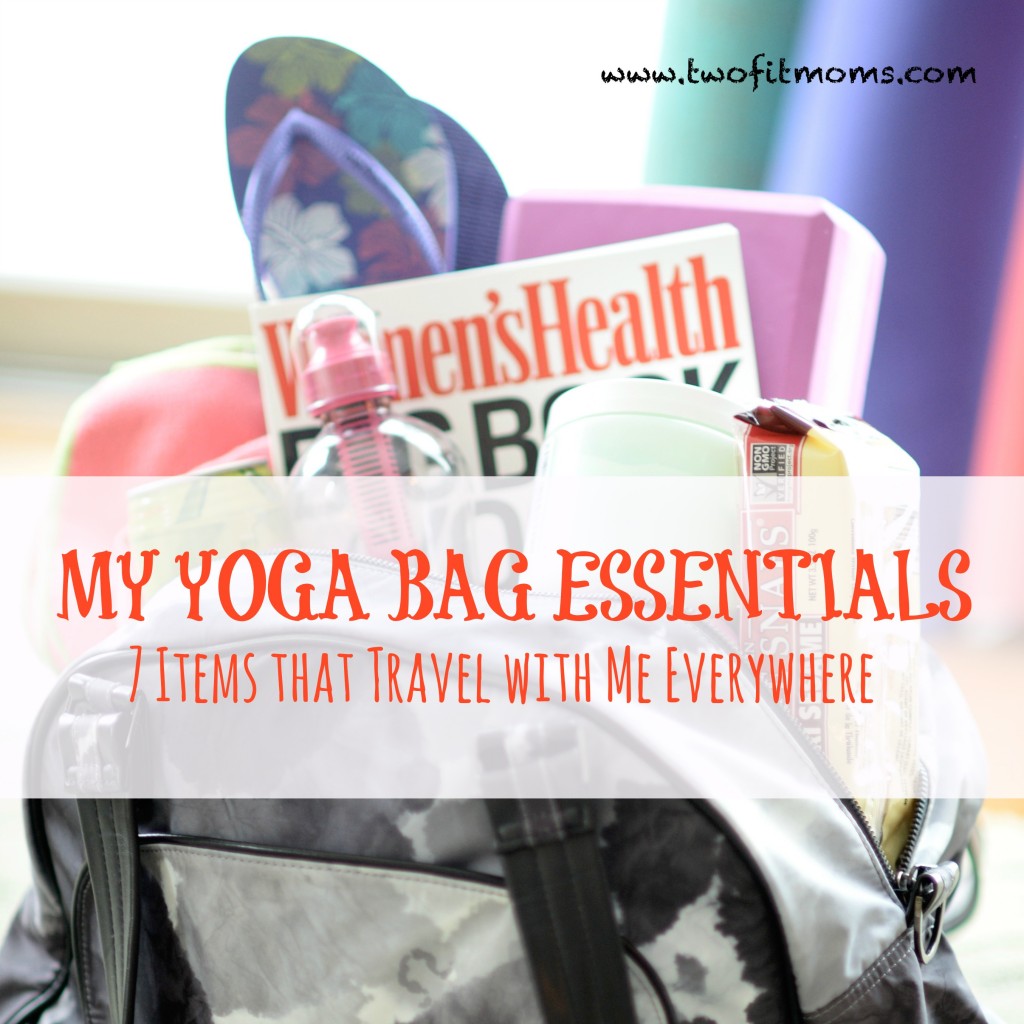
is splitting at the seams with all sorts of items that I’ve deemed necessary to carry into the studio:  a notebook with yoga sequences and dharma talk themes, a stopwatch so that I can keep track of the time while I’m teaching, extra hair ties, headbands, chapstick, tissues, a hand towel, and a bottle of mat spray.  And that’s not even half of it!  While there are many things keeping my bag heavy, there are seven items in particular that keep my soul light and happy.  Let me introduce you to my yoga bag essentials:

    China Gel

    The first necessary item in my bag is China Gel, which Laura and I affectionately call “Yoga Crack”.  Yes, it’s really that addictive, and you need your own jar.  We massage our students with it at the end of class, and we rub it onto our own sore, tired muscles.  It feels hot. It feels cold.  It’s many soothing sensations all at once, and we can’t get enough of it.  You must give it a try yourself.

    Taste Nirvana Coconut Water

    The second necessary item is Taste Nirvana Coconut Water.  I remember the first time my yoga teacher offered me a bottle.  I just finished two back-to-back yoga classes, and I was hot and depleted.  I was not a fan of coconut water, but my teacher assured me that it was not like any other coconut water that I had tasted.  She was right.  I took my first sip, and that was the beginning of my love affair with Taste Nirvana.  It was refreshing and delicious, and surpassed all of my expectations.  I wish I could adequately describe how much I love this stuff.  If you’ve convinced yourself that you don’t like coconut water, try Taste Nirvana, and you will change your mind.  If you love coconut water, you are in for an amazing treat.

    Bobble BPA-Free Water Bottle with Built-In Filter

    The Bobble is a reusable water bottle that filters contaminants from the water as you drink.  The filter, which comes in lots of cool colors, is good to go for 40 gallons (or about two months of use).  Forget about buying individual bottles of spring water at the supermarket and try a Bobble.  I have multiple Bobbles that I keep in various bags and locations so that I always can drink tap water without stressing.

    Yogitoes Skidless Mat Size Towel

    I thought my yoga mat had a great non-slip grippy surface until I took my first hot yoga class.  I was sweating like a beast, and my hands and feet were slipping in basic poses like downward facing dog.  My teacher recommended that I use a non-slip yoga towel on top of my mat, and that suggestion made all the difference.  Once you start sweating, this towel with rubberized grips on the underside makes all the difference.  I stopped slipping!  It was like a mini miracle.

    Brown Rice Crackers

    When I go to the gym, I lose my appetite.  When I go to yoga class, I somehow end up ravenous.  It’s a strange situation, and I don’t understand it, but I embrace it and stock my yoga bag with this particular flavor and brand of brown rice crackers.  These little crackers are so good, and they are the perfect single-bite size to fit right into your mouth. No crumby mess in your car!  I will warn you that you need to exercise a bit of self-control.  It’s hard to eat just a few.  In fact, I eat about half the package in one sitting.  I love the very simple ingredient list, and the product is “Non-GMO project verified”.  It’s also gluten-free, for all of you out there with sensitivities or allergies.

    Women’s Health Big Book of Yoga

    Does anybody else carry books in their yoga bag?  Maybe it’s just me, but I carry books everywhere.  This particular book is wonderful for beginners because EVERY page is covered with glossy photographs of poses, instructions and sequences.  Use it as a reference guide, and use it for daily inspiration.  I LOVE this book.

    Havaianas Flip Flops

    Ok, I will admit it—I am a germaphobe.  Walking around barefoot in the yoga studio makes me cringe.  I can’t handle thinking about the random hair, crumbs, dust and germs all over the floor.  Of course, in order to preserve the sanctity of the room and to keep the floor relatively clean, I do not wear shoes in the studio.  I just try very hard to keep my mind off of my feet.  However, I DO keep a pair of Havaianas flip flops in my bag to slip on to go to the bathroom or to walk in the outer hallways of the studio.  I love these flip flops because they are so thin and light in my yoga bag but sturdy and fashionable.  I have them in all sorts of prints and colors.  Check them out and add a pair to your yoga bag, too.

  • Taking the Leap, Having Faith: How a Bad Day Set Me on the Path to Change

    Taking the Leap, Having Faith: How a Bad Day Set Me on the Path to Change

    DSC_9014

    Today was a crappy day. It was a bad work day.  It was one of those days where you just want to throw in the towel. It made me realize that being happy is important and that the path to happiness lies within me.  Today, I made the decision to make a change.  Today, I’ve committed within myself to make yoga my full time job. Maybe this isn’t happening today, or tomorrow, or even a month from now, but I know it’s coming, and the right time for that change will be here soon.

    I’m excited . . . I’m scared! Why did it take me so long to make this decision? Fear is really what has been holding me back.  The fear of instability, the fear of failure – all very real concerns for anyone but especially for a mother and wife who has responsibilities beyond taking care of herself.  That being said, the straw broke the camel’s back today, and it made me realize that I’m ready.  I CAN do it.

    I have to tell you though, I never would have guessed that yoga would make such a comeback in my life and that Instagram would transform the experience and help lead me to where I am today.

    In March 2012, at the request of my niece, I joined Instagram.  I had no idea what Instagram or Twitter was, or any of the other social media apps for that matter. What the hell was a hashtag?  Why would someone follow me?  It all sounded a bit creepy.  My account remained dormant for a good four months. I honestly just didn’t know what to take pictures of, what to post or what to say.

    Then one day, I had an epiphany… Why not take pictures of some of the yoga poses I’ve been working on? That’s when this journey for me all started.


    Photo Jan 27, 2 00 24 PM

    I began practicing yoga 17 years ago, when I was 19, so that makes me… 29 today? LOL. Okay, okay… I am 36 now.  I started doing yoga from a Baron Baptiste VHS tape of my sister’s.  It was very basic, but it’s what I used to learn a Sun Salutation, Warrior I and Navasana.  Up until that point, I had no experience with yoga.  I practiced from this tape until I knew it inside out, and then I purchased a few more of his tapes.  Eventually, I started taking classes at the local gym.  This is where my knowledge of yoga started to grow and manifest.  It was also the place where I did my first Bakasana (Crow Pose), and where I attempted my first headstand as an adult. I was hooked.

    In 2005, I had my son and in 2009, I had my daughter. During these four years, yoga took a backseat to my other cardio/weight workouts.  Although my pregnancies were quite uneventful and “easy,” I did not enjoy being pregnant.  To be honest, gaining weight was the hardest for me.  I was winded walking up a flight of stairs, I felt like a stuffed sausage in everything I wore, and, generally, I felt downright unattractive.  Of course, I’d do it all again for my two lovebugs… but it was HARD.

    Photo Jan 27, 2 05 50 PM

    I worked out like a crazed lunatic for most of my pregnancies so I could stay as fit as possible and lose the baby weight as soon as possible.  Back then my mindset was still…cardio and weights… burn those calories… a workout isn’t great unless you SWEAT LIKE A PIG!  Boy oh boy… I wish I had known then, what I know now.

    After my mini was born in 2009, I went into a fitness craze and ordered every home workout system known to man… Insanity, P90X, Insanity Asylum, TurboJam, TurboFire and P90X2.  I spent a good two years focusing on these workouts.  Yoga for the most part, took a further backseat.  I was only doing it once a week in the form of the yoga from P90X.

    It wasn’t until early 2012 that I discovered online sites that streamed yoga classes.  This, coupled with my start on Instagram, put yoga back into my fitness plan. Previously, I was drawn to yoga for its physical aspects, but more advanced classes opened up a whole new world for me.  I instantly became addicted to learning more.

    Photo Jan 27, 2 15 05 PM

    By October 2012, I made the decision to stop doing my other workouts in favor of yoga, which I practiced every day for a month. A month turned into two months… which then turned into a year, and the rest is history.  I’ve never once regretted that decision.  My asana practice has grown more in these past 16 months than it did in those first 17 years.

    At some point, my Instagram started to inspire people. It inspired my partner-in-crime, Masumi, to start her yoga journey.  My world was starting to shift.

    “Are you a yoga teacher? Can you teach me?”  Those questions started popping up like crazy.   It was time to get certified and take that first leap of faith.

    Yoga Teacher Training (YTT) was scary as shit for me.  I had severe TMJ growing up which resulted in my slight lisp – something that I am extremely self-conscious of. It took every ounce of courage to go through with YTT.  I sucked so badly in the beginning that I almost gave up in finishing. Thank goodness for Masumi and my teachers, Victoria and Anayra.  They believed in me, and I will always be grateful for their support.

    In August of 2013, I officially became a yoga teacher!

    Photo Jan 27, 2 38 04 PM

    So, to bring it back full circle, the reason I wrote this post was because today sucked.  It sucked enough to make me make a change.  It made me realize that I need to have faith in myself, faith in my abilities, faith that I am meant to do something more than my “day job.”  It also made me realize that I have the whole-hearted support of my family, which is most important to me.

    “Courage is never to let your actions be influenced by your fears.” – Arthur Koestler

    Change is not easy.  It won’t happen overnight, but I’m on a clear path.  Thanks for joining me on this path.  I can’t wait to see where it takes me.

    XOXO

    Blog Signature

  • Green Smoothies 101:  Buying the Basics

    Green Smoothies 101: Buying the Basics

    One of the quickest and easiest ways to improve your diet and to start each day with a nutritional bang is to blend green smoothies.  If you are ready to join the green smoothie bandwagon, you will need a few kitchen staples on hand to make this a simple, natural process each day.

    Stock Your Kitchen

    Surprisingly, you can create many different, delicious green smoothies with the same few base ingredients.  Just mix and match the Stock-Your-Kitchenfollowing items in your blender with a couple of new ingredients each day to change the flavor.  If you are working with recipes rather than mixing up your own concoctions, don’t worry—many recipes will include a few of these ingredients.  You might need to add one or two new items from the supermarket, but the staples listed here will be used repeatedly.  Nothing listed here will be wasted.

    -Greens

    In order to make green smoothies, you will obviously need to keep green leafy vegetables on hand.  If you are short on time, you can buy plastic containers full of pre-washed organic greens from the produce section of your supermarket.  It’s as simple as grabbing a handful of leaves and throwing them into the blender with your other ingredients.  If you happen to have an autoimmune illness that affects your joints, I recommend working with greens that are low in oxalic acid, such as kale or collard greens.  Stay away from spinach and swiss chard, which are both high in oxalic acid and can aggravate your joint condition.

    -Frozen berries

    These days, you can find bags of frozen organic berries at most supermarkets.  Buy a couple of bags of strawberries, blueberries, raspberries or blackberries.  You can buy mixed bags of berries or bags of each individual type of berry.  I recommend buying berries that you typically DO NOT eat often or do not enjoy.  It’s a great way of adding berries-finalwmvariety and new nutrients to your diet.  I know that sounds counterintuitive, but smoothies happen to be a great way of consuming foods that you’d rather not.  Flavors and textures of any particular fruit or vegetable just disappear into blended goodness.  Personally, I am not a huge fan of eating fresh blackberries.  I happen to enjoy the flavor, but I can’t deal with all of the seeds.  It drives me crazy, so now I consume all of my blackberries in pureed form.  I just throw a nice big handful of frozen blackberries into my blender, and I get all of the benefits of eating them without actually having to deal with the unpleasant texture of the seeds.

    -Frozen bananas
    brownbanana
    Buy a bunch of bananas, and allow them to ripen on your countertop for a few days. Brown bananas are not particularly appetizing to eat as a snack, but they are perfect for smoothies.  Slice each banana, and freeze the slices.  Frozen bananas slices blend much more easily than frozen bananas that haven’t been sliced.

    -Liquid for your smoothies

    I like to stock my pantry with organic, non-GMO soy milk, almond milk, and coconut water.  If you prefer a smoothie with a juice base, keep your fridge stocked with orange juice, apple juice, or whatever it is that you prefer.

    -Almond butter

    If you are worried about getting hungry within an hour or so after consuming your smoothie, turn your drink into a stick-to-your-ribs meal by adding a tablespoon of almond butter to your blender.  If you aren’t a huge fan of almond butter, try another type of nut butter, or maybe even a piece of non-GMO organic tofu.

    -Fresh Ice

    Three melting ice cubes
    I can’t even tell you how many times I’ve reached into my freezer to grab a handful of ice for my smoothie and realized that my ice smelled a little funky.  Whether you have an automatic ice maker in your freezer like me or a few trays of ice that you fill with water and freeze yourself, check your ice before you actually need to use it!  Once a month, I dump all of my ice out of the freezer bin that collects my ice cubes from the ice maker.  I scrub the ice container with hot soapy water, and I collect all new ice cubes.  There’s really no easier way to ruin a delicious smoothie than to fill your blender with old, stinky ice.  Take the time to make sure you are using good ice.  And don’t forget that you always have the option of skipping ice altogether and just adding more frozen berries instead!

    -Lemons/limes

    When you first start making green smoothies, you will most likely dapple with recipes that include lots of fruit.  Once you become accustomed to these smoothies, you will probably start lowering the quantity of fruit and increasing the quantity of greens and other vegetables.  If you move on to these more savory green smoothies, you will want to have fresh lemons and limes on hand.  A good squeeze of lemon or lime really compliments any greens or herbs, like parsley, that you might add to your blender.  Lemons and limes have quite a long shelf life in the refrigerator, so go ahead and buy a few.  Even if you don’t use them today, you can use them in a few weeks, and they will be just as good.


  • The Sun Salutation: The Flow Every Yogi Should Know

    The Sun Salutation: The Flow Every Yogi Should Know

    Hello my sunshines!

    Welcome to my first official blog post here on our TwoFitMoms website!

    One question I get asked a lot is… “Where do I start?” or “What poses should I do first?” My answer is quite simple… LEARN THE BASICS! So I decided that the first thing I would break down is a Modified Sun Salutation or Surya Namaskar A.  The variations you can do with this simple flow are endless… but let’s break down a basic, beginner flow that I like to teach.

    1. BREATHE! Each movement will happen on an inhalation or an exhalation through the nose… Ujjayi Pranayama. Ujjayi breathing is known for the soft “hissing” sound it makes as a person inhales and exhales over the back of their throat. The purpose of Ujjayi breathing is to slow the breath down, bring attention to the breath throughout the practice and prevent the mind from wandering. A simple way of learning this is to simply place the tip of the tongue on the roof of your mouth, take a deep breath through the nose and slowly exhale out of your nose. Did you hear the soft sound this makes?


    1. Tadasana or Mountain Pose: Stand at the top of your mat… Feet together or hips-width distance apart.  Feel your spine lengthen as you stand up tall with your chin parallel to your mat.  Roll your shoulders away from your ears.  Place your hands at heart center in Anjali Mudra or prayer position; or alongside your torso, palms facing outward. Close your eyes and take a few deep breaths in and out through your nose… Ujjayi Breathing.

    Photo Jan 23, 1 46 59 PM

    1. Urdhva Hastasana or Upward SaluteOn an inhale, sweep the arms up overhead.  Look up, watch the palms touch.

    Photo Jan 23, 1 47 08 PM

    1. Uttanasana or Standing Forward Fold:  Exhale.  Leading with your heart, swan dive down bringing your hands to your mat, thighs, shins or blocks. Make sure to evenly distribute your weight into your feet. For most people, that means shifting your weight slightly towards your toes. Inner thighs spin back, spine remains long, shoulders continue to pull away from your ears. Don’t be a turtle!

    Photo Jan 23, 1 47 14 PM

    1. Ardha Uttanasana or Half Standing Forward Fold:  Inhale. Look up; come up onto fingertips, blocks or higher up onto your legs. Lengthen the spine, flat back.

    Photo Jan 23, 1 47 20 PM

    1. Uttanasana or Standing Forward Fold:  Exhale. Lower back down into Uttanasana.

    Photo Jan 23, 1 47 14 PM

    1. Utthita Chaturanga Dandasana or Plank Pose:  Inhale. Place your hands onto your mat and step back into Plank Pose or top of a push up. Shoulders will stack directly over your wrists. Keep your gaze on your mat. Spread your fingers wide. Your biceps roll forward so the creases of your elbows point toward the top of your mat. Shoulder blades broaden down your back. Core engages… think navel to spine while your tailbone tucks under.  The goal is to make a straight line from head to heels.  If this is too much for you, lower down onto your knees!

    Photo Jan 23, 1 47 25 PM

    1. Chaturanga Dandasana or Four-Limbed Staff Pose:  Exhale. Keeping your elbows pinned to your sides, shift slightly forward and slowly bend the elbows so they come to a 90 degree angle. Do not collapse onto our mat! If you struggle with keeping your elbows in, you have two options. 1 – Try the “caterpillar” instead! From plank pose, lower your knees, chest and chin to your mat as shown in the bottom pic. 2 – Do a modified Chaturanga by lowering onto your knees. In either modification, keep those elbows squeezing in.

    Photo Jan 23, 1 47 31 PM

    1. Urdhva Mukha Svanasana or Upward Facing Dog:  Inhale. Roll over the toes or flip one foot at a time so the tops of the feet press firmly into your mat. Press into your hands as you simultaneously start to straighten your arms and lift your torso up. Your hands and the tops of your feet are your only connection to your mat. Keep your gaze straight ahead or slightly back. Squeeze your shoulder blades against your back as you puff out the sides of your ribs. Relax your buttasana, try not to clench.

    Photo Jan 23, 1 47 37 PM

    1. Adho Mukha Svanasana or Downward Facing Dog:  Exhale. Roll back over the toes and lift the hips high. You should look like an upside down “V”.  Fingers spread wide, biceps roll forward, shoulders melt down the back, lower ribs corset in towards one another… so do not dump into your chest… navel pulls in, tailbone lengthens, quadriceps lift as your inner thighs spin in, heels press actively towards your mat.  It’s OK if your heels do not touch the mat but the intention should be down. Keep your gaze about halfway down your mat towards your toes without letting your head sag.


    Some modifications?  If you have tight hamstrings, bend your knees slightly to take any tension out of the lower back. You may feel tugging there when you try to straighten the legs out… So be mindful, and take the bend. You can also sit back onto your heels from Upward Facing Dog before going into Downward Facing Dog.

    Take 5 deep breaths here.

     Photo Jan 23, 1 47 44 PM

    1. Move on up… Inhale.  Look forward and bend your legs.  Exhale. Walk or jump to the top of your mat.

    Photo Jan 23, 1 47 50 PM


    1.  Ardha Uttanasana or Half Standing Forward Fold:  Inhale.  Look up, flat back.

    Photo Jan 23, 1 47 20 PM

    1. Uttanasana or Standing Forward Fold:  Exhale.  Fold.

    Photo Jan 23, 1 47 14 PM


    1. Urdhva Hastasana or Upward Salute:  Inhale.  Keeping the spine long, sweep the arms up towards the sky… Look up, palms press.

    Photo Jan 23, 1 47 08 PM

    1. Tadasana or Mountain Pose: Exhale. Hands in prayer in front of your heart or down by your sides.

    Photo Jan 23, 1 46 59 PM

    If you’re new to yoga, start out by doing 3-5 of these a day! Take them as slowly as you need to, and if something doesn’t feel good… MODIFY!

    “The journey of a thousand miles begins with a single step.” – Lao Tzu

    XOXO

    Blog Signature

  • SNOWGA! 10 Reasons Why You Can and Should Take your Snow Day to Another Level

    SNOWGA! 10 Reasons Why You Can and Should Take your Snow Day to Another Level

    If you have an Instagram account, you’ve probably seen plenty of “snowga” photos posted by yogis living in cold weather climates.  What is “snowga”, you may ask?  Well, it’s simply the act of getting into a yoga pose in the snow.  It is NOT, by any means, a full SnowyChopasanaPhoto
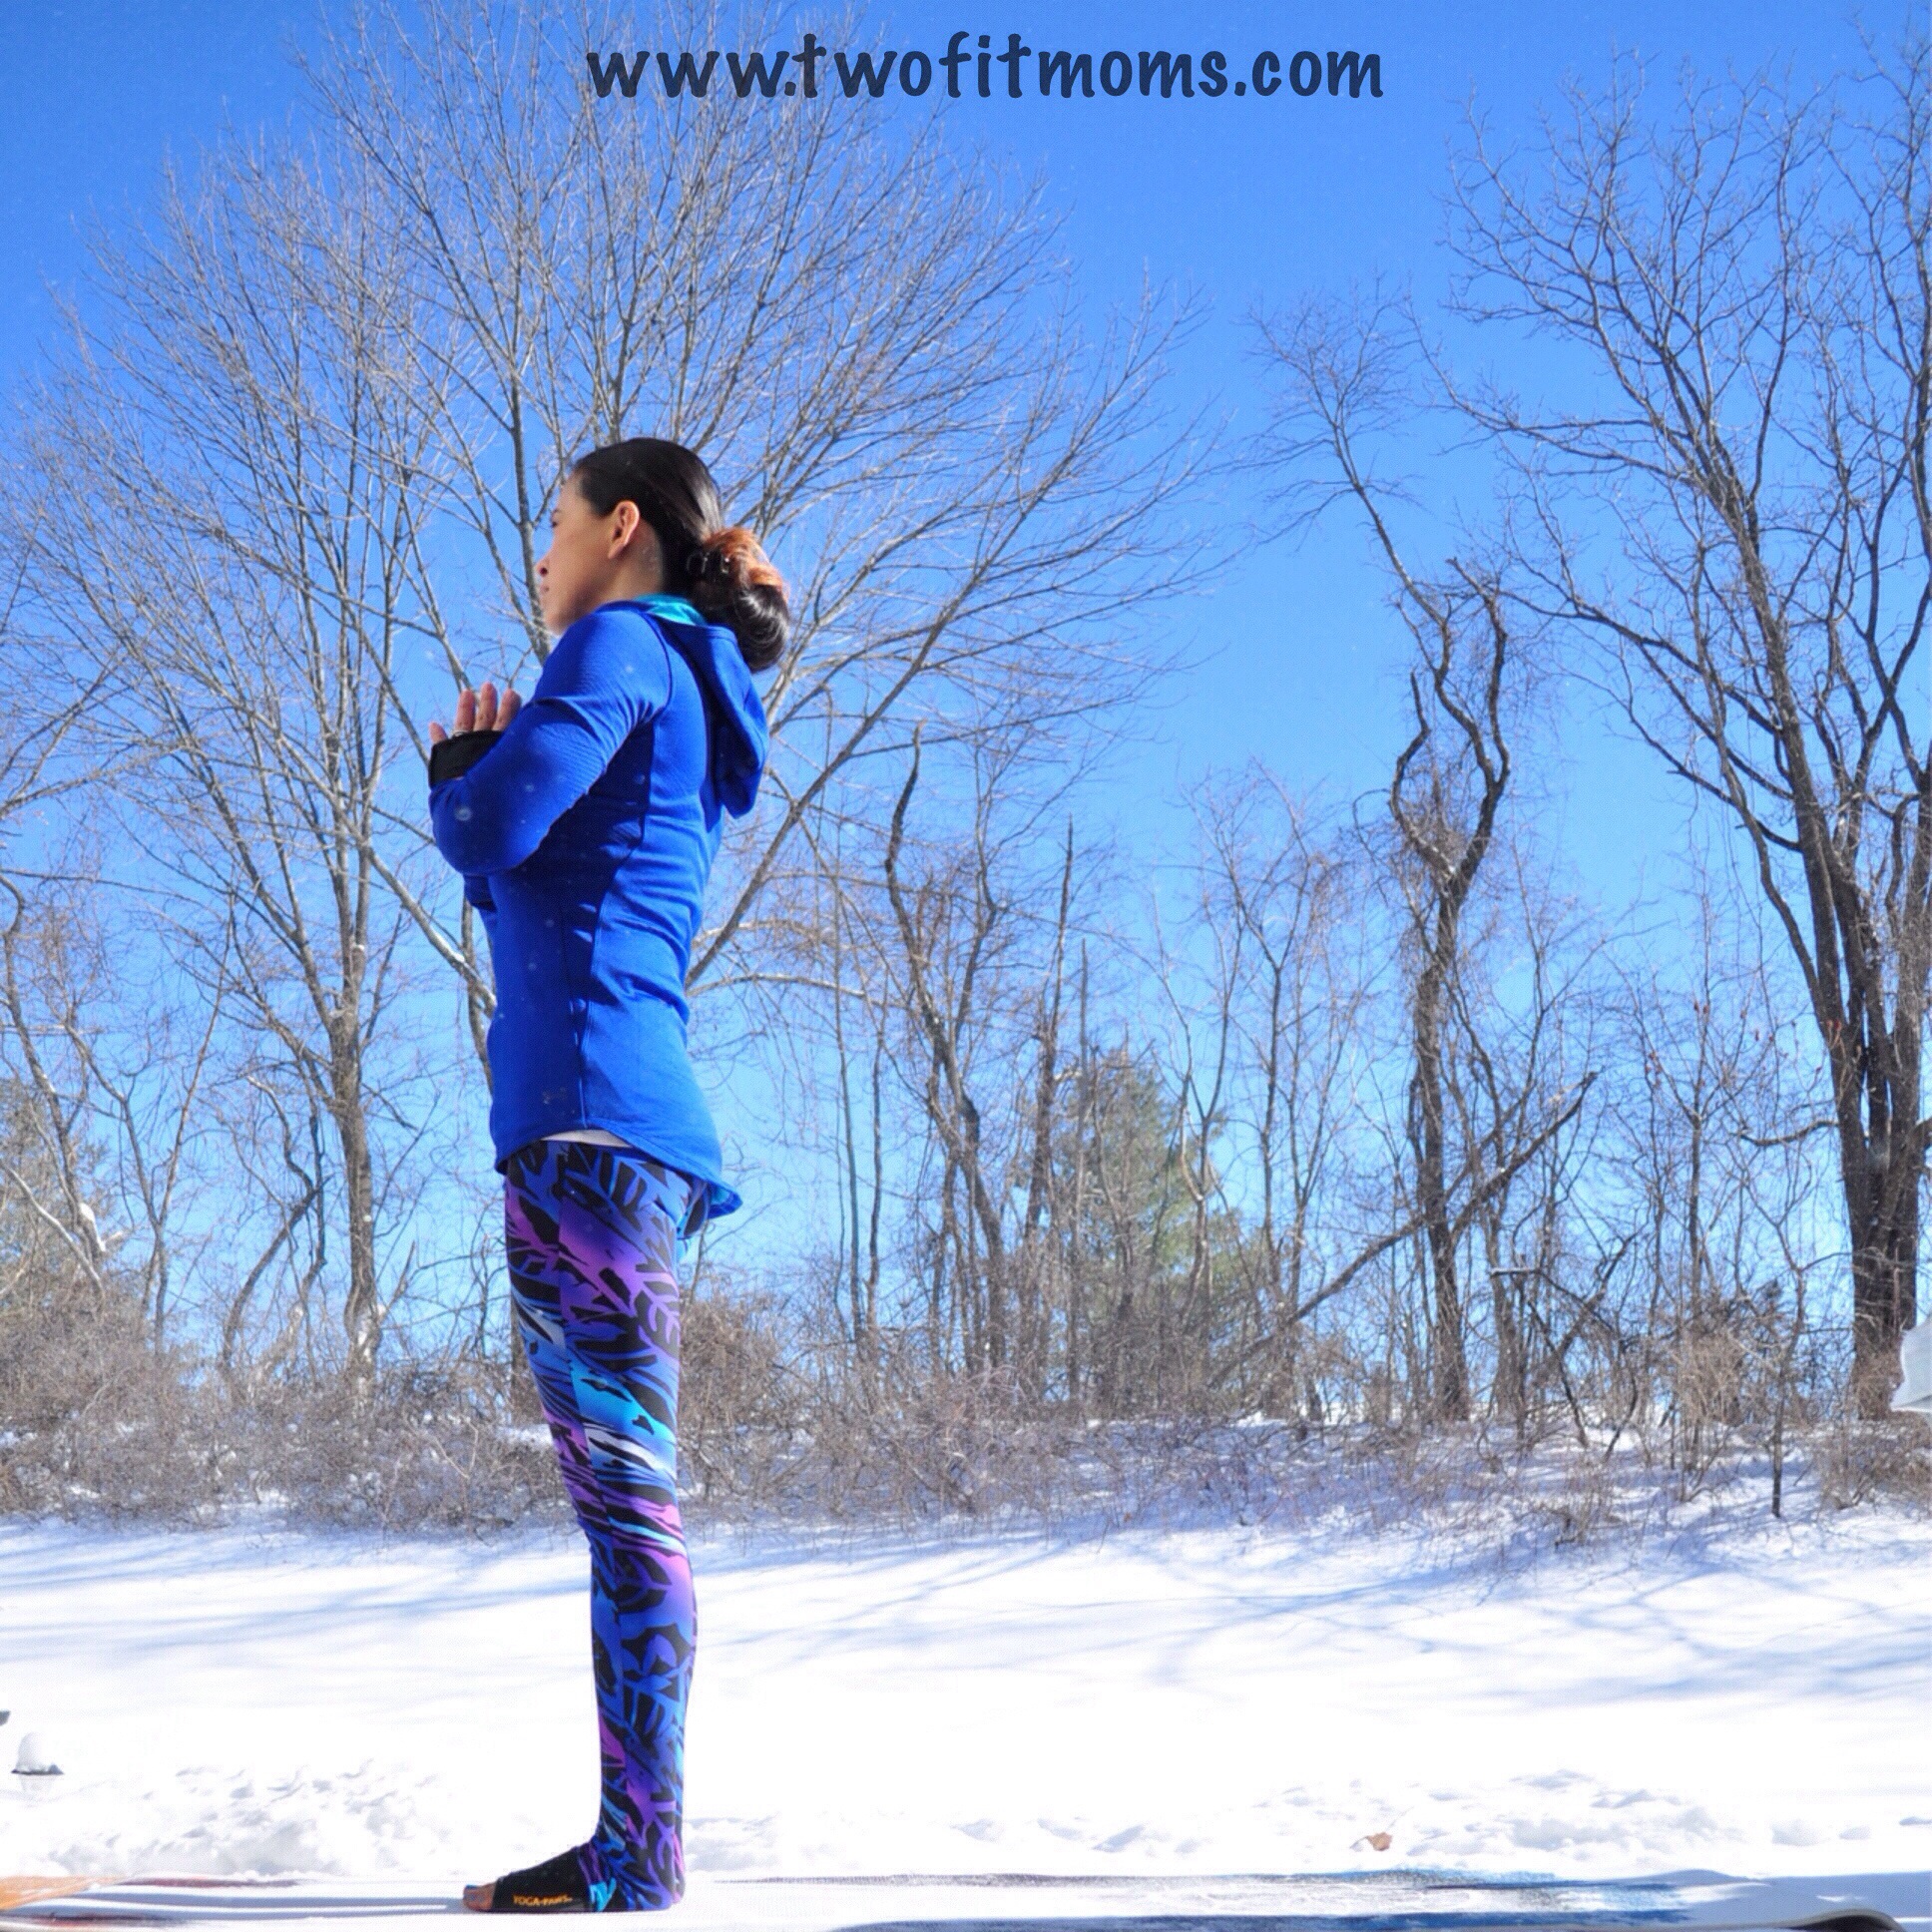
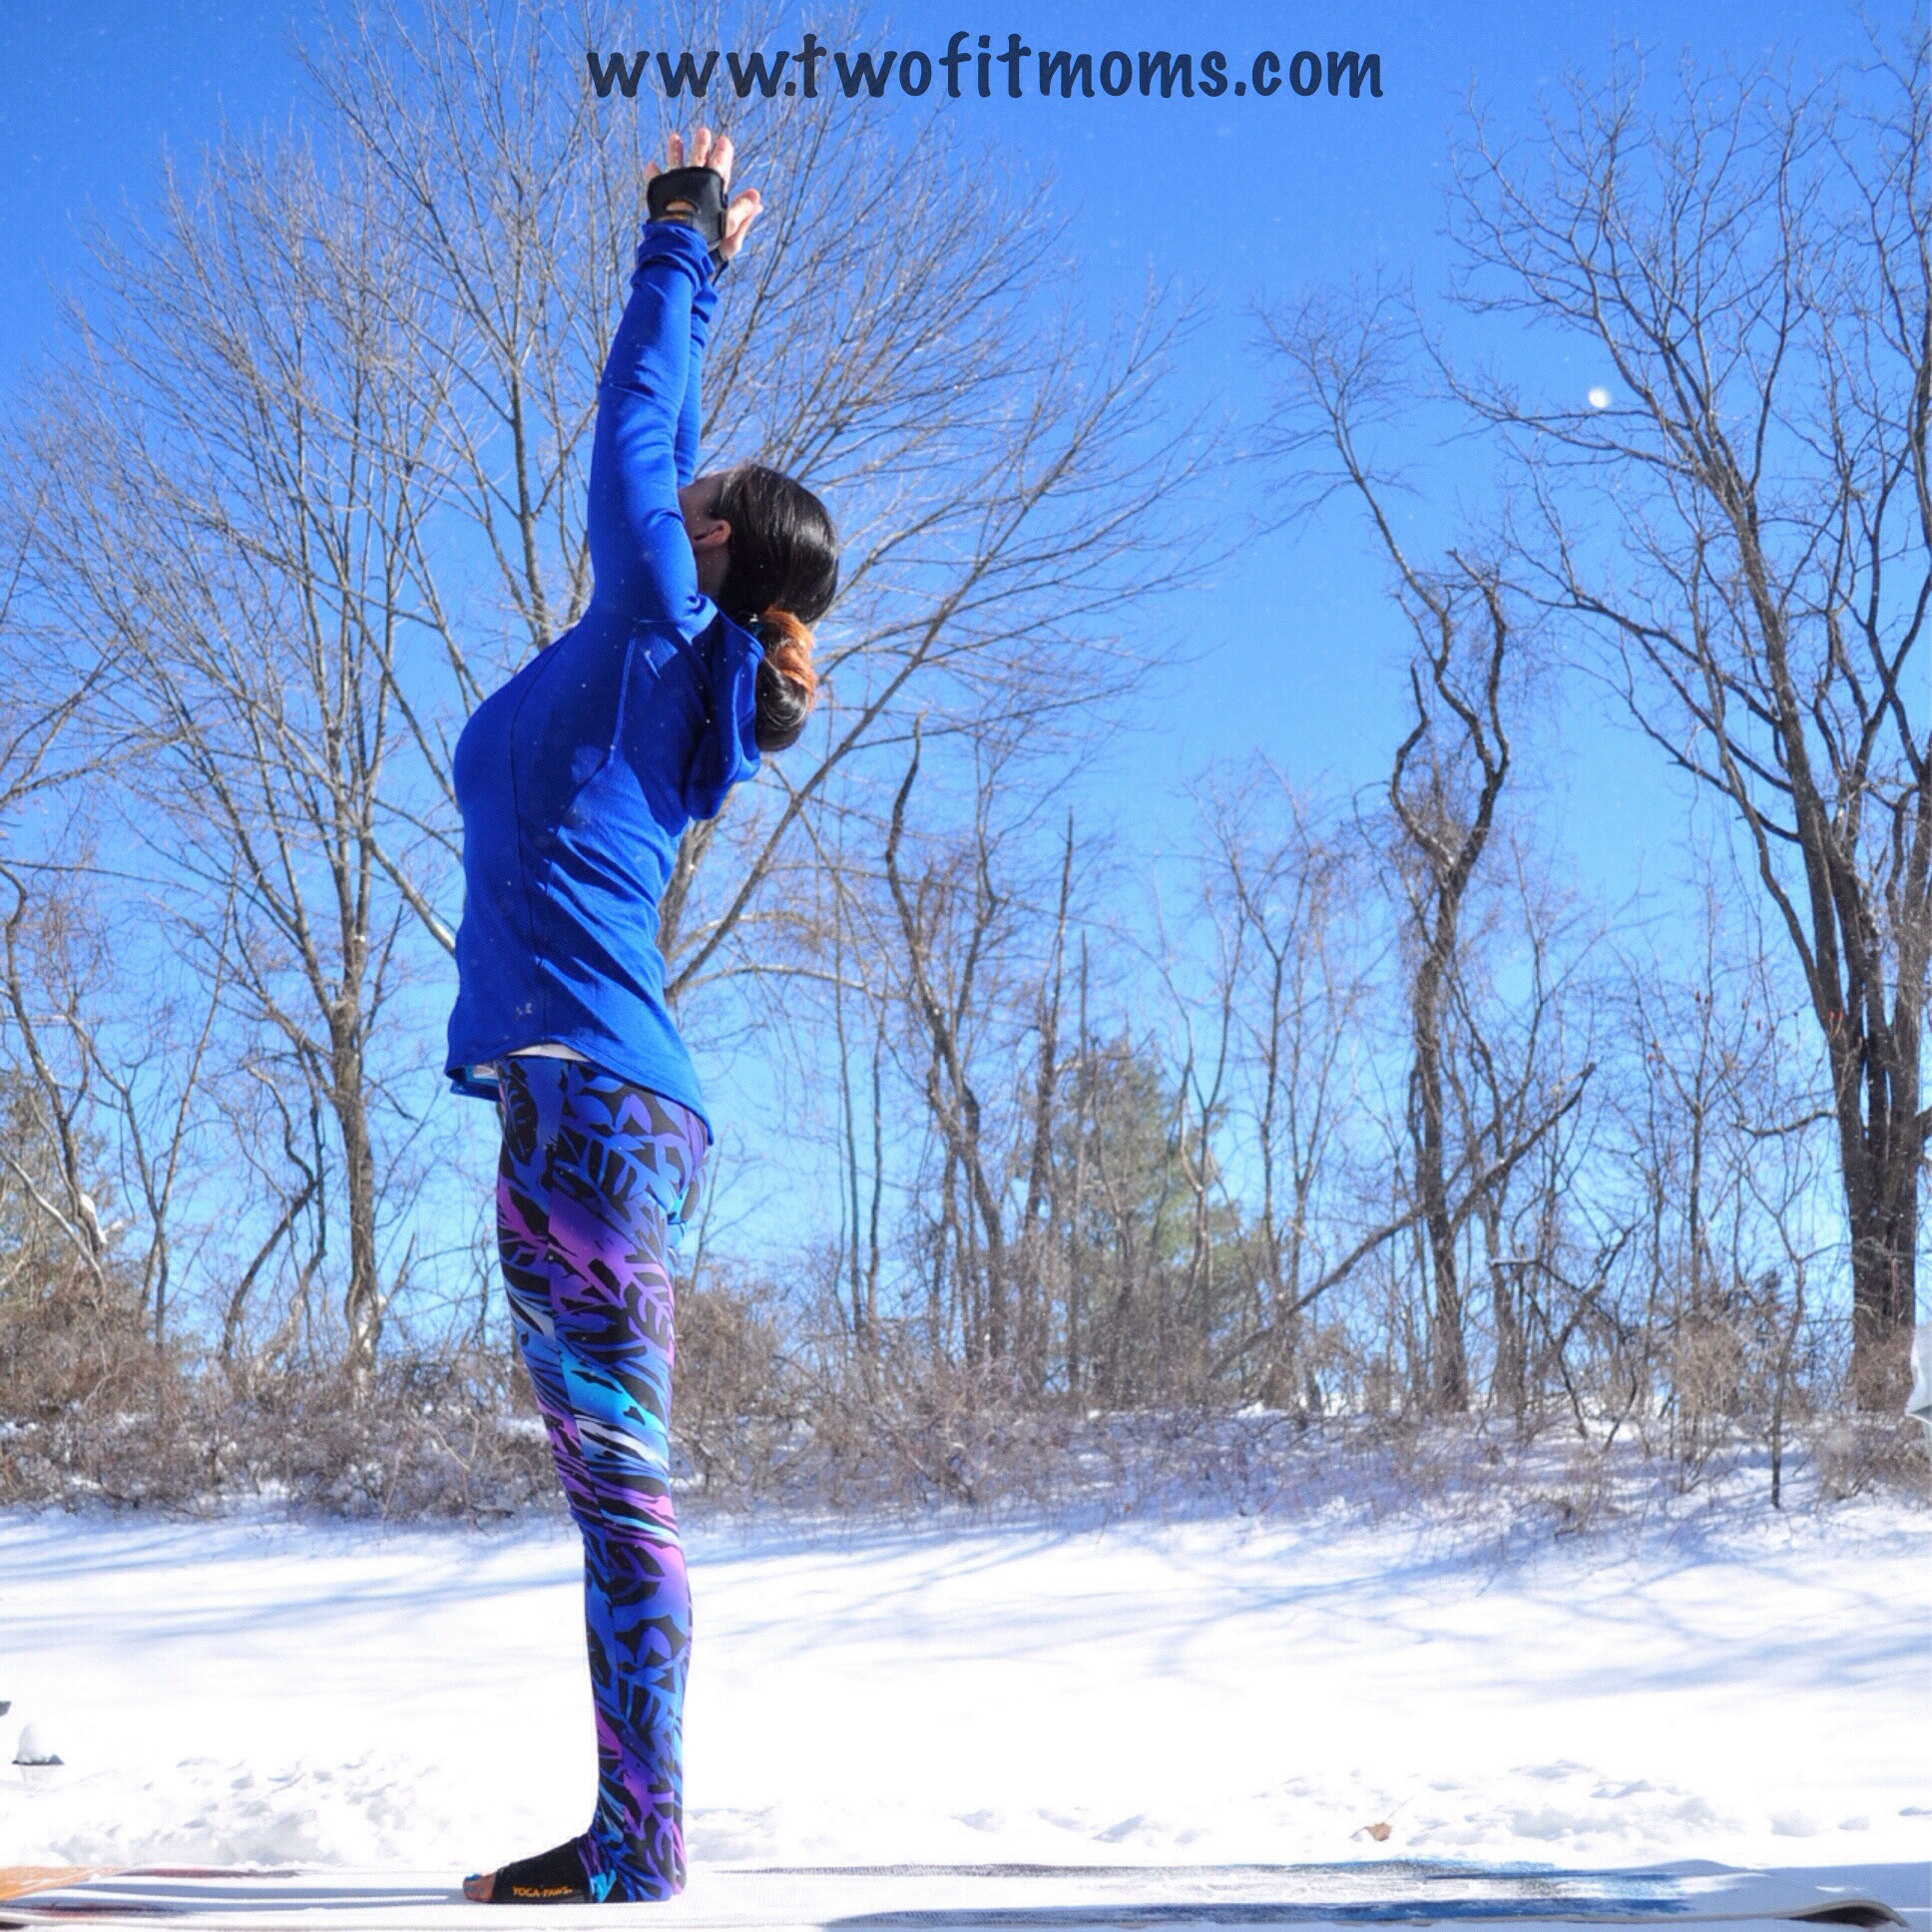
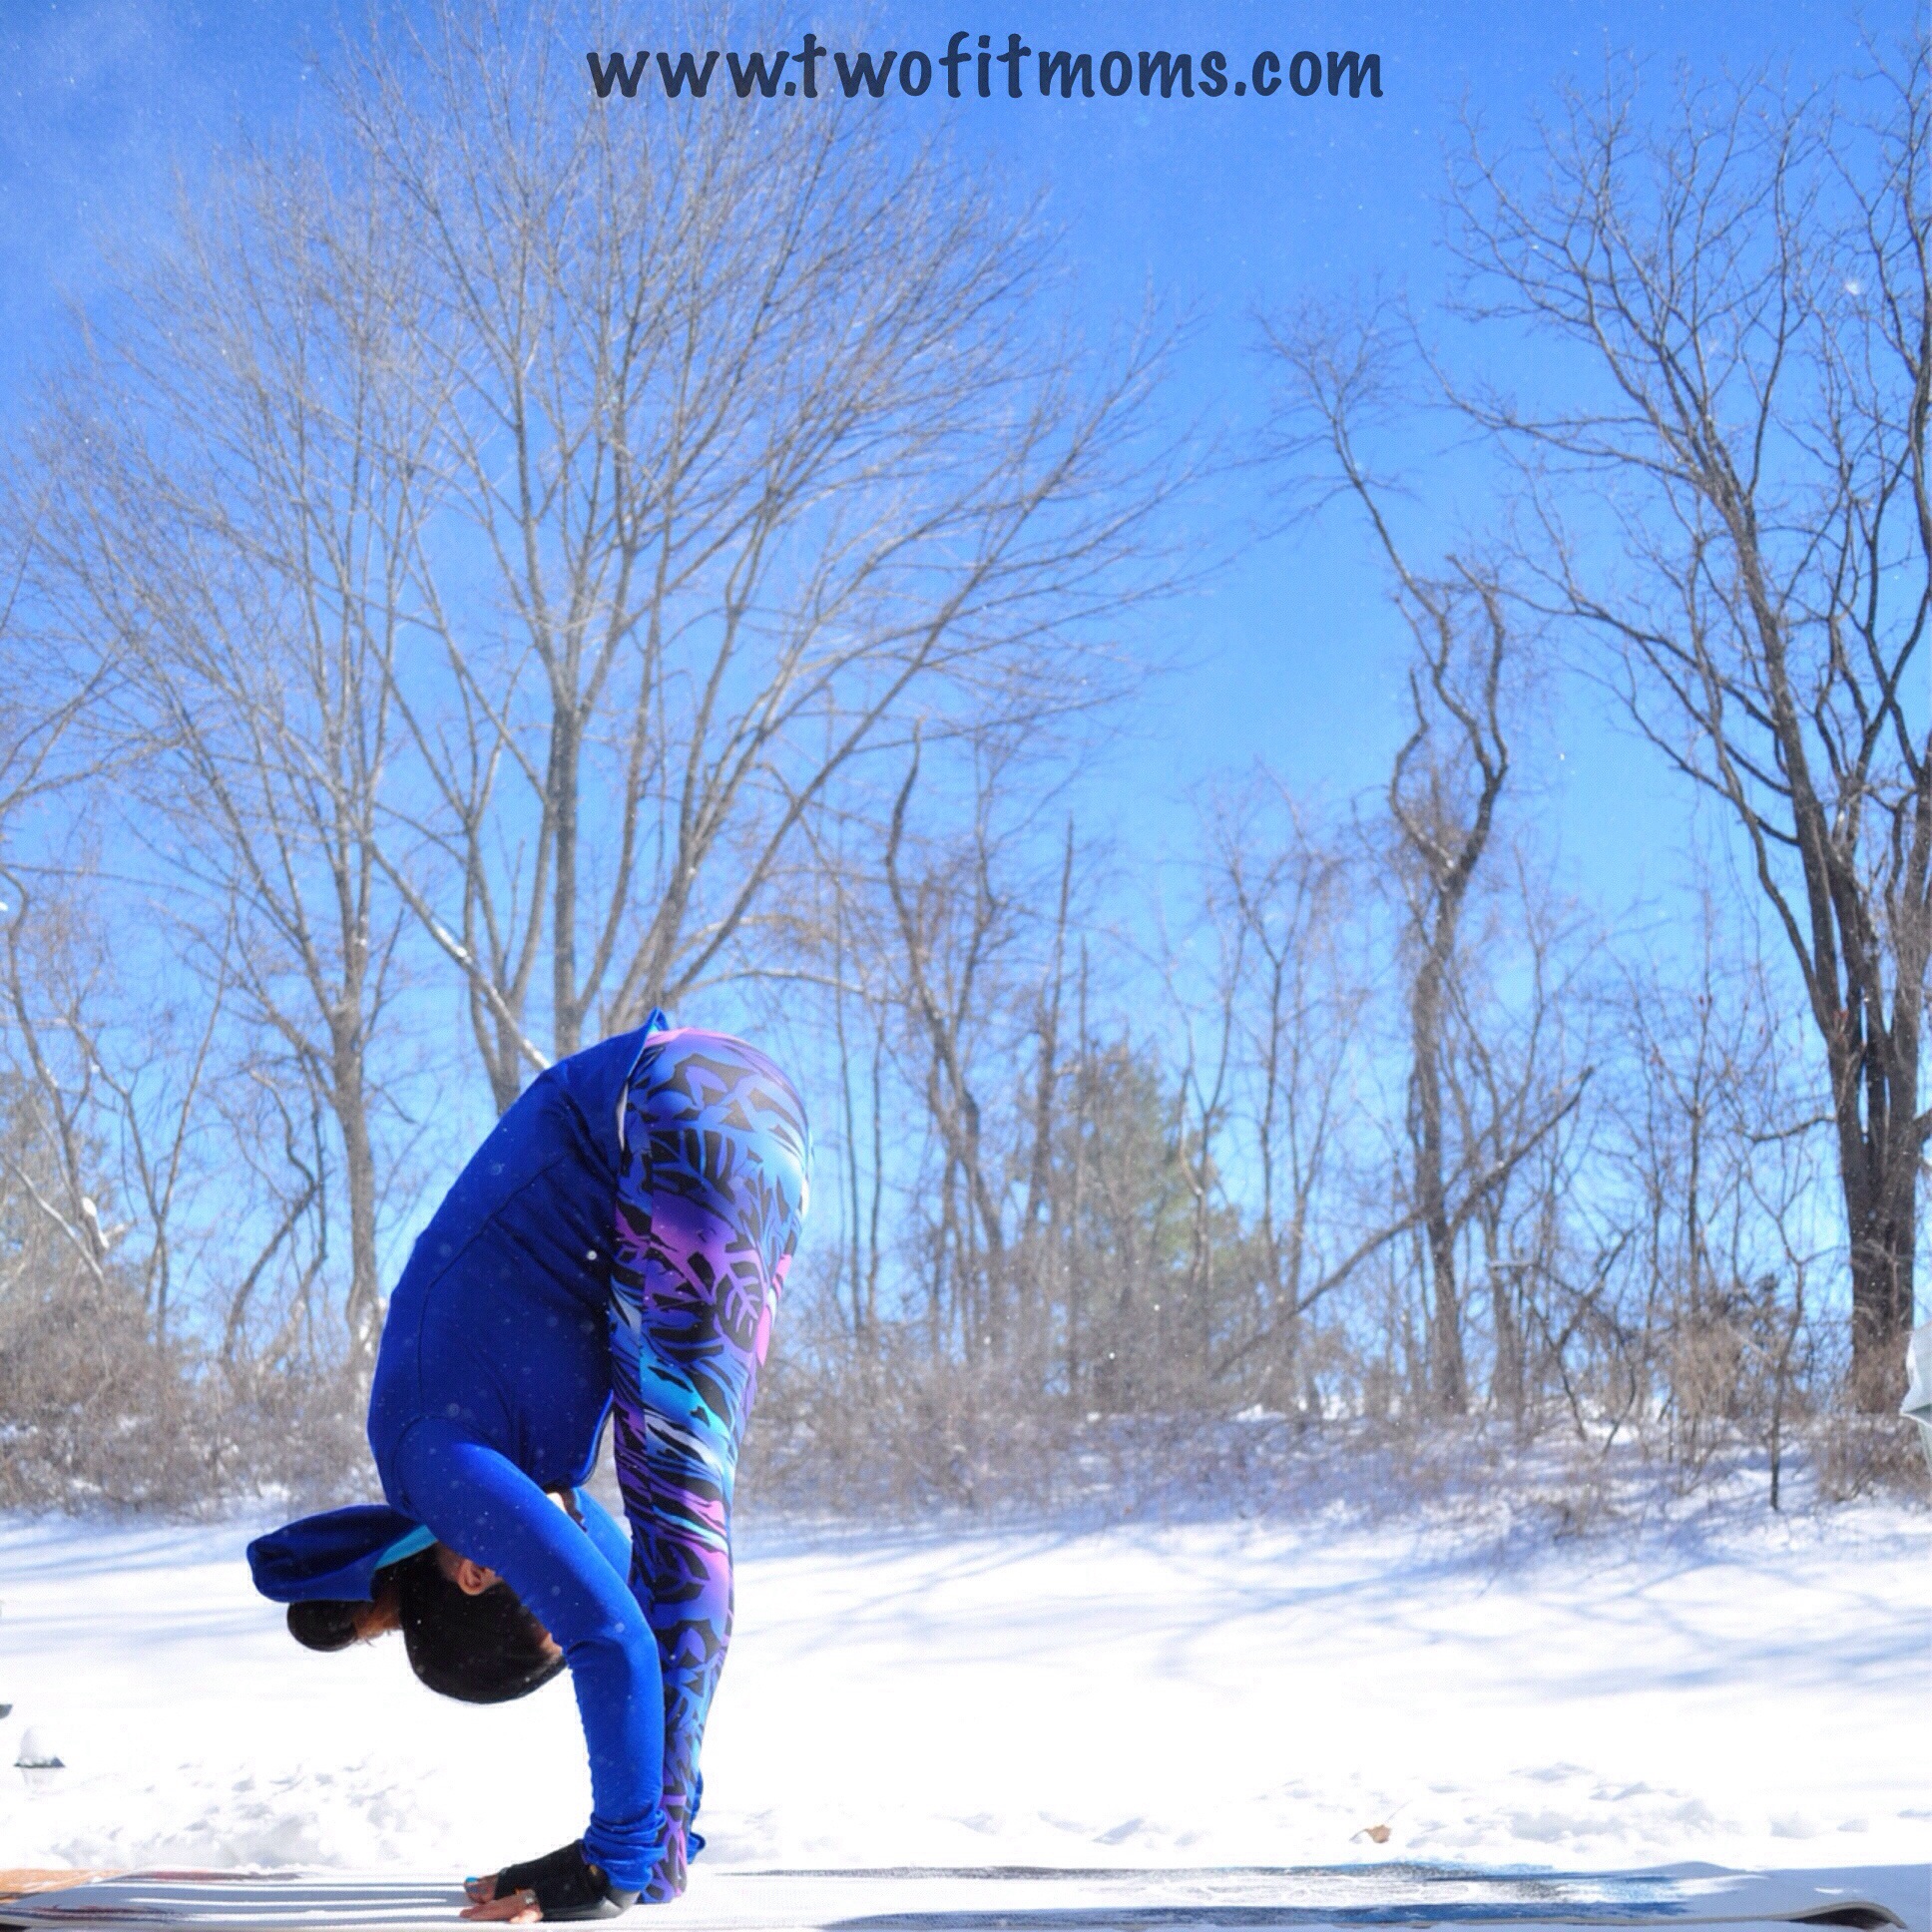
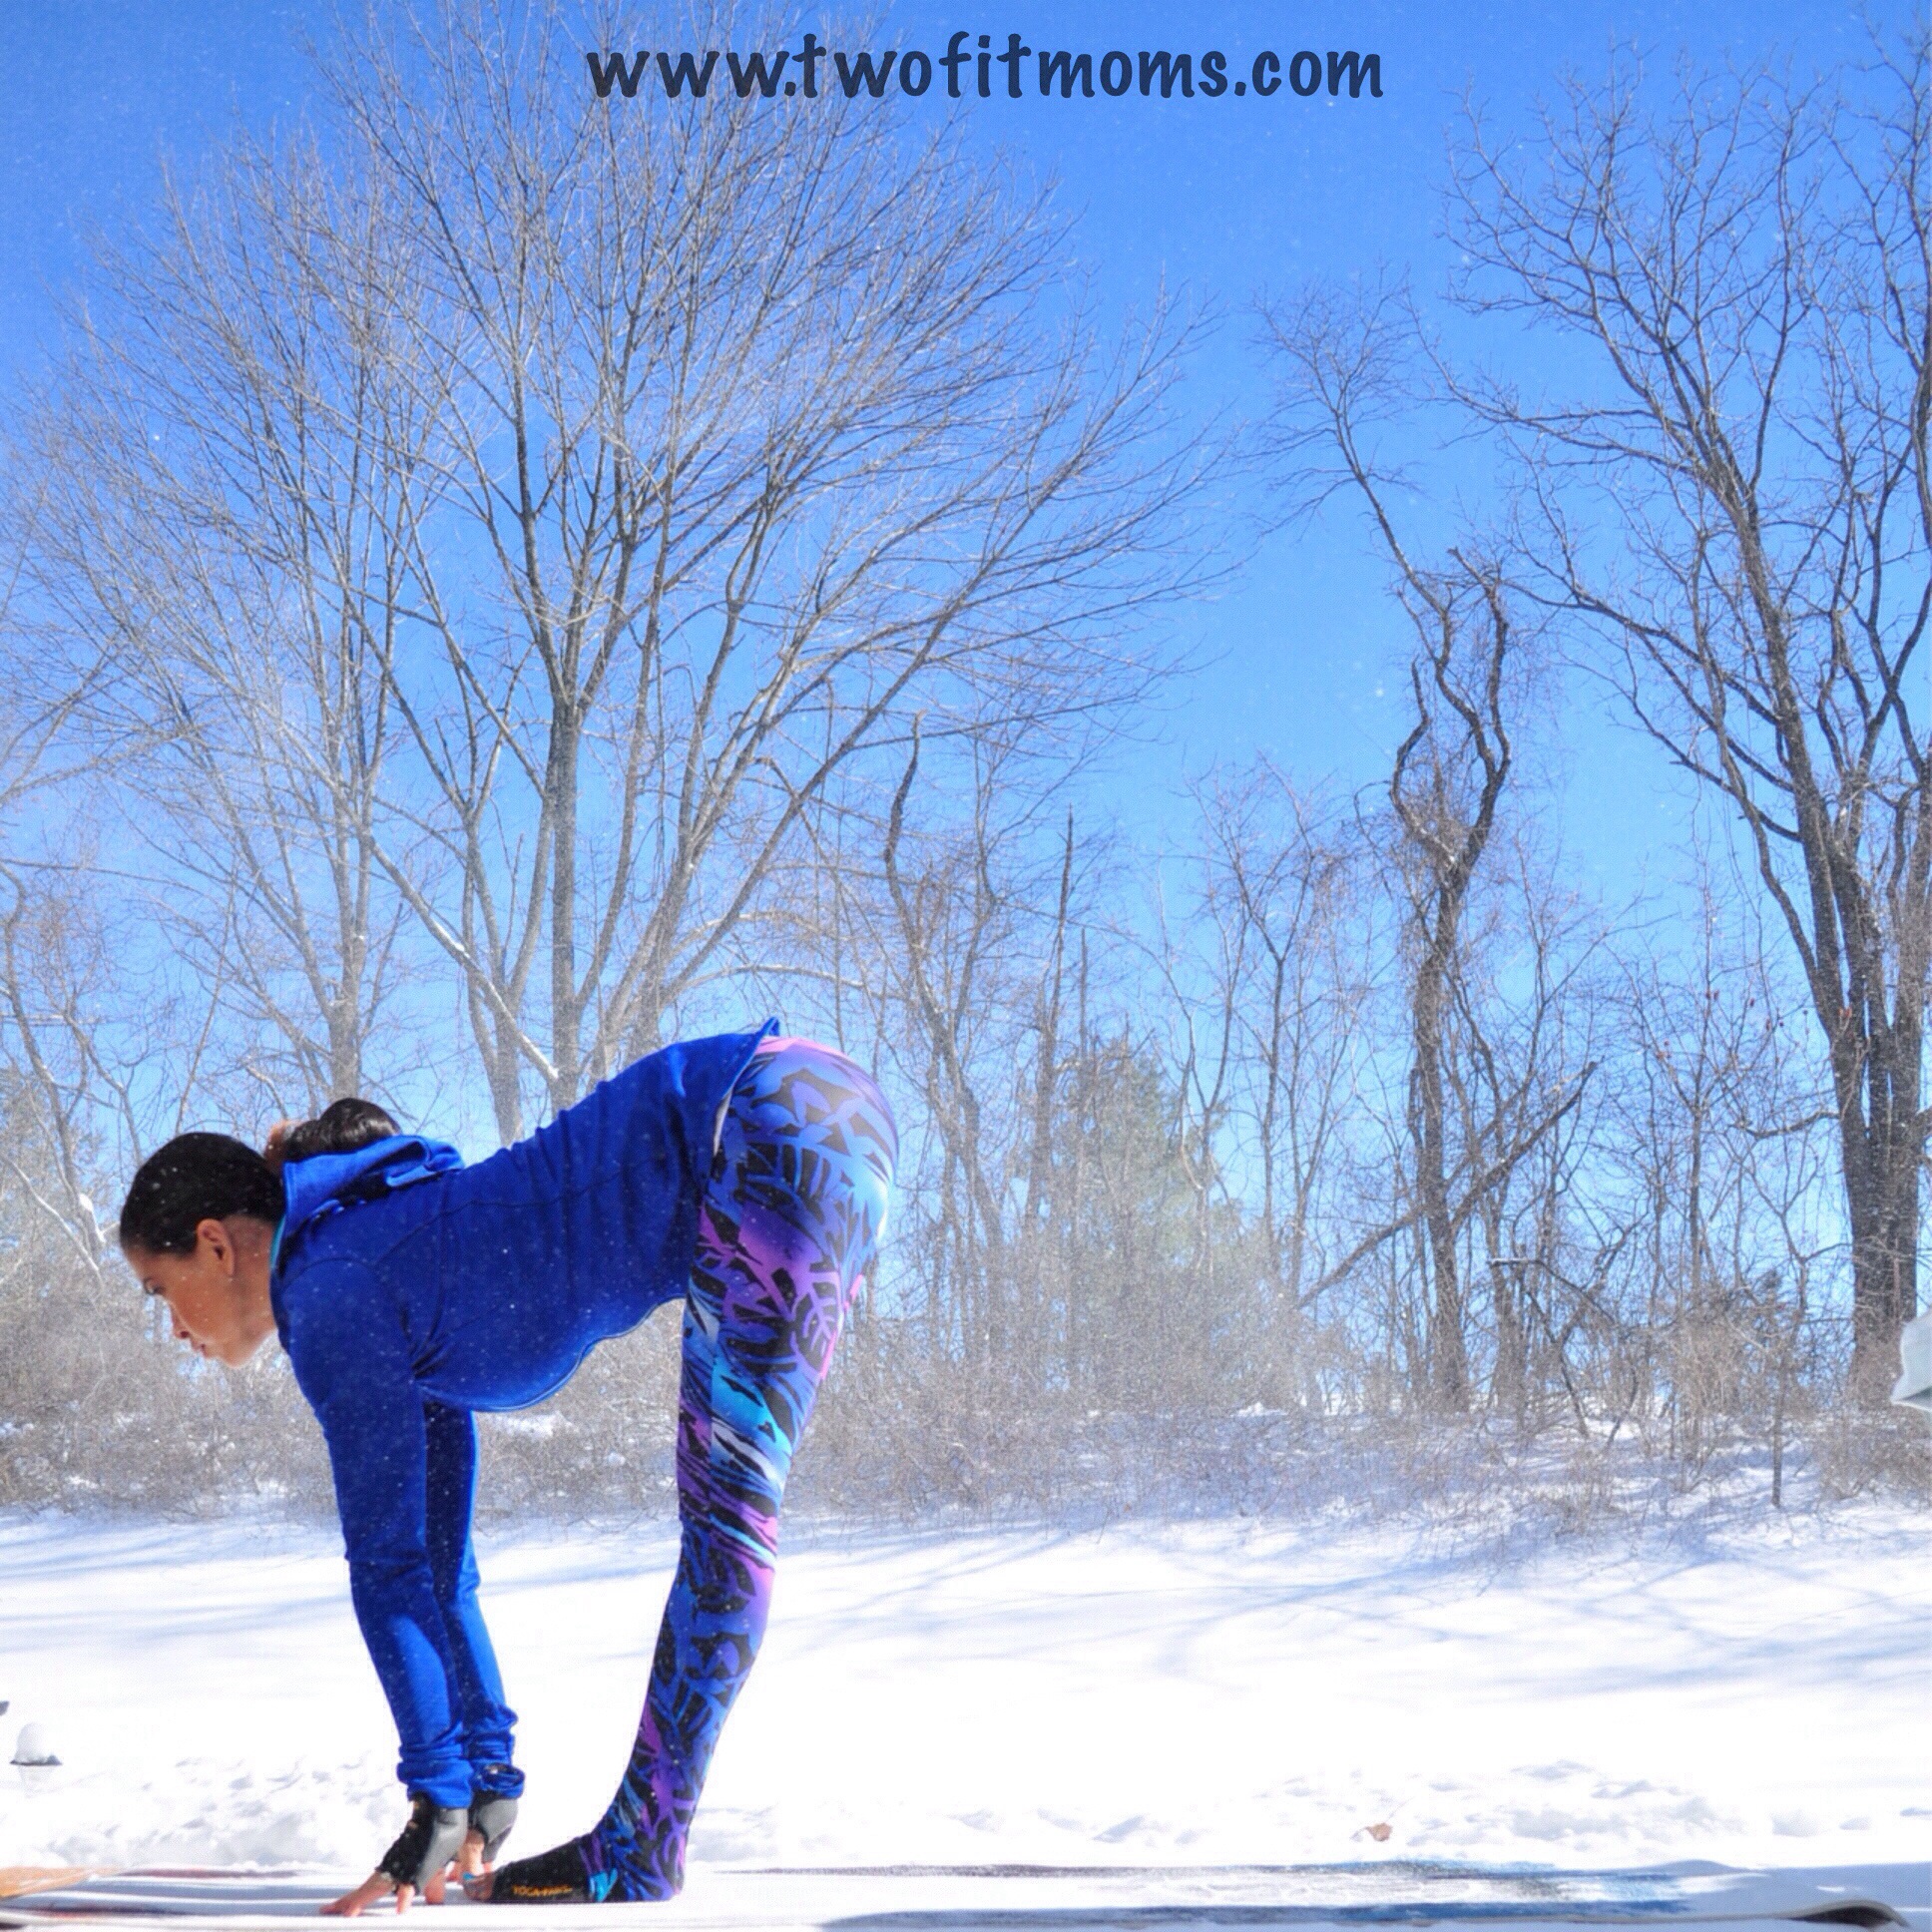
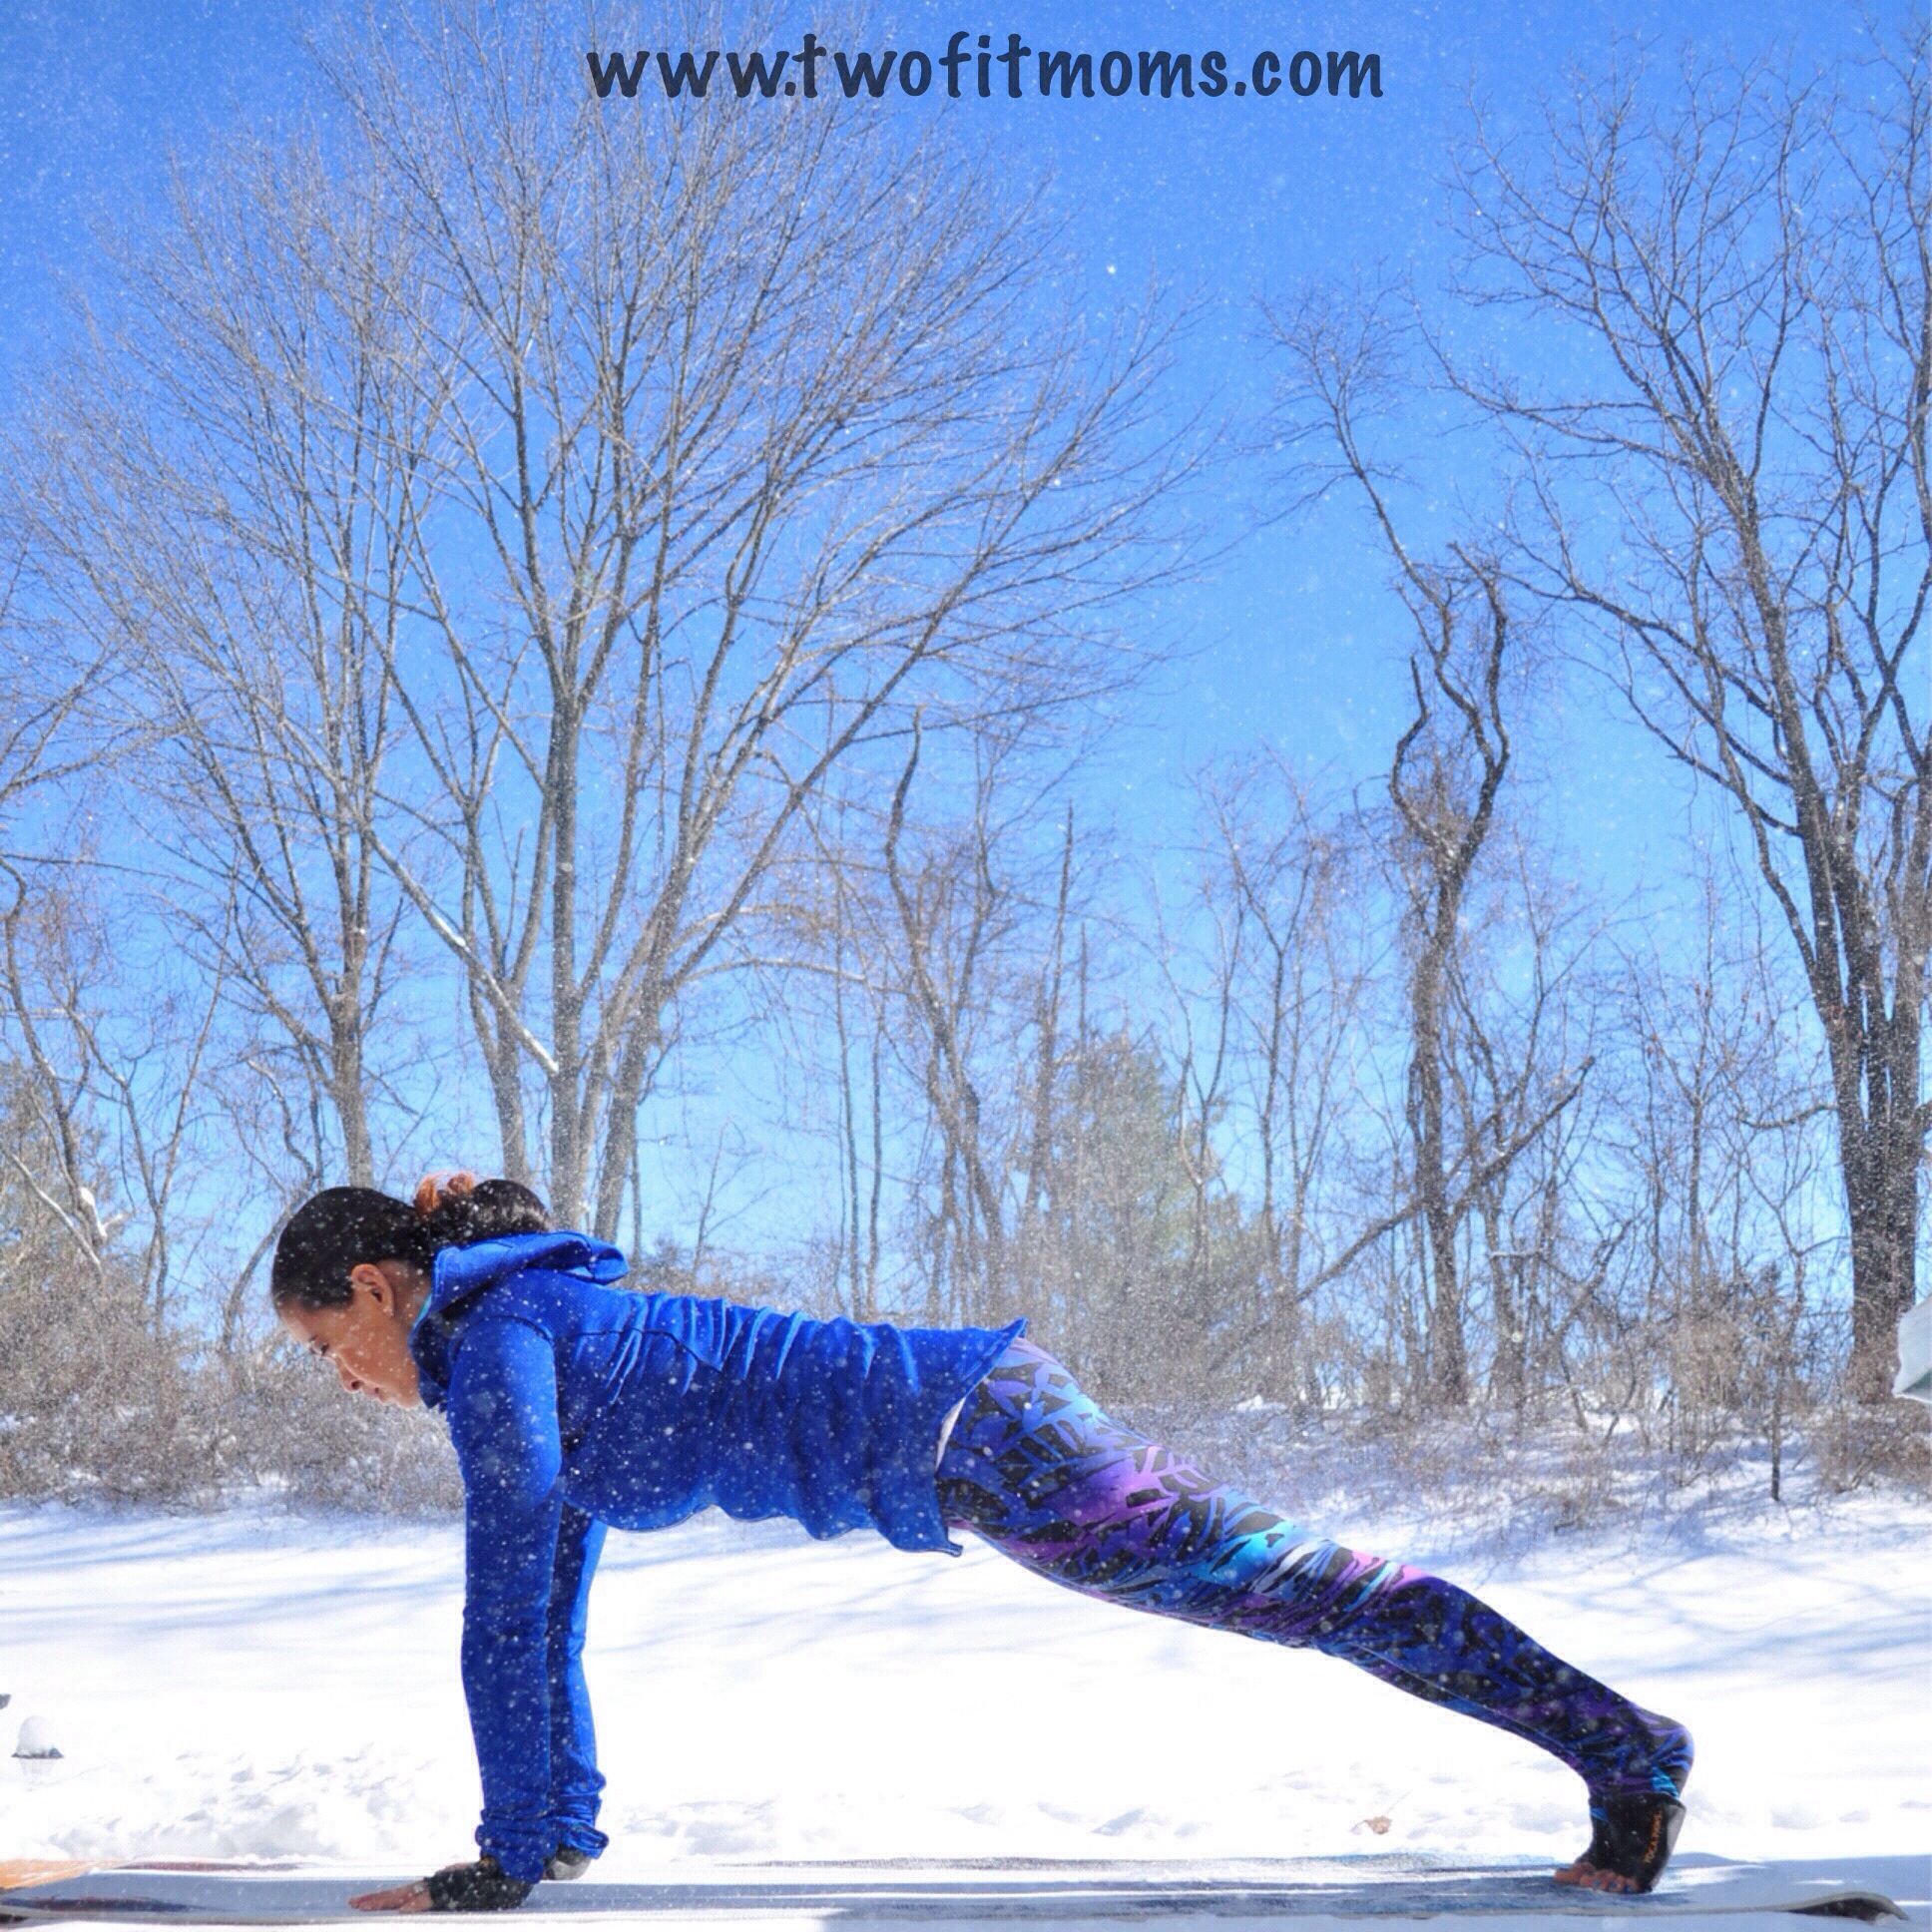
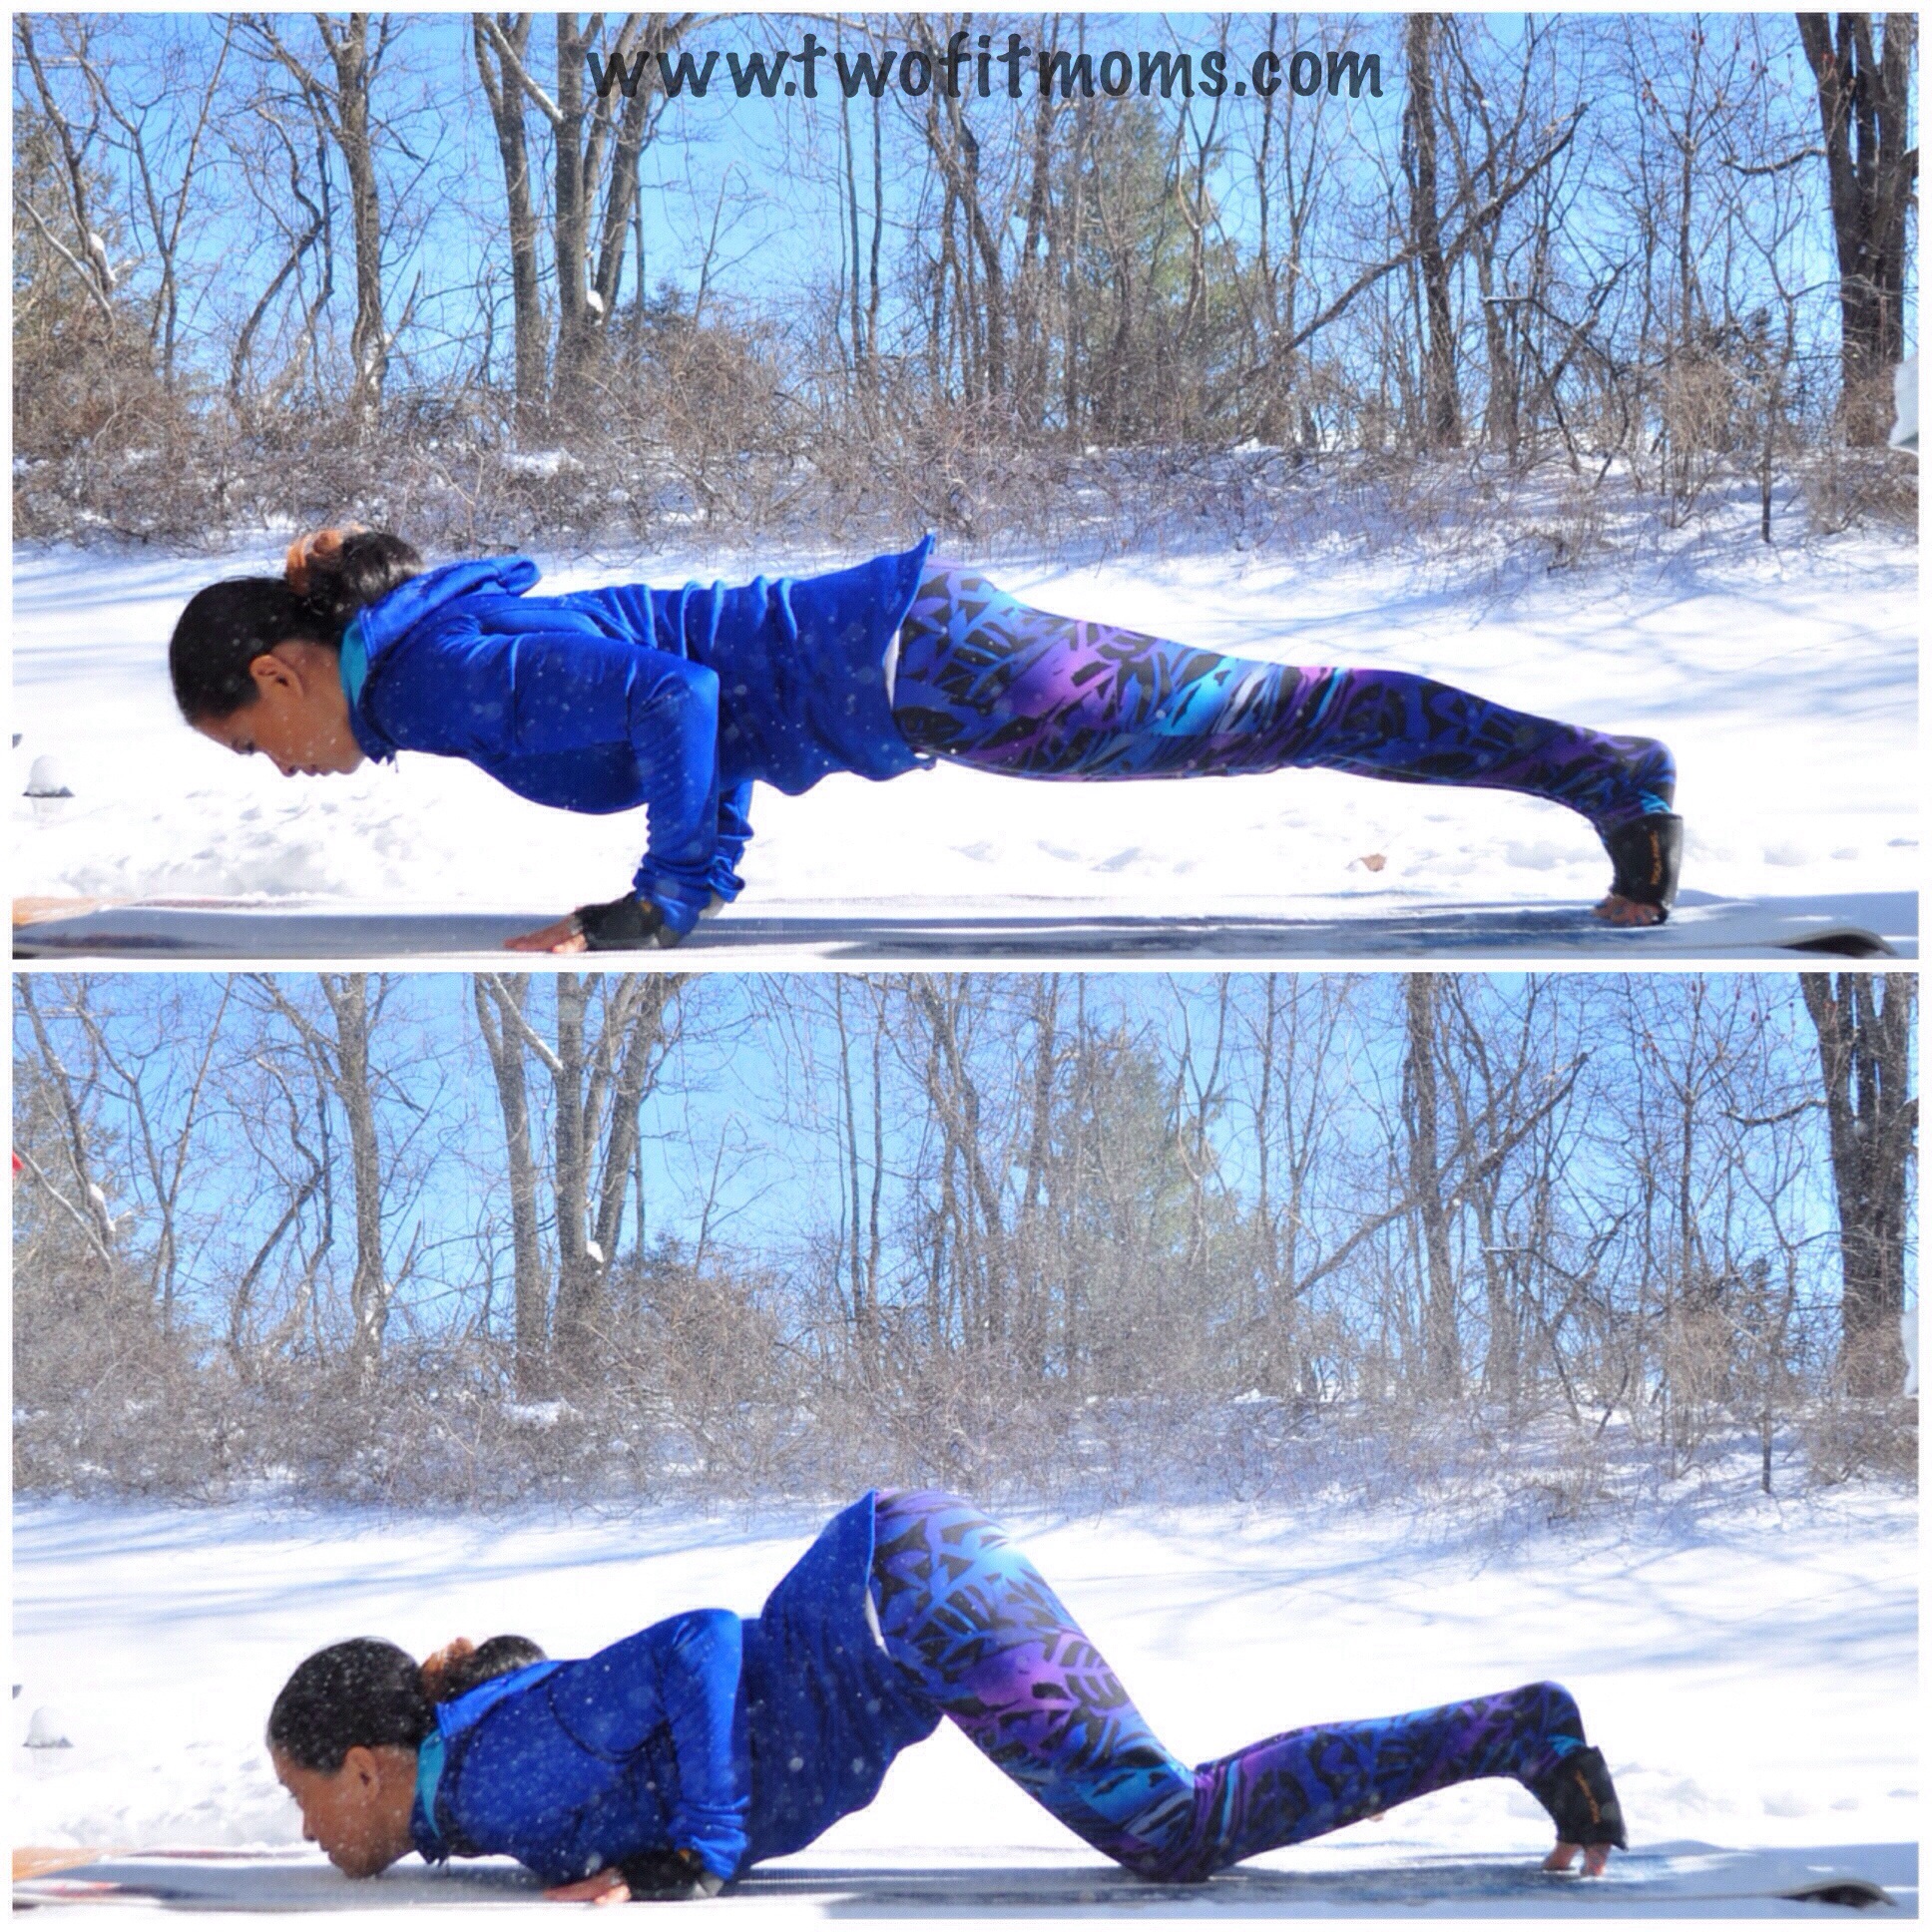
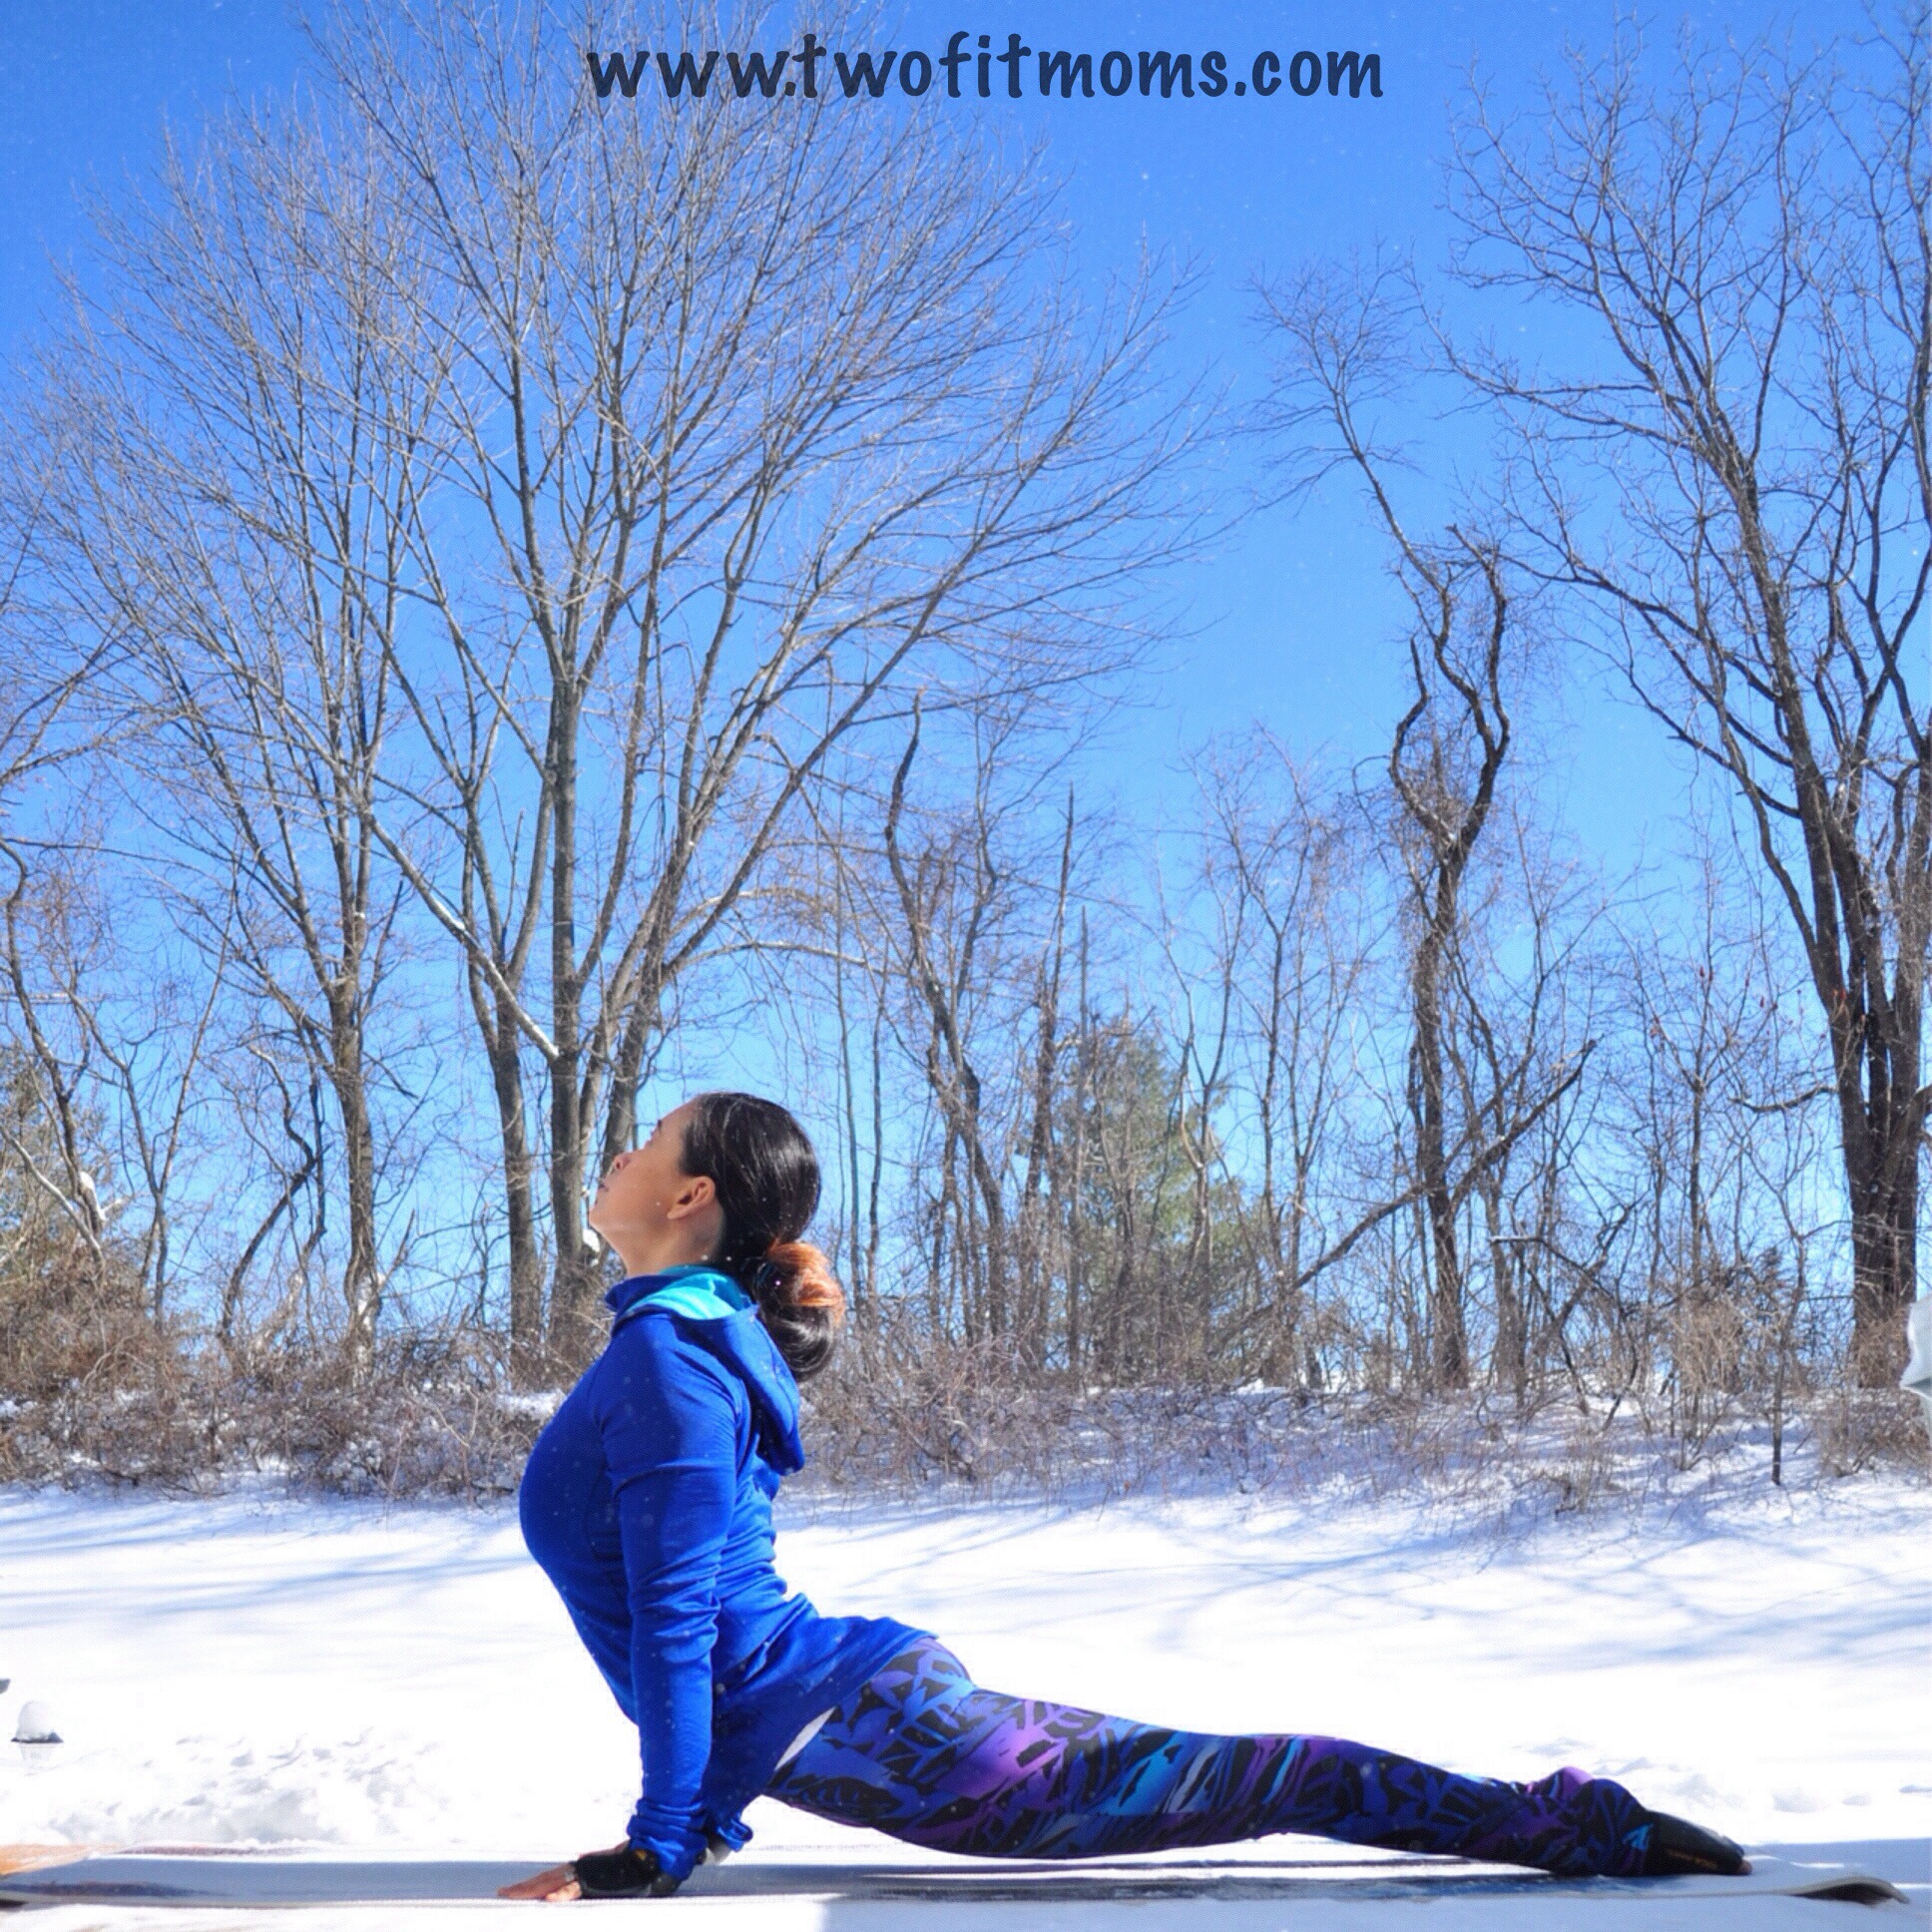
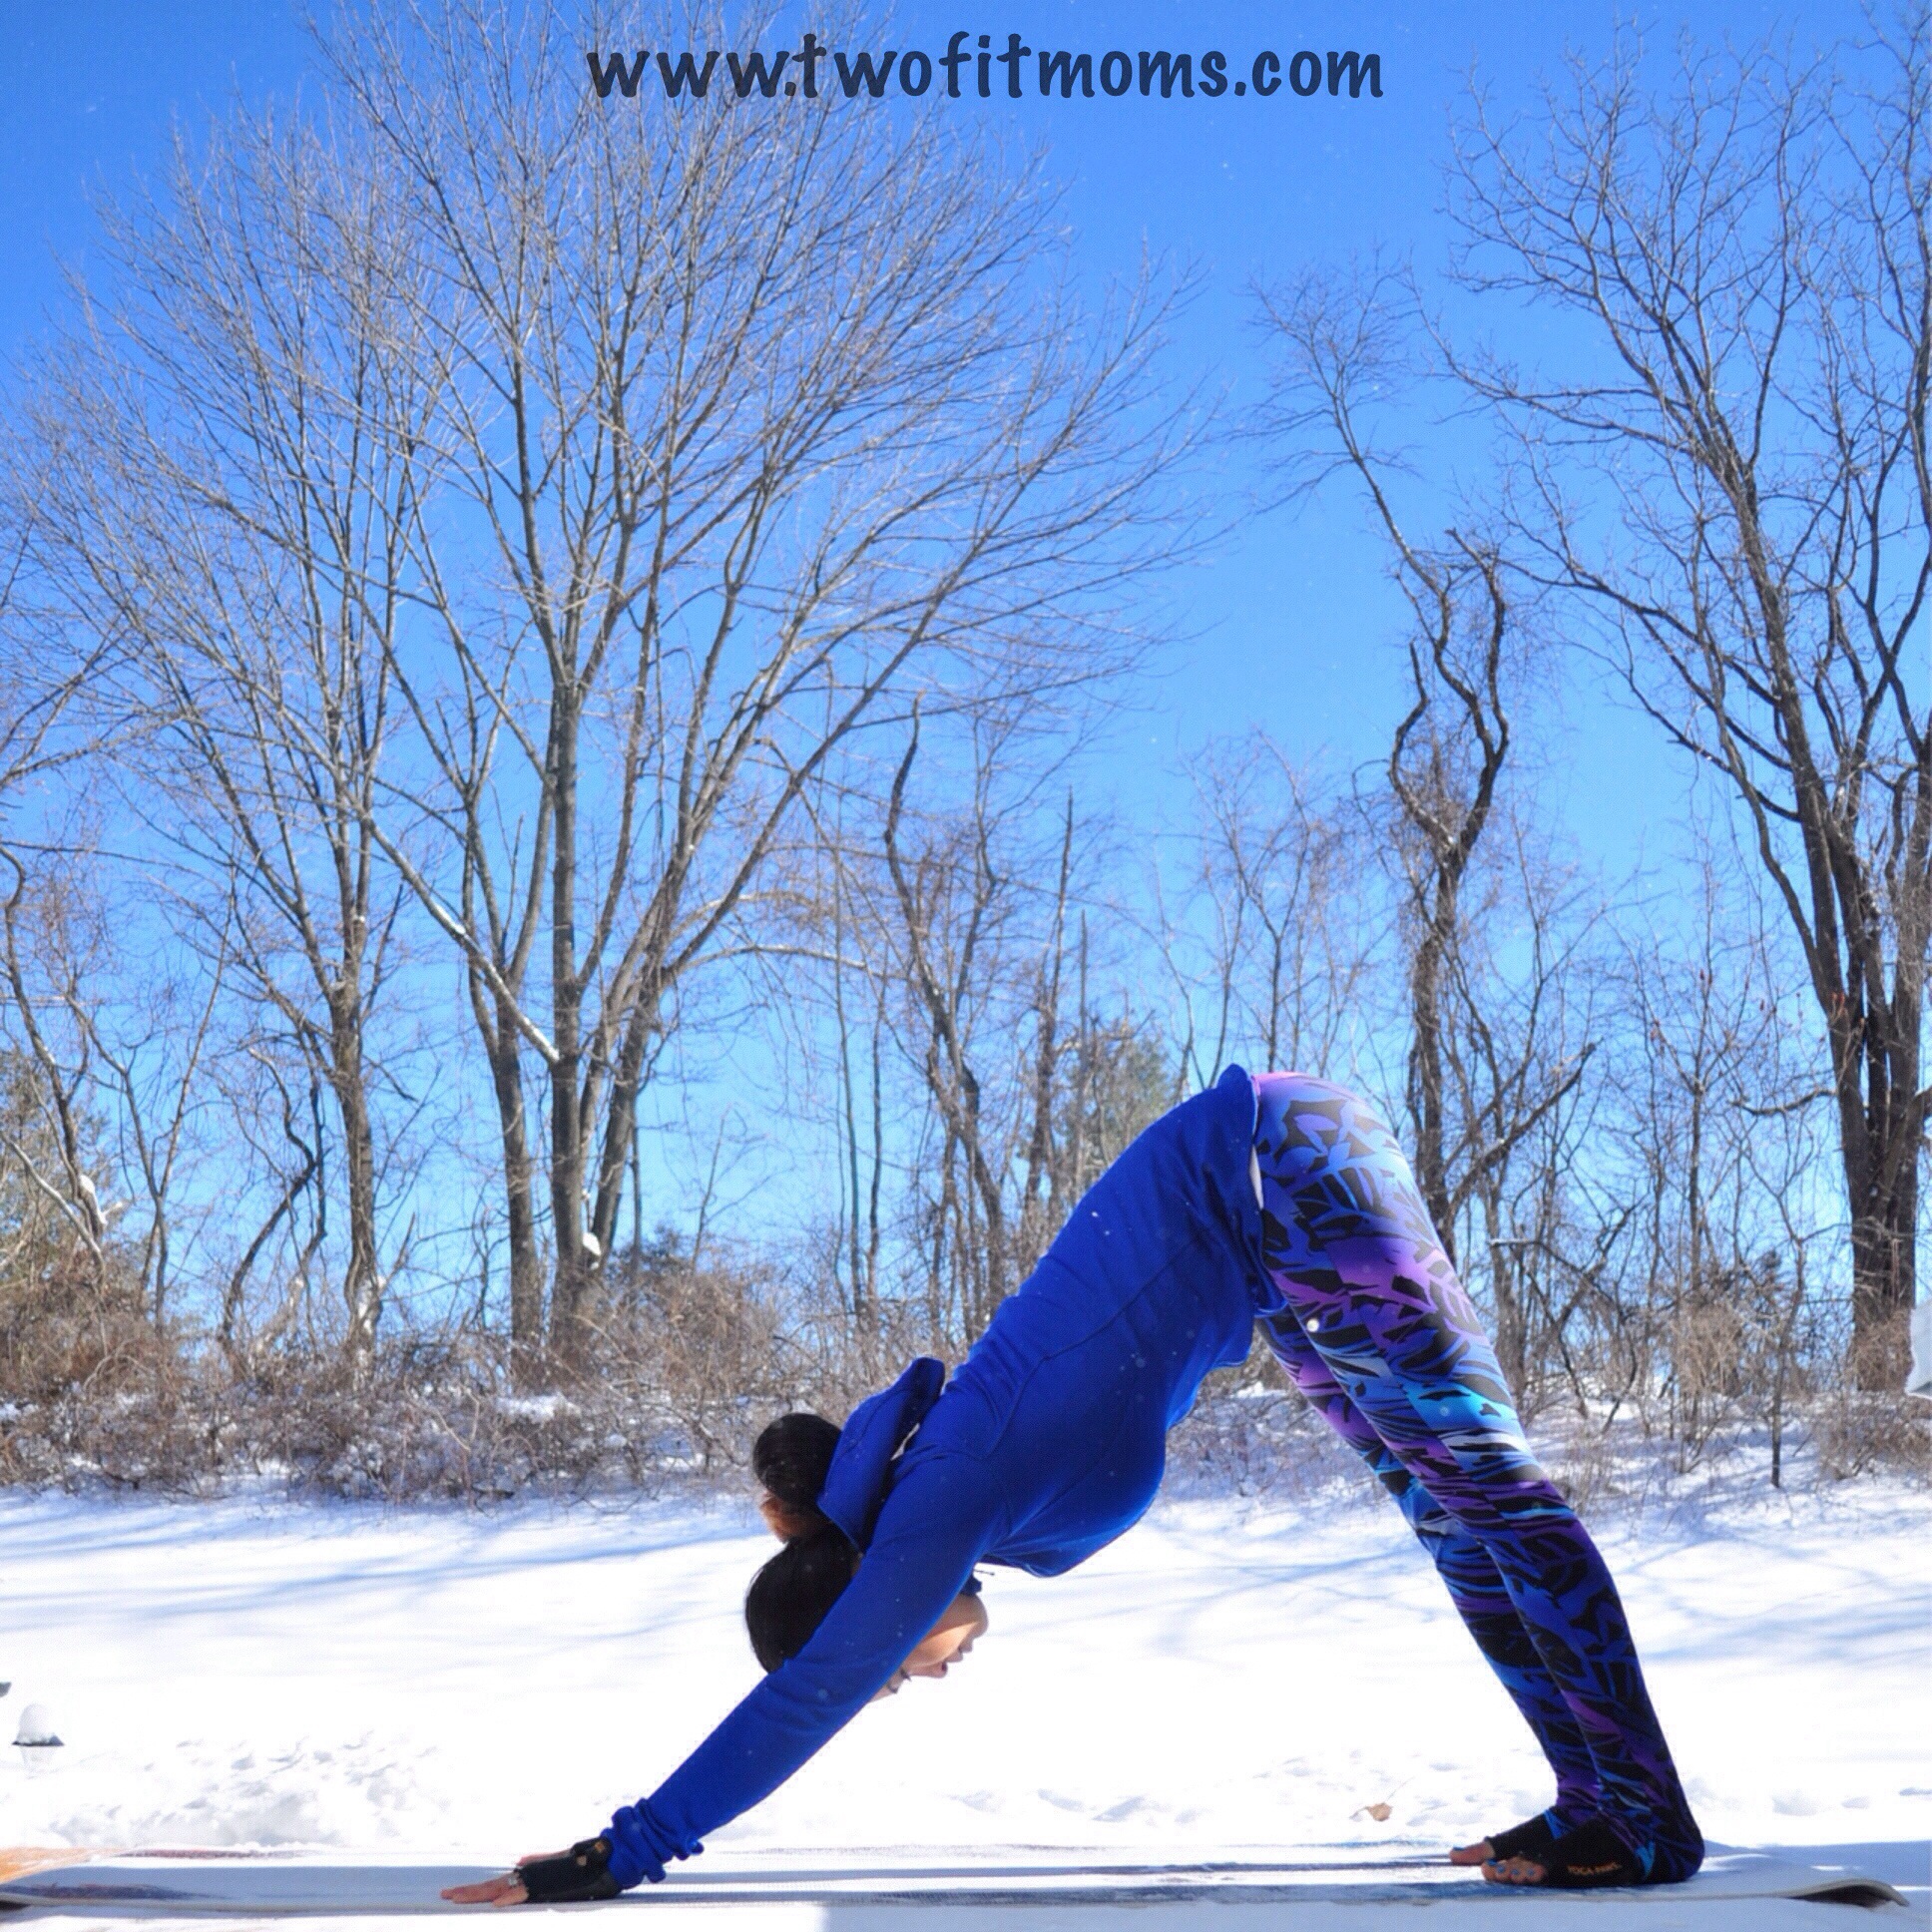
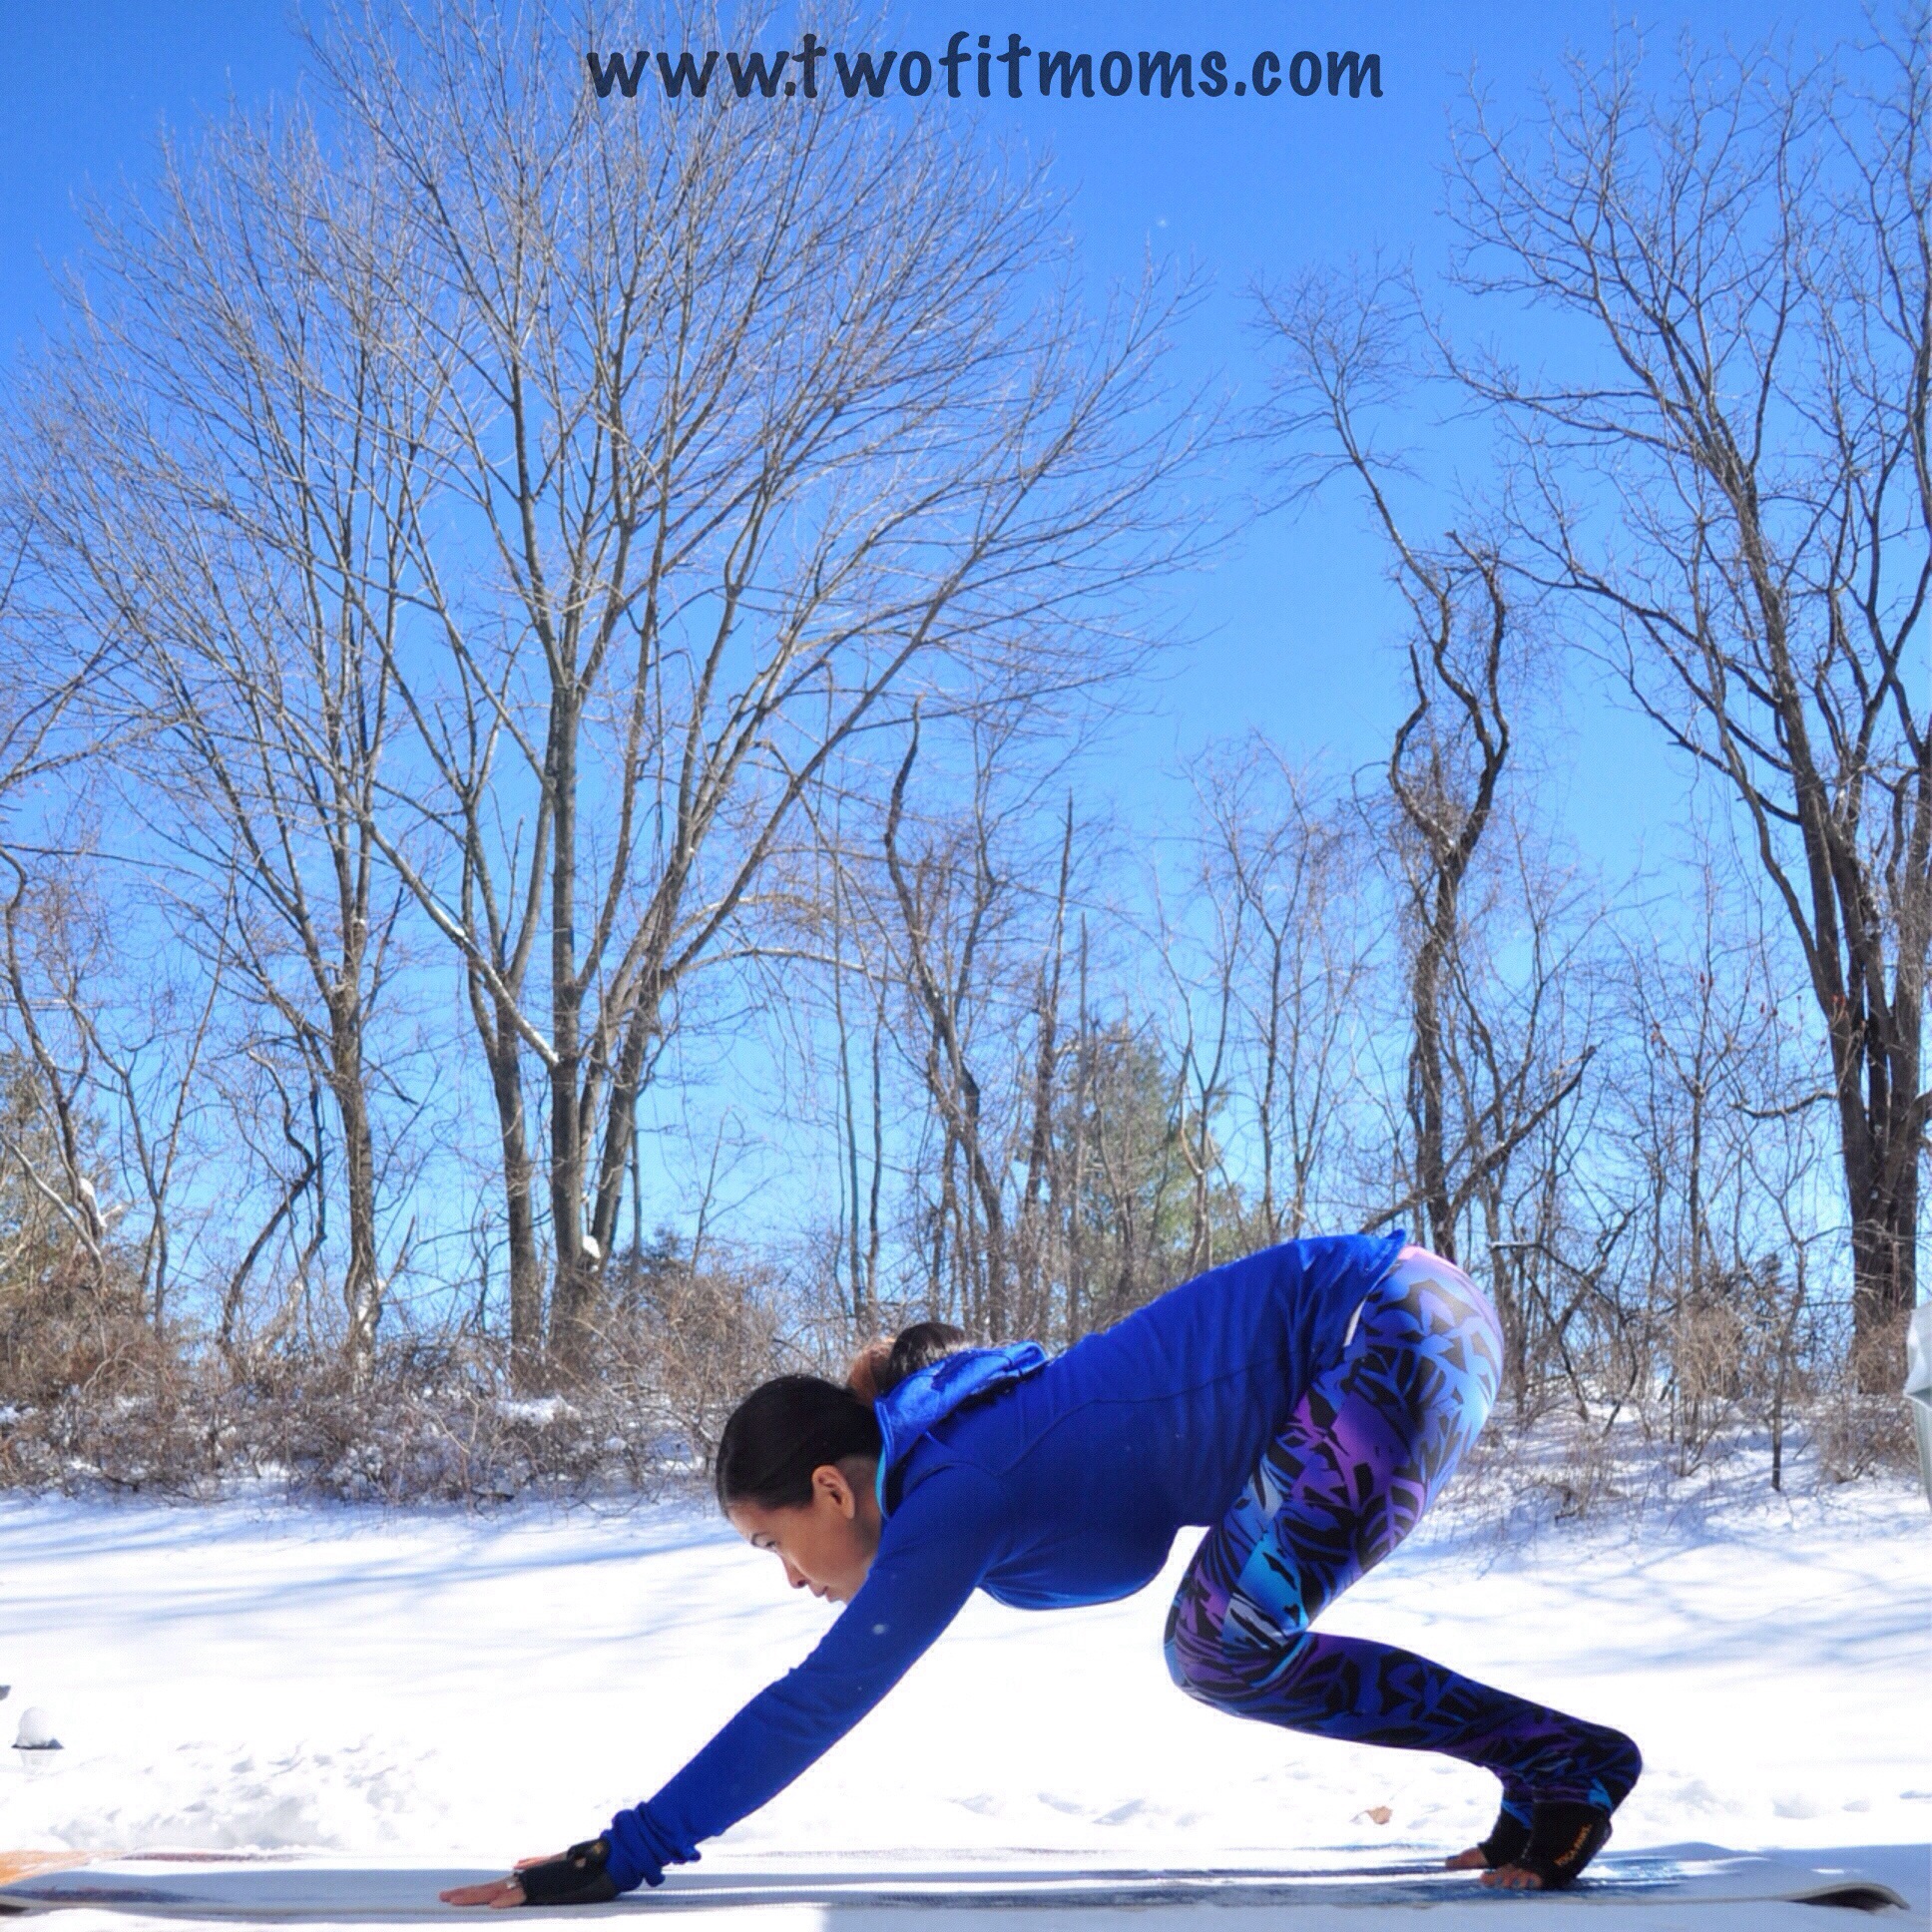
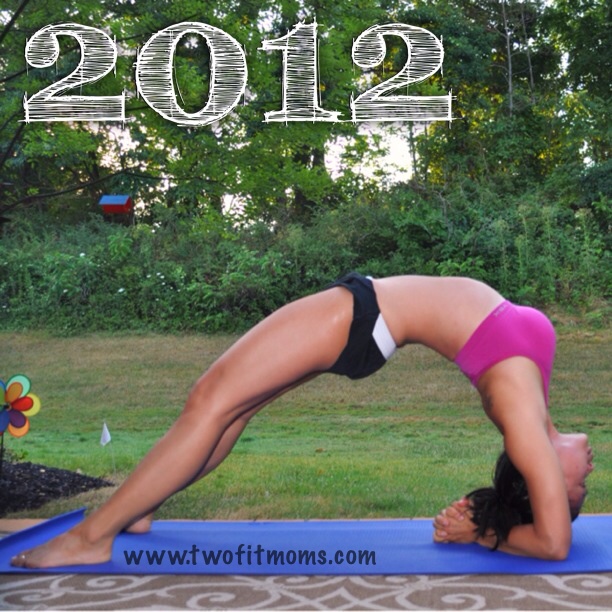
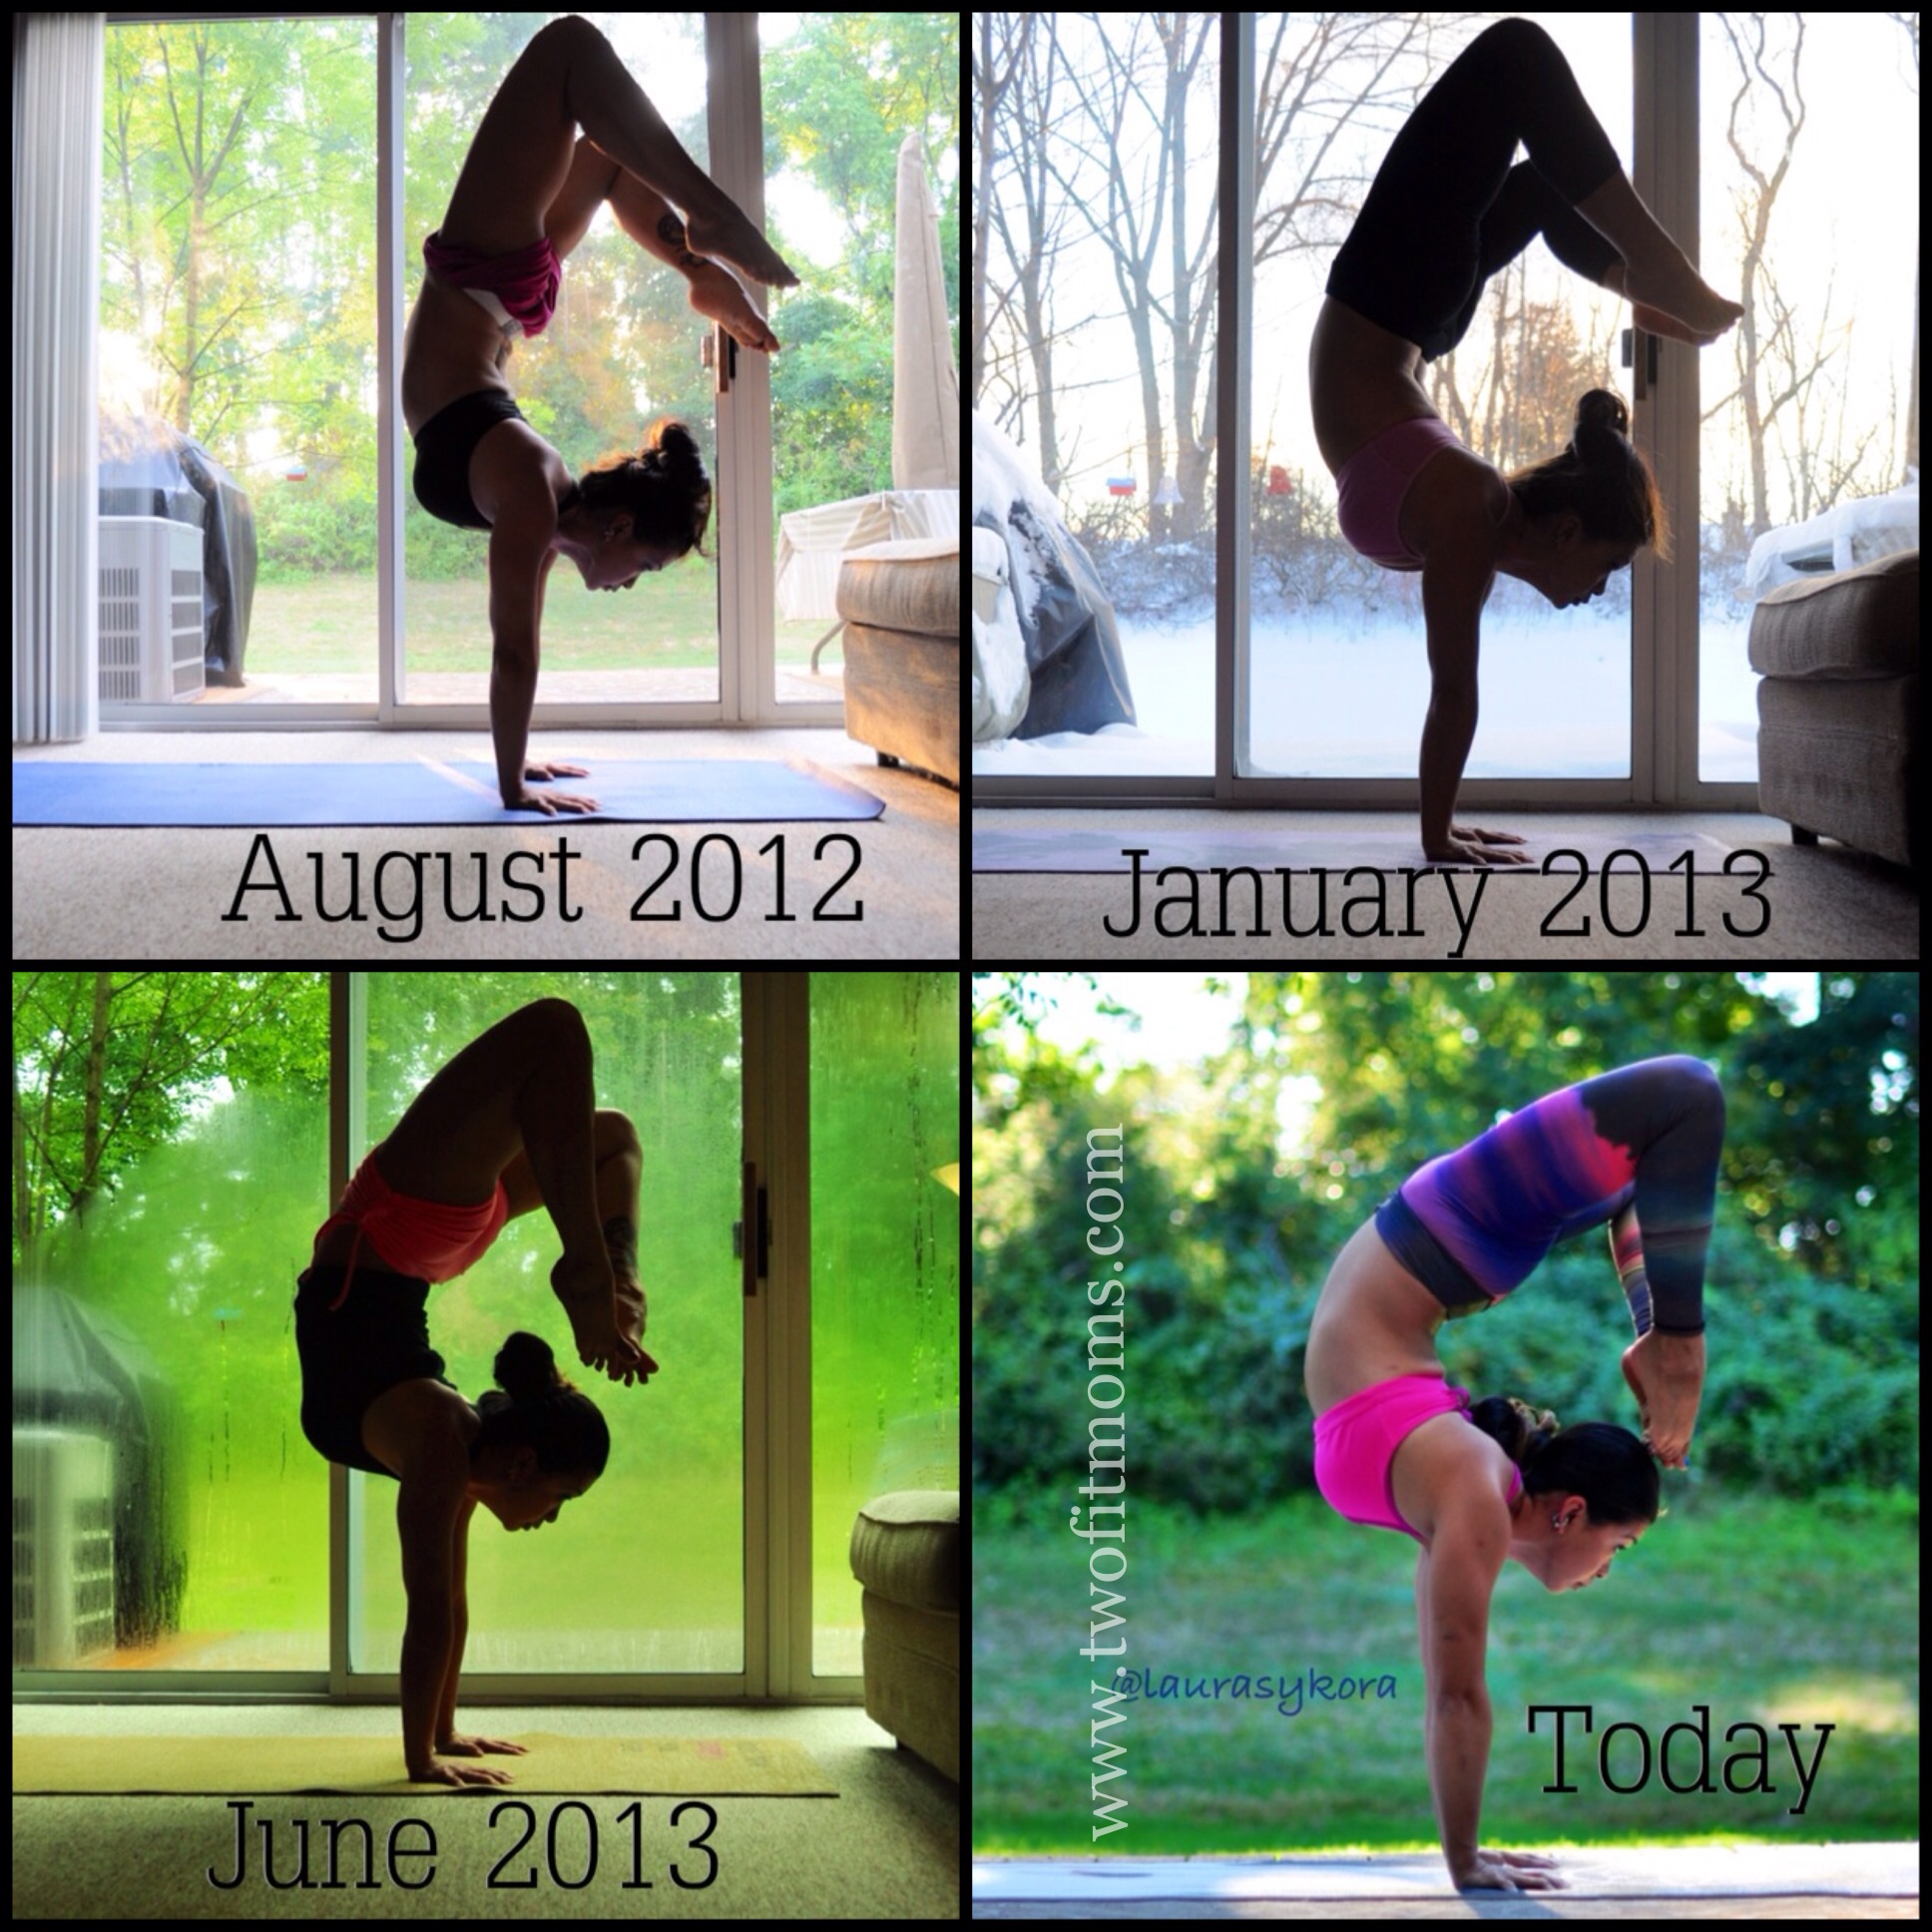
practice in the snow.  It’s usually just a beautiful moment captured in time, and it consists of running out into the snow for about a minute for the purpose of taking a photo, and then racing back into the house to warm up.

    I’m sure you can easily rattle off many reasons why you shouldn’t and don’t want to do such a thing.  My mind fills with these thoughts, too:  It’s too cold; I might get sick; I might slip; My neighbors will think I’m crazy; “Real” yogis will claim that I am not a “real” yogi if I do this; My toes will freeze; My fingers will freeze; My mat will get all wet, etc.

    Yesterday, I put all of these doubts aside and decided to take a snowga photo.  I couldn’t withstand the cold for more than the time it took to take the one picture shown above, but now that I am looking at it, I am happy.  It was worth it.  Here are a few bullet points to inspire you to rile up your own spirit to be spontaneous and have your own fun snowga experience…And here is a gorgeous photo of Laura doing her own snowga at home.

    LauraSnowgaPhoto
    1.  You are stronger than you think.  You CAN withstand 30-seconds of freezing temperatures.

    2. You will seize the day.

    3.  You will feel a strange sense of accomplishment once it’s all over.

    4.  You will create your own absurd memories in the snow and laugh about it later.

    5.  You will have a recorded image of that absurd memory.

    6.  You will do something recreational in the snow for the first time in a very long time.

    7.  You will feel like you are a figurine in a magical snow globe.

    8.  You will feel exhilarated.

    9.  You can wear the brightest clothes you own and look stunning (rather than tacky) against a white backdrop.

    10.  You will be left with a photo of yourself that you will NOT pick apart.  You will actually see the beauty within yourself, and smile—a priceless gift that makes the discomfort and cold all worthwhile.

  • Open Your Heart to Miracles

    Open Your Heart to Miracles

    Do you have pain that just won’t go away?  Pain that affects your sleeping hours as well as your waking ones?  Chronic headaches? Lower back pain?  Muscle injuries that just won’t heal?  If not, consider yourself one of the lucky ones.  For the rest of you—I’m with you, I get it, and I want to make a suggestion.

    Back Pain
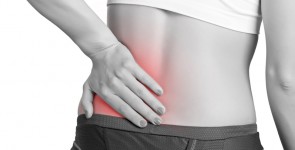
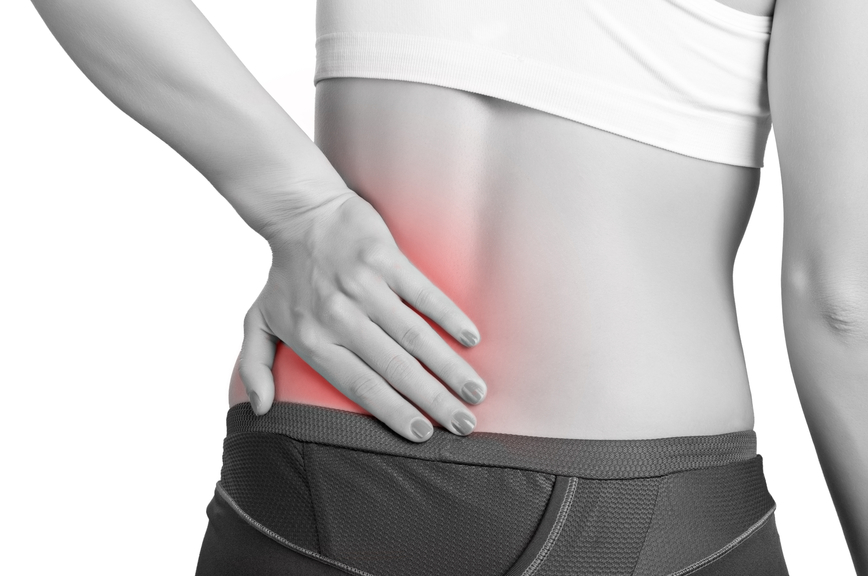
Broadly speaking, I want you to start living with your heart and mind open to possibilities—possibilities for healing that you might not believe in or understand at the moment.  Possibilities that even Western medicine and science can’t explain.  When the drugs aren’t working and the medical treatments seem ineffective, open your mind, open your heart, and head down the path to alternative healing methods.  Not everything in the world is yet understood.  Just because it’s not understood doesn’t mean that it’s not real.  Open your heart and mind, and you just might find yourself a miracle.

    Acupuncture

    I had no intention to blog about this topic today, but I am very excited about my experience this morning.  I just walked into my house from my very first acupuncture treatment.  Yes, acupuncture, with all of those needles everywhere—a total nightmare for someone like me, who is afraid of needles.  I decided last week that I would overcome my fear of needles (or at least tolerate the fear) for the possibility of reduced pain.  I am so DONE with my back hurting and my leg hurting.

    Over the past 6 months, I’ve seen doctors.  I’ve had an MRI, and an EMG.  I’ve been treated with traction, electric stim, heat, ice, exercise, manual therapy, ultrasound and various rocktaping techniques.  Have I improved?  Yes, but I am still in pain, and I am sick of hurting.

    So this morning, after taking a complete medical history and asking a number of questions about my life, I got onto the table, face down, and the acupuncturist got to work.  I know that many people say that you don’t even feel the needles in acupuncture, Woman Receiving An Acupuncture Therapy
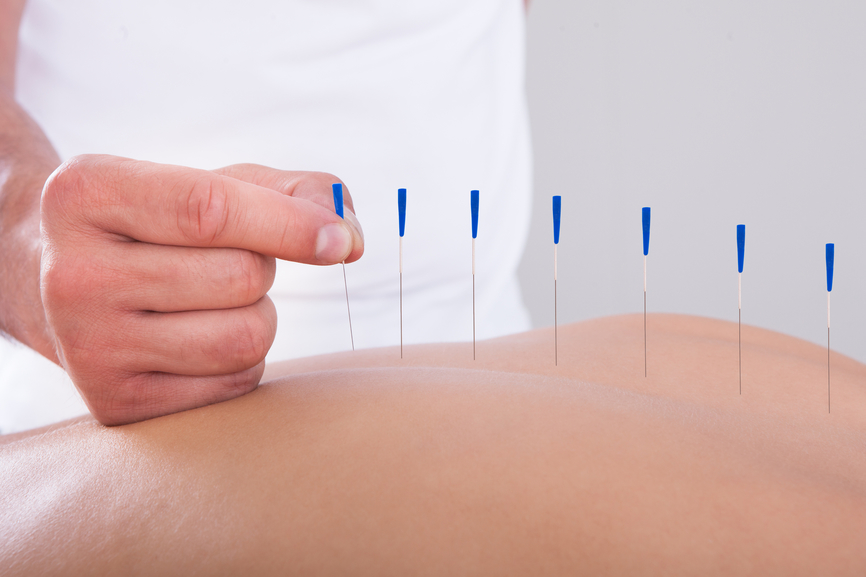
but that wasn’t the case for me.  The needles themselves are quite thin, but I found the insertion of each needle to be quite uncomfortable.  I felt a strange muscle cramping sensation under each needle, and I had to quiet my mind and relax my body.  Given that I am afraid of needles, I kept my eyes closed the entire time to avoid seeing anything reminiscent of Hellraiser.  Interestingly enough, the needles are not just placed at the site of the pain.  In fact, I had more needles in my ears and arms than I did in my leg or back.

    After a few minutes, the feeling of the needles disappeared into nothingness, and I managed to relax enough to dose off.  After the acupuncturist roused me from my little nap, she removed all of the needles, which was a painless procedure, and told me to flip over onto my back.  I had so many reservations about doing this.  For almost 5 years now, I have been unable to lie on my back for more than a few minutes.  The pain in my sacroiliac joint is just too severe.  In yoga class, I rest in savasana on my side.  At night, I sleep on my side.  In physical therapy, all exercises have been modified so that I am never supine for more than a minute or two.  I explained my reservations to the acupuncturist, and she tried to make me as comfortable as possible, but clearly, she needed me flat on my back.  I crossed my fingers and hoped I wouldn’t be too crippled at the end of the treatment.  Again, I closed my eyes, dealt with the muscle cramping as each needle was inserted into my skin, and tried to relax.  I think I might have dosed off again because I was startled when the acupuncturist told me that the treatment was over and that I could get dressed.

    My Little Miracle

    I will never forget the moment when I sat up.  I had NO back pain.  I mean NONE!!!  What the heck? How is that even possible?  I’ve been unable to lie on my back for 5 years without terrible pain, and after just 1 acupuncture session, I am able to lie on my back and get up without a trace of pain?  Insane.  My mind is blown.  The acupuncturist explained something about increasing blood flow to the SI joint and unblocking meridians, but it was all “blah blah blah” to me.  I was too busy being shocked.  I have no idea how long the effects of this treatment will last or if it will ultimately help my hamstring, too, but I am now a believer, and I have already booked my next appointment.

    Keep your mind and heart open, folks.  You never know where it will lead you.