You can train yourself to be an early riser! Will you love the process? Probably not. Do I love it? Not really. Dragging my sleepy body out of bed is not my idea of a good time…but what I DO love is putting my best foot forward from the moment that I step out of bed. By waking up early, I control the direction and tone for my entire day. Waking early removes the rush and chaos of the morning, and it makes me feel centered and disciplined. I love knowing that I can use the extra time without guilt because there just isn’t anywhere else I need to be at the crack of dawn. I may not put myself first at any other time during the day, but my early mornings are for me. I want you to experience that same feeling—the feeling of doing something healthy, just for you.
So, how do you become an early riser without it being a painful experience? Training. You need to train your body to wake up early. It’s a process. Discipline must be cultivated. I do NOT suggest that you start out by shifting your wake-up time from 7 am to 5 am. That is beyond painful. Just as you wouldn’t train for a marathon by stepping outside and running 26 miles on your first day of exercise, you also shouldn’t expect yourself to wake up two hours earlier than usual on day 1.
Baby steps. That’s the answer to almost any new endeavor—and this is an endeavor that you definitely want to undertake. According to recent studies, early risers are more productive, optimistic, and they even experience better quality restorative sleep. You know you want a piece of that.
Take a baby step by waking up just 15 minutes earlier than usual. Taking this small step will not overwhelm you, and you will establish a new healthy habit. Nobody ever said that waking up early to improve your health must include an hour-long cardio session followed by weight training and a homemade breakfast.
Start off slow. If you have an extra 15-minutes in the morning, use this time to do something to improve your health—something that you normally could not fit into your morning routine. Once you feel comfortable waking up 15 minutes earlier, move on to the next baby step by adding another 15 minutes. If you feel like crap, don’t move on just yet. Fifteen minutes is still a positive change, and you should be proud of yourself for doing it daily.
Wake Up 15 Minutes Earlier
Obviously, you can do whatever you want with your extra 15 minutes in the morning, but here are a few options that I like:
-Prep for dinner.

If the thought of cooking at the end of a long day is exhausting, give yourself a head start in the morning. Wash and chop raw vegetables so you can quickly steam, oven-roast or stir fry after work. Store your vegetables in a bowl in the fridge so they are readily accessible later in the day.
-Steam your greens.
You know you should eat your greens, but who the heck can manage to get them in at every meal? YOU can. The easiest way is to wash, chop and  steam your greens in the morning, and to cook enough for the entire day. It’s such a quick and easy way to improve the quality of every meal you eat. Have a side of steamed kale, collards, bok choy, cabbage, mustard greens or broccoli. I always have a serving with my breakfast, and I prepare enough for lunch and dinner, too. Even if you buy your lunch at work, you can always carry a little container from home. Throw your steamed greens into a cup of lentil soup if you like your vegetables warm. This is such an easy, quick solution to improve your eating habits at every meal…and it only requires 15 minutes.
-Prepare your own healthy beverages for the day.

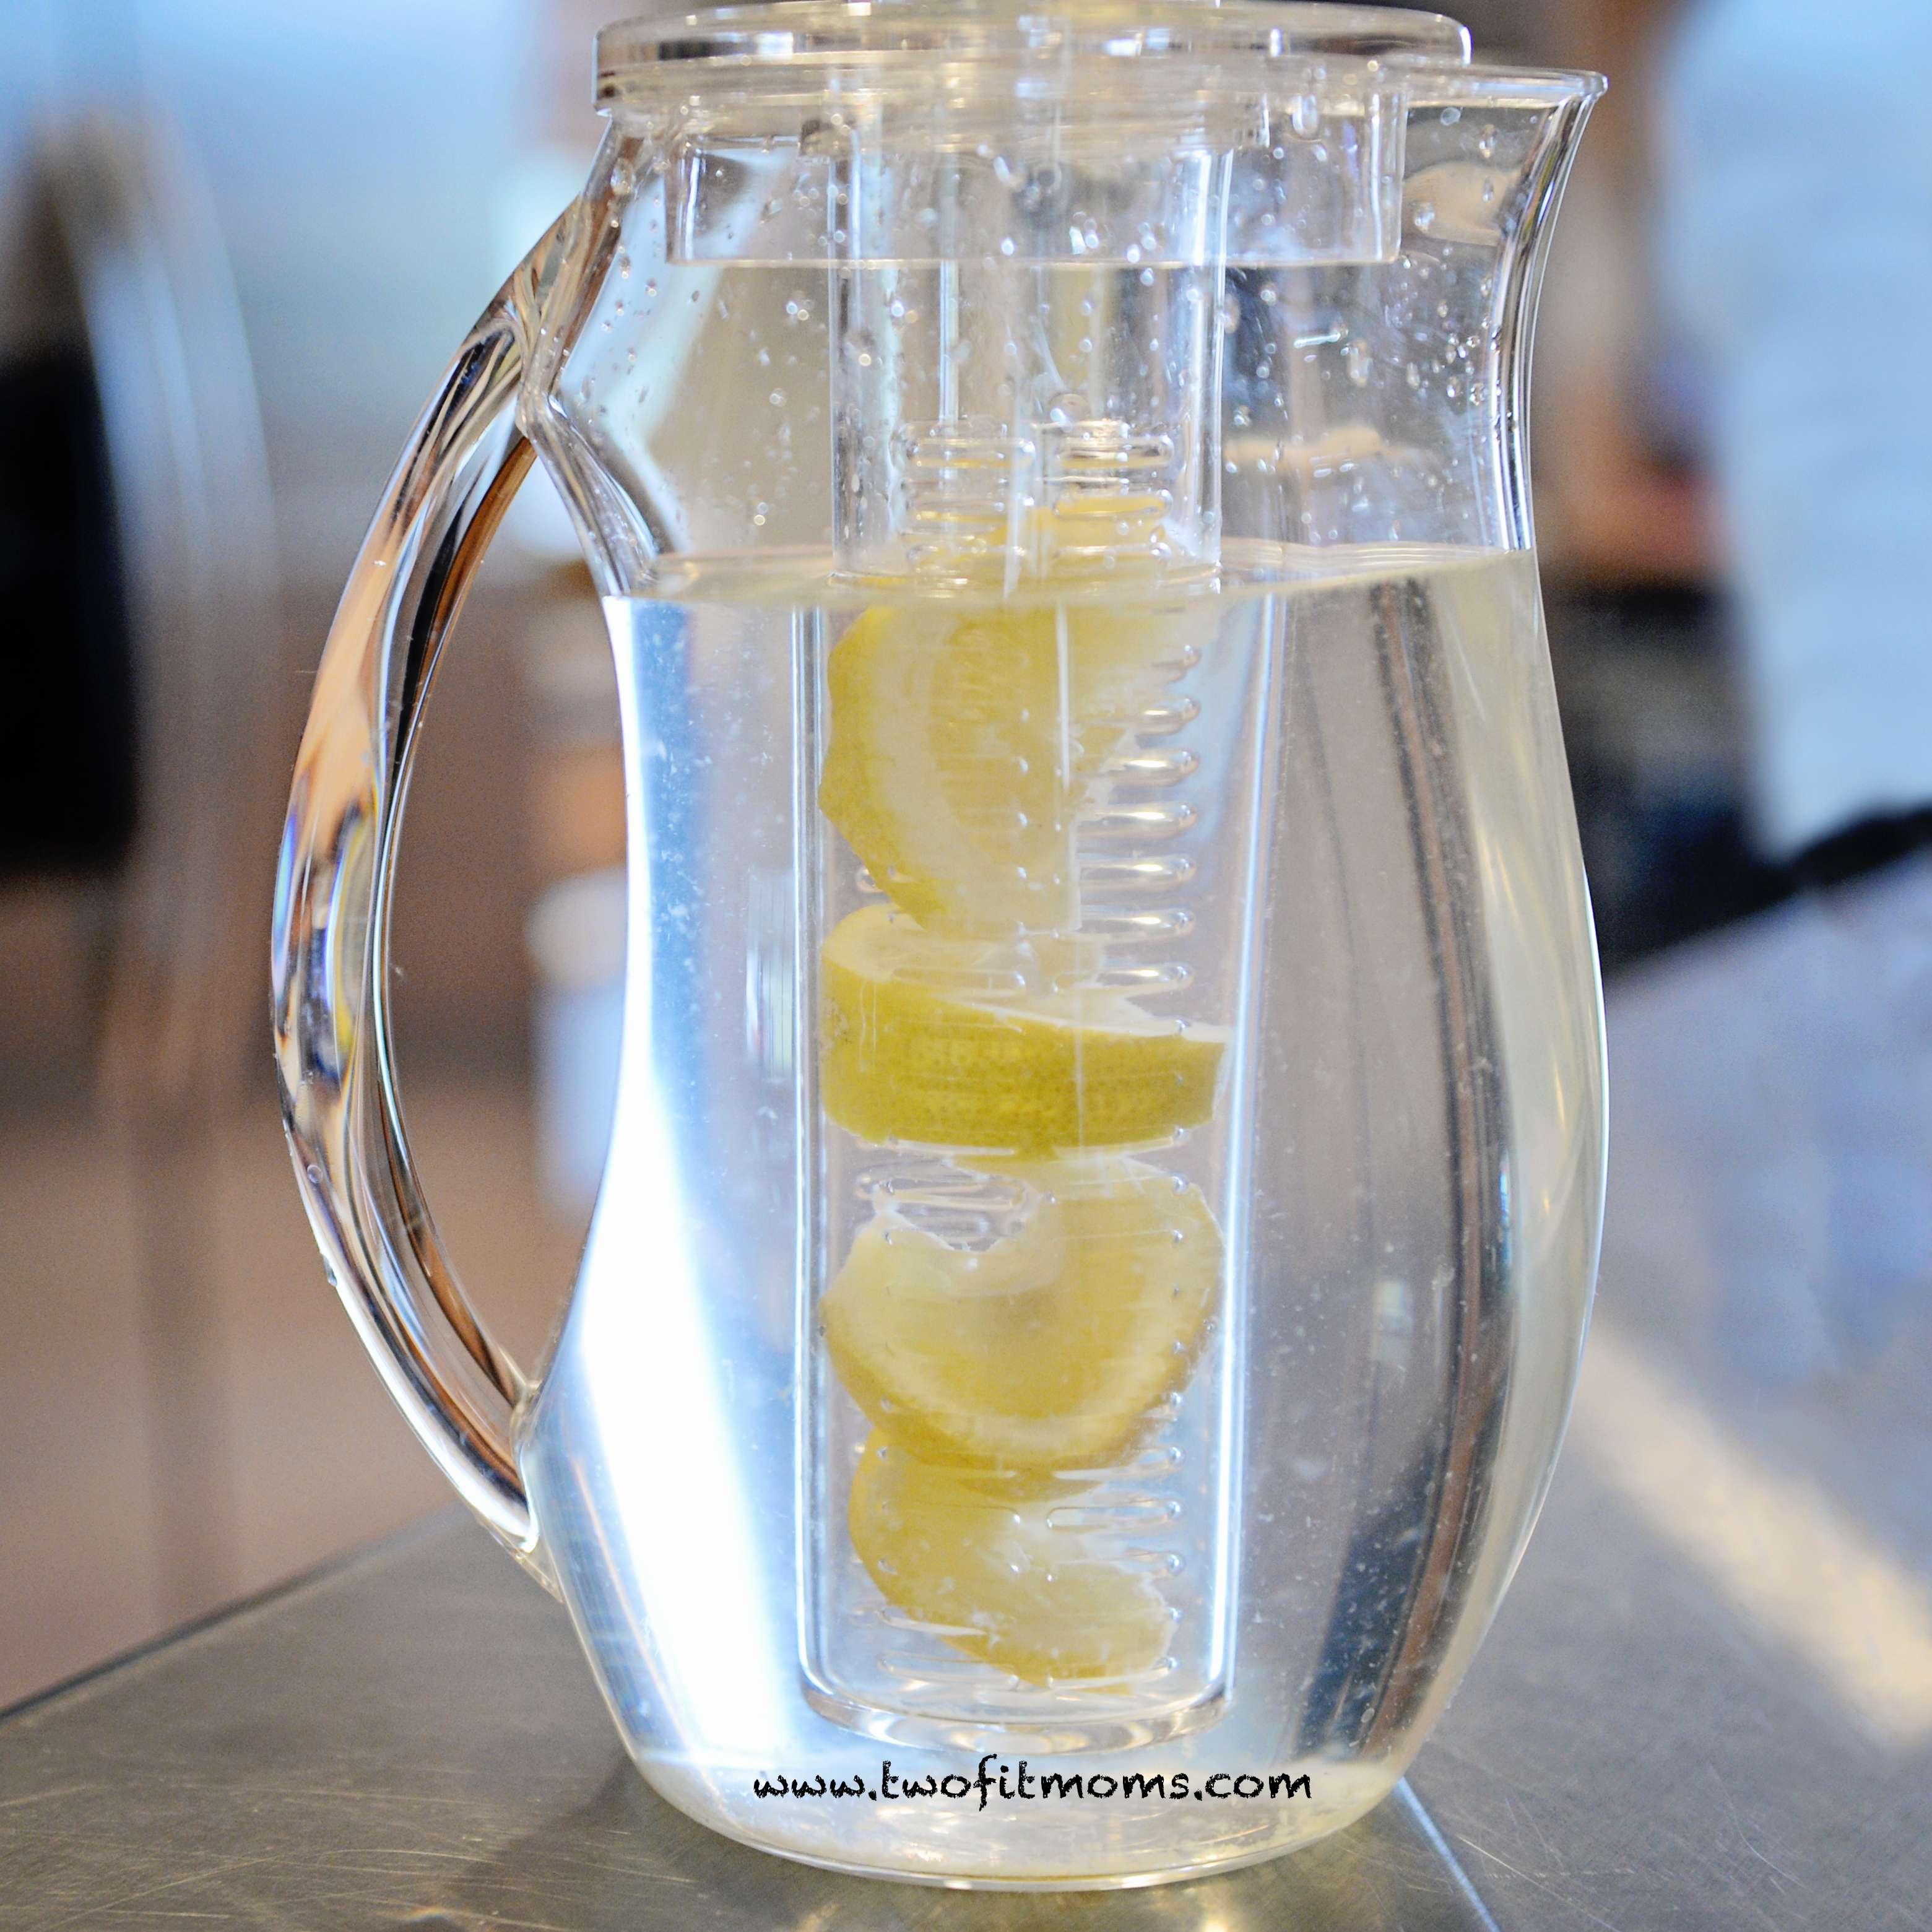
Instead of buying a cup of coffee on the way to the office, a bottle of sweet tea to drink with lunch, and a post-workout sports drink later in the day, brew a quart of your own herbal tea in the morning and take it to work with you. If you don’t drink tea, make a quart of flavored water instead. Add slices of cucumbers and mint to your water or add slices of lemon and lime. The possibilities are endless. Treat yourself to a nice new thermos or jug to carry your drink, or just buy a large bottle of water from the supermarket and re-use that bottle daily.
-Do some stretching, and bang out a few sets of push-ups and crunches.
Even 10 or 15 minutes of movement makes a difference. You will build some heat in your body and feel great.
-Create a schedule.
Time management is your friend. Get the most out of your day by making to-do lists and filling out your daily calendar. Schedule your errands and appointments, make a grocery list, and create a meal plan for the day. Determine when you plan on exercising, and make sure that you actually schedule it. If you fail to schedule your exercise into your day, it can easily get pushed onto the back burner in favor of an interesting television show or an extra half hour of surfing the web. Use the extra 15 minutes in the morning to organize your day and to de-clutter your mind. Just a few minutes of planning can set you on the right path for success.
-Pray, meditate, give thanks.
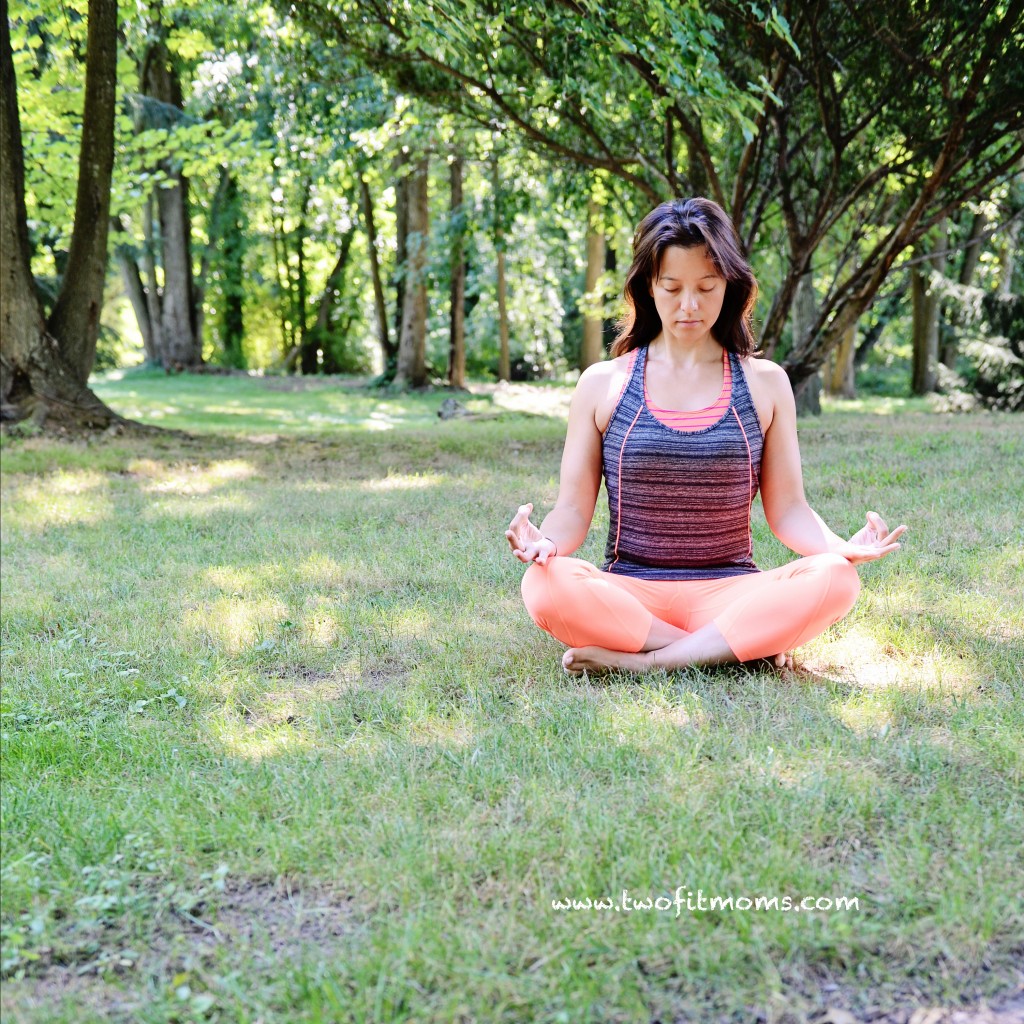
This is such an obvious suggestion, but I would be remiss if I didn’t mention it. Sometimes, all we need is a little gratitude, silence and perspective to change the course of our days. There is no better time than the early morning hours to find stillness and peace. Use this time to pray, meditate or write in a gratitude journal. Taking stock of your blessings is transformative and will naturally lead towards greater joy and contentment. Giving thanks brings awareness to your current state of being. I know that my own gratitude practice compels me to take even better care of my body, as I have become more grateful for the miraculous life that I am living. Over the years, I’ve come to really understand that good health is not guaranteed. You can take as many vitamins as you want, eat as healthy as humanly possible, get lots of sleep, maintain low stress levels, breathe unpolluted air, drink the cleanest water in the world, and you can still get sick. Some of this is just luck of the draw. Do the best you can, give thanks for all you have, and fiercely protect whatever good health you DO have.
Wake Up 30 Minutes Earlier
So you’re ready to move on? Go ahead and re-set your alarm clock to wake you a full half hour earlier than usual. Here are a few meaningful changes that you can make in your life with just an extra thirty minutes in the morning.
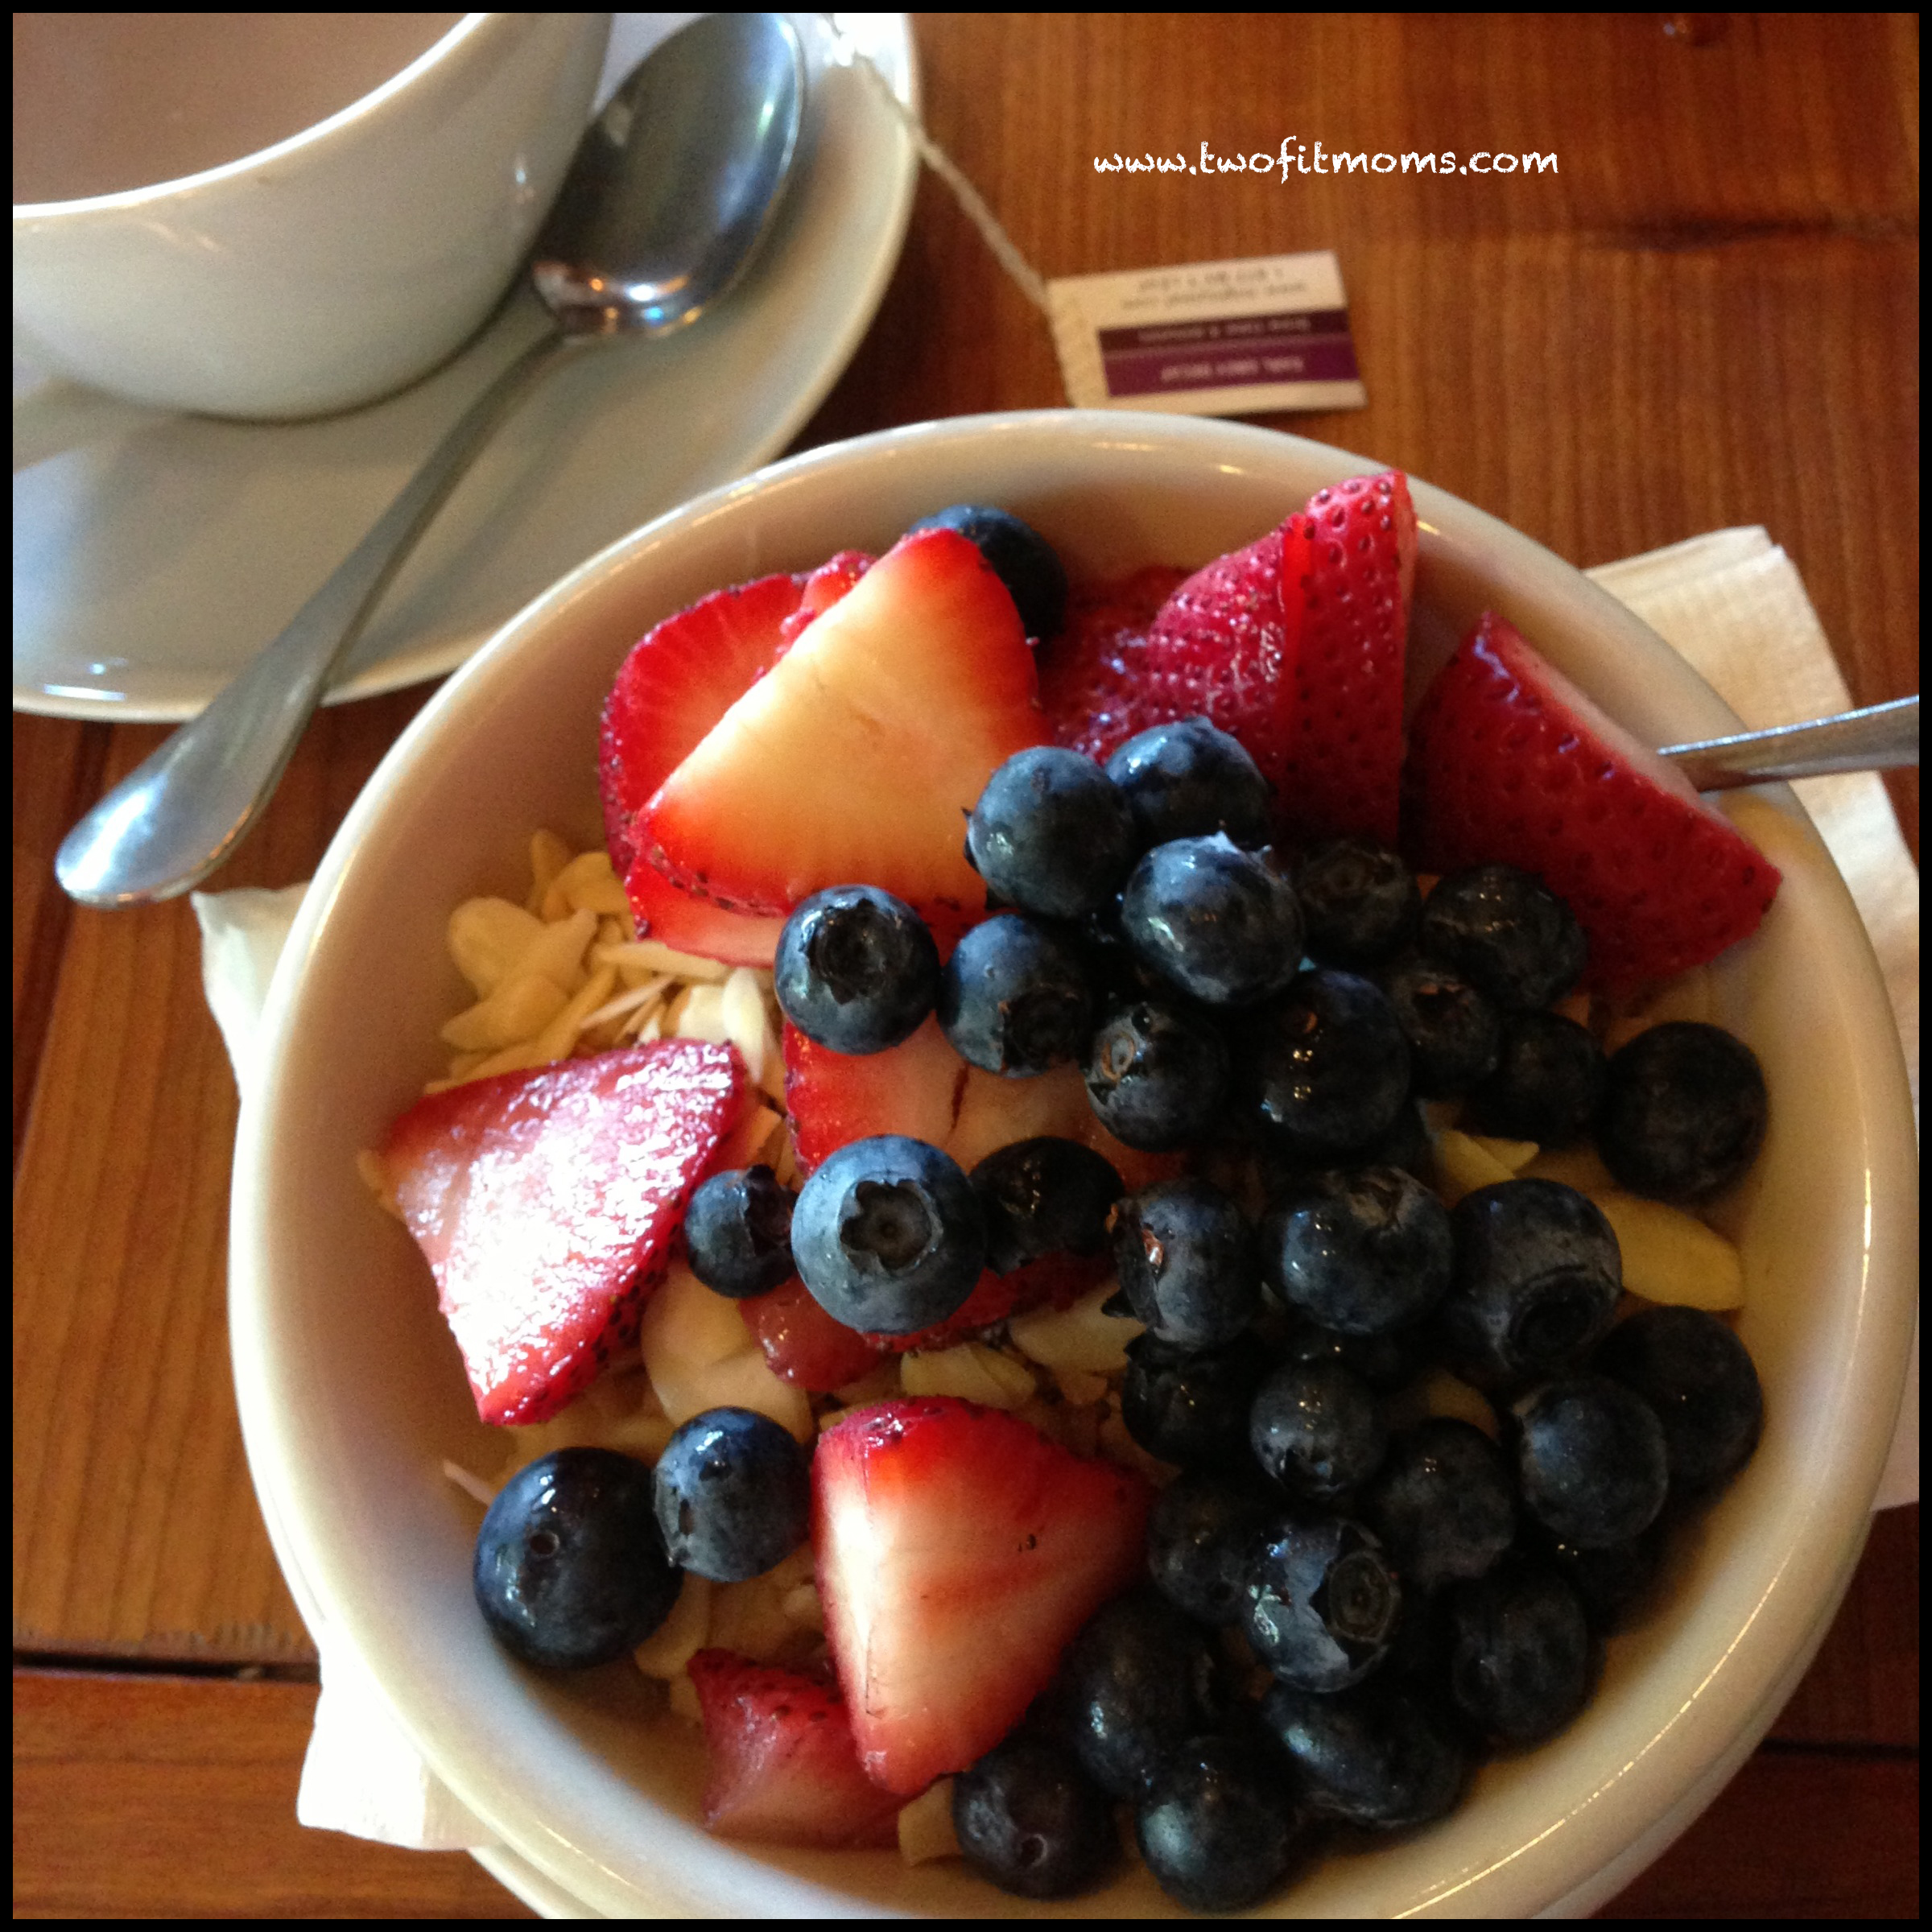
-Make breakfast.

I’m not talking about pouring yourself a bowl of cereal. I’m talking about a real, nutritious meal. Personally, I like to chop and steam a bunch of vegetables, heat up some miso soup that I cooked the day before, and cook some grains (like oats or brown rice). I know it’s unconventional, but it is healing food, and leaves me feeling nourished and healthy. You can make vegetable-filled omelettes instead, or blend a good smoothie—and if you’re already chopping up fruit for the smoothie, chop a little extra to take to work.
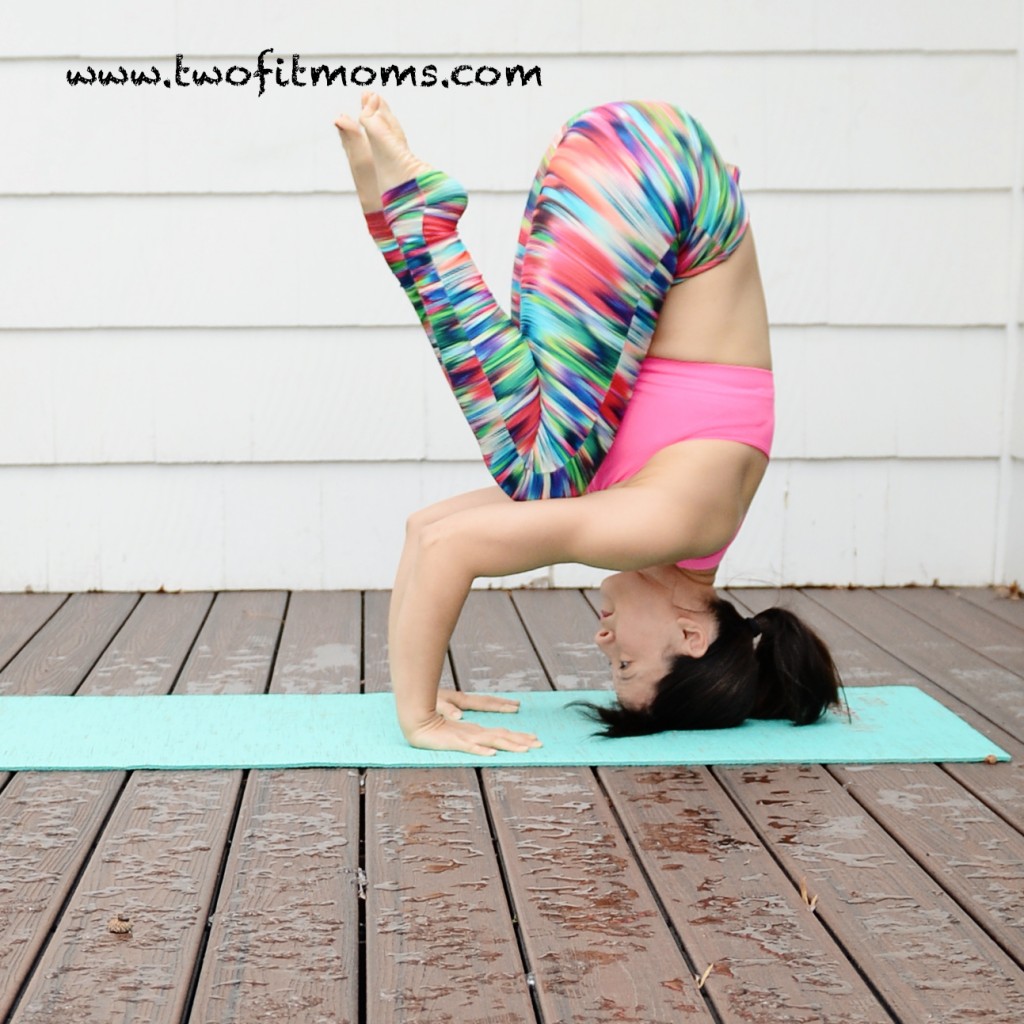
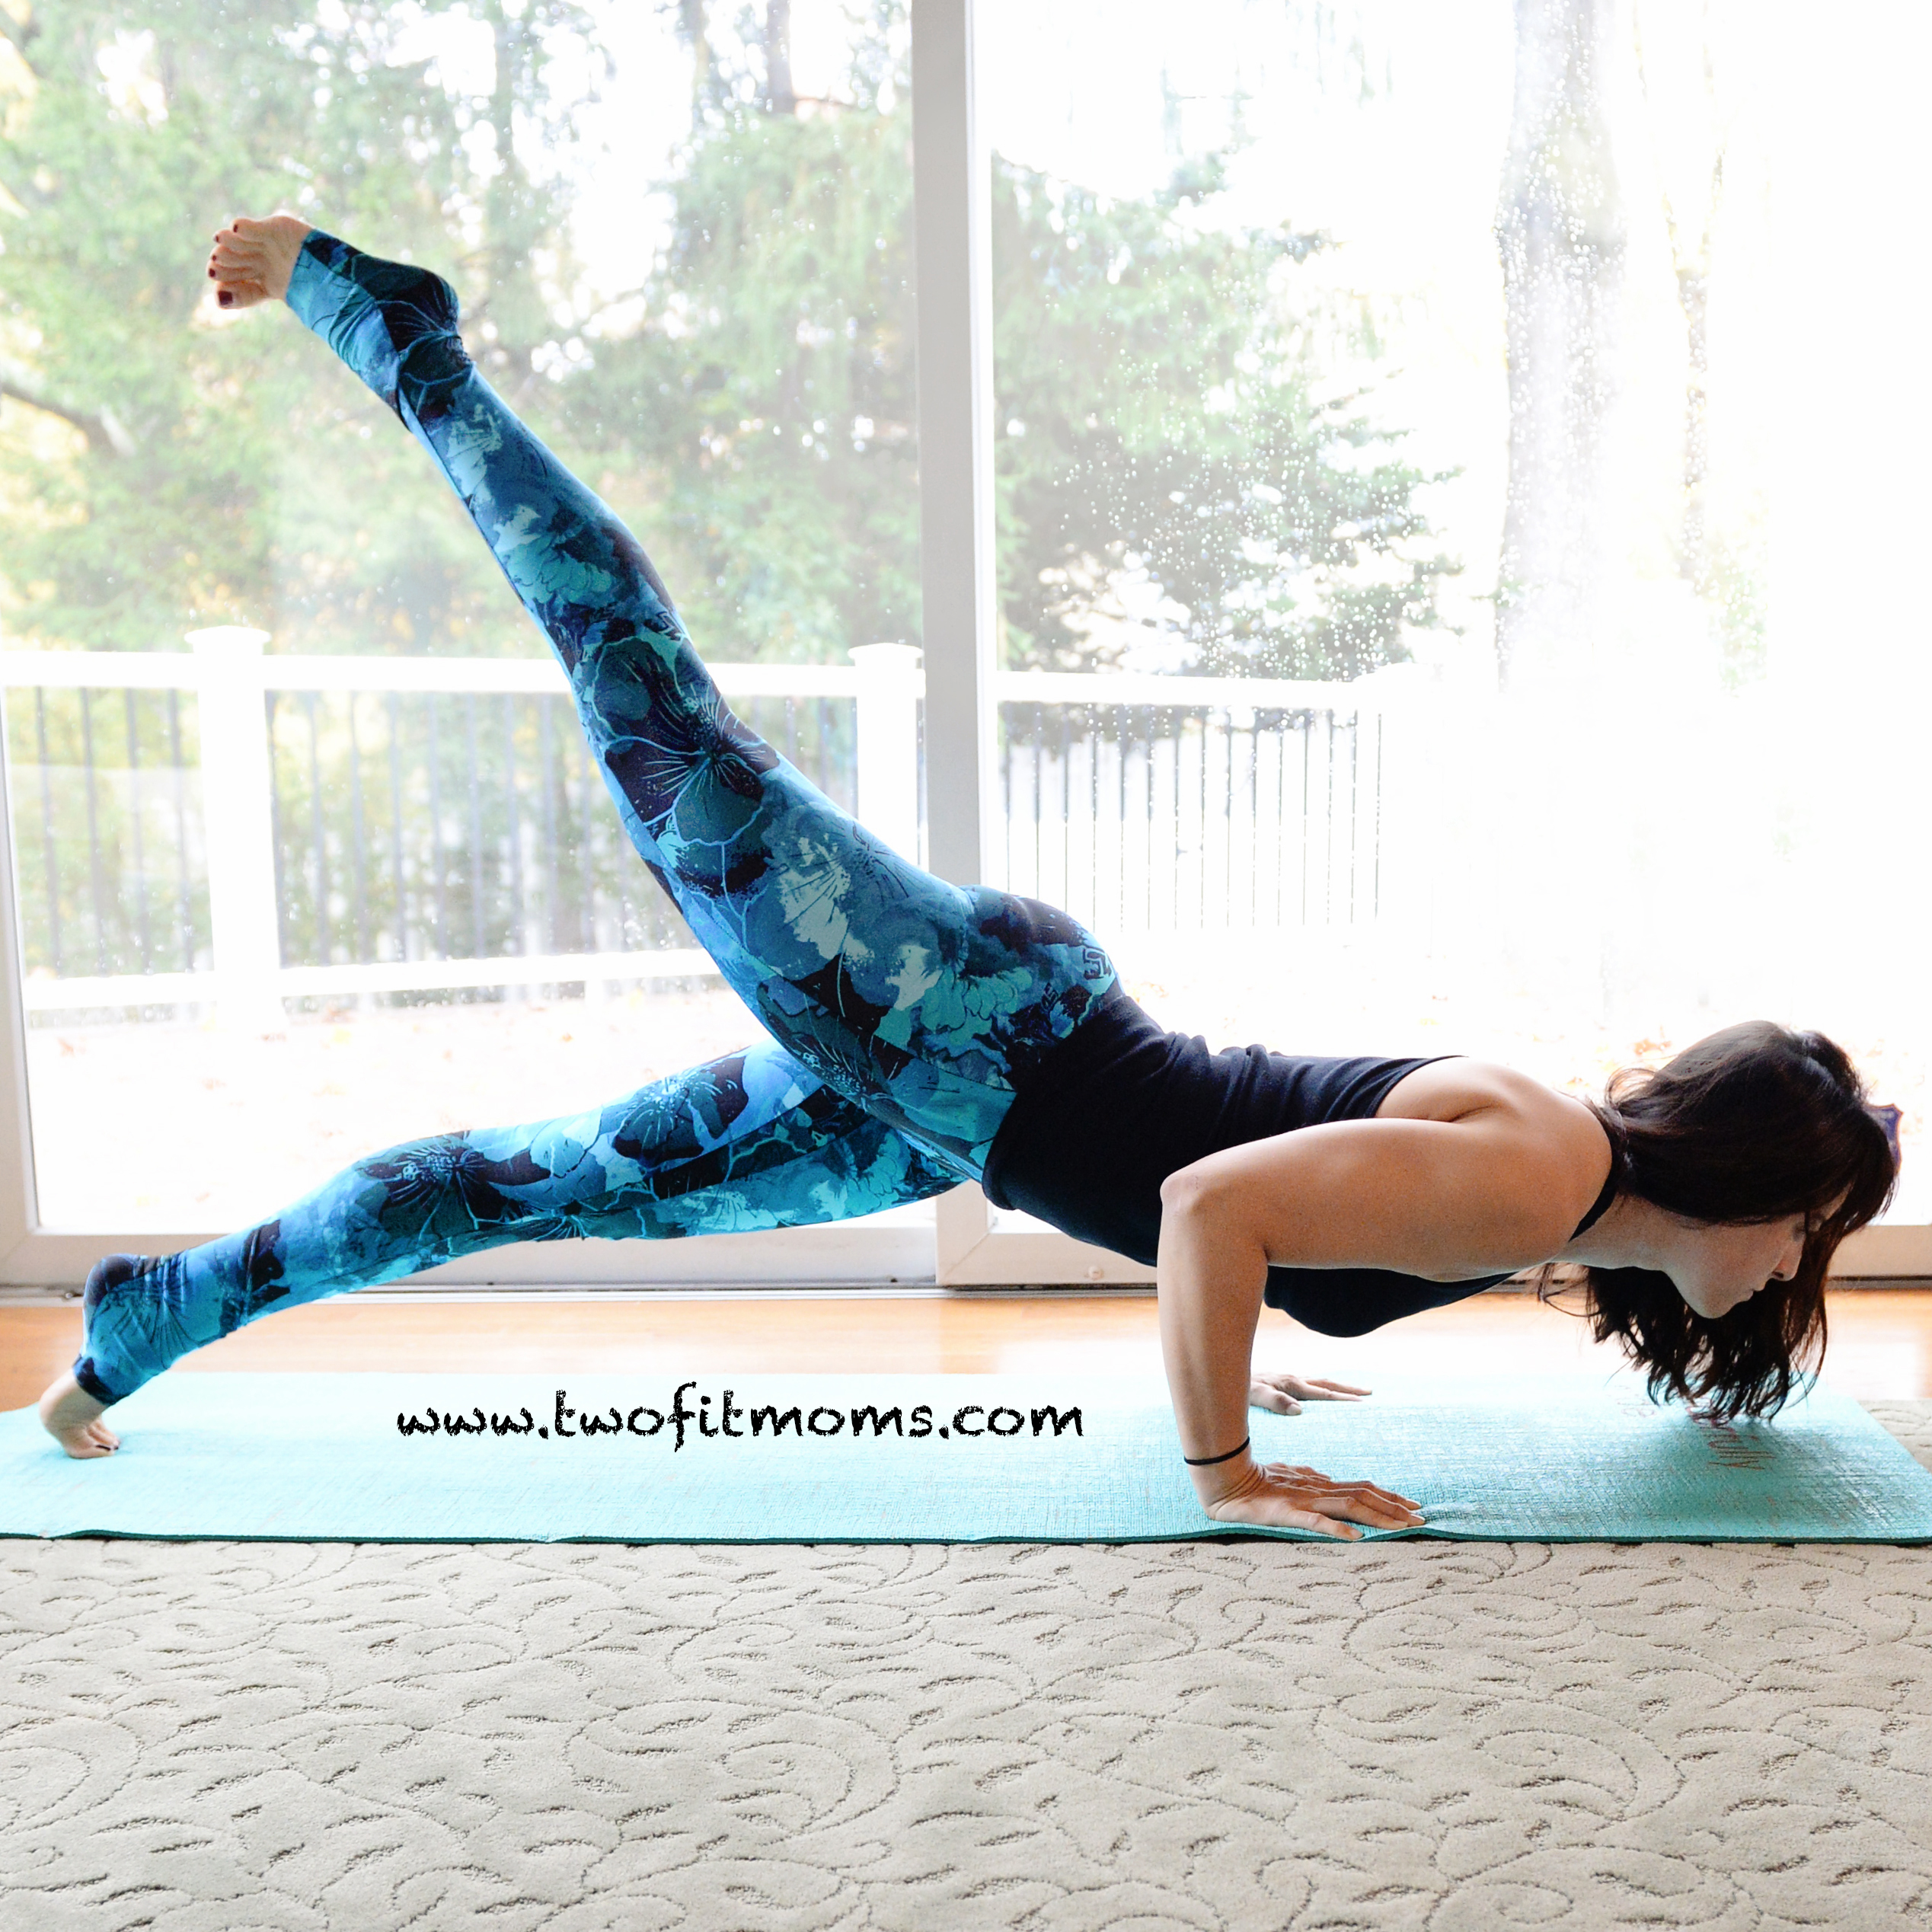
-Yoga.

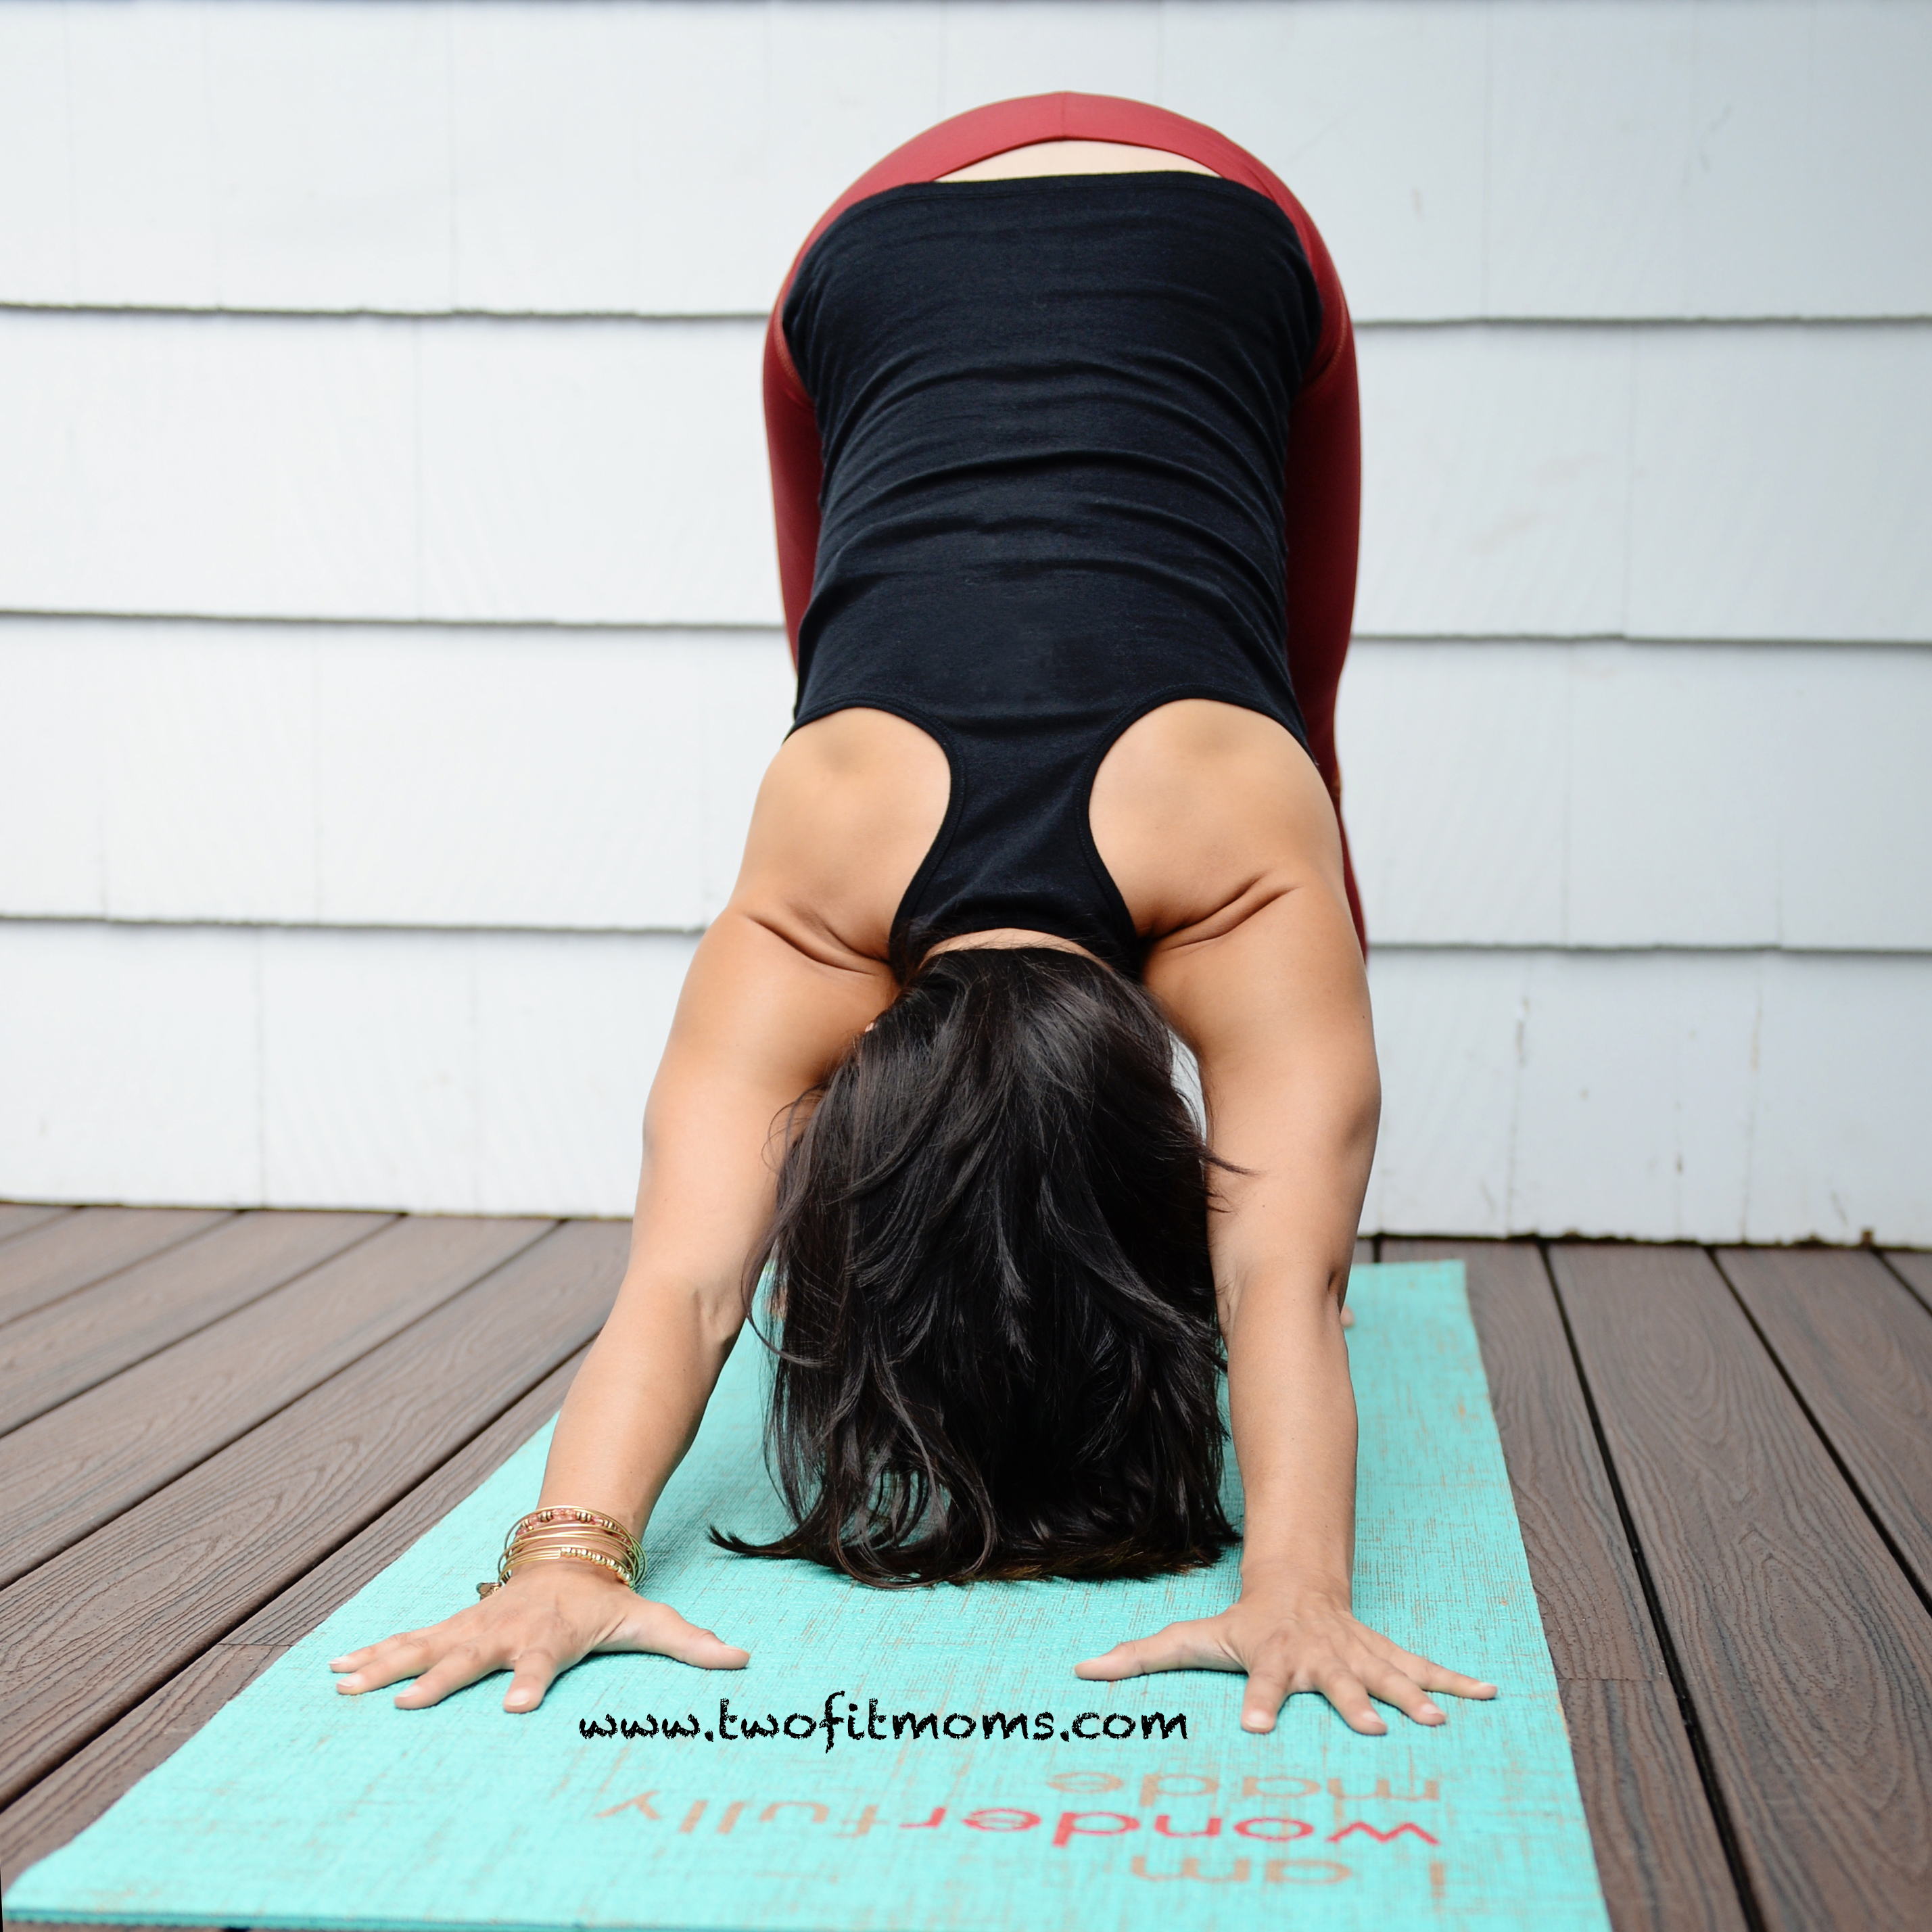
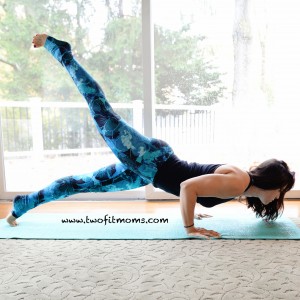
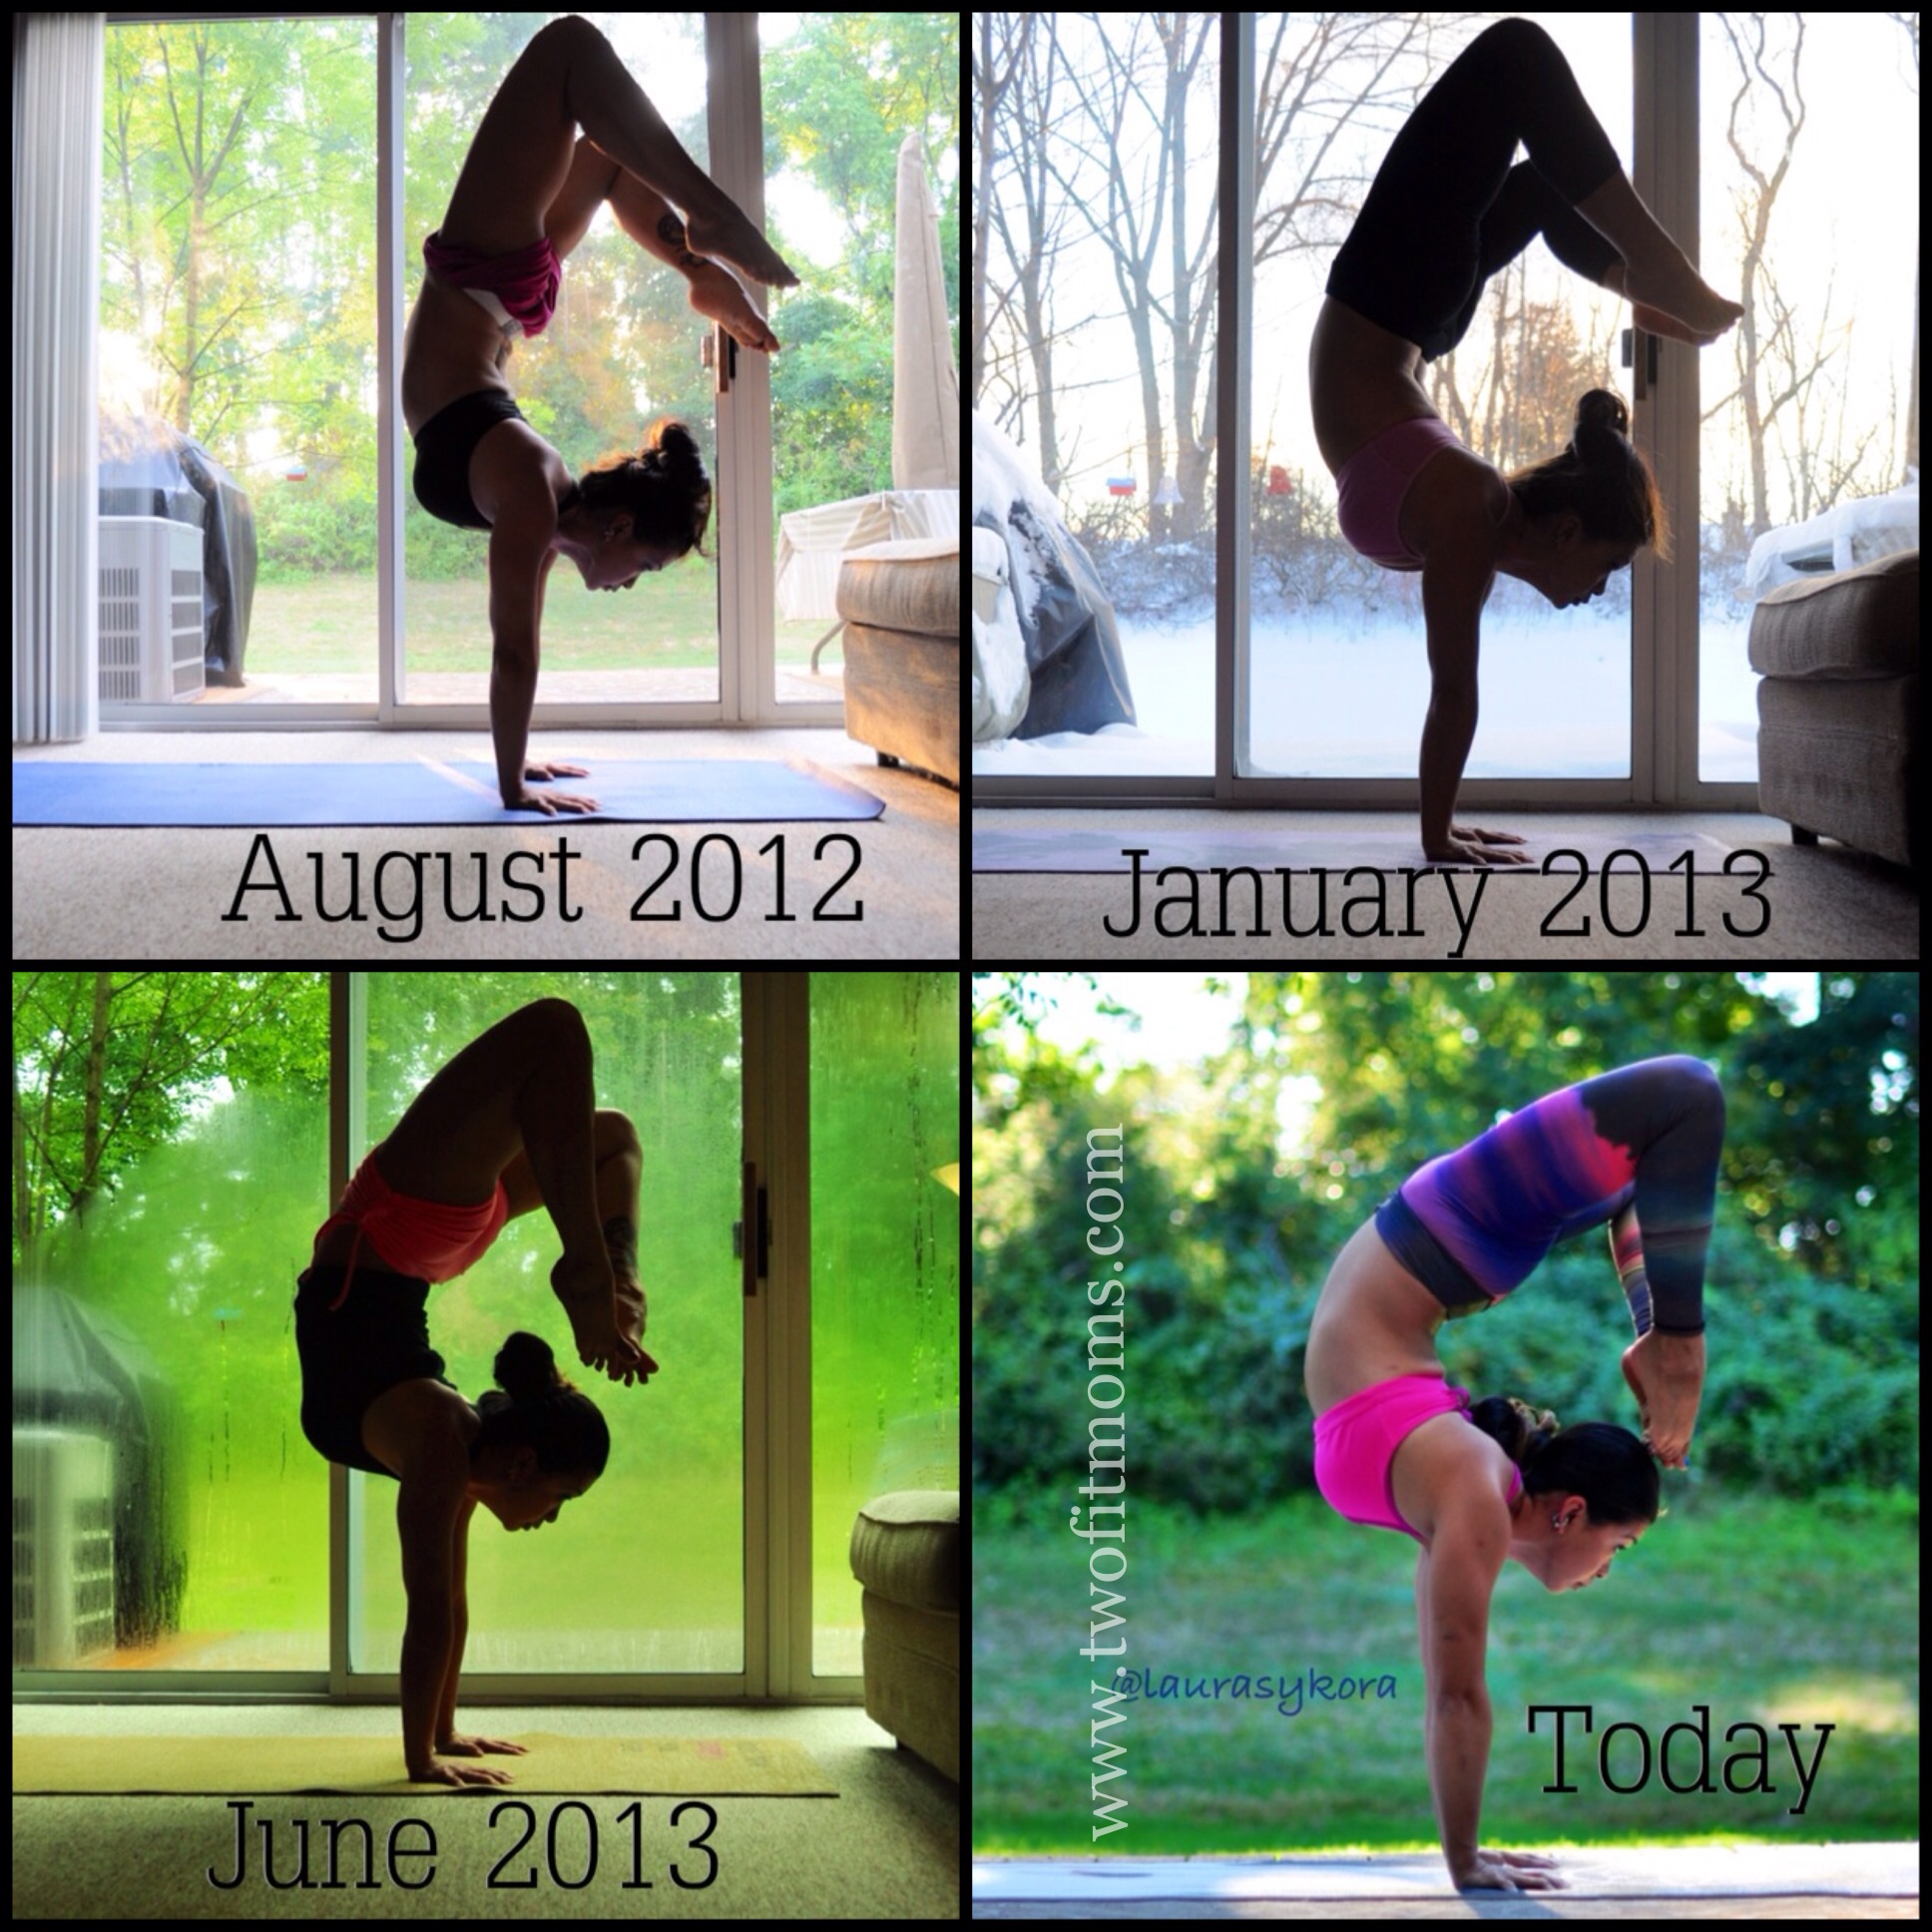
Take a 20-minute yoga class online. I love the 20-minute yoga classes that I’ve taken. They are surprisingly effective at waking the body up and relieving morning stiffness. Yes, there are 30-minute classes available too, but if you’re waking up 30 minutes earlier than normal, you might want a 20-minute class so that you can have 10 minutes to freshen up afterward. If you don’t want to pay for online classes, do 15-minutes of sun salutations and spend another 10 or 15 minutes working on challenging poses. Take a photo or two of yourself to track progress, and post your photos to Instagram!
-Clean Your House, Pay Your Bills, Sort Your Mail. Basically, go ahead and get some of your chores out of the way. If you have no desire to exercise in the morning, use your extra thirty minutes in the morning to pave the way for a healthy evening.
One evening about a month ago, I found myself addressing 75 holiday cards instead of exercising. In hindsight, I see that this makes no sense. I could have addressed the holiday cards early in the morning, leaving me with no excuse to skip the gym at night. Today, try to think of every excuse that you’ve ever used to avoid exercising in the evening and if possible, tackle those items early in the morning.
-Wake up even earlier
Once you get the hang of waking up 30 minutes earlier, you can continue to add another 15 minutes to your early morning routine. The earlier you rise, the more options you have. Personally, I like having an extra 75-minutes in the morning. I know that once the clock strikes 7 am, I need to get in mom mode and start preparing lunch boxes, brushing knotty hair, cooking kids’ breakfasts, washing crusty faces, etc. If I set my alarm for 5:45 am, I have just the right amount of time to do everything that I need to do to start my day feeling healthy, happy and bright. I used to set my alarm for 5:30 am, but I came to the conclusion that I actually preferred the extra 15 minutes of sleep. I didn’t accomplish more in the morning by waking up at 5:30. Somehow, 5:45 am is just right. You might need to play around with your wake-up time a bit, too. Good luck finding that sweet spot. You won’t regret it.

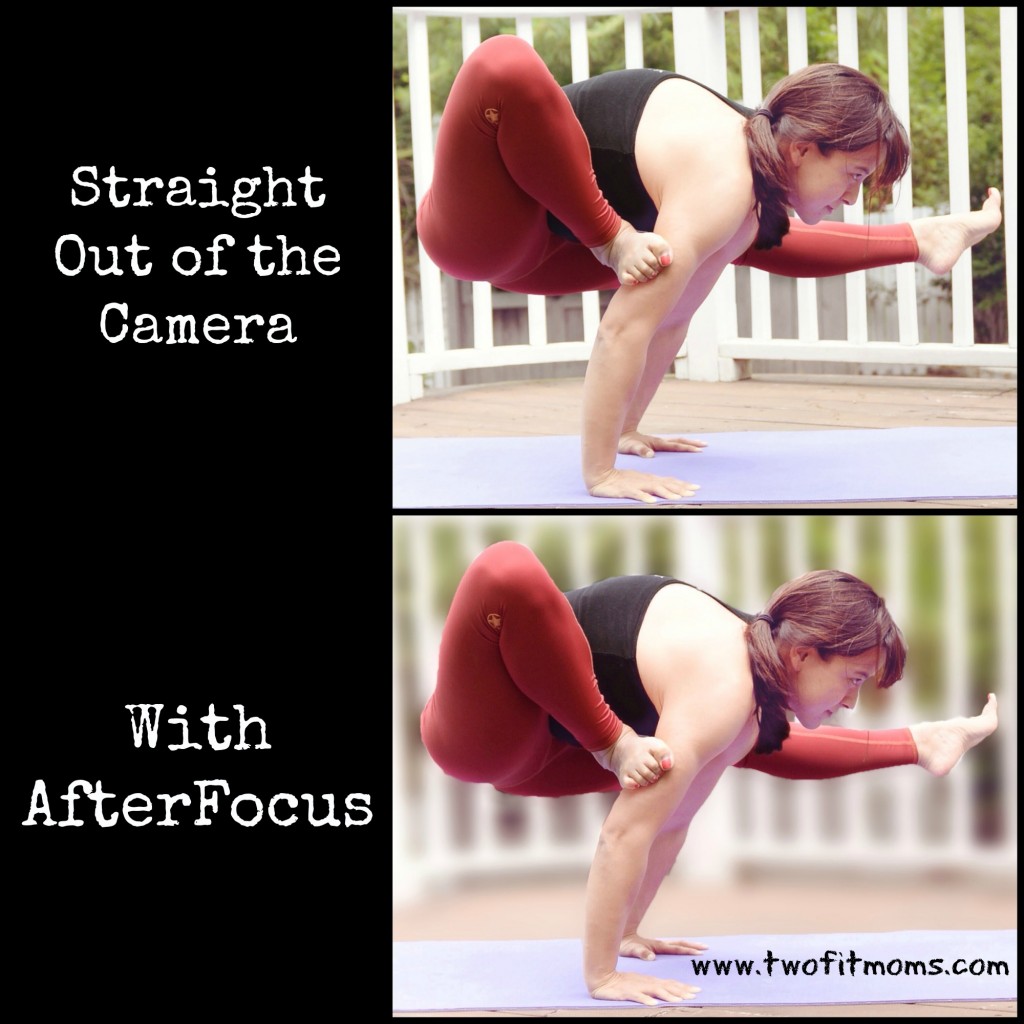 Take a look at my two photos. In the top picture, the white fence in the background isn’t an eyesore, but it is receiving the same amount of attention as the yoga pose. By running the photo through the AfterFocus app, I can blur the fence into the background. This app will automatically recognize your focus object and blur the background, just by drawing a few lines with your finger inside the object of focus.

 consider yourself lucky.
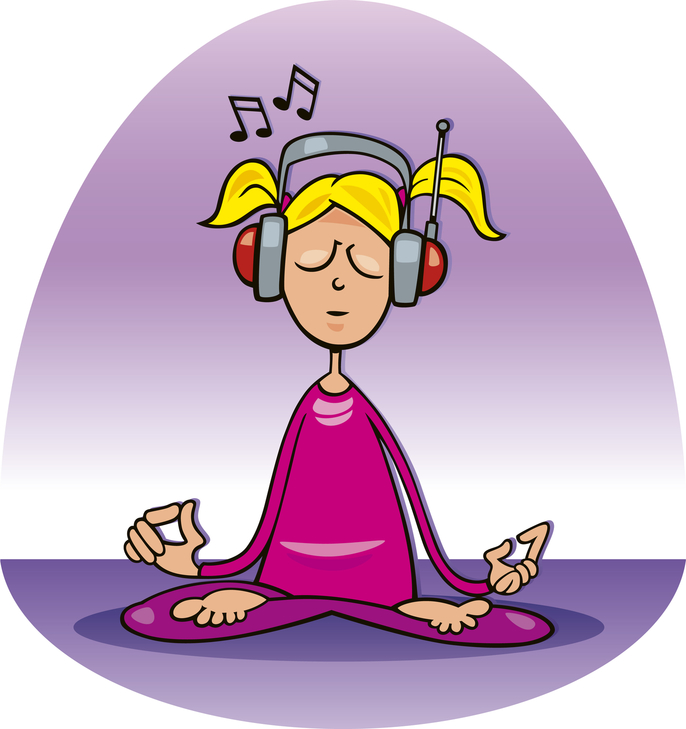 within an hour? Probably not. But for the high-energy, sweat-inducing type of yoga that I practice and teach, it makes sense, and it can be done. If you are ready to raise your home practice to another level, make your own yoga playlist. I’ll show you how.
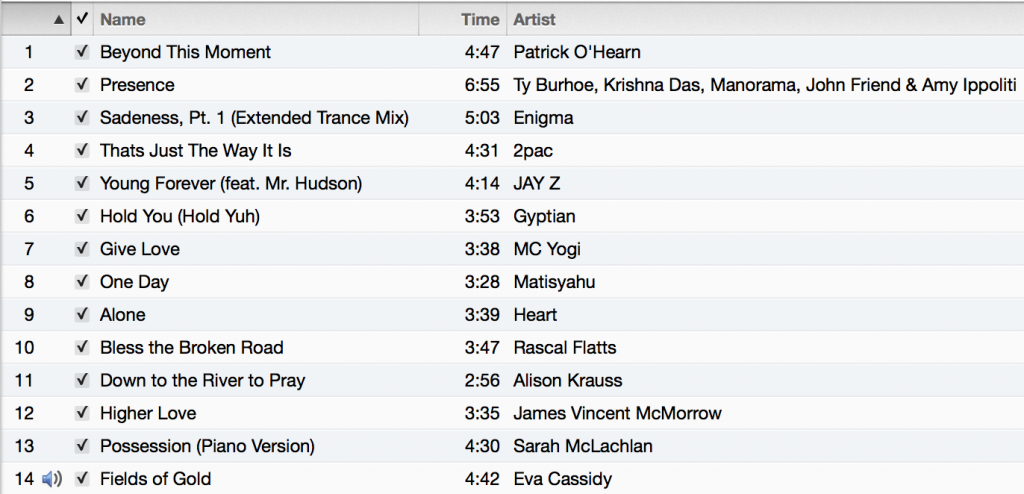

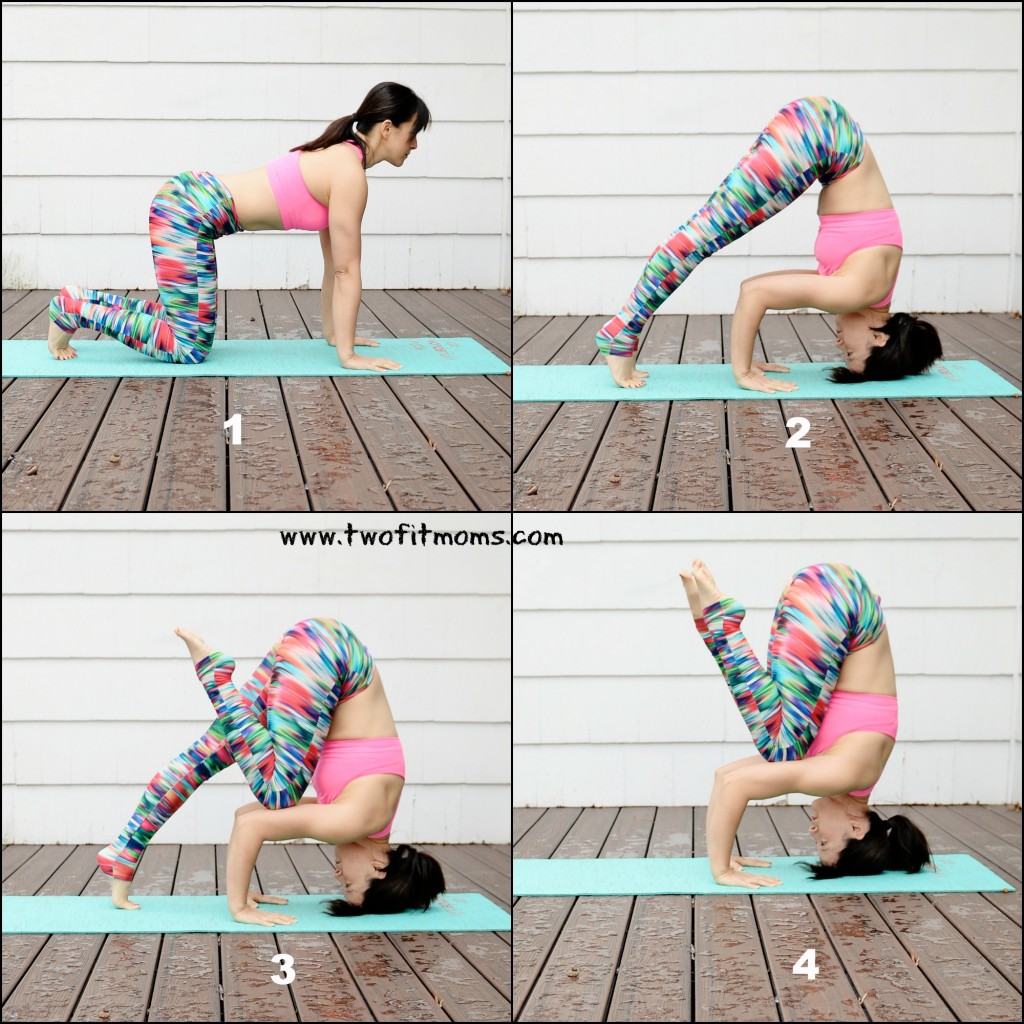
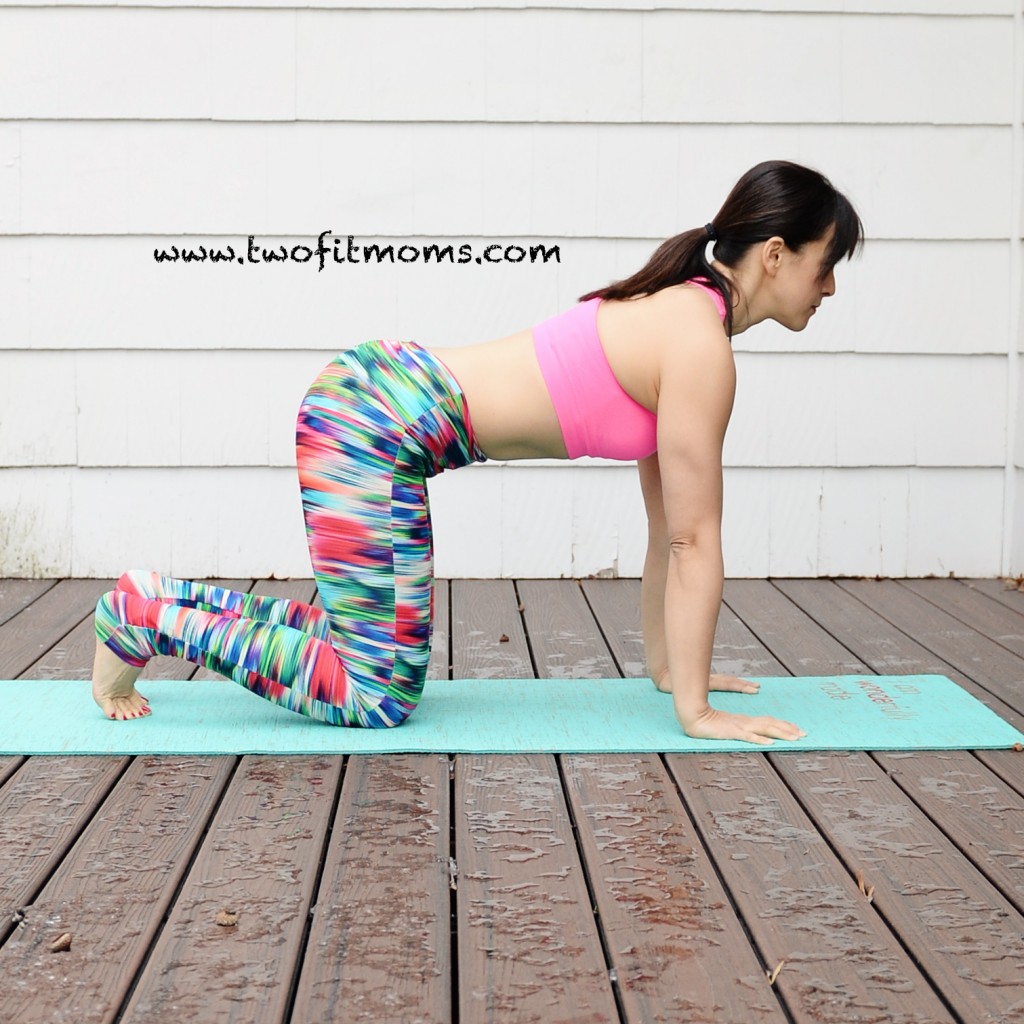
 (shifting weight onto the right knee and lifting the left knee a few inches instead). Most people will find this task to feel more natural on one side. Although we traditionally practice both sides in yoga, in these beginning stages of learning a new inversion, I advise you to just work on getting comfortable by practicing on the side that feels more natural.
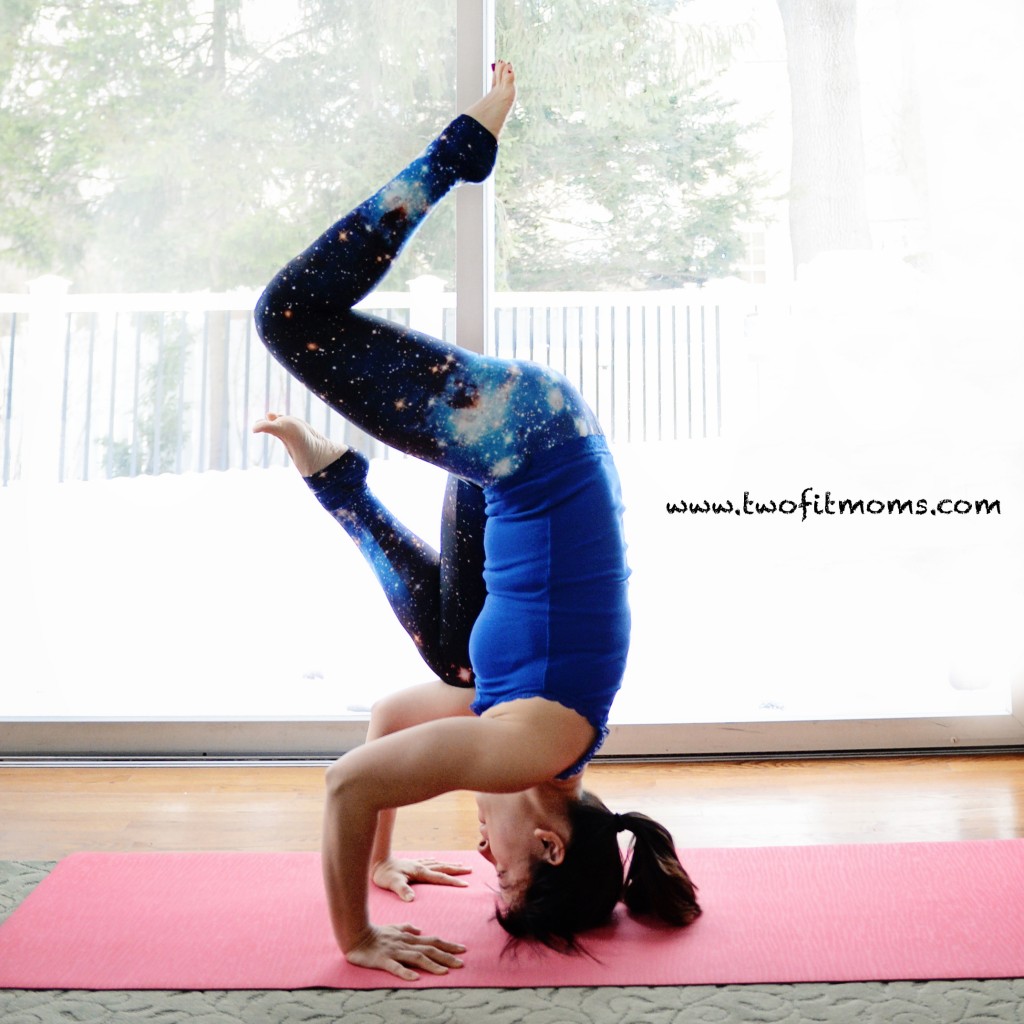


 is splitting at the seams with all sorts of items that I’ve deemed necessary to carry into the studio: a notebook with yoga sequences and dharma talk themes, a stopwatch so that I can keep track of the time while I’m teaching, extra hair ties, headbands, chapstick, tissues, a hand towel, and a bottle of mat spray. And that’s not even half of it! While there are many things keeping my bag heavy, there are seven items in particular that keep my soul light and happy. Let me introduce you to my yoga bag essentials:


 practice in the snow. It’s usually just a beautiful moment captured in time, and it consists of running out into the snow for about a minute for the purpose of taking a photo, and then racing back into the house to warm up.

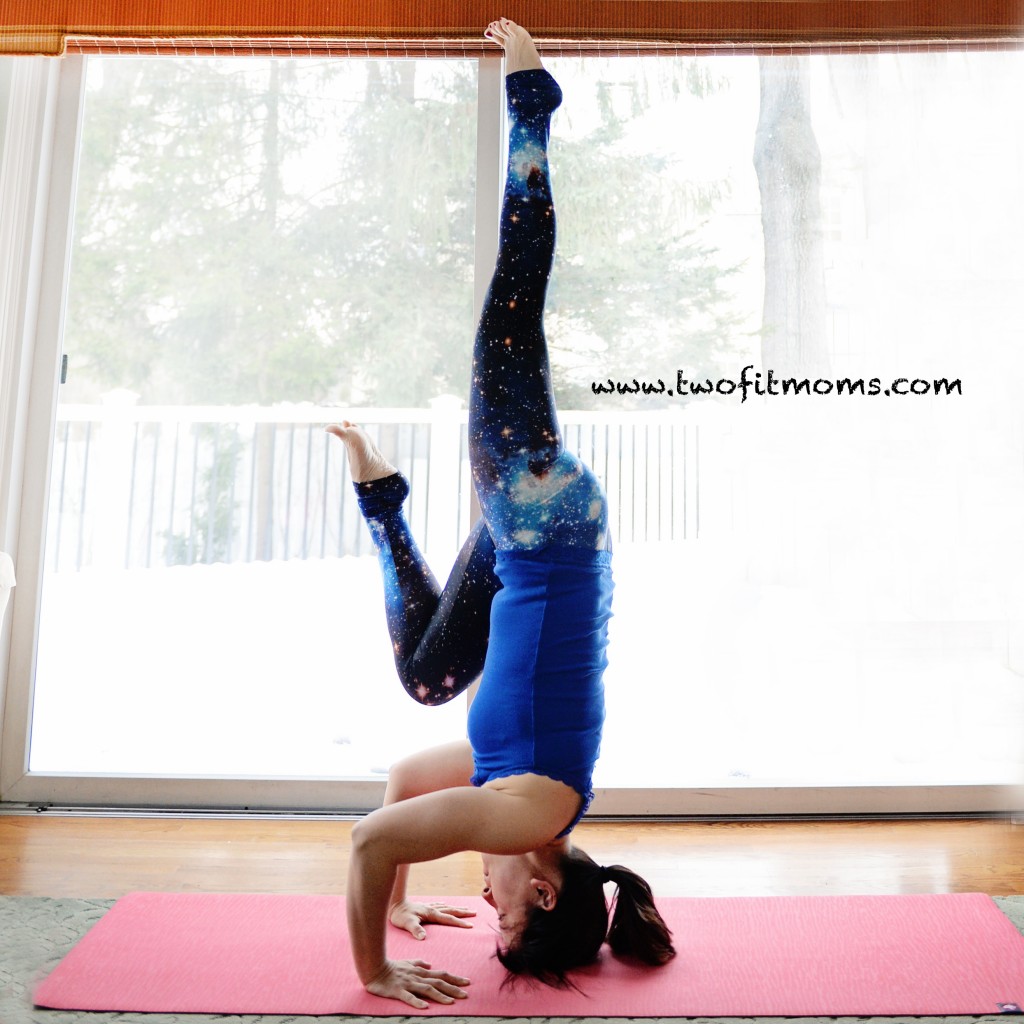
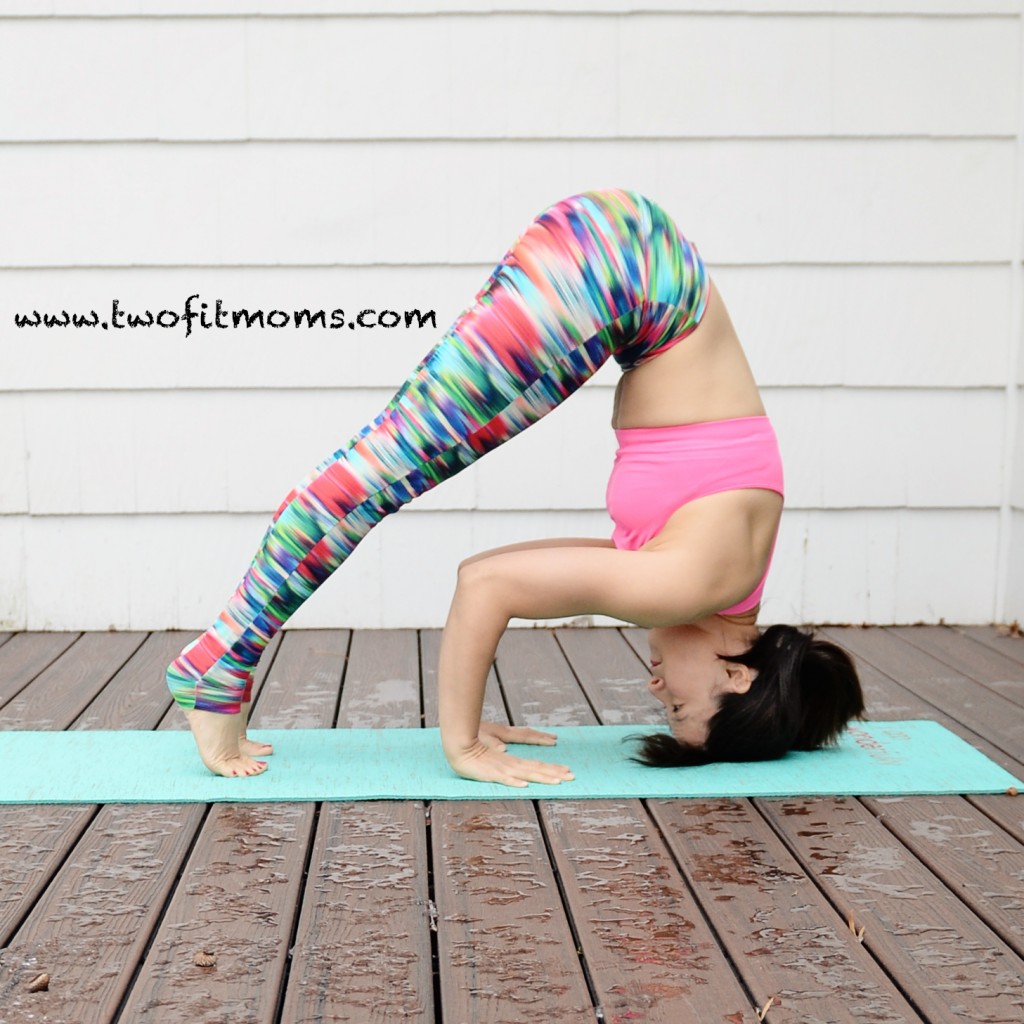
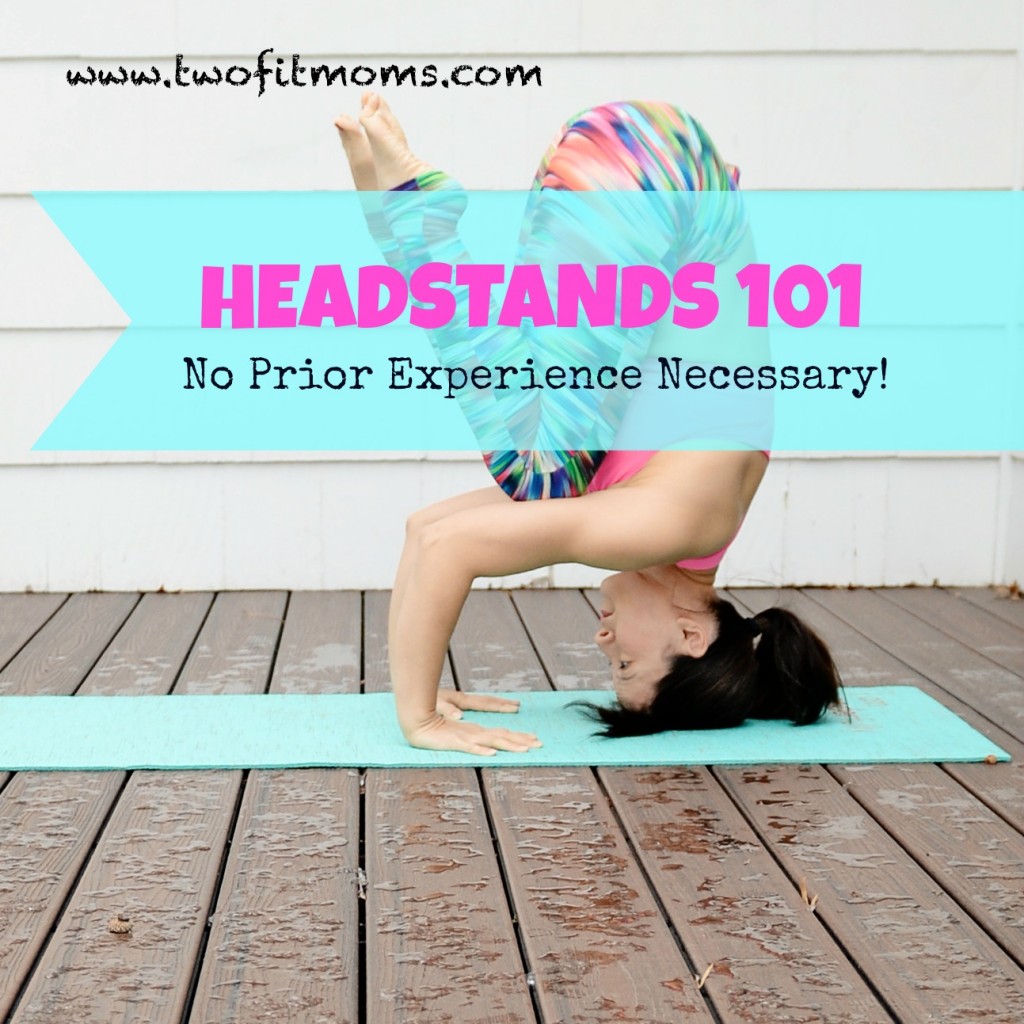 at the age of 36! It is never too late to learn a new hobby or skill. Just be patient, and remember to practice. It may not happen for you today, and that’s ok! There is no timetable for success. I will equip you with the tools and knowledge, and you will work at your own pace until you feel comfortable in the pose.
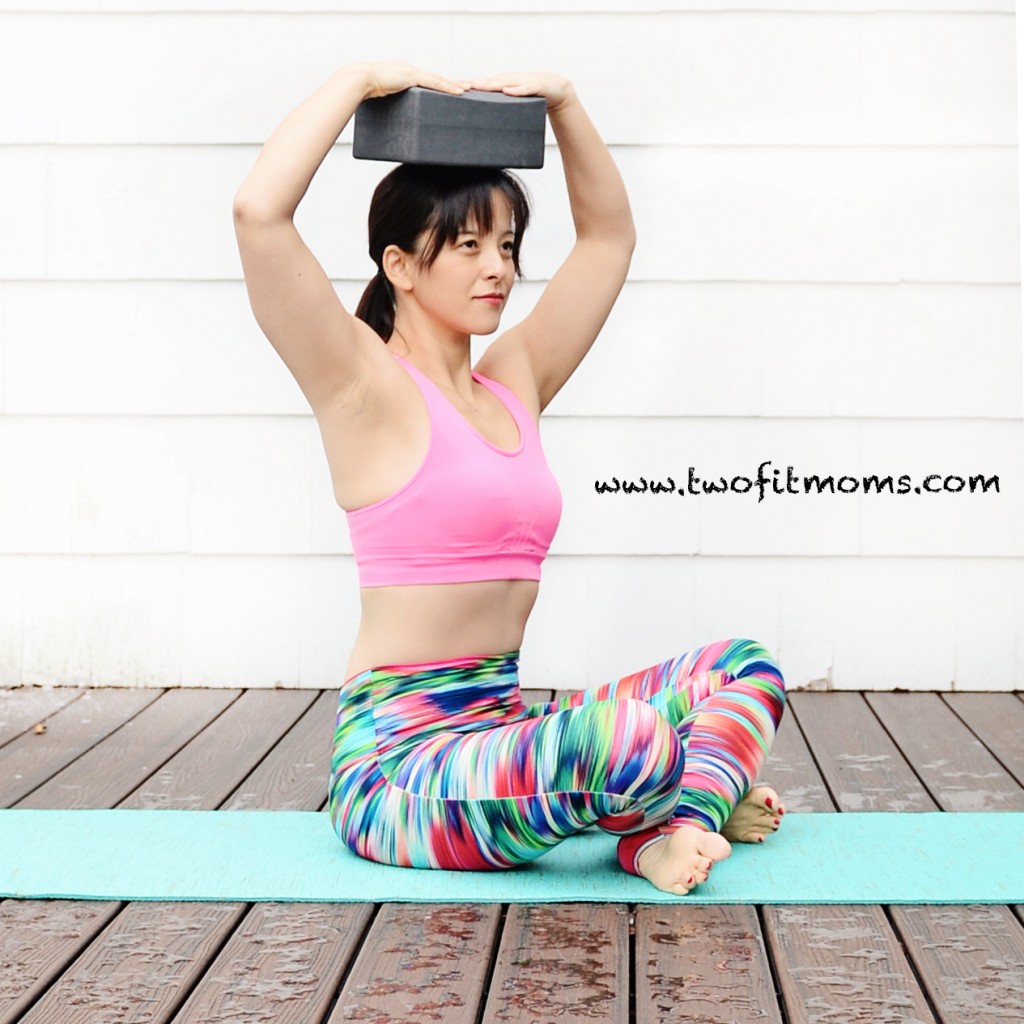
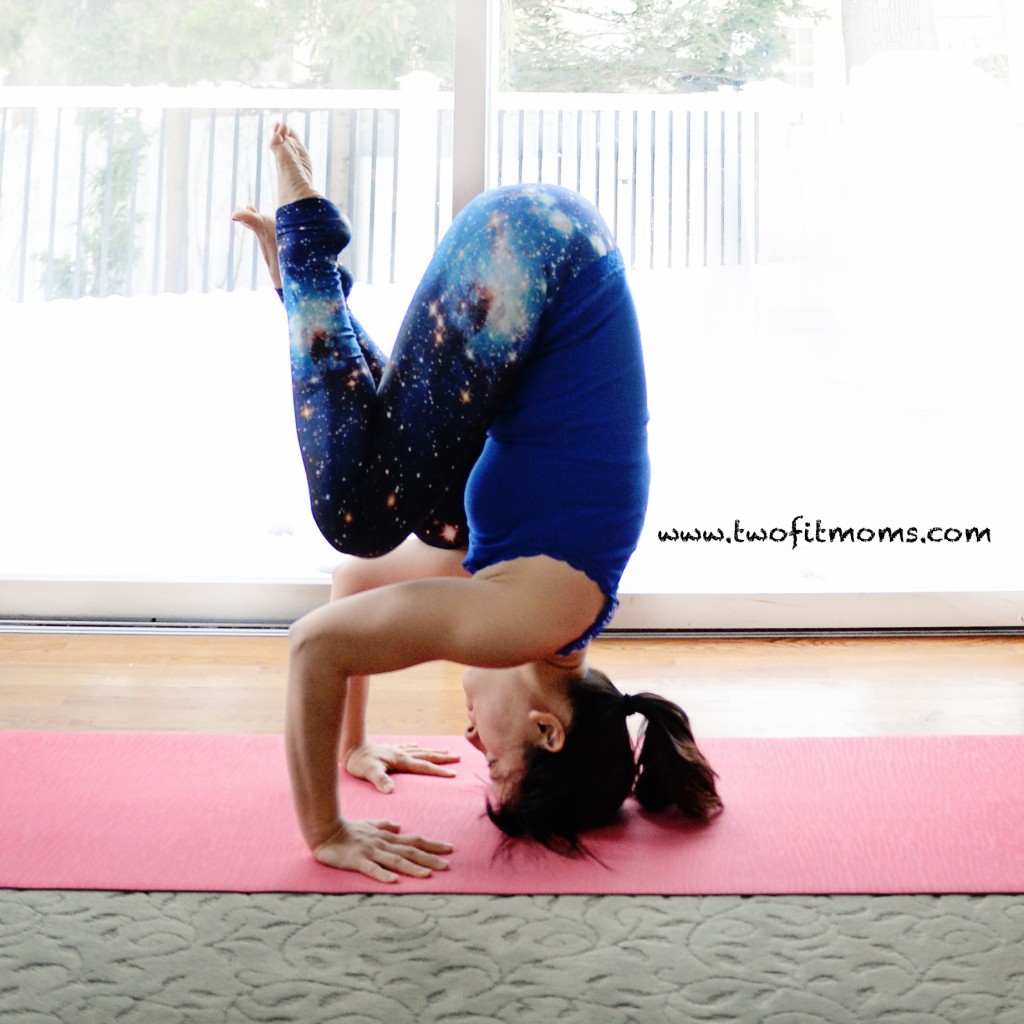
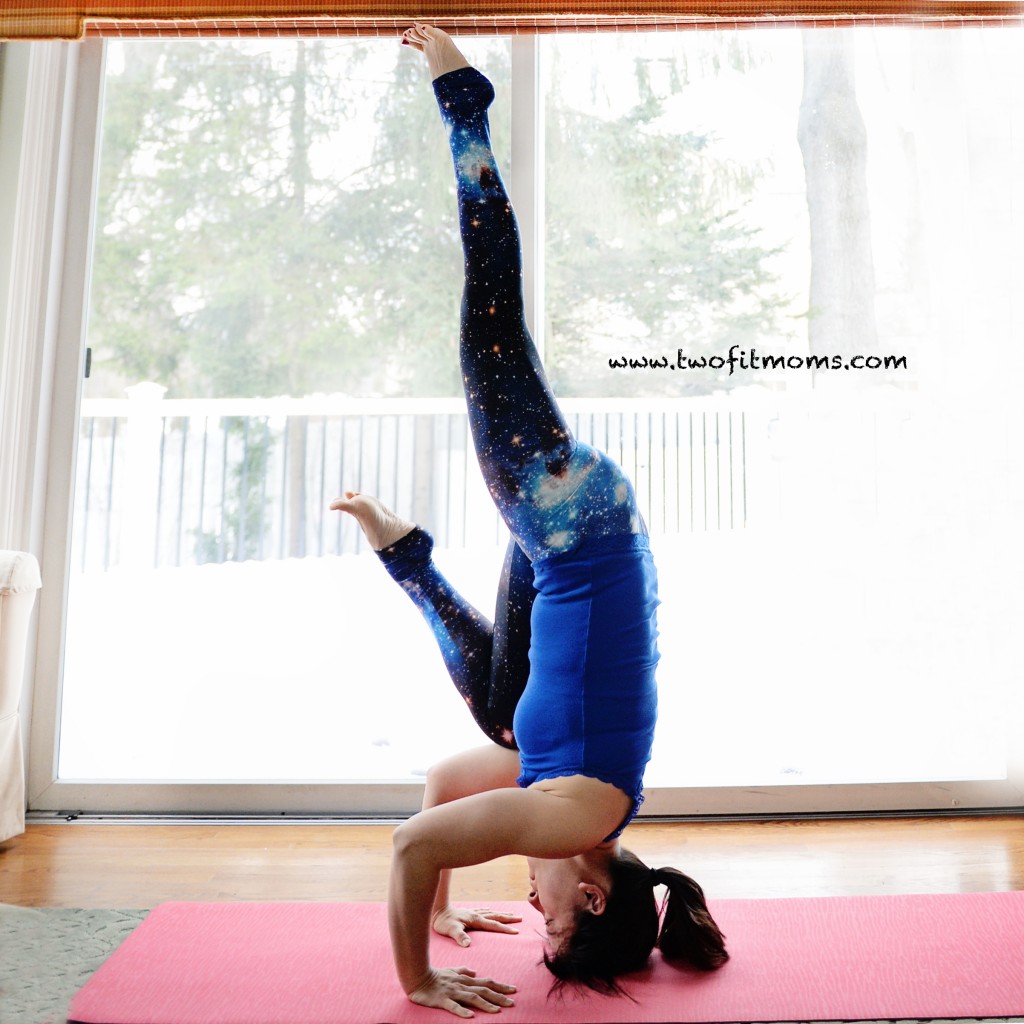
 more limber. If your neck feels strained, focus on lengthening your neck so that your shoulders are drawn away from your ears. If the top of your head hurts, adjust your balance point a few inches. Personally, my own balance point in a headstand is not the same as the balance point with the book on my head. I usually balance a few inches closer to my forehead. This is an exploration. Find the right spot for your own body.