Tag: yoga

  • Pose of the Week: Upavistha Konasana

    Pose of the Week: Upavistha Konasana

    Upavistha Konasana

    Today we are launching our Pose of the Week series, which is designed to help you focus on making small steps towards your yoga and wellness journey.  Rather than tackling a full sequence or an hour-long class, just make a commitment to yourself to practice this single pose every day this week.  You can make a difference in your health and wellness, one step at a time.

    We are starting with Upavistha Konasana or Wide-Legged Seated Forward Fold.

    Take a comfortable seat on your mat and spread your legs evenly apart. Root down through your sits bones, lengthen up through your spine and flex your feet. Find a little bit of external rotation in your thighs so that your knee caps and your toes point up towards the sky. Press down through the tops of your thighs and shin bones.

    Take a deep breath in.

    On the exhale, slowly start to walk the fingers forward and fold. Fold as deeply as you can without rounding through your spine.  You should feel sensation and stretch through the backs of both legs, but never pain. Relax into the stretch and move deeper as the intensity of the stretch lessens. Stay here for about one minute, then slowly release and shake out your legs.

  • Flying Lizard:  A Step-By-Step Tutorial

    Flying Lizard: A Step-By-Step Tutorial

    Have I mentioned lately how much I love arm balancing? Arm balances are what first attracted me to the practice of yoga. Until a few years ago, I thought yoga was just a collection of standing and seated poses. I had never seen anything quite like fallen angel or crow pose before, and when I saw these incredible postures, I was intrigued. I wasn’t quite ready for the challenge of inverting because I was so frightened of breaking my neck, but I was ready and willing to test my strength and balance while staying close to the ground in an arm balance.

    If you are dabbling in the world of arm balances, or if you are considering getting started, let me introduce you to a pose called Flying Lizard.FlyingLizard

    You may be looking at the full expression of the pose in step 5 and thinking to yourself, “No way. Not happening.” Guess what? That’s okay! The reason why I want to introduce you to this particular arm balance is because EVERY step along the way is beneficial—even if you never fly your lizard.

    Step 1 on its own is a hip opener that is worth practicing. Step 2 intensifies the stretch. Step 3 provides the stability of 3 points of contact with the floor while adding an element of difficulty (lifting the front foot from the ground). Step 4 gives you the practice of arm balancing, and step 5 offers the challenge of flying the back leg high into the air.

    Give this entire tutorial a try, or feel free to just practice the steps that feel comfortable to you at your current level of fitness/flexibility. If you would like some additional hip stretches, click HERE.

    Step 1
    Come onto your hands and knees for Tabletop position. Your shoulders will stack directly above your wrists, and your hips will stack above your knees. Step your right foot to the outside of your right hand. Lift onto the ball of your right foot, and make an effort to wiggle your right shoulder underneath your right knee.

    Step 2
    Lift your back knee from the ground.

    Step 3
    Engage your core, shift weight into your hands, and lift your right foot from the ground, drawing it into your body.

    Steps 4 & 5
    Gaze forward, not straight down. Continue to shift weight forward into your hands as you lift your back foot from the ground. As you gain strength and find your balance, practice extending your back foot toward the sky. Remember to energize the lifted leg by engaging all of your muscles and even your feet!

  • The Power of Positive Affirmations

    The Power of Positive Affirmations

    “Start training like an athlete. Start eating like an athlete. Start sleeping like an athlete.”

    One of my favorite fitness trainers gives this simple, yet very inspiring advice on an exercise DVD that I own. I can hear these words in my head, long after I’ve finished my workout.

    At the heart of this message is the idea that if you play the part, you will ultimately become the part. Maybe you’re not an athlete today, but by adopting the lifestyle of an athlete, you slowly but surely become one.Differently sized and colored pebbles, stacked

    Positive affirmations work in the same way. By repeating a motivational phrase and speaking positively, you can transform your habits and attitude over time.

    Just as the fitness trainer encourages her viewers to start living the life of an athlete, a positive affirmations practice can help you speak your dreams into existence. You can create the reality that you desire. By repeating positive affirmations each day, you effectively drown out the internal voices that say you’re too sick, too old, too injured, too heavy, too fill-in-the-blank. Your words have incredible power, so use that power wisely.

    Affirmations and Yoga
    If you would like to incorporate positive affirmations into your yoga practice, I recommend stating an affirmation (out loud or in your mind) every time you do a repetitive action.

    For example, you can state an affirmation every time you complete a round of sun salutations. Or you can state an affirmation every time you find yourself in downward facing dog or in mountain pose. Repetition is key. In order for the affirmation to be engrained into the subconscious mind, you must hear it often to truly internalize it.

    Here are two basic guidelines to follow when creating your own affirmations: First, keep your affirmation brief so that it’s easy to say and repeat. Here are a few that come to mind: I am strong. I am healthy. I am loved. I am successful. I am enough.

    Second, state your affirmation as if it is already true. Speak in the present tense rather than in the future tense. Rather than saying, “I will lose weight and get healthy,” say “I radiate health and wellness.” And rather than saying “I will find a better job and make more money,” say “I attract wealth and opportunity.”

    Feel free to create your own affirmations that speak to your spirit, and let us know how you do when you incorporate these positive statements into a yoga practice.  You WILL get over the discomfort of speaking positively about yourself.  I know it’s uncomfortable at first, but watch your life transform as you make the mind-body connection.


  • Launch Day!

    Launch Day!

    It was a chilly day in New York  City, but that didn’t keep people away from today’s amped up yoga event hosted by Kohl’s and led by Two Fit Moms — Laura and Masumi.Launch Collage

    The event marked the launch of the new Gaiam women’s apparel line for Kohl’s which was created to inspire people to be fit and achieve the best version of themselves.

    We are happy to say that we had a hand in the design and fit of the yoga clothing.  The pieces are beautiful and affordable – and are sure to encourage health and wellness.

    Masumi and Laura led a one-hour yoga flow in New York City’s High Line Park.  More than 80 guests — a combination of media, influencers, bloggers and celebrities — got their yoga groove on with their nifty new Gaiam yoga mats.

    It was an amazing day – so exhilarating.  We are excited to be associated with Gaiam and Kohl’s — two like-minded brands that also embrace the concept of yoga for everyone.

    We hope you check out the new line of apparel in Kohl’s stores and at Kohls.com.  In the meantime, here’s a glimpse of some of the apparel — which is perfect for every woman – especially moms!
    launch photo 1

  • The Key to Managing Acute Stress

    The Key to Managing Acute Stress

    These days, most articles that I run across on the topic of stress tend to be about chronic stress— the day-to-day stress of jobs, finances and family dysfunction that chip away at our well-being, year after year. This is the insidious form of stress that we all try to manage with yoga and meditation in the hope that we can gain control over it and avoid all sorts of medical issues down the road (heart attack, stroke, ulcer, etc.) Controlling chronic stress is one of my on-going goals, and I use various techniques, such as journaling, prayer, and meditation to help each day.ManagingStress

    With all of this stress management on my mind, you’d think that I would be mindful of acute stress as well as chronic stress, but I actually rarely think about the acute variety. I lump all forms of stress into one bucket, and that’s not really a fair way to think about it.

    Acute stress is short-term stress that fires up in response to an event. The event might be a near collision on the highway. Or maybe something more primitive— like being chased by an animal. In either scenario, your stress hormones are in high gear. Your adrenal glands release adrenaline and norepinephrine, your heart races in your chest, and your body feels hyper-alert and energized.

    I thought about acute stress today as I was on a conference call for work. As I tried to speak naturally and (hopefully) intelligently, I worried that I was rambling and not communicating effectively. I suddenly realized that I was sweating and my heart was pounding in my throat as I was asked a series of interview questions. I was exhibiting the symptoms of an acute stress response!

    I wasn’t running from an animal or avoiding a near-death experience, but I was pumped up with stress hormones as if my life were in danger. Although the physical sensations of acute stress are uncomfortable, this type of stress response (in small doses) is actually good! We want our impulses to quicken and our awareness of our surroundings to intensify when we are in a challenging situation. What we DON’T want is uncontrollable energy and fear that cannot be used to our advantage. The good news is that we can effectively manage our acute stress to work for us rather than against us.

    Being able to channel the rush of adrenaline into a controlled stream of positive energy is the trick to being able to thrive under short-term stress. And you can do it!

    I know this isn’t going to come as a huge surprise, being that this is a yoga website and all…but the trick to managing and channeling this stress is to control the breath.

    You can turn an intense, harried situation into a calm, collected experience by slowing your rate of breathing. You will continue to benefit from the added burst of energy provided by the stress hormones flowing through your body, but you will be in full control. Your voice will not waver, and your actions will exude confidence.

    You obviously cannot shut down in the middle of your stressful episode to meditate or start flowing on your yoga mat. Instead, you will practice these two breathing techniques and re-gain control of the situation. You may find that one technique is easier than the other. Try them both for a couple of minutes each and see what works for you.

    Slow-Deep Breathing
    Inhale deeply through the nose for a count of six until the lungs are full, and then exhale through the nose for a count of six until the lungs are empty. In your head, count like this: Inhale-two-three-four-five-six; Exhale-two-three-four-five-six. Keep the count in your head for a couple of rounds until the rhythm of the slow breathing exercise feels natural.

    Square Breathing
    Inhale through the nose for a count of four; Hold your breath (with lungs full of air) for a count of four; Exhale for a count of four; Hold your breath (with lungs empty) for a count of four. Practice this breathing technique by maintaining this count in your head: Inhale-two-three-four; Hold-two-three-four; Exhale-two-three-four; Hold-two-three-four.


  • Springtime Flow

    Springtime Flow

    Spring is a season characterized by rebirth, renewal and growth.springtimeflowforig Many of us are looking forward to longer, lighter evenings and the uplifting energy of Spring. To celebrate the season (and to help you out of bed before the sun has risen), we are putting a fresh spin on a traditional sequence. Each pose within the sequence becomes a hybrid — and a hip opener — by keeping the legs in tree pose. Challenge your balance and flexibility by practicing this variation of Sun Salutation that pays homage to blooming trees and fresh routine. Remember to practice the sequence on both sides of your body, and breathe deeply through each pose.

    1. Tree Pose

    Start in Mountain Pose at the back of your mat. Toes are spread, spine is lengthening towards the ground. Slowly shift your weight into your left foot and pick up your right foot. With the help of your right hand, place the sole of the right foot onto the inner left thigh. Find stability in this pose by pressing your right foot firmly into your left thigh, and your left thigh firmly into the sole of your right foot. Keep your right knee pressing out. Bring your hands together at heart center. Take 5 deep breaths, then on your next inhale sweep your hands up towards the sky.

    Tree Pose


    2. Standing Forward Fold with Tree Legs

    On an exhale, swan dive down into this Standing Forward Fold variation. Continue to keep your right knee open to the side. Feel the hamstring stretch along the back of your left leg and the stretch in your right hip. Stay here for 3-5 breaths.

    Standing Forward Fold

    3. High Plank Pose with Tree Legs

    Rather than stepping or jumping back into Plank Pose, as you would in a traditional Sun Salutation, on an exhale, slowly walk yourself out into Plank Pose with Tree Legs.  Continue pressing your right foot firmly into your left thigh, and try to make a straight line with your body from head to heel. Stay here for 3-5 breaths.

    YJMarch3

    4. Side Plank Pose with Tree Legs

    Before moving into your Chaturanga Dandasana, which is usually the next pose in the Sun Salutation, take a short detour into Side Plank Pose with Tree Legs. On an inhale, shift your weight onto your left hand, roll onto the outer edge of the left foot and pop up onto your right fingertips. Find your balance here. On the exhale, slowly extend your right hand up towards the sky. Keep your hips lifting as you continue to root down through your left hand. Look up at your right hand for an added challenge.  Stay here for 3-5 breaths and return into your High Plank Pose with Tree Legs.

    YJMarch4


    5. Low Plank Pose with Tree Legs

    From High Plank Pose, slowly shift slightly forward. On an exhale, bend your elbows coming into Low Plank Pose (or Chaturanga Dandasana) with Tree Legs. Hug your elbows in and engage your core to maintain stability.

    YJMarch5

    6. Upward Facing Dog with Tree Legs

    On an inhale, roll over the left toes and come into Upward Facing Dog with Tree Legs. Feel free to modify by taking the Cobra Pose variation with hips on the ground. Press into your hands, lift your heart and relax your shoulders. Take 3-5 breaths.

    YJMarch6

    7. Downward Facing Dog with Tree Legs

    On an exhale, roll back over your left toes and come into your Downward Facing Dog with Tree Legs. Spread your fingers wide, relax your shoulders and engage your belly. Stay here and hold for 5 deep breaths. Complete your Sun Salutation by walking your hands back to your left foot and then slowly lifting back up into Tree Pose! Release the right foot, shake it out and repeat on the other side.

    YJMarch7

    8. Optional: Supported Headstand with Tree Legs

    For an added challenge, feel free to add an inversion at the end of your Sun Salutation practice. Keep your elbows hugging in, neck long, belly engaged and legs energized! To maintain our tree theme, slowly bend on knee and bring the sole of the foot to the inside of the other thigh, then switch! Remember to continue breathing. Take a well deserved Child’s Pose after you come down.

    YJMarch8

  • Create Your Own 30-Minute Yoga Playlist

    Create Your Own 30-Minute Yoga Playlist

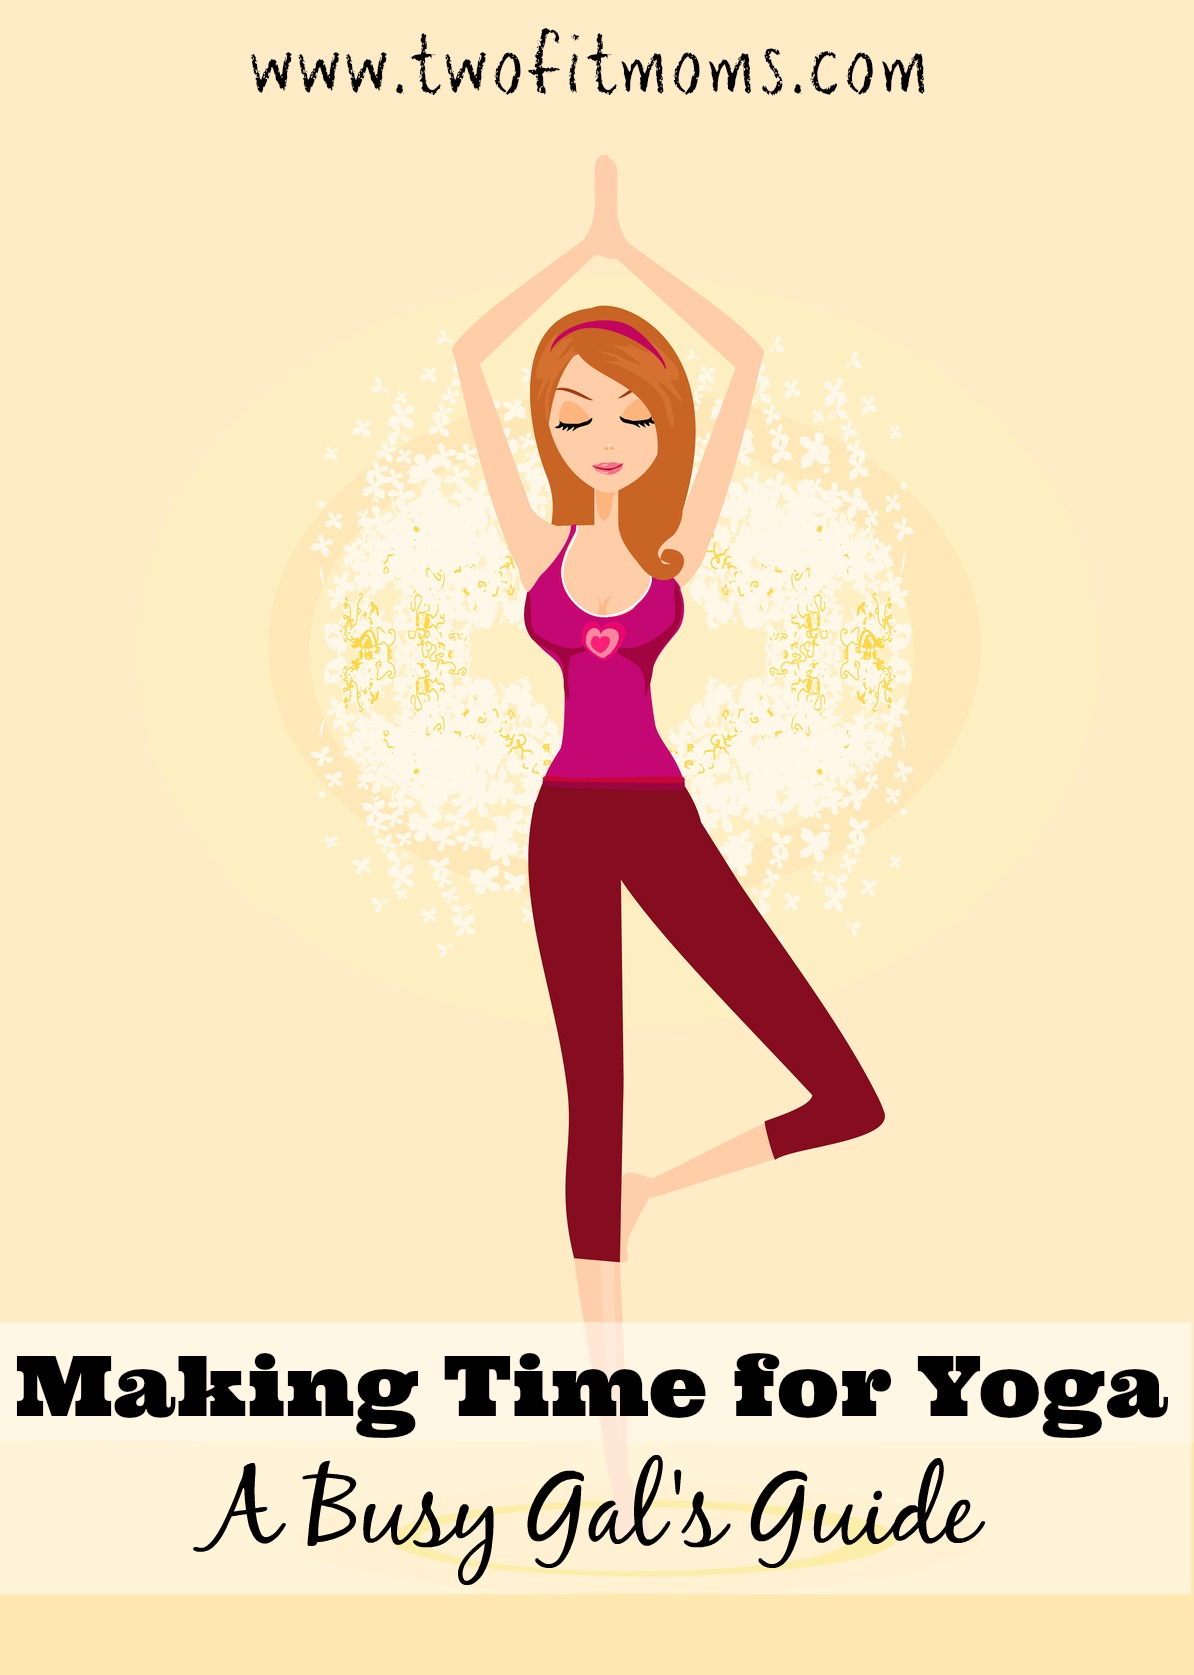
    After posting my article on structuring a 30-minute yoga practice, I decided that I couldn’t possibly leave you hanging without a plan for music. Not everyone wants or needs music to accompany their yoga poses, but if you’ve been racing around all day (like most of us), it’s not always easy to suddenly settle down and clear the mind for yoga. Music can help set the mood, help you focus on your breath, and then help set the pace for your practice.Vector illustration of yoga listening his heart, isolated on black background

    When I create playlists of any length, I make it a point to pick music that mirrors the ebb and flow of my practice. Like a wave, a yoga sequence builds, reaches a peak, and then dissipates into peacefulness. It’s important for the music to follow suit.

    If you randomly string together a collection of your favorite songs without giving thought to the mood and tempo provided by each selection, the flow of your postures will not match the flow of your playlist.

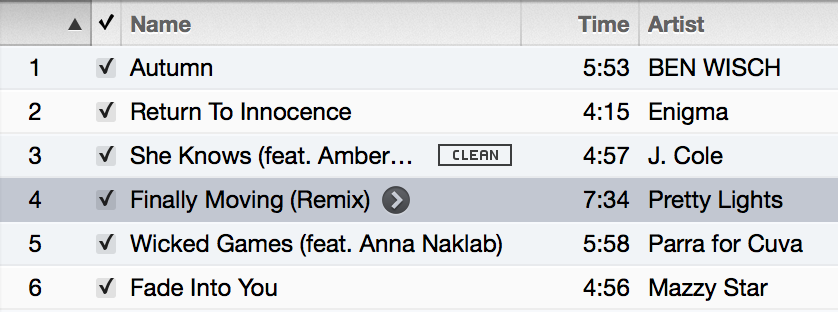
    Fortunately, a 30-minute playlist is fairly simple to organize because of its short length, and I recommend getting the hang of creating a 30-minute list before moving on to create a 60-minute list. If your songs are roughly five minutes long, you only need about six songs to create your own half-hour playlist.

    0:00 – 5:00 minutes
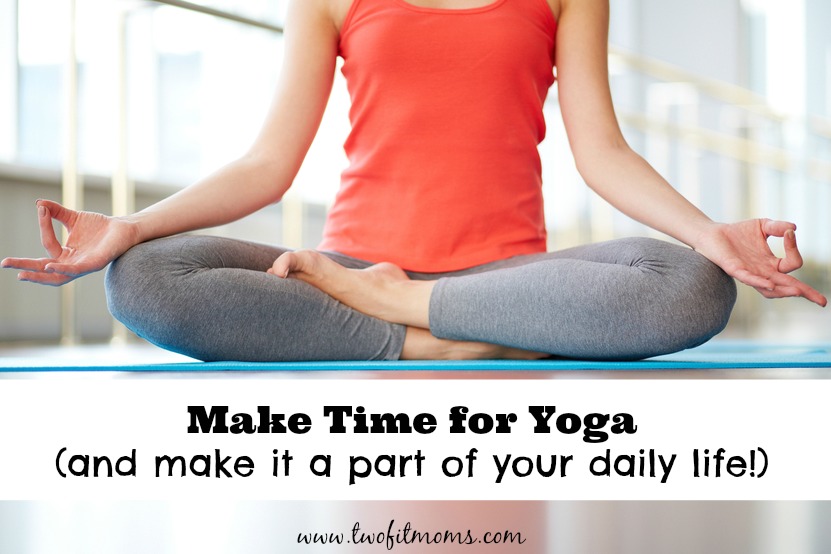
    During the first five minutes of my practice, I like to close my eyes, shut out the world, and focus on my breath. My mind races all day, and this is my opportunity to shut it down. After a few minutes, I open my eyes and do some light stretches. For this period of time, I make sure that I am playing instrumental music. I cannot tune into my inner voice if the bass is pounding or if I hear someone else’s voice singing in my head. I recently downloaded an amazing collection of music from Ben Wisch. The gentle sound of the piano is perfect for this part of my practice.

    5:00 – 10:00 minutes
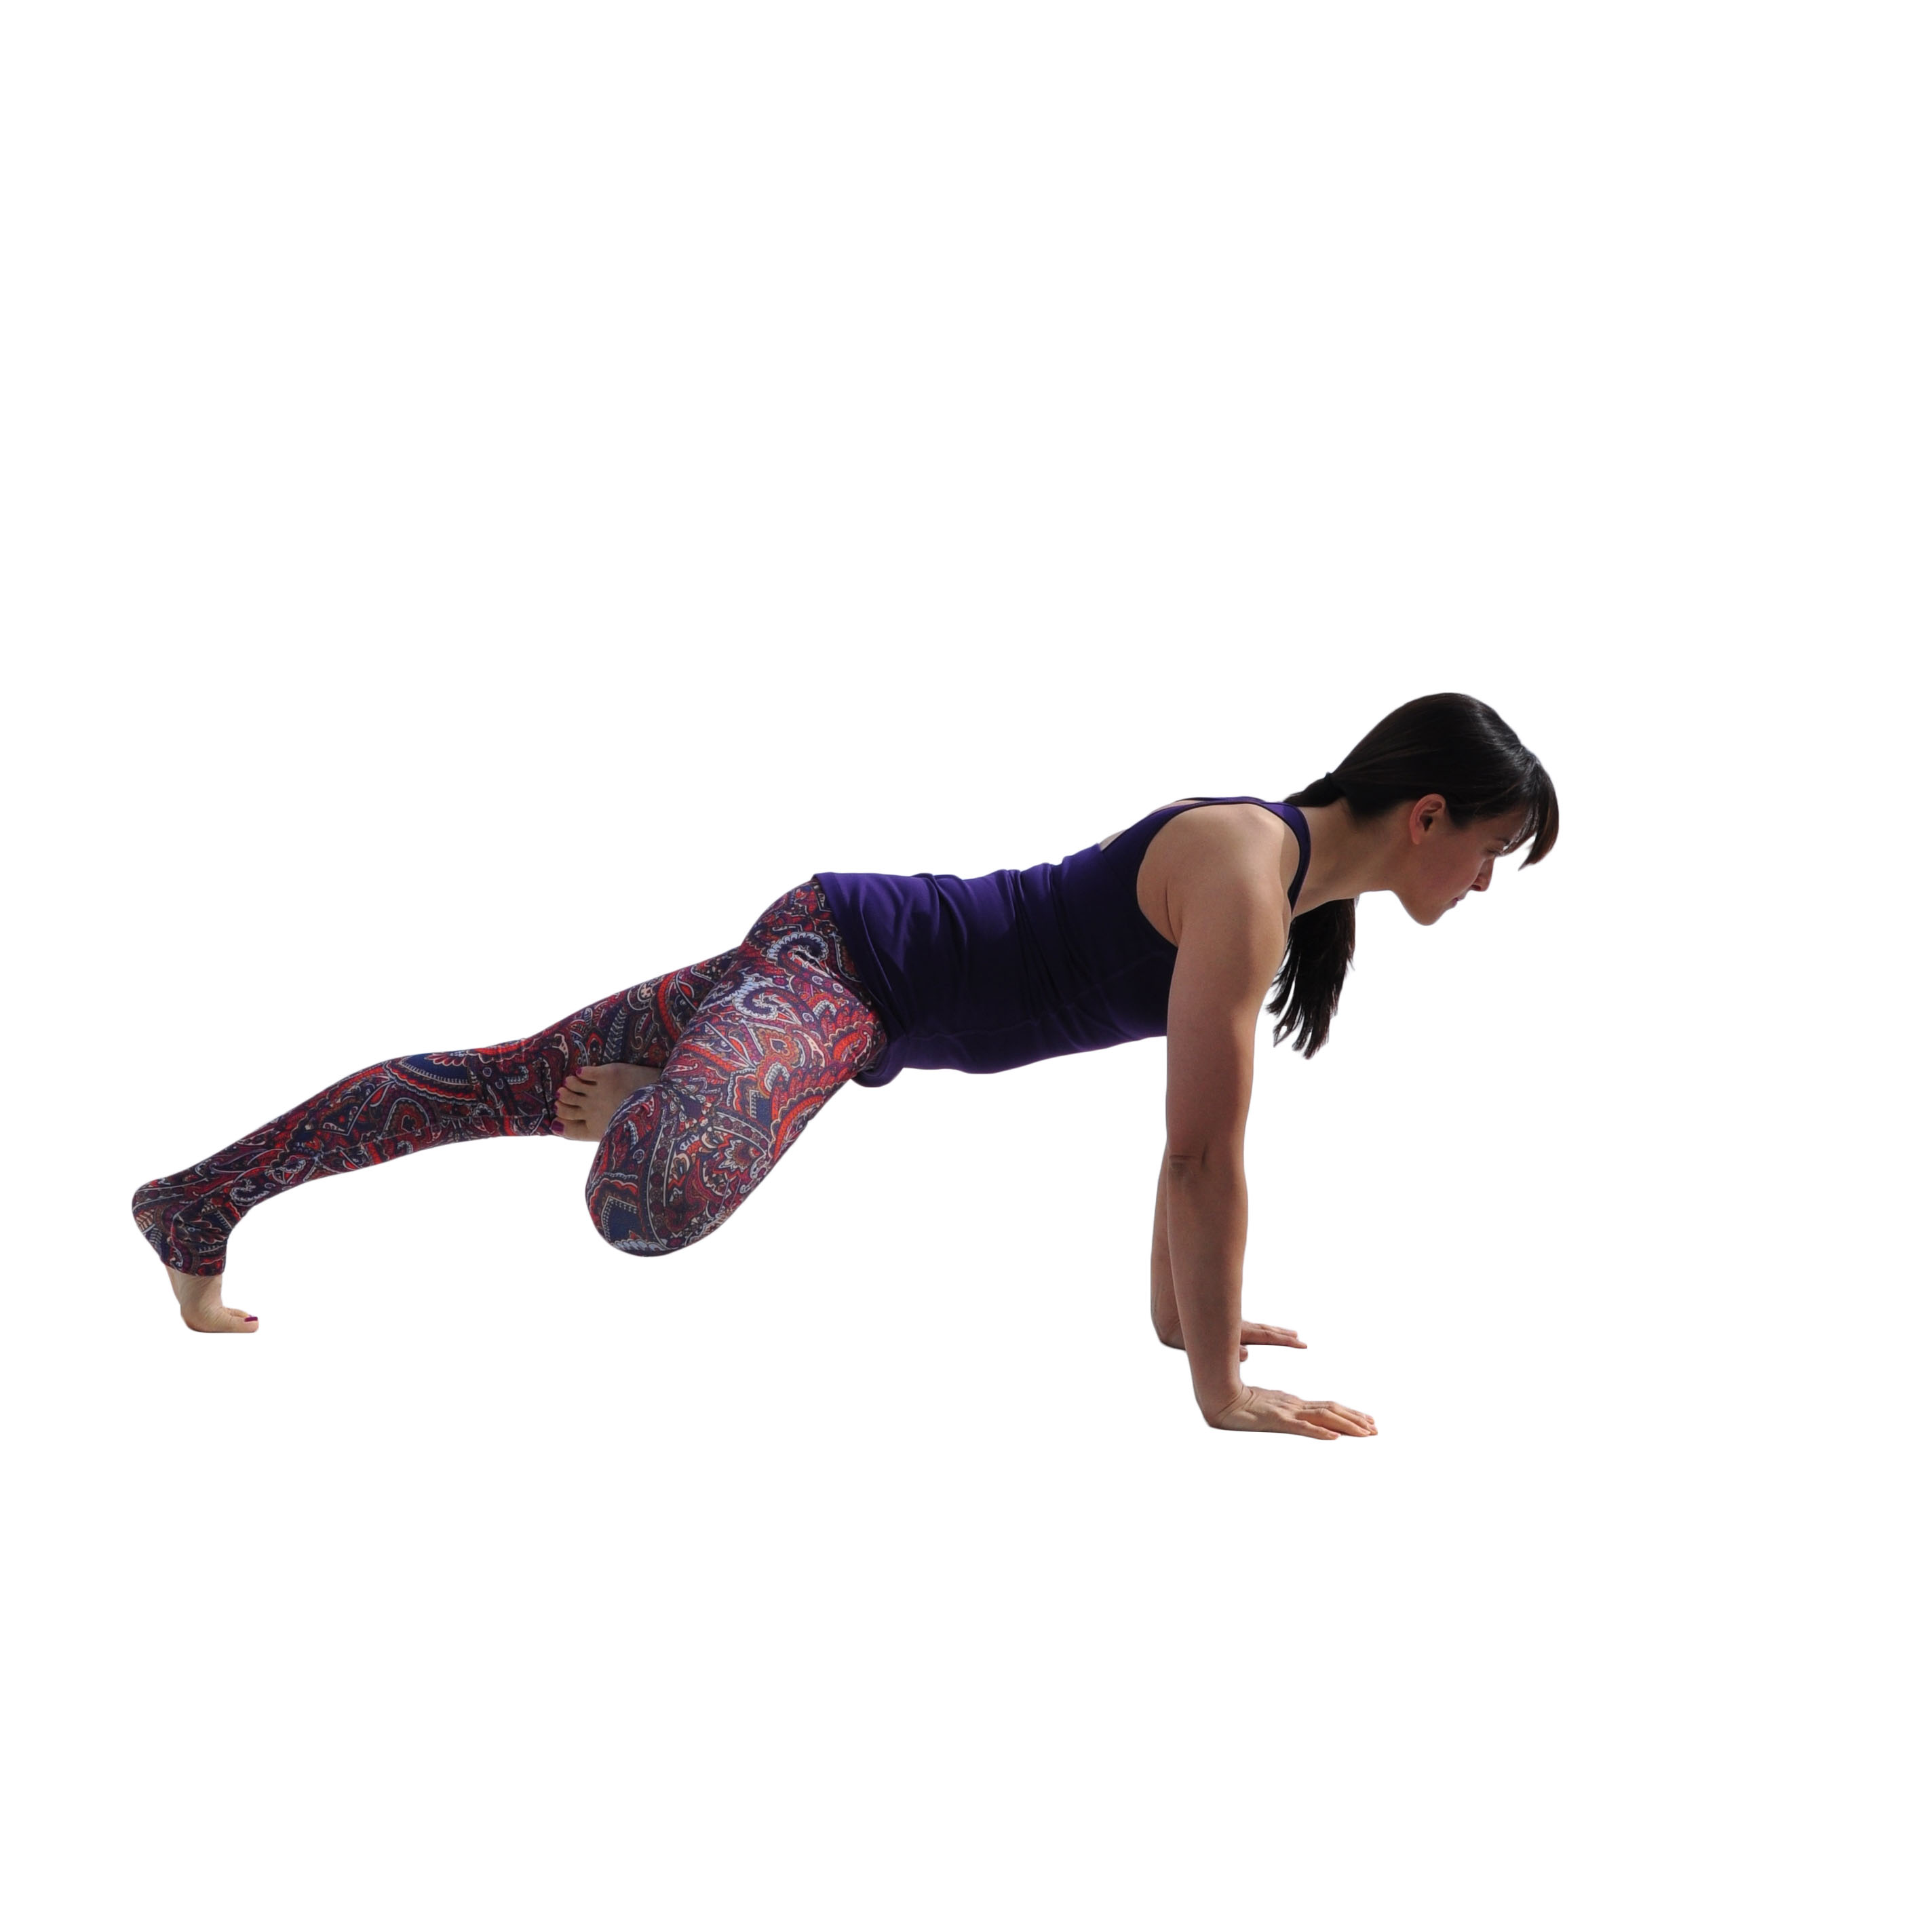
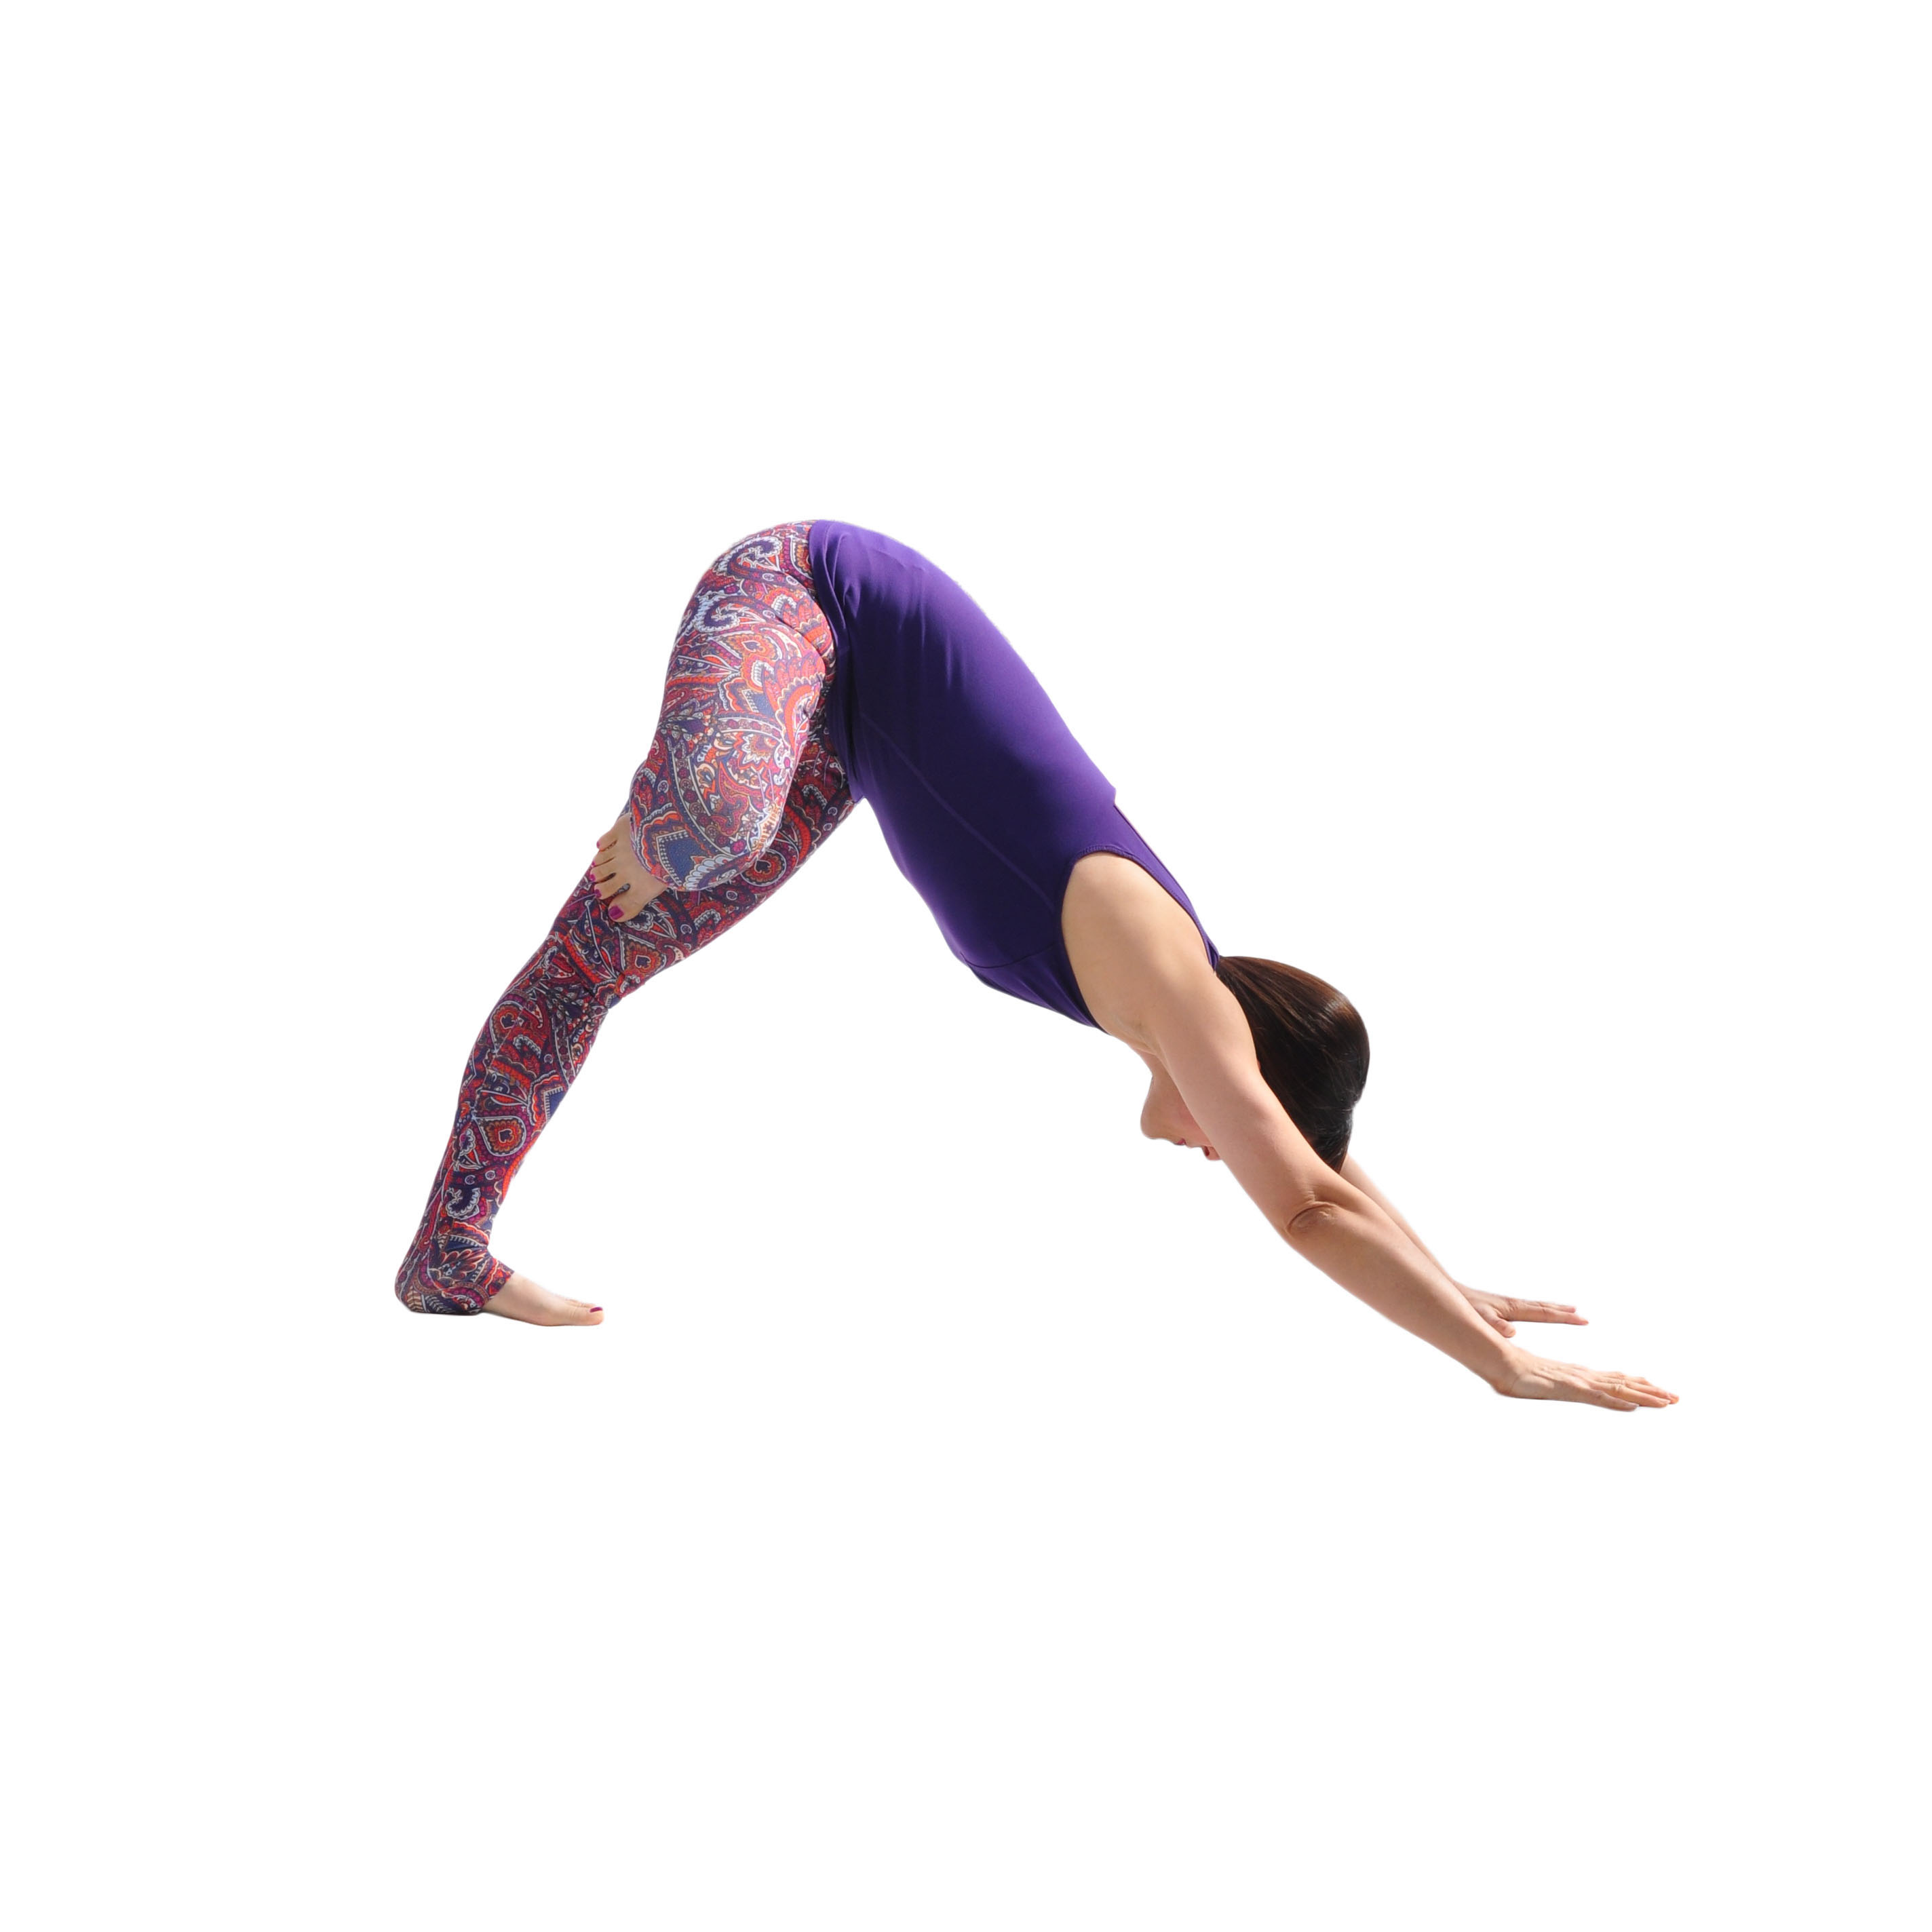
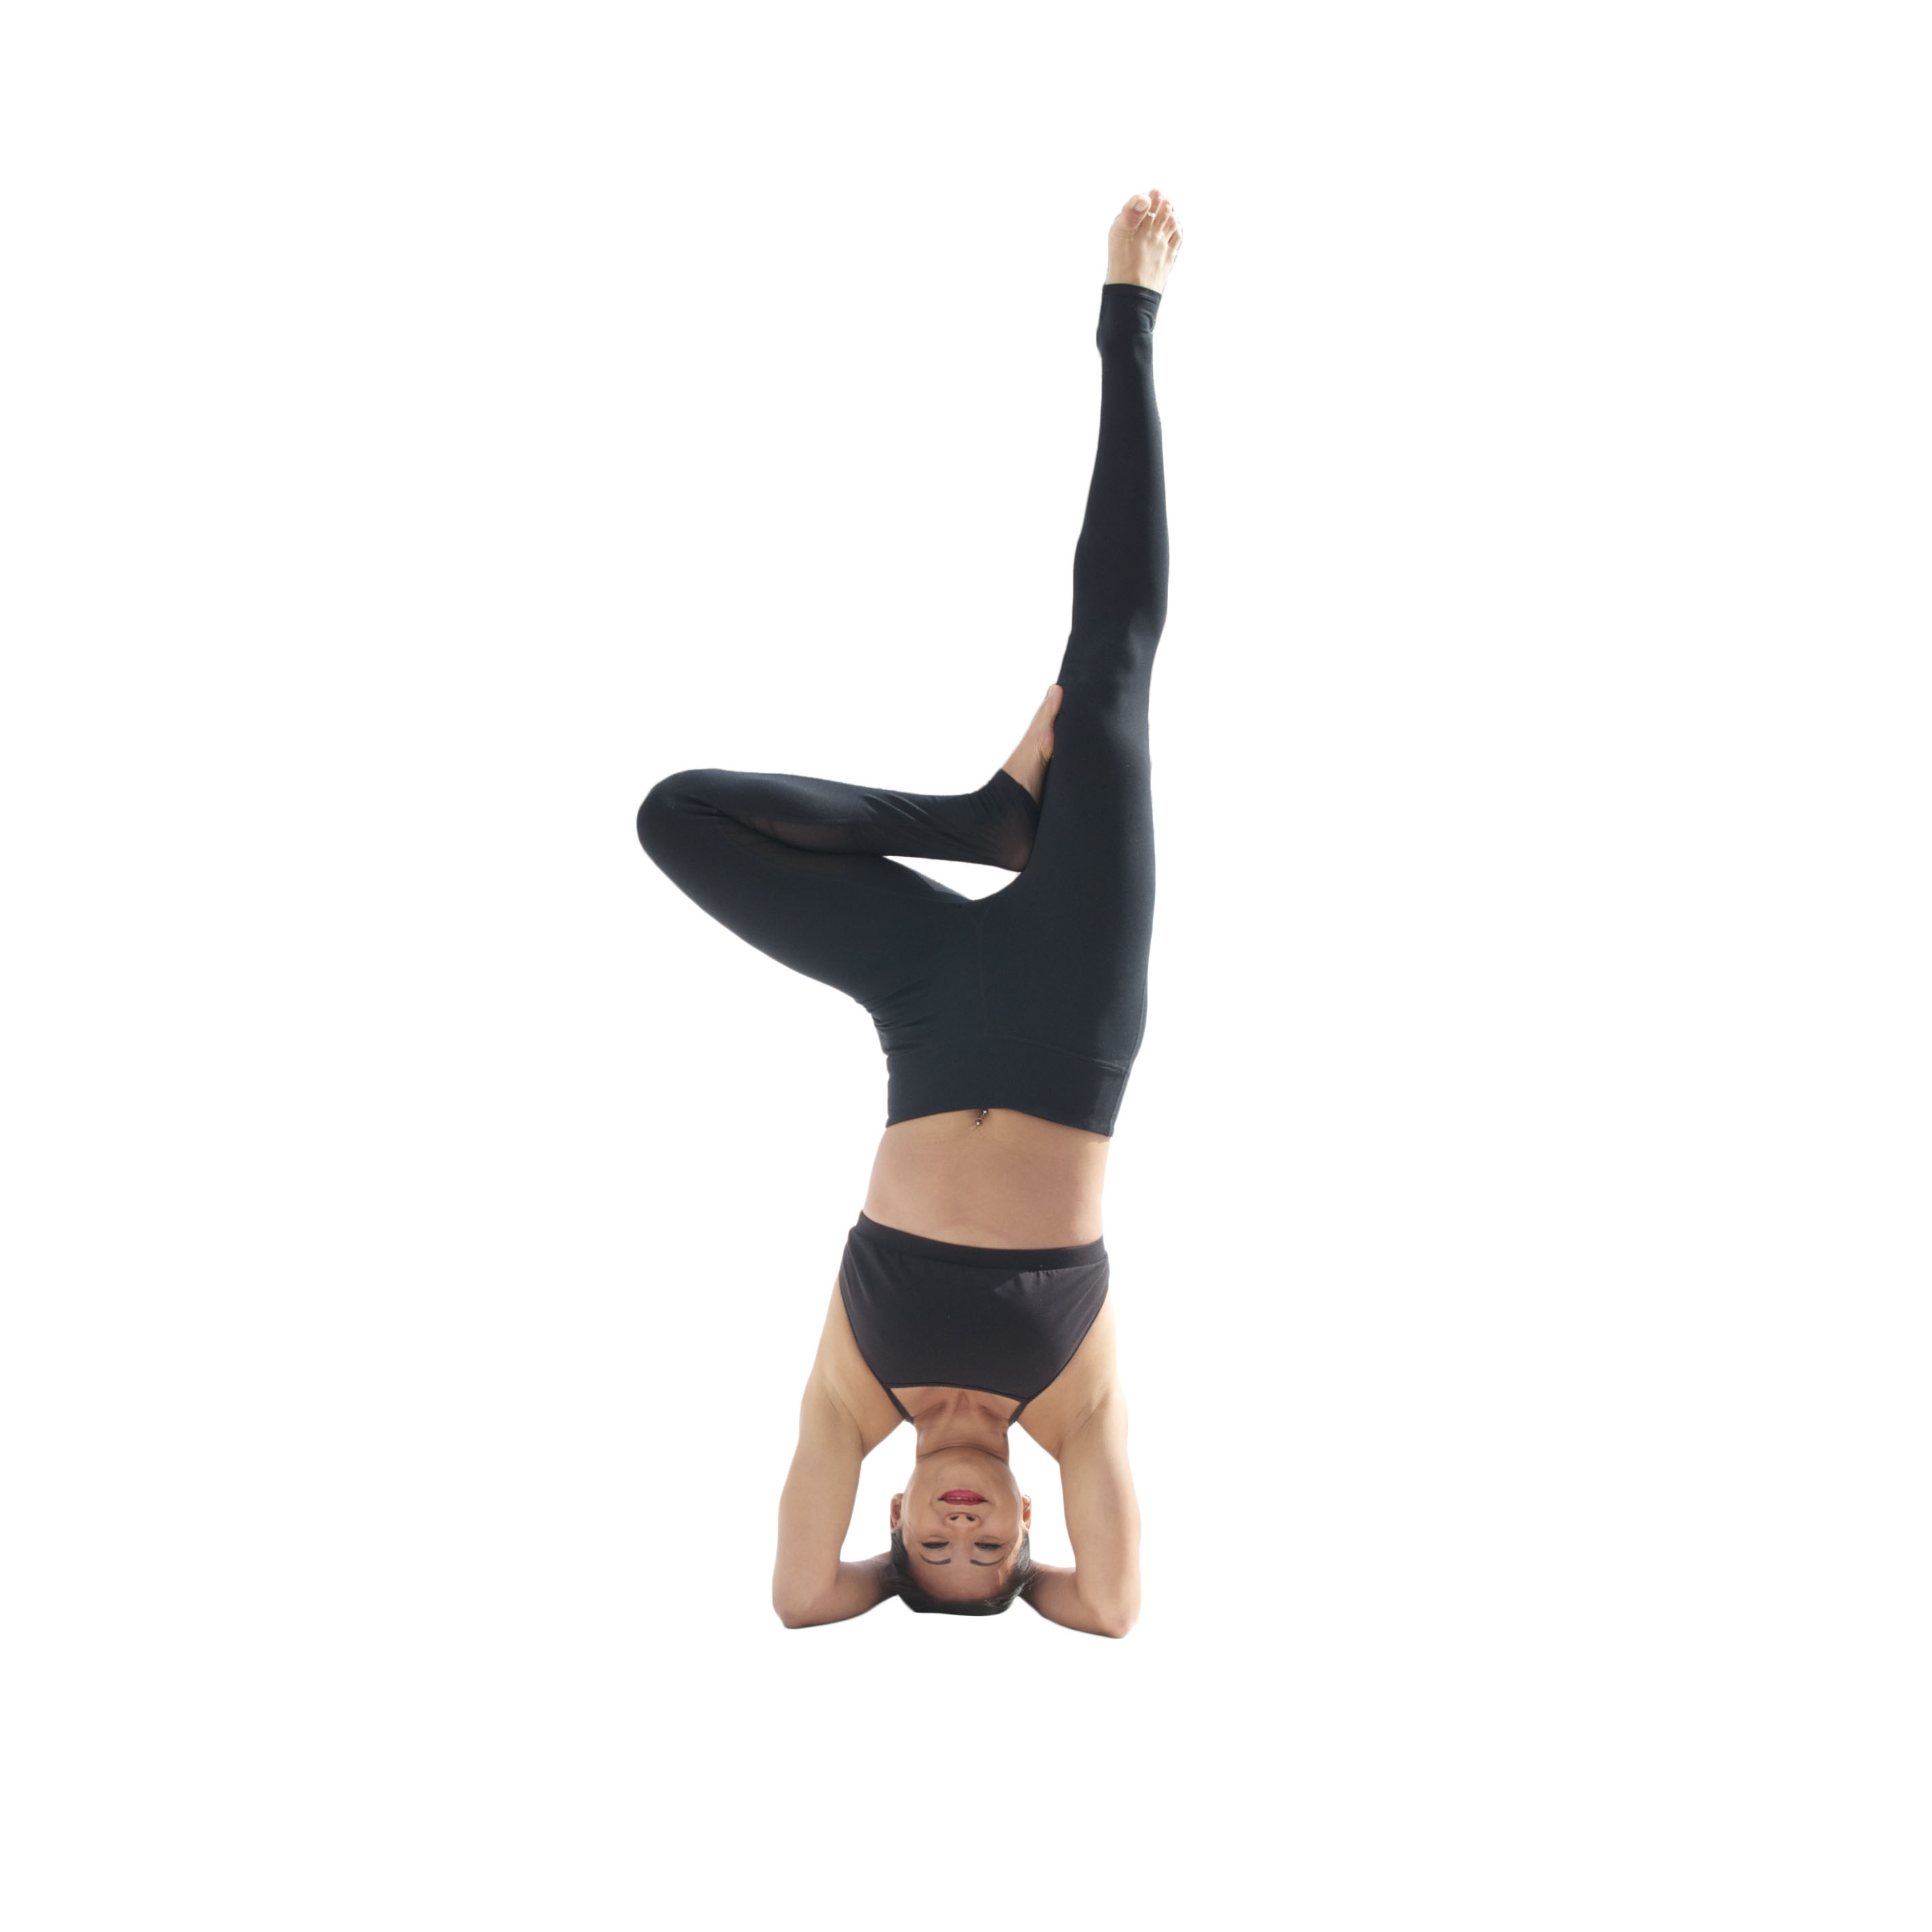
    It’s time for sun salutations! Maybe the first time through, I am moving gingerly and stretching my tight muscles, but by the time I’m on my second round of sun salutations, I’m building heat and moving at a reasonable clip. I’m no longer interested in slow instrumental music. I want music that reflects the increased pace of movement. The song that you play during this time doesn’t have to be your quickest tempo, but it should signify that you are no longer sitting on the floor breathing deeply and stretching. I’ve been listening to music by Enigma for 20 years, and I’ve found a number of their songs to be the perfect pace for this part of my practice.

    10:00 – 20:00 minutes
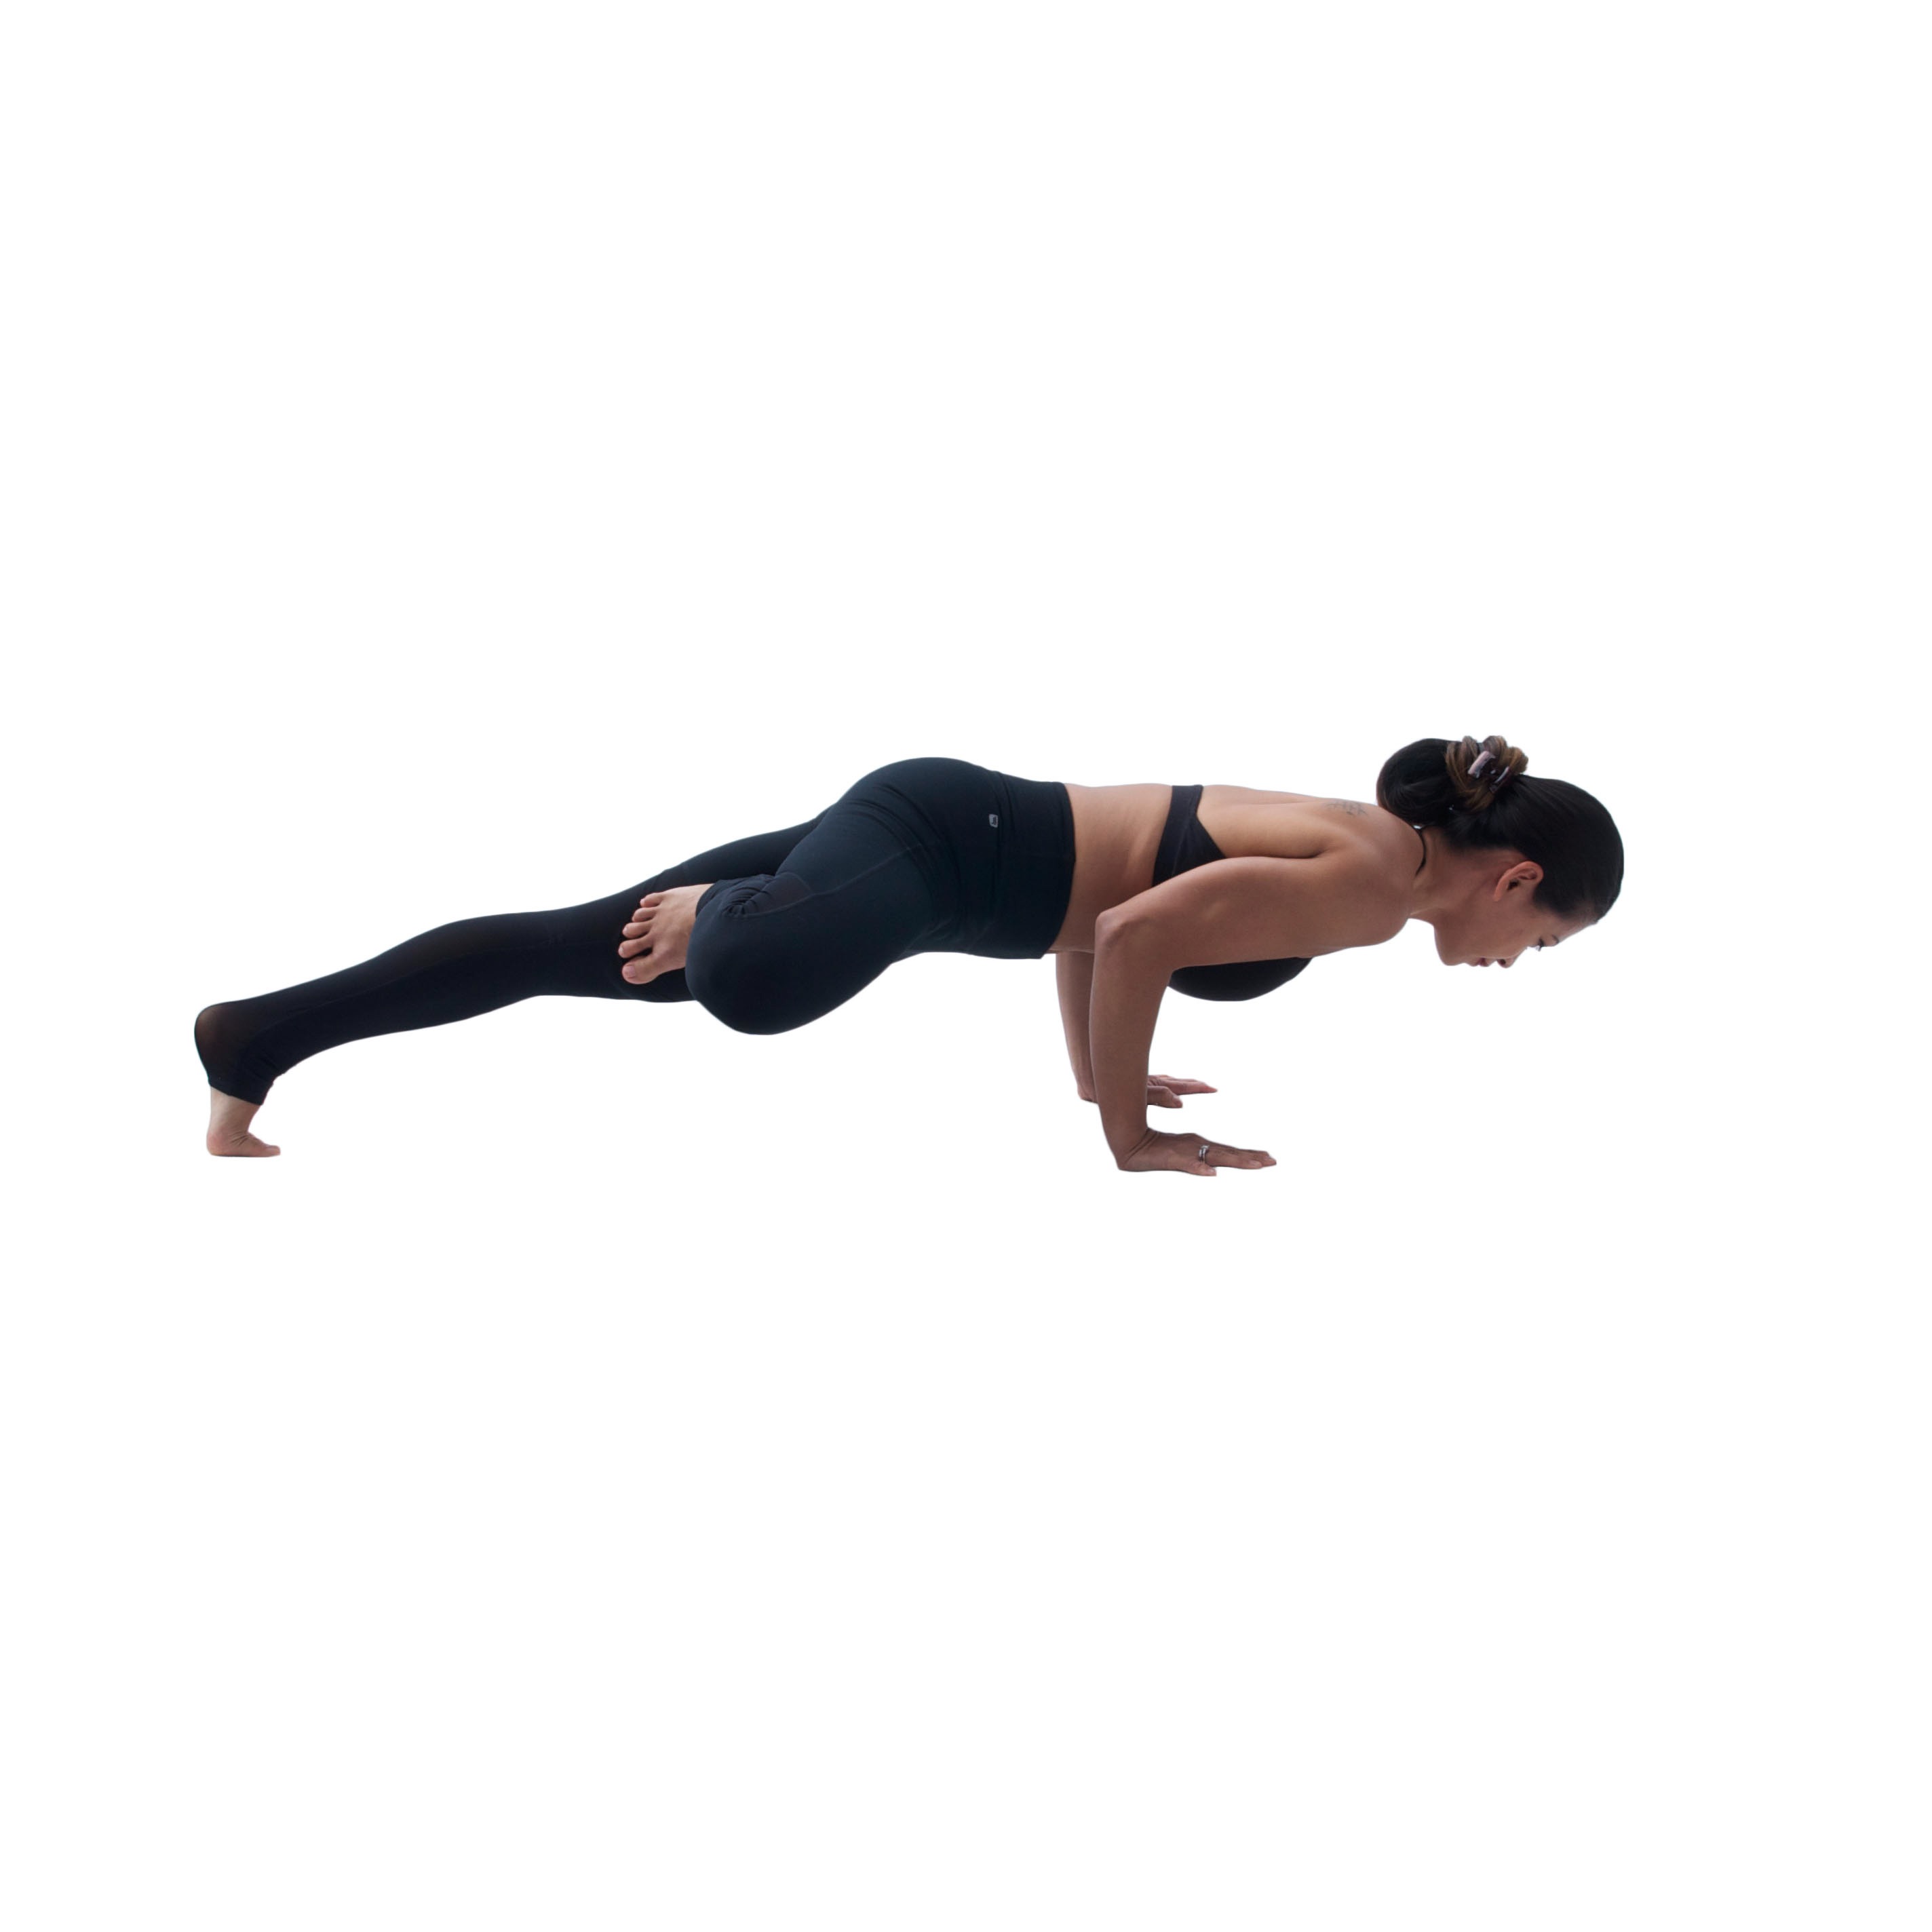
    This window of time is the peak of the wave. I’m flowing continuously, and my muscles are stretching and working hard. In my opinion, it is perfectly appropriate to insert your favorite hip hop or dance music right into this part of your practice. There is a time and a place for everything. Do I recommend club music for a restorative or yin practice? Of course not. But for a heart-pumping, energizing flow… sure. Feel free to insert any genre of music that makes your spirit soar and your body happy. She Knows (J.Cole) and the Finally Moving remix (Pretty Lights) are two suggestions for you from one of my own 30-minute playlists.

    20:00 – 30:00 minutes
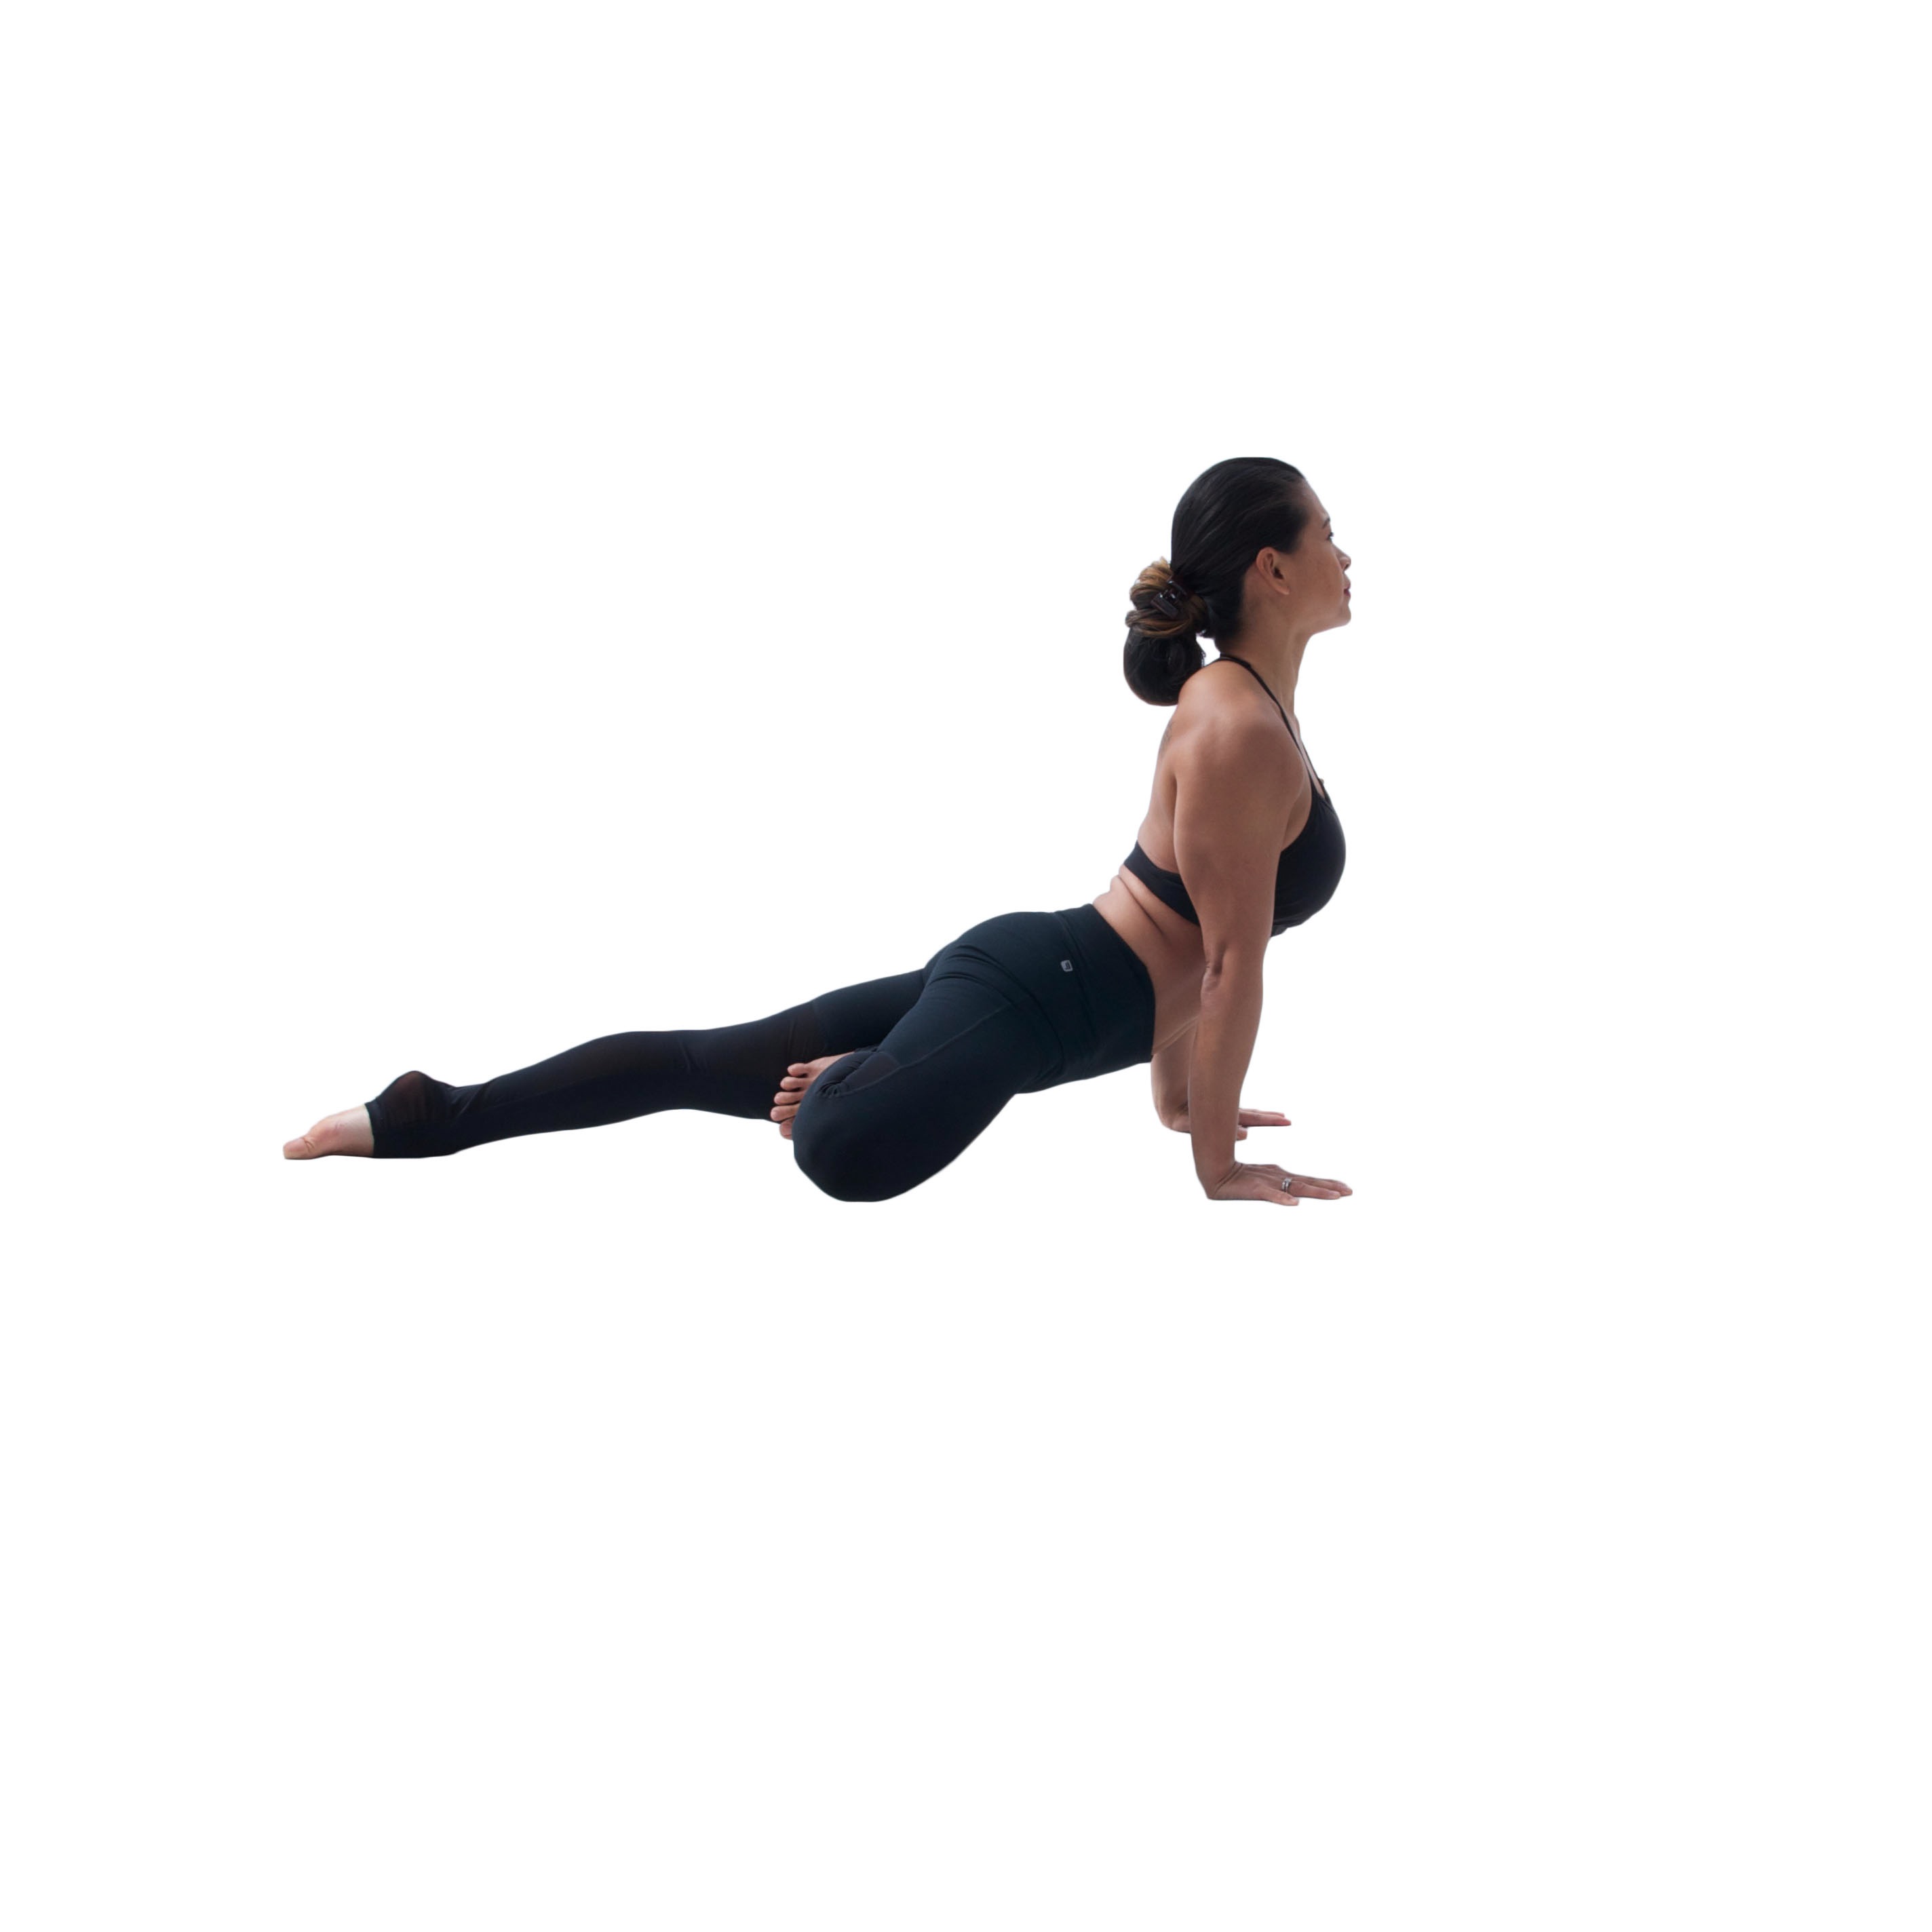
    During the final ten minutes of my practice, I like to sit on my mat and do a little floor work. Now that my muscles are warm, I can focus on a particular body part and hold each pose a bit longer. The pace is slower, even if the effort feels just as great.

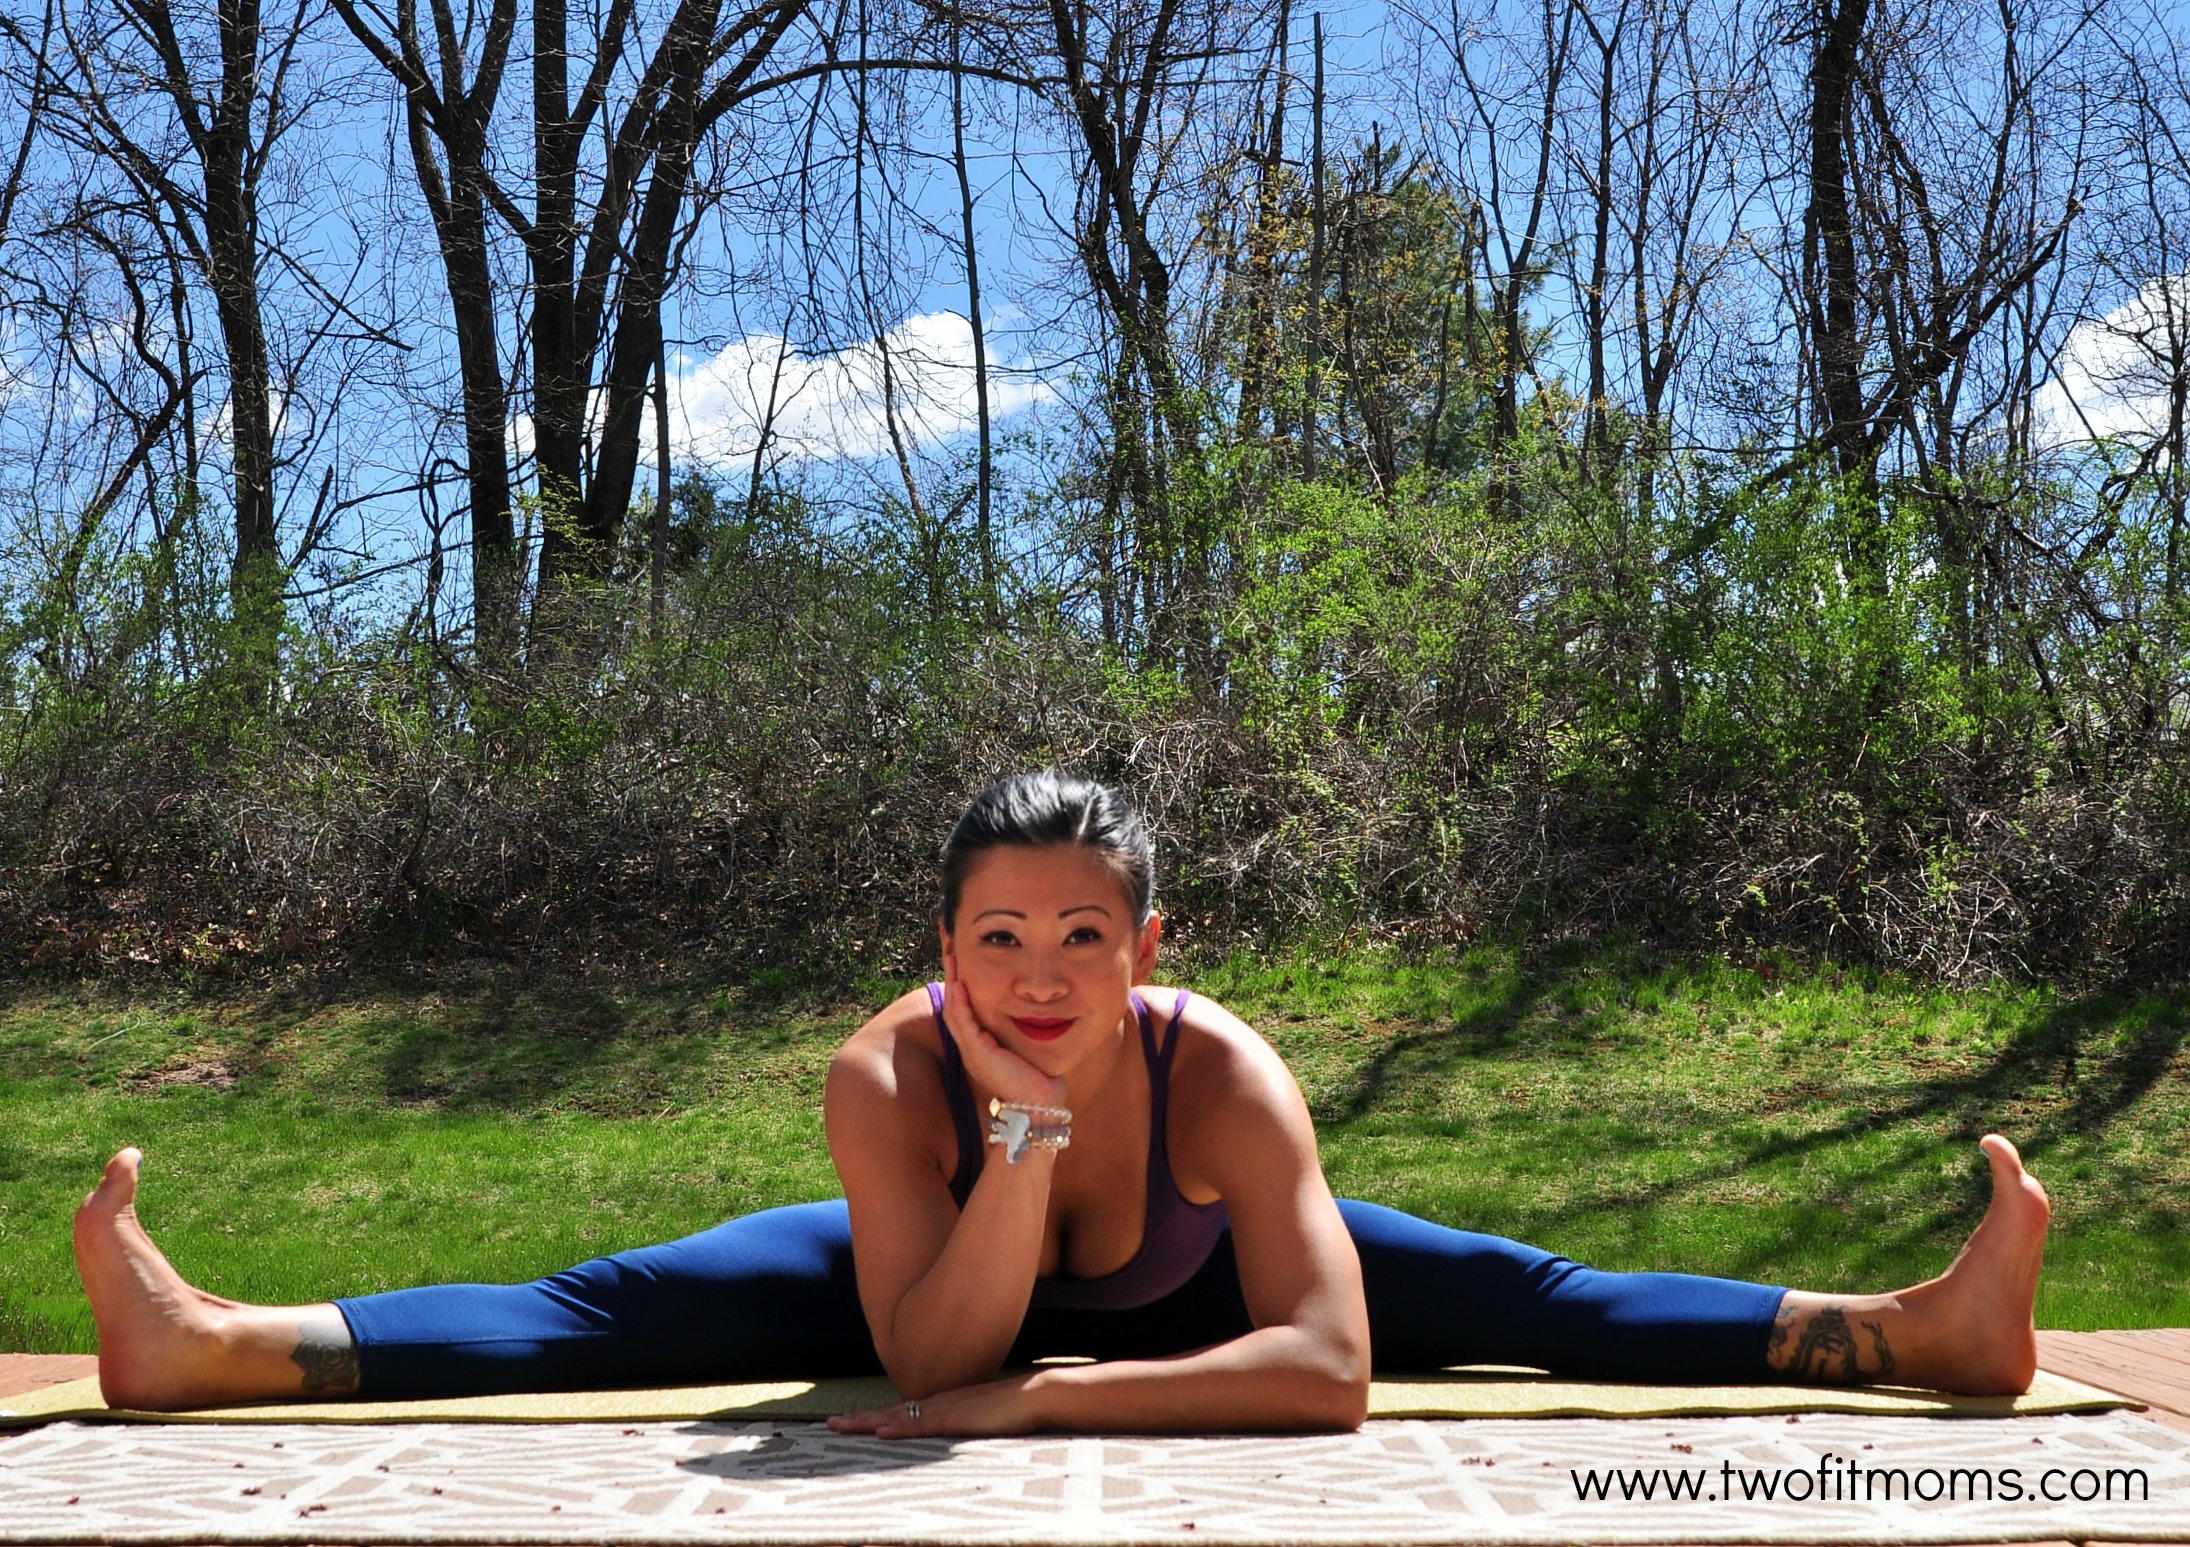
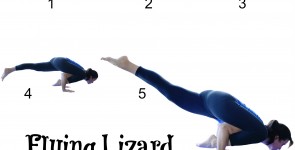
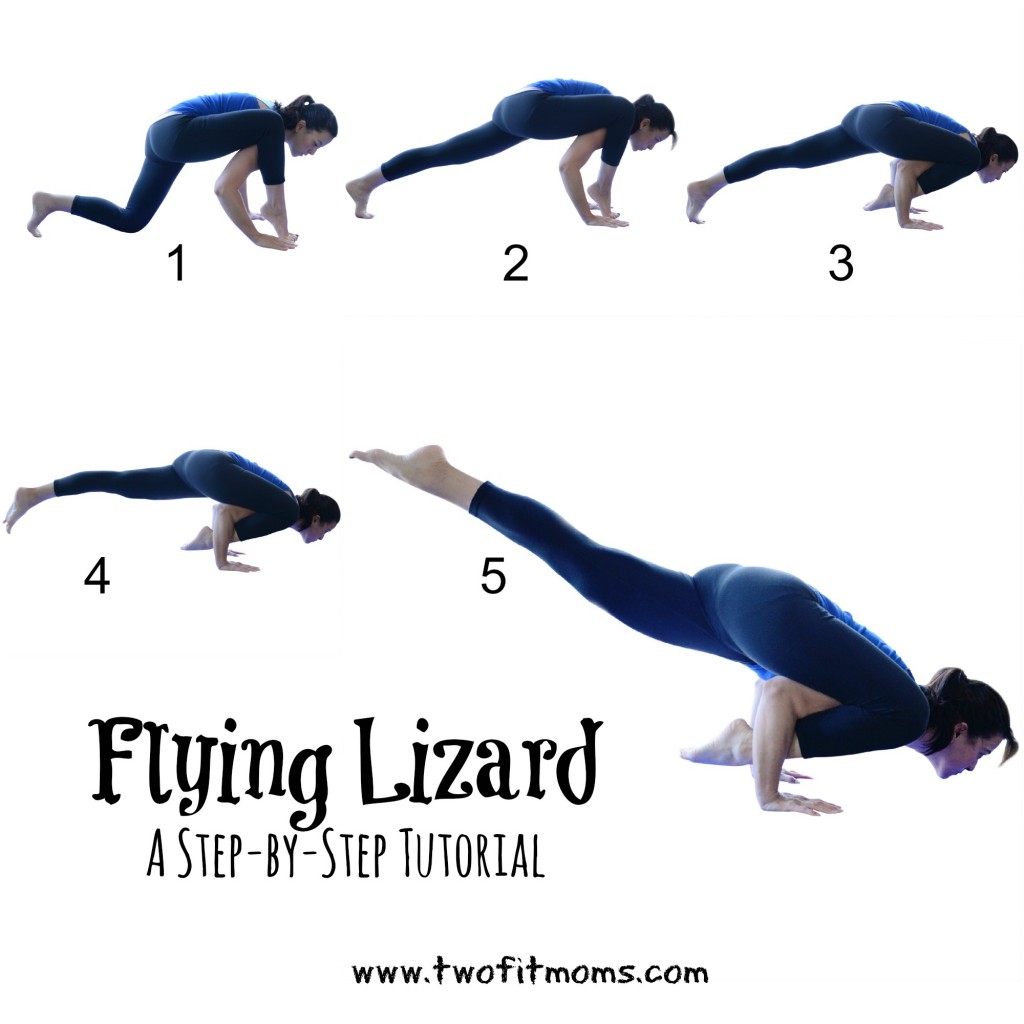
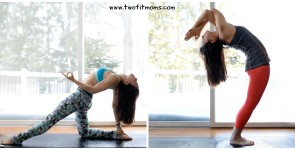
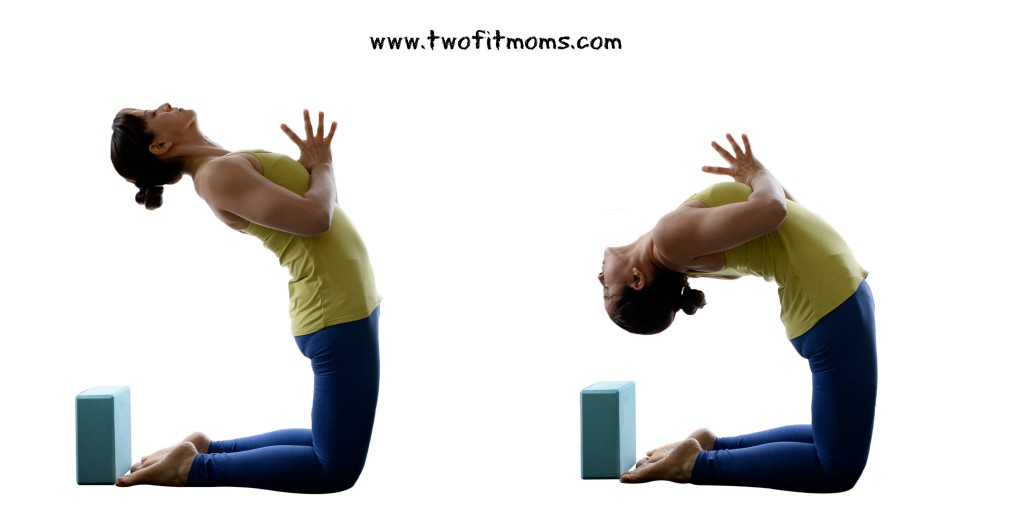
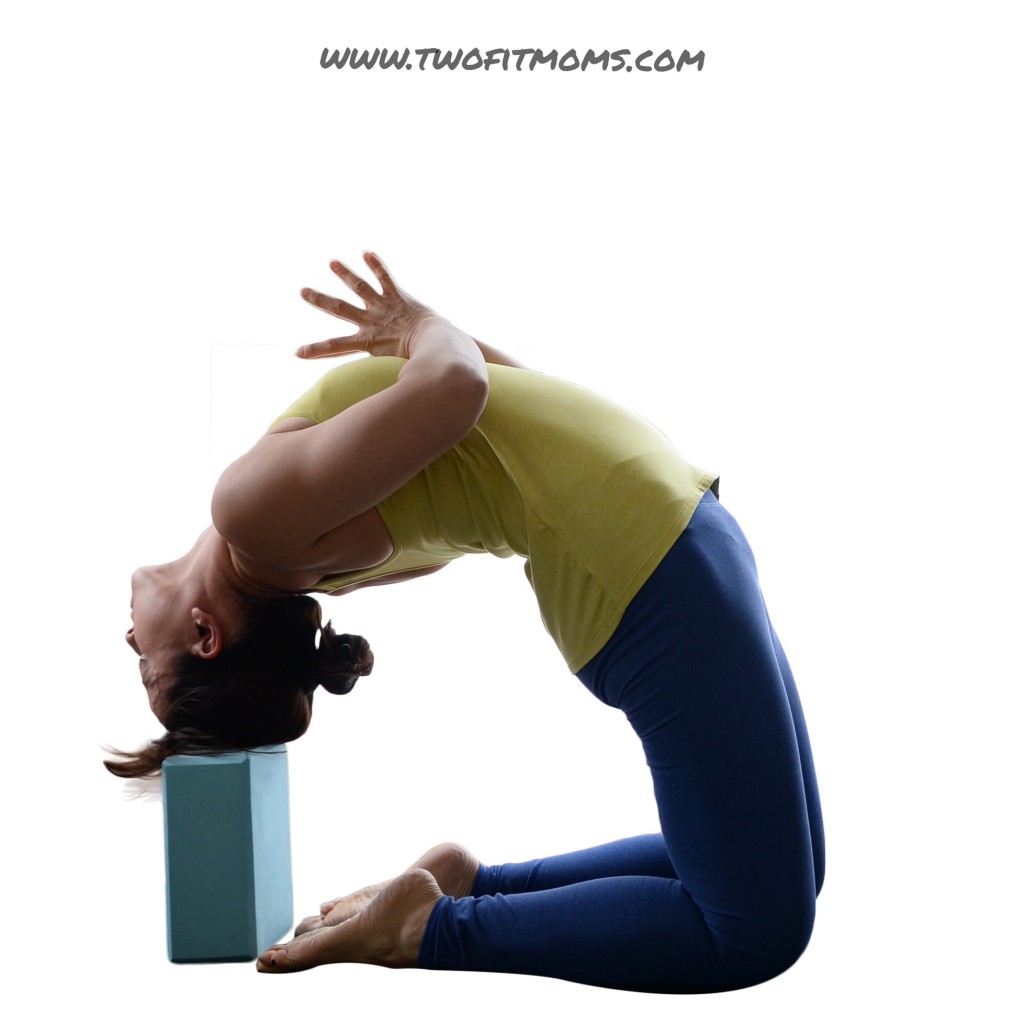
    During this time, if my hips feel particularly tight, maybe I will practice lizard pose for a minute with my back knee down on the mat. Once I feel a bit looser, I might lift the back knee and spend another minute or two in lizard, rolling onto the outer edge of my foot and then back down onto the sole of my foot. After that, maybe I’ll sit in pigeon pose for a minute or two and then take a deep squat (Malasana Pose) to stretch the groin muscles and hips even more.

    The main idea here is that you are down on your mat, holding poses. You are no longer flowing. It’s time to slow the tempo of your playlist. You’ll notice that my playlist includes Wicked Games by Parra for Cuva and Fade Into You by Mazzy Star.

    With a 30-minute practice, I rarely include a savasana, but when I do have the time to spare, I just put my playlist on repeat mode and use the first song on my playlist to serve as the soundtrack for my savasana. I don’t mind hearing the same song twice— it reminds me that I’ve come full circle in my practice, and there is beauty in that. Lie back and enjoy a few moments of peace if you can.

    My 30-Minute Playlist

    Playlist

  • Making Time for Yoga

    Making Time for Yoga

    Starting and committing to any exercise routine is tough.woman in a traditional yoga pose vector illustration  The same goes for your yoga practice.  Whether you are just starting your journey or you have been practicing for years, we all struggle with maintaining the momentum of the routine.  And, when you are a busy mother, finding time for yourself seems to be the biggest hurdle. We understand.

    Don’t despair.  It is possible to practice yoga, despite a hectic schedule.  It just takes some flexibility (not just physical – mental too!), and some ingenuity.

    So, here are a few things to consider as you assess how you will make time for yoga — how you will start your practice and how you will make it a daily habit.

    It’s literally a matter of determining when, where and how you can make your yoga practice work for you.

    1. When do you have time to practice? Can you practice before the kids wake up in the morning?  How about during your lunch break?  Or, maybe you are a night owl? Finding the right time of day is key. And, if there seems to be no right time — make one! I’m not a morning person.  In fact, I really despise getting up early, but I have no time otherwise, so an early morning routine, while painful at first, is ideal for my lifestyle. What works for yours?

    2. How long do you have?  Perhaps you only have 30 minutes to spare.  Or, maybe you have two hours?  The amount of time you can make for yoga will dictate how you practice.  And, how you practice is totally up to you! You may only have time or the inclination to do 10-15 minutes of sun salutations.  This still counts as practicing.  There are no rules about how long you need to be on the mat.

    3. How often? Can you commit to practicing once a week? Once a month? Do you have the luxury of practicing every day?

    4. Where will you practice? Thankfully, going to a yoga class at a gym or studio is not the only way to practice yoga.  You can download a practice online or design your own flow and playlist.  I bet you have DVDs collecting dust on a shelf somewhere.  Once you figure out when and how long you can practice, the actual practice will fall right into place!

    5. How will you stay motivated? Perhaps it’s a yoga companion? Or a yoga community? Whether you have a friend to practice with or a community to share your experience with (e.g., Instagram), both will make the journey so much more fun! Even if you are not in the same room, sharing your experience and progress photos will inspire.

    You may realize, after walking through this exercise, that finding time really has more to do with finding someone to watch your kids.  Even if you plan to practice from home, exercising in the presence of small children is nearly impossible.  (Believe me, I’ve tried.  I vividly remember trying to follow a fitness DVD as my two toddlers joined me on my mat, mimicking my every move and talking to me throughout the routine as I was sweating profusely unable to catch my breath. In hindsight, it was funny, but at the time, I was annoyed that I couldn’t find a way to make it work!)

    If this is the case, you must enlist support. Ask a parent or spouse to watch the kids so that you can take a class.  If you have the means, hire a babysitter — a student even, to keep costs low.  Swap babysitting time with a friend.  You practice yoga one day, while she watches your kids.  You reciprocate.  It’s not impossible.  It just takes some creativity!

    Aside from getting into shape, feeling healthy and strong —  finding time for yoga — finding time for you — is so important for your mental well-being.  So, don’t be discouraged.  You can make it work.  And, if you are feeling stressed, just ask us.  We struggle to fit yoga into our lives, just like you!


  • How to Structure a 30-Minute Yoga Practice

    How to Structure a 30-Minute Yoga Practice

    I have a confession to make…On most days, I don’t flow for more than 30 minutes on my mat. Yes, of course, there are those special days when I can practice for hours without interruption, but most of the time, life calls, and I have to be perfectly content with a half hour of yoga. Fortunately for me, thirty minutes happens to be the magic number. I can get through my flow without sweating like a beast, and I can continue on with my life without having to shower. (This is actually a big deal for busy moms that are constantly on the go and feel pressed to find any time to exercise at all. Having to shower can be a deal breaker.)30MinYoga

    If you are considering an at-home practice, start with thirty minutes! It’s a minimal commitment of time, and you will feel really good at the end of it all. Your muscles will be happy, your mind will be clear, and you will get a good deal of satisfaction from knowing that you did something good for yourself.

    If you need a little help getting started, here’s how I would recommend structuring your practice:

    0:00 – 5:00 minutes
    Close your eyes, shut out the world, and begin to focus on your breath. Set an intention for your practice. Your intention doesn’t have to be particularly profound, but you certainly can go ahead and think about your purpose in life or your purpose for getting on your mat. Instead of an intention, you can state a few positive affirmations to uplift your spirit— For example—I am strong; I am healthy; I am enough.

    When you are ready, slowly open your eyes and spend a few minutes doing some light stretching. I like to reach my arms overhead and stretch the sides of my body. I also do some gentle seated twists, a few cat-cows, maybe some wrist and shoulder stretches, and a nice long downward facing dog.

    5:00 – 10:00 minutes
    I always include a few rounds of sun salutations at the start of my practice. During this time, I warm up my body, and I also manage to completely clear my mind by focusing on each inhale and exhale that accompanies every pose. The best thing about sun salutations is that they are so engrained into my memory that I can simply move without thinking. I’m not worried about what comes next because my body just knows. If you are not yet at the point where sun salutations flow naturally without much thought, don’t worry. You will get there. If you include the same Sun Salutation A sequence at the beginning of every flow, you will learn it very quickly.

    10:00 minutes – 20:00 minutes
    If you are designing your own flow, you need to be aware of how much time each pose will take to complete. This is up to you, and you can move as quickly or as slowly as you like, but my preference is to hold poses for about 30 seconds, or 5 full breaths. I am assuming that each full breath is about 6 seconds long (i.e., 3 seconds for your inhale; 3 seconds for your exhale). Following this simple math, a sequence that includes 10 poses will take you about 5 minutes to complete. And of course, if you are practicing the right and left sides of your body, your 5-minute sequence will actually be a 10-minute practice. For a quick 10-minute flow, check out our Yoga for Busy Moms sequence.

    20:00 minutes – 30:00 minutes
    At this point, assess how you feel. Some days, you might feel very energized and want to stay on your feet. If that’s the case, go ahead and repeat your 10-minute flow. Other days, you might want to do some floor work and stretch a specific body part. Go ahead and take a seat. Work on whatever body part is calling for attention. When your hips feel tight, sit for a few minutes in various pigeon pose variations. When your shoulders and chest feel tight, lie down across a block or practice other heart openers. Or maybe you choose to do 5 minutes of seated stretches and 5 minutes of inversions. The beauty of your at-home practice is that you can do whatever you want! Experiment, play, and enjoy yourself.

    Please feel free to tell us about your own home practice in the comments section!


  • Introduction to Dropbacks

    Introduction to Dropbacks

    I originally created this four-step photo tutorial for my Instagram account, but I decided today that it was worthwhile to also post it to the website. I am always looking for new and creative ways to use my yoga blocks. Here is an unconventional, but very useful way to deepen your practice with a bit of help from a block.IntrotoDropbacks

    Dropping back into any kind of backbend can be terrifying the first time. Trust me, I get it. I’ve had visions of splitting my head open, and of course, breaking my neck. Hopefully, this post will alleviate some of your fears. Rather than starting with a traditional yoga dropback, which begins in a standing position and ends in wheel pose, I recommend starting a bit closer to the ground with a camel dropback.

    If you freak out half way through the tutorial, you can simply reach your hands to the mat on either side of you. Not a big deal. This tutorial will help you build confidence at YOUR pace.

    In my own experience, I’ve found it to be much more of an accessible feat to drop back if the process is broken down into baby steps. Rather than starting with the goal of dropping your head onto the mat, let’s work with a block and drop back onto that.

    Step 1
    Flip a block to its tallest orientation, and place it against your toes as you kneel on your mat. Bring your palms together in front of your heart.Step1wm

    Steps 2 and 3
    Slowly begin to push your hips forward, and find strength in your legs, as you lift your chest toward the sky and bend back. Be mindful of your breath—it’s so easy to forget to breathe while backbending. Inhale and exhale deeply through your nose.
    Steps2and3

    Step 4
    Gently place the top of your head onto your block. If the block is currently beyond your reach, start with a higher surface—maybe a stool with a cushion. See if you can hold this position for a few deep breaths. To exit the pose, engage the core, engage the thighs, and slowly rise back to a kneeling position.Step4wm

    You CAN overcome your fear of dropbacks, one step at a time. Once you become comfortable with the block at its highest orientation, go ahead and flip the block onto one of its other edges to practice a deeper dropback. Let us know how you do.