Category: Nutrition

  • Harvest Salad with Arugula, Roasted Butternut Squash and Quinoa

    Harvest Salad with Arugula, Roasted Butternut Squash and Quinoa

    I like to mix grains and seeds into my salads. They offer an interesting texture and help fill me up. In fact, recently I attended an event where they featured a green salad and a quinoa salad, and I wondered why they didn’t just combine the two. harvest salad square So, I decided to make one beautiful salad with greens and quinoa — along with the addition of some nice seasonal ingredients.

    This salad includes a blend of peppery arugula juxtaposed by sweet roasted butternut squash. I added cooked red quinoa, roasted pumpkin seeds for crunch and pomegranate seeds for some added texture and color! I also topped mine with some nutty shaved parmigiano-reggiano cheese, but that’s completely optional.

    It’s a beautiful salad — perfect for the fall — and, I think, perfect for a holiday table.

    Harvest Salad with Arugula, Roasted Butternut Squash and Quinoa
    Serves 4

    5 ounces of arugula greens (I used half of a bag of pre-washed arugula)
    1 cup of cooked red quinoa
    2 cups of roasted butternut squash (which was salted, peppered and olive oiled)
    1/3 cup of pomegranate seeds
    1/3 cup of roasted pumpkin seeds (mine were salted)
    1/4 cup of balsamic vinaigrette
    1/4 cup of shaved parmigiano-reggiano cheese

    In a large bowl, add the arugula greens, quinoa, butternut squash, pomegranate seeds, pumpkin seeds, balsamic vinaigrette (recipe follows) and toss to combine. Top with shaved parmigiano-reggiano cheese.

    Simple Balsamic Vinaigrette
    Yields 1 cup

    3/4 cup of olive oil
    1/4 cup of balsamic vinegar
    2 teaspoons of brown sugar
    1 clove of garlic, crushed
    salt and pepper to taste

    Add, to a mason jar or lidded container, olive oil, balsamic vinegar, brown sugar, crushed garlic, salt and pepper to taste — shake until combined.  Vinaigrette will keep in the refrigerator for at least one week.

  • 7 Tips for Eating Well…On the Road

    7 Tips for Eating Well…On the Road

    Although it may seem like a daunting task to choose healthy meals while traveling, eating well on the road isn’t impossible.  If you are away from the comforts of home, don’t throw in the towel.  With a little bit of planning, you can hold it together and find healthy solutions.  For the past month, I have been away from home, tending to my daughter and husband in the hospital.  My meals have been limited to the cafeteria and nearby restaurants and delis.  I know I haven’t been eating nearly as well as I do at home, but it hasn’t been a complete disaster.  Here are some suggestions for you, based on my experience over the course of this past month. Take a look at these tips before you travel, and have a game plan so you can continue to eat well wherever you are!On the road somewhere in Utah with dull weather, USA

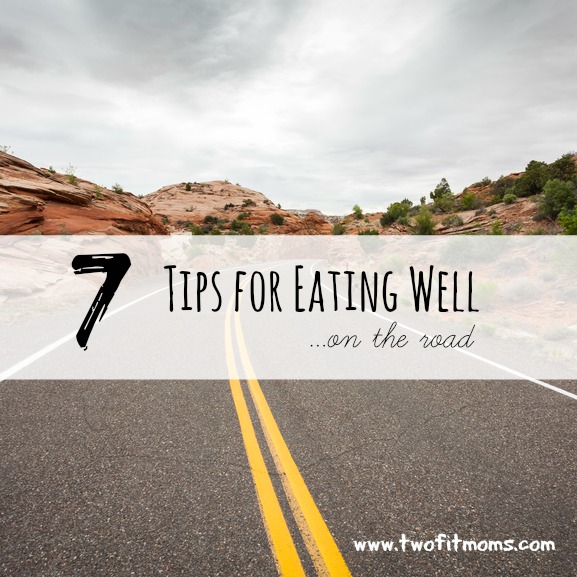
    Download the free AroundMe app.   As soon as you arrive at your destination, check this app to see all of the establishments in your surrounding area.  In addition to listing all of the nearby banks, gas stations and parking garages, the app lists all of the local restaurants, supermarkets and coffee shops.  I think it’s very important to know what resources are available before you are ravenous.

    Don’t Limit Your Search!  Meals and snacks aren’t only sold at restaurants.  Keep your eyes open to different possibilities.  I stopped into a bookstore to buy a notebook, and I was shocked to find a vast assortment of healthy snacks at the café counter—hummus, fresh fruit, nuts, sunflower butter, unsweetened iced tea and all sorts of other options that I was not expecting to find in a book store.  Not only did I buy the notebook, but I also stocked up on healthy snacks for the coming days.

    Always buy unsweetened drinks.  In the hospital cafeteria, the walls are lined with refrigerated cases filled with bottled beverages.  Most of these drinks, unfortunately, are full of sugar.  My advice to you is to skip the juice, soda and lemonade altogether.  Find an option without sugar.  I happen to love unsweetened iced tea.  If you cannot find unsweetened iced tea, go ahead and brew a cup of hot tea.  Any place that sells coffee will also have tea.  If it’s an option, feel free to grab a cup of ice from the soda fountain and make your own iced tea by pouring your hot tea into the cup.  Because I expected to be away from home for an extended period of time, I actually carried my own tea bags (and cold brew tea bags) in my backpack.  Every day, I just needed to buy a few bottles of water for my tea bags.

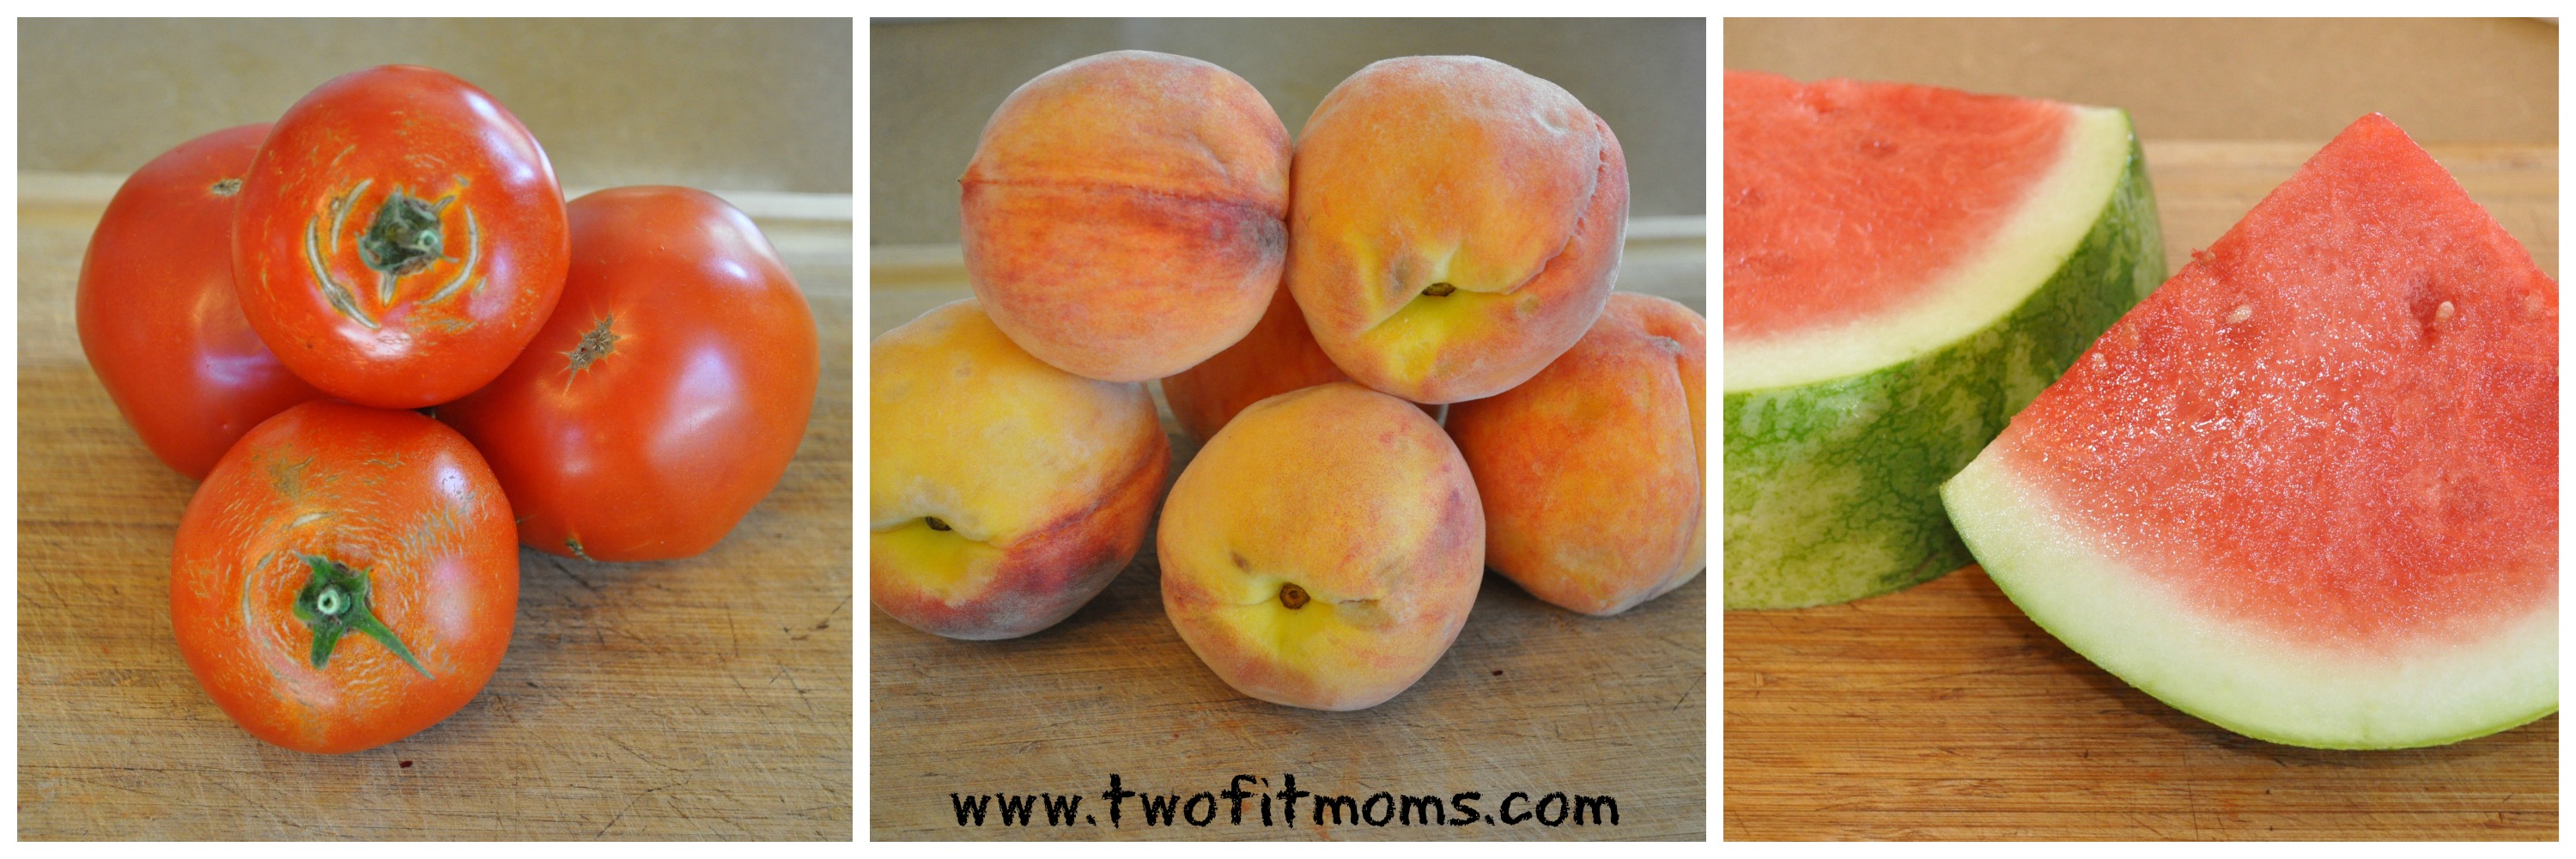
    Look for Unprocessed Foods.  The guidelines for healthy eating don’t change because you are away from home.  When you are shopping for your groceries in the supermarket, you may already be in the healthy habit of buying foods in their most natural form.  The same rules apply when you are away from home.  Don’t look for veggie chips.  Look for veggies.  Don’t look for fruit juice — look for fruit.

    In the hospital cafeteria, there was always a roasted vegetable of the day.  Even in airport convenience stores, you can usually find whole fruits, pre-packaged hummus (which is actually quite natural for a packaged product), nuts, and even vegetable crudité.

    Try to create a well-balanced meal.  Set yourself up for some sort of success.  Don’t go to the deli counter every day if you are inclined to get a ham sandwich on white bread with a bag of cheese curls.  You can do better!  Trust me, I know what it feels like to be away from home and under tremendous stress with very little time for meals.  You can still do pretty well if you stop for a minute and think before buying.  Try to create your own balanced meal by piecing together a variety of food groups.  Will it be perfect?  Probably not.  That’s not the goal.  The goal is just to do our best while we are away from home.  Start out by looking for some vegetables.  Pick up a piece of fruit for later.  Include some protein and fat so you don’t get hungry—this can be in the form of nut butter or lean meat.  If you have the option between white rice and brown rice, always choose the brown.  If you have the choice between grilled chicken and fried chicken, go with the grilled.  If you are lucky enough to find a make-your-own salad counter, ask for your dressing on the side.  Add some beans, chicken or nuts to the top of your salad to make it a heartier meal.  You can do this!

    Avoid the Kids’ Menu.  If you are traveling with your children, avoid the kids’ menus at chain restaurants.  Most of the items on these menus are devoid of nutrition (pancakes with fake syrup, macaroni and cheese, grilled cheese on white bread, etc.)  Instead of ordering from the kids’ menu, try the regular adult menu.  Ask for lunch-sized portions or look at appetizers that may have vegetables. Your kids will surprise you if you give them the chance.

    Look for Chinese Restaurants.  This is such a great tip, and I have been using it since I moved out of my parents’ house to go to college.  I still remember heading to the mall food court to find a Chinese food counter because I knew I would be able to find vegetables.  If you are craving vegetables, and all you can find in the nearby stores are sandwiches and burgers, pick up the phone and order Chinese food.  It’s the one kind of take-out restaurant where you can be sure to find assorted steamed vegetables.  Most places prepare your food to order, so make sure to ask for simply prepared foods with sauce on the side.

    This is by no means an exhaustive list of the efforts you can take to stay healthy while traveling.  It’s just a place to start! With your own ideas and routines, I am sure you will be well on your way to eating well-balanced meals, whether you are away from home for a day or a month.  Good luck, and please feel free to share some of your own tips in the comments section below.
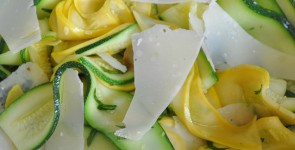
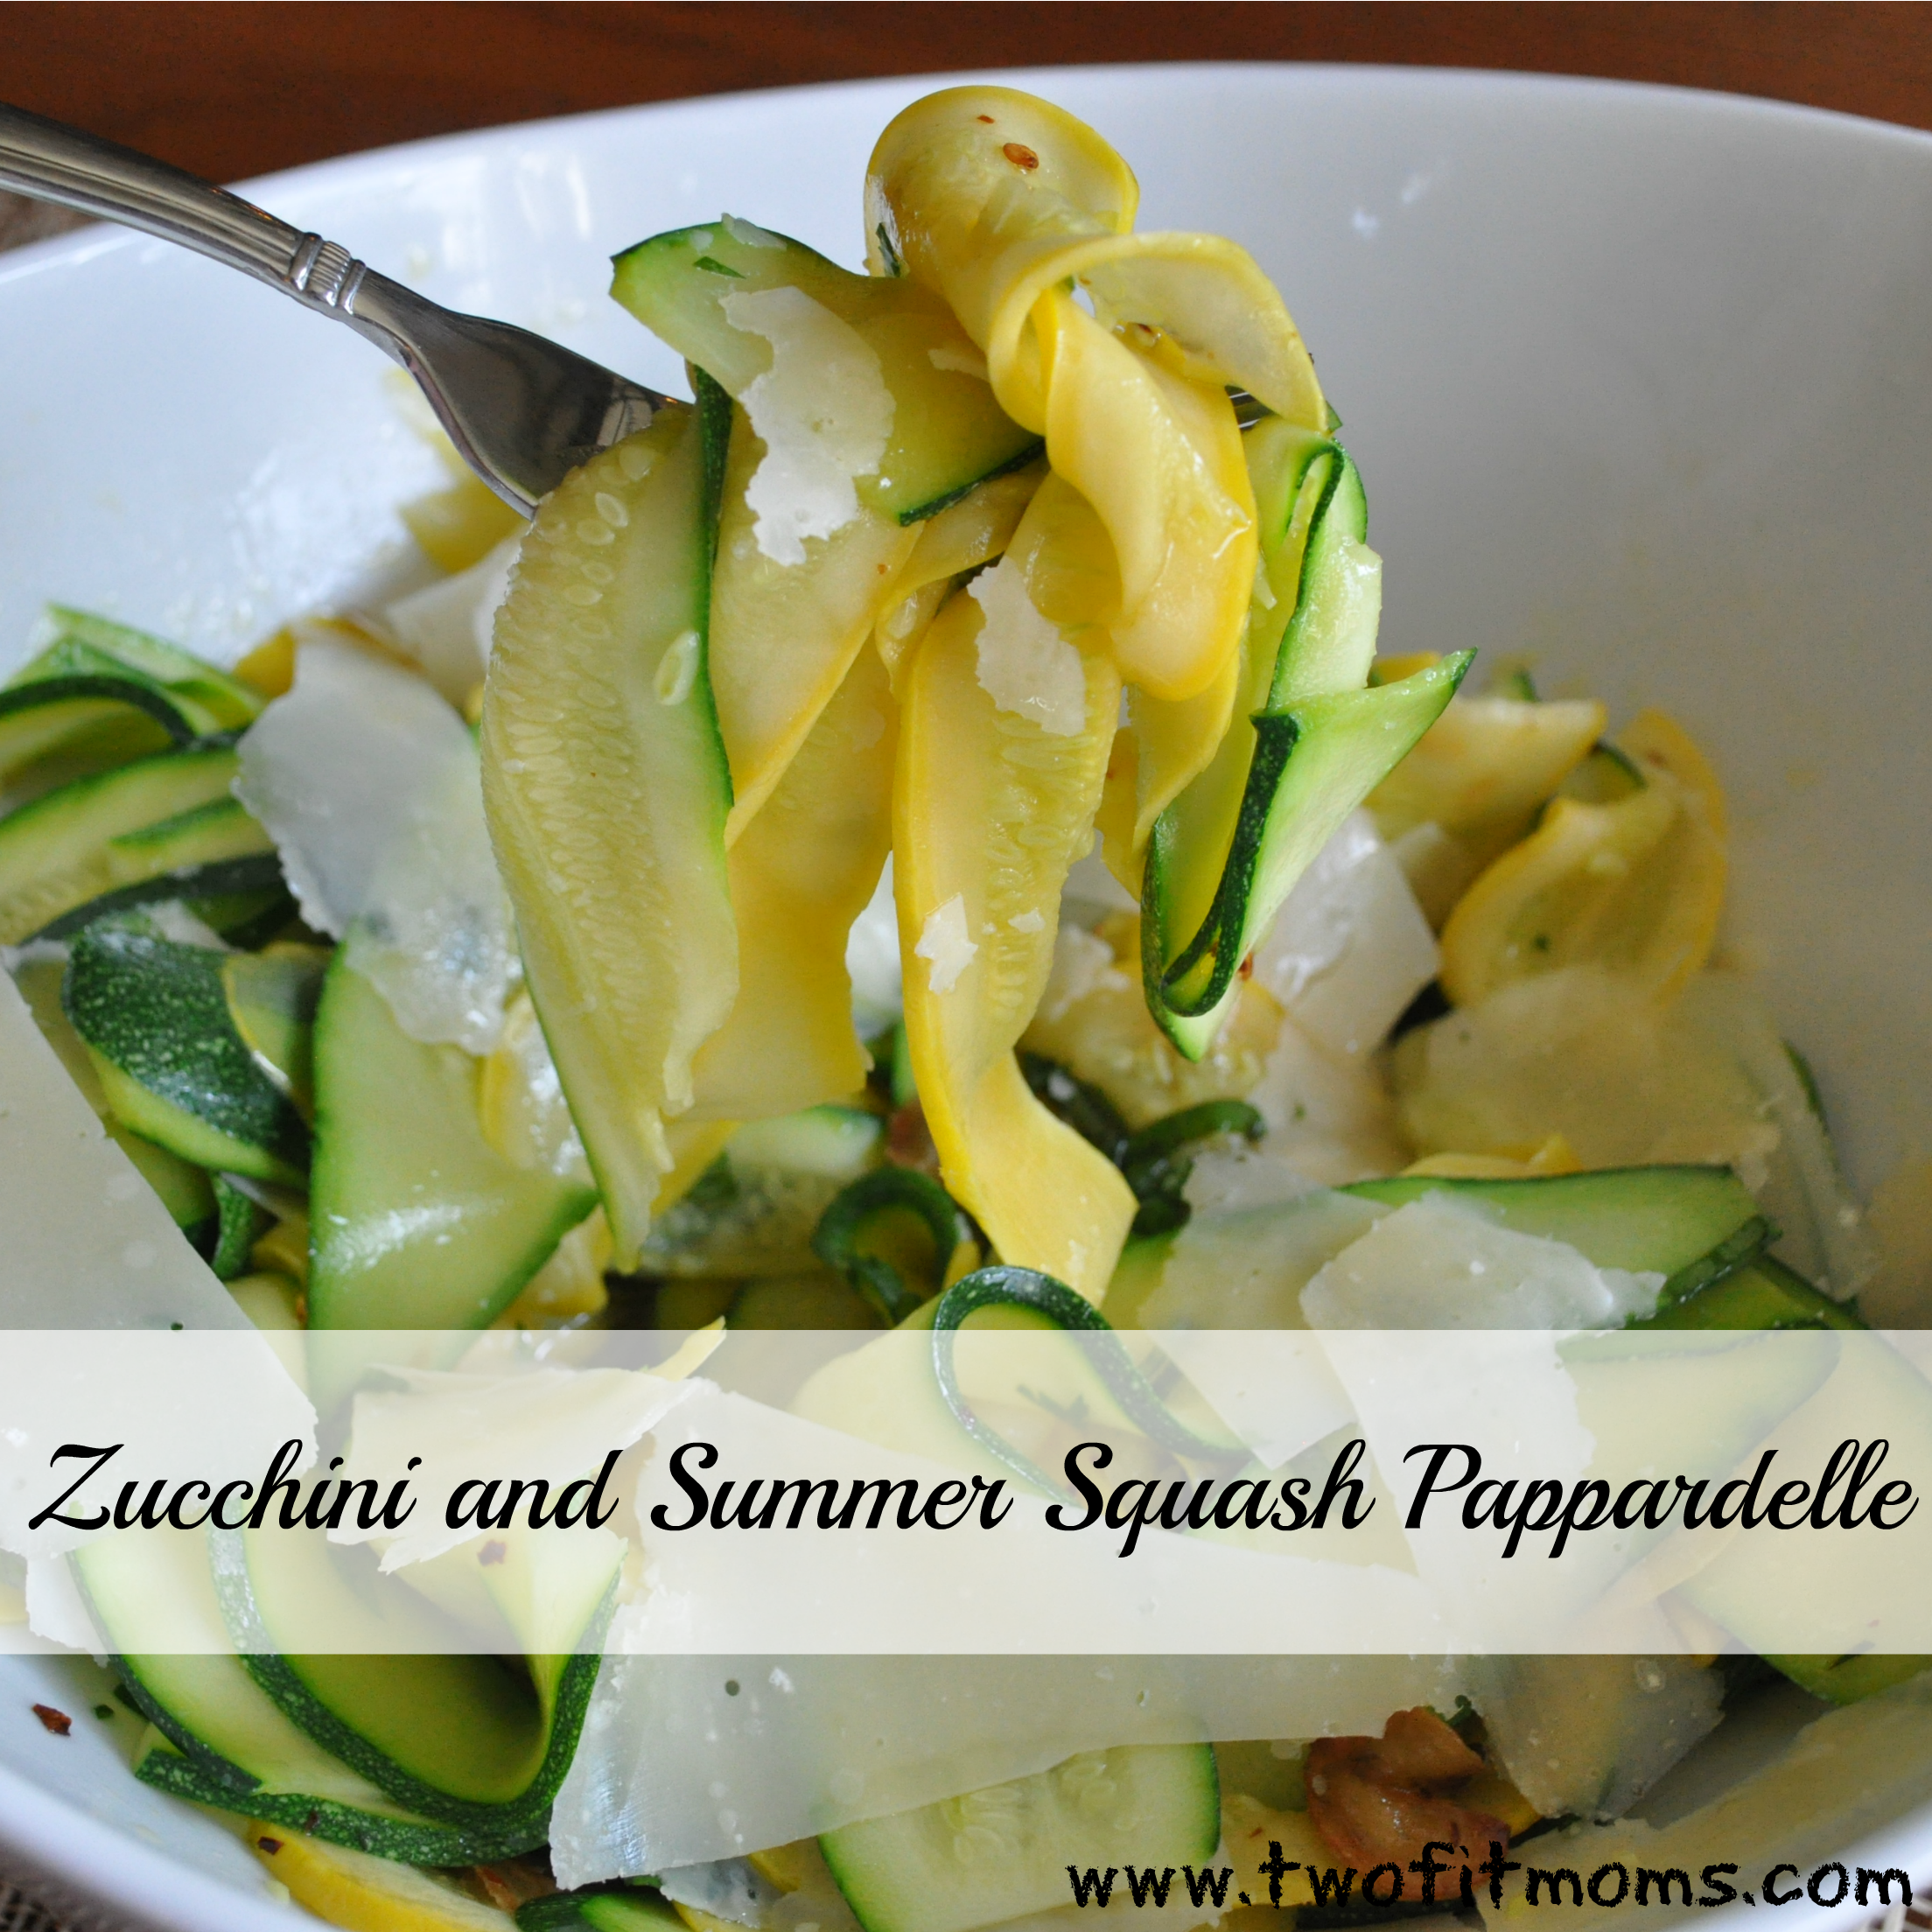
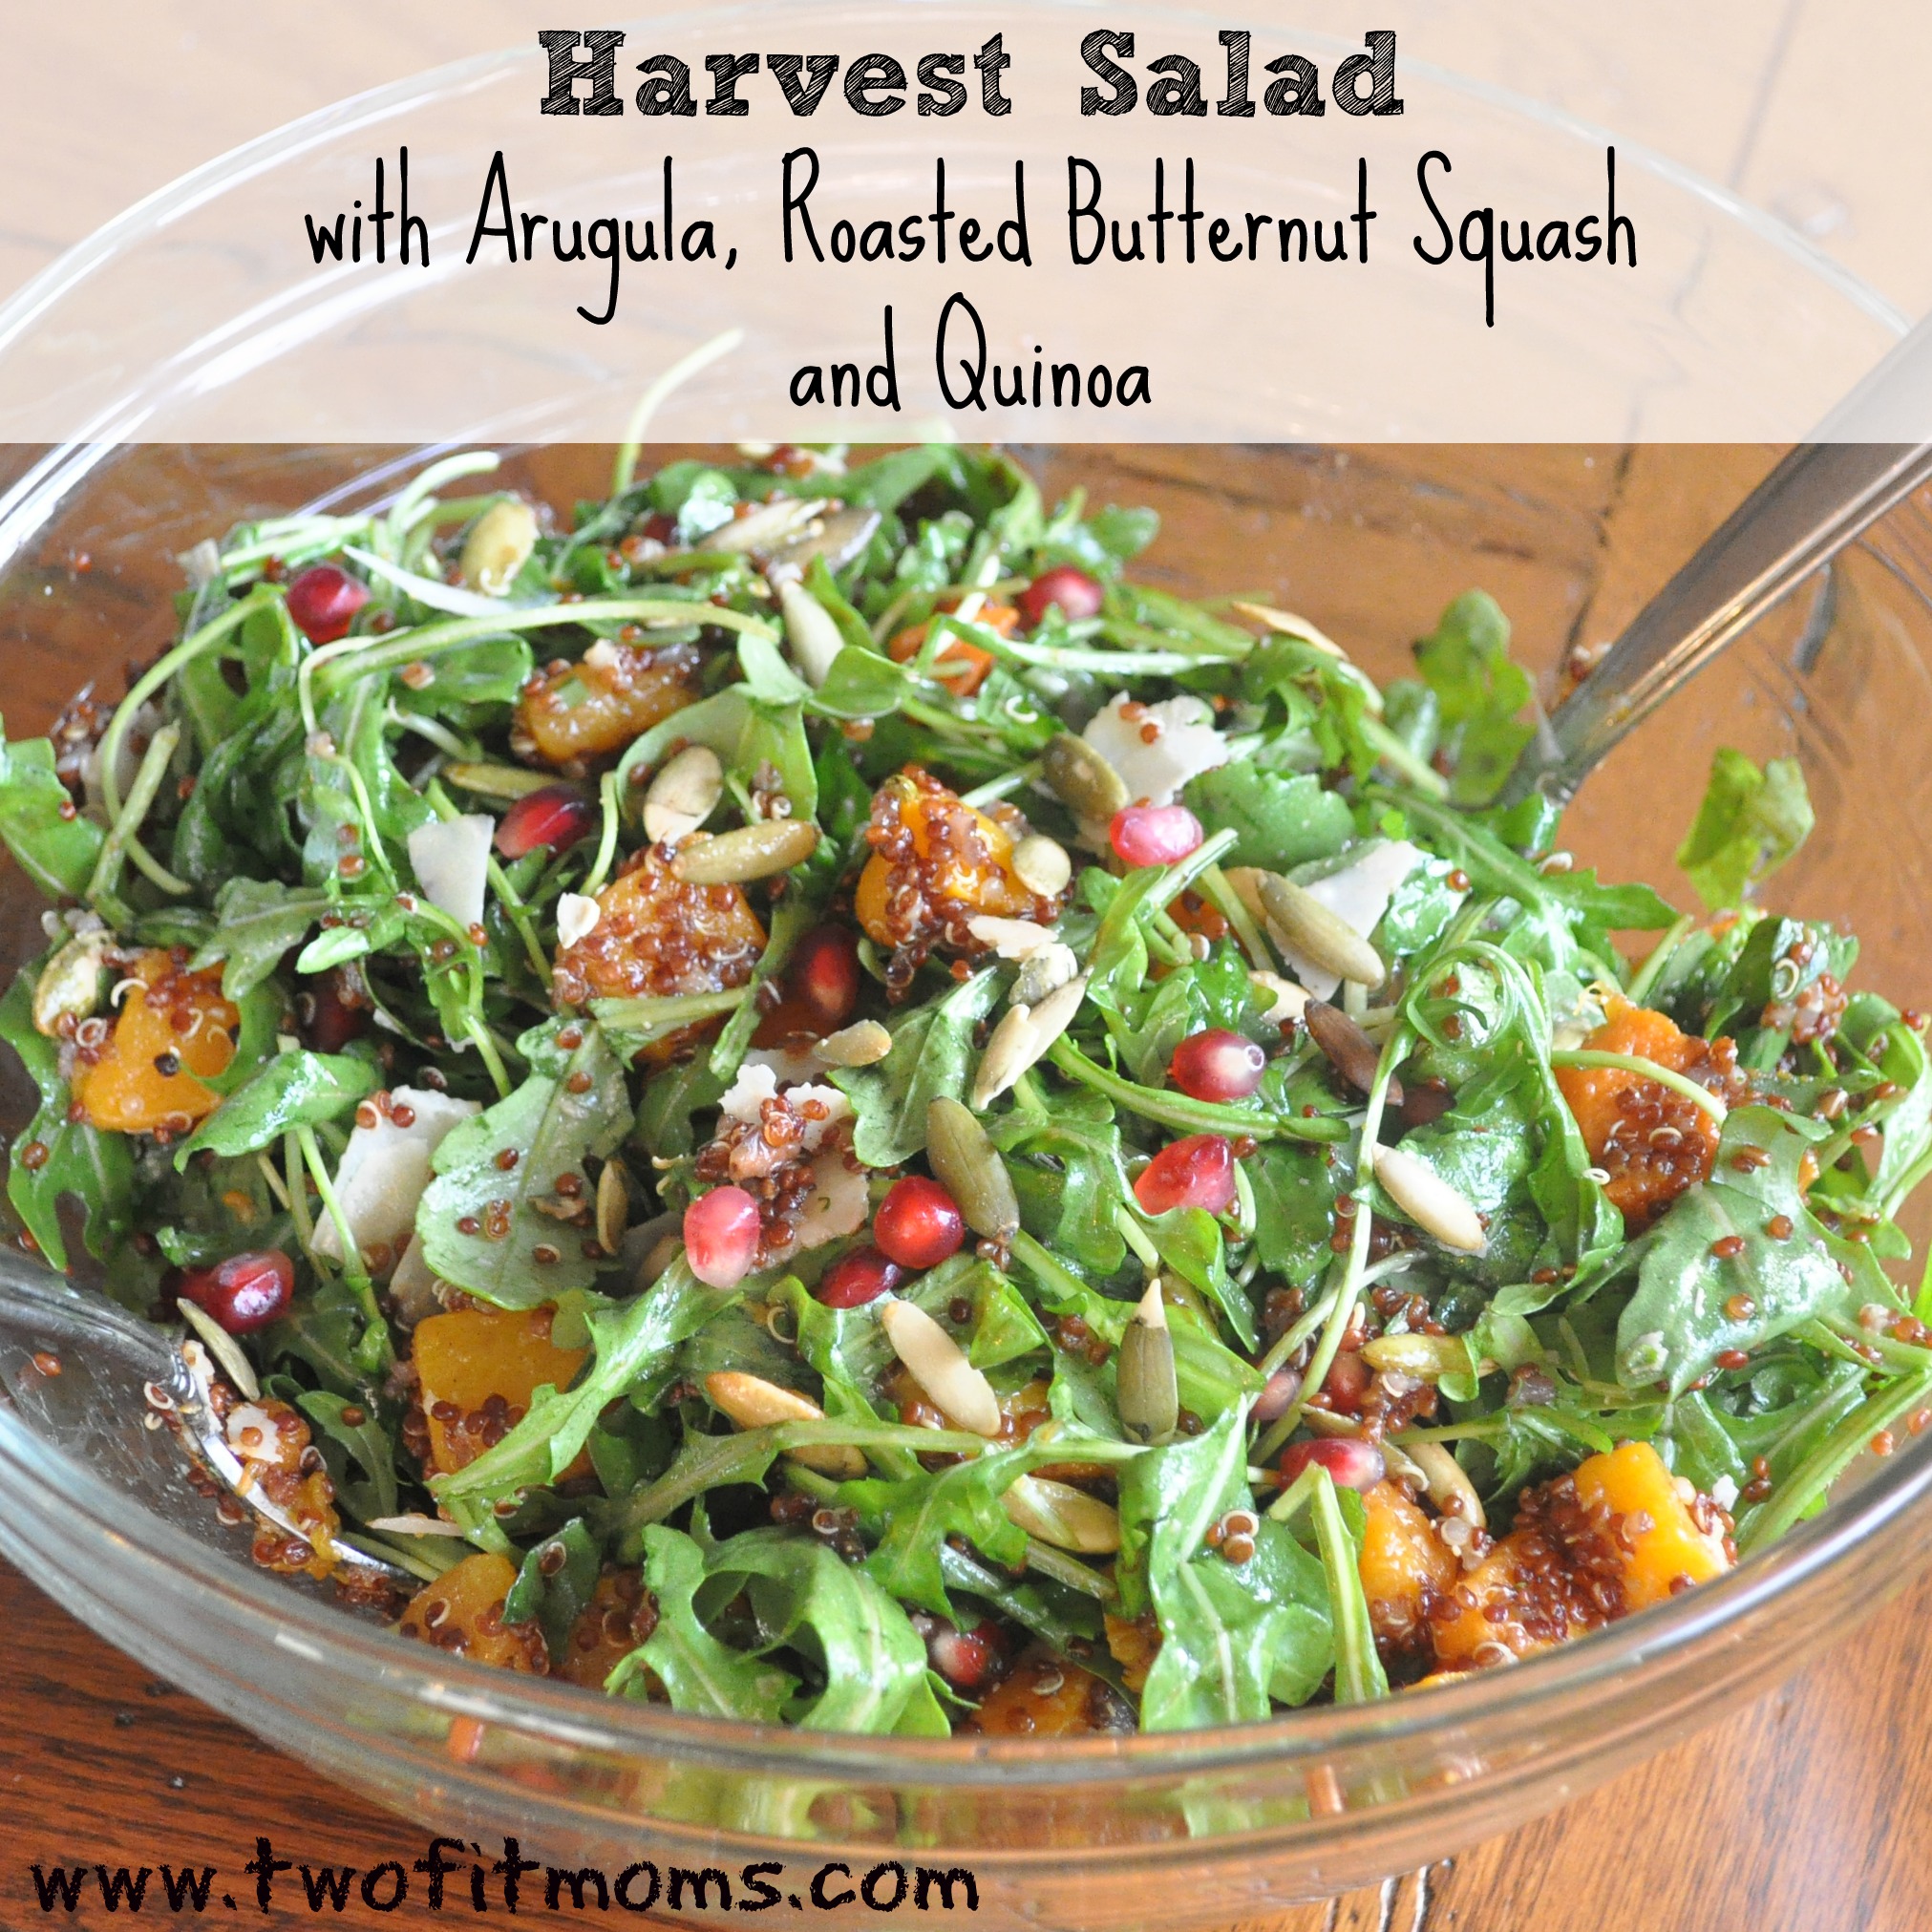
  • Make Ahead Breakfast: Pumpkin Spice Oatmeal Cake

    Make Ahead Breakfast: Pumpkin Spice Oatmeal Cake

    Who doesn’t love a hot bowl of oatmeal in the morning — especially as the weather starts to get a bit chilly? But, who has the time to prepare oats in the morning — aside from the instant ones that tend to be full of sugar?  If you want to get your oatmeal fix, but have little time to prepare them in the morning, consider making an oatmeal cake.  You can make it in advance and enjoy it throughout the week.  All you need to do is pop it in the microwave to heat it, and voila, a healthy breakfast is served!
    oatmeal cake square
    I got this idea from Cooking Light that offers a baked oatmeal recipe.  However, the Cooking Light recipe includes butter and brown sugar.  I wanted to lighten up the recipe, so I swapped out the butter and the brown sugar, replacing them with safflower oil and maple syrup.

    By now, you probably know that I use maple syrup a lot as a processed sugar replacement.  Maple syrup is a natural sugar, and I find that I can easily replace an equal amount of white sugar (or brown sugar) with maple syrup.  It works really nicely in this oatmeal cake recipe.

    You can flavor the oatmeal cake any way you’d like.   I decided to make a pumpkin oatmeal cake, because it’s fall, and I love pumpkin! You can also use mashed banana or applesauce in place of the pumpkin puree.  If you don’t consume dairy products, try making the cake with almond or soy milk.  I added raisins to the Pumpkin Spice Oatmeal Cake, but you can throw in cranberries or currants or chocolate chips! You can also top it with a little extra maple syrup for some additional sweetness. It’s really a very versatile recipe. It’s also a great recipe for the non-oatmeal lover in your life.

    If you happen to follow a gluten-free diet or have a gluten allergy, make sure to use oats that are labeled as gluten-free.  While oats are naturally gluten-free, they are often cross contaminated with grains containing gluten during the growing process.

    Pumpkin Spice Oatmeal Cake
    Yields nine servings

    2 cups of oats (not quick cooking)
    1/3 cup of raisins
    1/4 cup of chopped walnuts
    1 teaspoon of baking powder
    1 1/2 cups of milk
    1/4 cup of maple syrup (grade B)
    1/2 cup of pumpkin puree
    2 tablespoons of safflower oil
    1 large egg, beaten
    1 teaspoon vanilla extract
    1/4 teaspoon ground cinnamon

    Preheat your oven to 375 degrees.  Grease an 8 by 8 inch square pan.  Combine the first four ingredients in a bowl.  In a separate bowl, add the milk, maple syrup, pumpkin, oil and beaten egg.  Mix to incorporate and then add the wet mixture to the dry mixture.  Stir well.  Pour the oat mixture into the greased pan.  Bake for 25-30 minutes, until firm. Serve warm or refrigerate it and enjoy throughout the week!

    Helpful hint: You can make the oat mixture the night before, store it in the refrigerator  and bake it in the morning! I found the cooking time remained the same, but all ovens will vary.

  • Apple Raisin Clafoutis

    Apple Raisin Clafoutis

    One of my favorite fall activities is apple picking.  Not only do our kids love apple picking, but so do my husband and I.  Needless to say, we end up leaving with tons of apples.

    Apple pie, baked apples, applesauce and apple crisp are usually the first recipes that come to mind, but I like to use the apples to make a really delicious, light — and not too sweet —  cake called Apple Raisin Clafoutis.

    apple cake sliceClafoutis is a french baked dessert that involves fruit and a custard-like filling.  Traditionally, cherries are incorporated, but my version is made with apples, raisins and topped with sliced almonds.

    Generally, the cake is made with butter, white sugar and white flour.  I’ve modified the recipe, replacing the white flour with brown rice flour, the butter with safflower oil and the white sugar with natural maple syrup.  And, to be honest, you would never know the difference!!

    The beauty of this cake is that it doesn’t require a lot of effort — not much more than peeling and slicing four apples and making a quick batter in the blender.  It’s a no-fuss cake that’s perfect for any day of the week – but it’s also elegant enough for a dinner party or holiday gathering.

    I like to serve the cake with whipped cream — or ice cream.  If you are limiting your dairy, try cashew cream, or our Banana Maple Walnut Ice Cream! However, you can totally forgo a topping since the cake itself is so delicious!

    Apple Raisin Clafoutis

    Serves eight

    4 apples peeled, cored and thinly sliced
    2 tablespoons of safflower oil
    1/2 cup of raisins
    1/4 teaspoon of nutmeg
    1/2 cup of maple syrup (*I prefer Grade B for baking)
    1/2 cup of milk
    4 eggs
    1 tablespoon vanilla extract
    2/3 cup of brown rice flour
    1/4 cup of sliced almonds

    Preheat the oven to 350 degrees. Grease an 8-cup shallow baking dish or a 12-inch pie or tart pan.

    Add the safflower oil to a large skillet on medium/low heat.  Add sliced apples and cook until lightly browned and tender. Add the raisins, 1/4 teaspoon of nutmeg and 1/4 cup of maple syrup.  Mix to incorporate; turn off the heat and reserve.

    In the base of a blender add the eggs, milk, 1/4 cup of maple syrup, brown rice flour and vanilla extract. Blend on high for one minute.  If you are using a Vitamix or other high performance blender you might want to reduce the blending time.  At the end of the day, all of the ingredients should be well incorporated.

    Spread the apple/raisin mixture in the greased baking dish/pan and pour the batter over the apples.  Sprinkle sliced almonds on top of the cake. Bake one hour and serve warm.

  • Make Ahead Breakfast: Easy Baked Frittata

    Make Ahead Breakfast: Easy Baked Frittata

    I’m not a morning person.  It’s hard enough for me to get up and ready and out the door, but squeezing in a healthy and nutritious breakfast is nearly impossible.  However, you know what they say — breakfast is the most important meal of the day! So, over the next few weeks we are going to offer you some suggestions on healthy breakfasts that you can make ahead of time and, in some cases, ones that will stretch throughout the week.

    Frittata BannerWe are starting with our Easy Baked Frittata.  I make mine in a pie dish so it’s easier to divide and portion.  Baking the frittata is so much easier than cooking it on the stovetop.  You just pour the ingredients into a greased pie plate and pop it into the oven for approximately 20 minutes.  I suggest making it on Sunday and slicing it throughout the week.  Or, plan to make one when you know you will have leftovers to incorporate into the dish.

    Our frittata has a few basic ingredients — eggs, milk, veggie/meat, cheese, salt and pepper.  The picture you see to the right is made with leftover roasted vegetables and goat cheese.  One of my favorite versions incorporates leftover roasted potatoes and onions and parmigiano-reggiano cheese. You can nix the cheese altogether and throw in more veggies.  You can also add meat to the frittata.   At the end of the day, you can really modify the frittata to your liking but the point is that you are making it in advance — and hopefully getting rid of leftovers in the process!

    Additionally, a frittata is not only something you can enjoy for breakfast.  It can be eaten for lunch or dinner alongside soup, such as our Roasted Potato Leek Soup, or alongside salad, such as our Shaved Fennel Salad.

    Easy Baked Frittata
    Yields 8 slices

    8 large eggs
    1/4 cup of milk
    1/3 cup of cheese
    1 cup of veggies (or meat)
    1/2 teaspoon of salt
    pepper to taste

    Preheat the oven to 400 degrees.

    In the meantime, grease a 9 inch pie plate.  Beat eggs and milk until thoroughly combined.  Add cheese, veggies and/or meat, salt and pepper.  Mix until incorporated and pour into the prepared pie plate.  Bake in the oven 15-20 minutes.  Serve warm or at room temperature.

    Helpful hint: We used a ceramic pie plate.  Cooking times may vary depending on what your pie plate is made out of — metal or glass may take more or less time.

  • Tomato, Peach & Watermelon Panzanella Salad

    Tomato, Peach & Watermelon Panzanella Salad

    panzanella bannerEarlier this summer my husband and I had a delicious panzanella salad at a local restaurant. Most panzanella salads incorporate tomatoes and bread; however, this version was interesting.  It featured not only tomatoes but also peaches and watermelon.

    It was really an unexpected combination — but so delicious. I thought I would try to re-create the salad, and I was inspired by the over-abundance of peaches in my house (from a recent peach picking trip).  Panzanella salad is also a recipe I’ve been meaning to make, so I was excited to finally try my hand at it!

    What I love about this salad is that it allows you to use day-old crusty bread – which I always seem to have lying around my kitchen. It also offers the chance to incorporate seasonal fruit in a new and innovative way. It’s not your typical salad — it’s like a savory fruit salad.

    In addition to the fruit, it features thinly sliced red onion, tangy feta cheese, fresh basil and crisp croutons.  It’s simply dressed with olive oil and balsamic vinegar.  The croutons eventually soak up the juices from the fruit creating a nice combination of textures which really helps set this salad apart!

    It can also easily be modified. If you follow a gluten or dairy-free diet you can omit the croutons and the feta cheese. You can throw some veggies into the salad as well — perhaps cucumbers or peppers.  Whatever fruit or vegetables you add, try to keep it roughly the same size.

    Enjoy!

    Tomato, Peach and Watermelon Panzanella Salad
    Serves 4-6 people

    2 large tomatoes, cut into 1-inch cubes
    2 peaches, cut into 1-inch pieces
    1-1 1/2 cups of watermelon, cut into 1-inch cubes
    1/2 small red onion, sliced thinly (in half moon-shaped slices)
    1/4 cup of crumbled feta cheese
    15 basil leaves, cut finely
    3 tablespoons olive oil
    1 tablespoon balsamic vinegar
    15 large croutons (see recipe below)
    salt and pepper to taste

    Add tomatoes, peaches, watermelon, red onion, feta cheese and basil to a large bowl. Mix the olive oil and vinegar in a separate, small bowl and pour over the salad. Incorporate croutons and toss. Season with salt and pepper to taste.
    panzanella collage
    Helpful hint: You can make your own bread croutons with day old bread. Cut the bread into cubes and arrange in a single layer on a baking sheet. Drizzle with olive oil, salt and pepper, toss and bake at 400 degrees until crisp and slightly browned. The croutons will harden as they cool.

  • Zucchini and Summer Squash Pappardelle

    Zucchini and Summer Squash Pappardelle

    zucchini bannerThis dish is amazing.  It looks like pasta, and you want to believe you are eating pasta, but it doesn’t taste like pasta.  It just tastes really good.

    I think it’s the combination of textures — the thinly cut — almost twirl-able squash — the carmelized garlic, the nutty cheese and the herbs.  Whatever it is, it’s divine.

    You have probably noticed all of these nifty gadgets that cut the zucchini and other vegetables into spiral shapes that resemble spaghetti. I don’t have any of these tools, but I do have a mandolin which I used in our Shaved Fennel Salad.

    In fact, this recipe is a play on one that my brother recently concocted — what he calls “Zucchini Pappardelle” — which is a flat and wide pasta shape — and totally achievable with a mandolin. I made a garlic and olive oil based sauce with some red pepper flakes and fresh herbs. If you eat dairy, you must add parmigiano-reggiano cheese to this dish.

    You can also top the blanched squash with other sauces — including a fresh tomato sauce. However, I think you will really enjoy this recipe — it’s a surprisingly delicious and healthy dish that can be served alone, as an entree (along with a salad), or as a side dish with chicken or fish or anything else you may have on your table this summer. Aside from tasting great, it just looks gorgeous!

    If you can’t eat pasta, or if you are looking for a new recipe for all that squash in your garden, this recipe is for you.

    Enjoy!

    Zucchini and Summer Squash Pappardelle with Garlic & Olive Oil
    Serves 4 people

    3 medium sized zucchini
    3 medium sized summer squash
    1/4 cup olive oil
    4 large cloves of garlic
    1/4 teaspoon red pepper flakes
    1/4 cup of shaved parmigiano-reggiano cheese
    1 tablespoon chopped basil
    1 tablespoon chopped parsley
    salt to taste

    Bring a large pot of salted water to a boil.

    In the meantime, with a mandolin, slice the zucchini and summer squash about 1/16th of an inch thick. Blanch the zucchini for approximately one minute, or until the squash is tender. Remove the squash and submerge into ice water to stop the cooking. Drain the squash and set aside in a large serving bowl.zucchini collage

    In a pan over medium-low heat, add the olive oil, sliced garlic and crushed red pepper.  Allow the garlic to brown slowly, and once it does, turn off the heat.

    Add the olive oil mixture, the chopped basil, parsley and parmigiano-reggiano over the blanched zucchini. Toss and serve.

    Helpful hint: Do NOT overcook the squash during the blanching stage. It will fall completely apart when you toss it! And, do NOT burn the garlic.  If you do, start over!

  • Banana Maple Walnut “Ice Cream” (Dairy- and Gluten-Free!)

    Banana Maple Walnut “Ice Cream” (Dairy- and Gluten-Free!)

    I had heard you could make mock-ice cream out of frozen bananas.  I was skeptical, but I had a few spotted bananas on my counter, and I figured why not try! So, I peeled them, sliced them, wrapped them up and popped them into the freezer.
    rotten bananas
    While they were freezing, I contemplated what type of ice cream I would make.  You could easily make one-ingredient ice cream with just the frozen bananas, but I wanted to jazz it up a bit.  While the ripened bananas are sweet on their own, I wanted to add a little more sweetness.  I’m particularly fond of using maple syrup as a sweetener.  I thought I’d also throw in some nuts — walnuts to be exact.  Maple Walnut ice cream sounded pretty good to me — plus I figured the flavors would complement the bananas (think banana walnut muffin!).

    I threw the chopped, frozen bananas into the food processor along with the maple syrup and pulsed it until it was smooth — like a softened ice cream texture. I then mixed in (by hand) the chopped walnuts.

    The texture is definitely looser than ice cream, so you may want to put it in the freezer to set up a bit.  If so, a loaf pan covered with plastic wrap works out nicely.

    This is a great mock-ice cream.  It’s creamy and delicious, and it is a perfect ice cream substitute.  It’s also ideal for those who follow a dairy- or gluten-free diet.

    As far as my family goes, they really enjoyed it — in fact, they were asking for more!

    banana ice cream headerWhile an ice cream aficionado might turn their nose up, a health-conscious ice cream-loving mom will love this recipe — not only will she get rid of the spotted bananas in the house, but she will reap a healthy frozen dessert in return!

    Banana Maple Walnut “Ice Cream”
    Serves 4 people

    4 ripe bananas cut into 1 inch slices and frozen
    3-4 tablespoons maple syrup ( I use grade B for thickness)
    1/4 cup of chopped walnuts

    In the bowl of a food processor add your bananas and maple syrup (you can adjust the amount of syrup based on your desired level of sweetness). Pulse until the bananas break down, resembling a smooth creamy consistency.  Remove mixture and add to a bowl.  Mix in the chopped walnuts.  Serve immediately or pop back into the freezer for a more solid consistency.

  • Grilled Peach Salad With Balsamic Glaze

    Grilled Peach Salad With Balsamic Glaze

    peach saladNow that summer is in full swing, you will notice peaches, plums and other stone fruits aplenty at the market.

    In addition to eating these fruits on their own, there are so many wonderful ways to incorporate them into your cooking.

    Desserts immediately come to mind, but why not use them in a salad?

    I thought grilled peaches would be a great addition to a salad, so I fired up the grill.

    I split the peaches in half, removed the pit, coated them with olive oil, salt and pepper and grilled them! I easily could have gone the dessert route at this point and topped them with ice cream, but I didn’t! I stayed on course and continued to focus on my salad.

    I chose arugula as my salad green — it’s peppery and delicious.  I also wanted to incorporate balsamic vinegar.  I thought it would complement the peaches.  Lastly, I needed a crunch factor, so I topped the salad with crushed pistachios.  The combination of the warm peaches, the crisp greens, the crunchy nuts and the sweet balsamic glaze made this salad soar! It’s quite delicious if I do say so myself.  And, a testament to it’s deliciousness was the empty bowl left at the end of dinner!

    So, here’s my recipe.  I hope you like this recipe as much as my family and I did!

    Grilled Peach Salad with Balsamic Glaze
    Serves 4 people

    Grilled Peaches:
    2 ripe peaches
    olive oil
    salt and pepper to taste

    Balsamic glaze:
    1 cup of balsamic vinegar

    Salad:
    4 cups of arugula
    3 tablespoons olive oil
    salt and pepper to taste
    1/4 cup of chopped pistachios

    Before we get started on the salad, let’s make the balsamic glaze.   Put 1 cup of balsamic vinegar in a small saucepan.  Let it come to a boil over medium-high heat.  Let it simmer until it thickens and reduces in size.  It’s ready when it coats the back of a spoon (or a spatula! see picture below).  This will take roughly 15 minutes.  The balsamic vinegar will cook down to about 1/4 cup of balsamic glaze.  Let the glaze cool and set it aside.
    balsamic

    Now it’s time to grill the peaches. Cut the peaches in half, remove the pit and slather each side with olive oil.  Season with salt and pepper to taste.  Grill the peaches approximately 5 minutes on each side, on a very hot grill (mine was set to high).  The peaches are done when the skin starts to lift.  They should also have some lovely grill marks. Remove the peaches from the grill and set aside.
    peaches

    Add the arugula to a large serving bowl.  Add the 3 tablespoons of olive oil and salt and pepper to taste.  Toss the greens.  Add the peaches to the salad and sprinkle the pistachios pieces on top.  Drizzle 1-2 tablespoons of balsamic glaze over salad.

    Enjoy!

  • Tropical Thai Coconut Smoothie

    Tropical Thai Coconut Smoothie

    coconut smoothiePiña coladas are my summer-time splurge.  I love the combination of coconut and pineapple — it’s just so delicious.  Even if I’m not on a tropical island or on vacation, this drink helps me pretend that I am!

    I thought I’d try my hand at a piña colada-like smoothie — or what I like to call my Tropical Thai Coconut Smoothie!

    I recently discovered young Thai coconuts, and I thought they would be perfect for my concoction.  In addition to the Thai coconut water and pulp, I incorporated frozen pineapple, some honey (for sweetness), vanilla extract (to mimic the flavor of vanilla ice cream) and a hint of lime.   And, voila, my version of a piña colada (a healthier version) was born!

    You can modify the recipe by adding half of a frozen banana or one cup of kale.  You can also add some rum! (which REALLY made it taste like a piña colada).

    We used a Coco Jack opener to help us dismantle our Thai coconut. If you don’t have a Coco Jack opener, you can certainly use coconut water.  In fact our favorite brand of coconut water can be found in our shop!

    Check out the photos below for more details on how we managed to open our Thai coconut.
    open coconut
    Tropical Thai Coconut Smoothie
    Yields between 4 and 5 cups

    2 cups of fresh Thai coconut water (which seems to be the standard yield from a fresh Thai coconut), plus the pulp of one Thai coconut
    1 cup of frozen pineapple
    1 cup of ice
    1/2 lime, juiced
    1 tablespoon of honey
    1/2 teaspoon of vanilla extract

    Some optional ingredients:
    1/2 frozen banana (please note, bananas are very sweet and potent, so use sparingly)
    1 cup of fresh kale

    Add all of the ingredients to the base of a blender (I used a Vitamix) and blend until smooth.  Portion into glasses, or back into the Thai coconut, and enjoy!