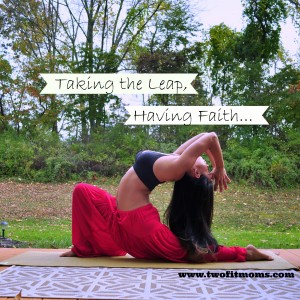
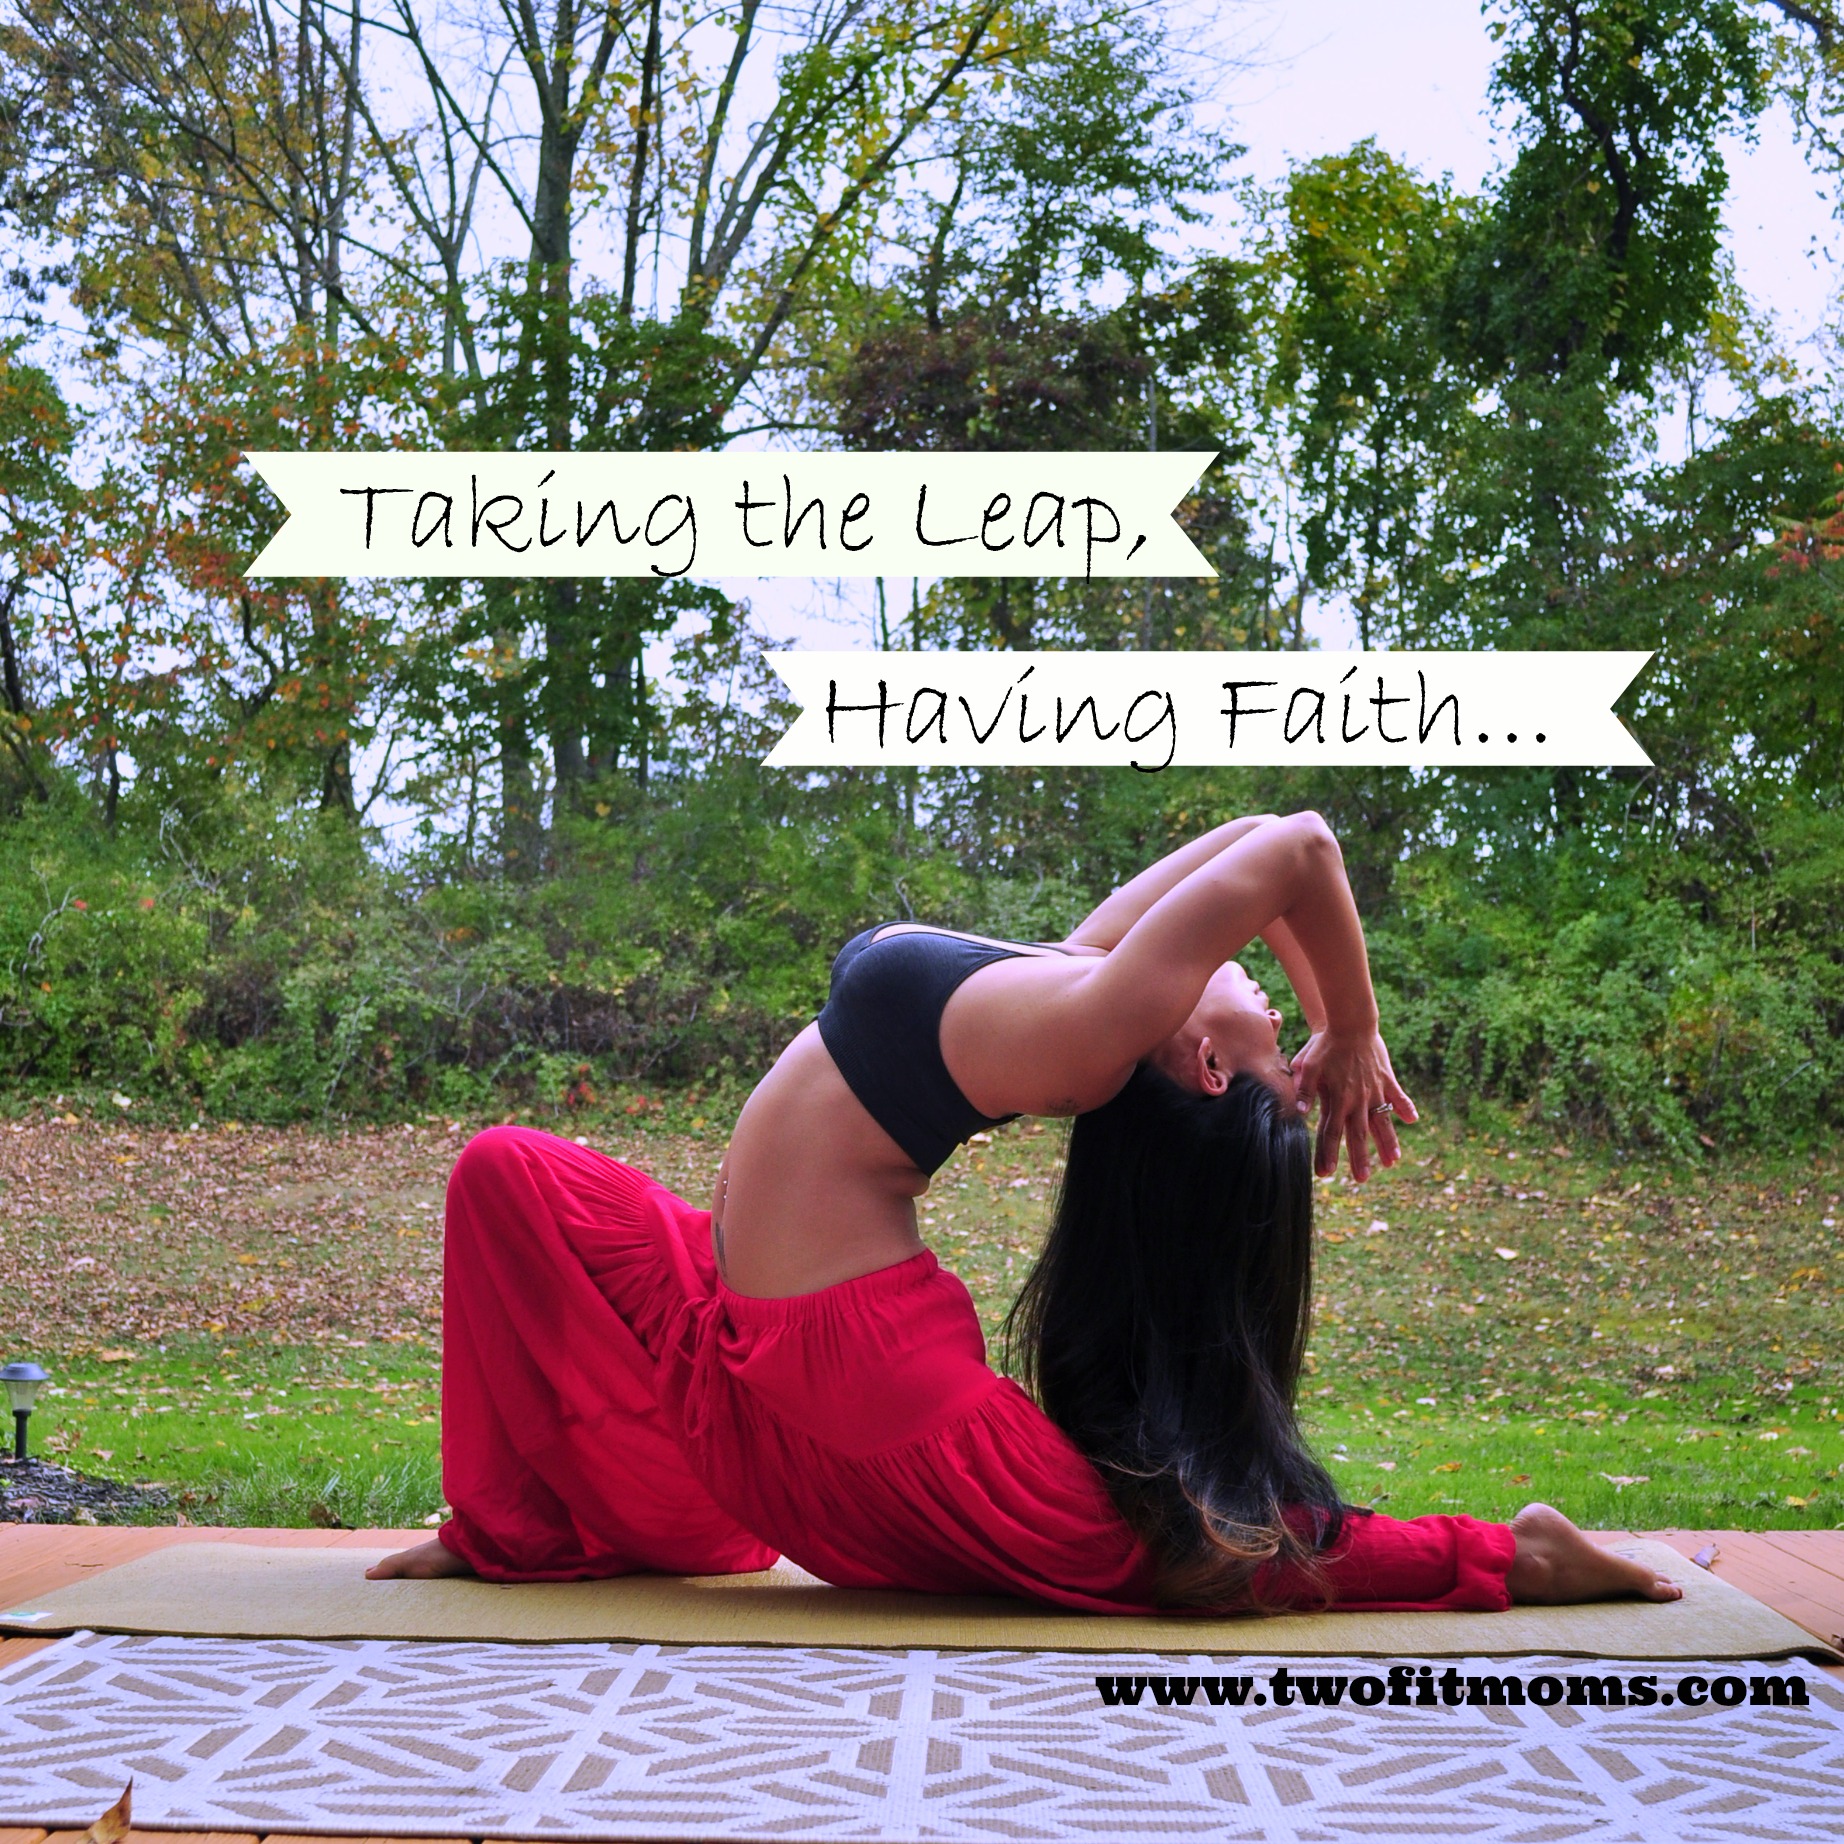
Today was a crappy day. It was a bad work day. It was one of those days where you just want to throw in the towel. It made me realize that being happy is important and that the path to happiness lies within me. Today, I made the decision to make a change. Today, I’ve committed within myself to make yoga my full time job. Maybe this isn’t happening today, or tomorrow, or even a month from now, but I know it’s coming, and the right time for that change will be here soon.
I’m excited . . . I’m scared! Why did it take me so long to make this decision? Fear is really what has been holding me back. The fear of instability, the fear of failure – all very real concerns for anyone but especially for a mother and wife who has responsibilities beyond taking care of herself. That being said, the straw broke the camel’s back today, and it made me realize that I’m ready. I CAN do it.
I have to tell you though, I never would have guessed that yoga would make such a comeback in my life and that Instagram would transform the experience and help lead me to where I am today.
In March 2012, at the request of my niece, I joined Instagram. I had no idea what Instagram or Twitter was, or any of the other social media apps for that matter. What the hell was a hashtag? Why would someone follow me? It all sounded a bit creepy. My account remained dormant for a good four months. I honestly just didn’t know what to take pictures of, what to post or what to say.
Then one day, I had an epiphany… Why not take pictures of some of the yoga poses I’ve been working on? That’s when this journey for me all started.

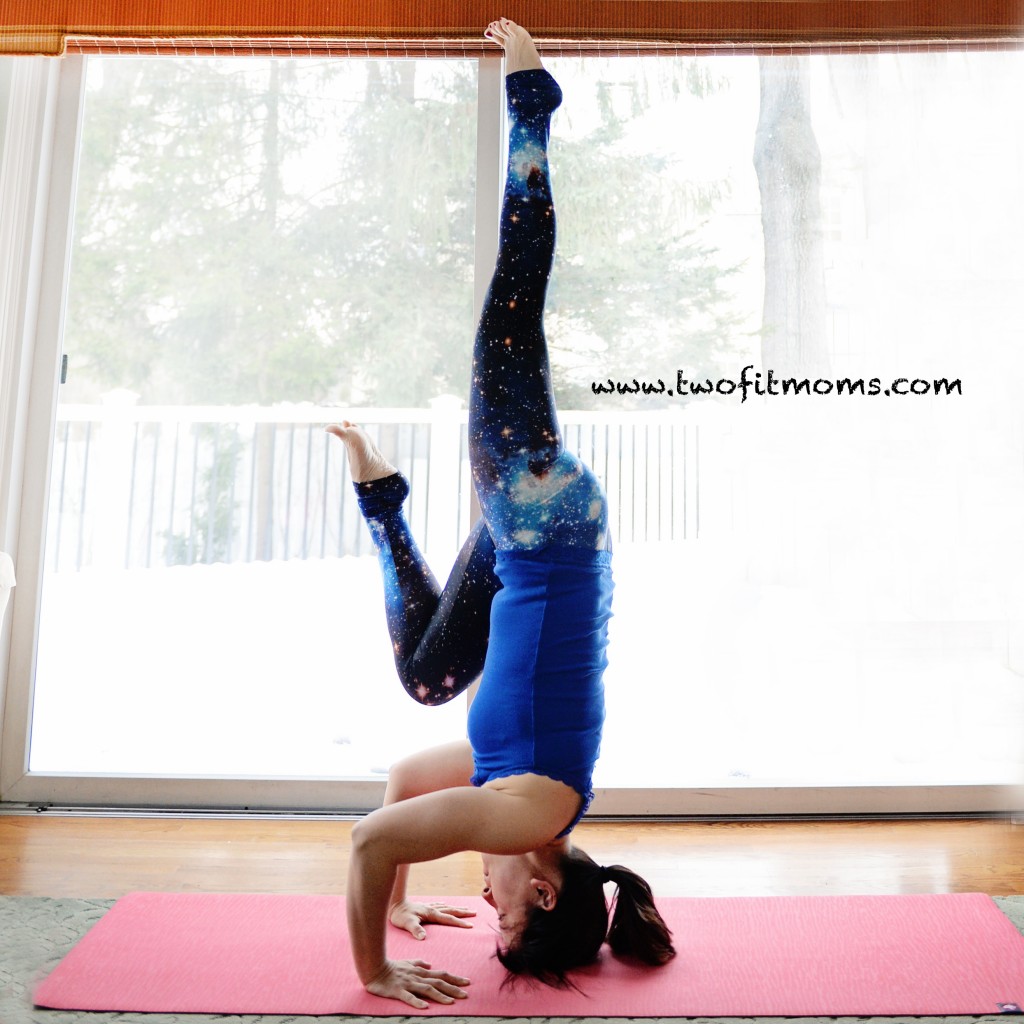
I began practicing yoga 17 years ago, when I was 19, so that makes me… 29 today? LOL. Okay, okay… I am 36 now. I started doing yoga from a Baron Baptiste VHS tape of my sister’s. It was very basic, but it’s what I used to learn a Sun Salutation, Warrior I and Navasana. Up until that point, I had no experience with yoga. I practiced from this tape until I knew it inside out, and then I purchased a few more of his tapes. Eventually, I started taking classes at the local gym. This is where my knowledge of yoga started to grow and manifest. It was also the place where I did my first Bakasana (Crow Pose), and where I attempted my first headstand as an adult. I was hooked.
In 2005, I had my son and in 2009, I had my daughter. During these four years, yoga took a backseat to my other cardio/weight workouts. Although my pregnancies were quite uneventful and “easy,” I did not enjoy being pregnant. To be honest, gaining weight was the hardest for me. I was winded walking up a flight of stairs, I felt like a stuffed sausage in everything I wore, and, generally, I felt downright unattractive. Of course, I’d do it all again for my two lovebugs… but it was HARD.

I worked out like a crazed lunatic for most of my pregnancies so I could stay as fit as possible and lose the baby weight as soon as possible. Back then my mindset was still…cardio and weights… burn those calories… a workout isn’t great unless you SWEAT LIKE A PIG! Boy oh boy… I wish I had known then, what I know now.
After my mini was born in 2009, I went into a fitness craze and ordered every home workout system known to man… Insanity, P90X, Insanity Asylum, TurboJam, TurboFire and P90X2. I spent a good two years focusing on these workouts. Yoga for the most part, took a further backseat. I was only doing it once a week in the form of the yoga from P90X.
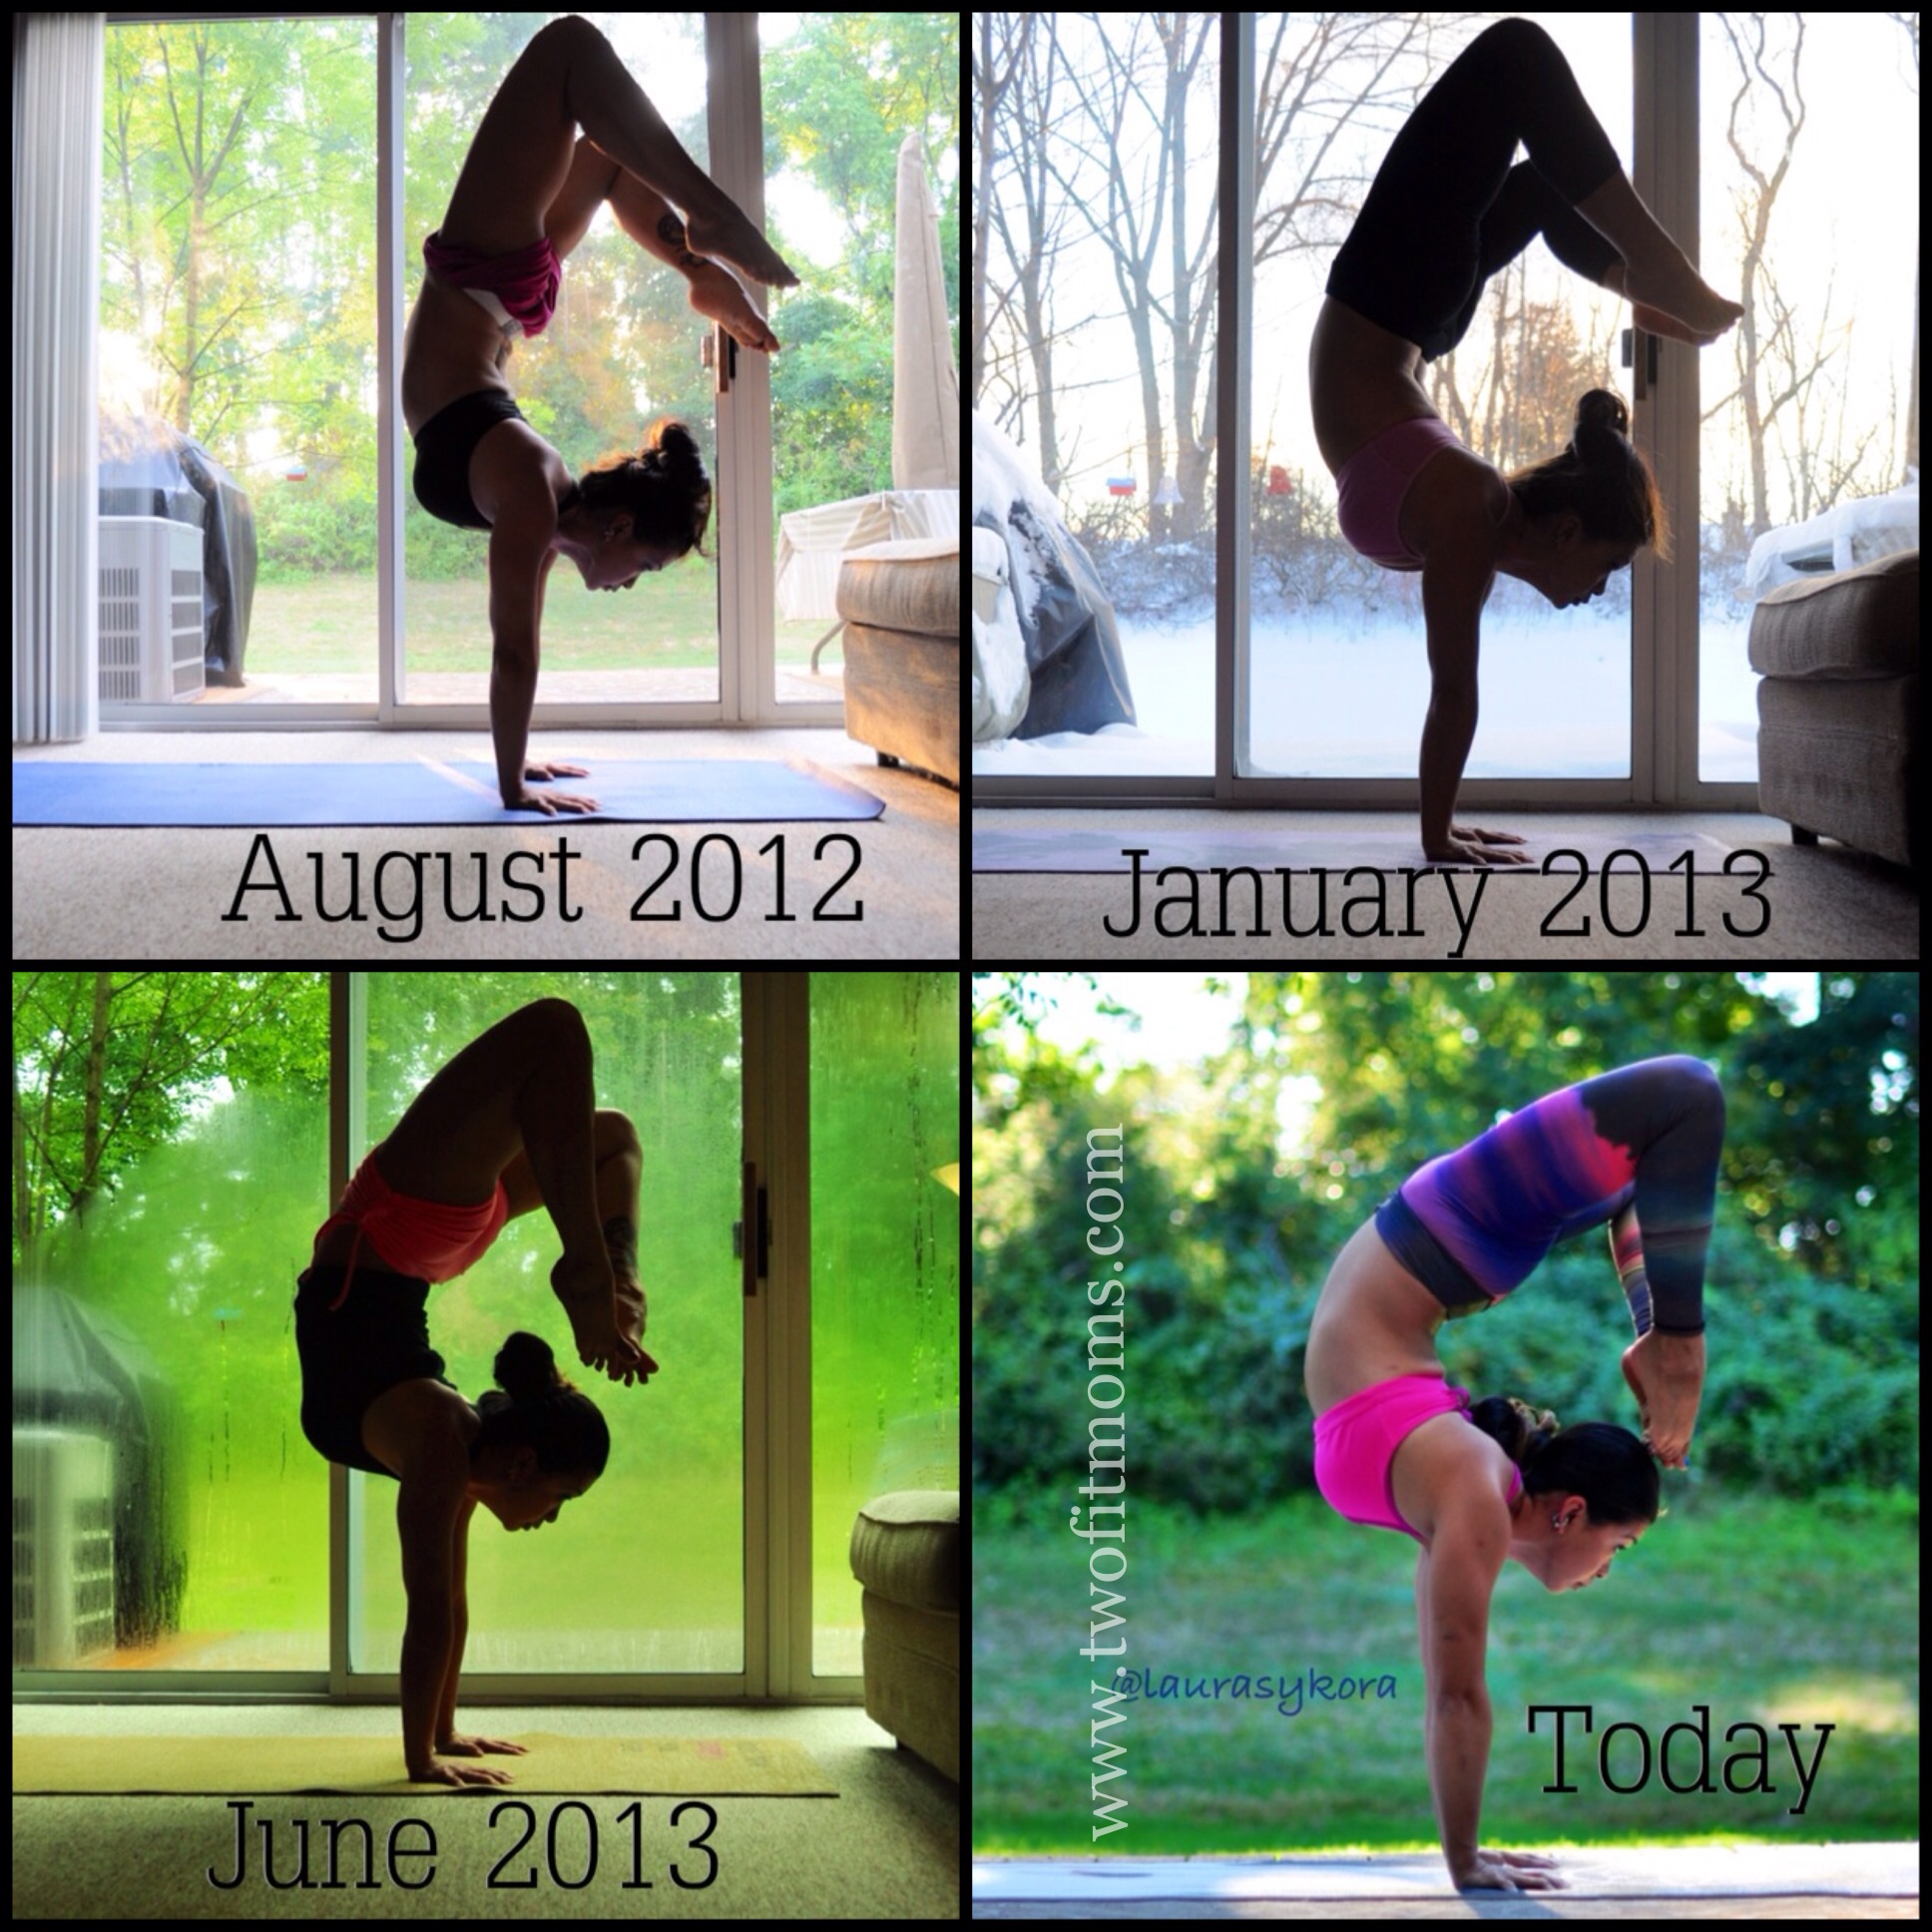
It wasn’t until early 2012 that I discovered online sites that streamed yoga classes. This, coupled with my start on Instagram, put yoga back into my fitness plan. Previously, I was drawn to yoga for its physical aspects, but more advanced classes opened up a whole new world for me. I instantly became addicted to learning more.

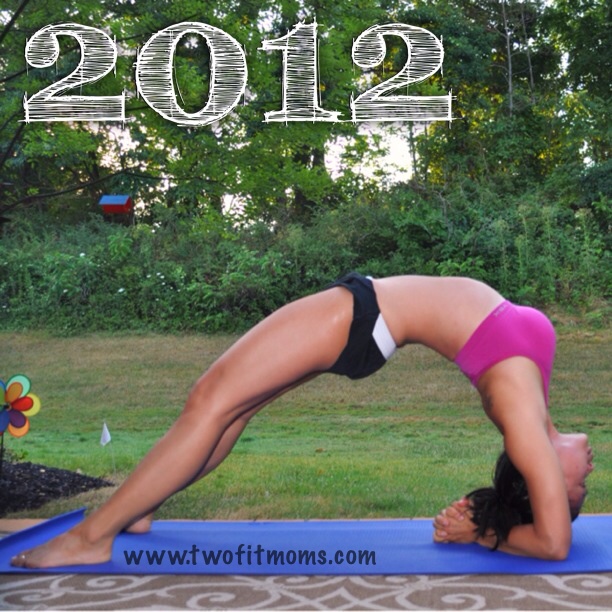
By October 2012, I made the decision to stop doing my other workouts in favor of yoga, which I practiced every day for a month. A month turned into two months… which then turned into a year, and the rest is history. I’ve never once regretted that decision. My asana practice has grown more in these past 16 months than it did in those first 17 years.
At some point, my Instagram started to inspire people. It inspired my partner-in-crime, Masumi, to start her yoga journey. My world was starting to shift.
“Are you a yoga teacher? Can you teach me?” Those questions started popping up like crazy. It was time to get certified and take that first leap of faith.
Yoga Teacher Training (YTT) was scary as shit for me. I had severe TMJ growing up which resulted in my slight lisp – something that I am extremely self-conscious of. It took every ounce of courage to go through with YTT. I sucked so badly in the beginning that I almost gave up in finishing. Thank goodness for Masumi and my teachers, Victoria and Anayra. They believed in me, and I will always be grateful for their support.
In August of 2013, I officially became a yoga teacher!
So, to bring it back full circle, the reason I wrote this post was because today sucked. It sucked enough to make me make a change. It made me realize that I need to have faith in myself, faith in my abilities, faith that I am meant to do something more than my “day job.” It also made me realize that I have the whole-hearted support of my family, which is most important to me.
“Courage is never to let your actions be influenced by your fears.” – Arthur Koestler
Change is not easy. It won’t happen overnight, but I’m on a clear path. Thanks for joining me on this path. I can’t wait to see where it takes me.
XOXO


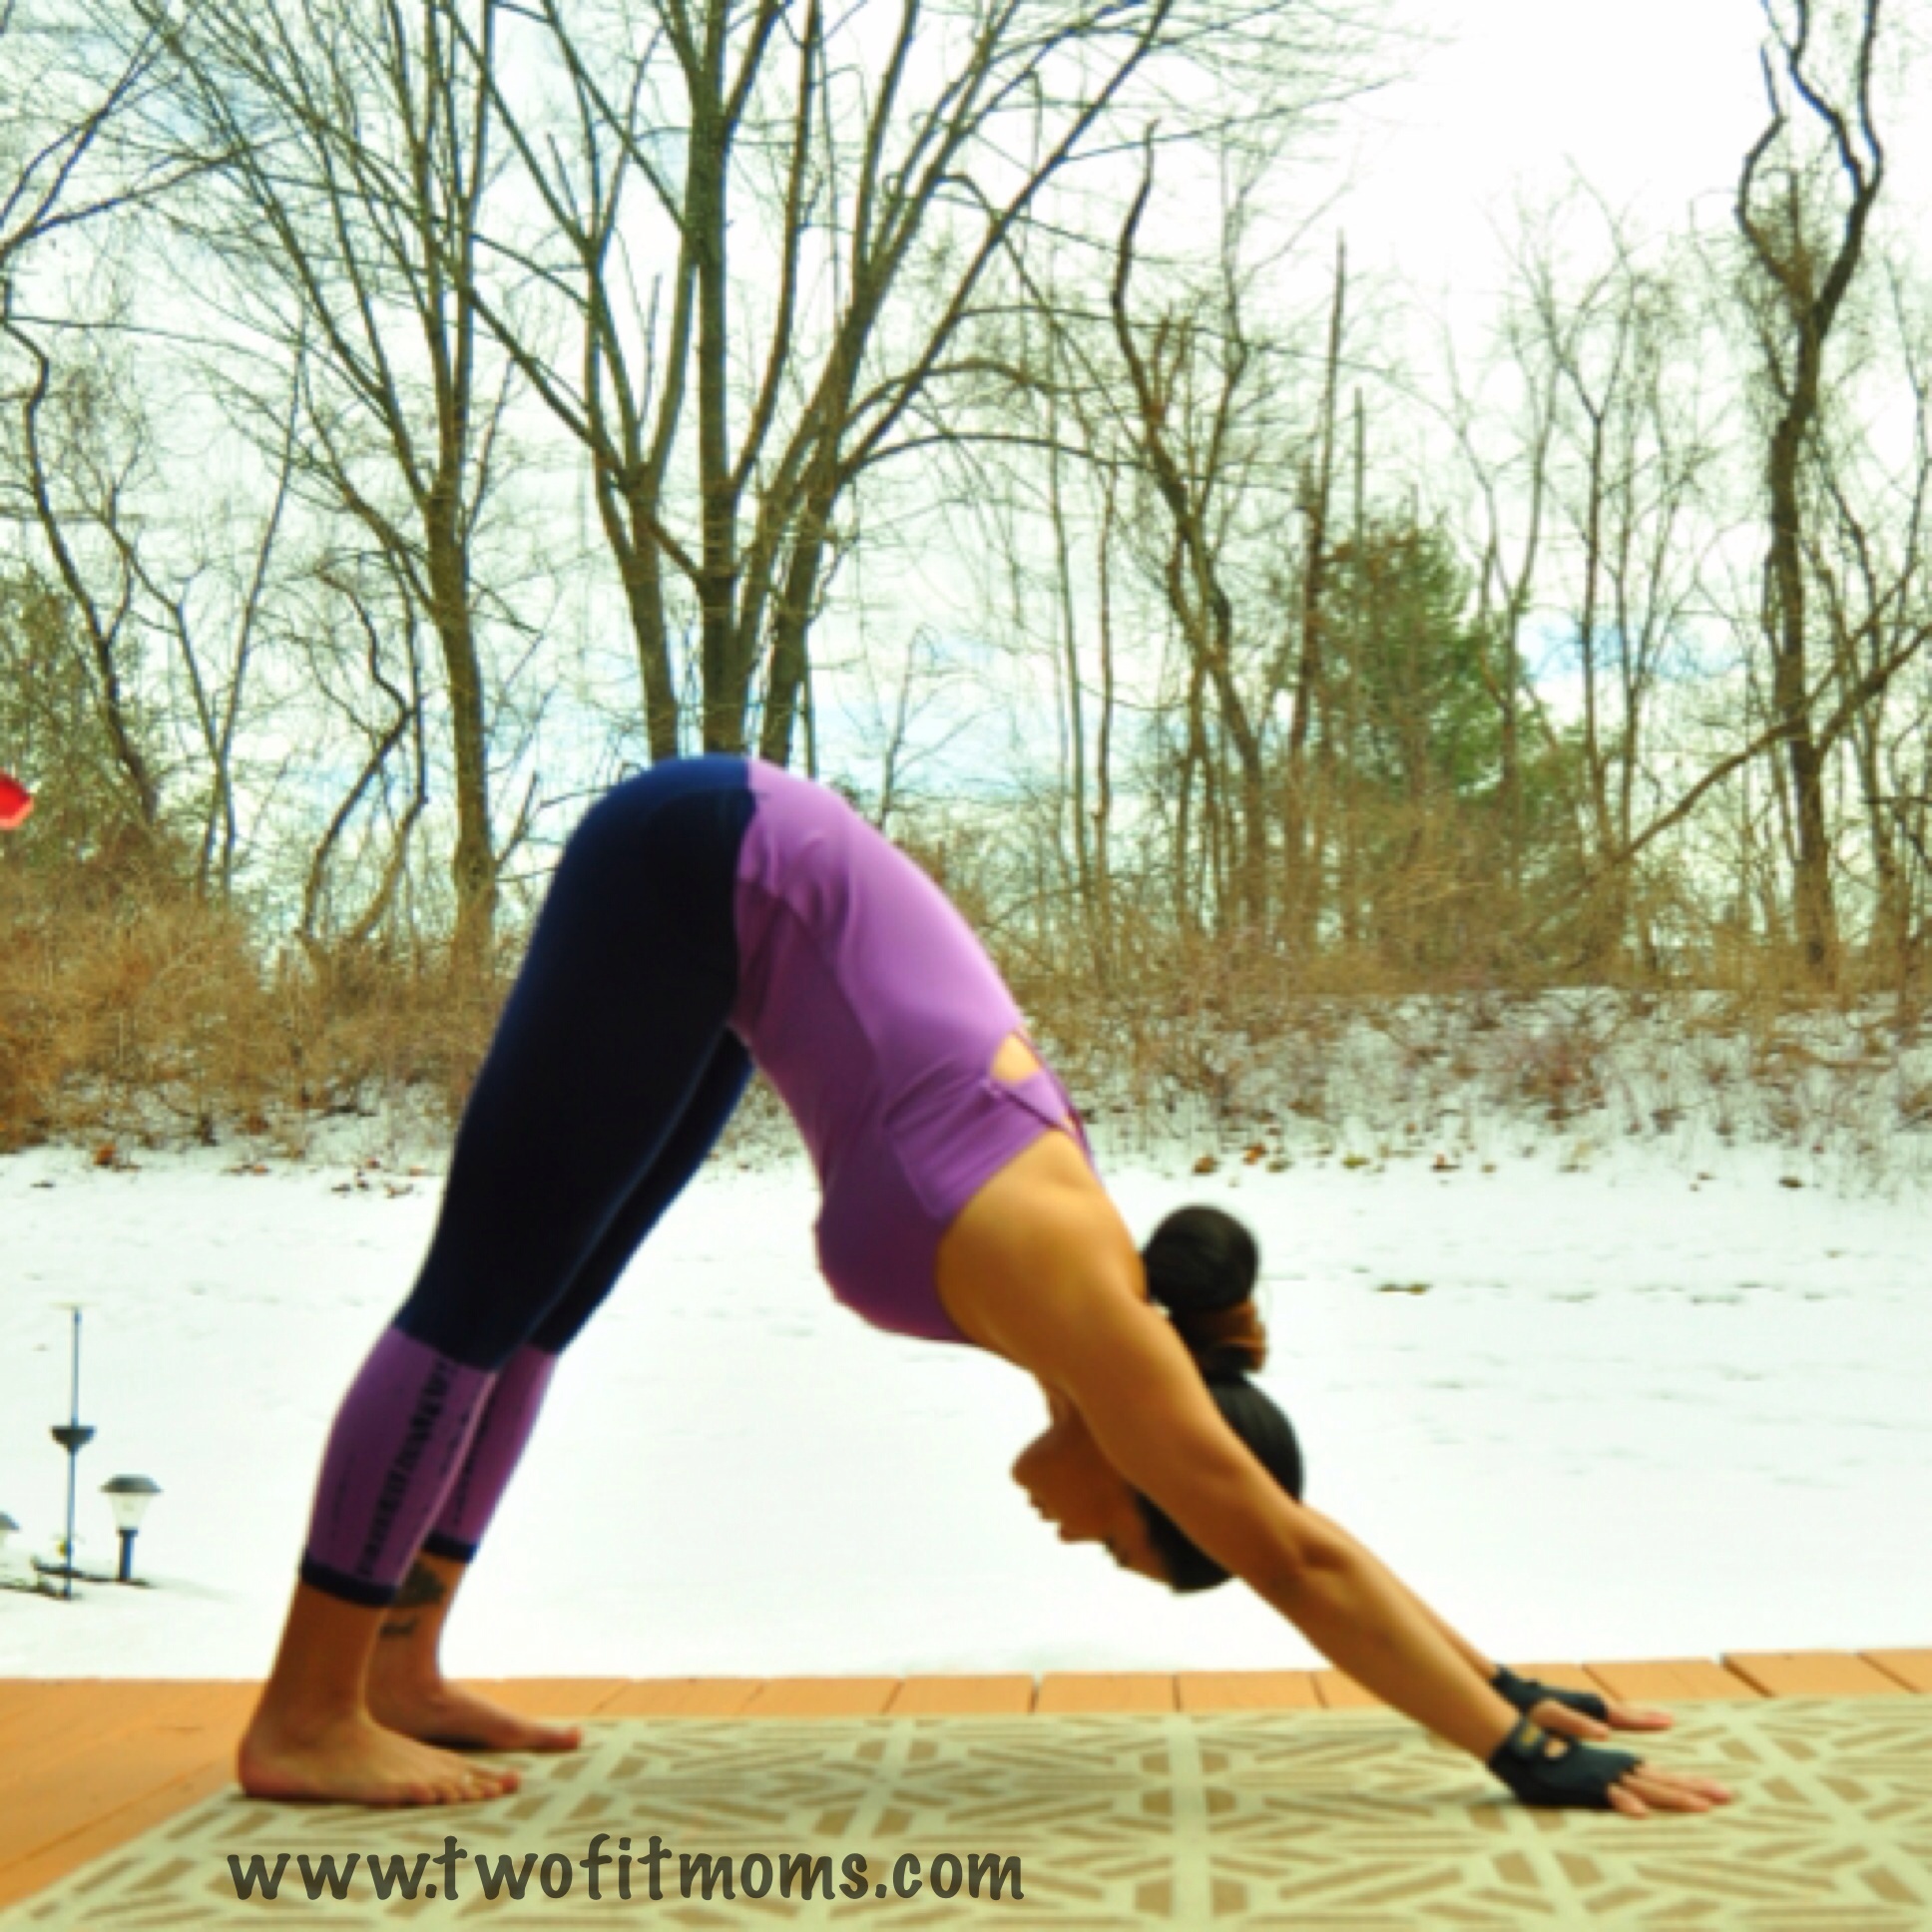
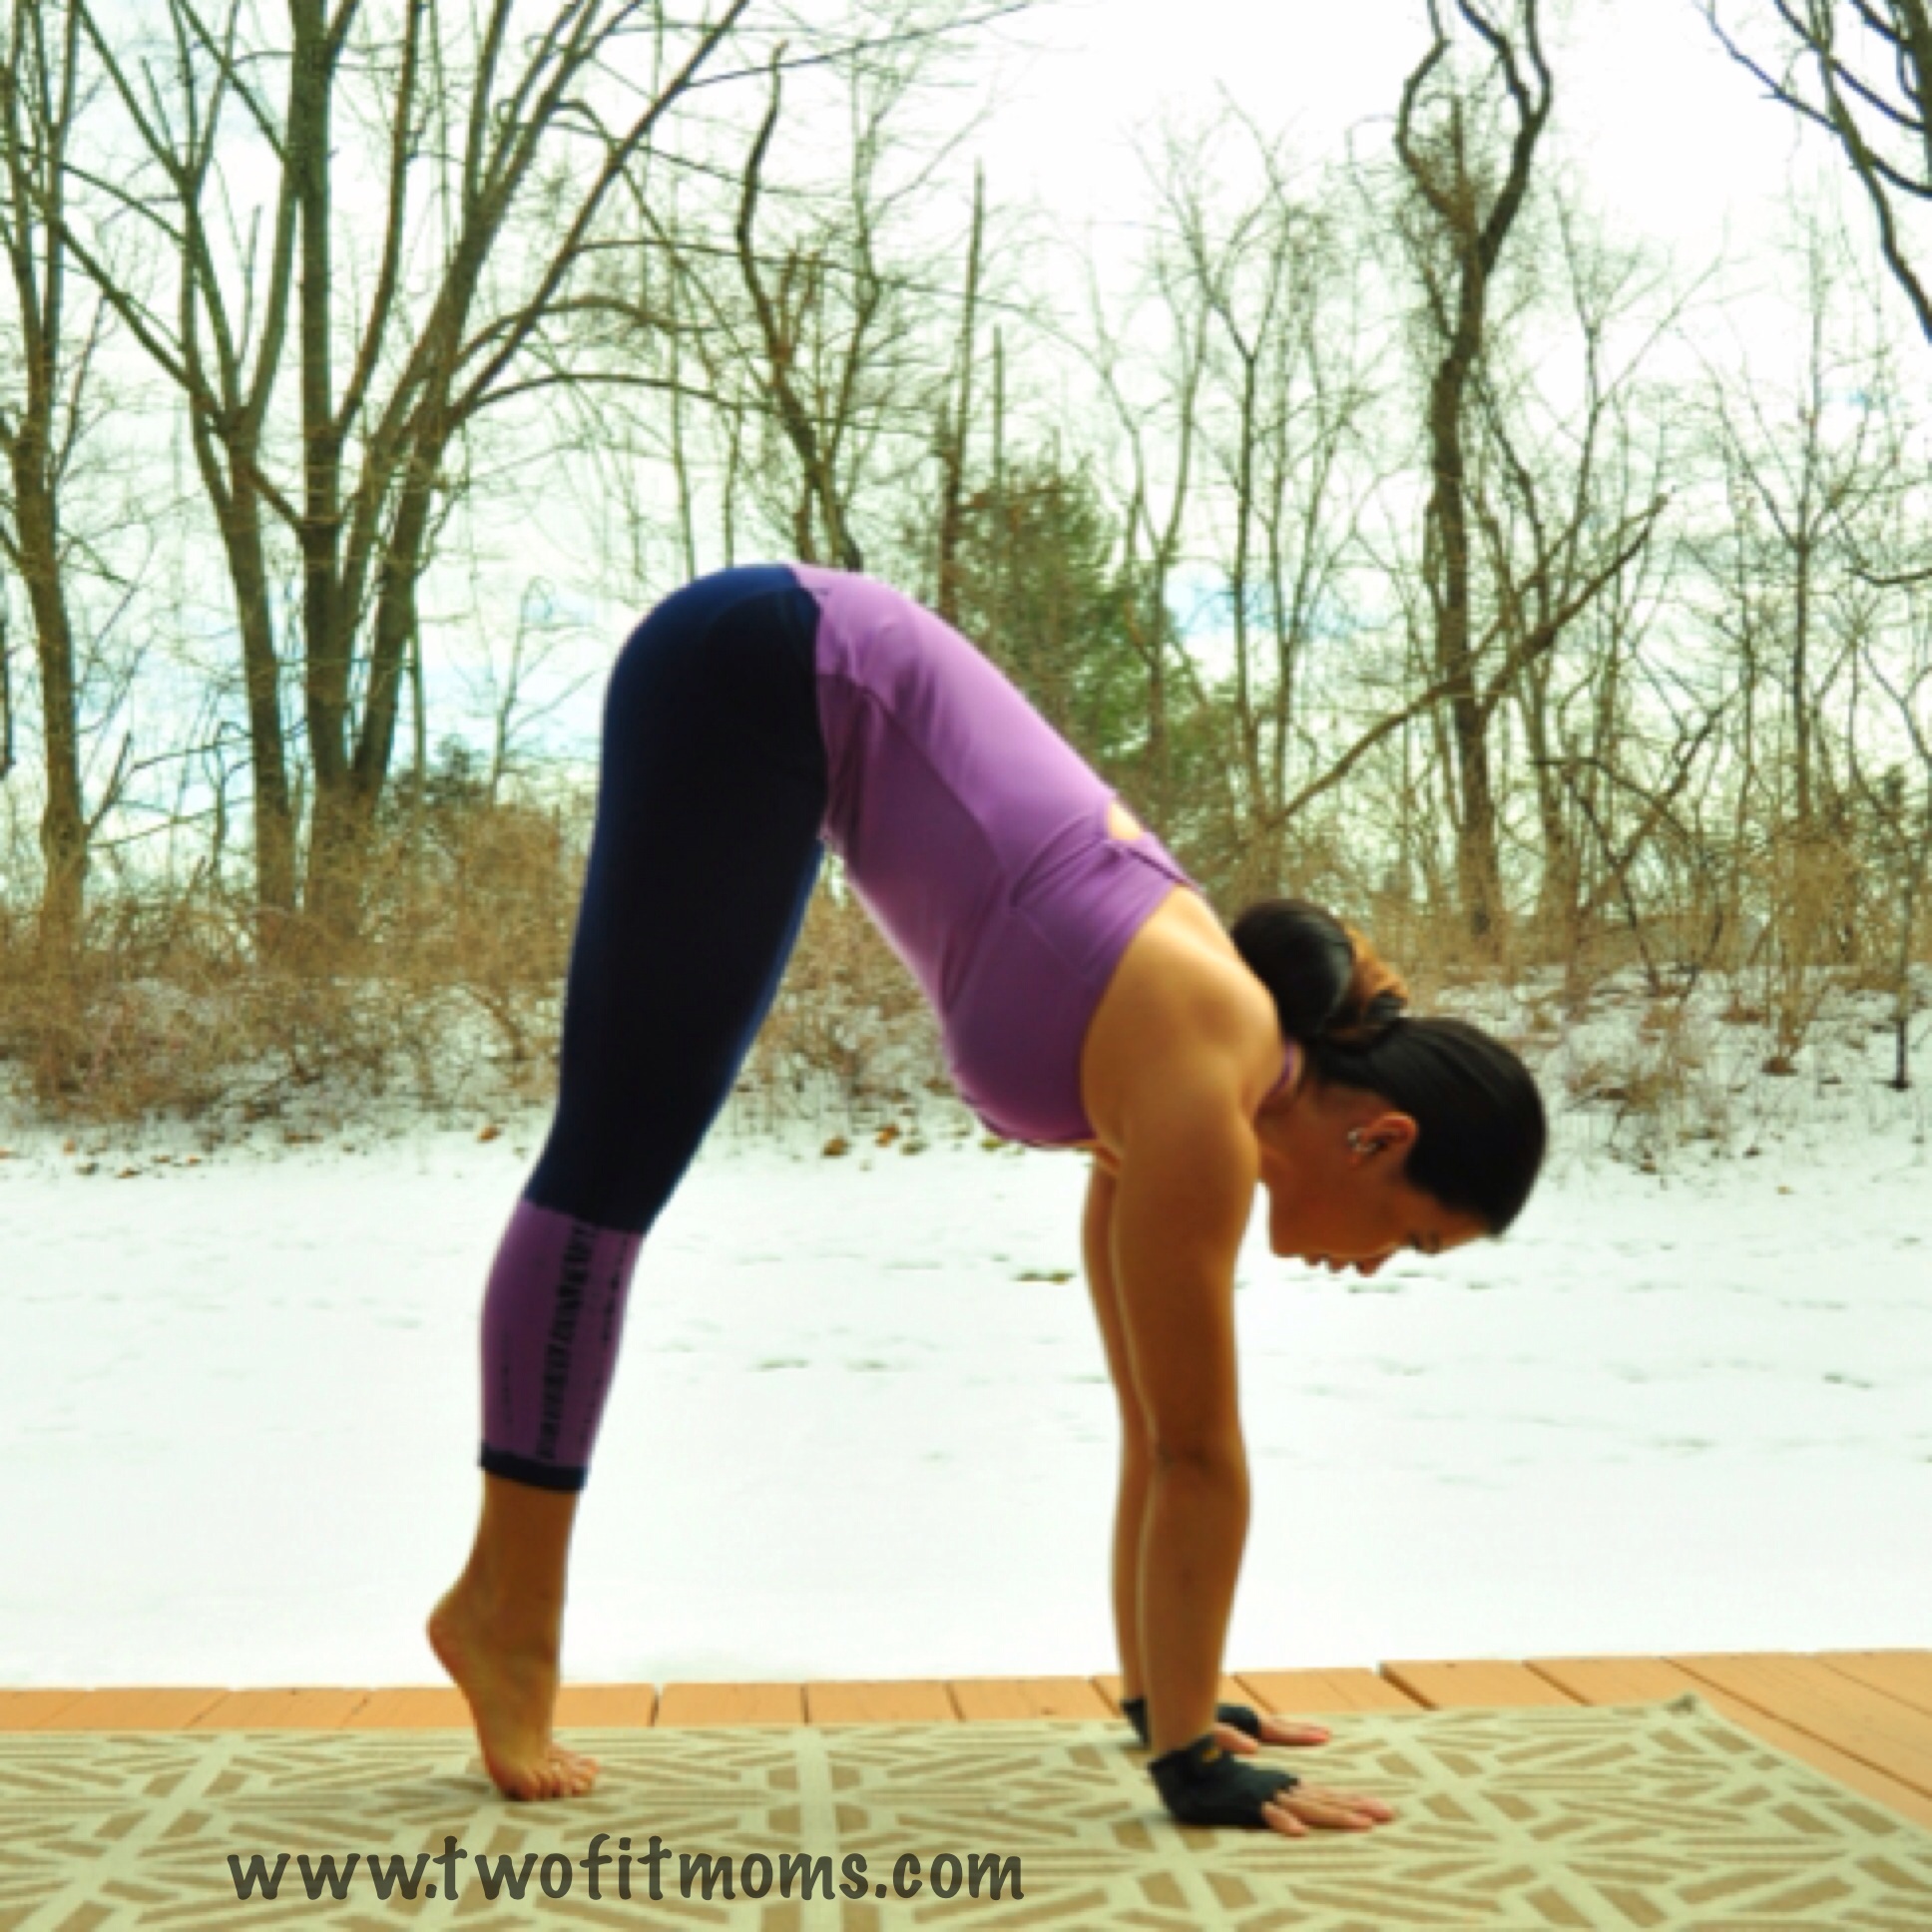
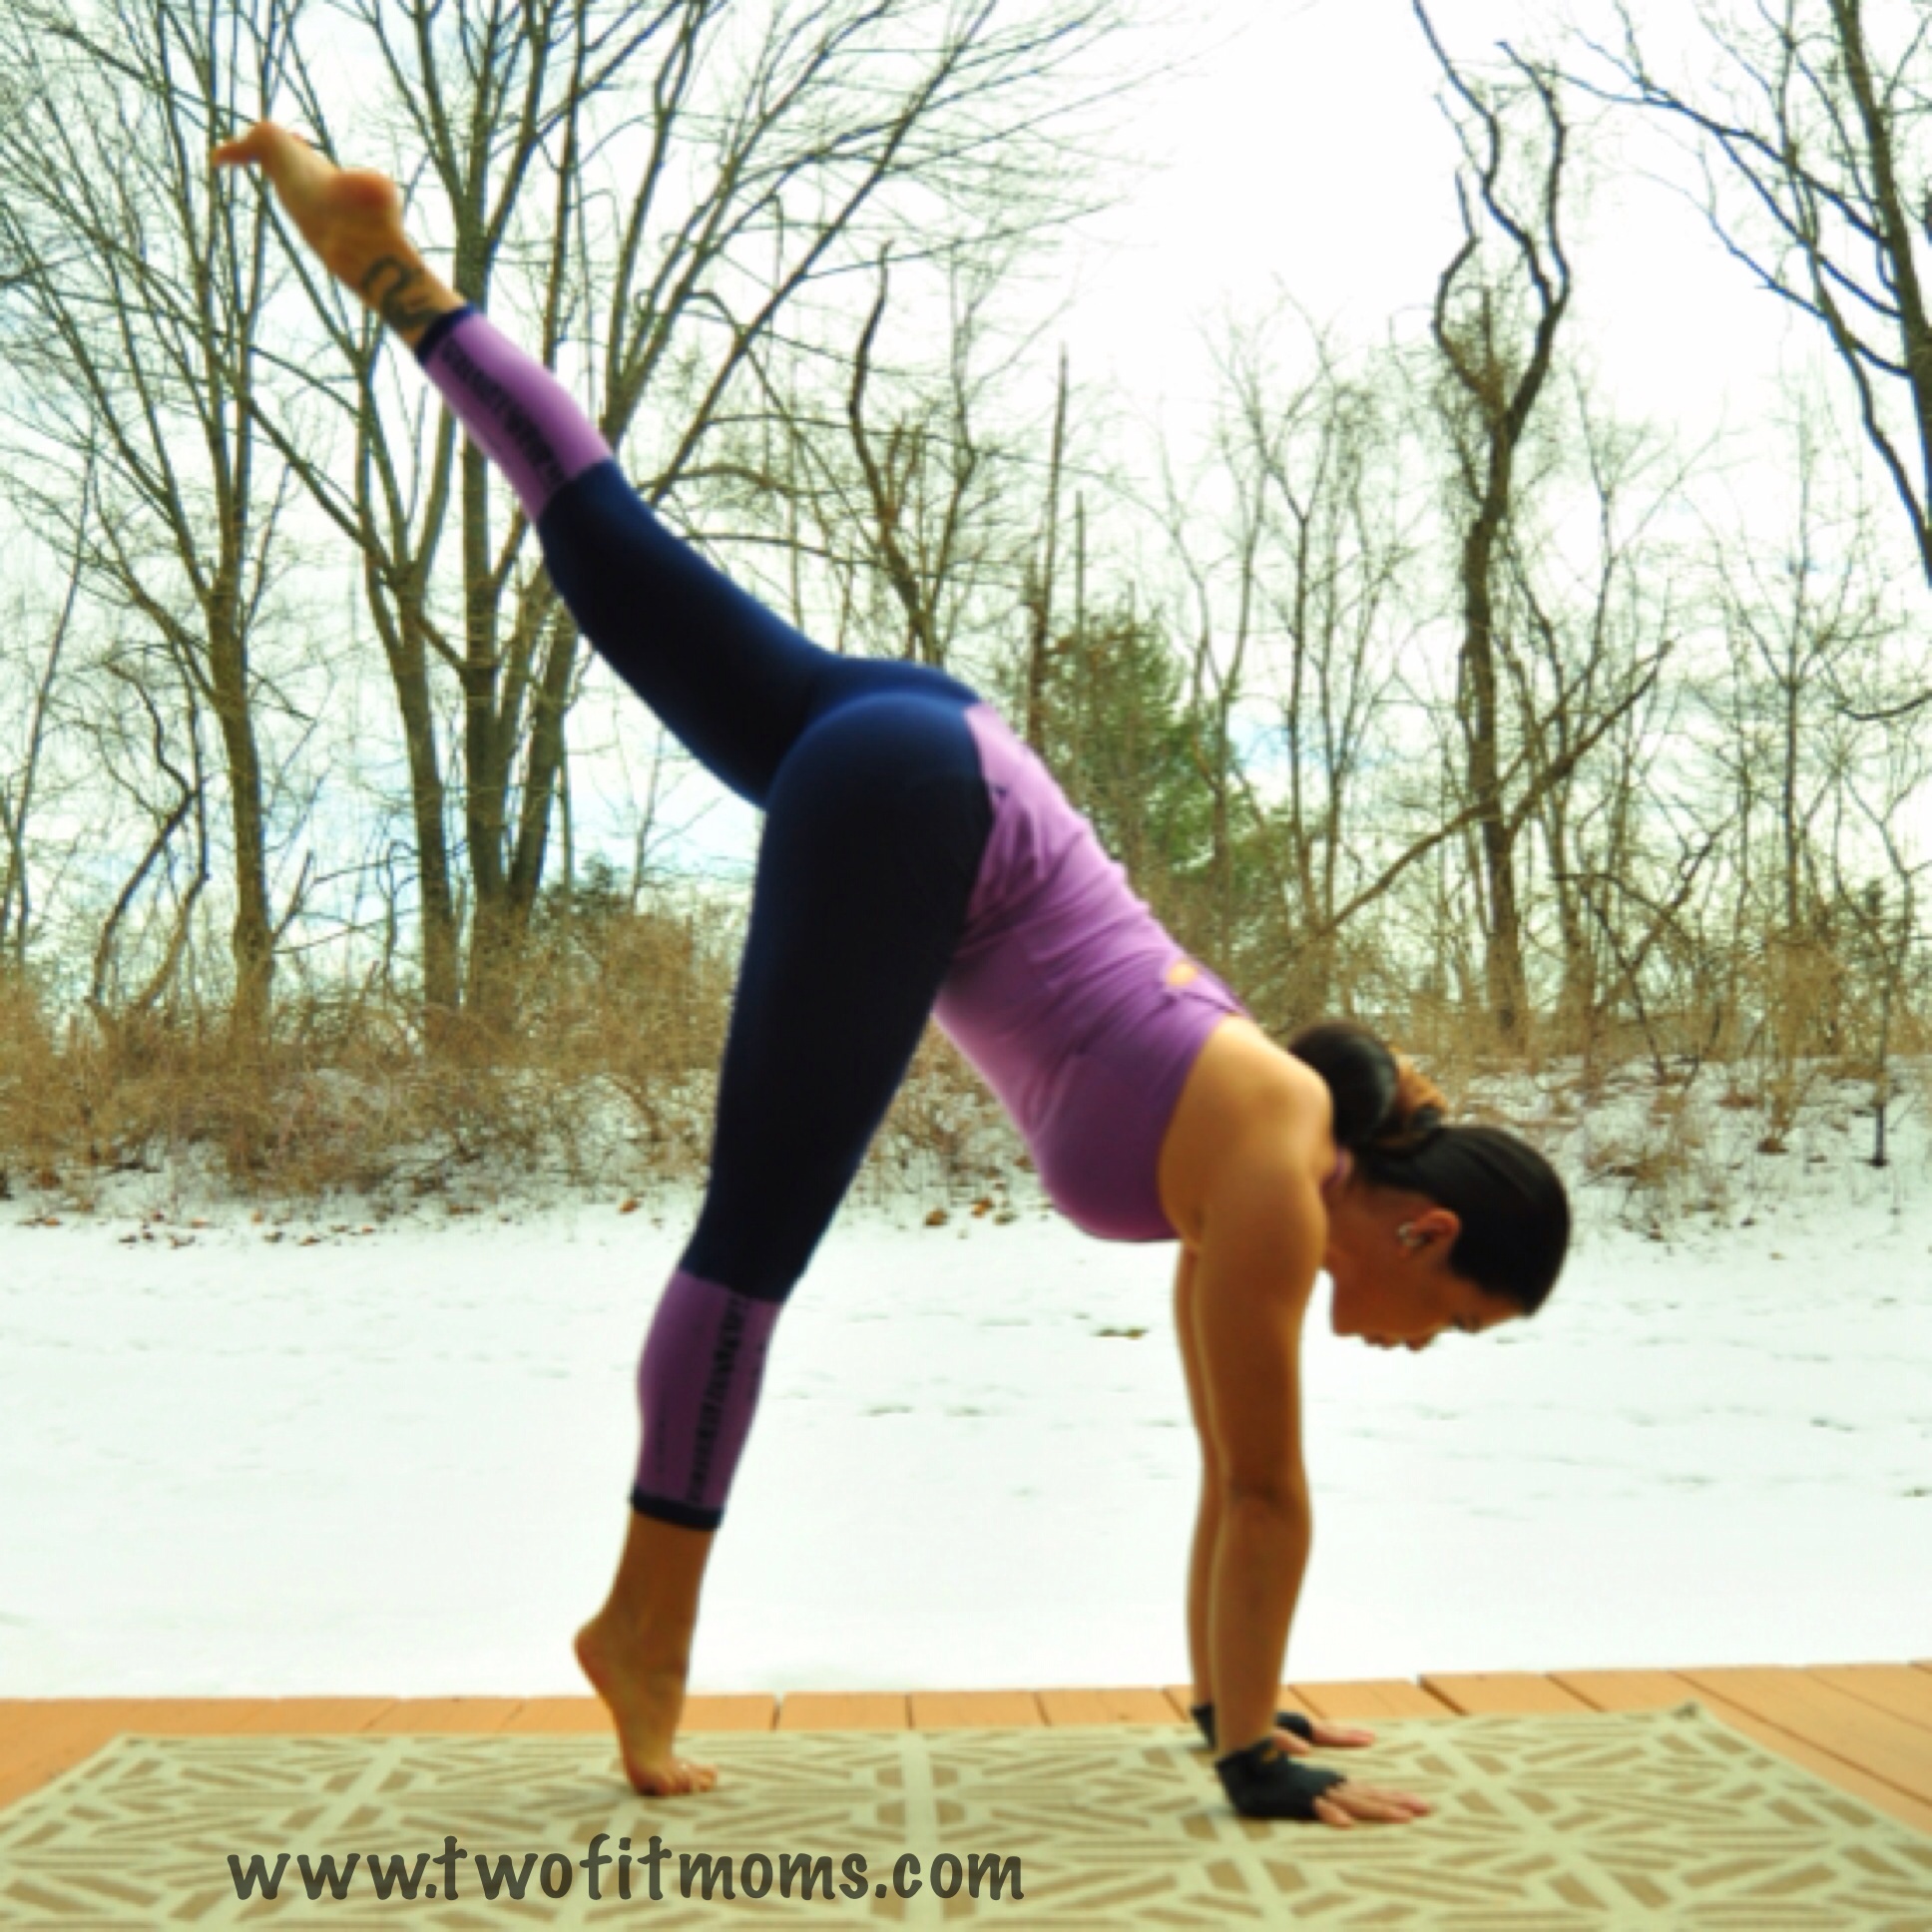
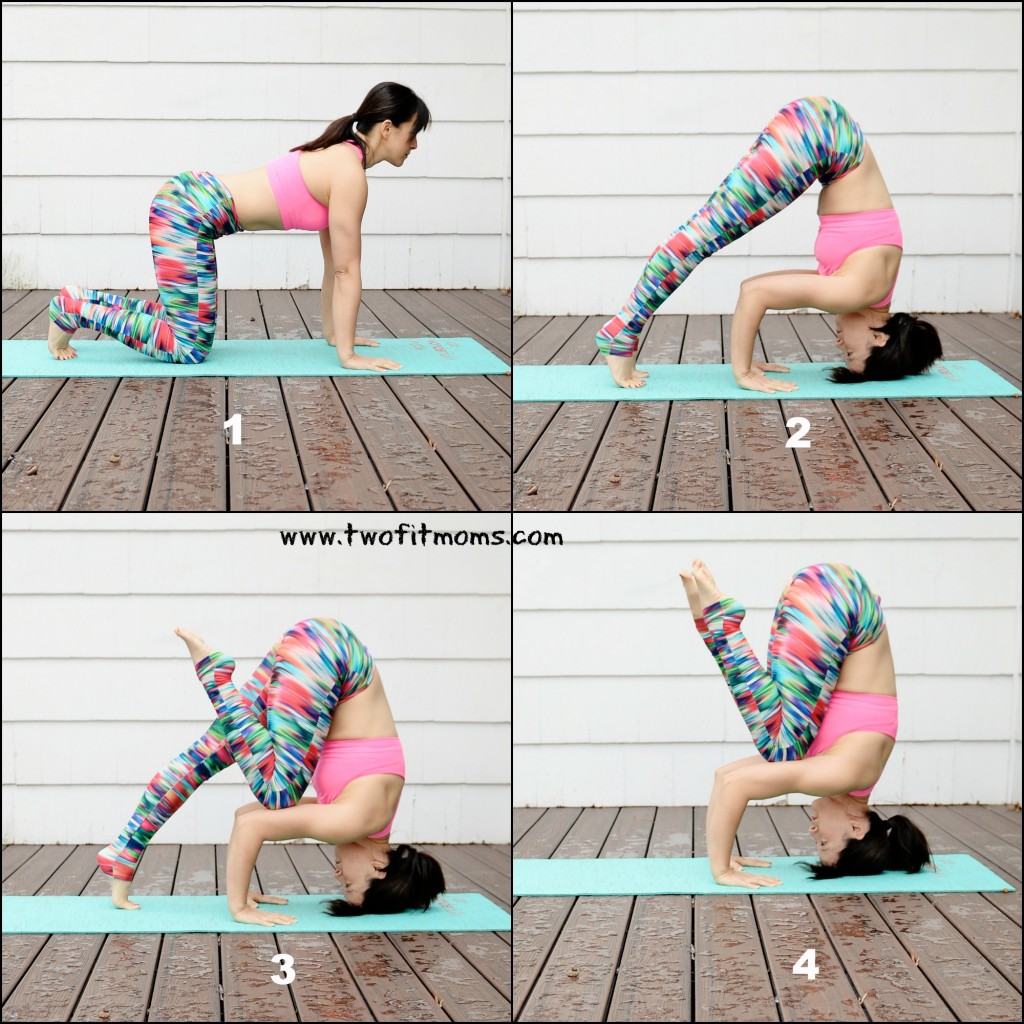
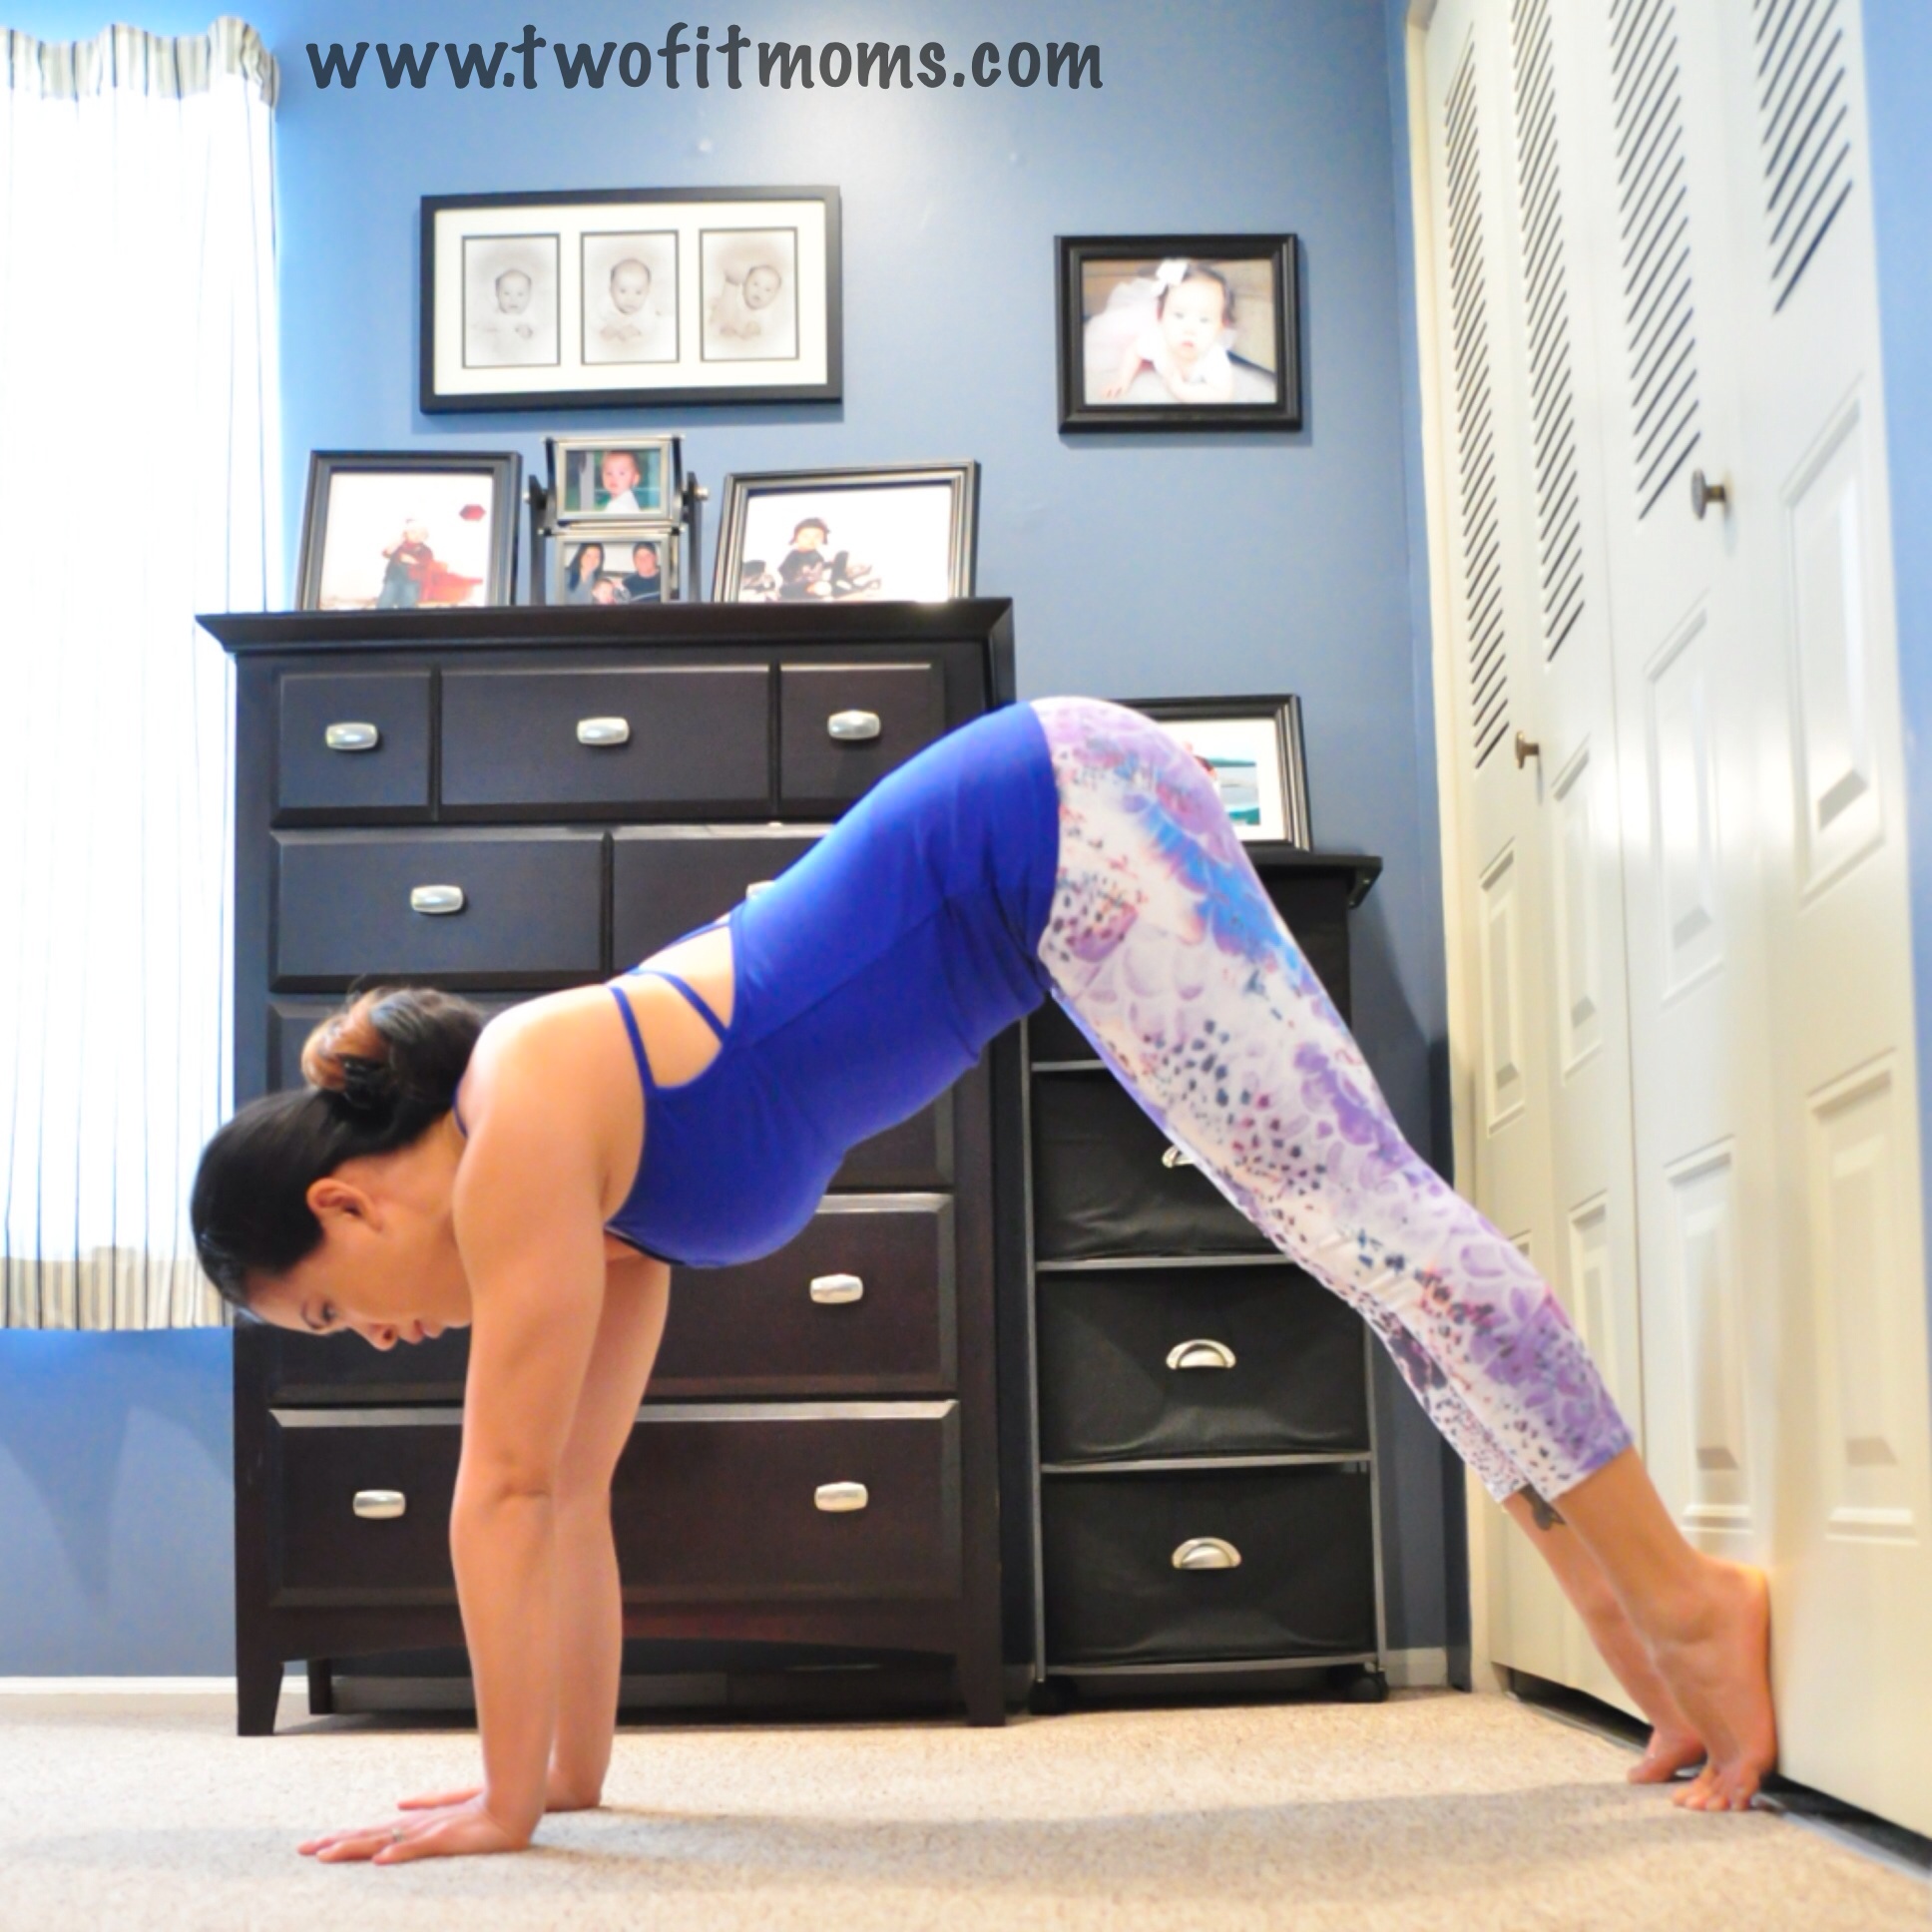
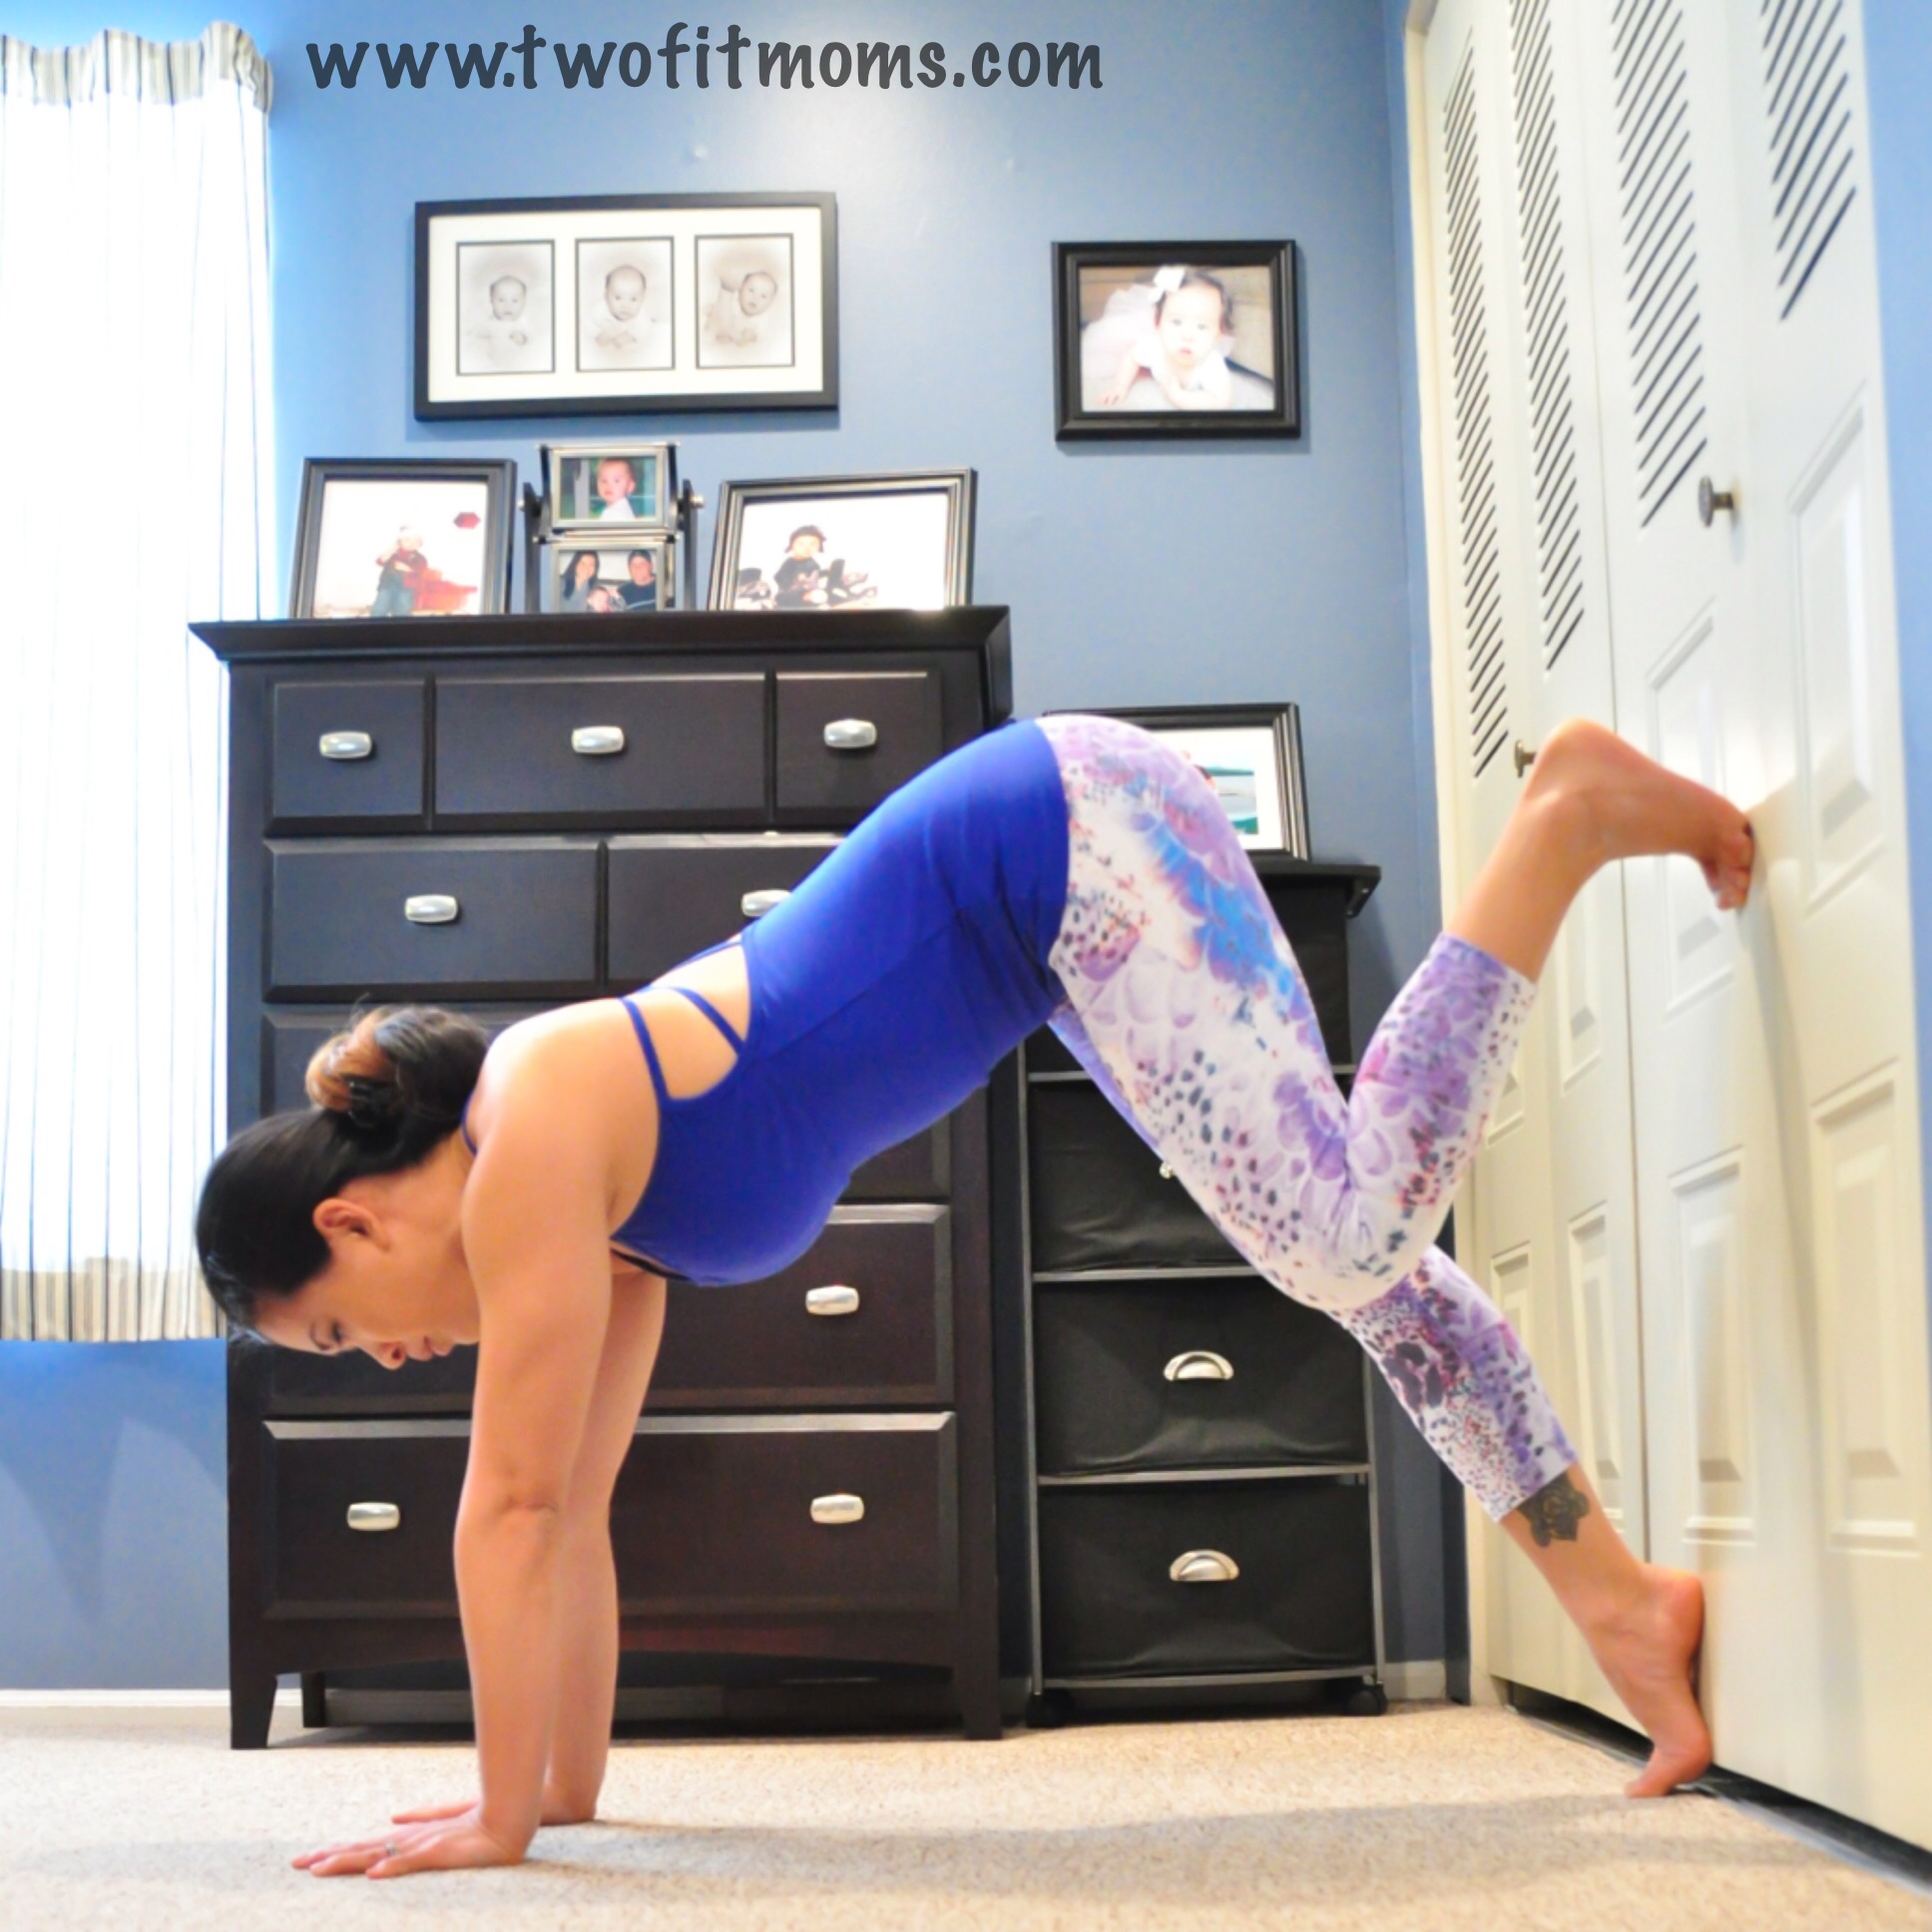
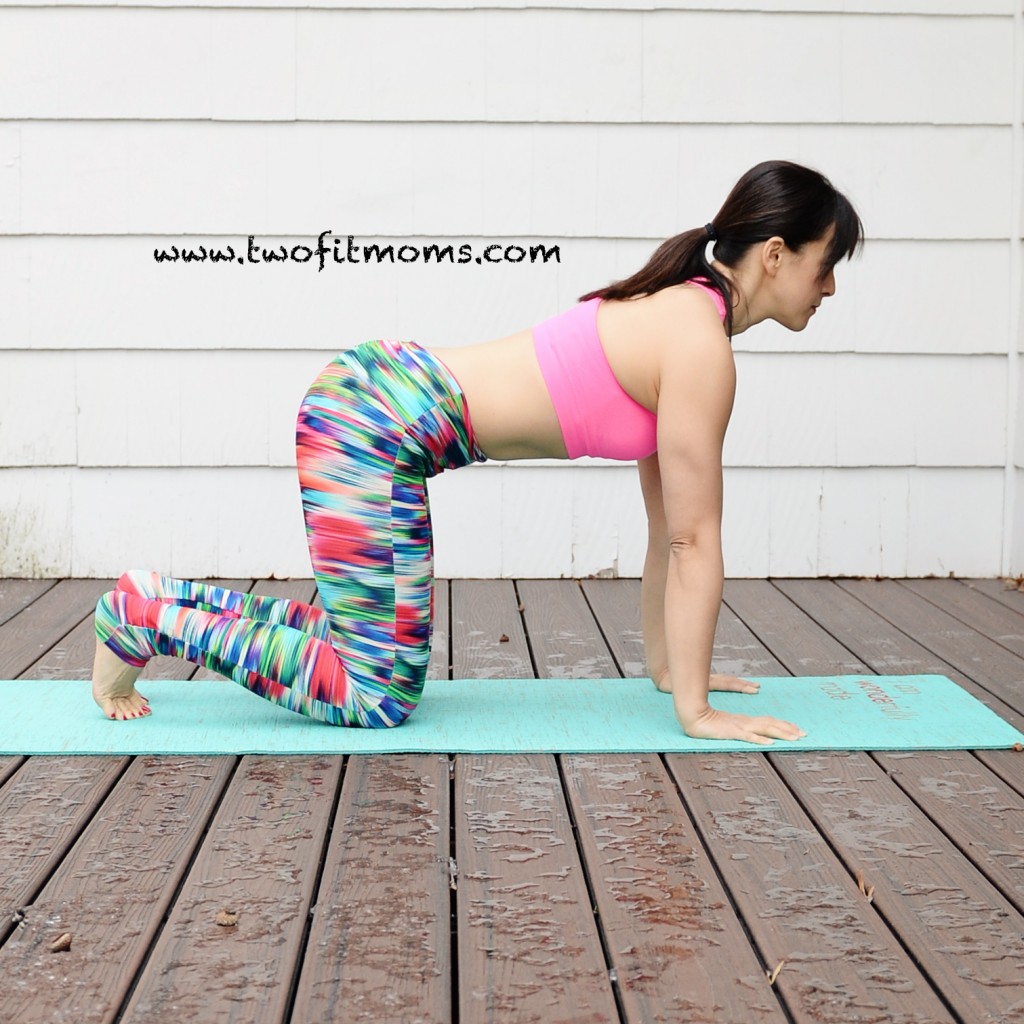
 (shifting weight onto the right knee and lifting the left knee a few inches instead). Most people will find this task to feel more natural on one side. Although we traditionally practice both sides in yoga, in these beginning stages of learning a new inversion, I advise you to just work on getting comfortable by practicing on the side that feels more natural.
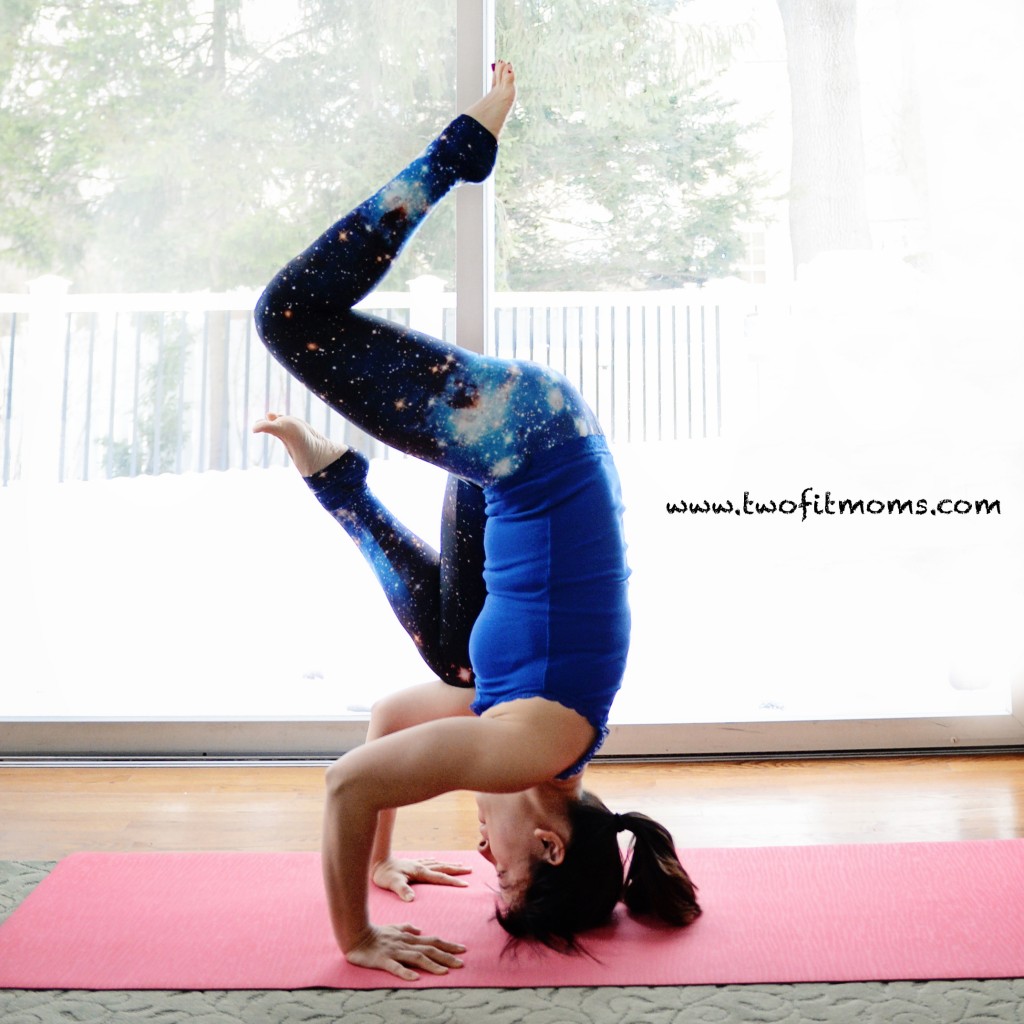


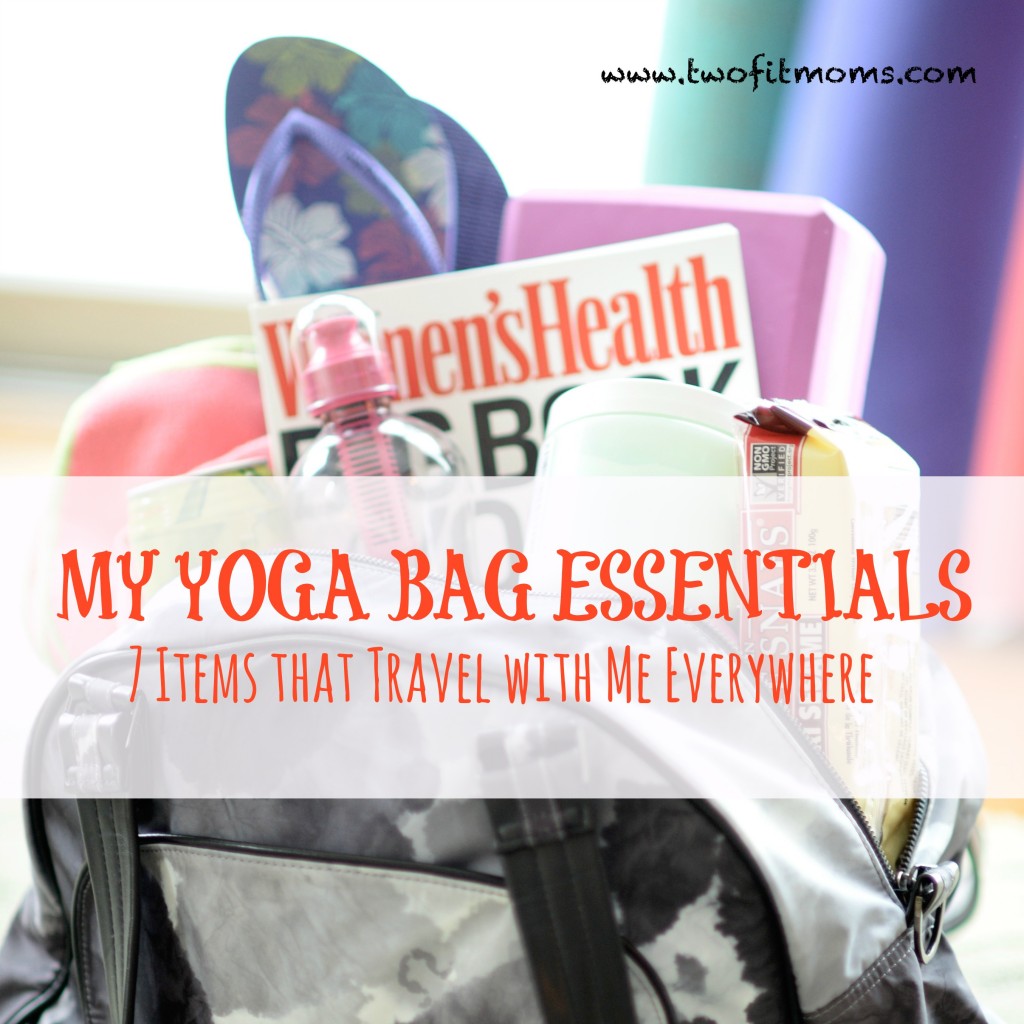 is splitting at the seams with all sorts of items that I’ve deemed necessary to carry into the studio: a notebook with yoga sequences and dharma talk themes, a stopwatch so that I can keep track of the time while I’m teaching, extra hair ties, headbands, chapstick, tissues, a hand towel, and a bottle of mat spray. And that’s not even half of it! While there are many things keeping my bag heavy, there are seven items in particular that keep my soul light and happy. Let me introduce you to my yoga bag essentials:
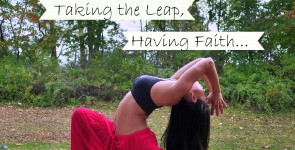


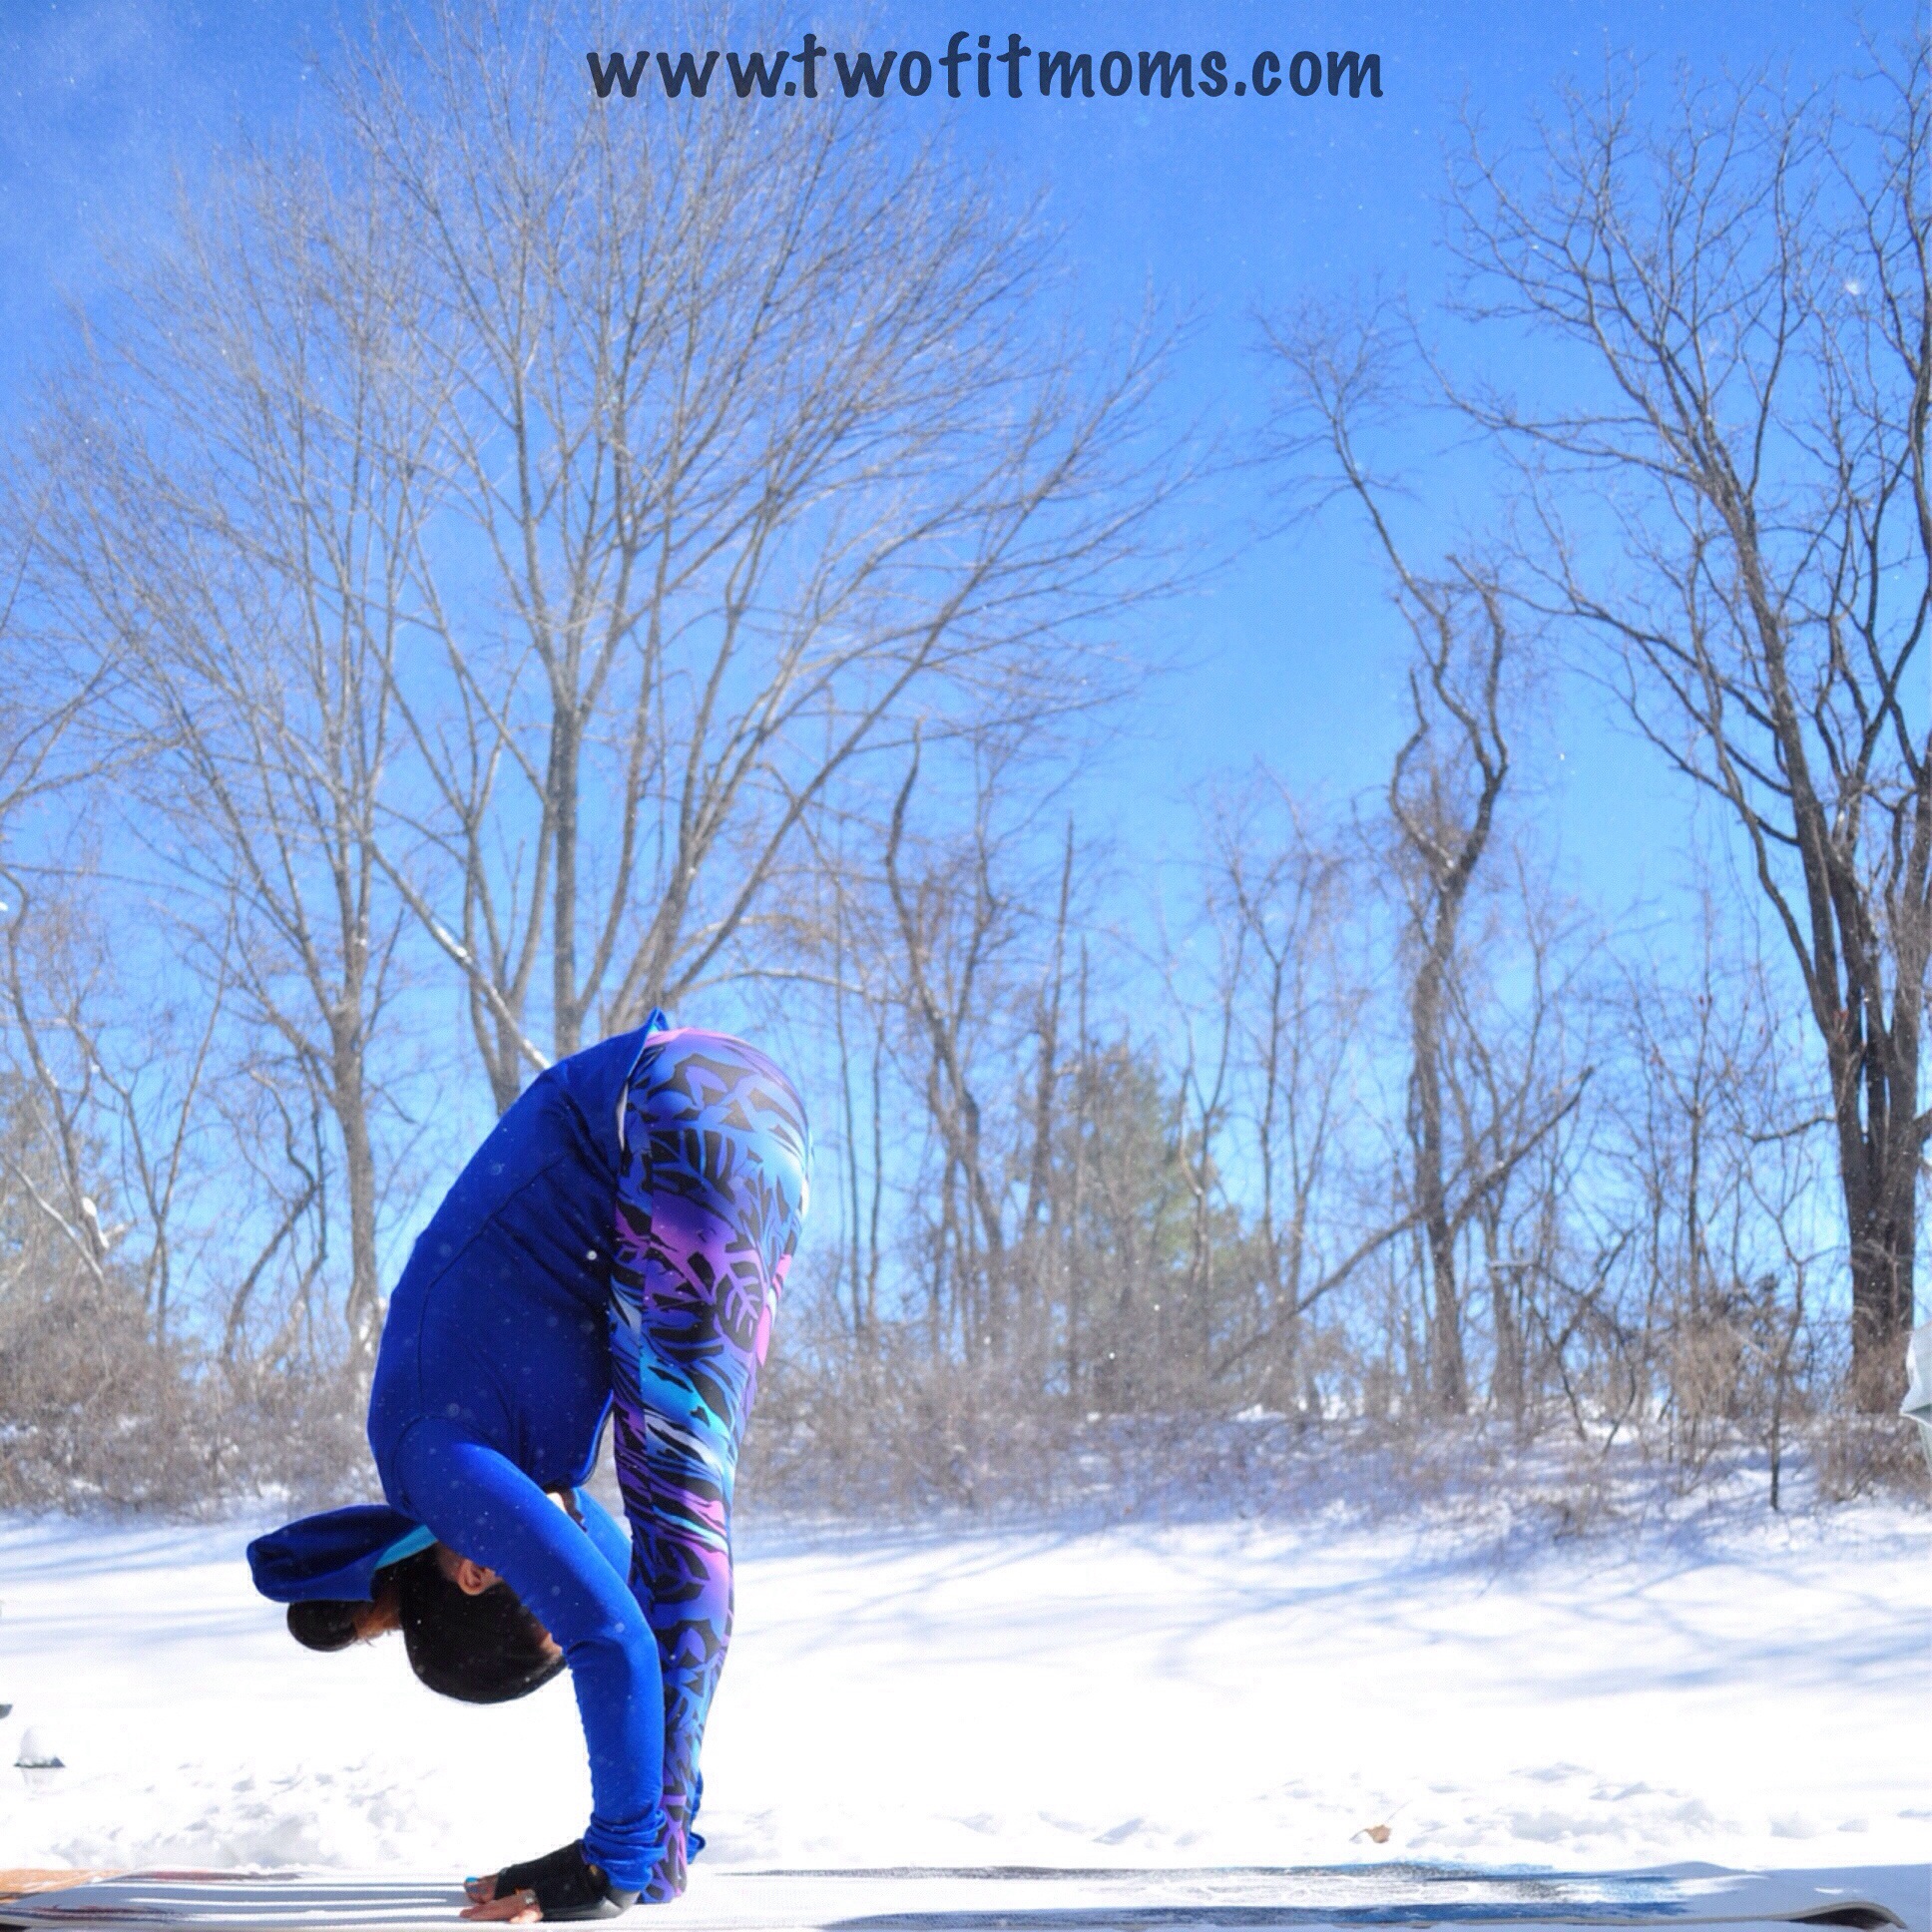
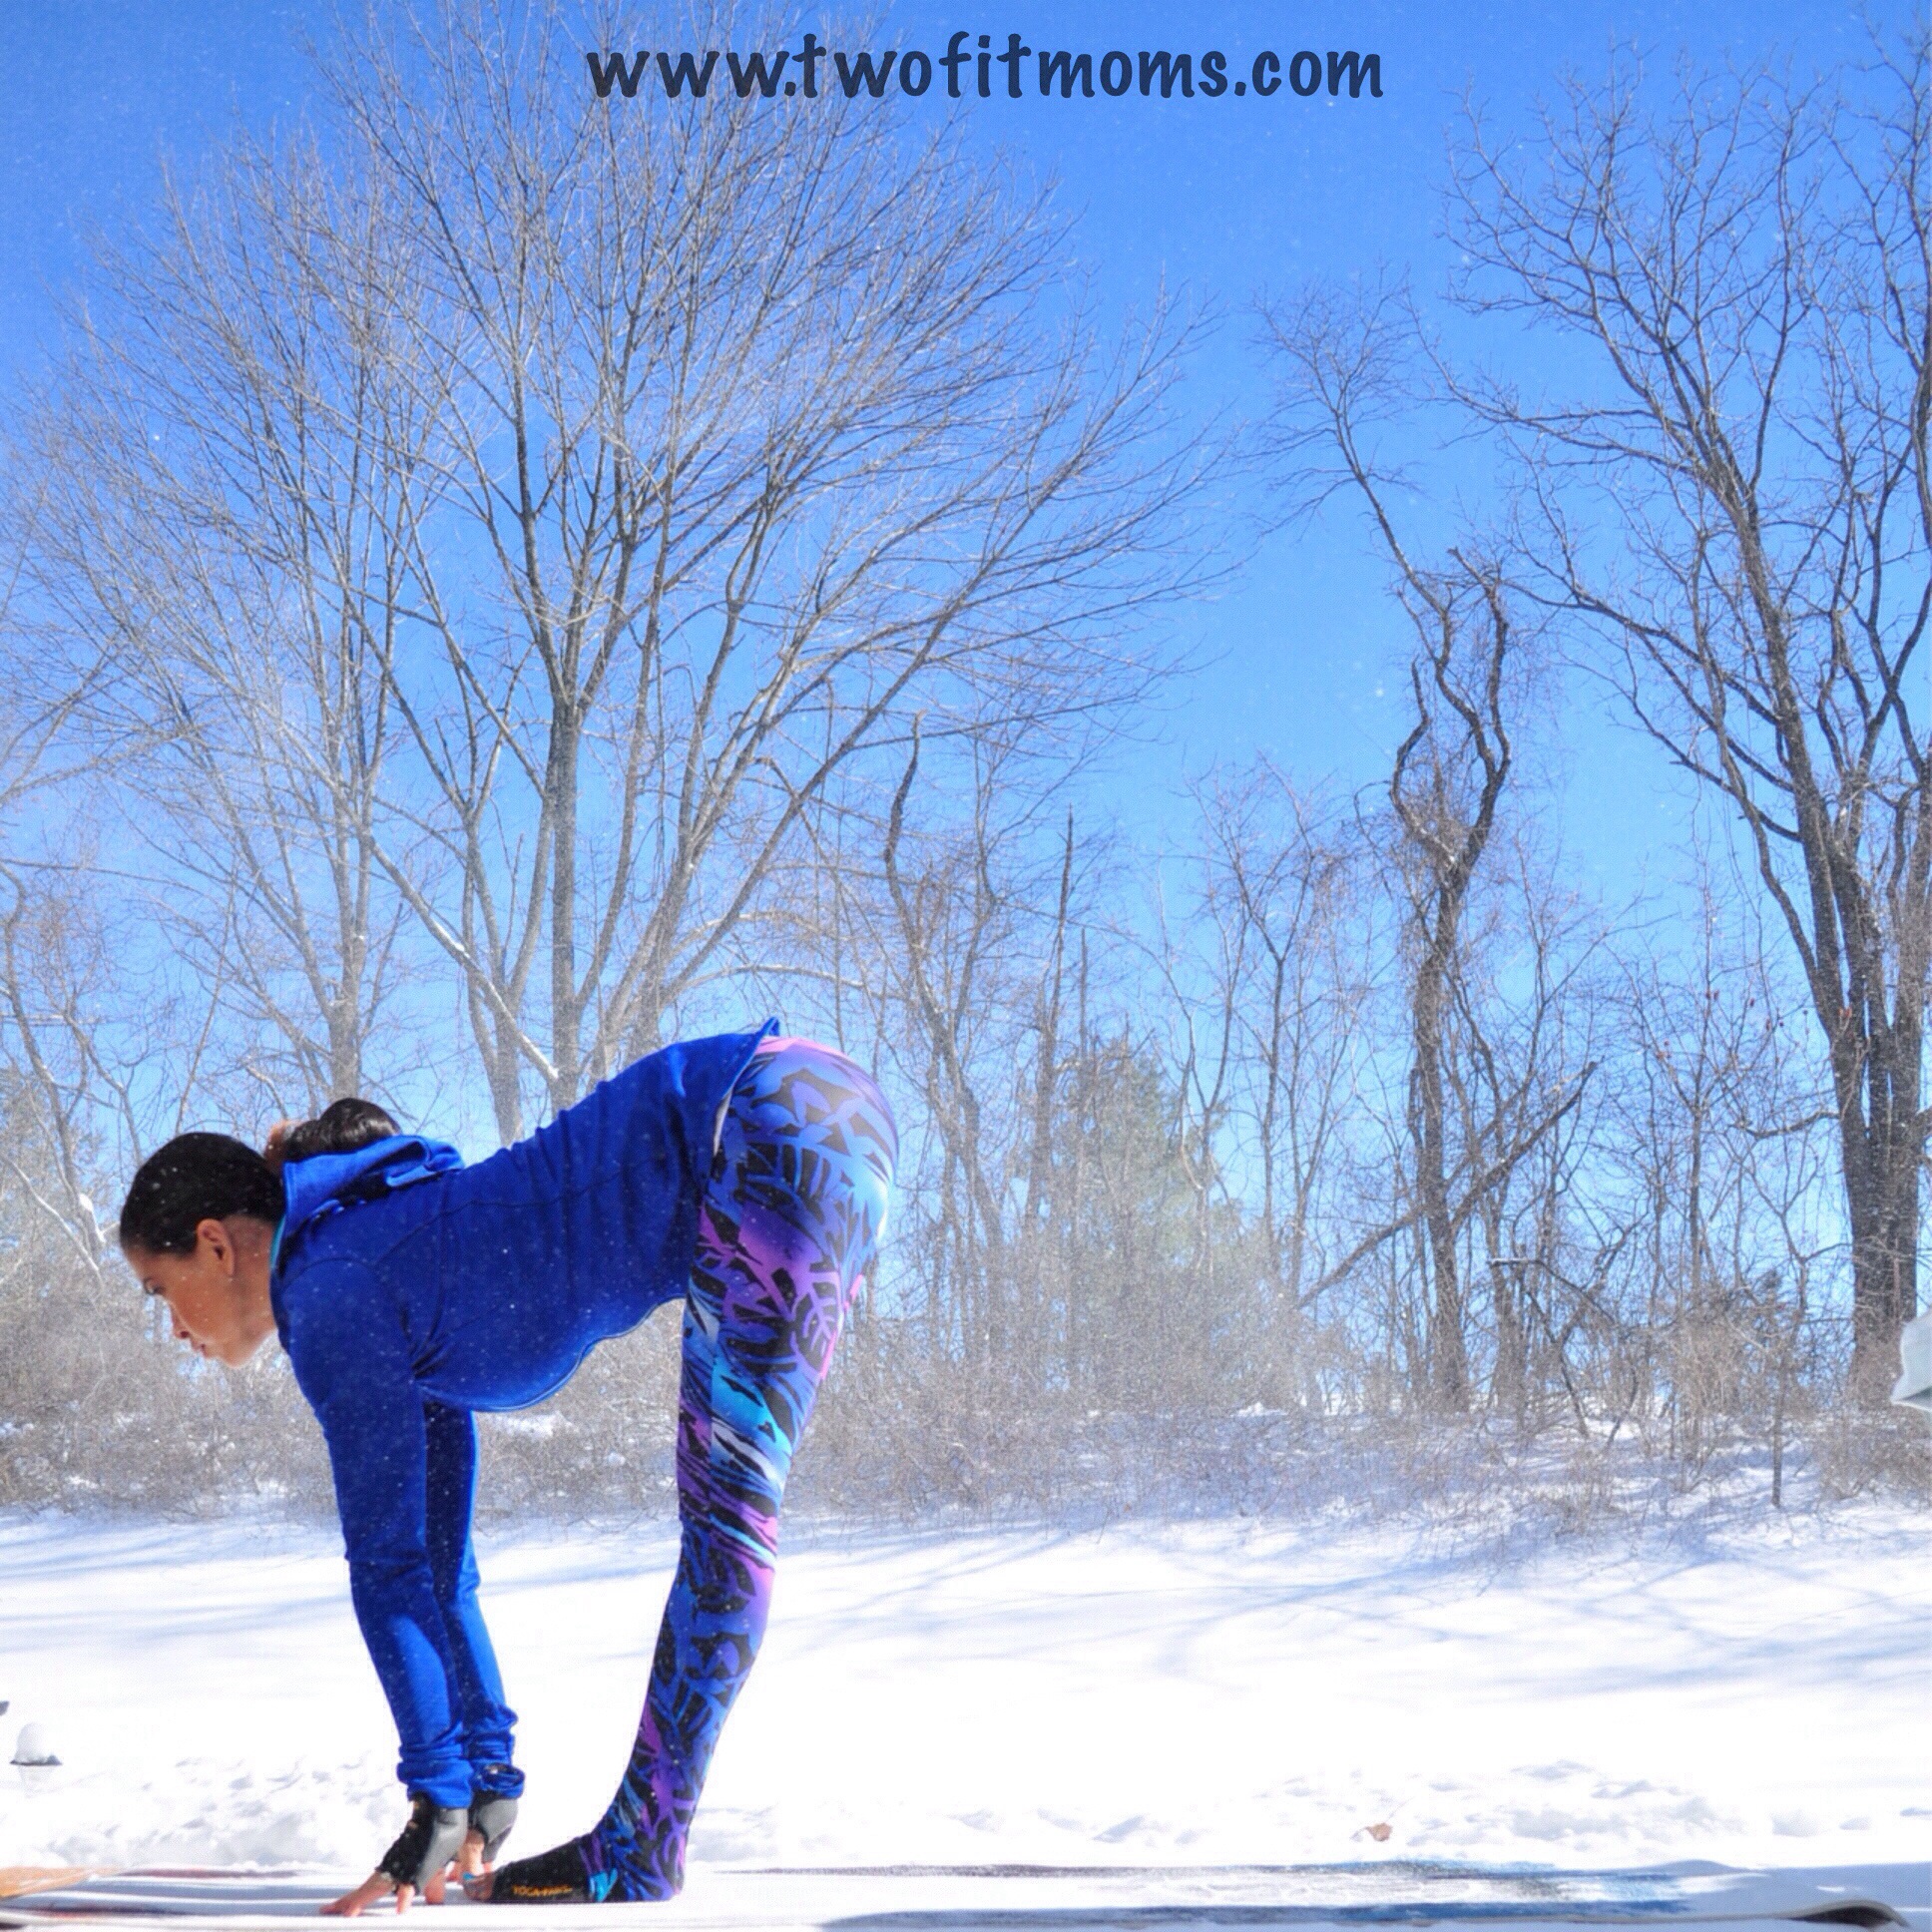
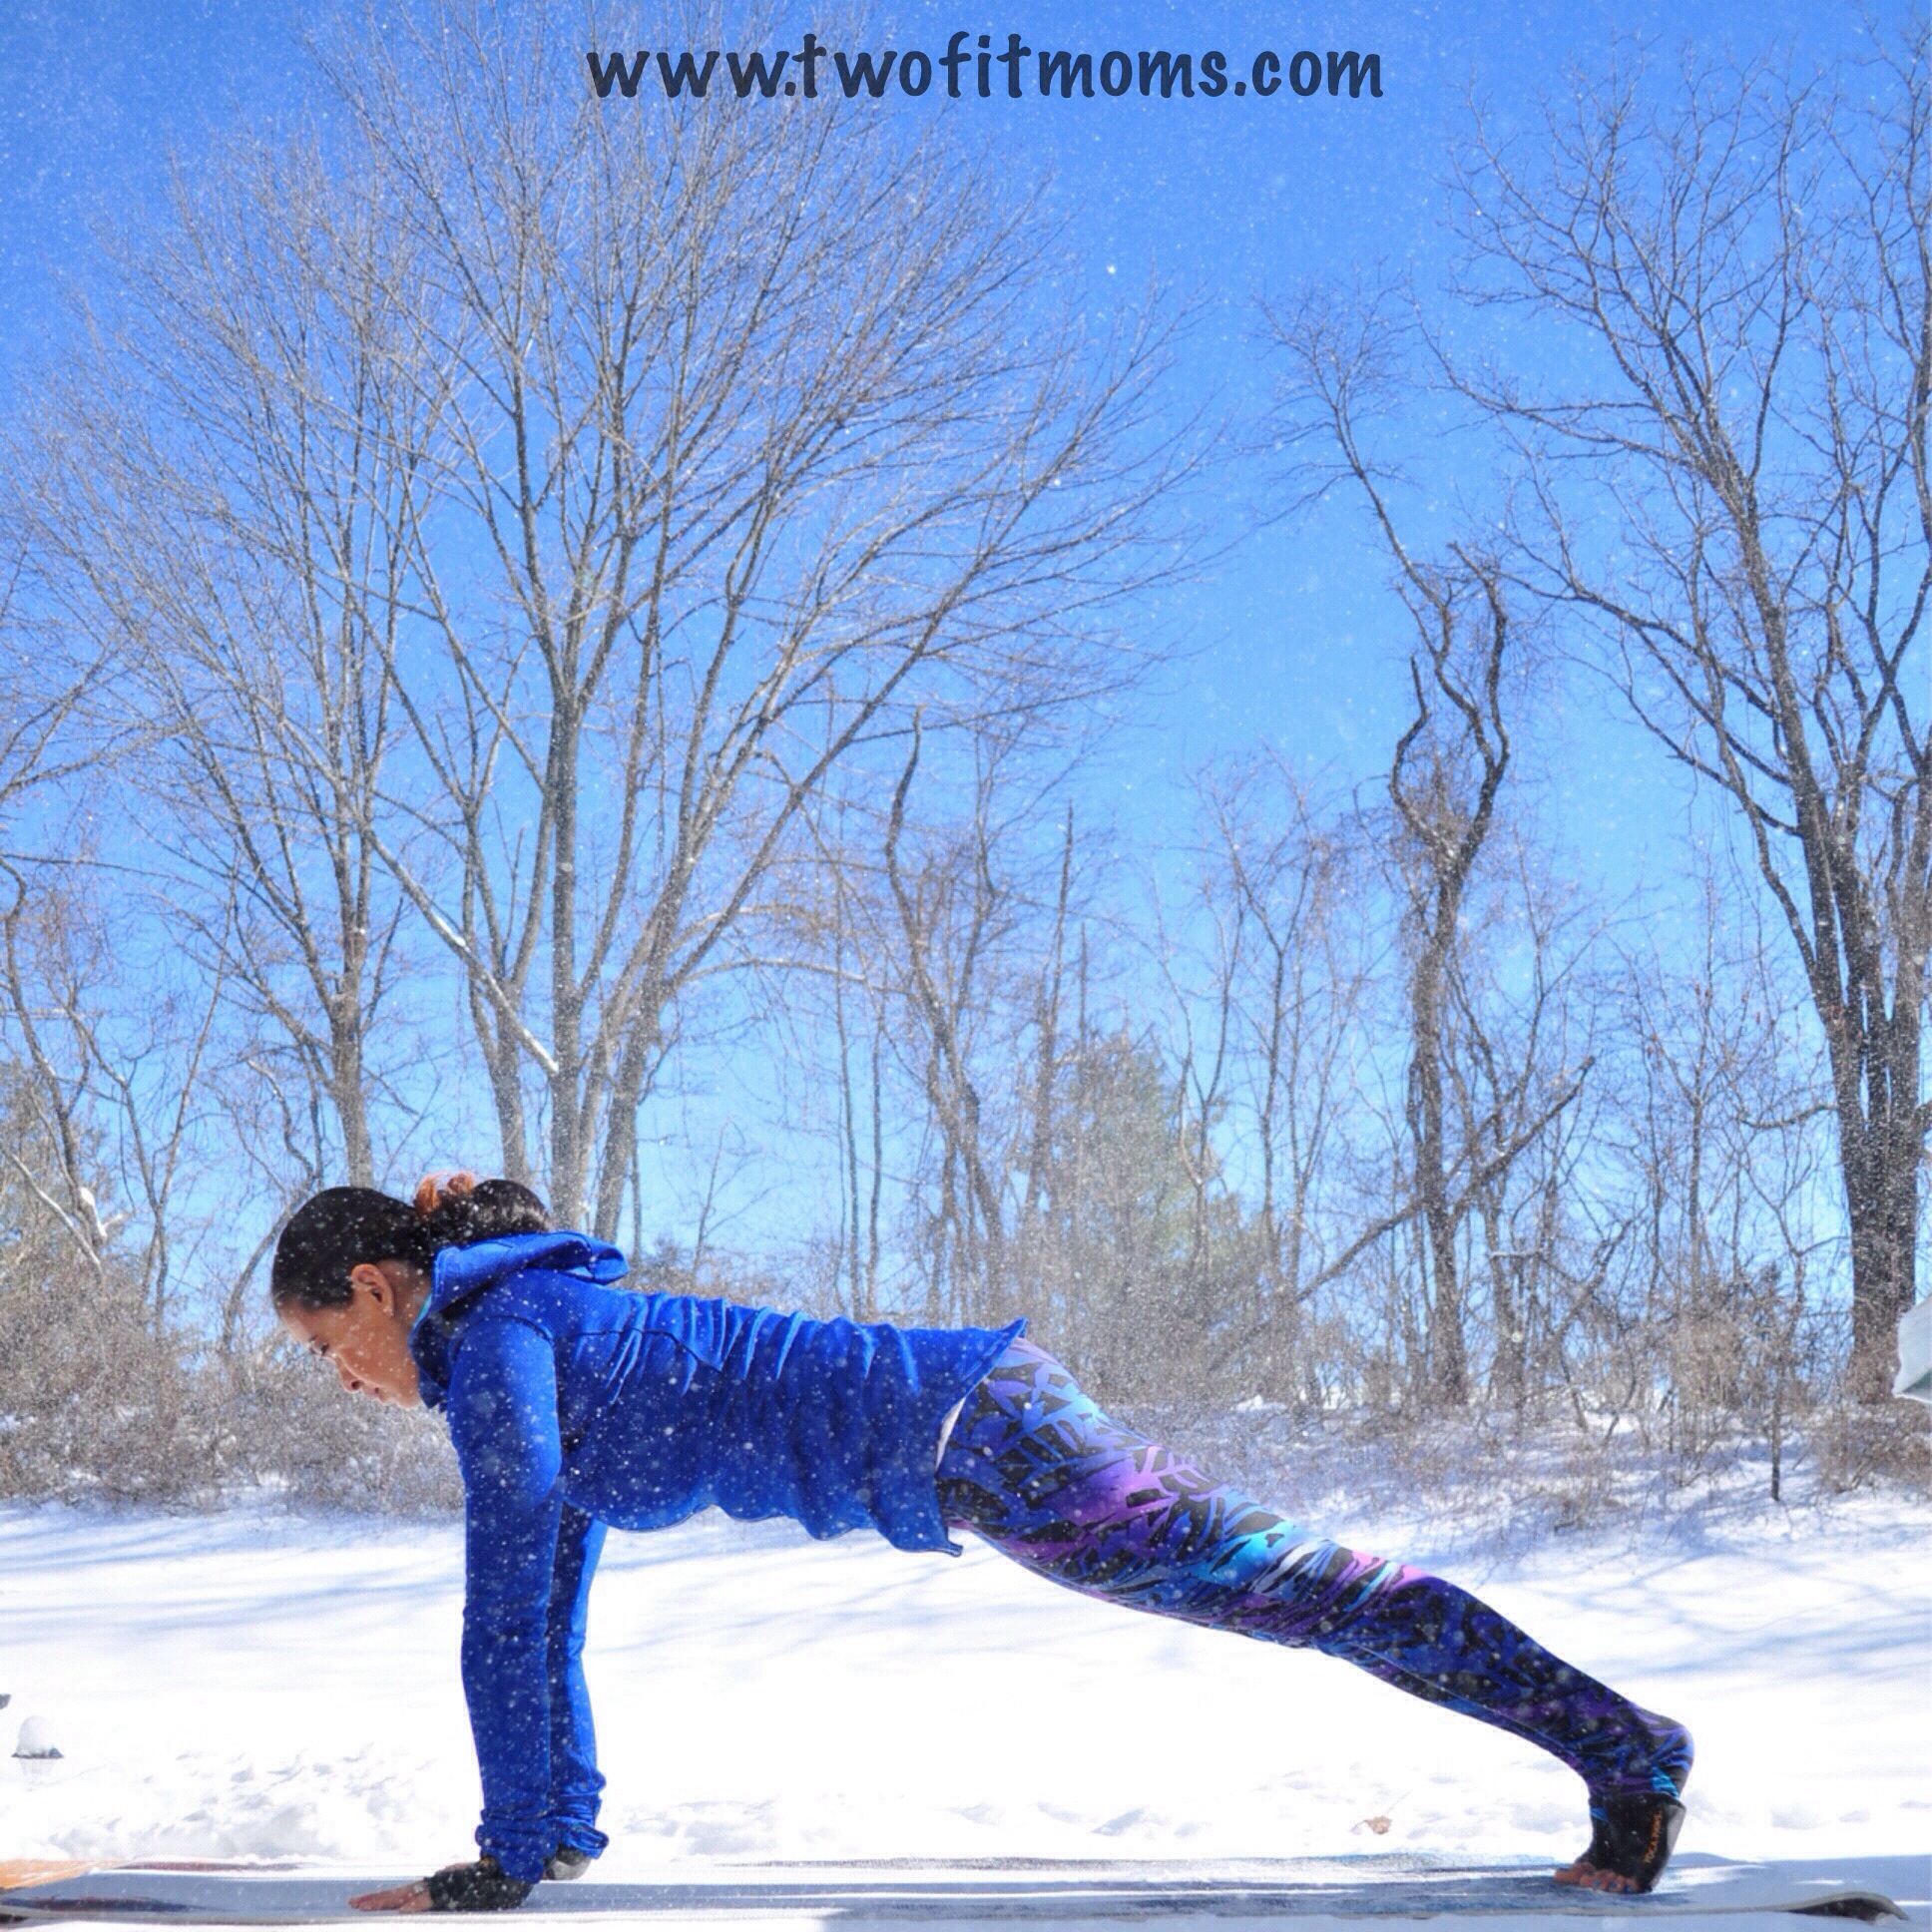
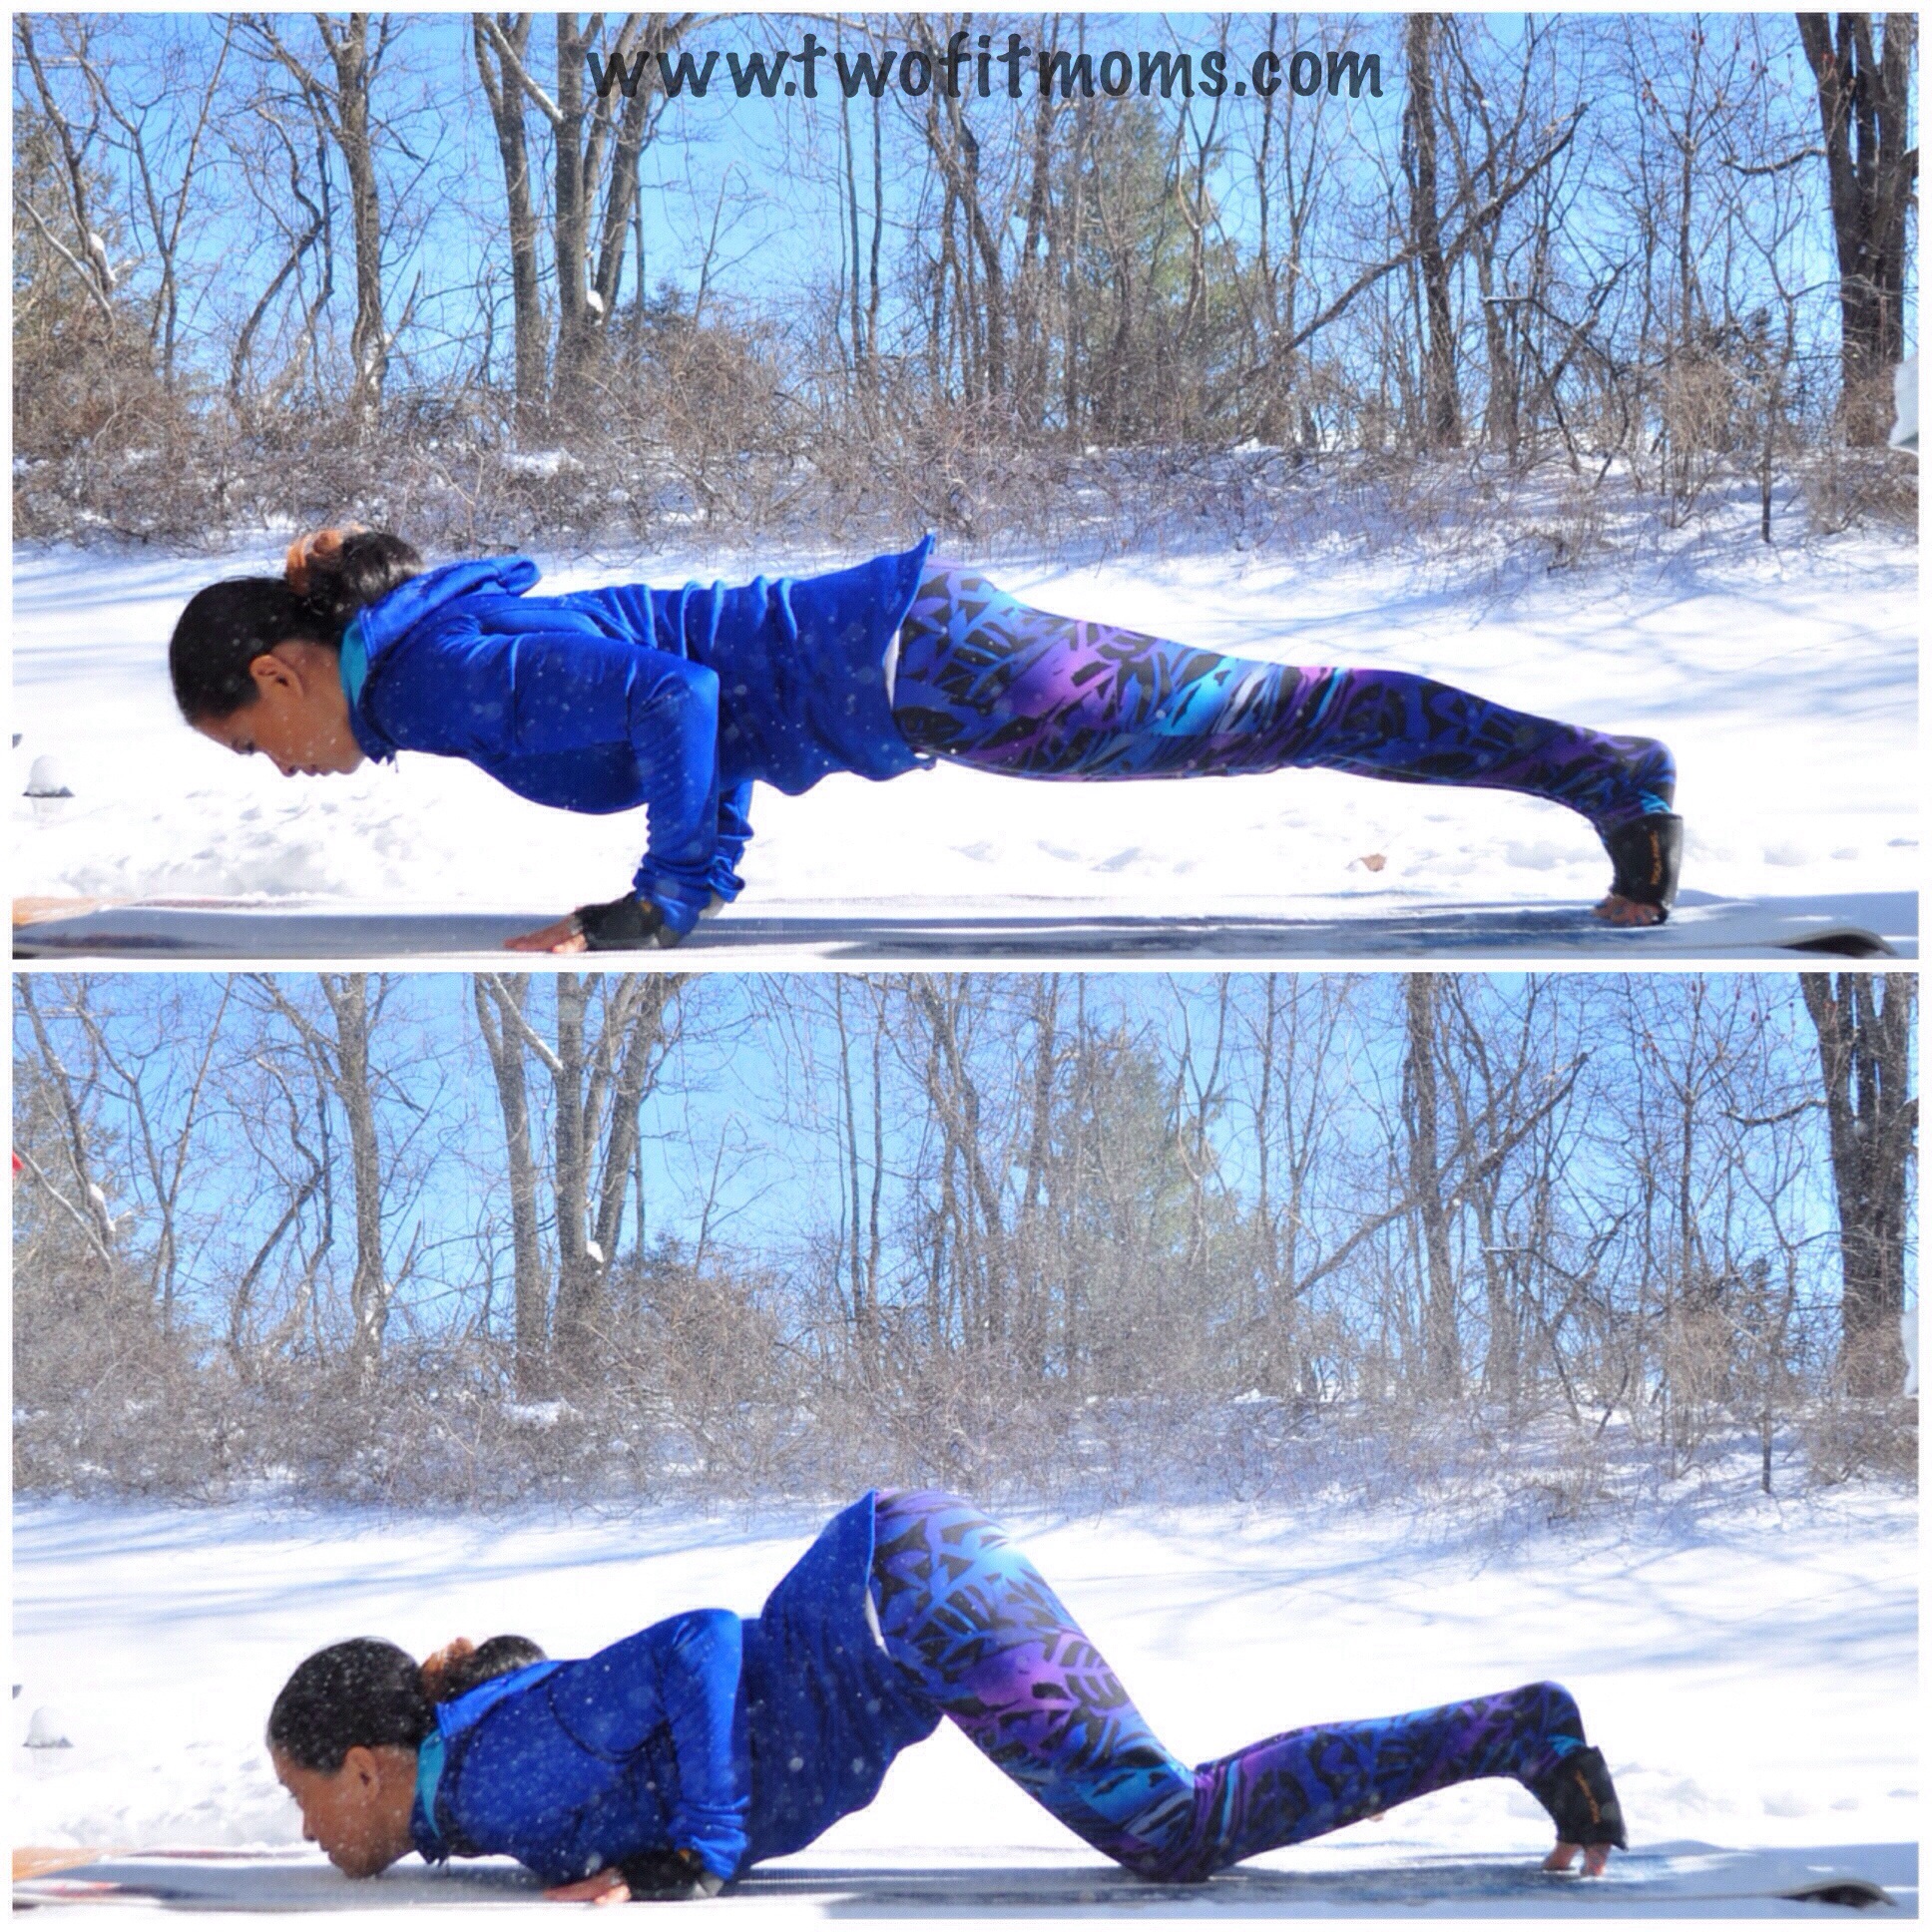
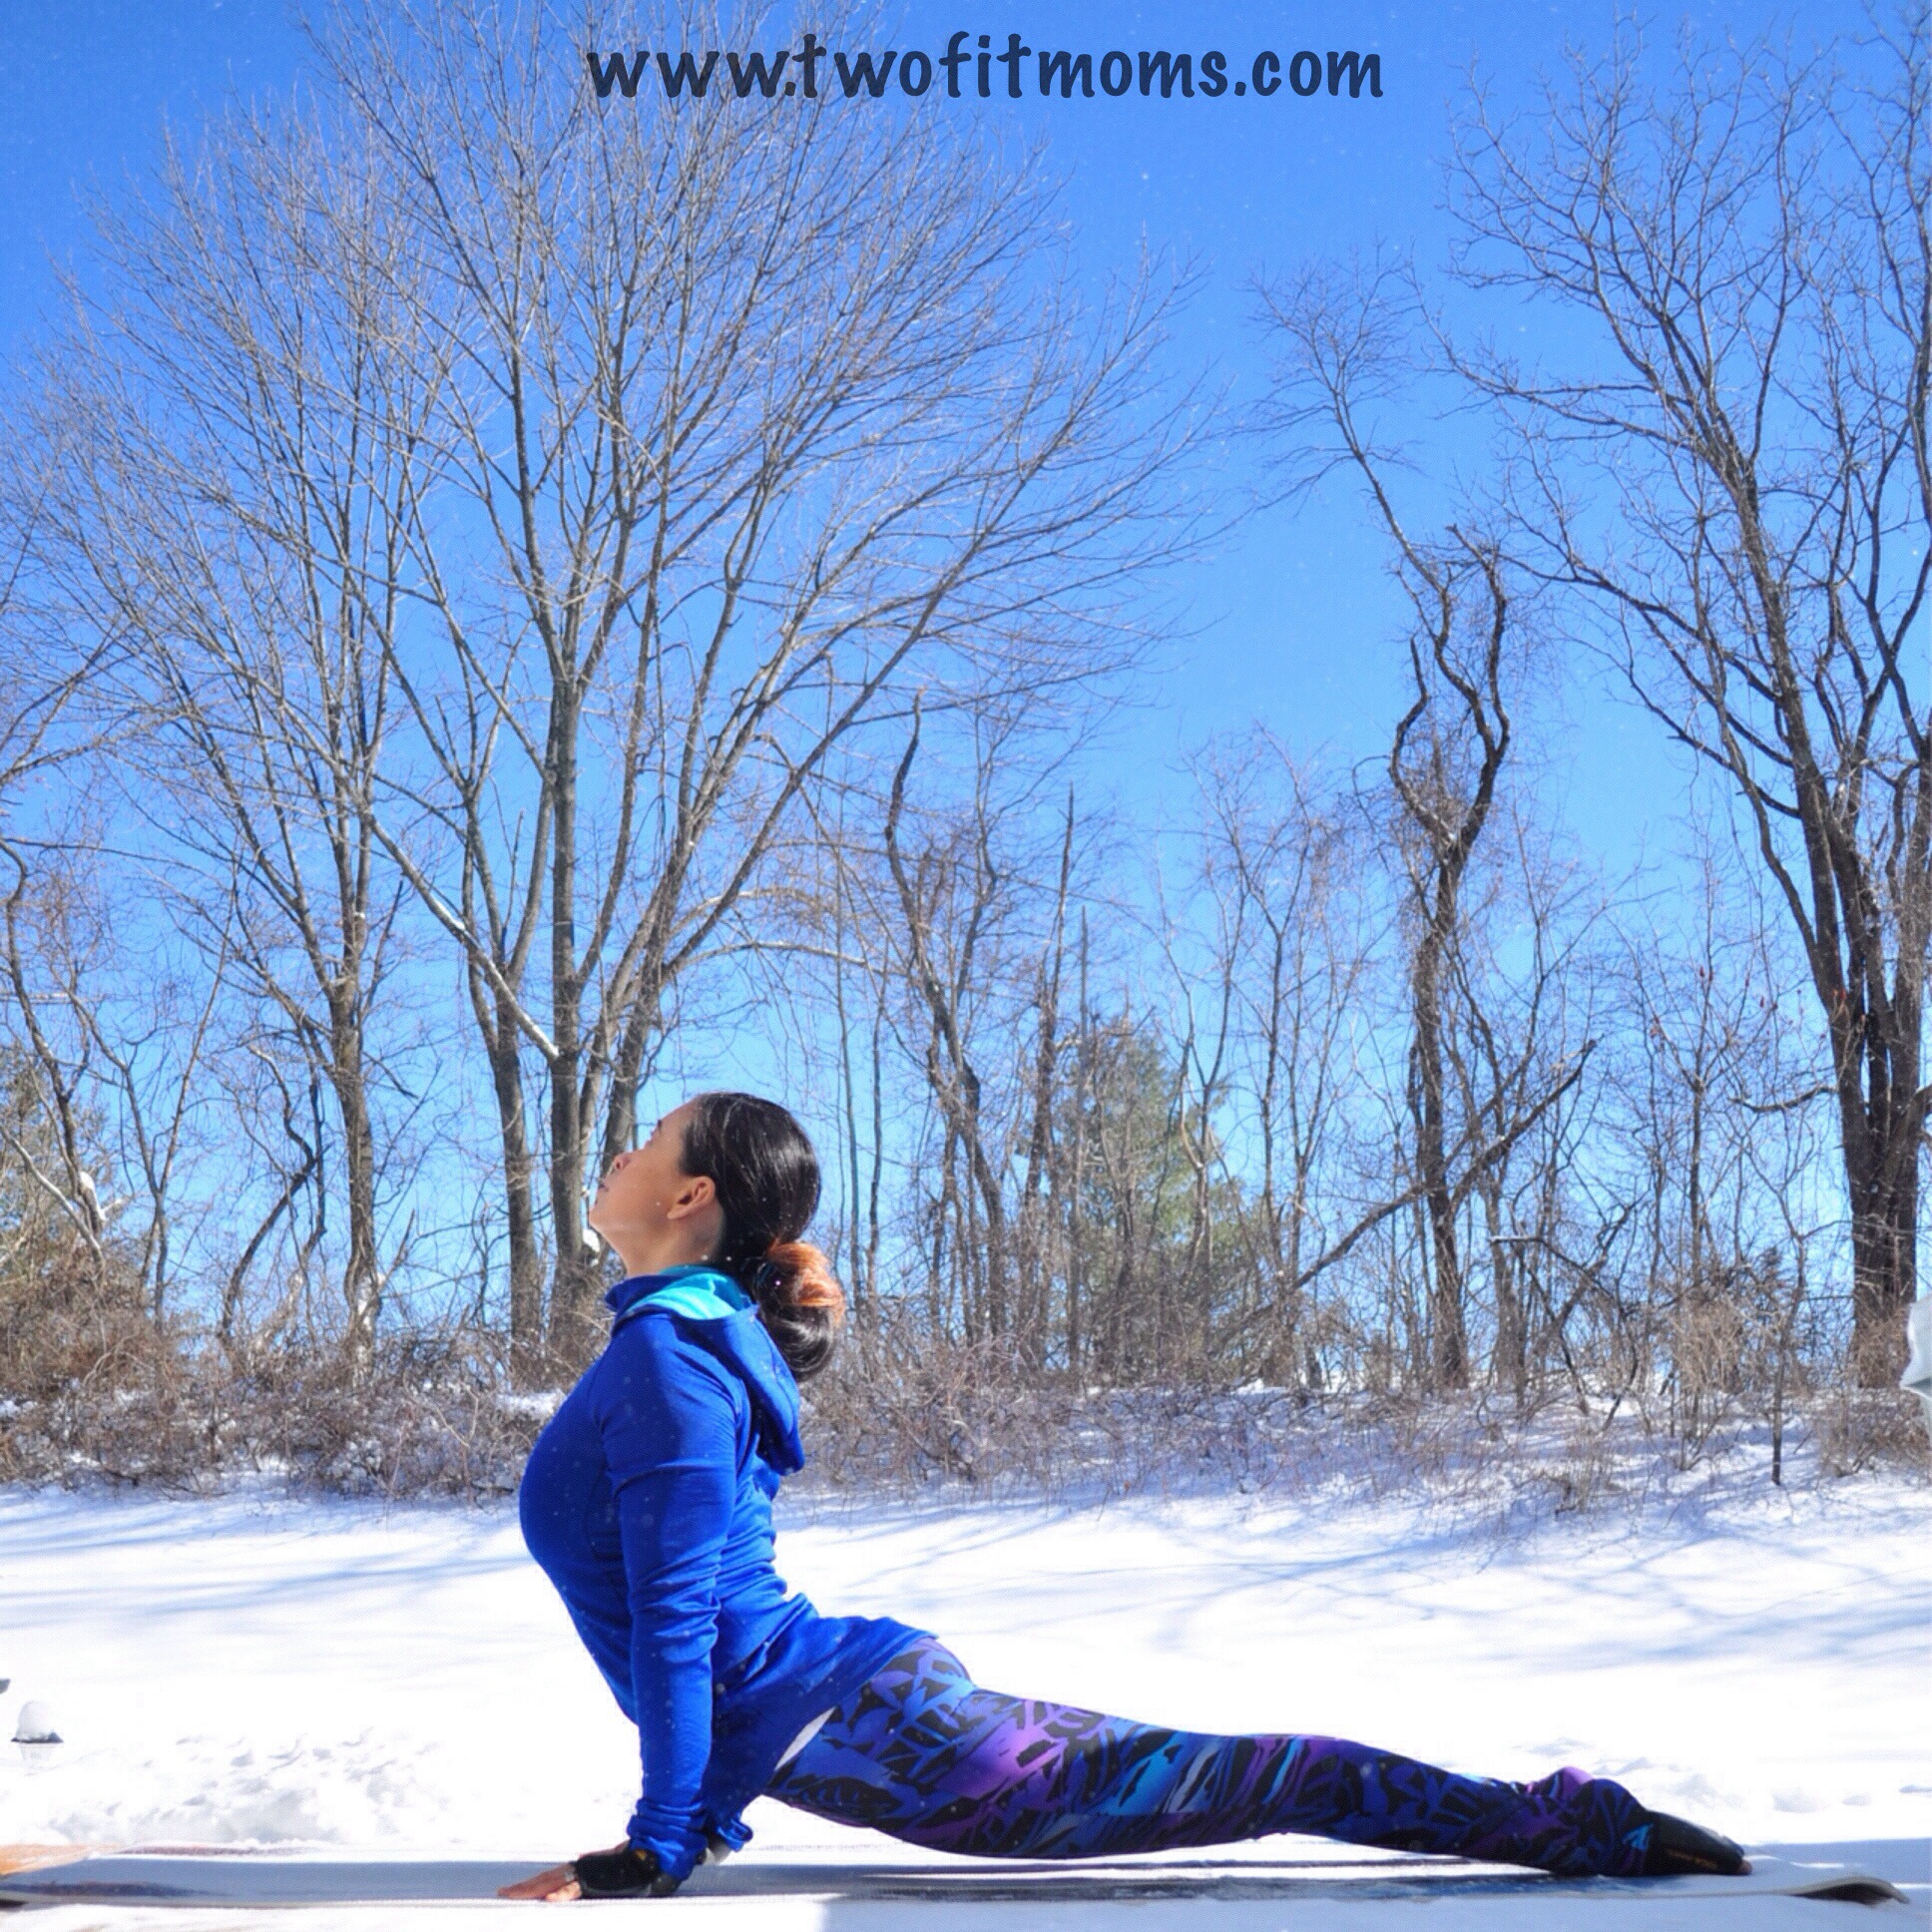
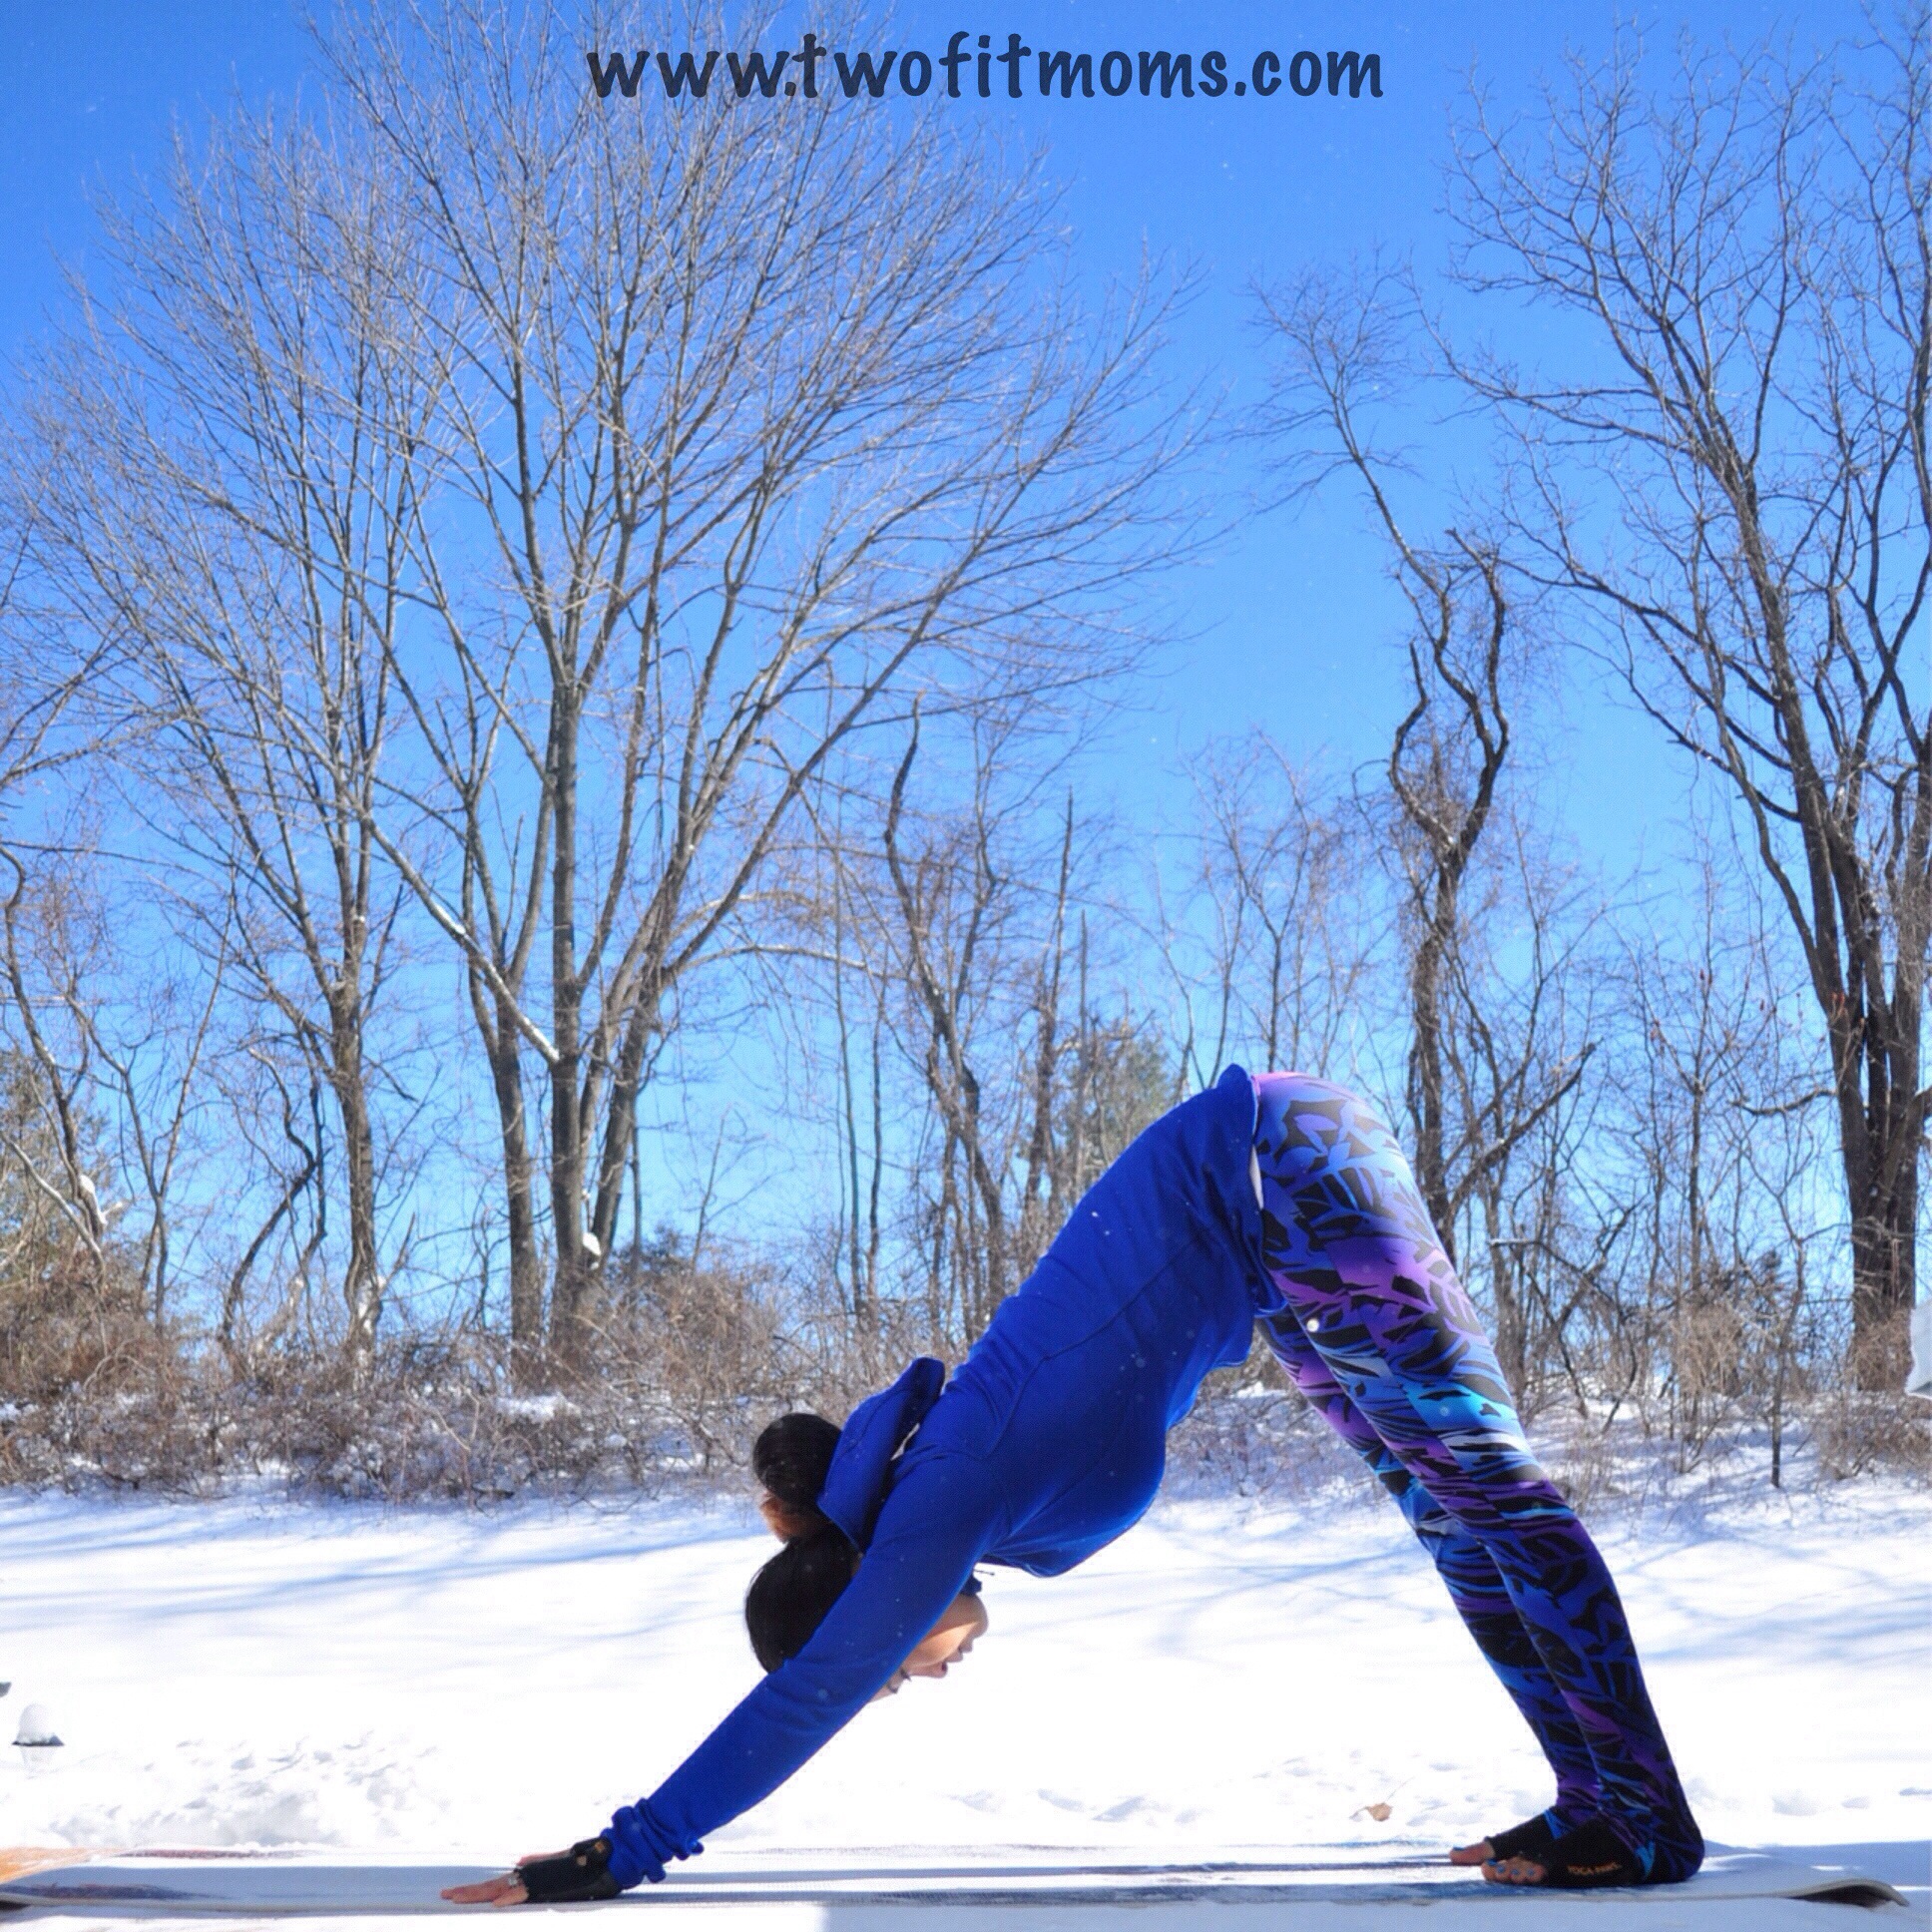
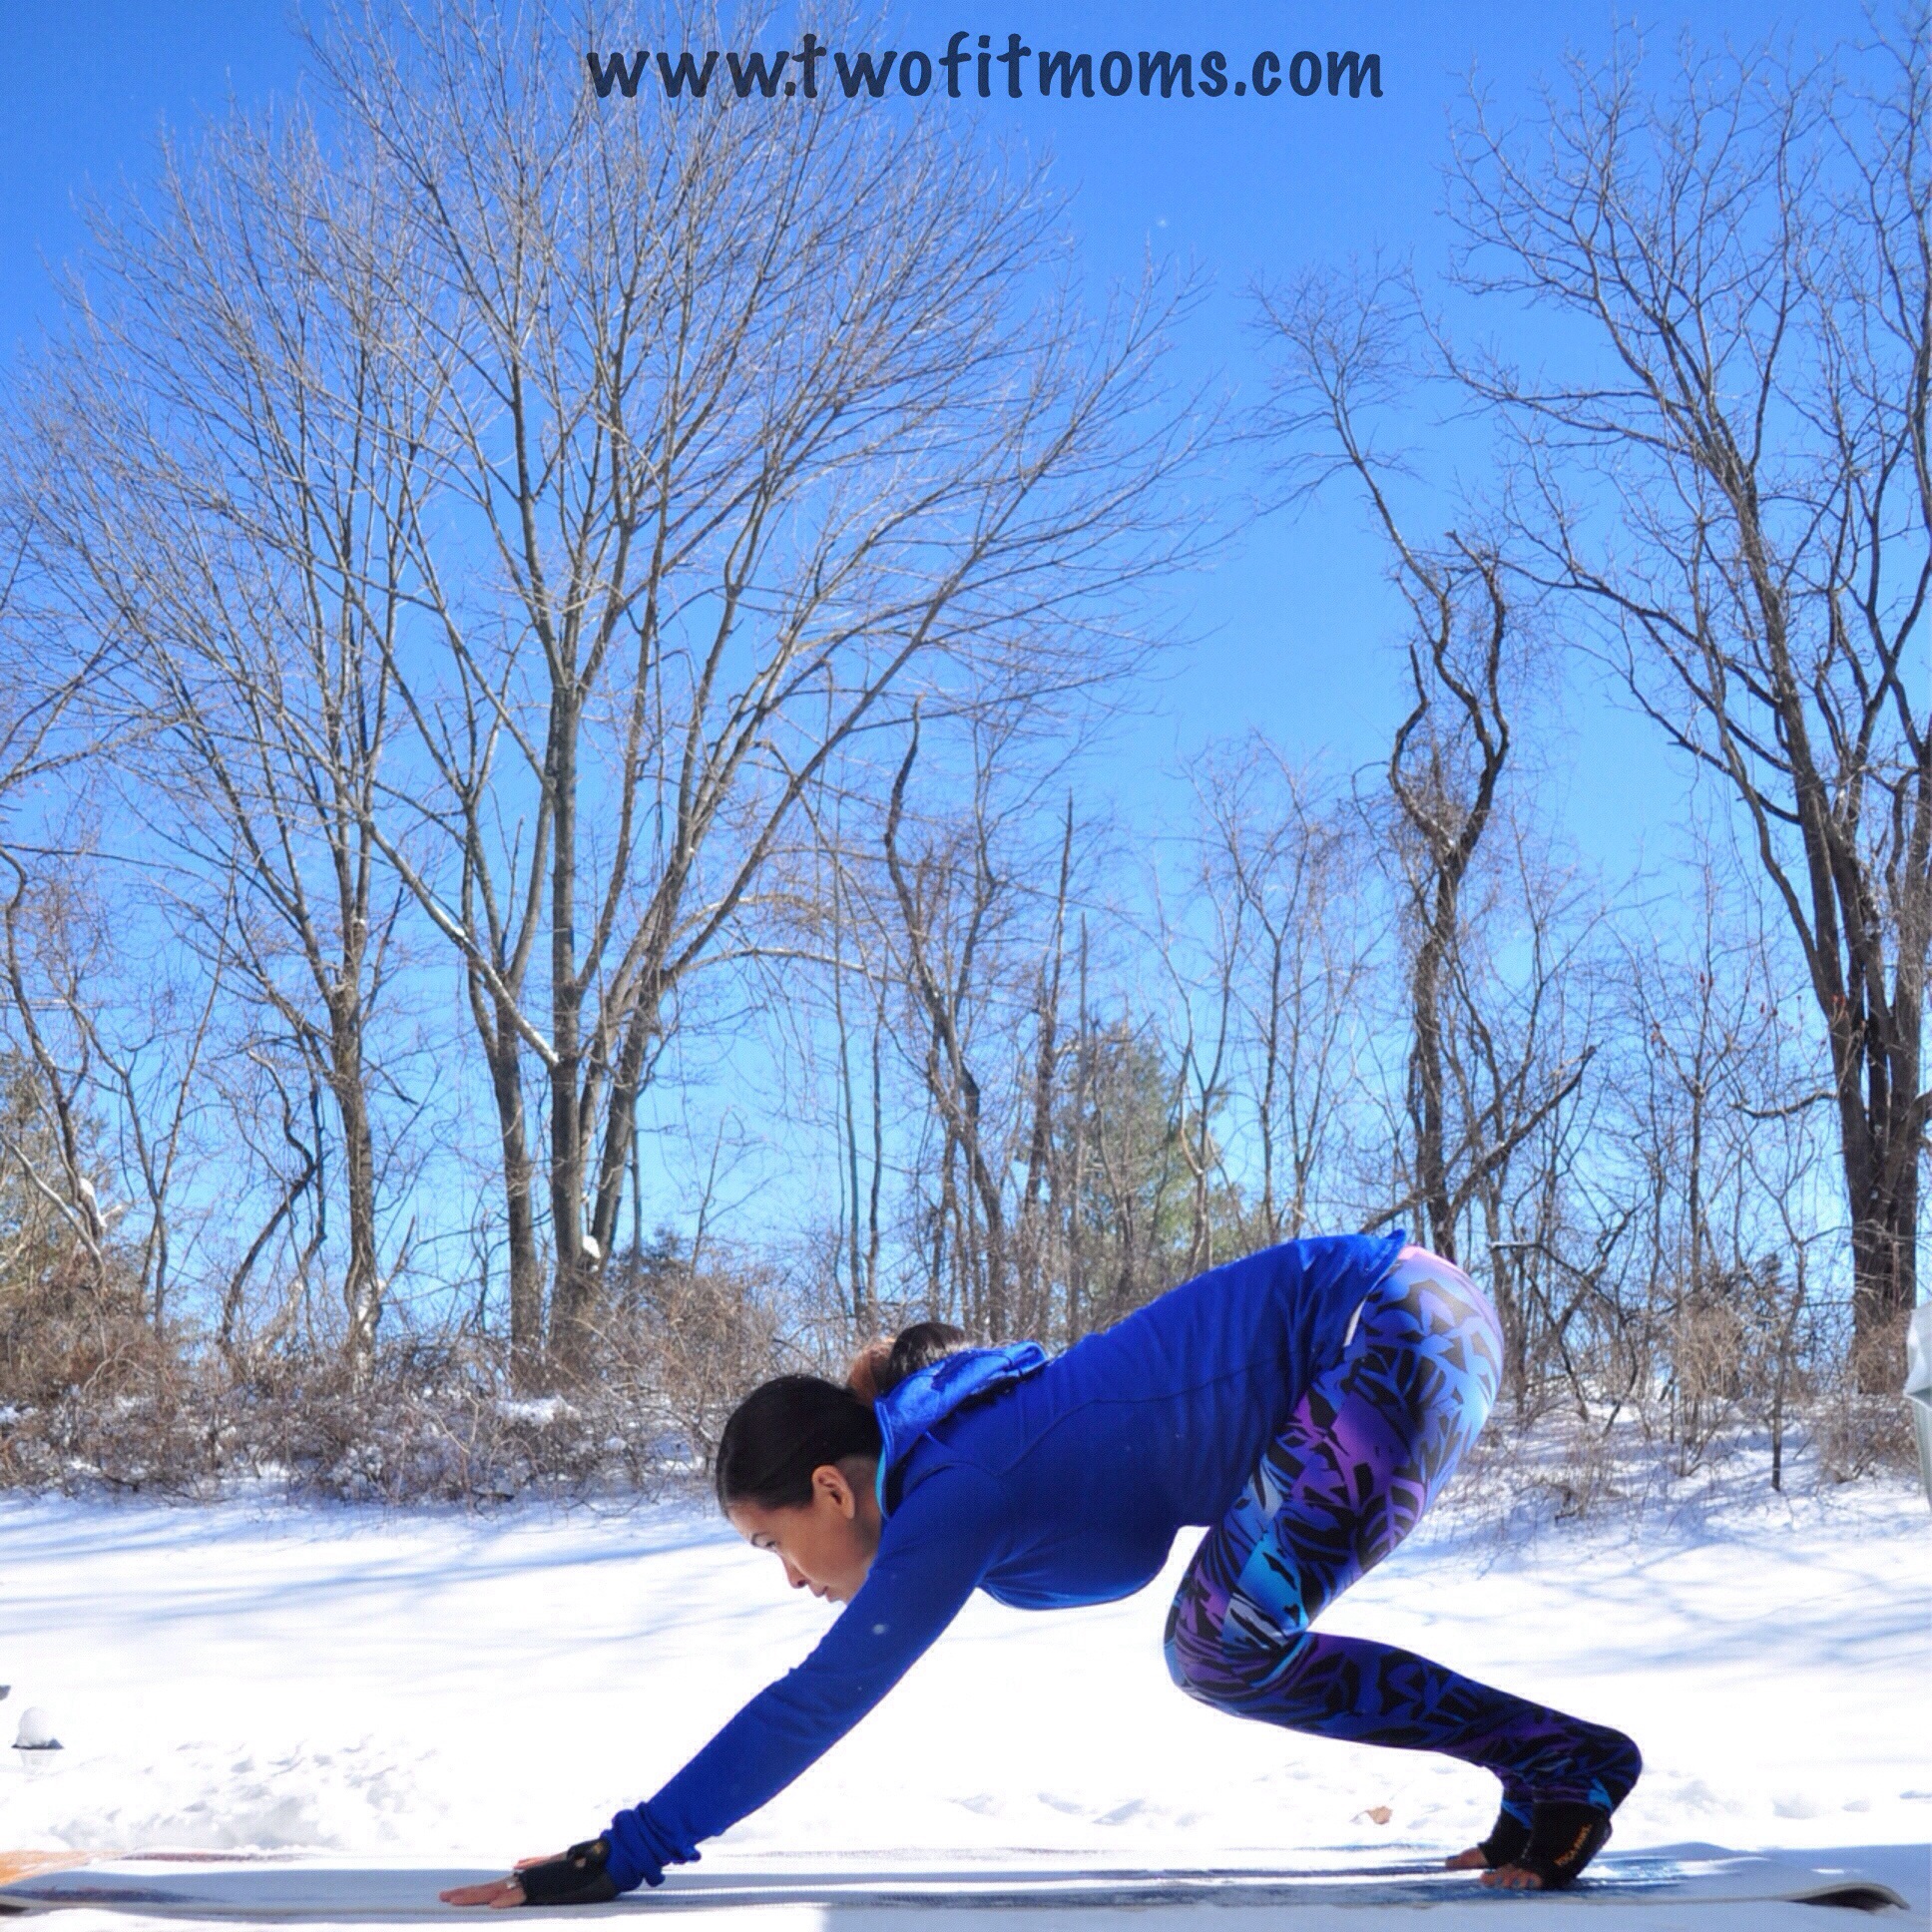

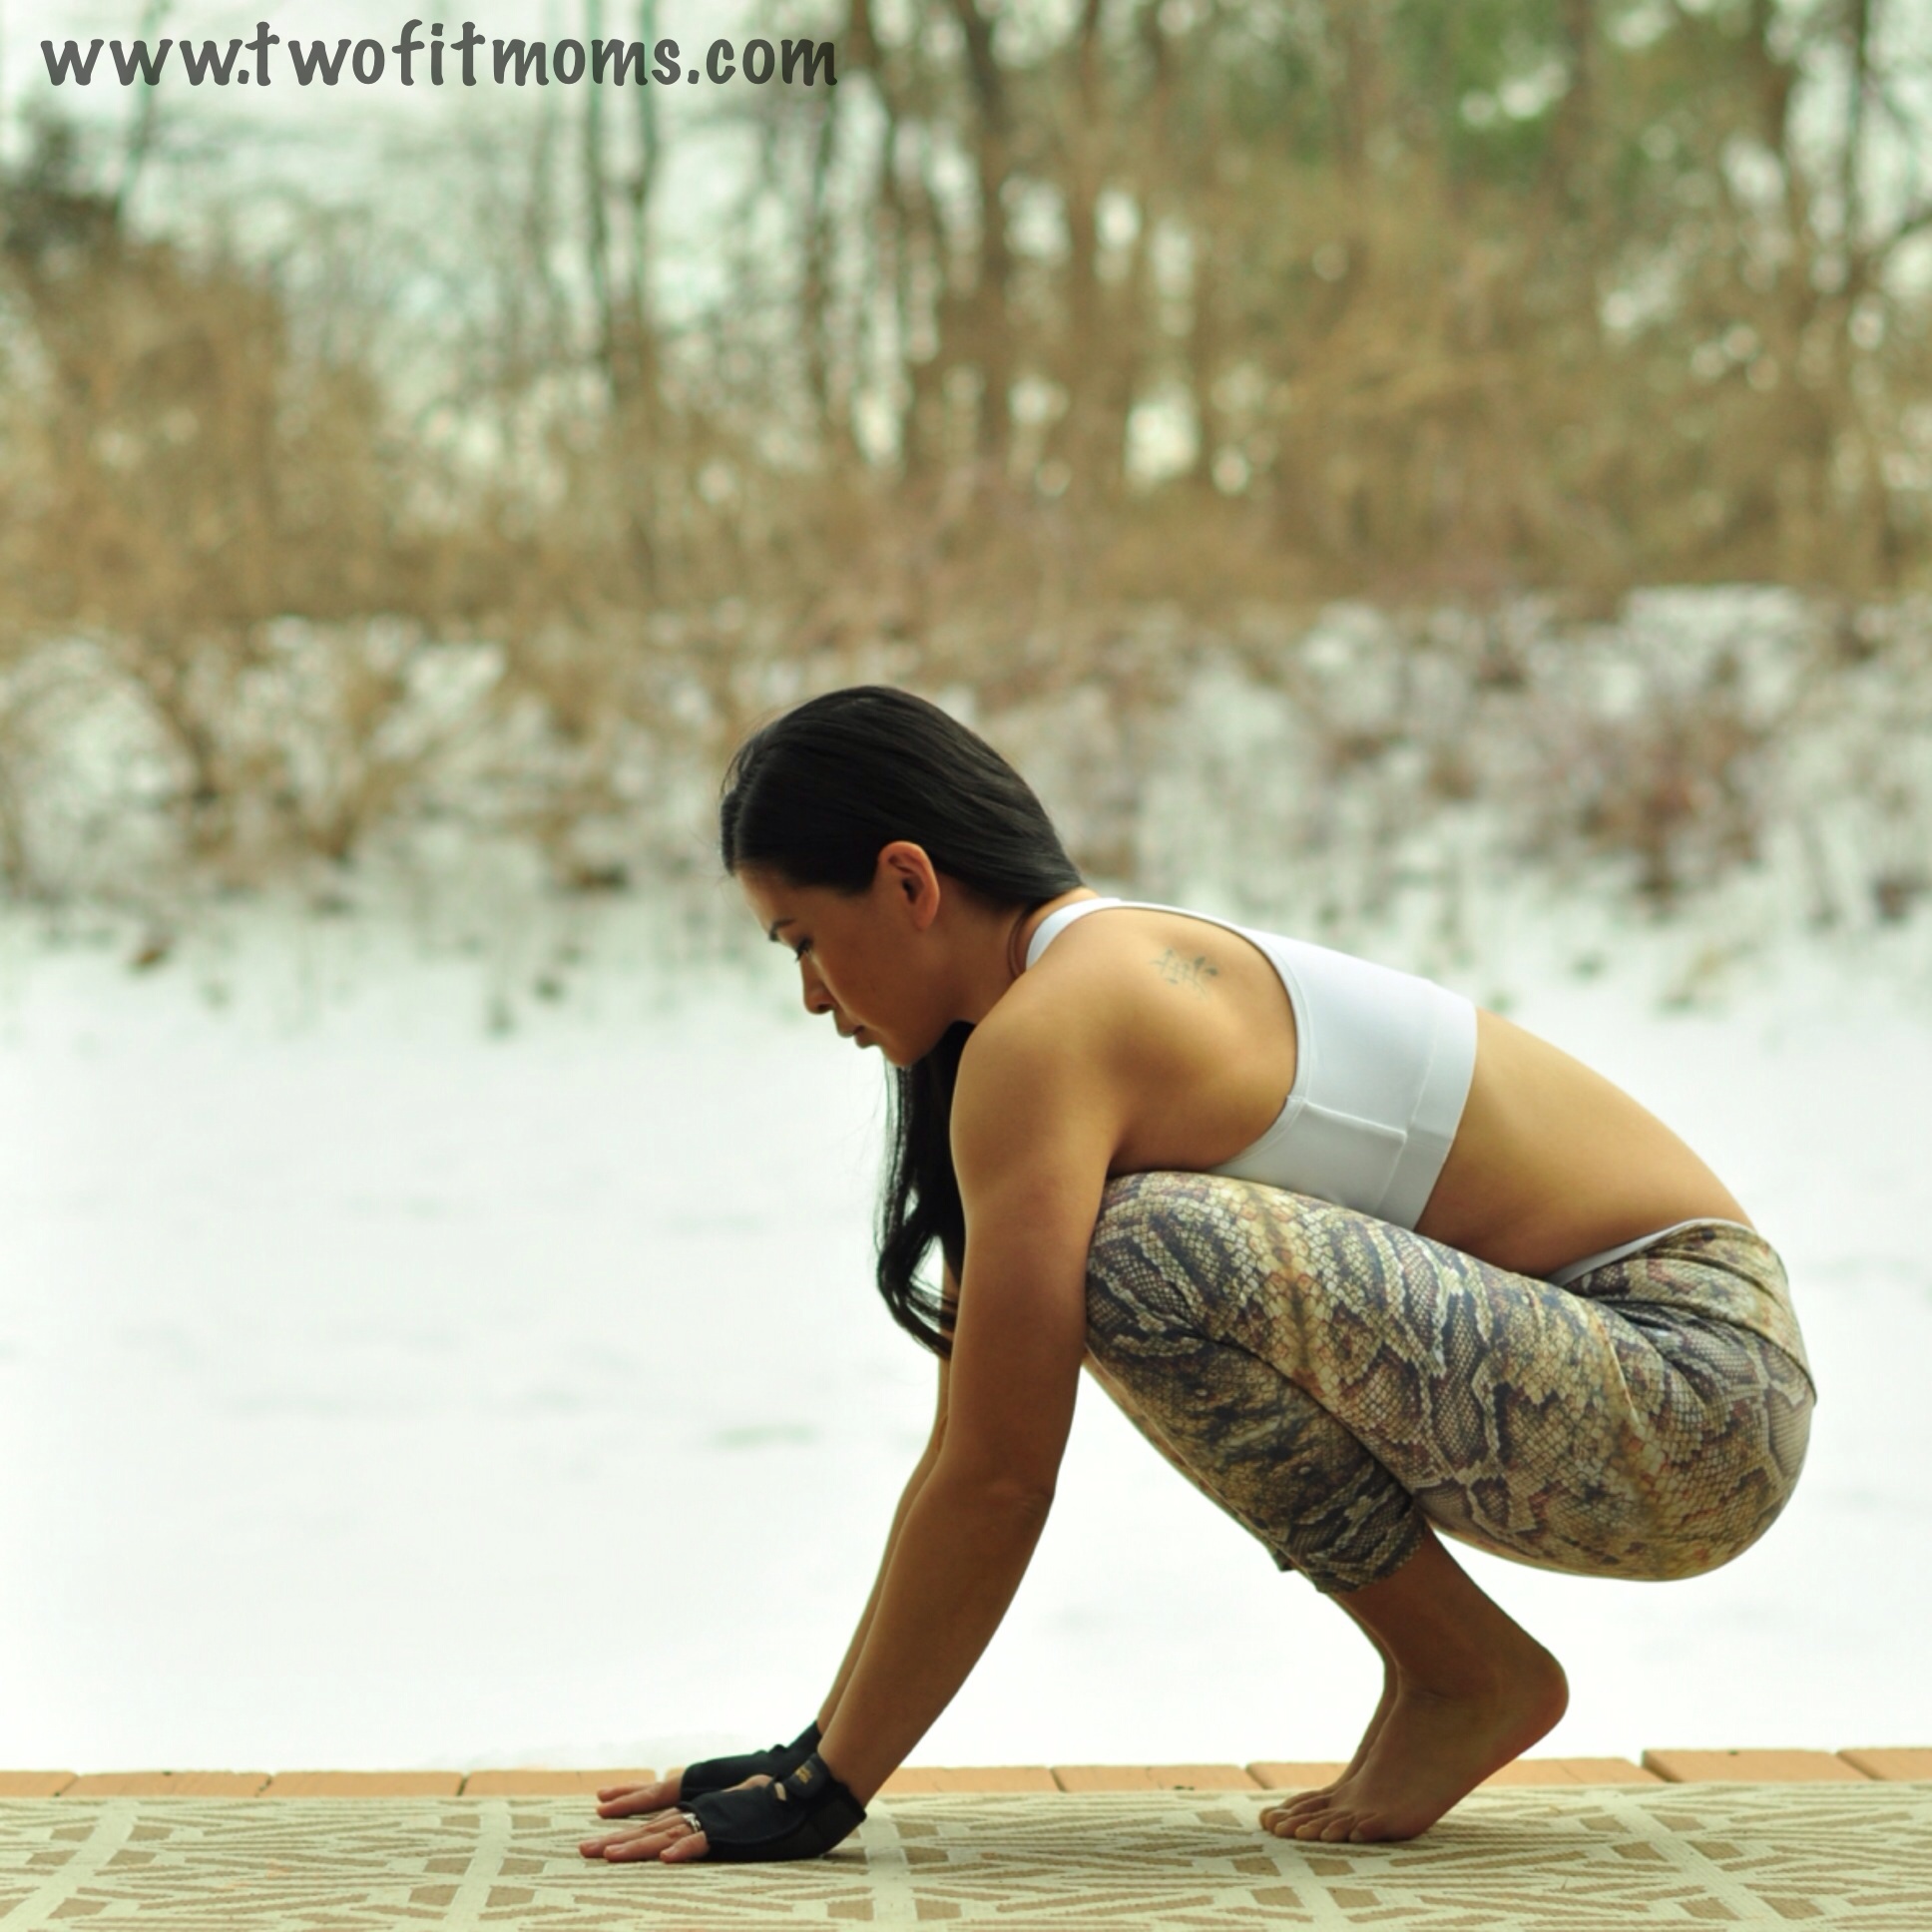
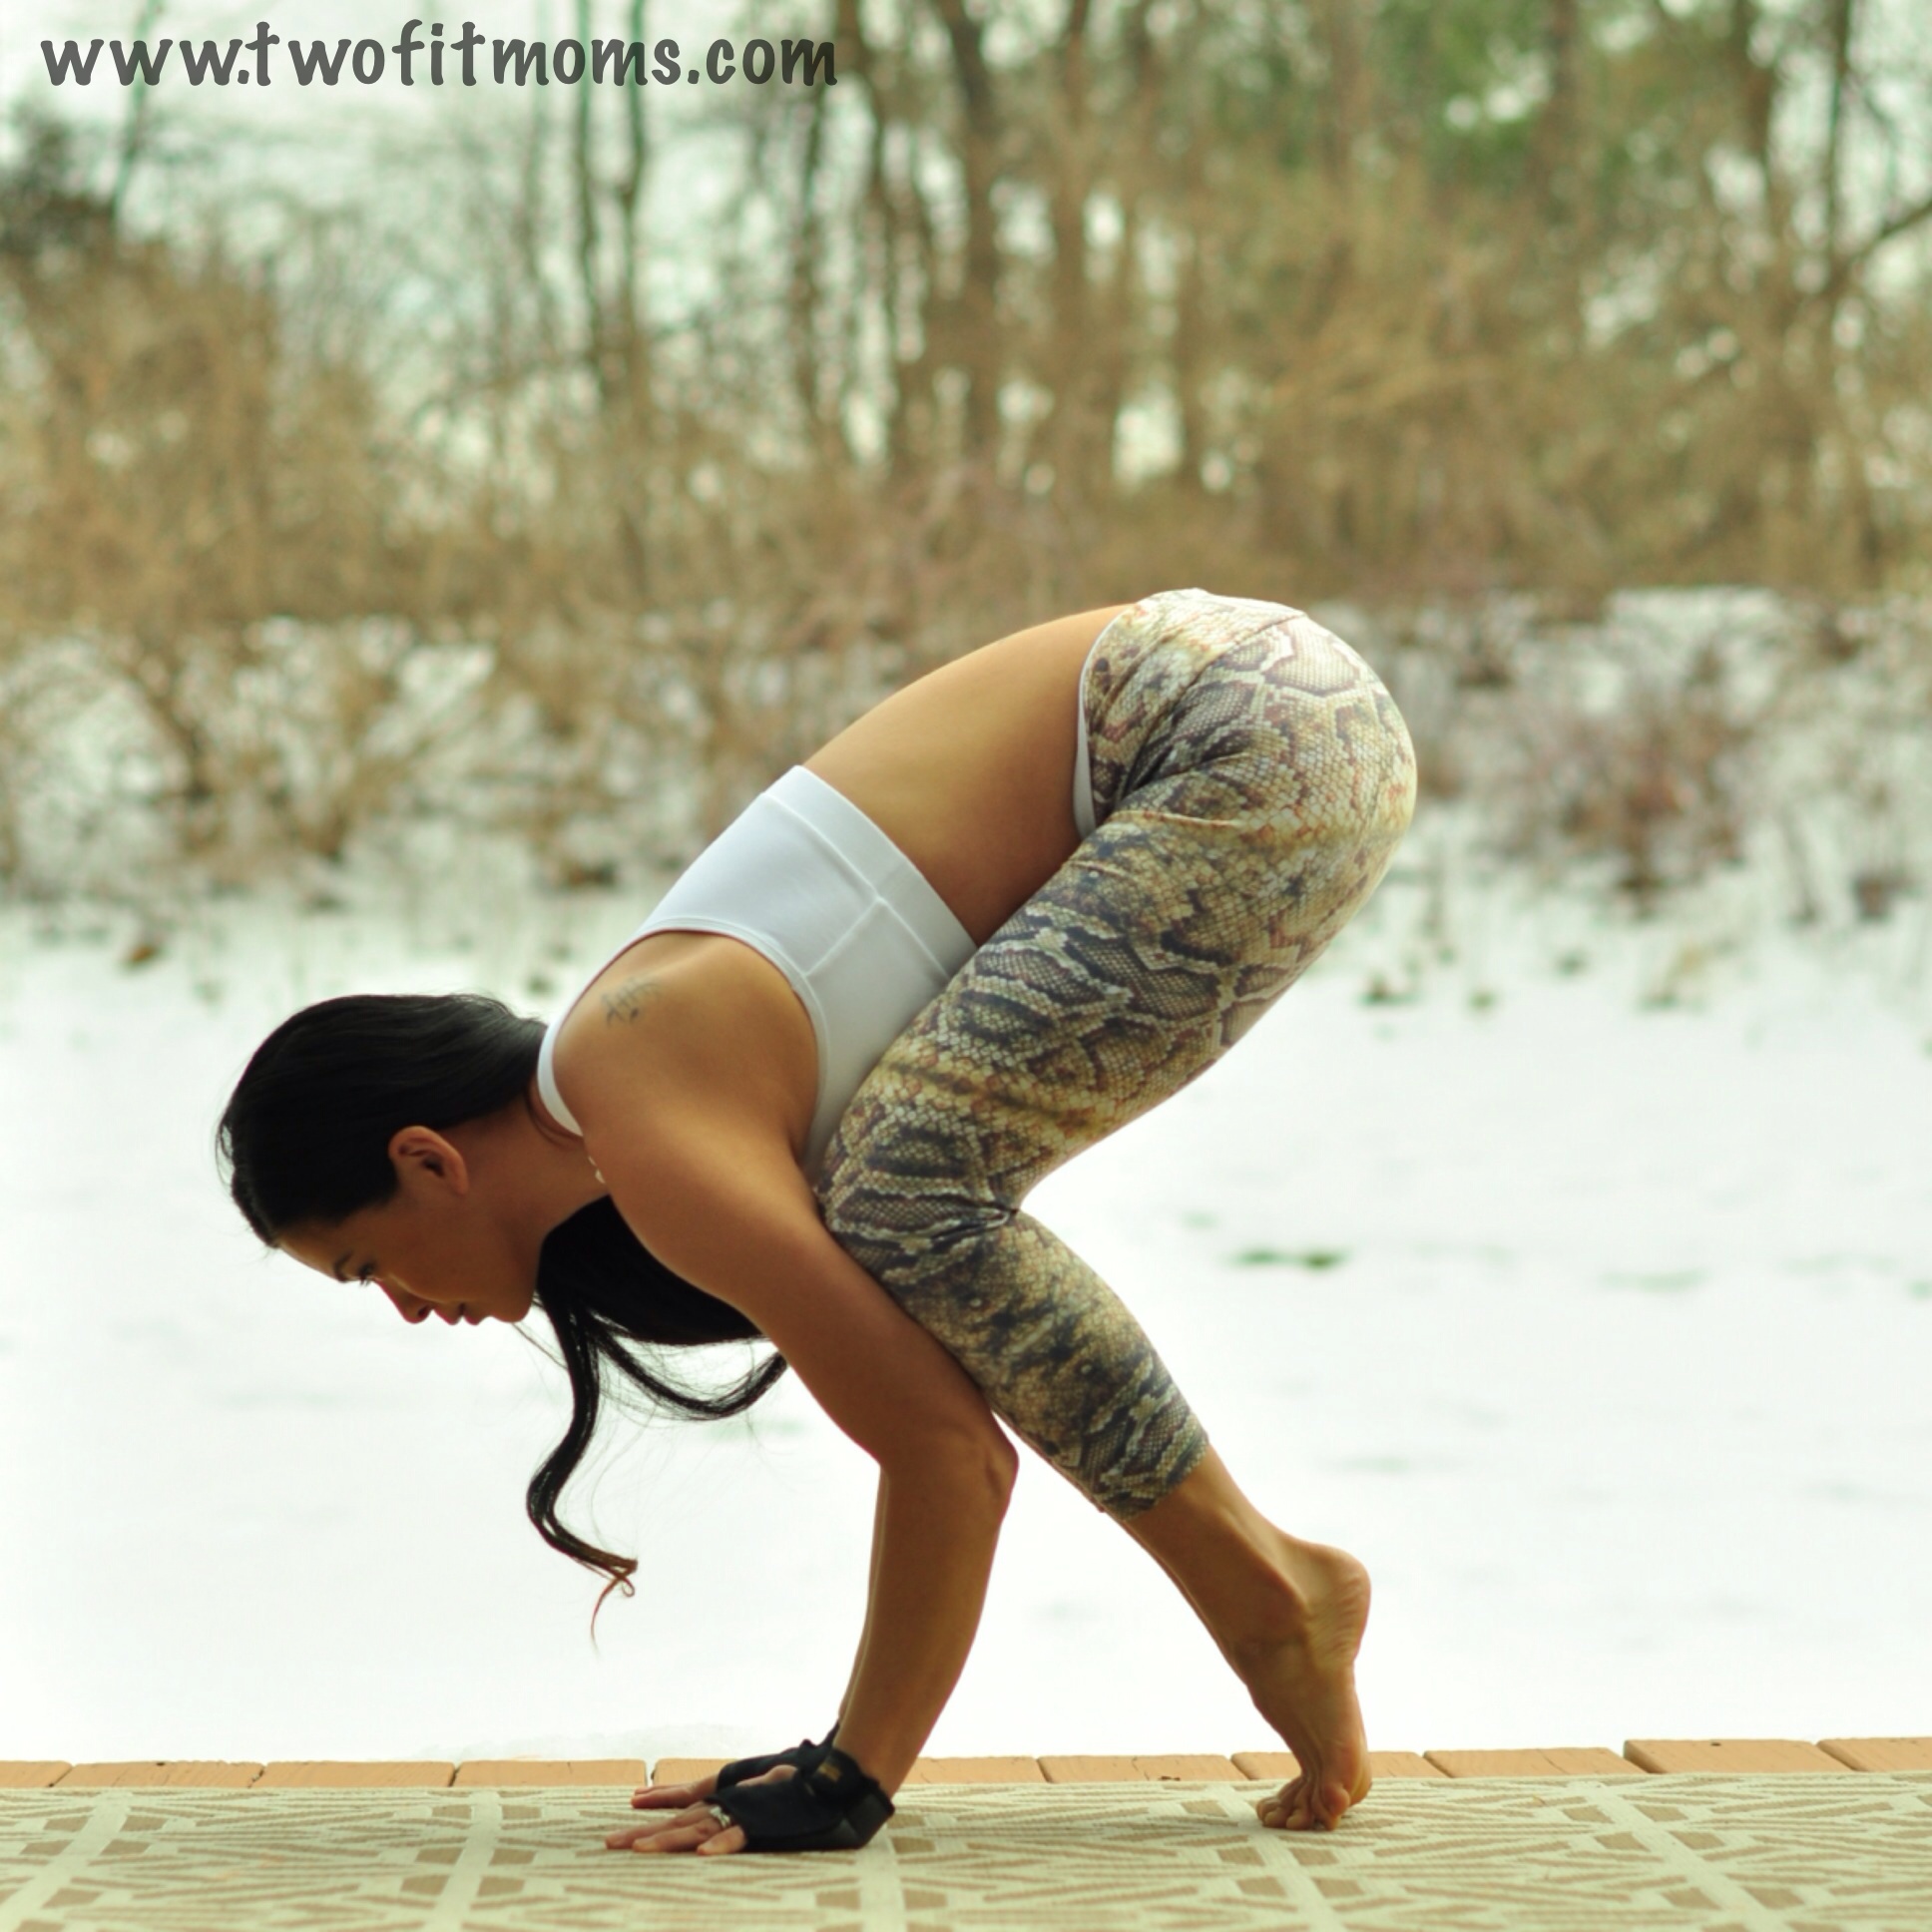
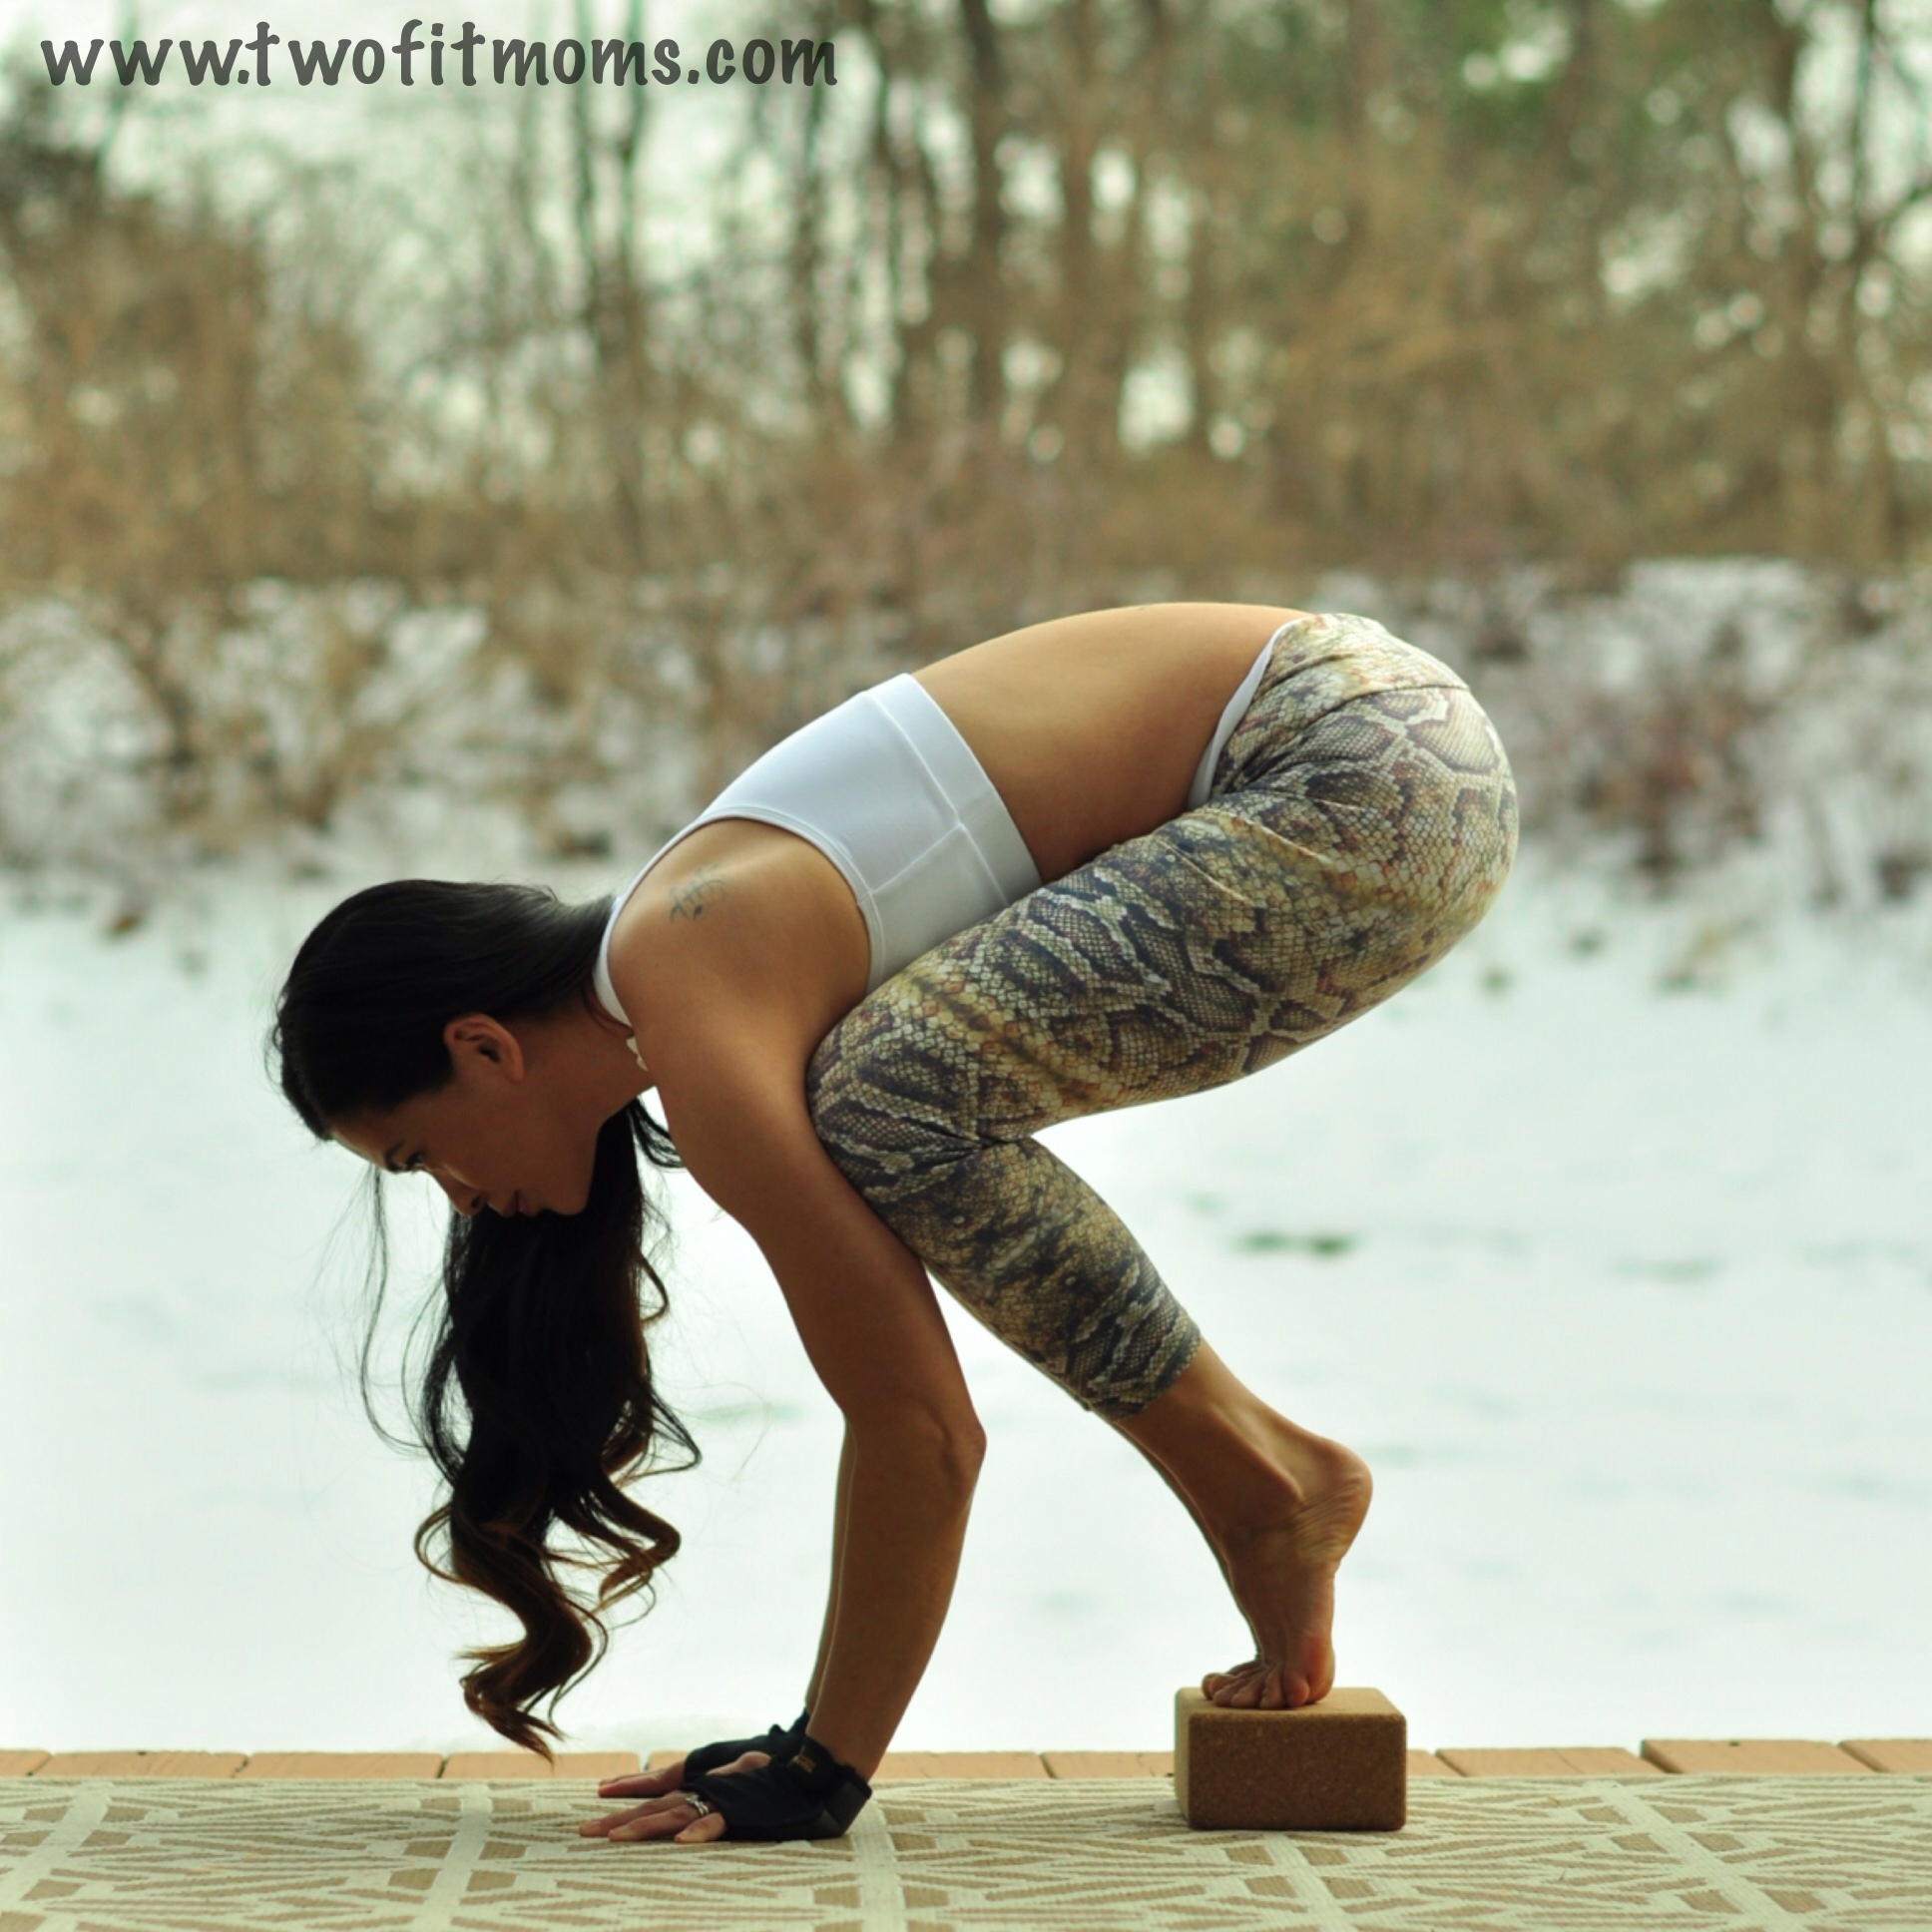
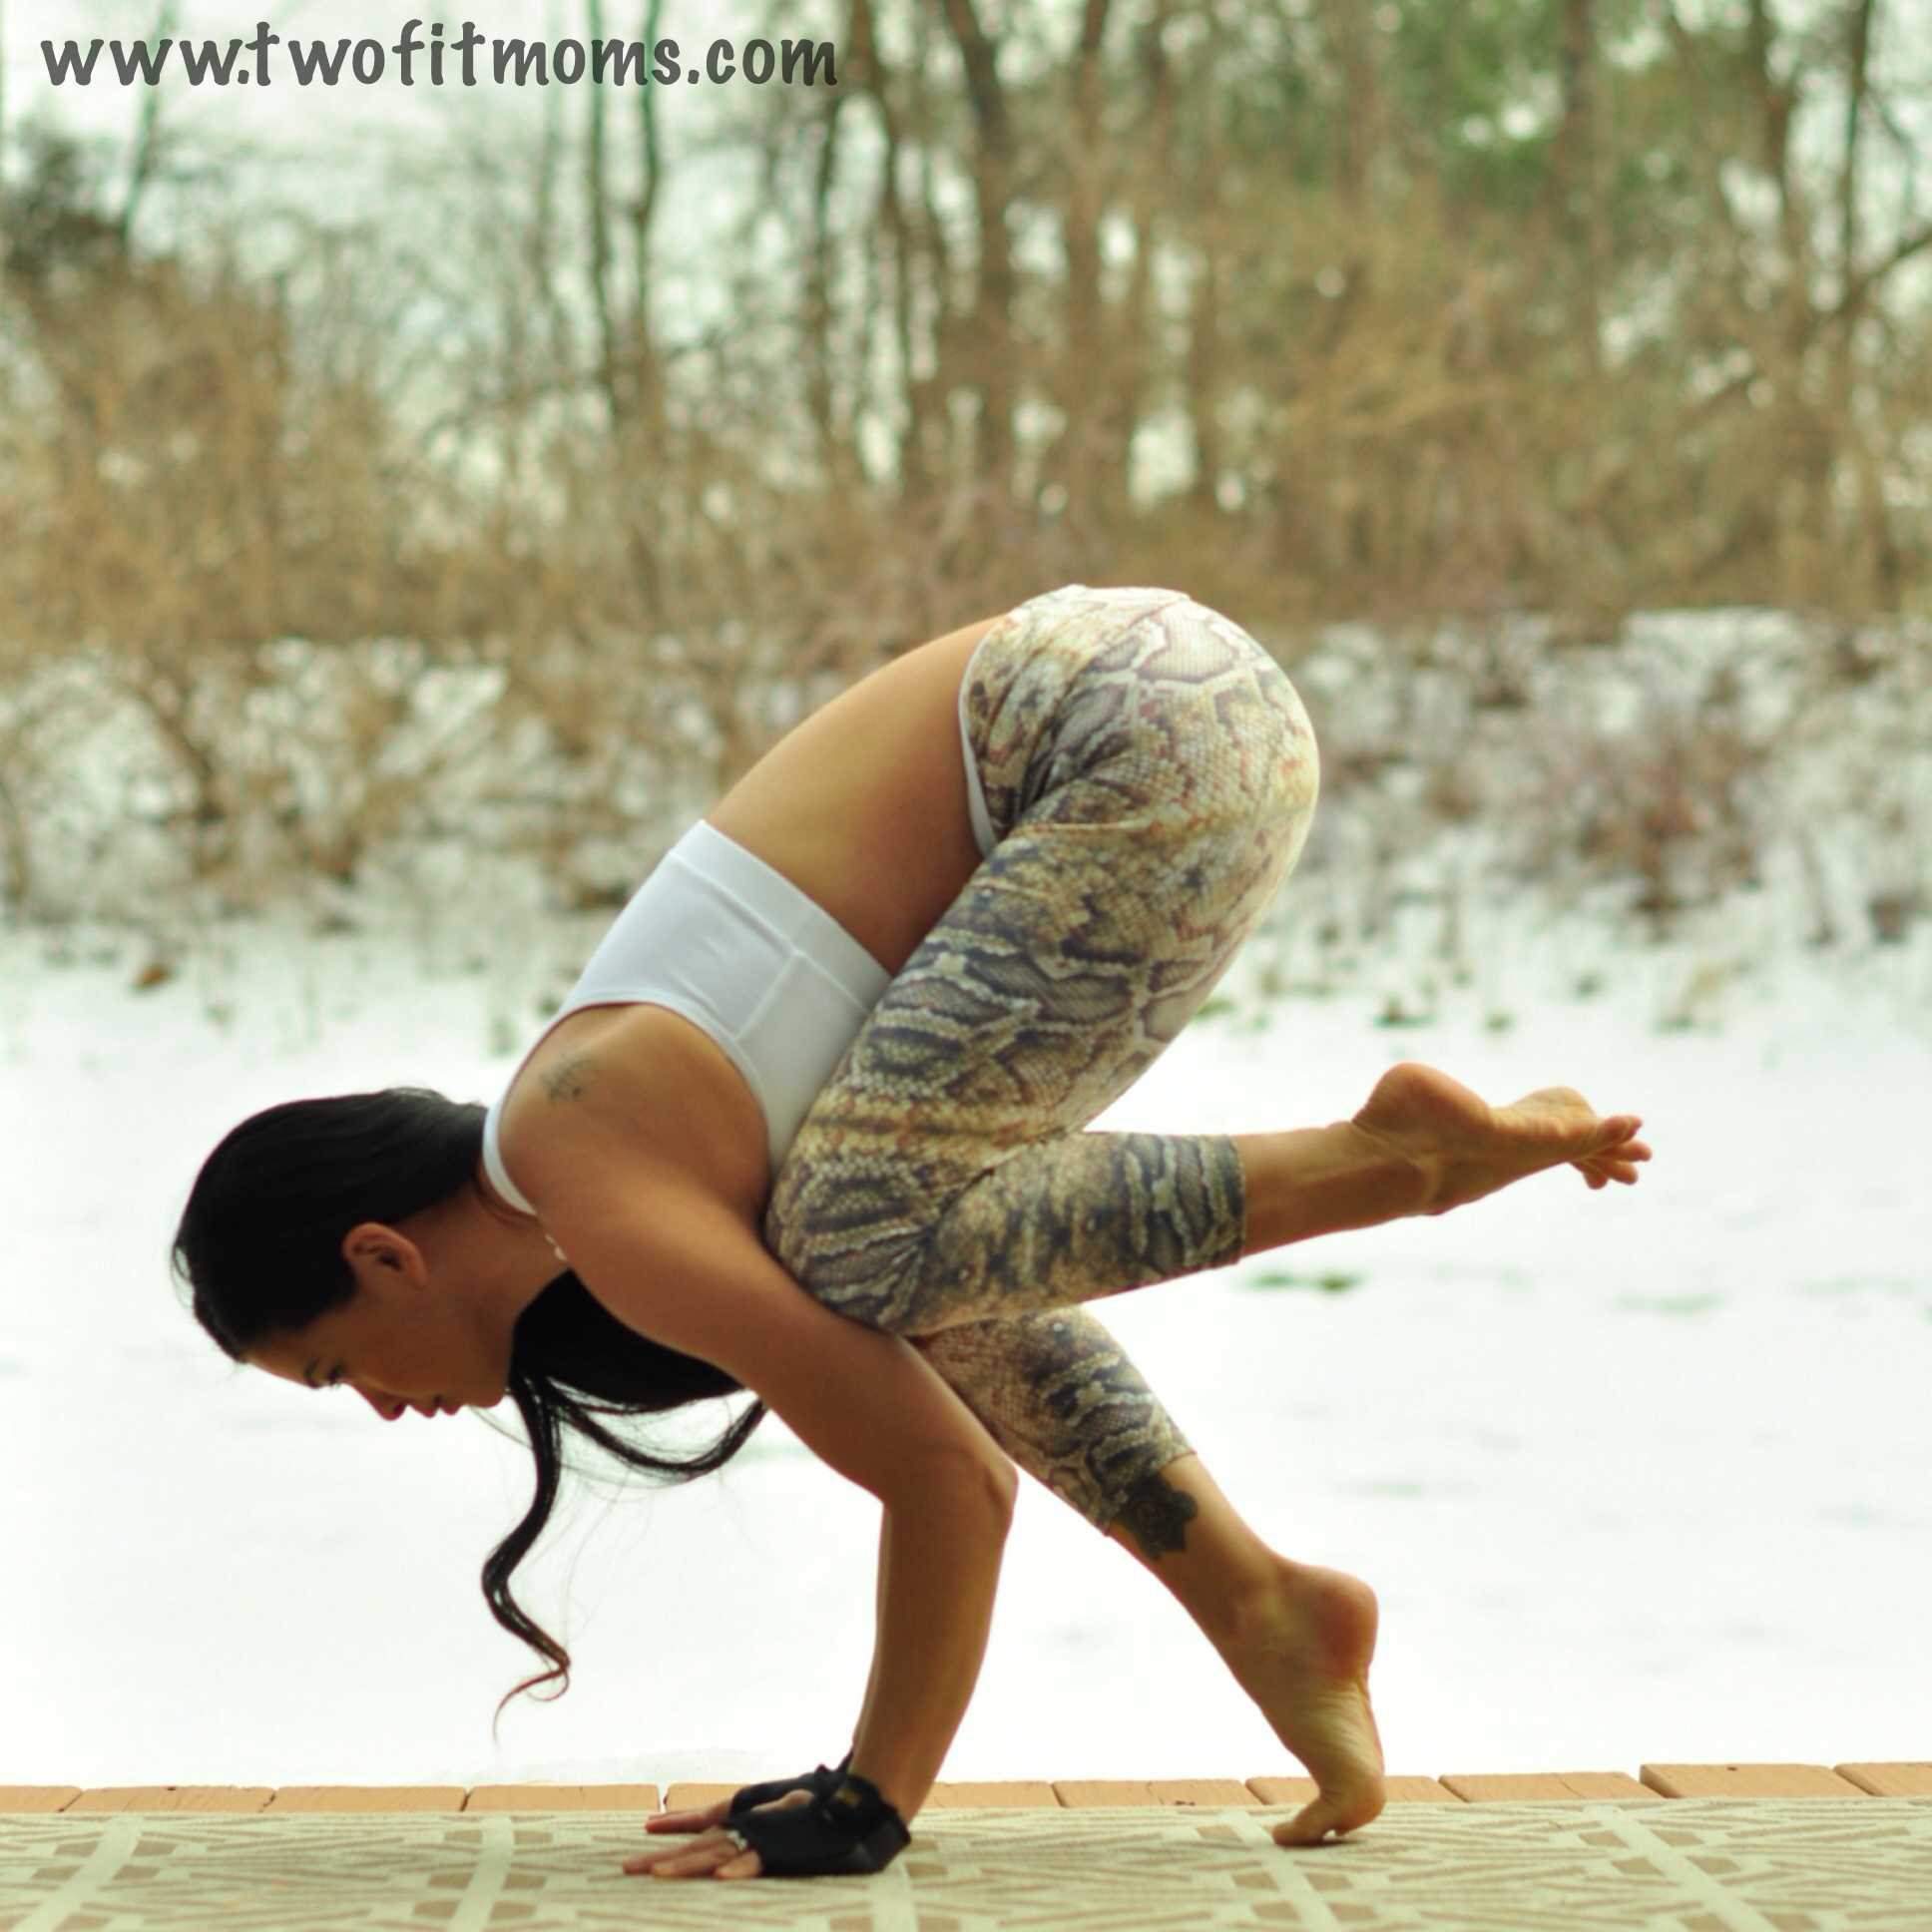
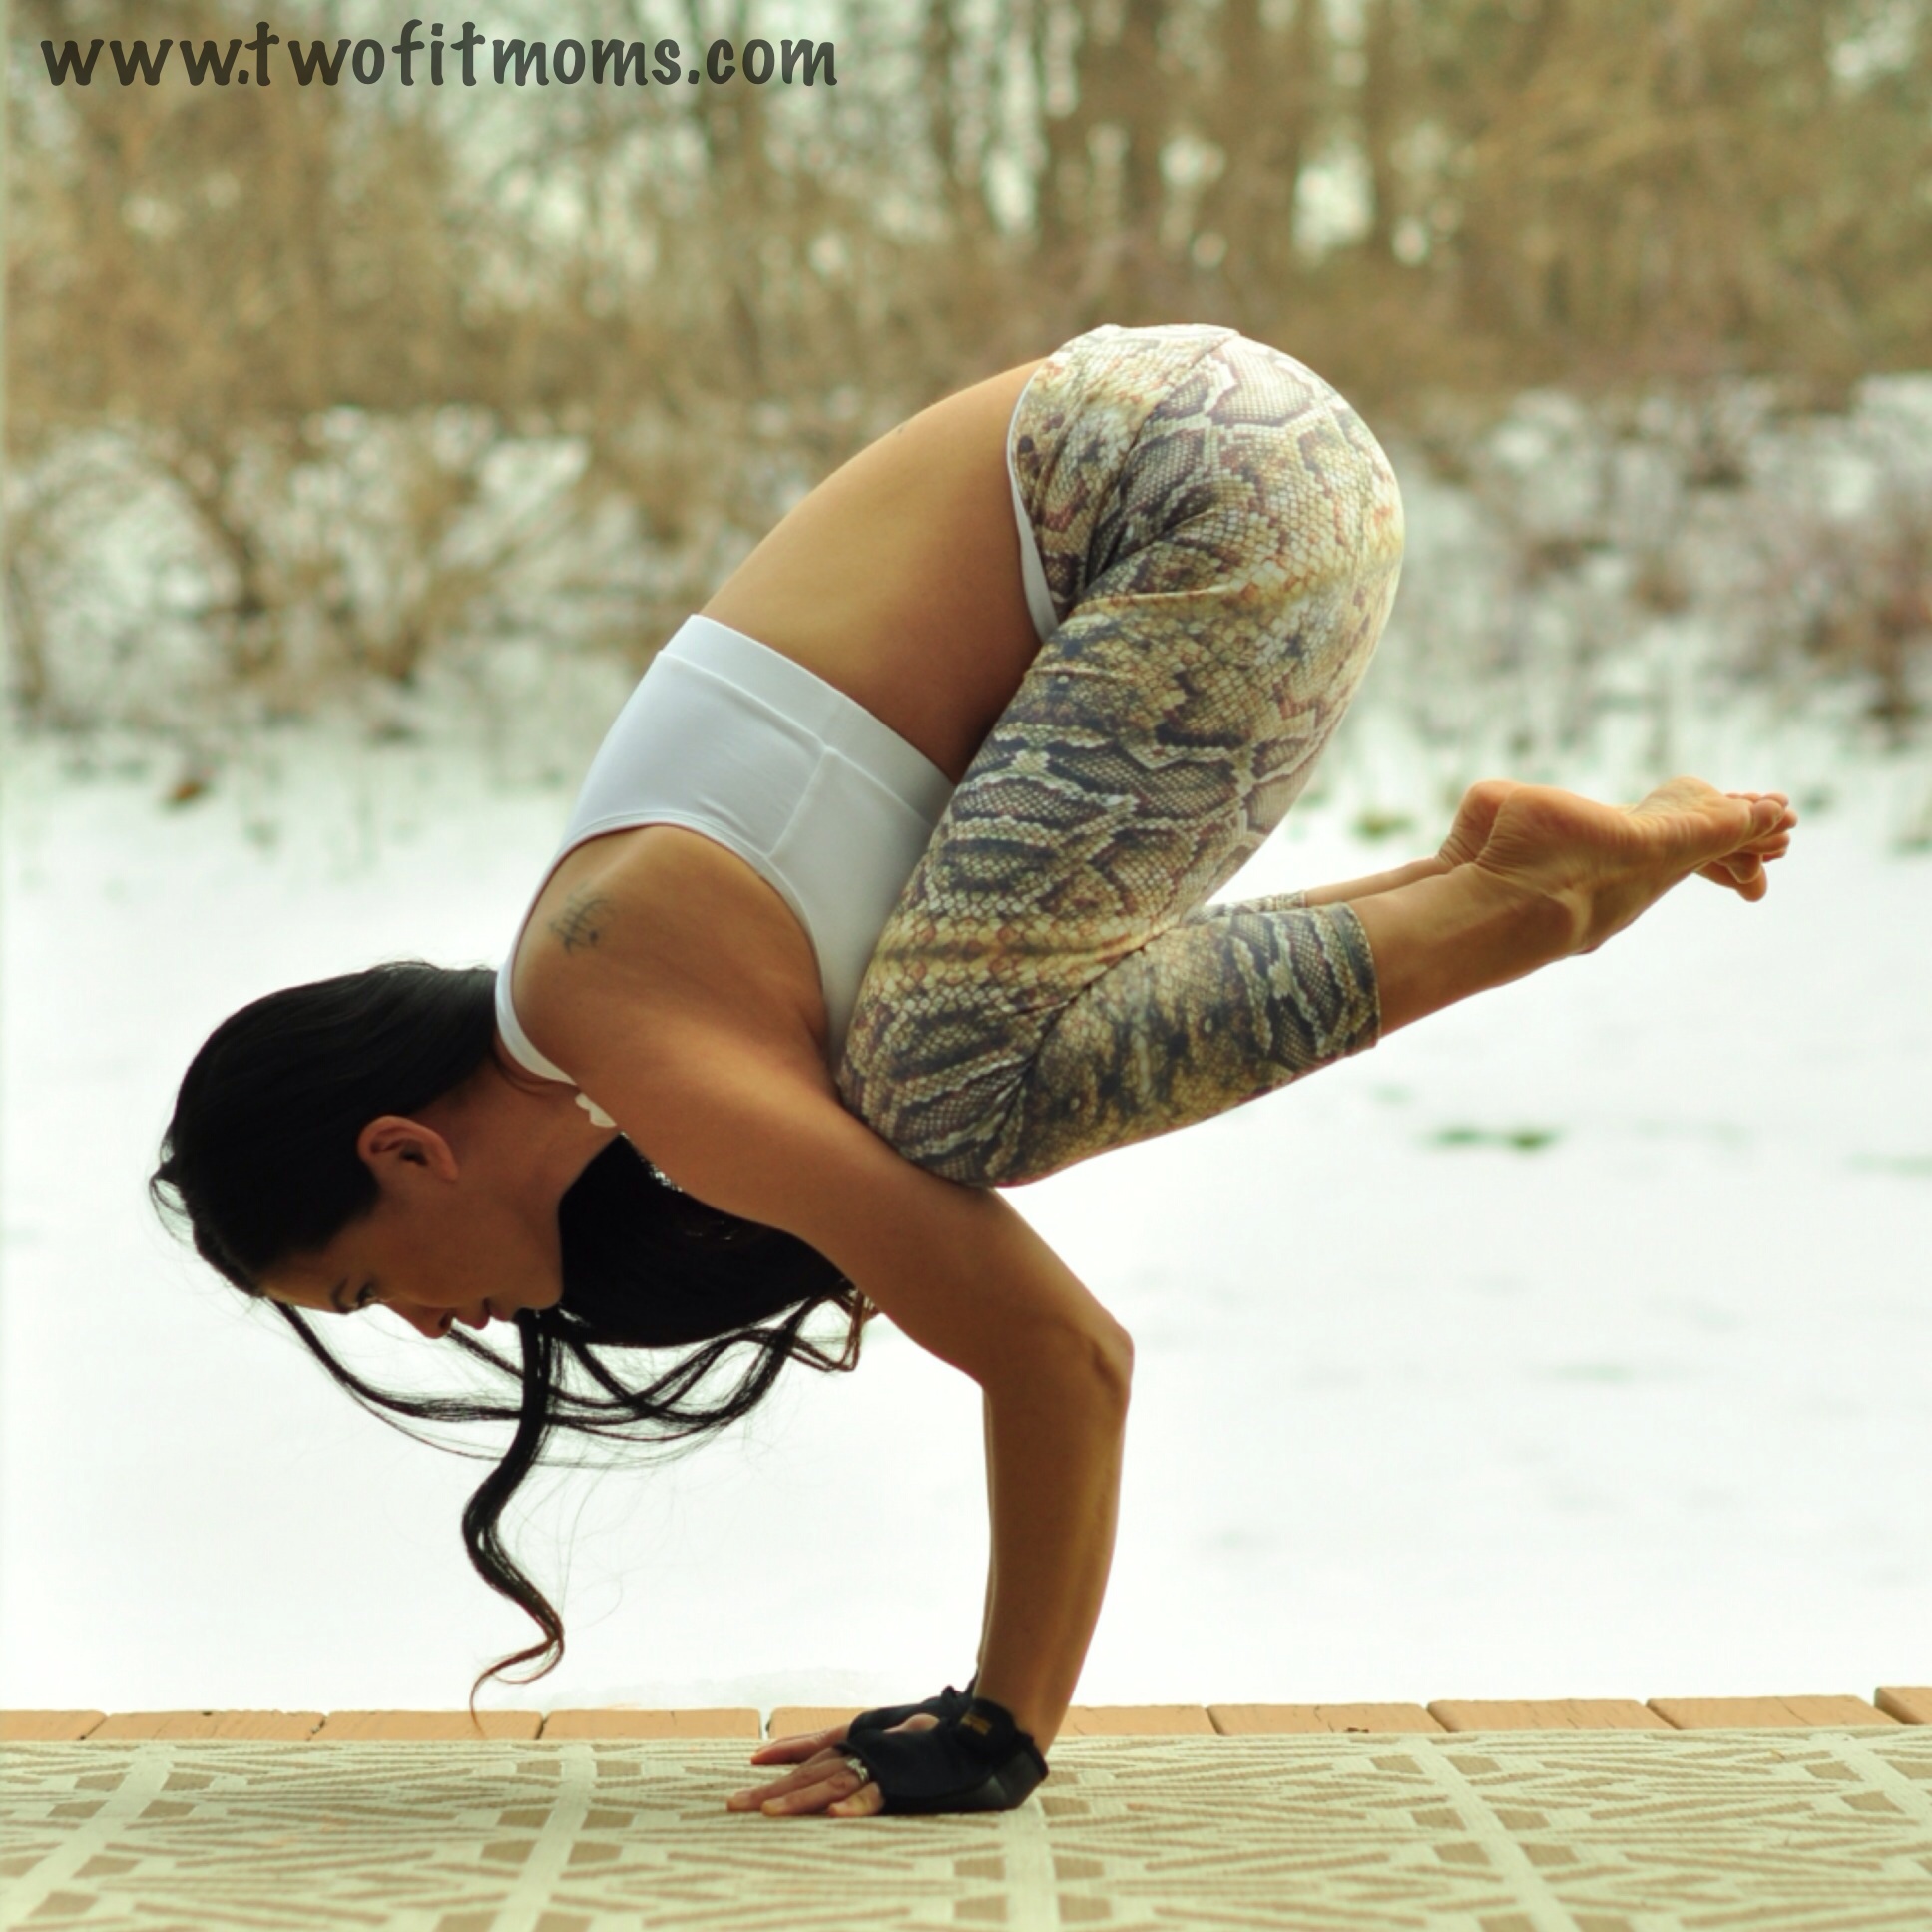
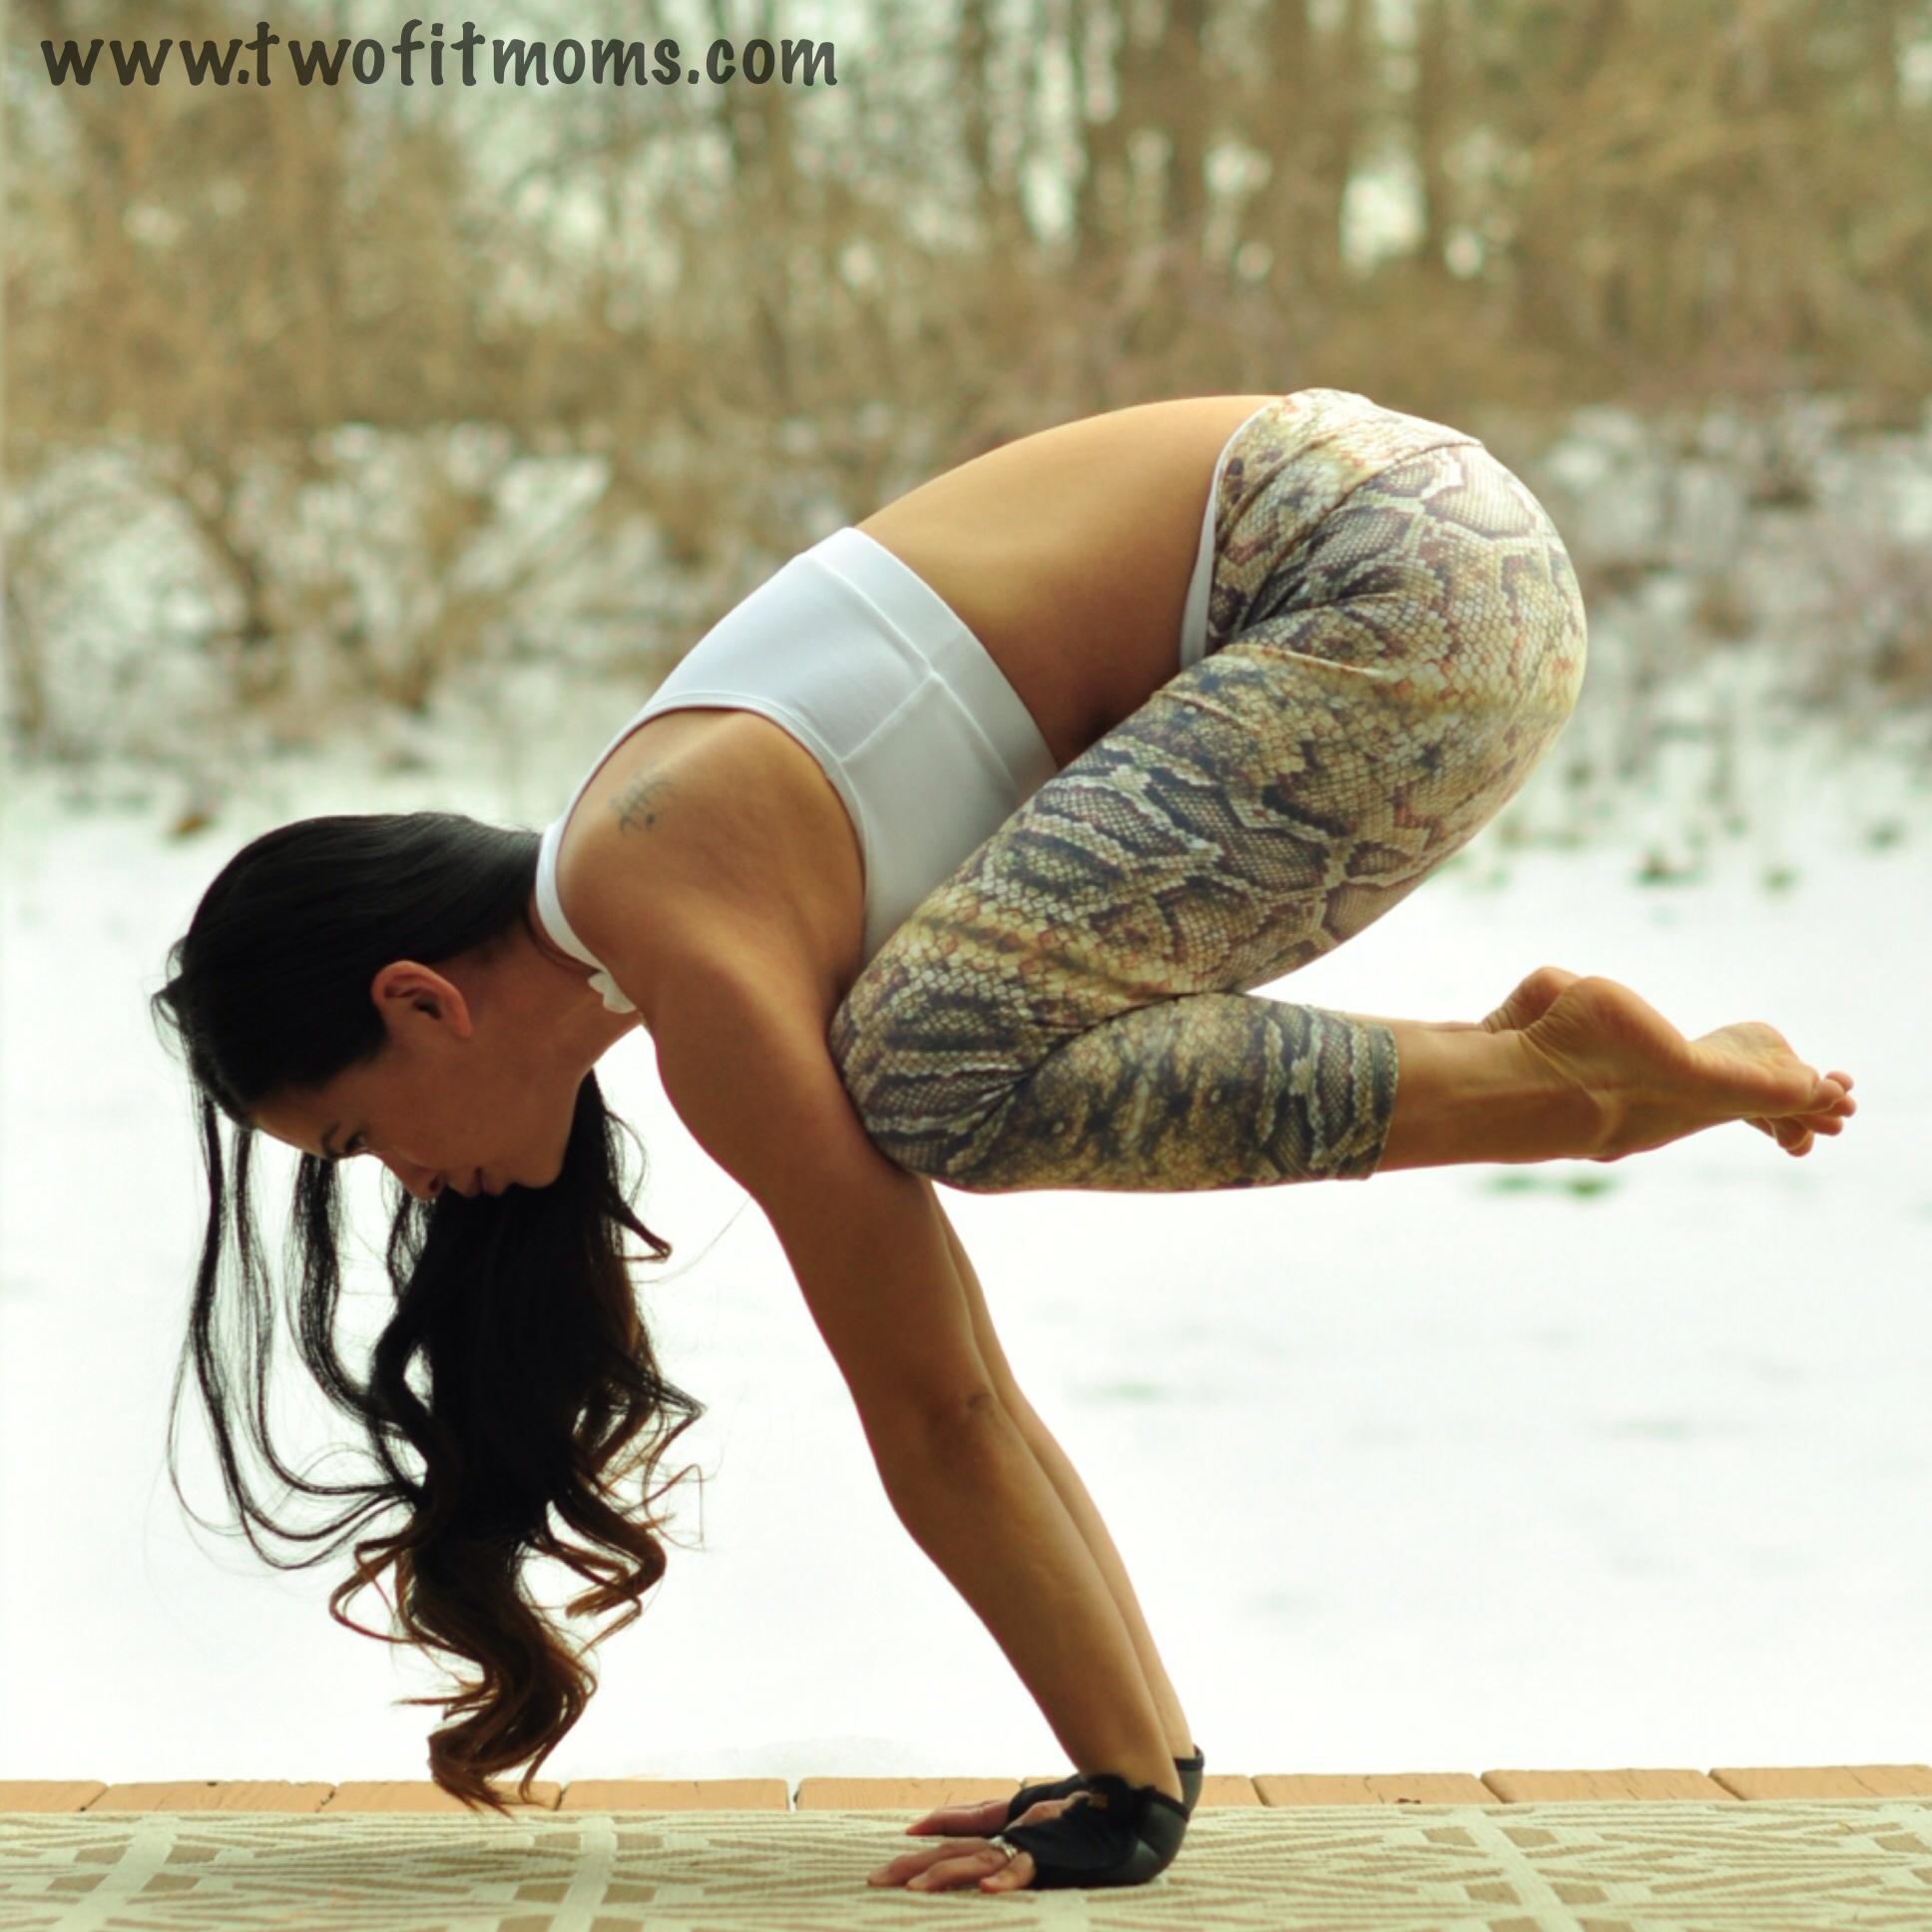
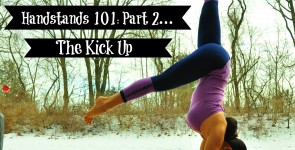
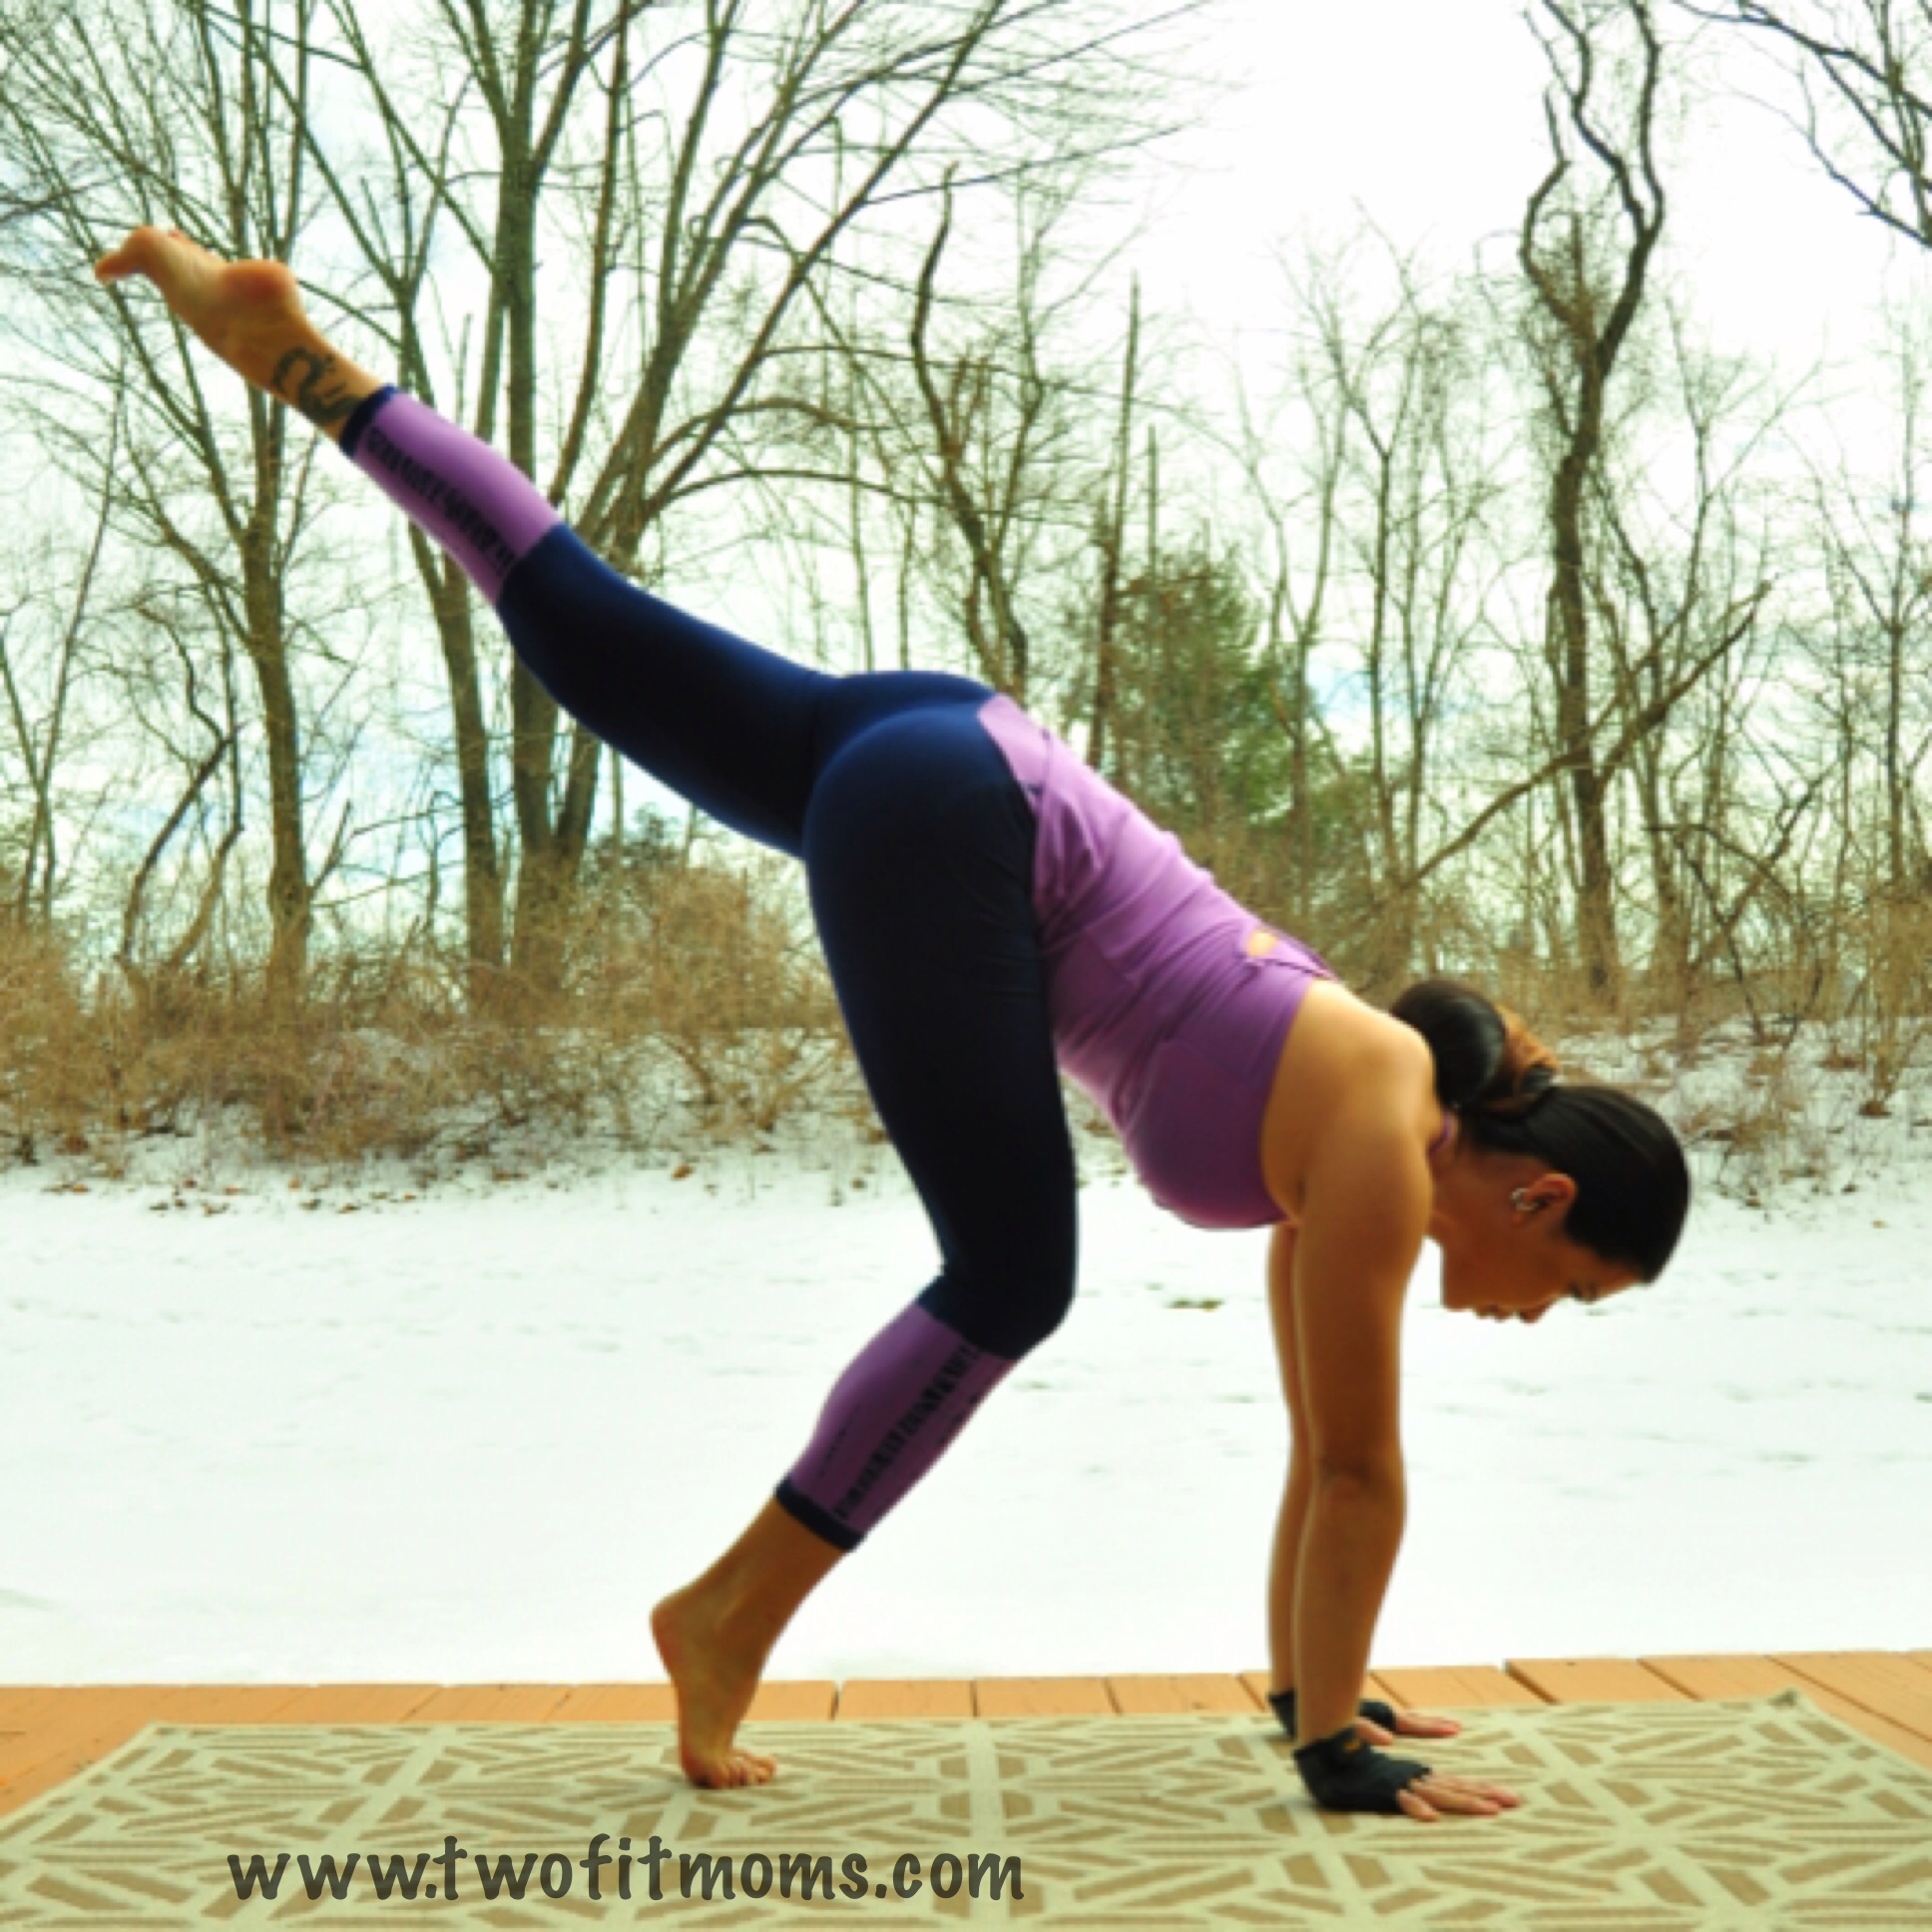
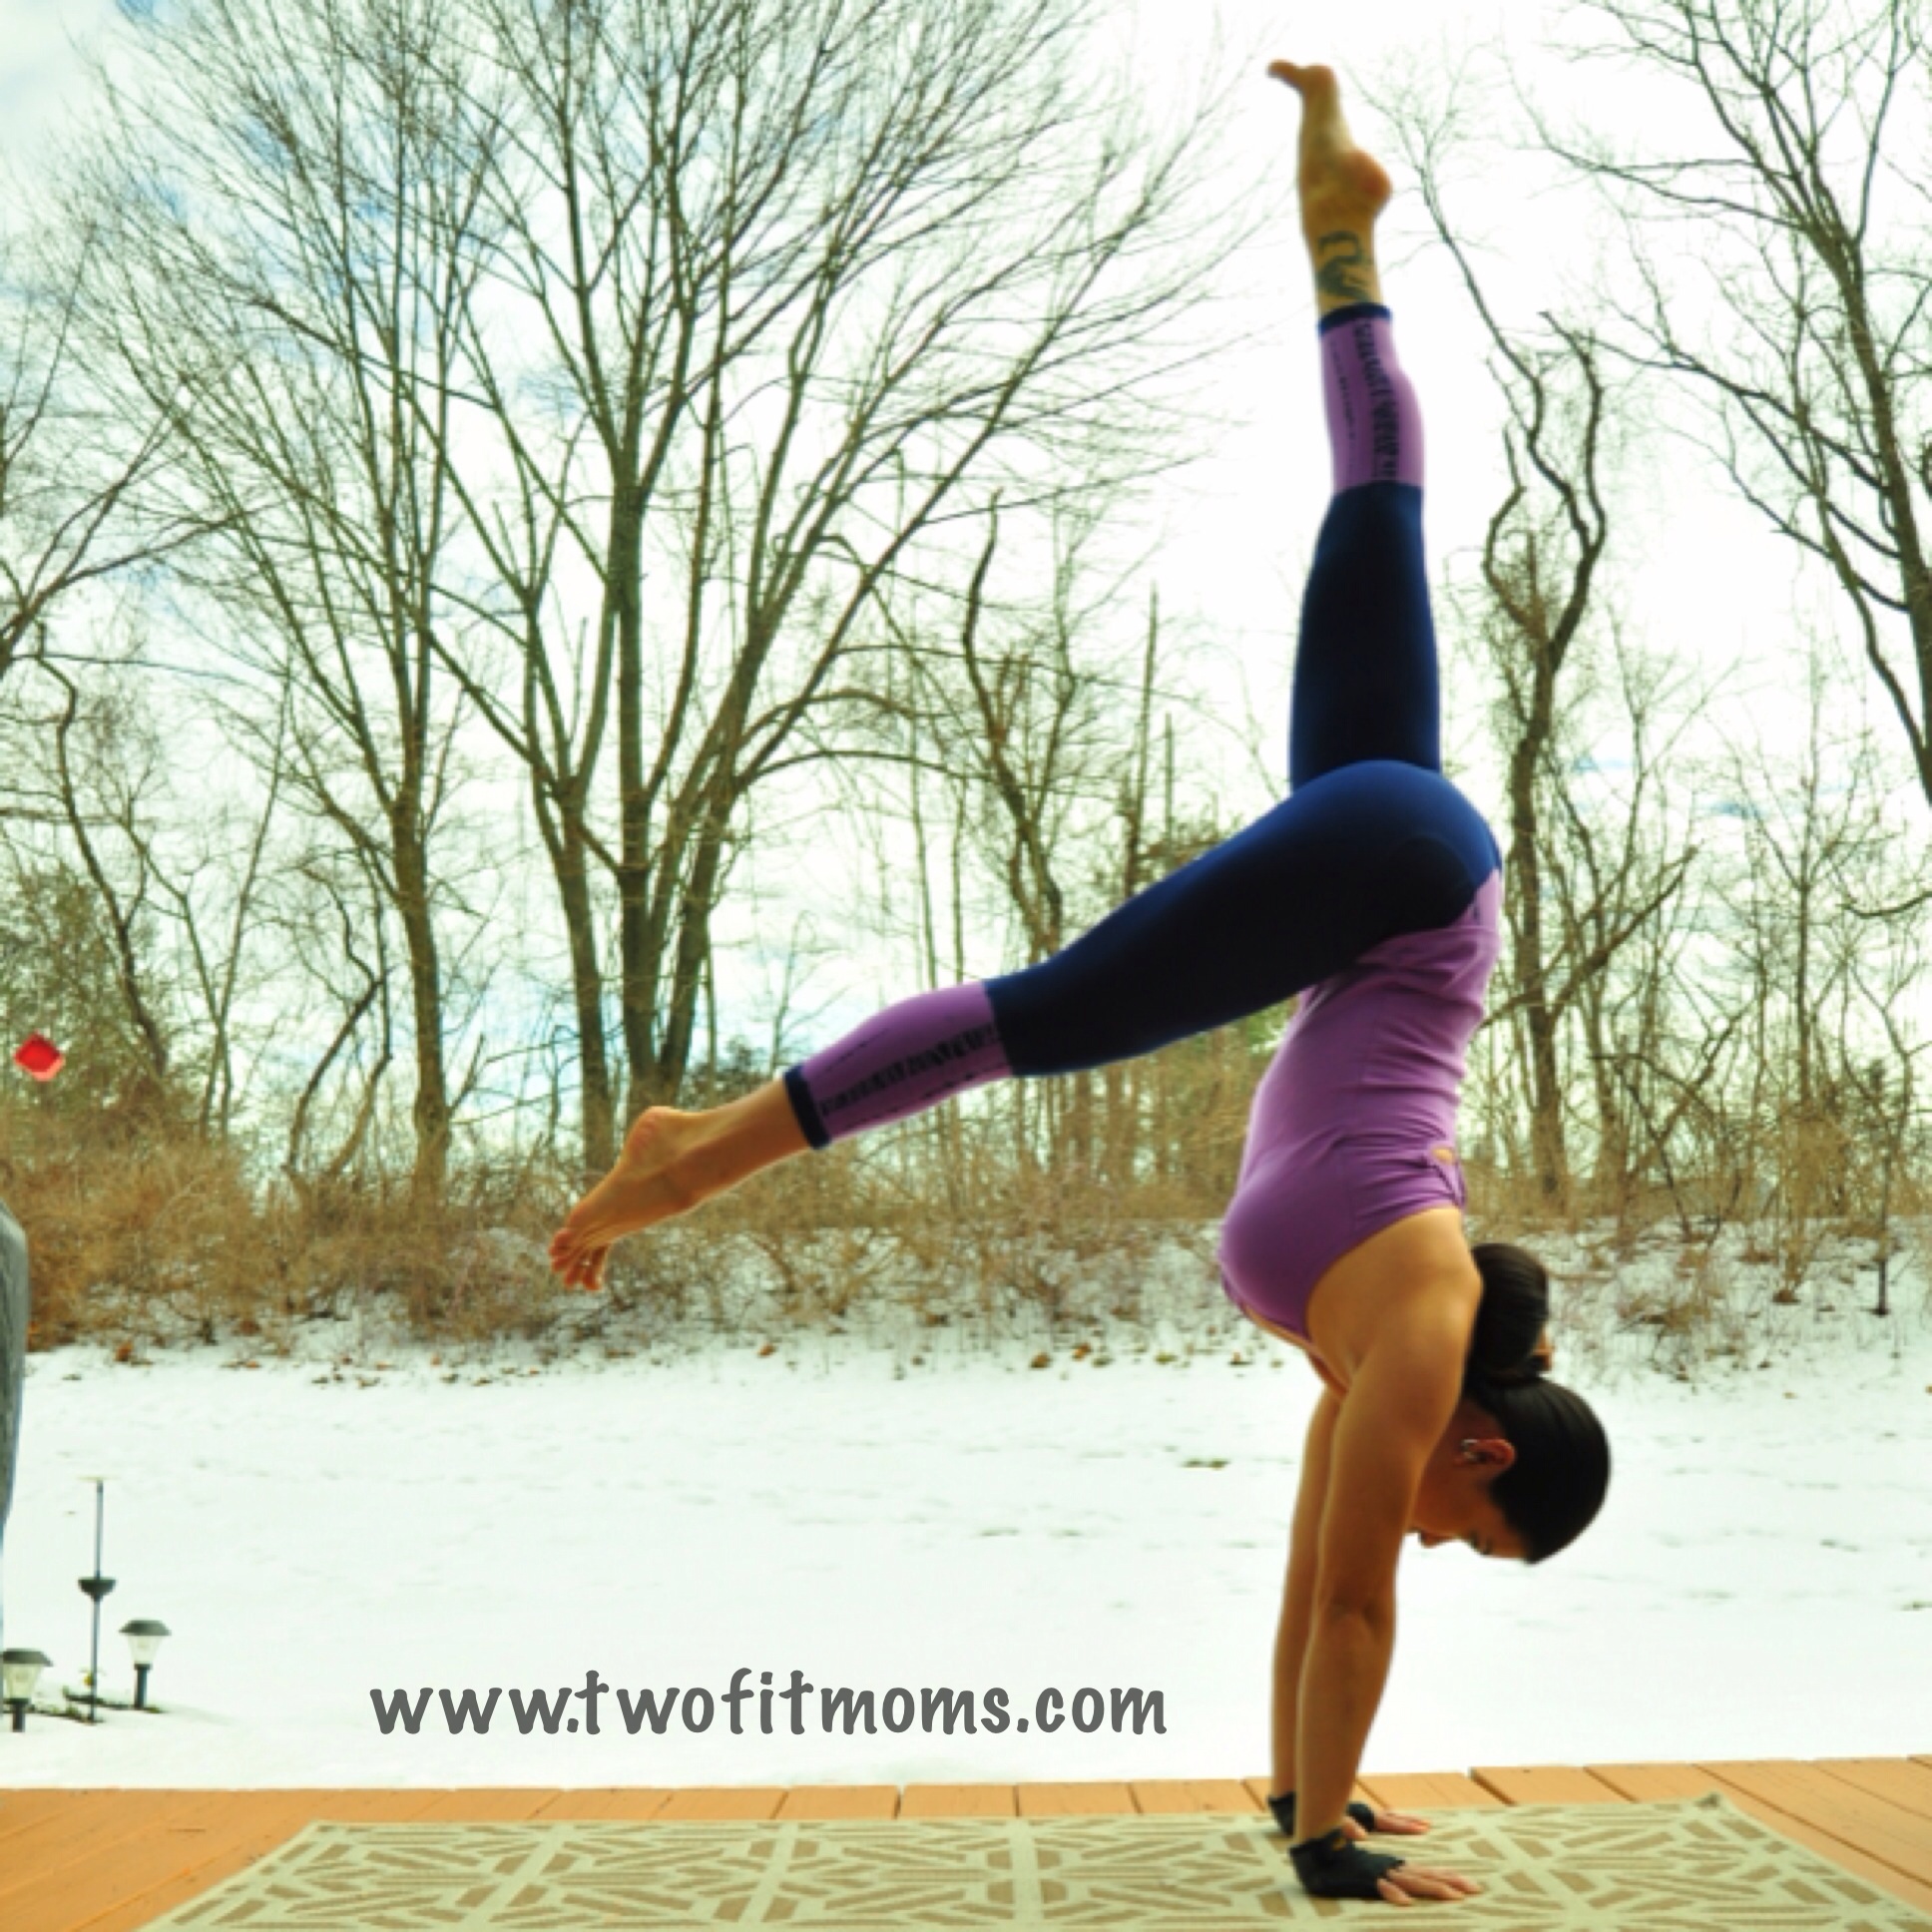
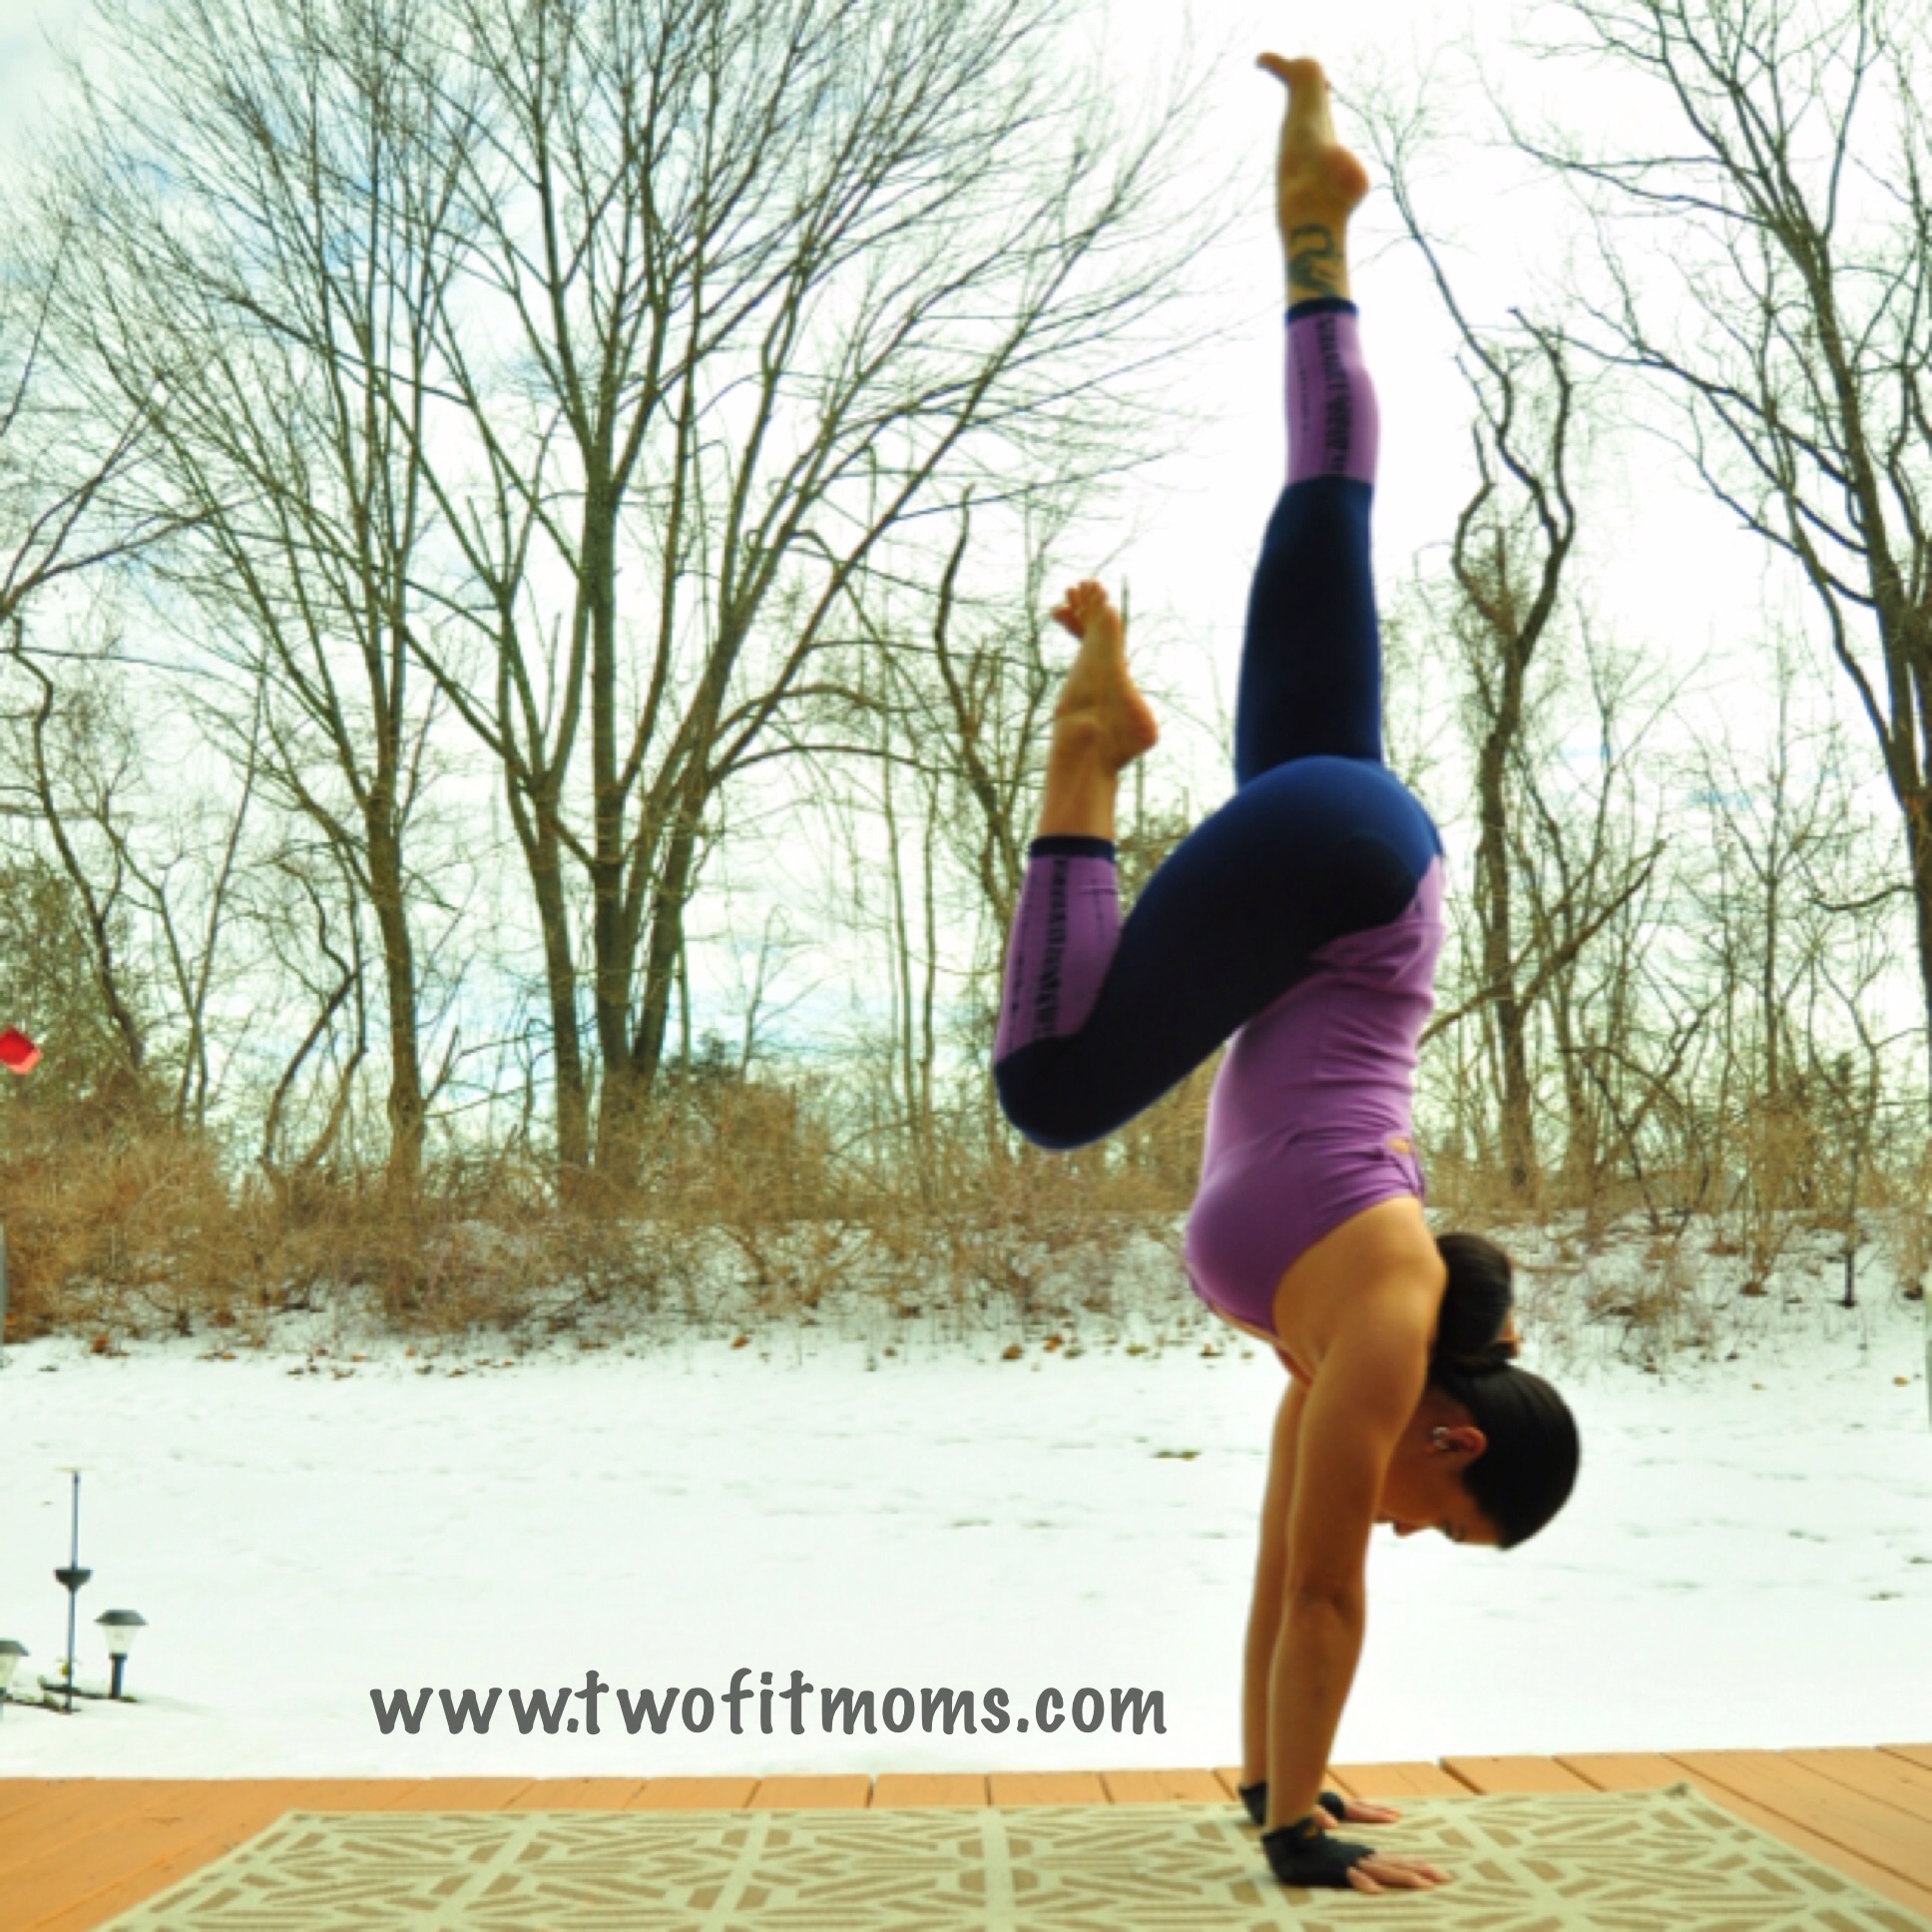
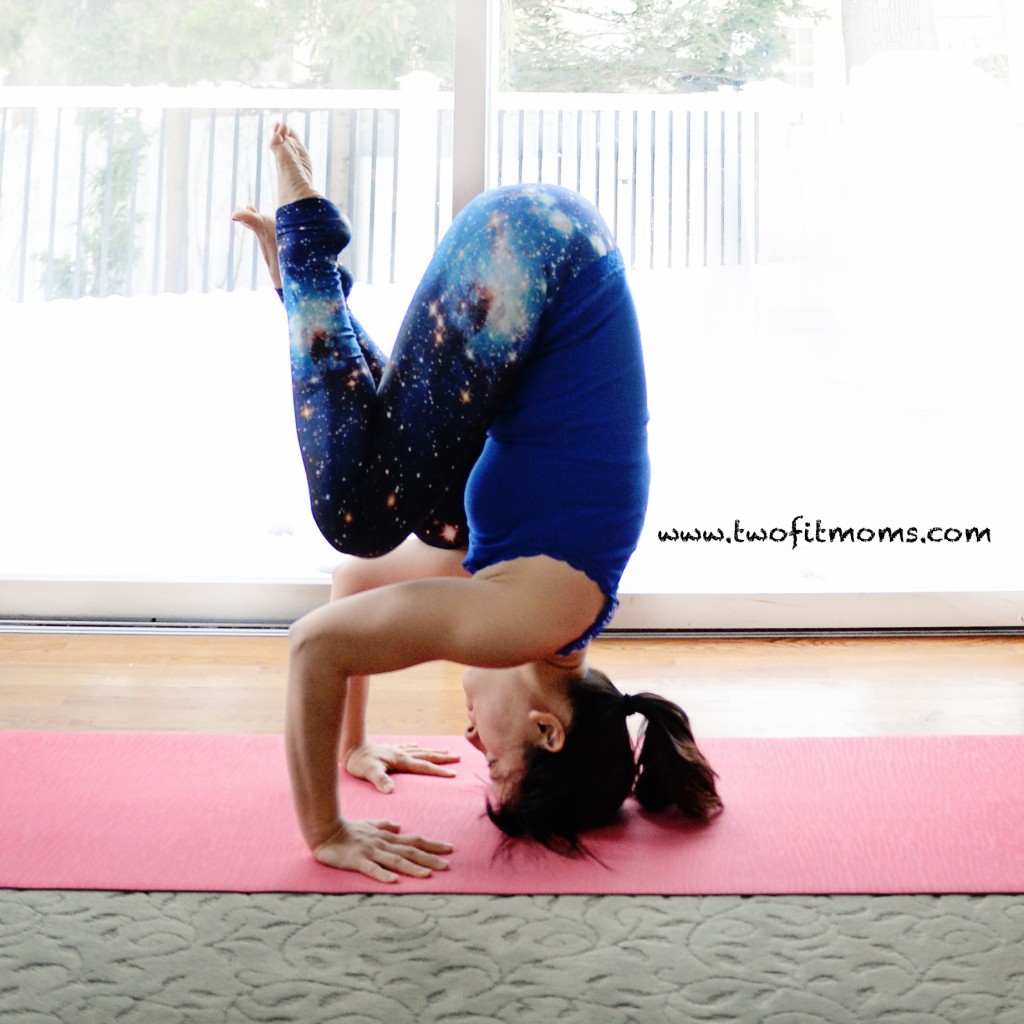
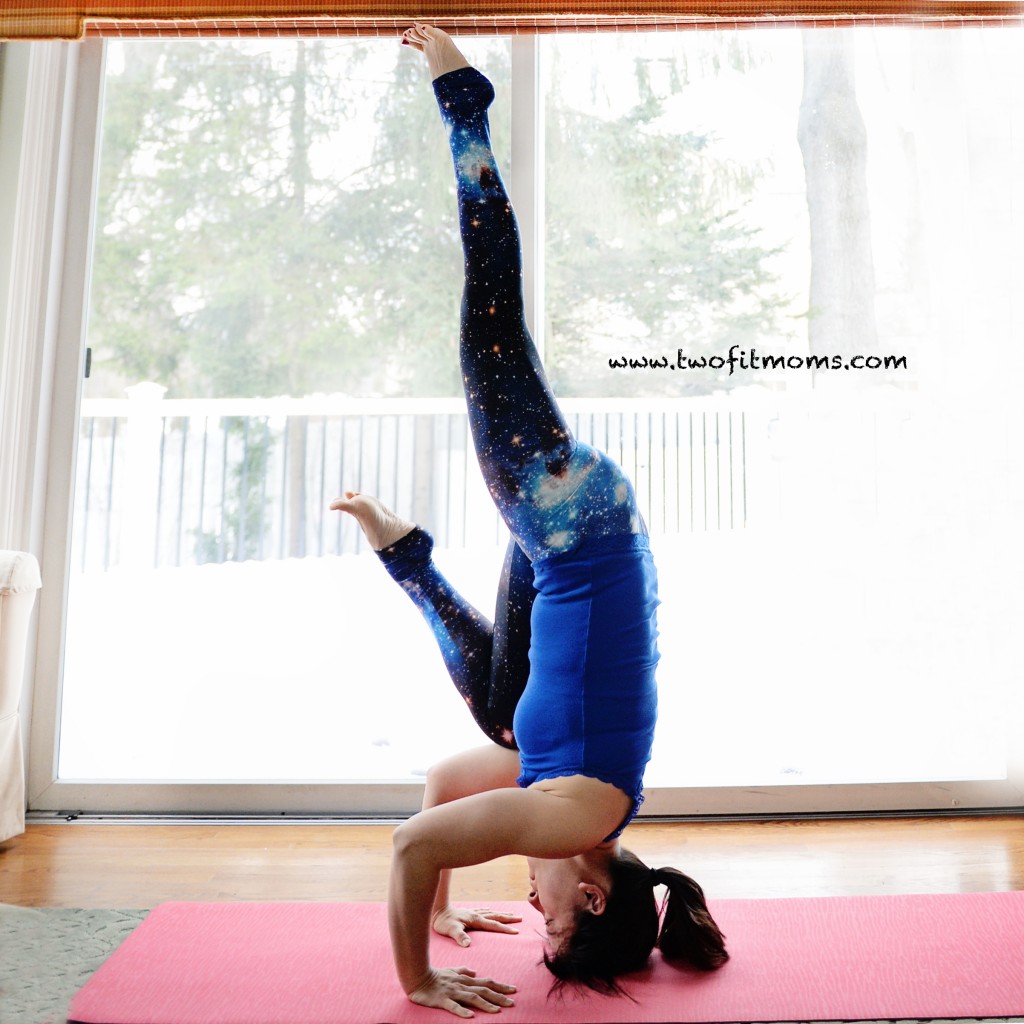
 practice in the snow. It’s usually just a beautiful moment captured in time, and it consists of running out into the snow for about a minute for the purpose of taking a photo, and then racing back into the house to warm up.
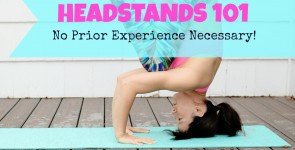
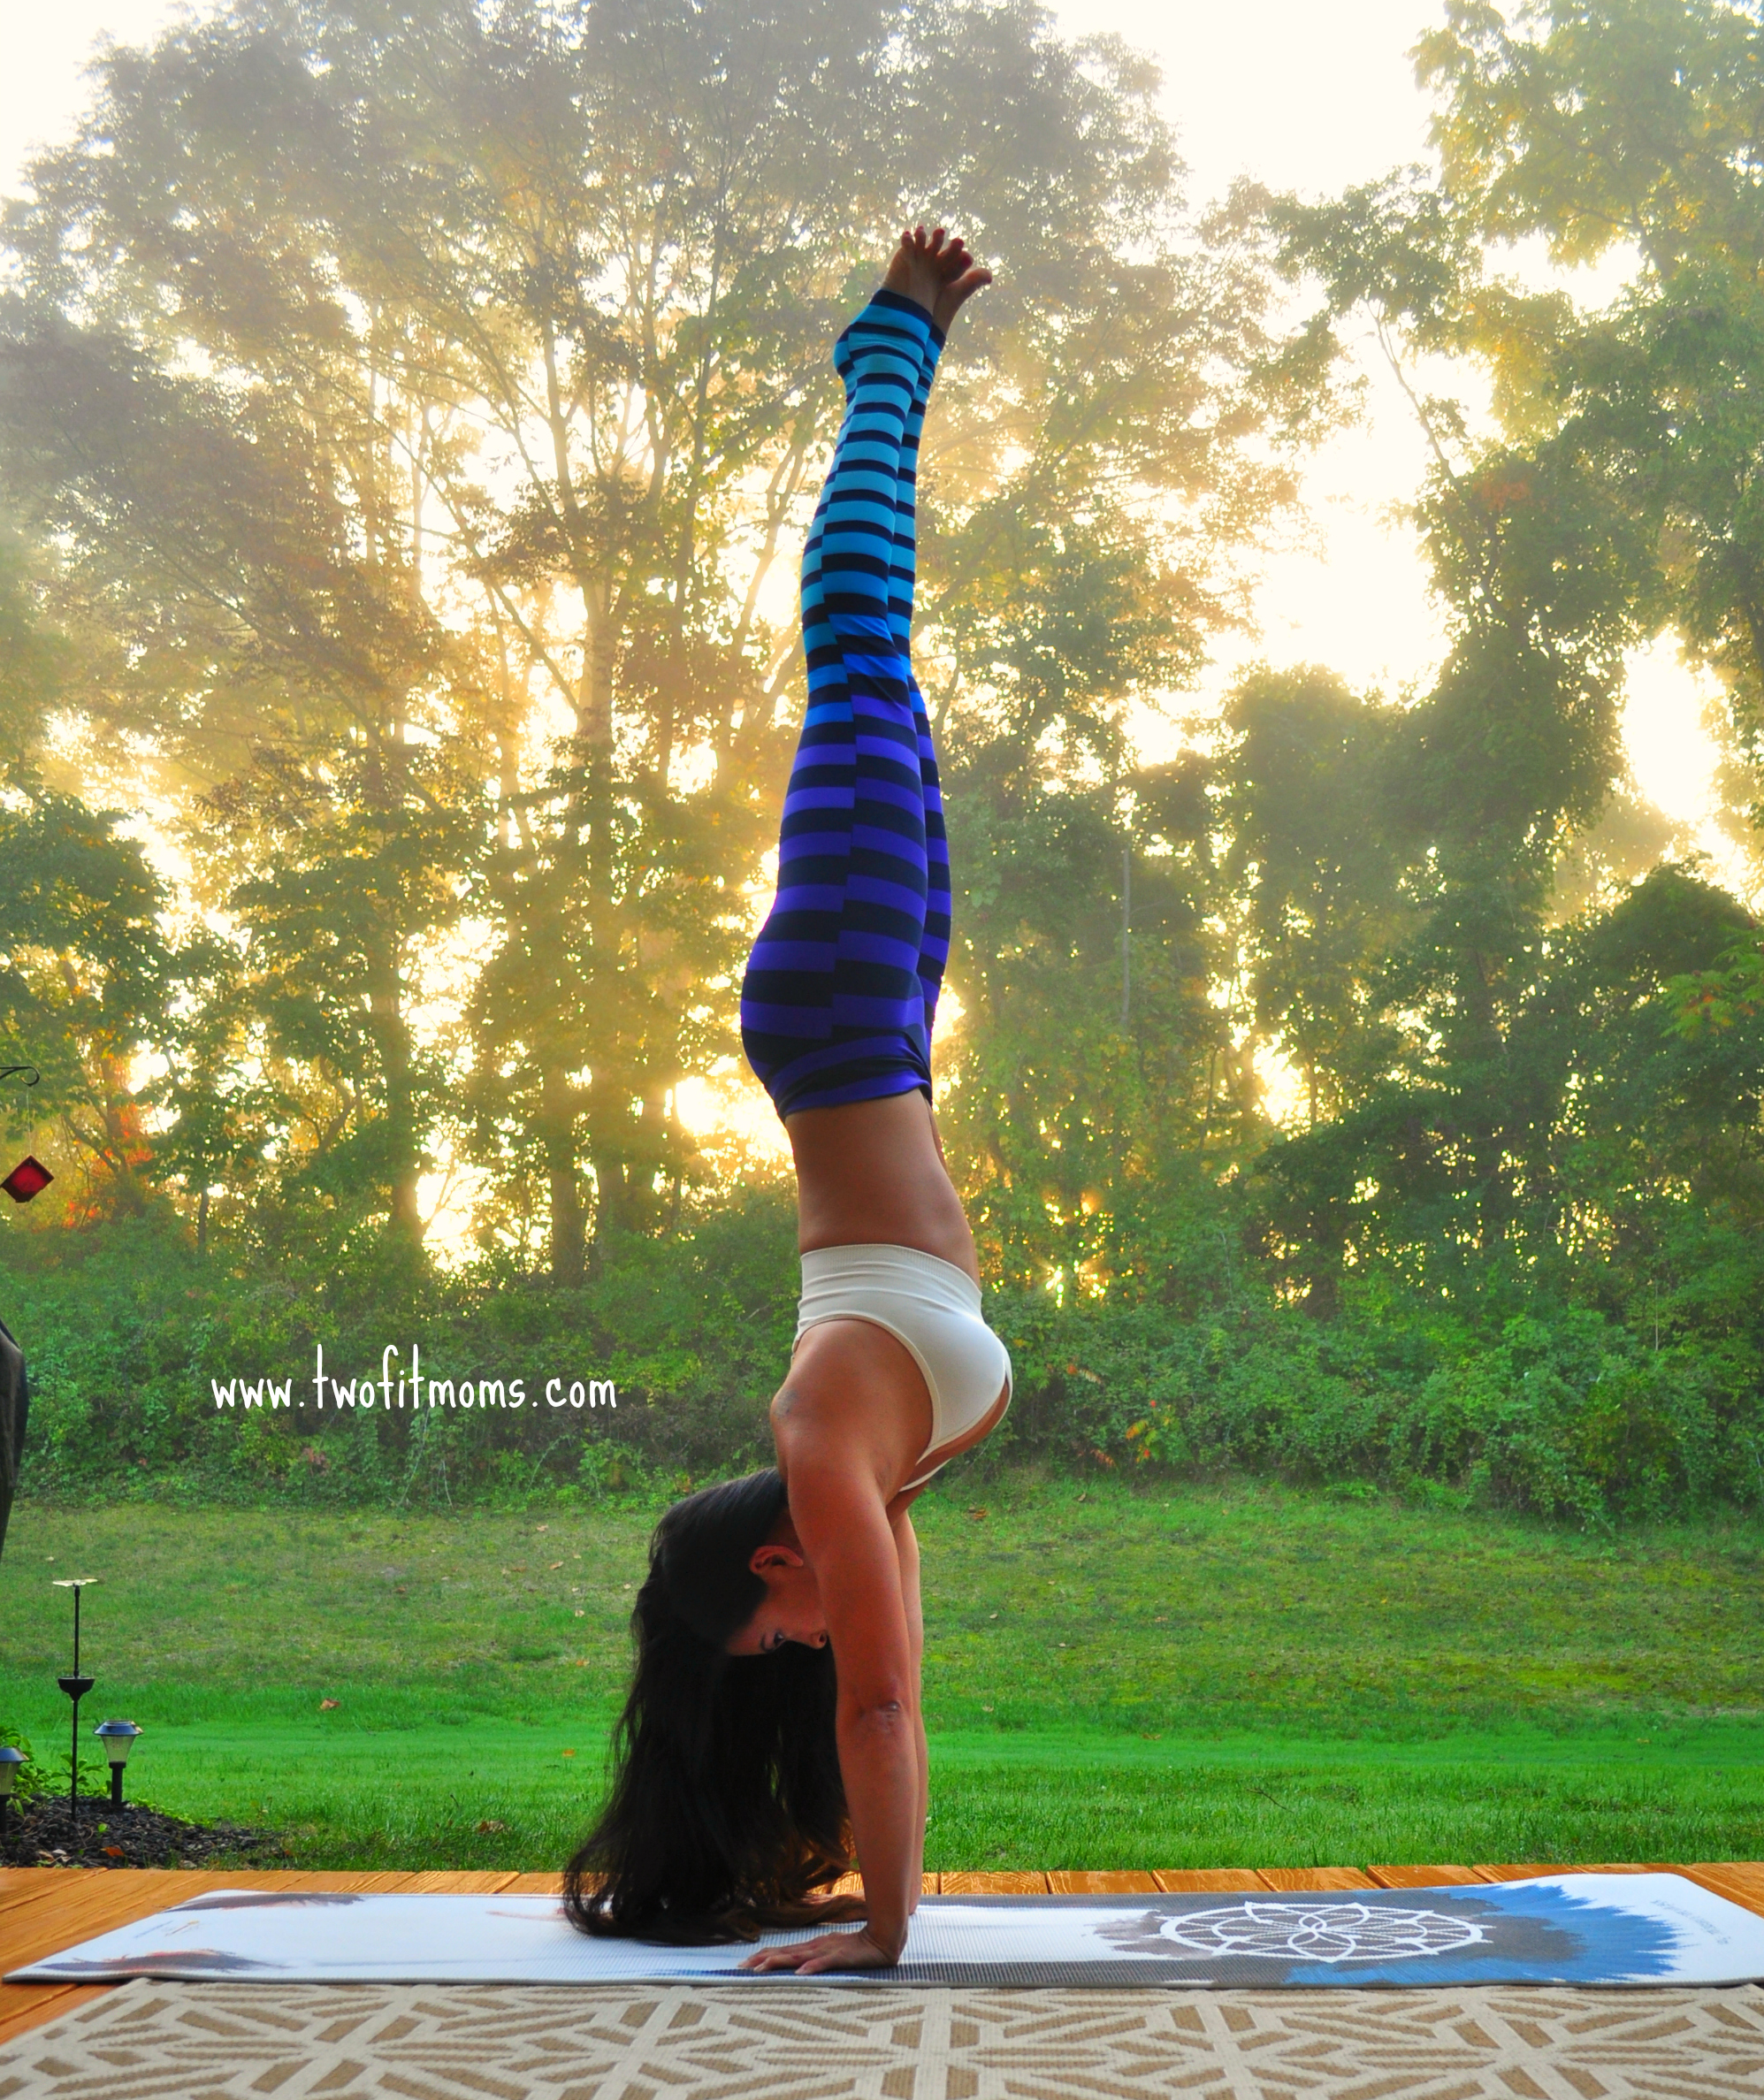
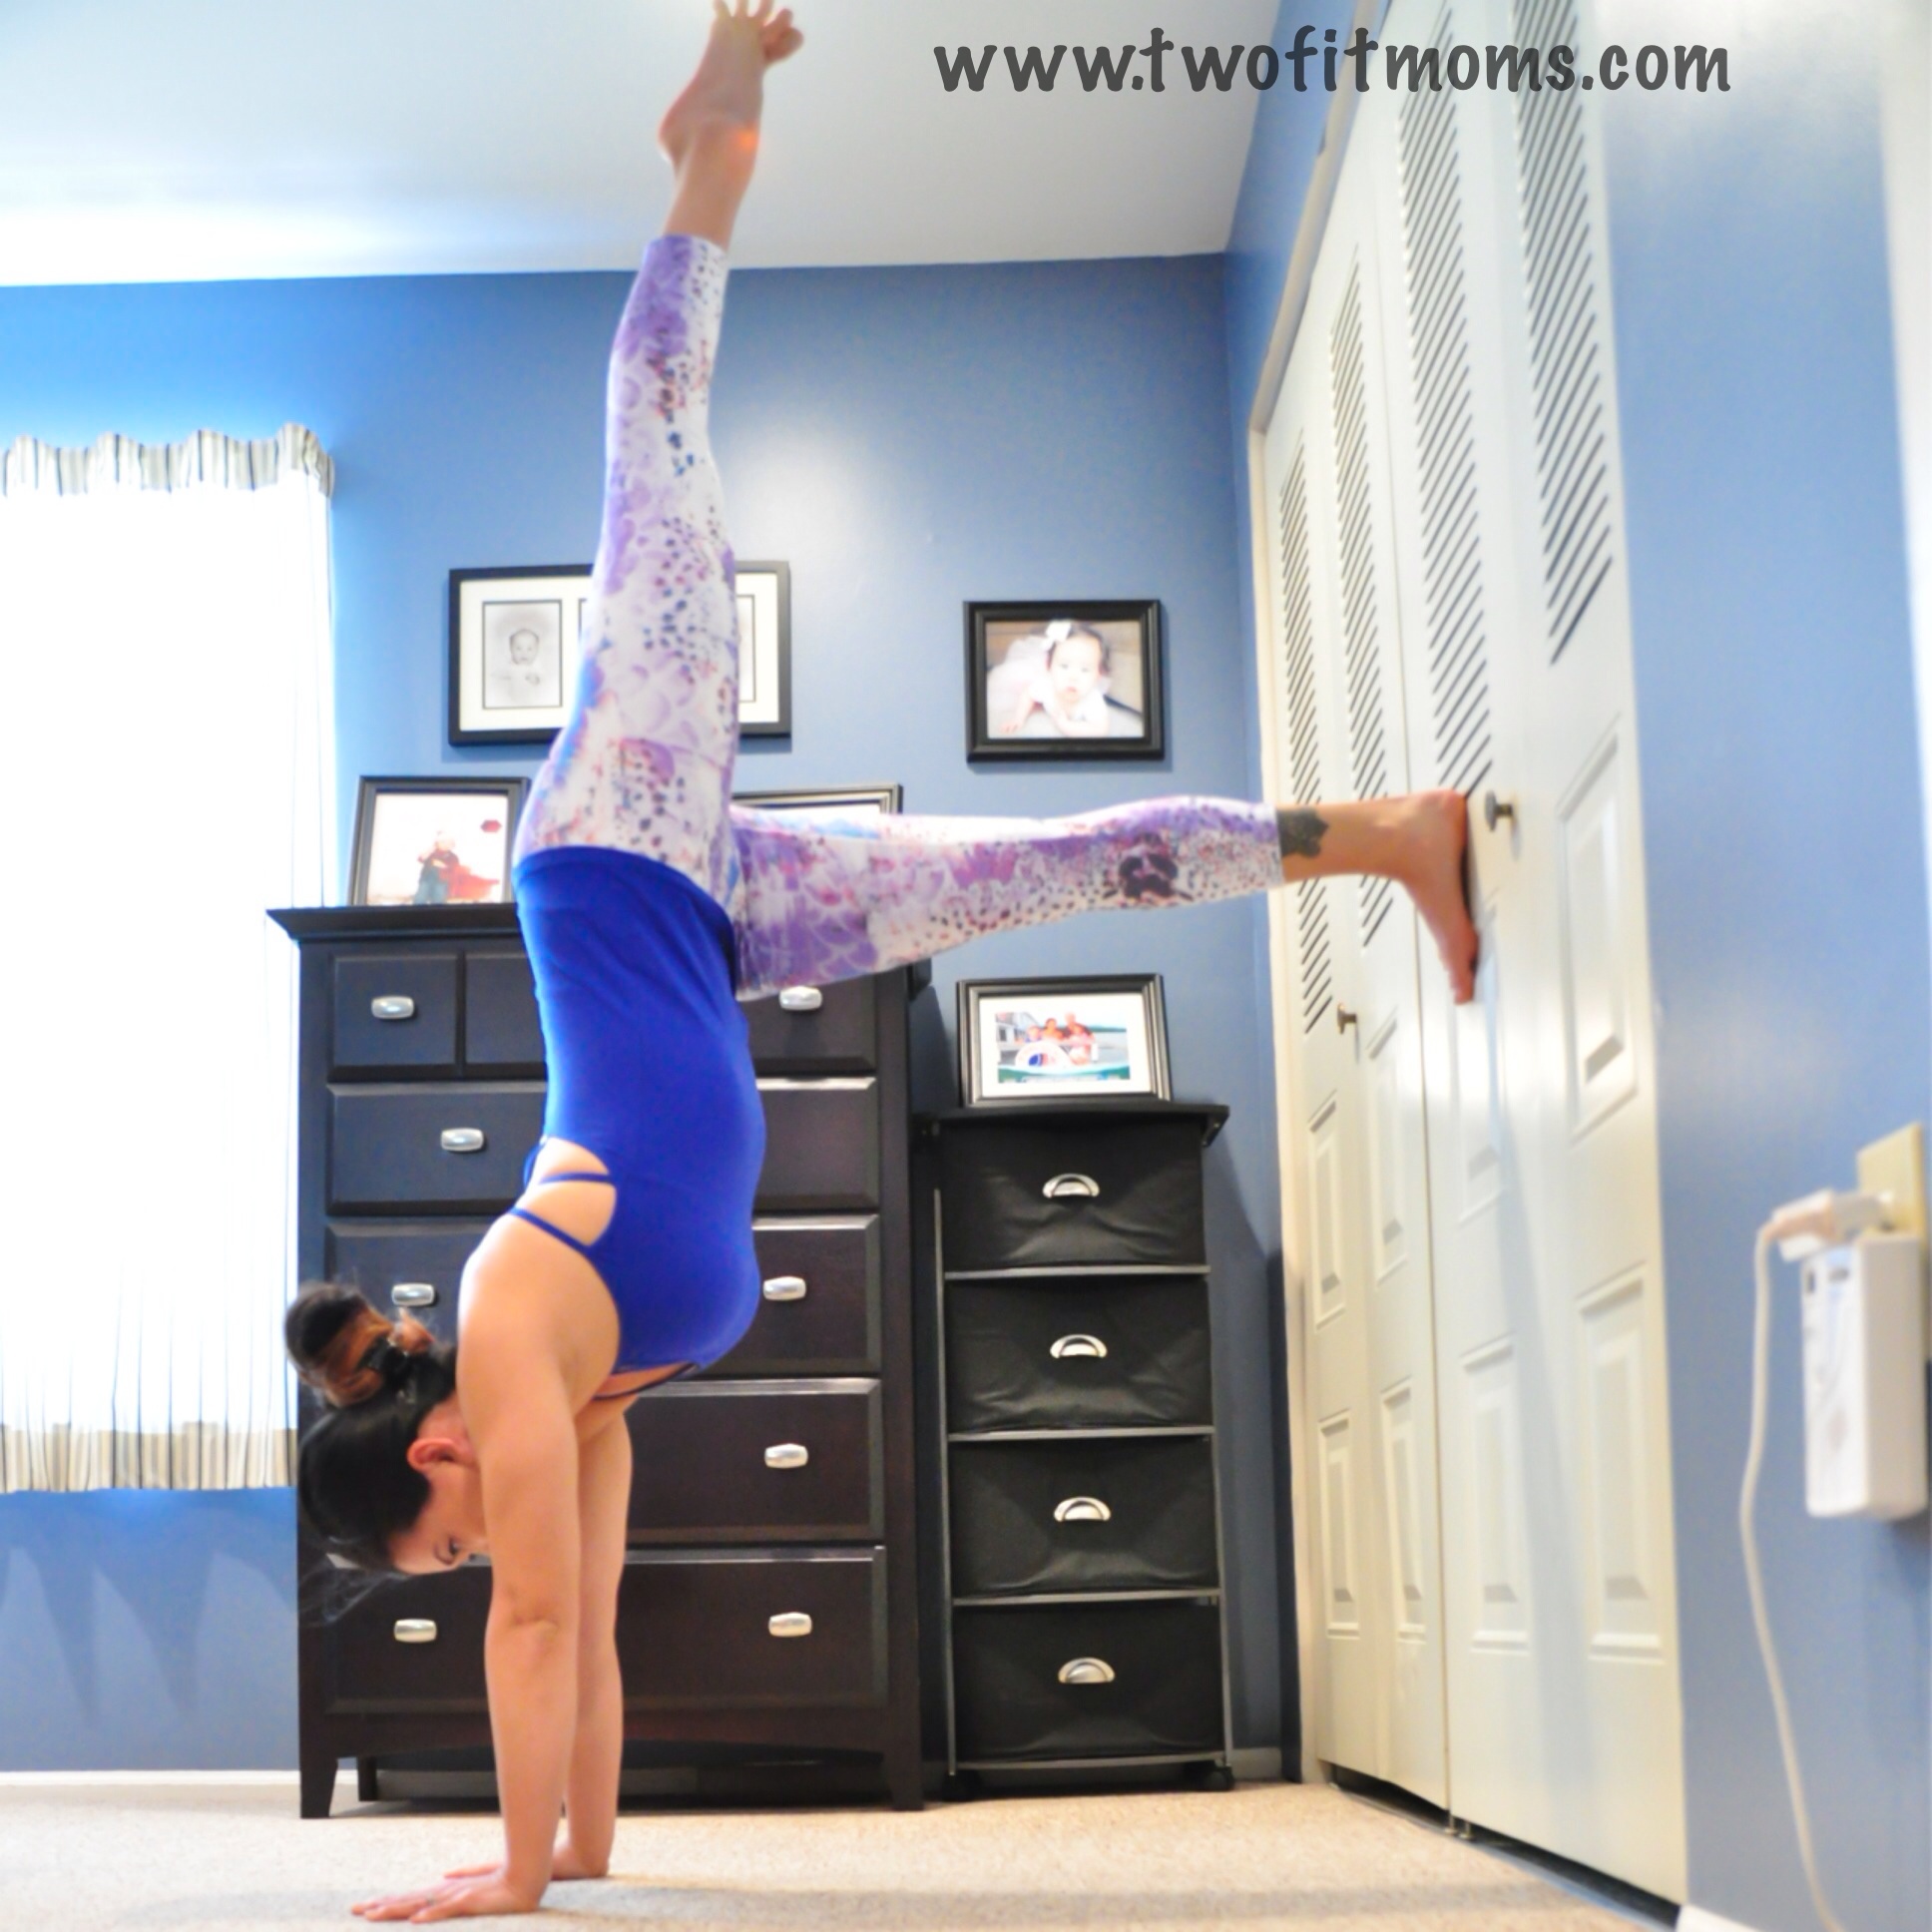
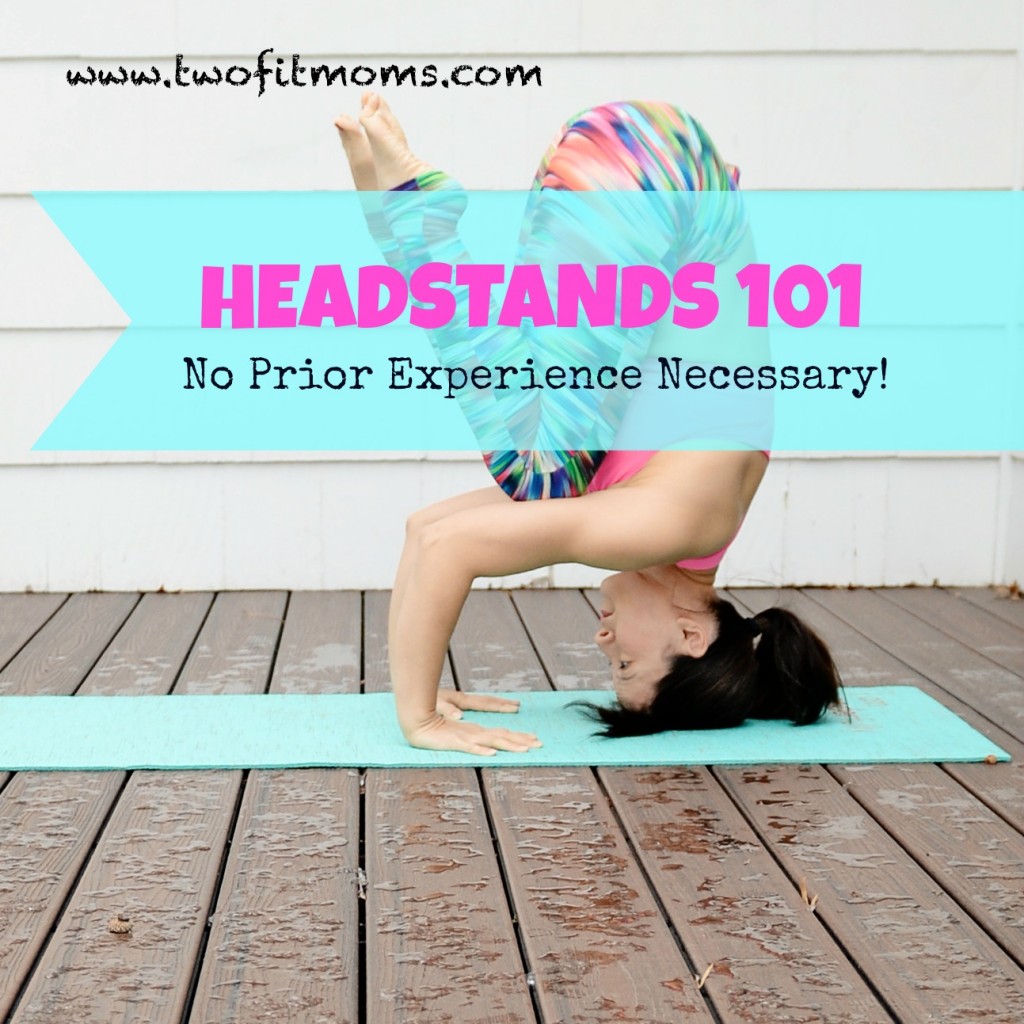 at the age of 36! It is never too late to learn a new hobby or skill. Just be patient, and remember to practice. It may not happen for you today, and that’s ok! There is no timetable for success. I will equip you with the tools and knowledge, and you will work at your own pace until you feel comfortable in the pose.
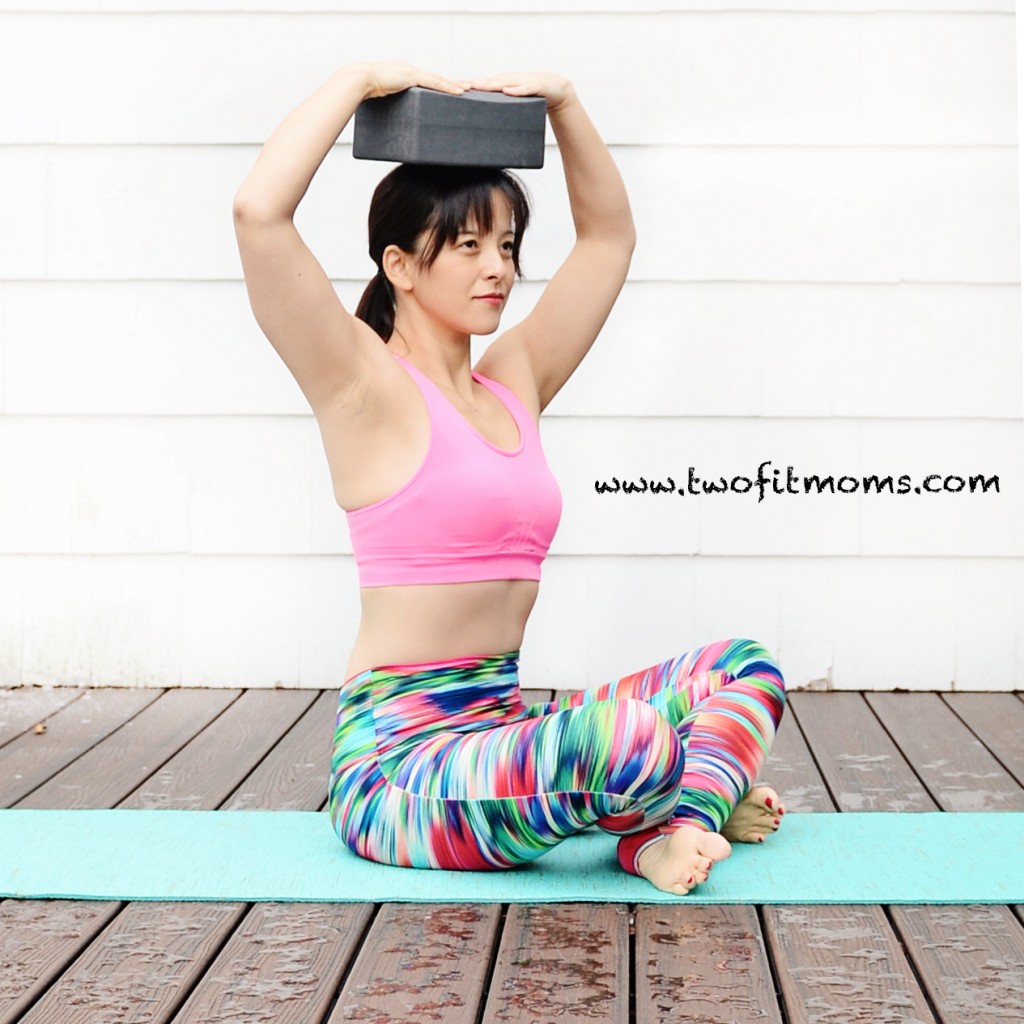
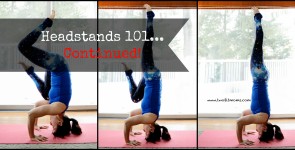
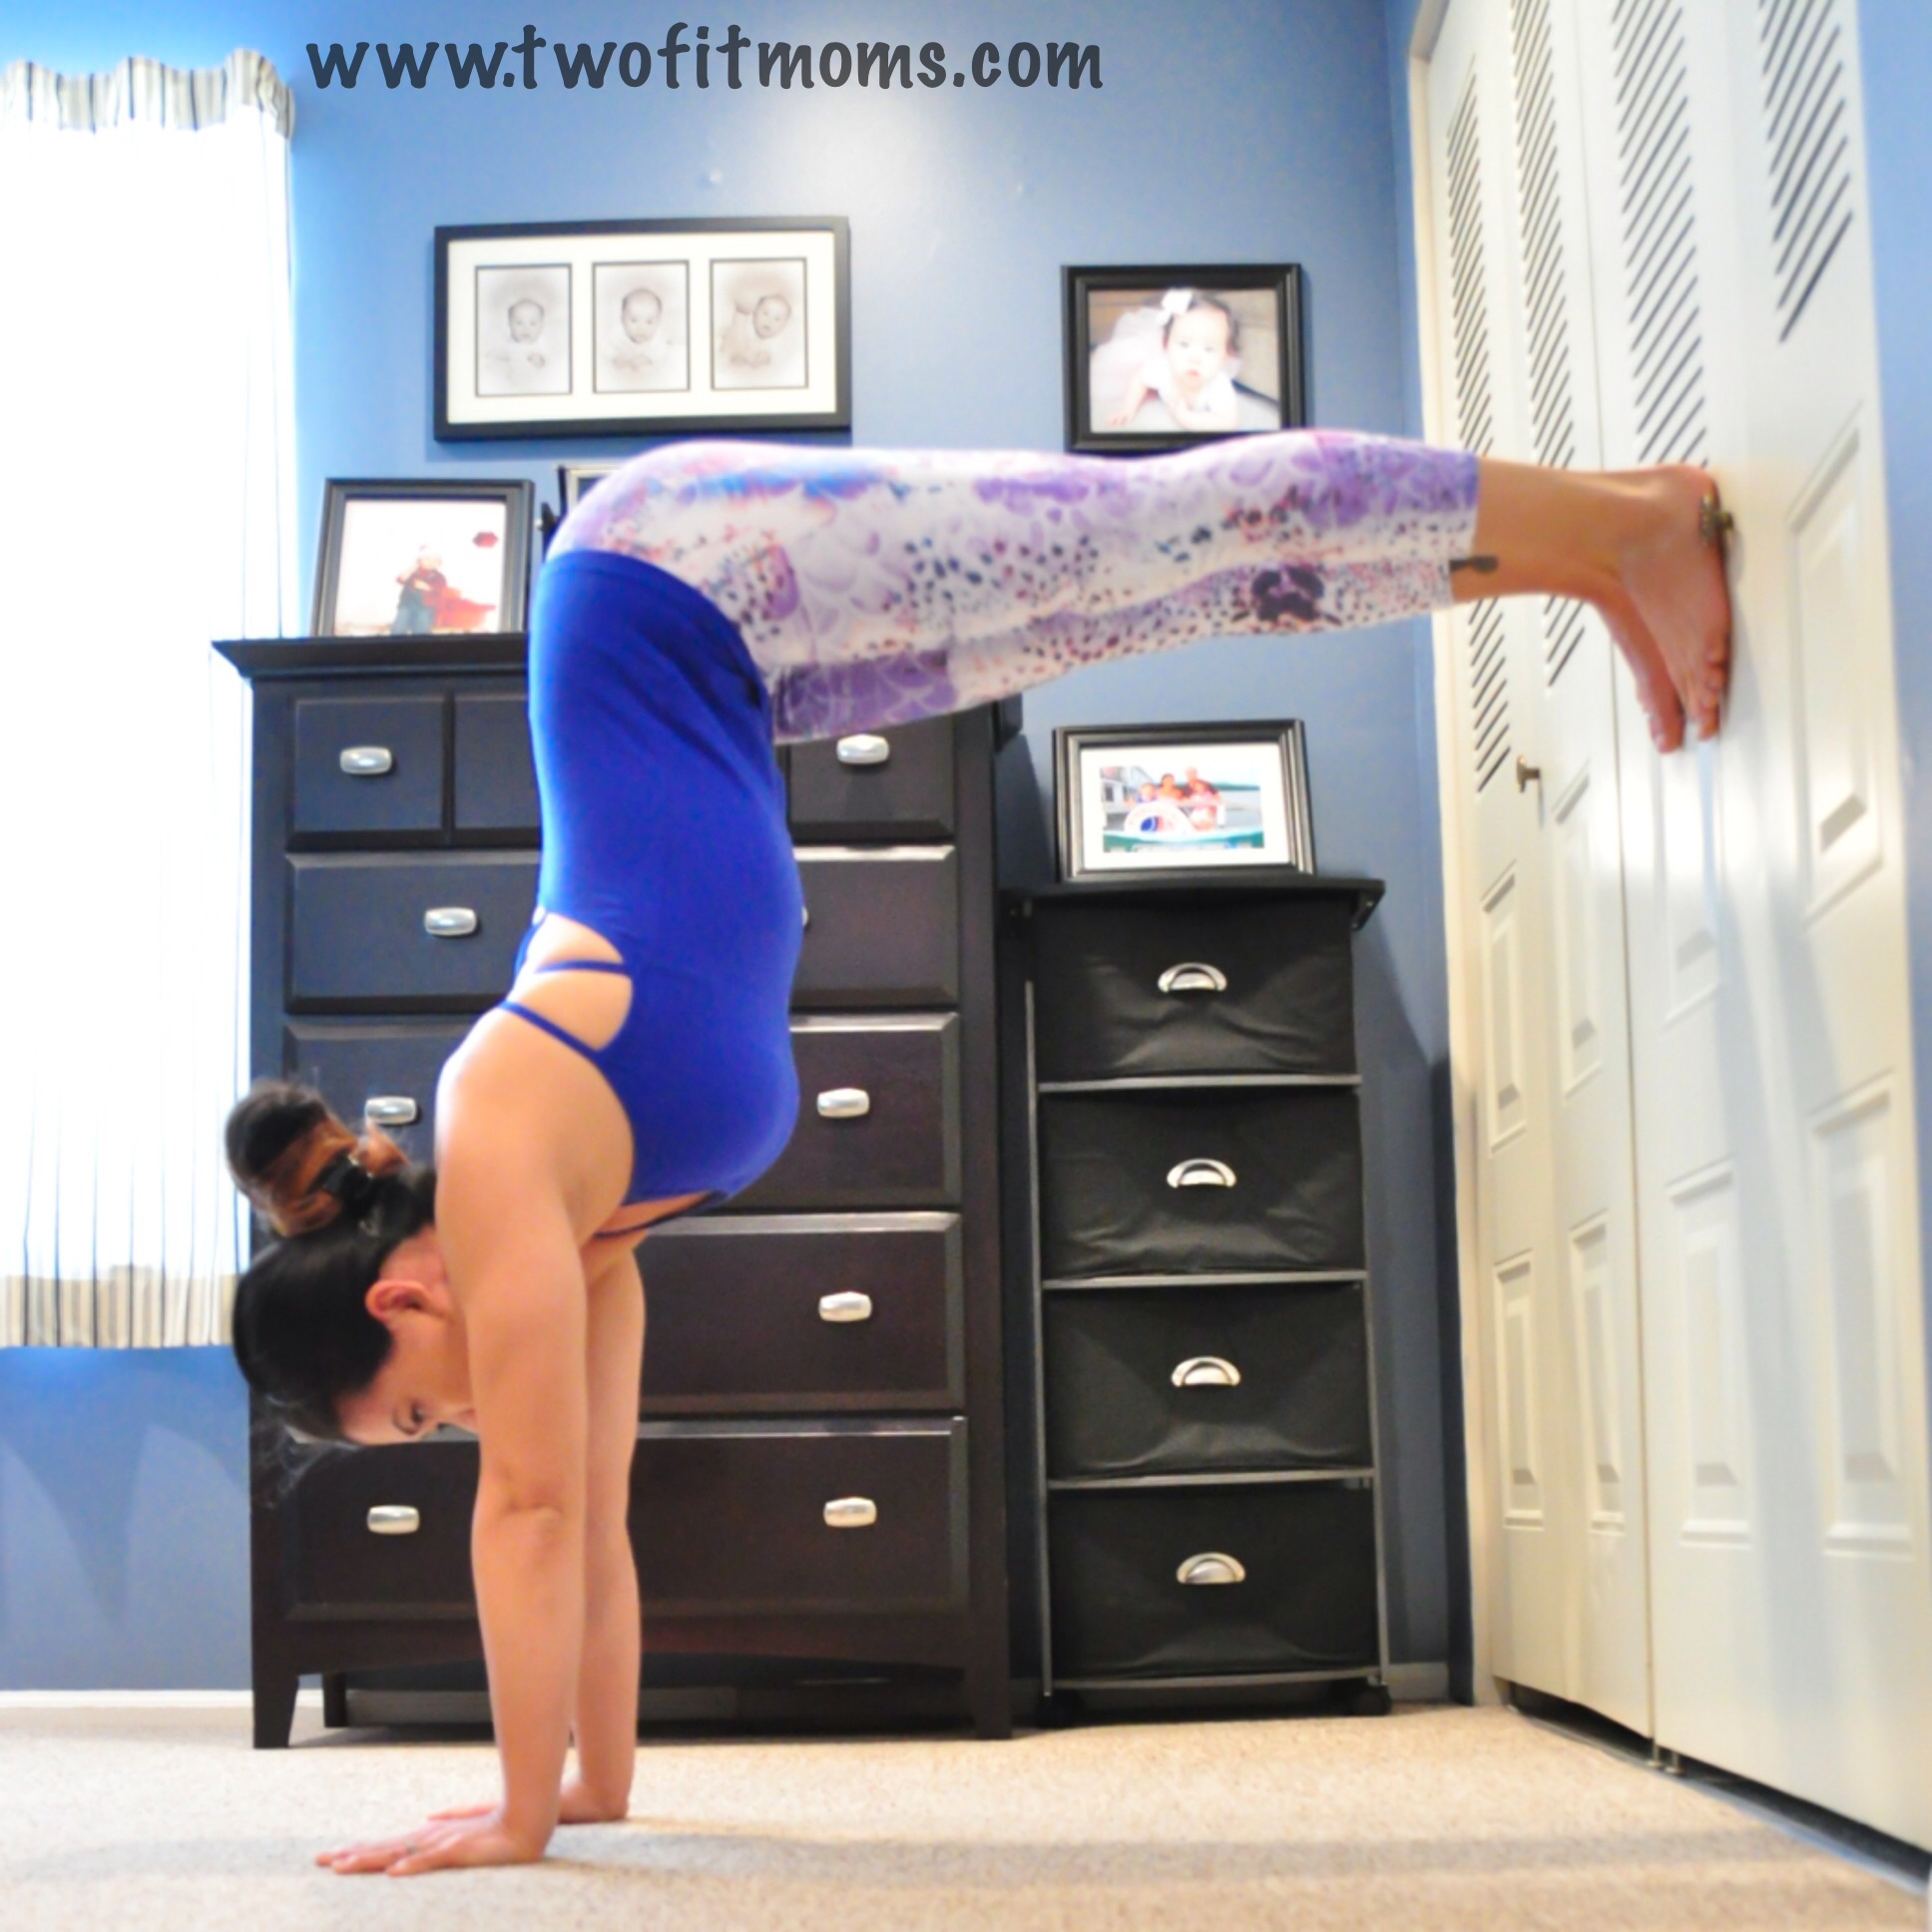
 more limber. If your neck feels strained, focus on lengthening your neck so that your shoulders are drawn away from your ears. If the top of your head hurts, adjust your balance point a few inches. Personally, my own balance point in a headstand is not the same as the balance point with the book on my head. I usually balance a few inches closer to my forehead. This is an exploration. Find the right spot for your own body.

 myself to throw things away. What I DID do is chuck the scale into the back of my closet, and that’s where it remains today. The relationship was no longer serving me, so I had to call it quits. I have no regrets about this break-up, and honestly, I think I am a happier person today because of it. I can’t sit here and tell you to go ahead and give up YOUR scale because it’s a decision that you must come to on your own. You need to really believe that you’re doing the right thing for your own life. What I can do is tell you my top 4 reasons for ditching my own scale.