Who doesn’t love a hot bowl of oatmeal in the morning — especially as the weather starts to get a bit chilly? But, who has the time to prepare oats in the morning — aside from the instant ones that tend to be full of sugar? If you want to get your oatmeal fix, but have little time to prepare them in the morning, consider making an oatmeal cake. You can make it in advance and enjoy it throughout the week. All you need to do is pop it in the microwave to heat it, and voila, a healthy breakfast is served!

I got this idea from Cooking Light that offers a baked oatmeal recipe. However, the Cooking Light recipe includes butter and brown sugar. I wanted to lighten up the recipe, so I swapped out the butter and the brown sugar, replacing them with safflower oil and maple syrup.
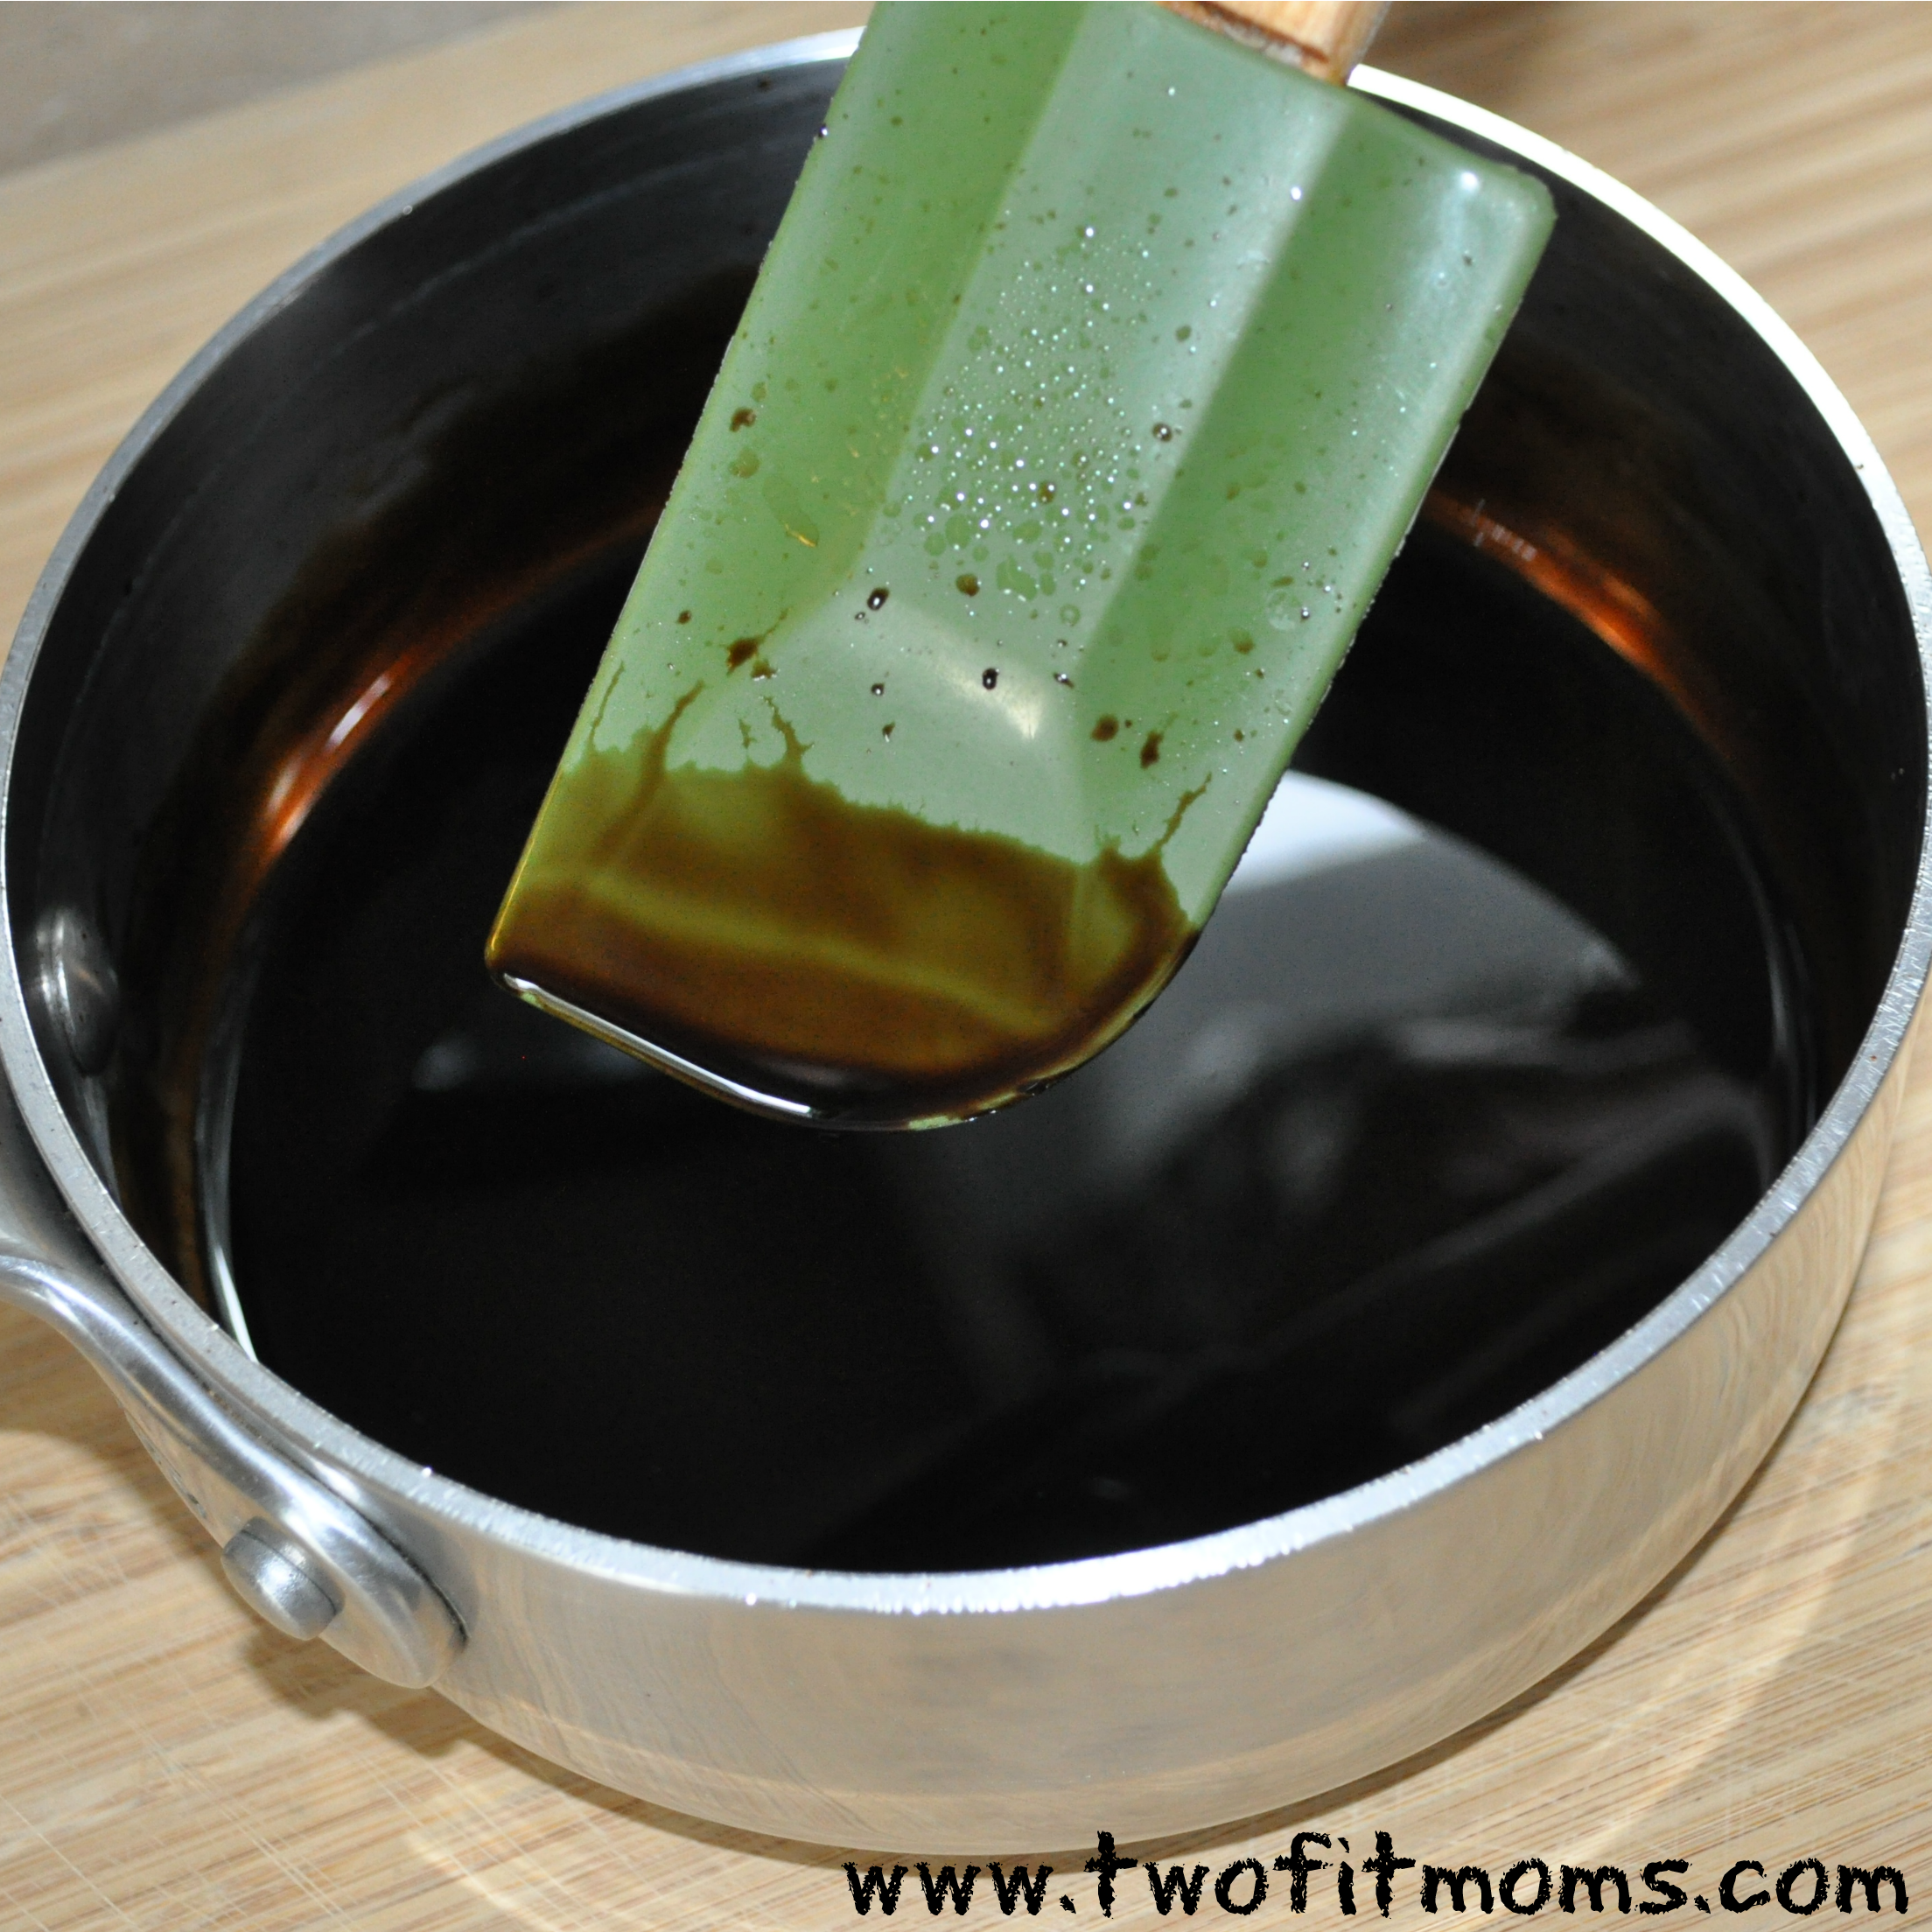
By now, you probably know that I use maple syrup a lot as a processed sugar replacement. Maple syrup is a natural sugar, and I find that I can easily replace an equal amount of white sugar (or brown sugar) with maple syrup. It works really nicely in this oatmeal cake recipe.
You can flavor the oatmeal cake any way you’d like. I decided to make a pumpkin oatmeal cake, because it’s fall, and I love pumpkin! You can also use mashed banana or applesauce in place of the pumpkin puree. If you don’t consume dairy products, try making the cake with almond or soy milk. I added raisins to the Pumpkin Spice Oatmeal Cake, but you can throw in cranberries or currants or chocolate chips! You can also top it with a little extra maple syrup for some additional sweetness. It’s really a very versatile recipe. It’s also a great recipe for the non-oatmeal lover in your life.
If you happen to follow a gluten-free diet or have a gluten allergy, make sure to use oats that are labeled as gluten-free. While oats are naturally gluten-free, they are often cross contaminated with grains containing gluten during the growing process.
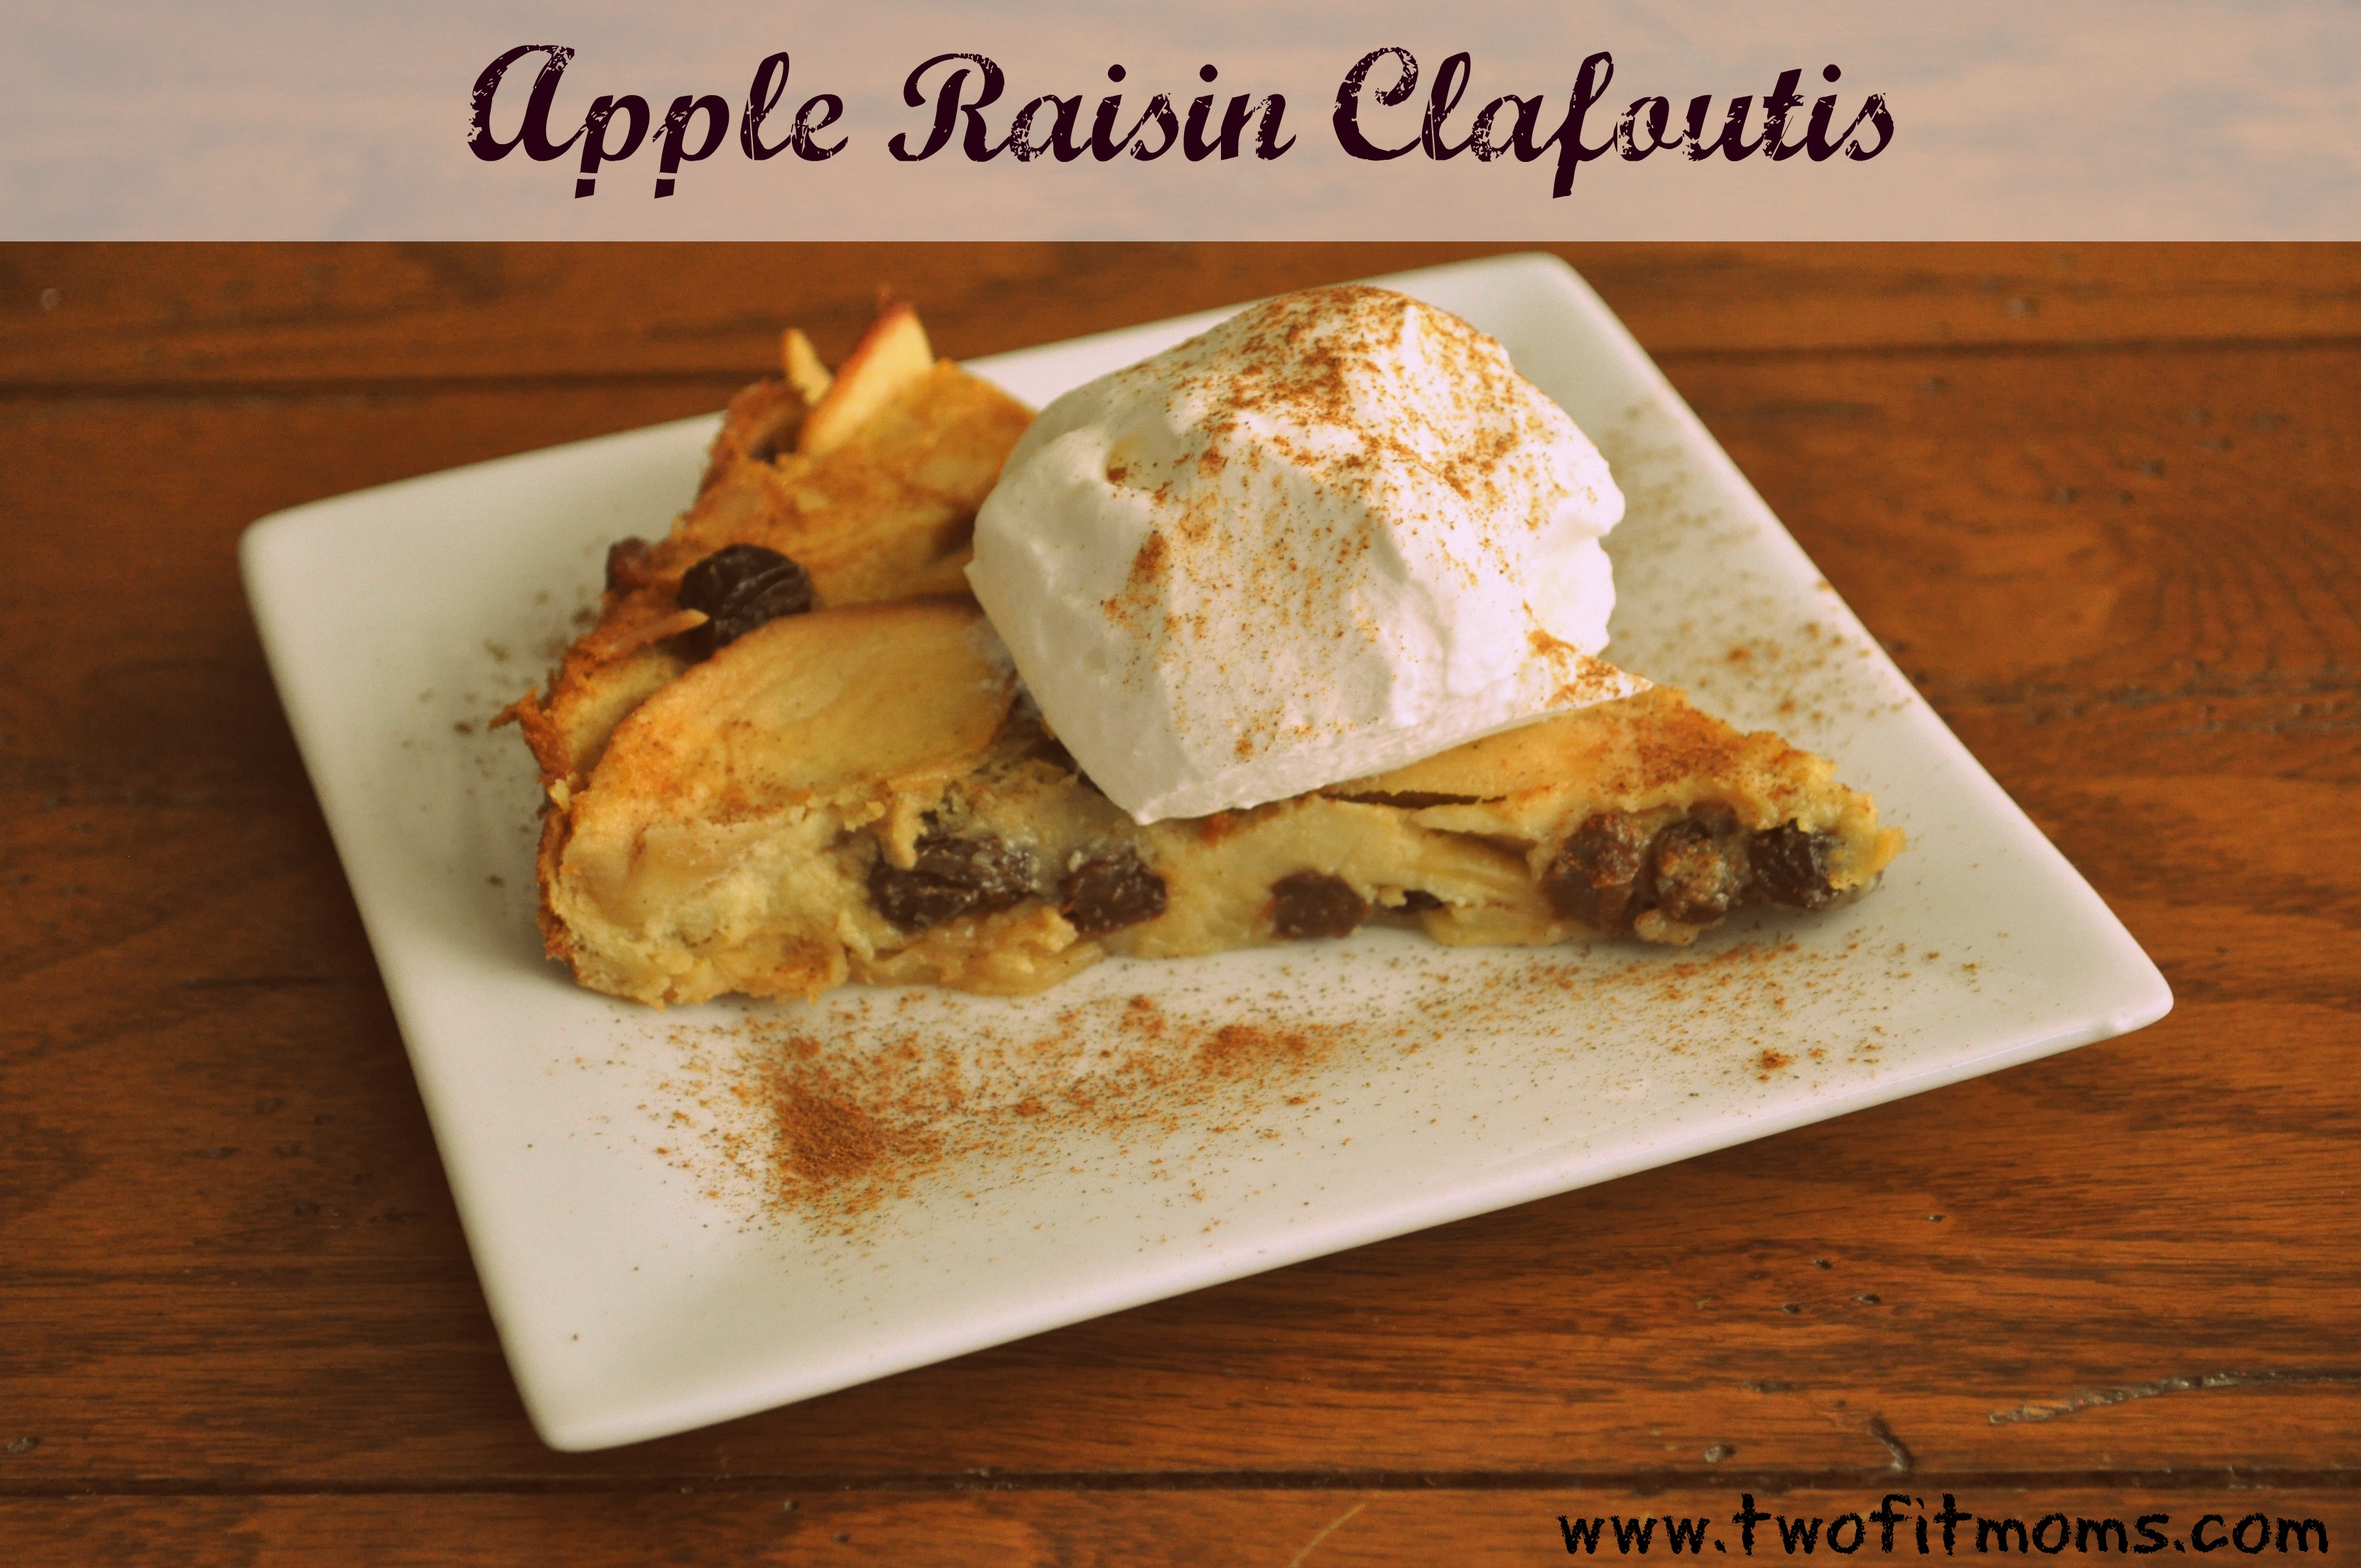
Pumpkin Spice Oatmeal Cake
Yields nine servings
2 cups of oats (not quick cooking)
1/3 cup of raisins
1/4 cup of chopped walnuts
1 teaspoon of baking powder
1 1/2 cups of milk
1/4 cup of maple syrup (grade B)
1/2 cup of pumpkin puree
2 tablespoons of safflower oil
1 large egg, beaten
1 teaspoon vanilla extract
1/4 teaspoon ground cinnamon
Preheat your oven to 375 degrees. Grease an 8 by 8 inch square pan. Combine the first four ingredients in a bowl. In a separate bowl, add the milk, maple syrup, pumpkin, oil and beaten egg. Mix to incorporate and then add the wet mixture to the dry mixture. Stir well. Pour the oat mixture into the greased pan. Bake for 25-30 minutes, until firm. Serve warm or refrigerate it and enjoy throughout the week!
Helpful hint: You can make the oat mixture the night before, store it in the refrigerator and bake it in the morning! I found the cooking time remained the same, but all ovens will vary.