Are you in luck this month! Not only do we have a healthy and delicious recipe for you, but we have another fantastic giveaway from Whole Foods! So check out the recipe below and follow us on Instagram (@twofitmoms) for your chance to win a $250 gift card from Whole Foods (giveaway runs from noon EST on March 3 until noon EST on March 10). Good luck!
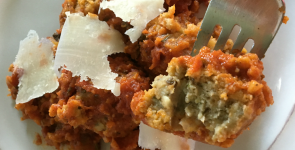
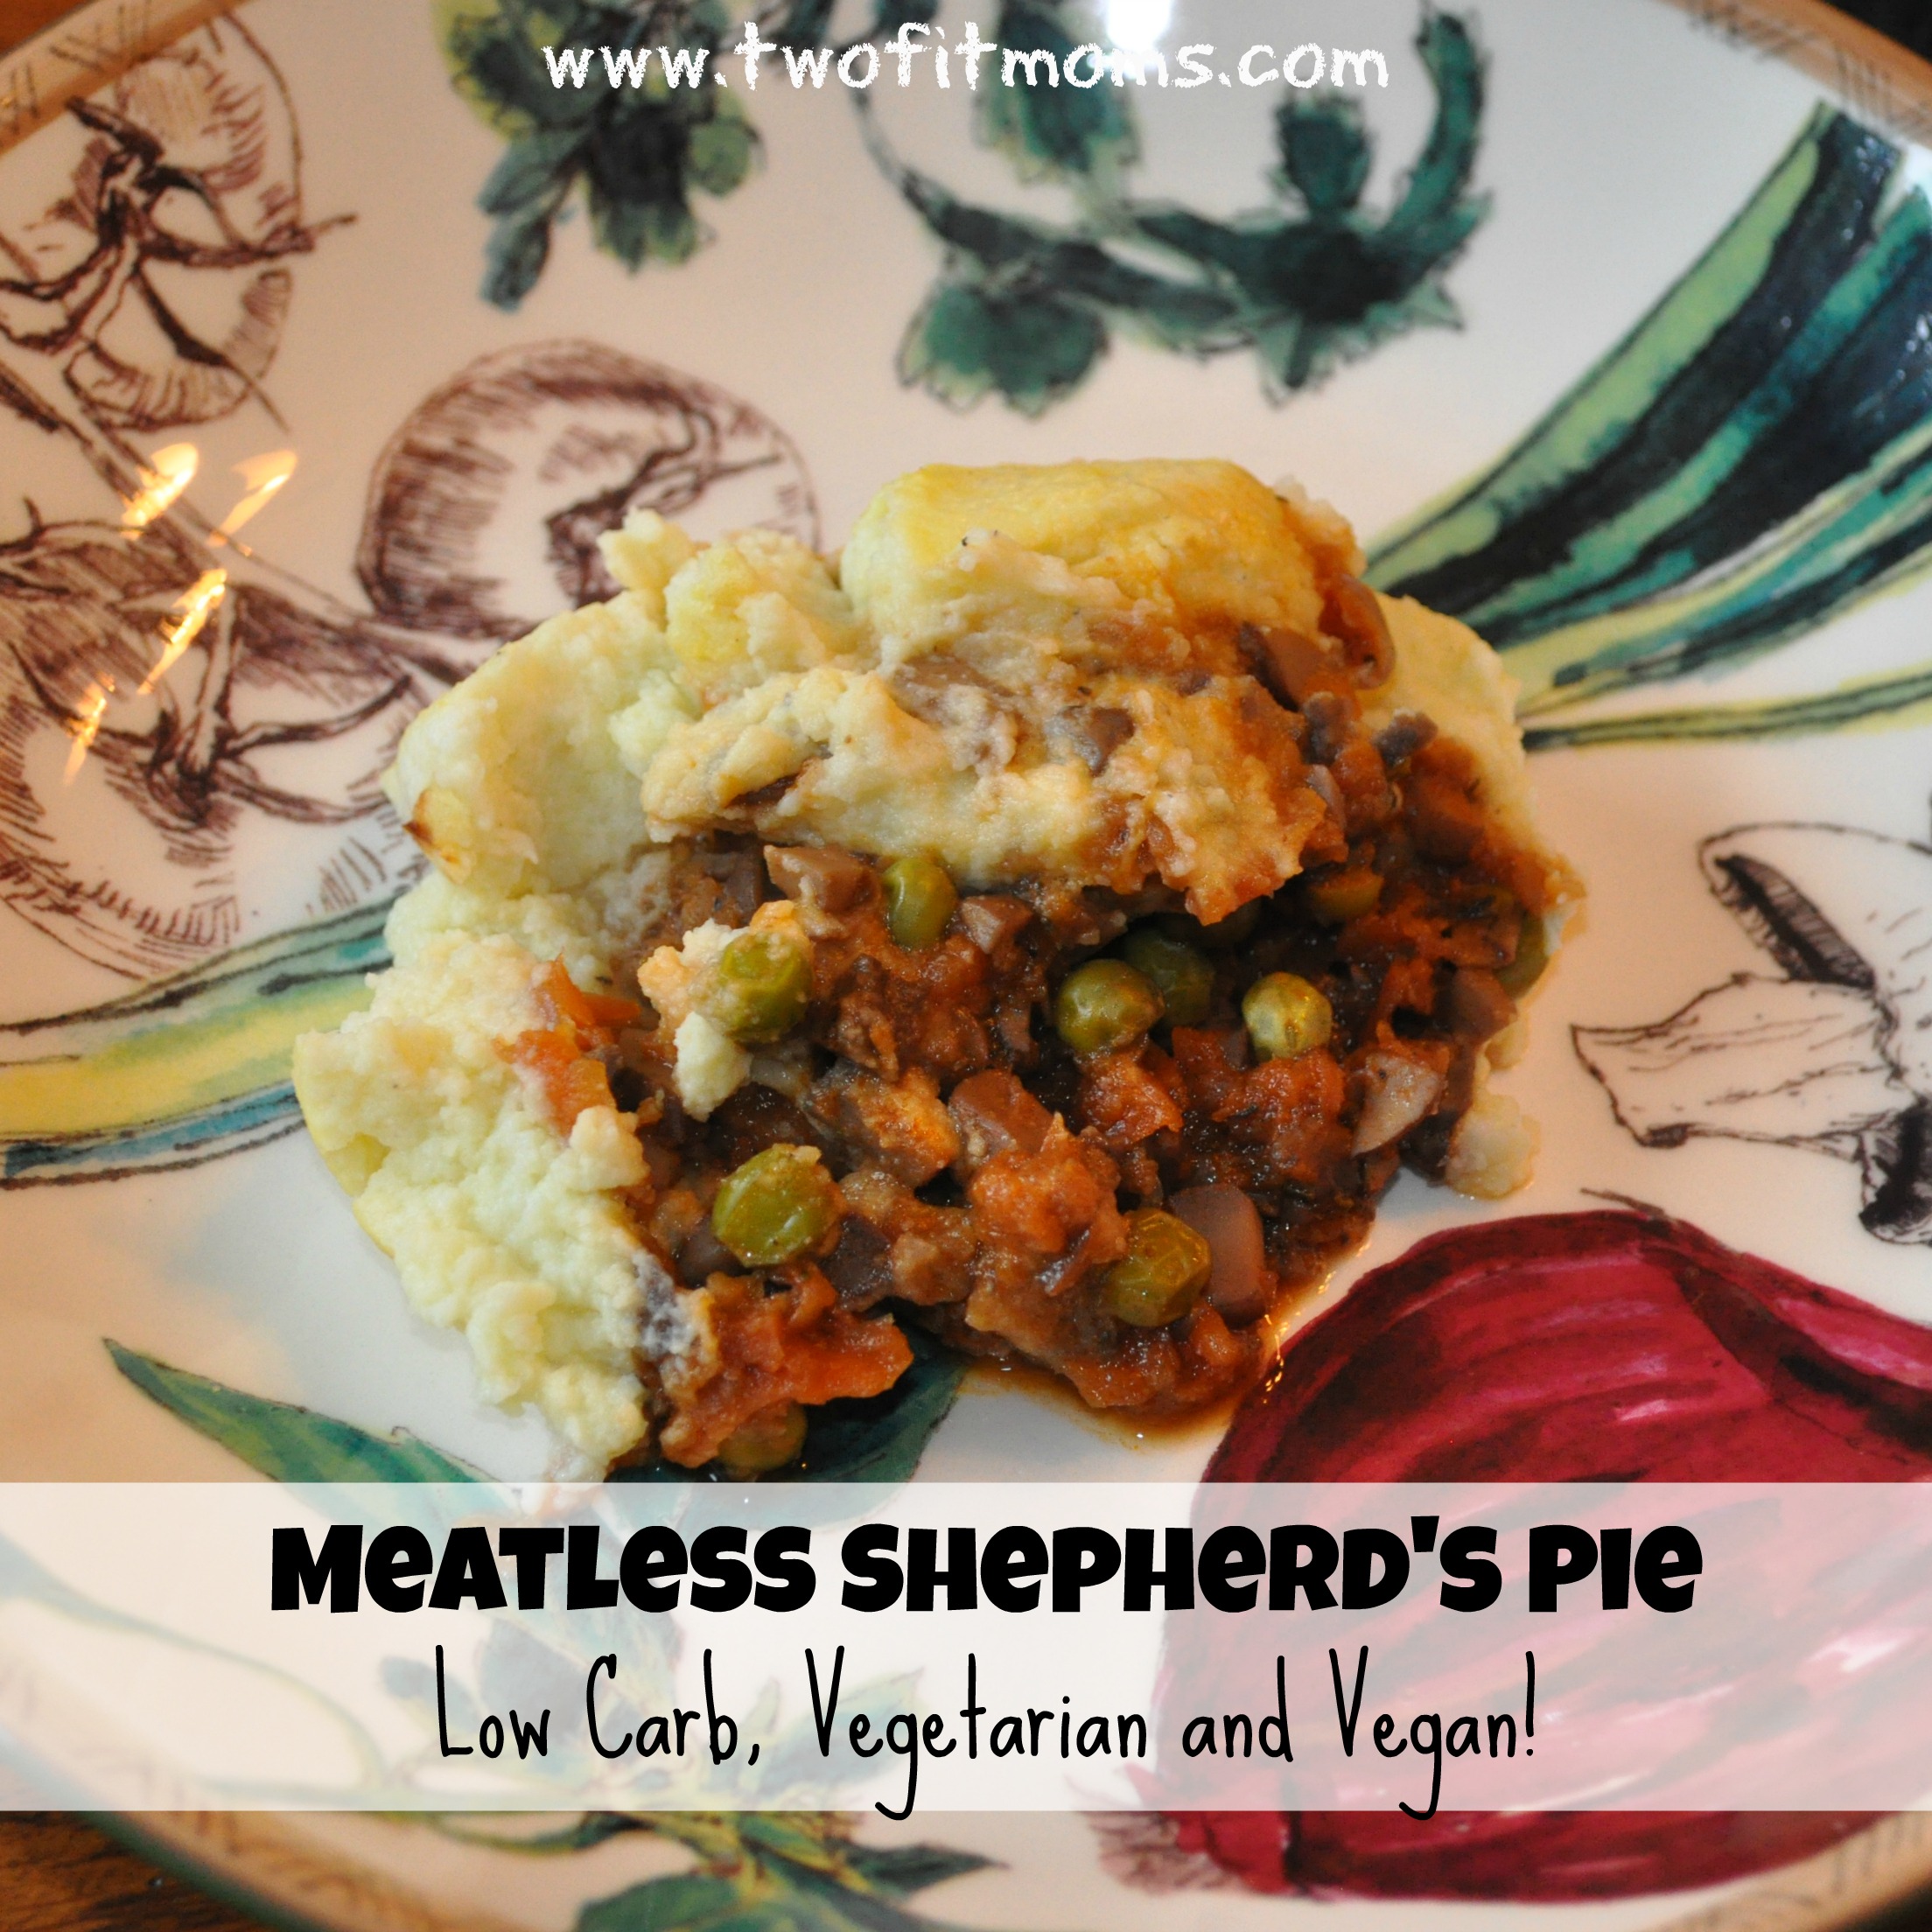
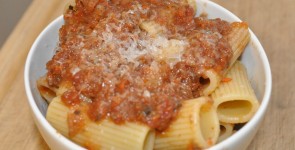
With St. Patrick’s Day around the corner, what better way to celebrate than with a hearty Shepherd’s Pie. I’ve updated this classic dish by making it vegetarian – which is a nice alternative for non-meat eaters and those trying to limit their meat intake. This recipe can also be easily modified to appeal to the vegans out there!
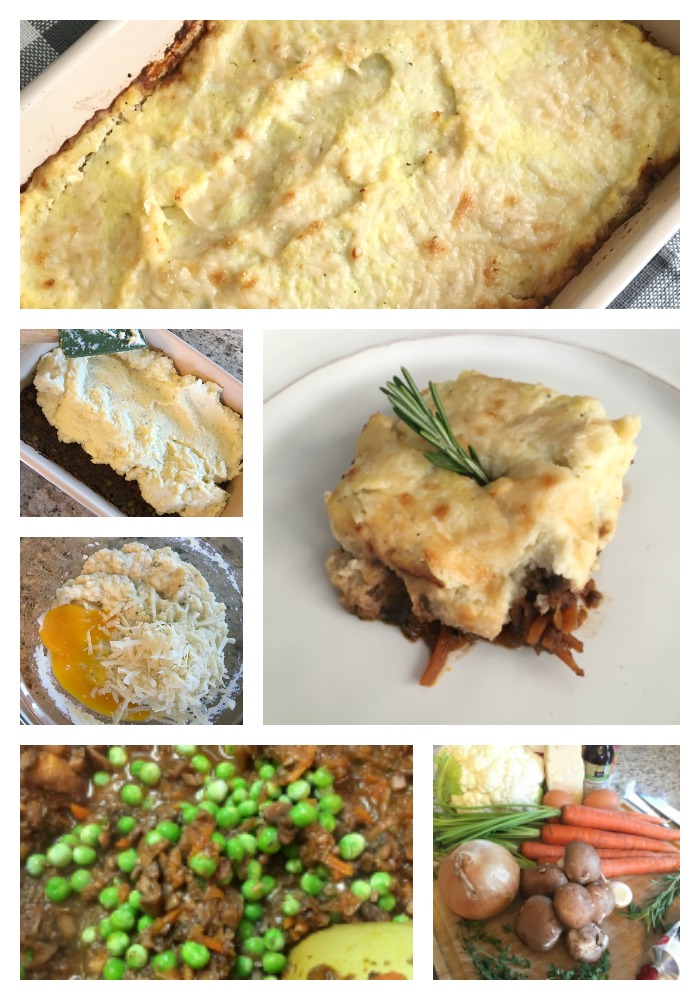 What I love about this recipe is that it yields a delicious and hearty dish without being heavy or fatty. It’s made with fresh (and flash frozen) organic veggies, herbs and seasonings that, when paired together, offer big flavor.
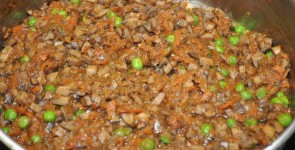
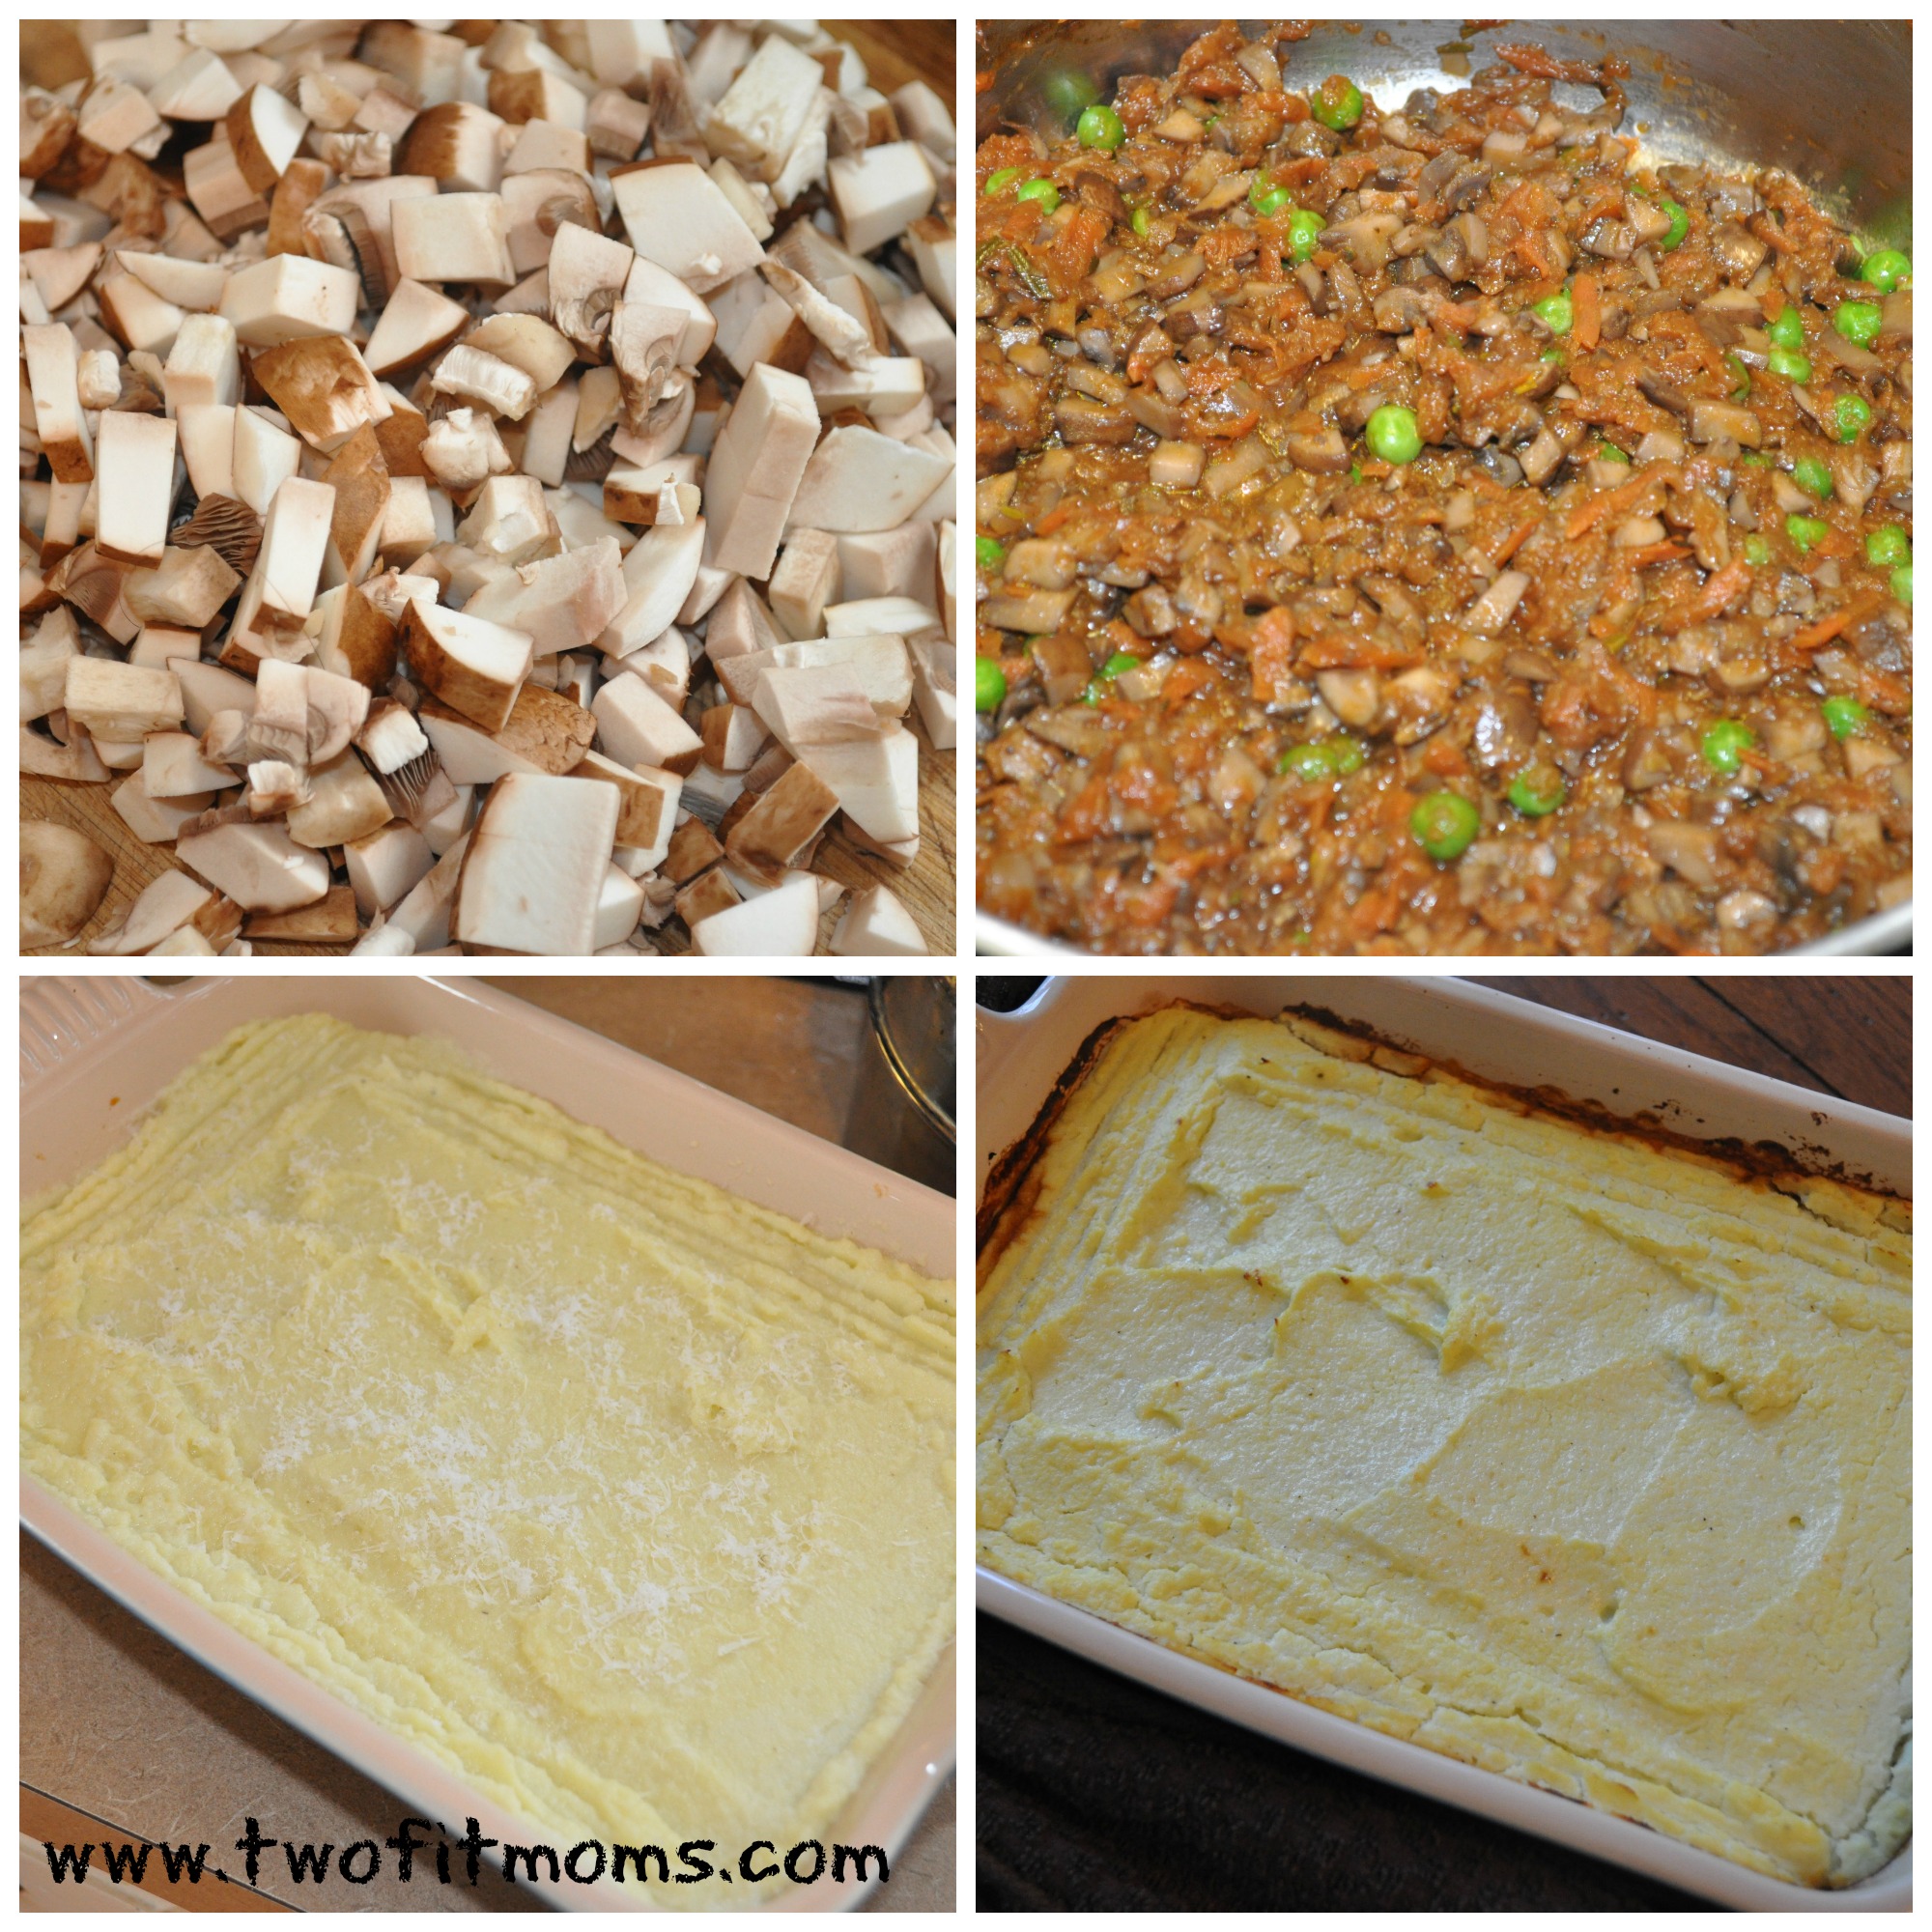
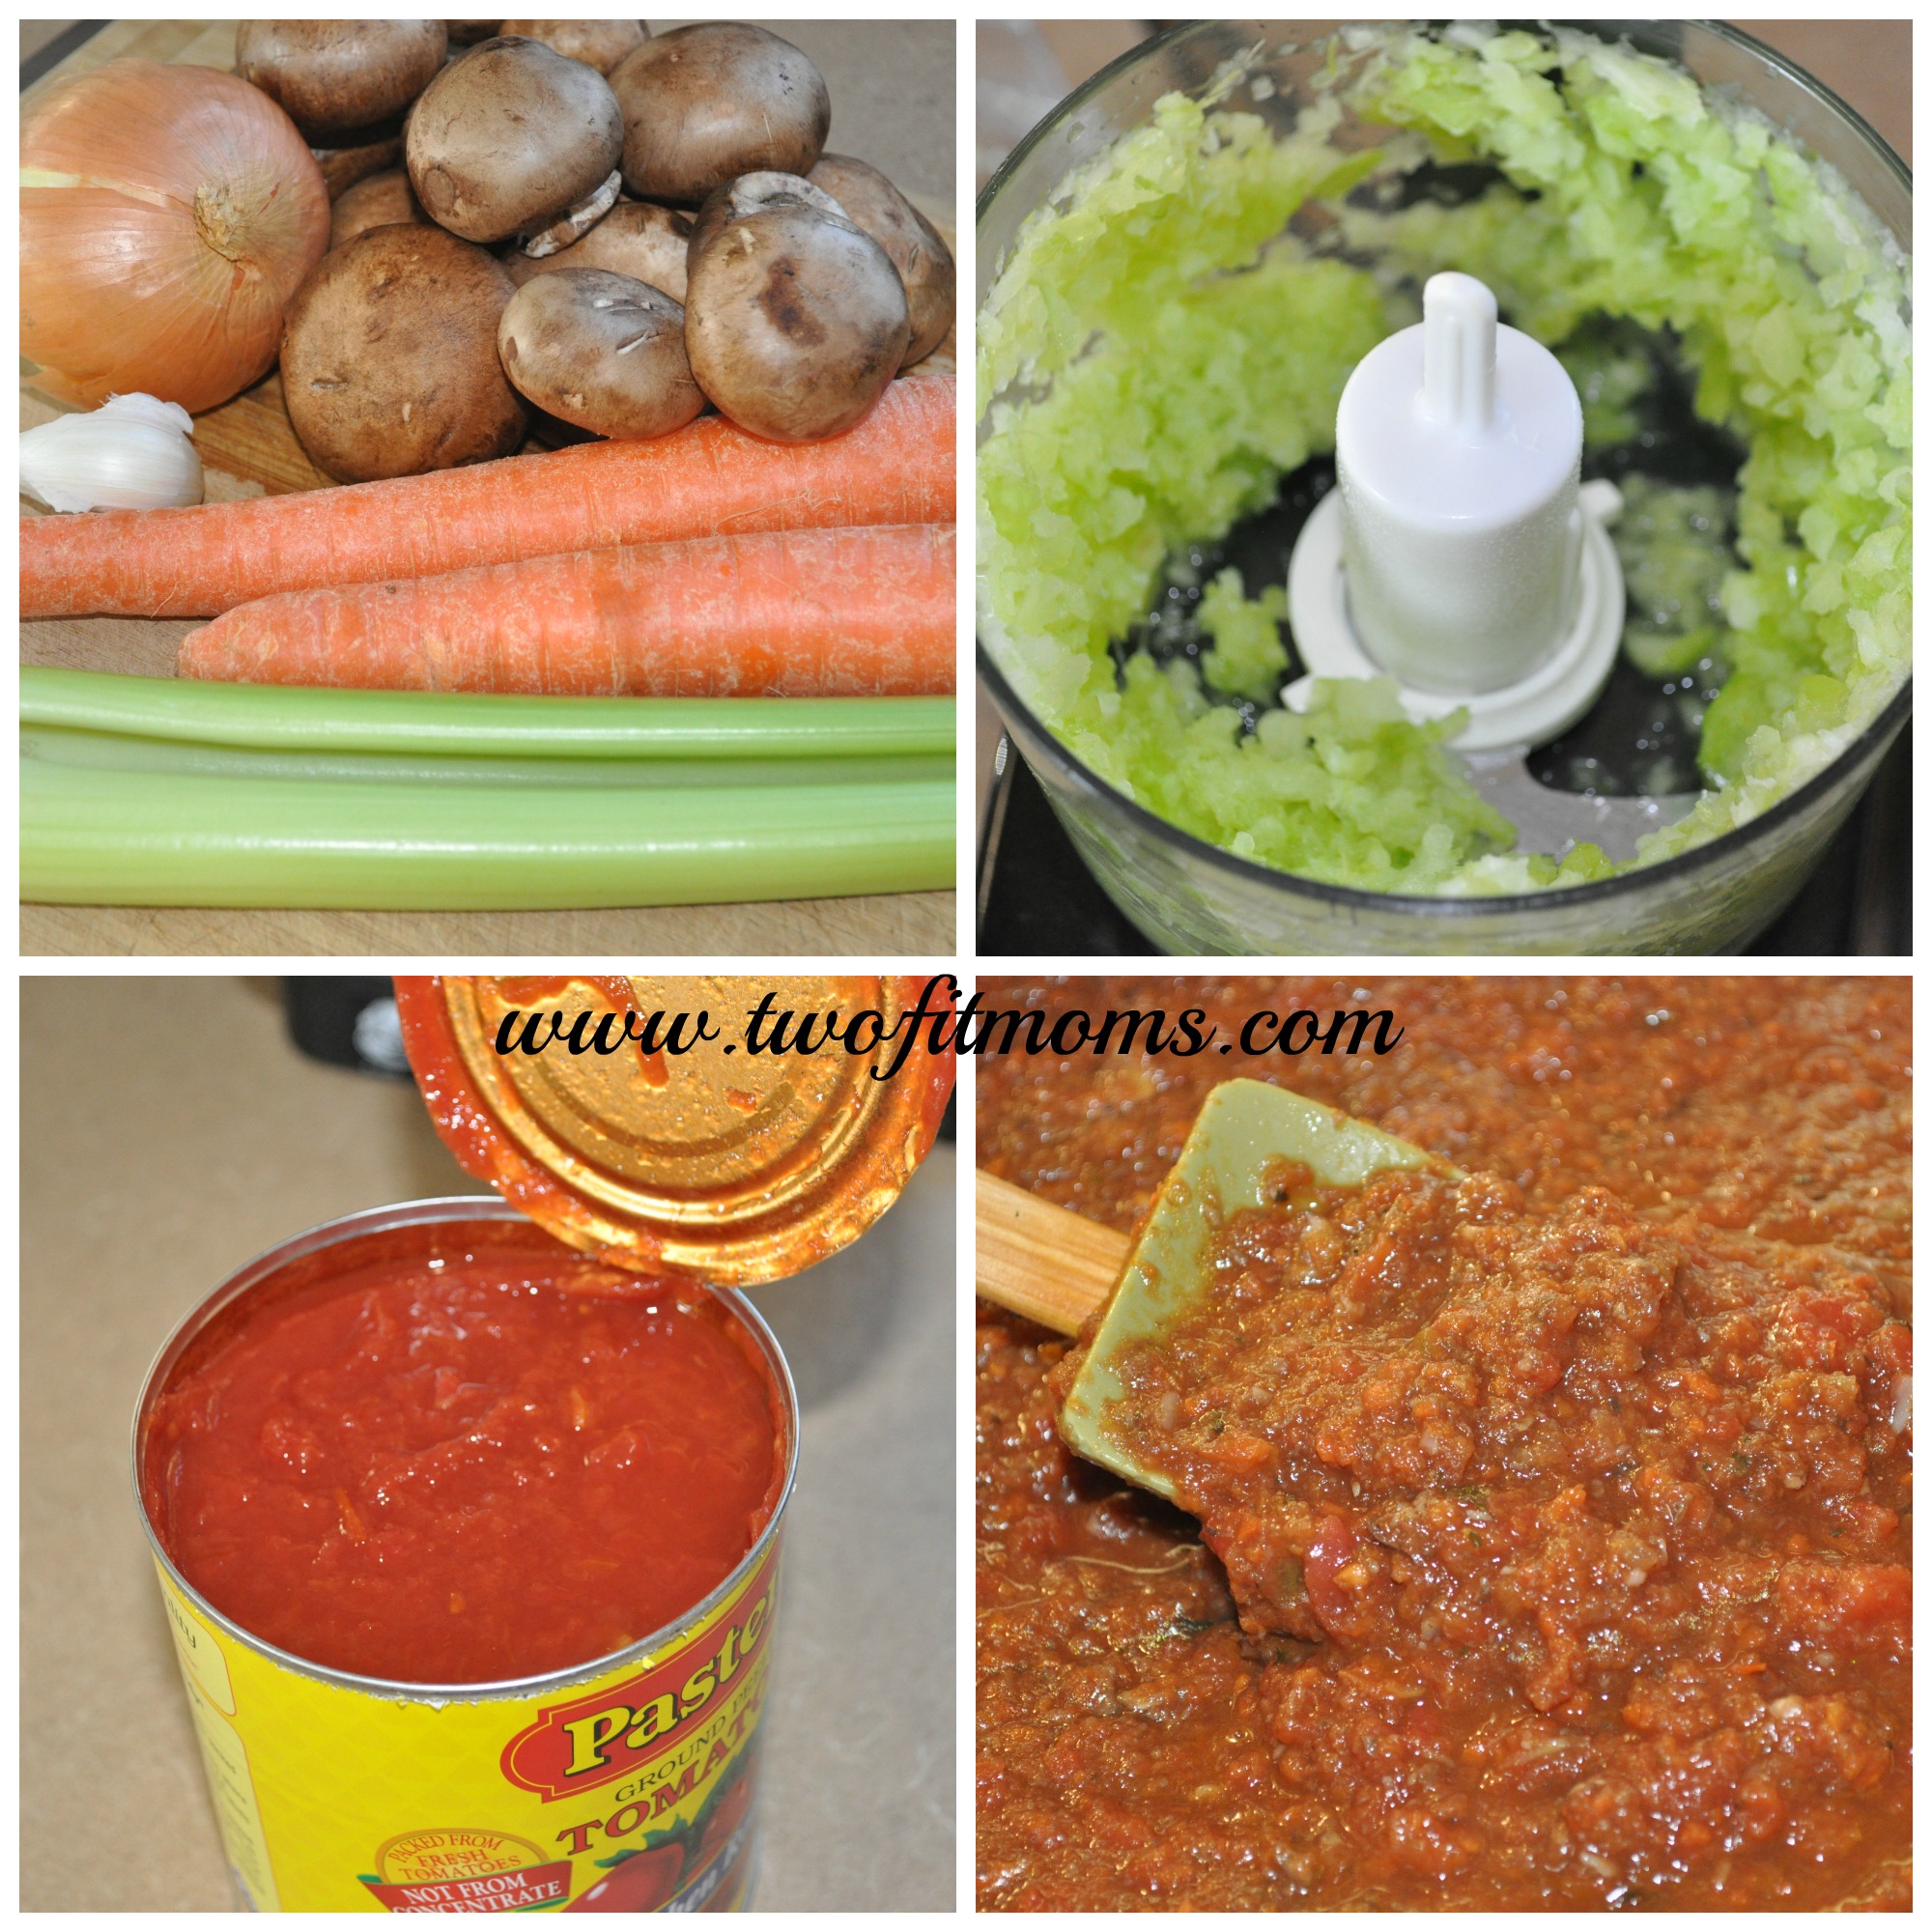
Instead of using ground beef or lamb, I use baby portobello mushrooms (aka cremini) which have a taste and texture similar to meat. They are also rich in vitamins and minerals such as selenium, niacin, copper and pantothenic acid (vitamin B-5) — so they are good for you!
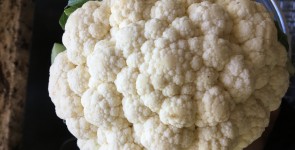
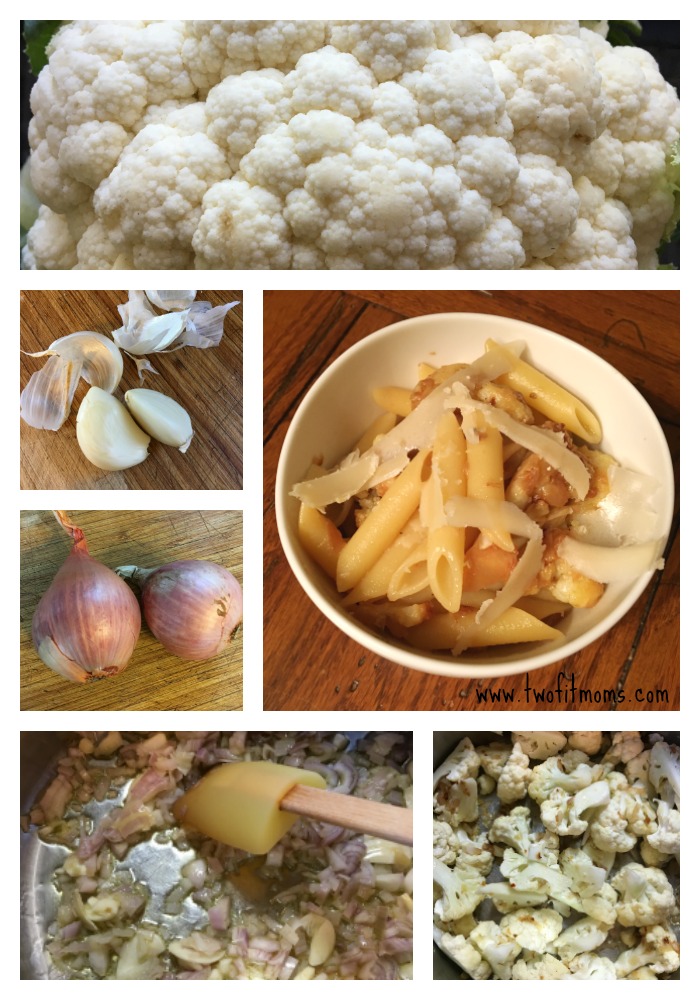
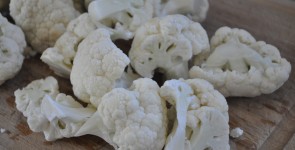
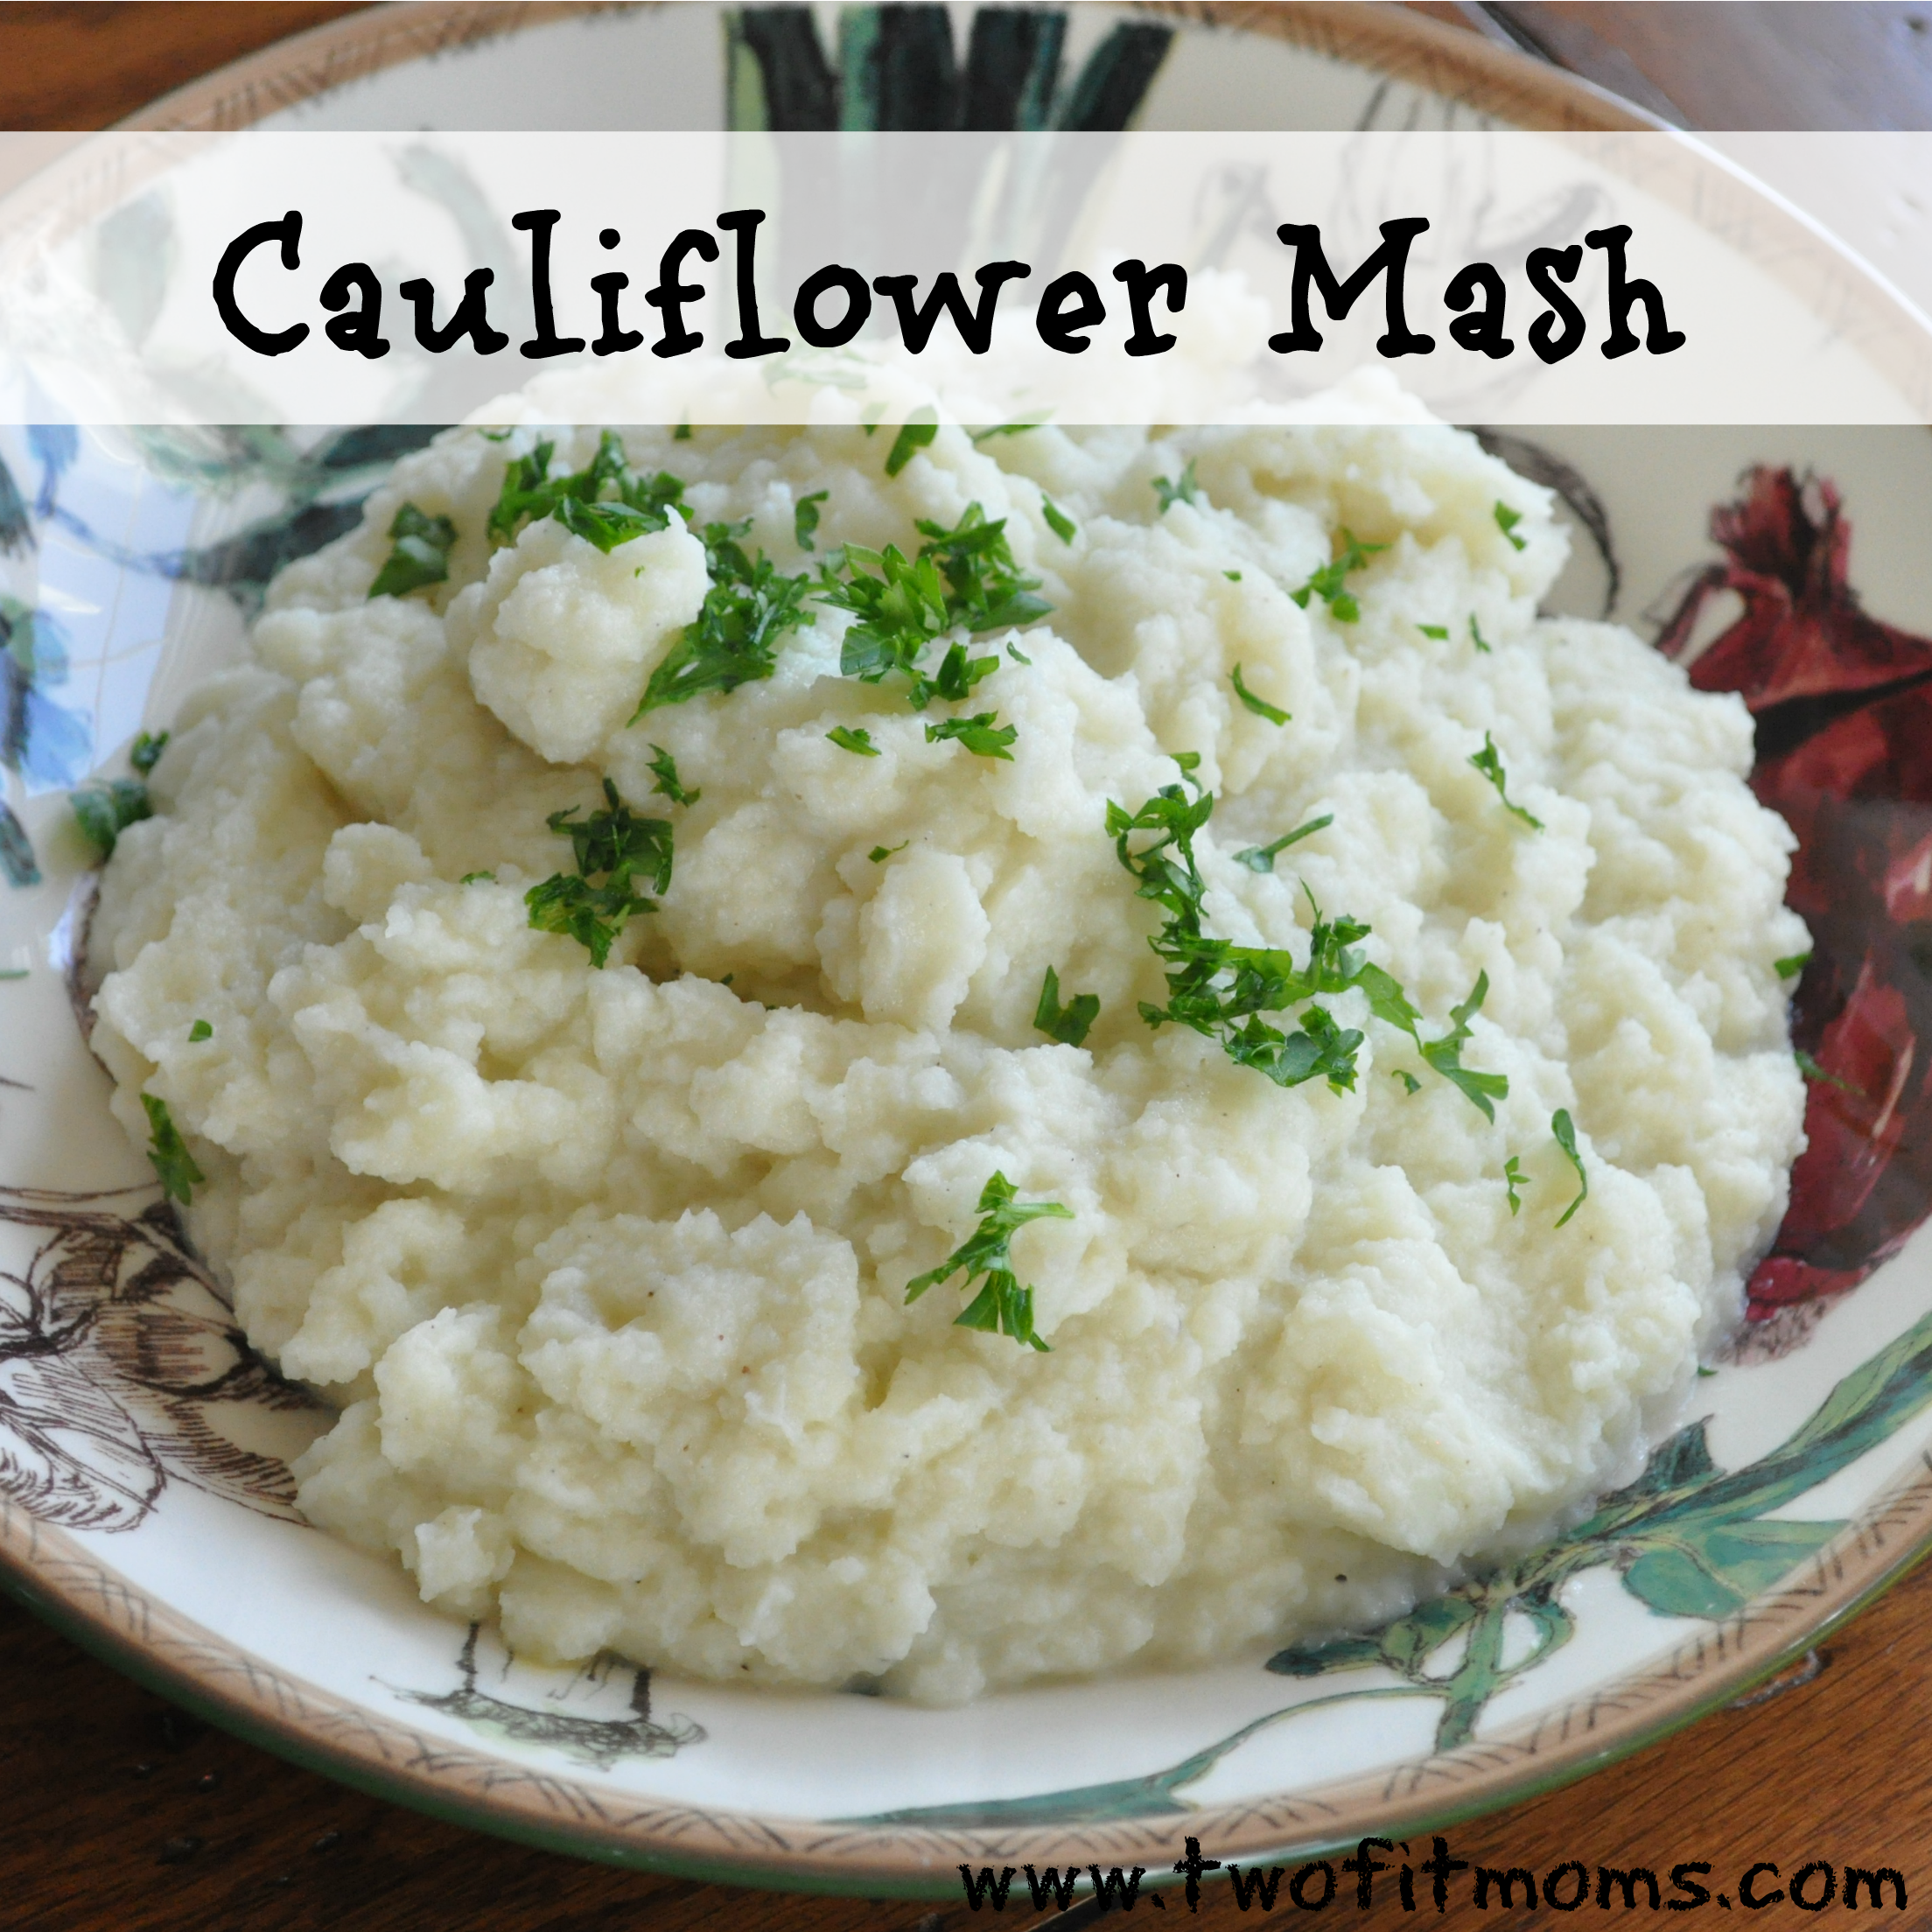
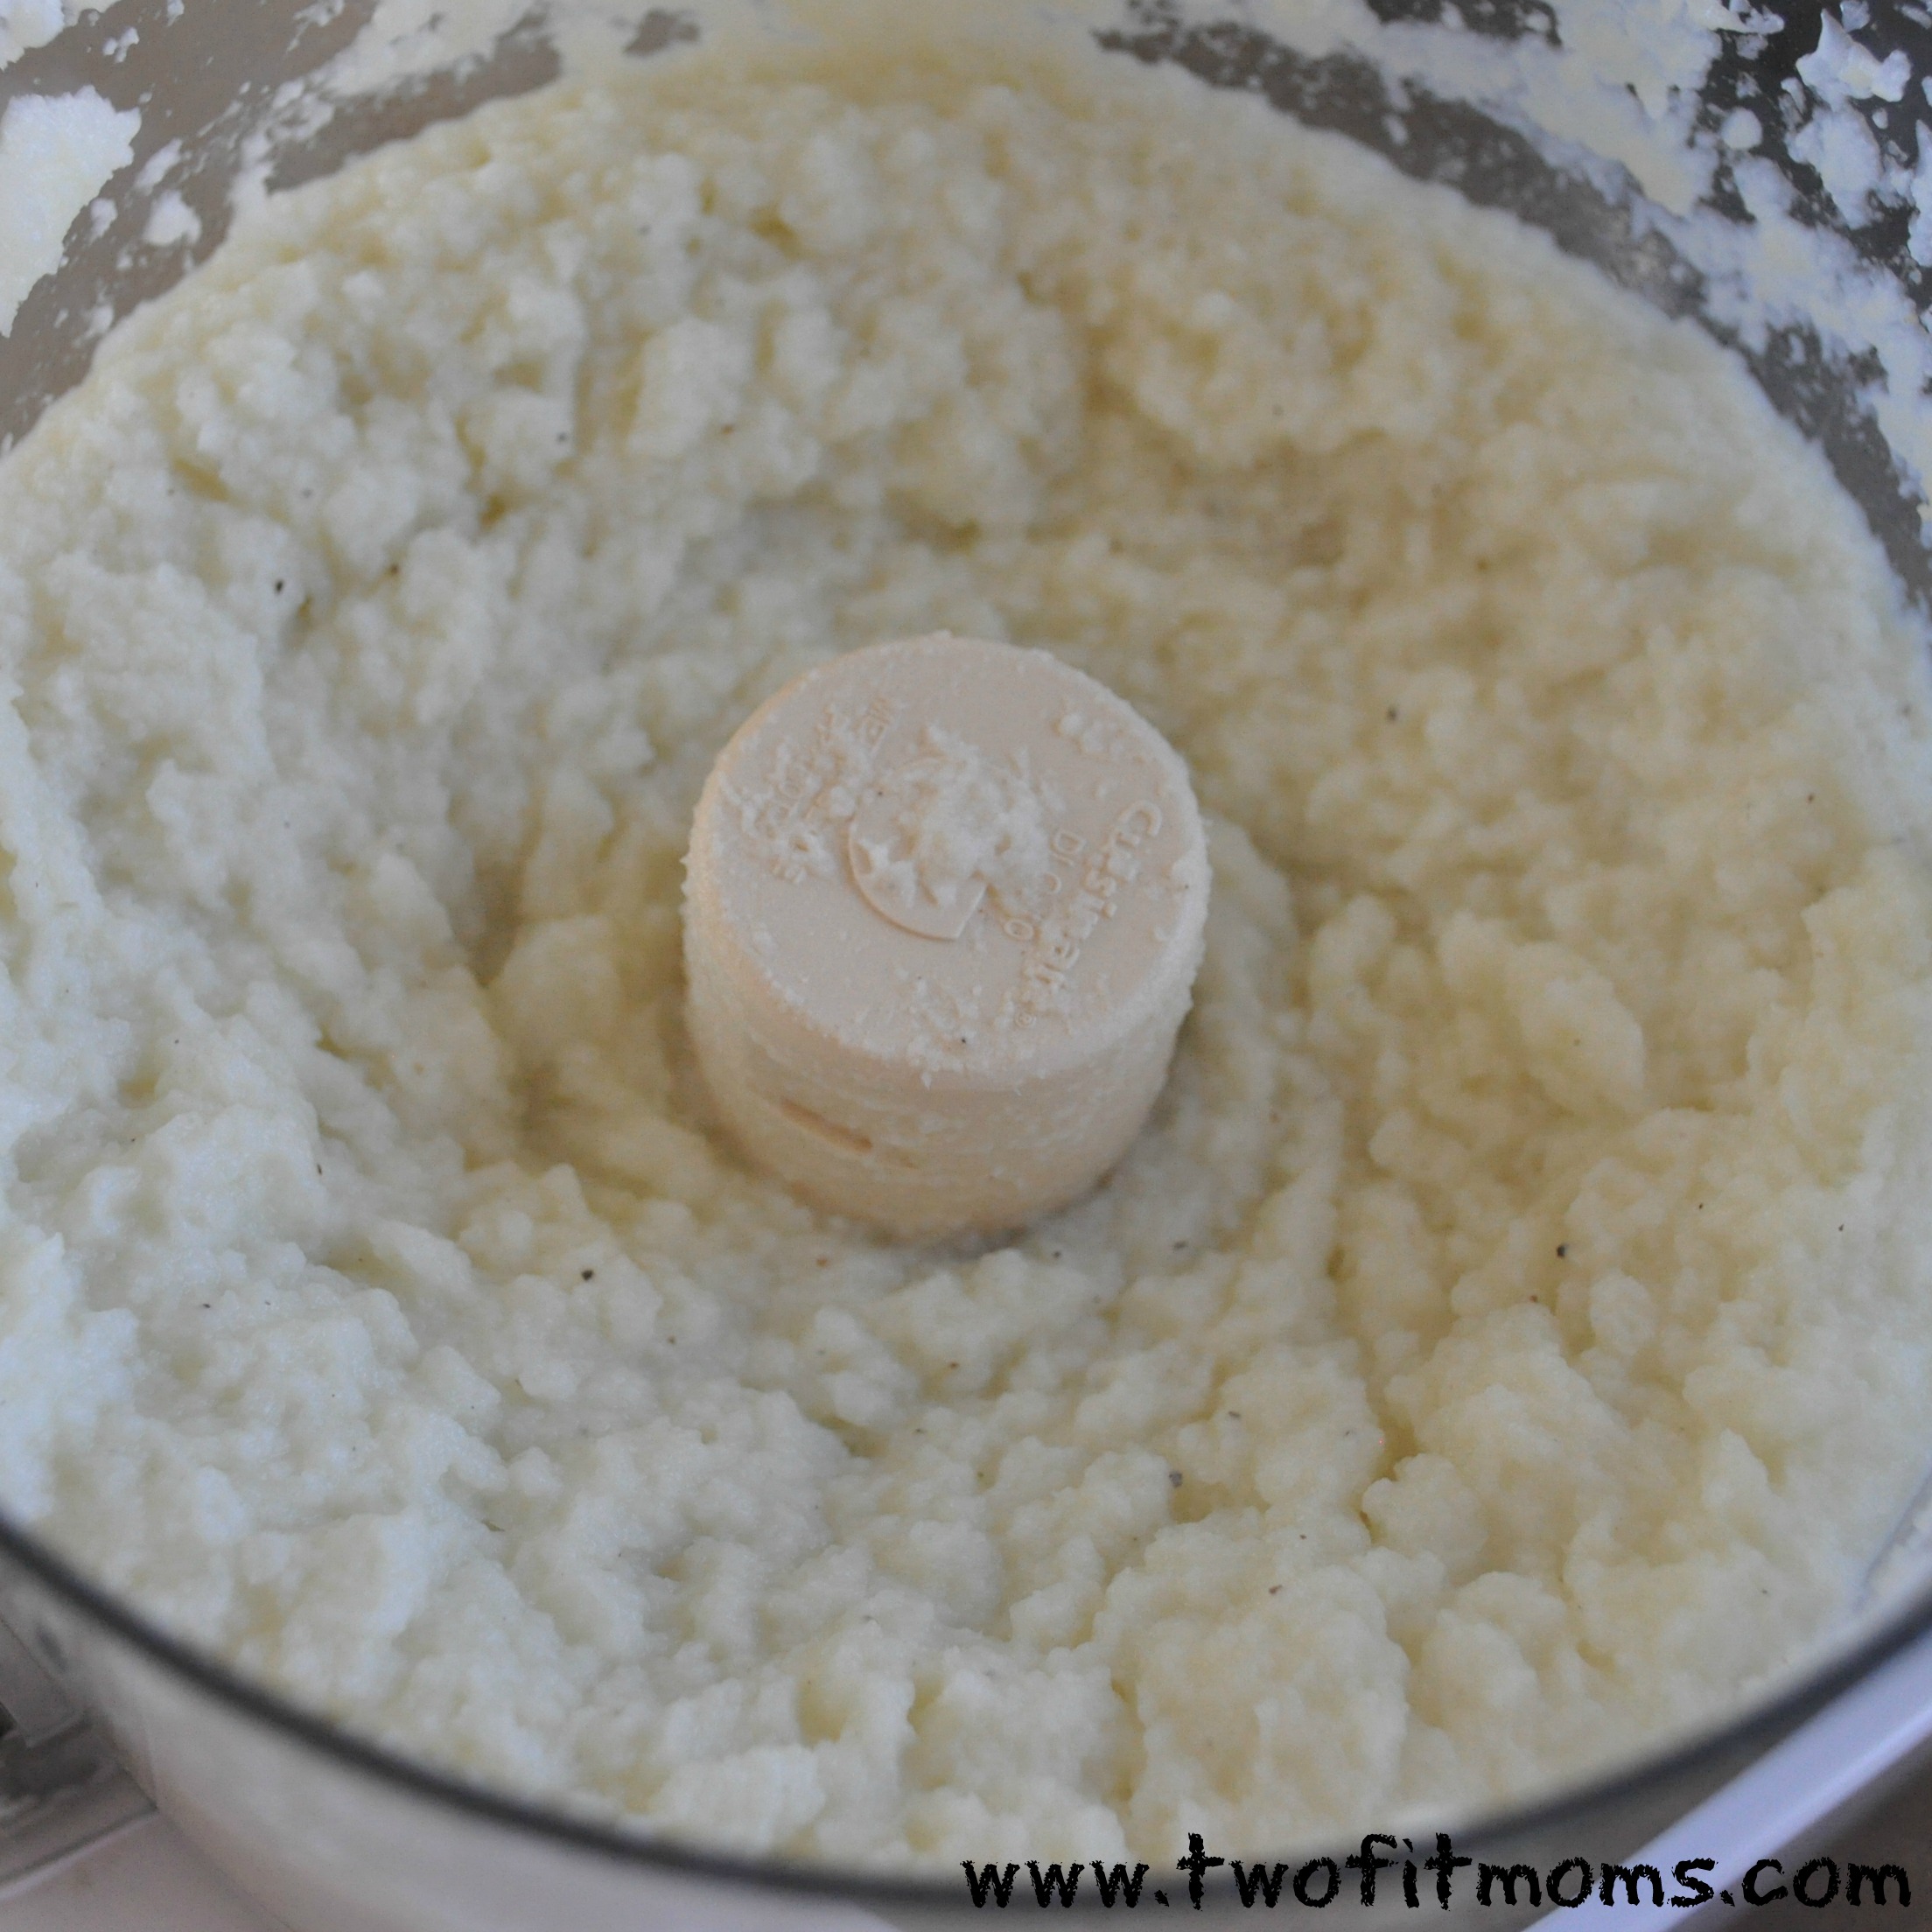
All of the other ingredients are pretty traditional — with the exception of the topping. I used mashed cauliflower instead of mashed potato. I did this because I happen to love cauliflower mash — but I thought it would be great for those trying to limit their carb intake. Whether you use cauliflower or potatoes it will be equally delicious though — so modify away!
As I mentioned, the recipe, as it stands, is not vegan – the topping includes egg yolk and grated parmigiano-reggiano cheese. However, if you swap those ingredients out and replace with some veggie stock the recipe is vegan – voila!
Ultimately, I think you will love this fresh take on Shepherd’s Pie. It will be perfect for your St. Patty’s Day-inspired meal – and any meal, any day of the week.
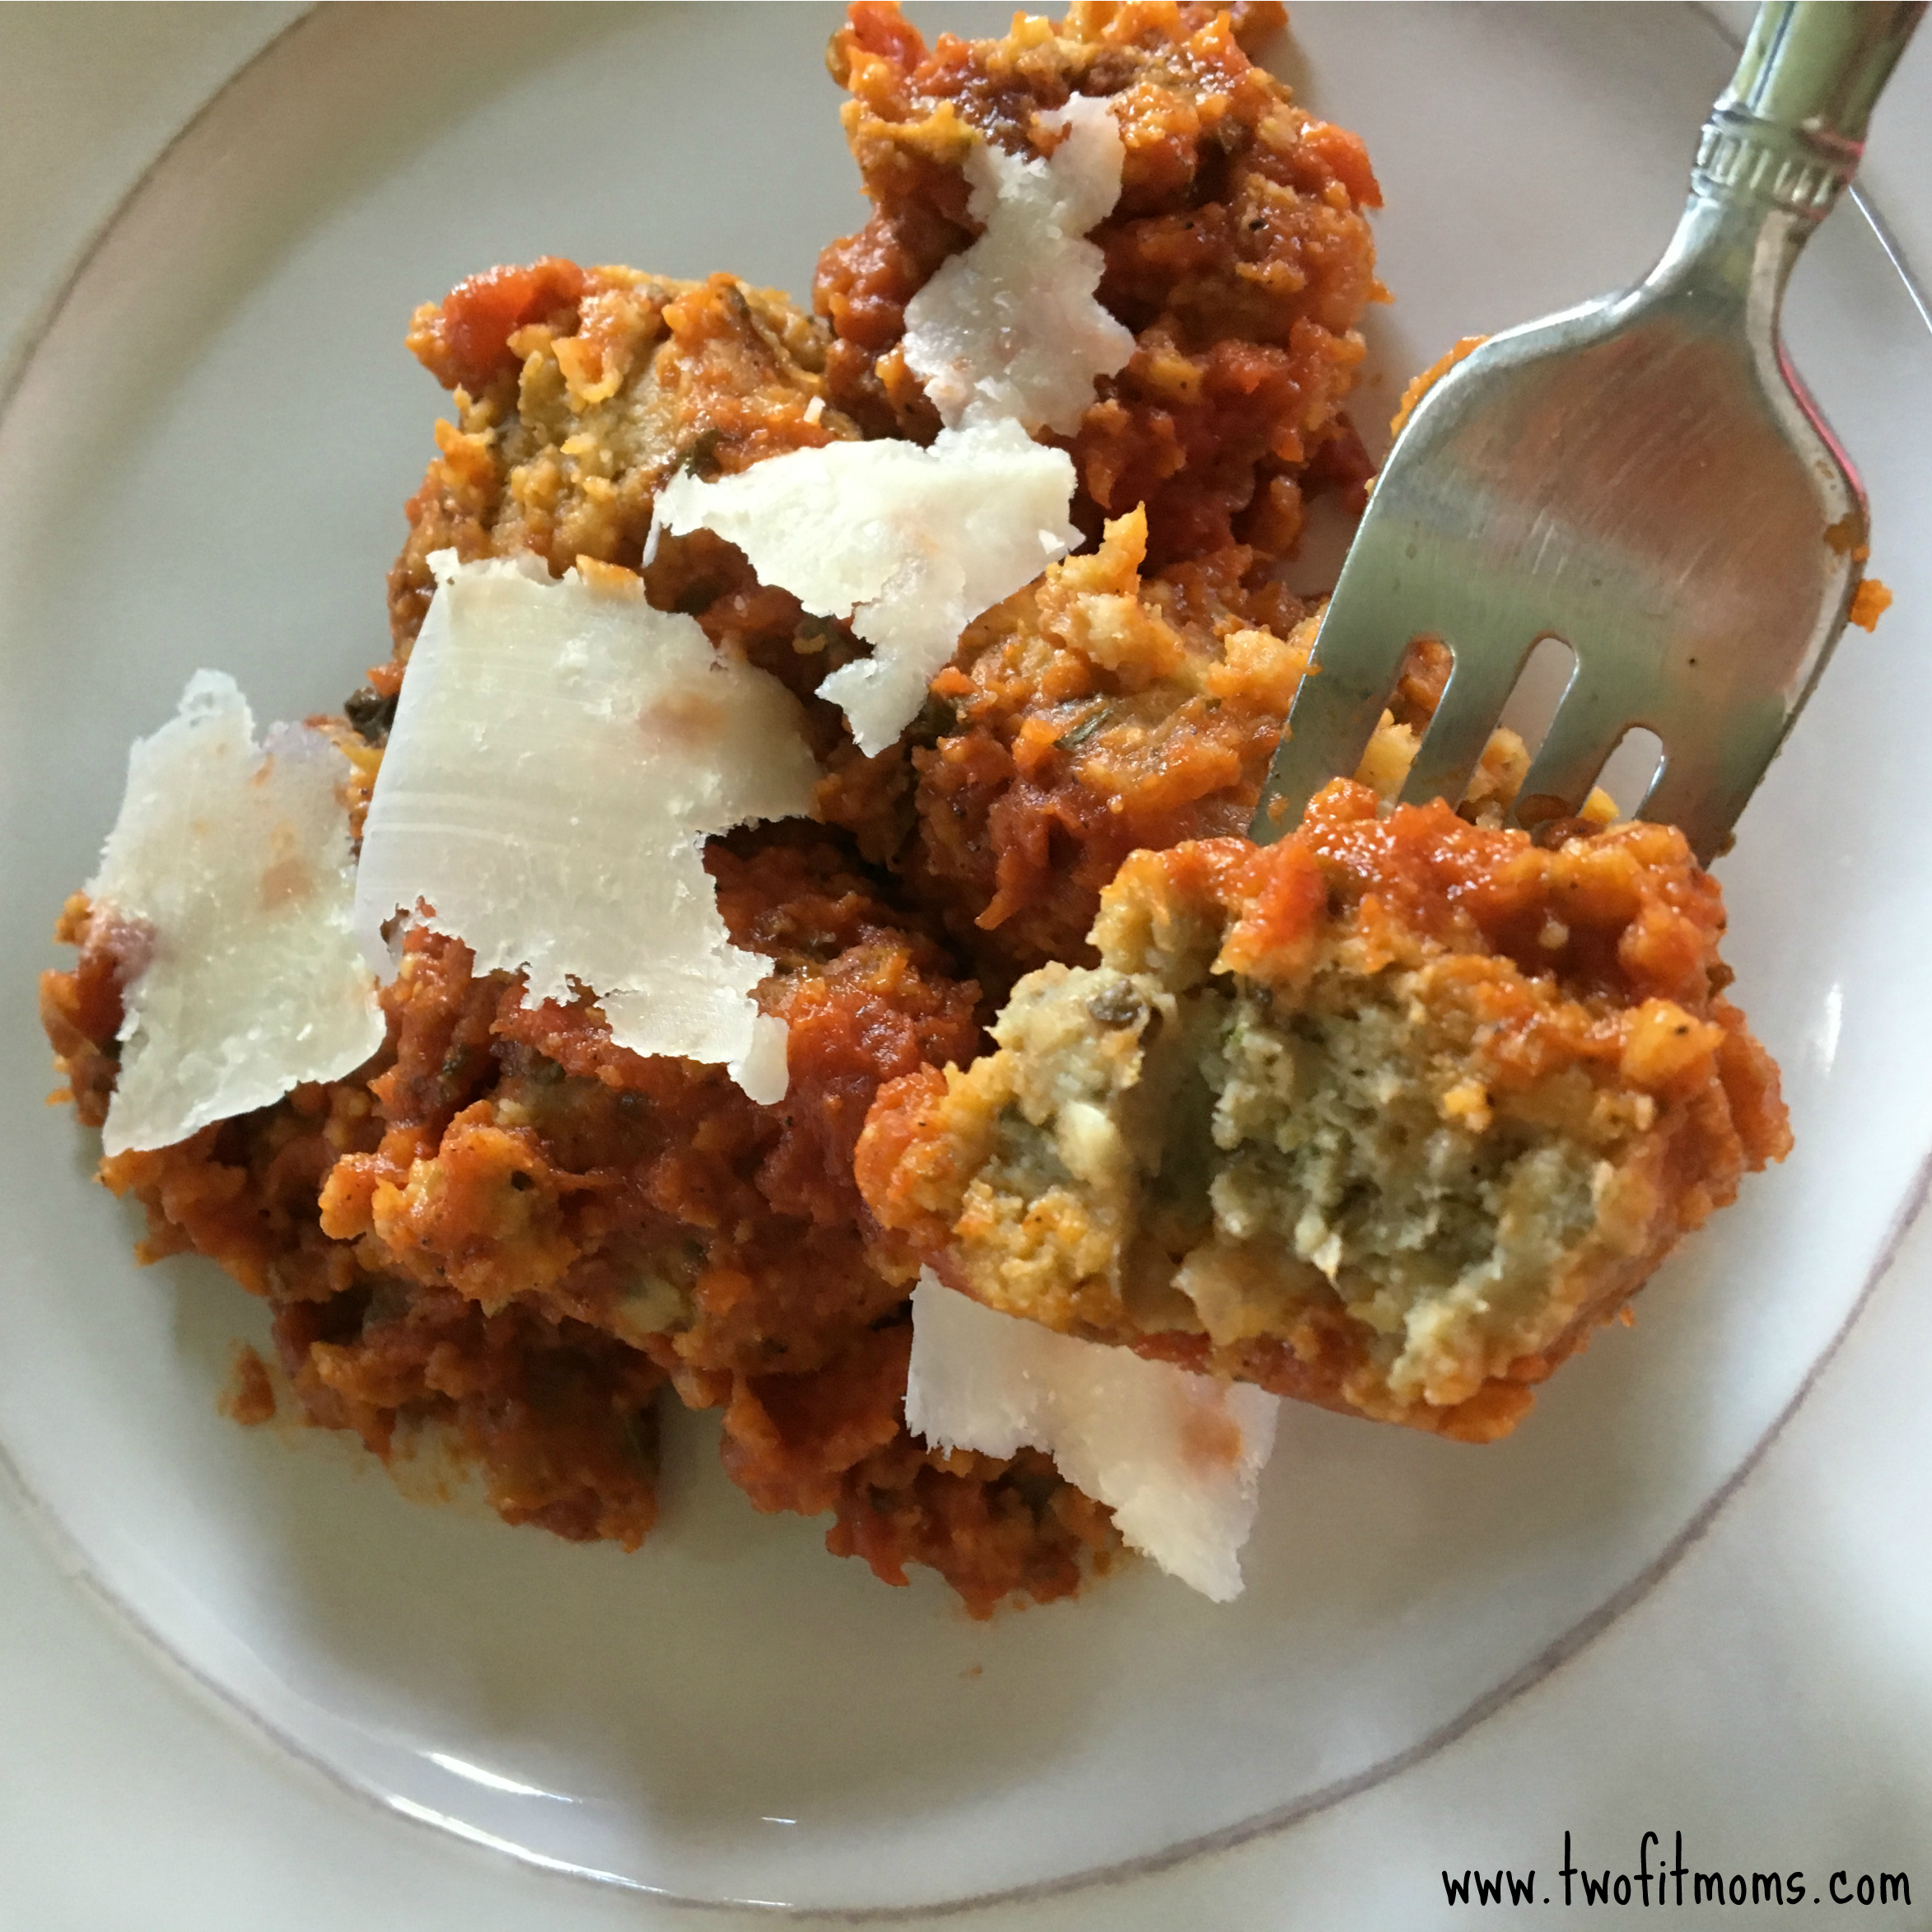
Vegetarian Shepherd’s Pie
Serves four
For the filling:
2 tablespoons olive oil
16 ounces of baby portobello mushrooms (chopped — approximately 4 cups)
1 large carrot grated (approximately 1 cup)
1 large onion grated (approximated 1 cup)
2 cloves of garlic, crushed
2 tablespoons of tomato paste
1/2 cup of red wine
1/2 cup of chicken or veggie stock
1/2 cup of frozen peas
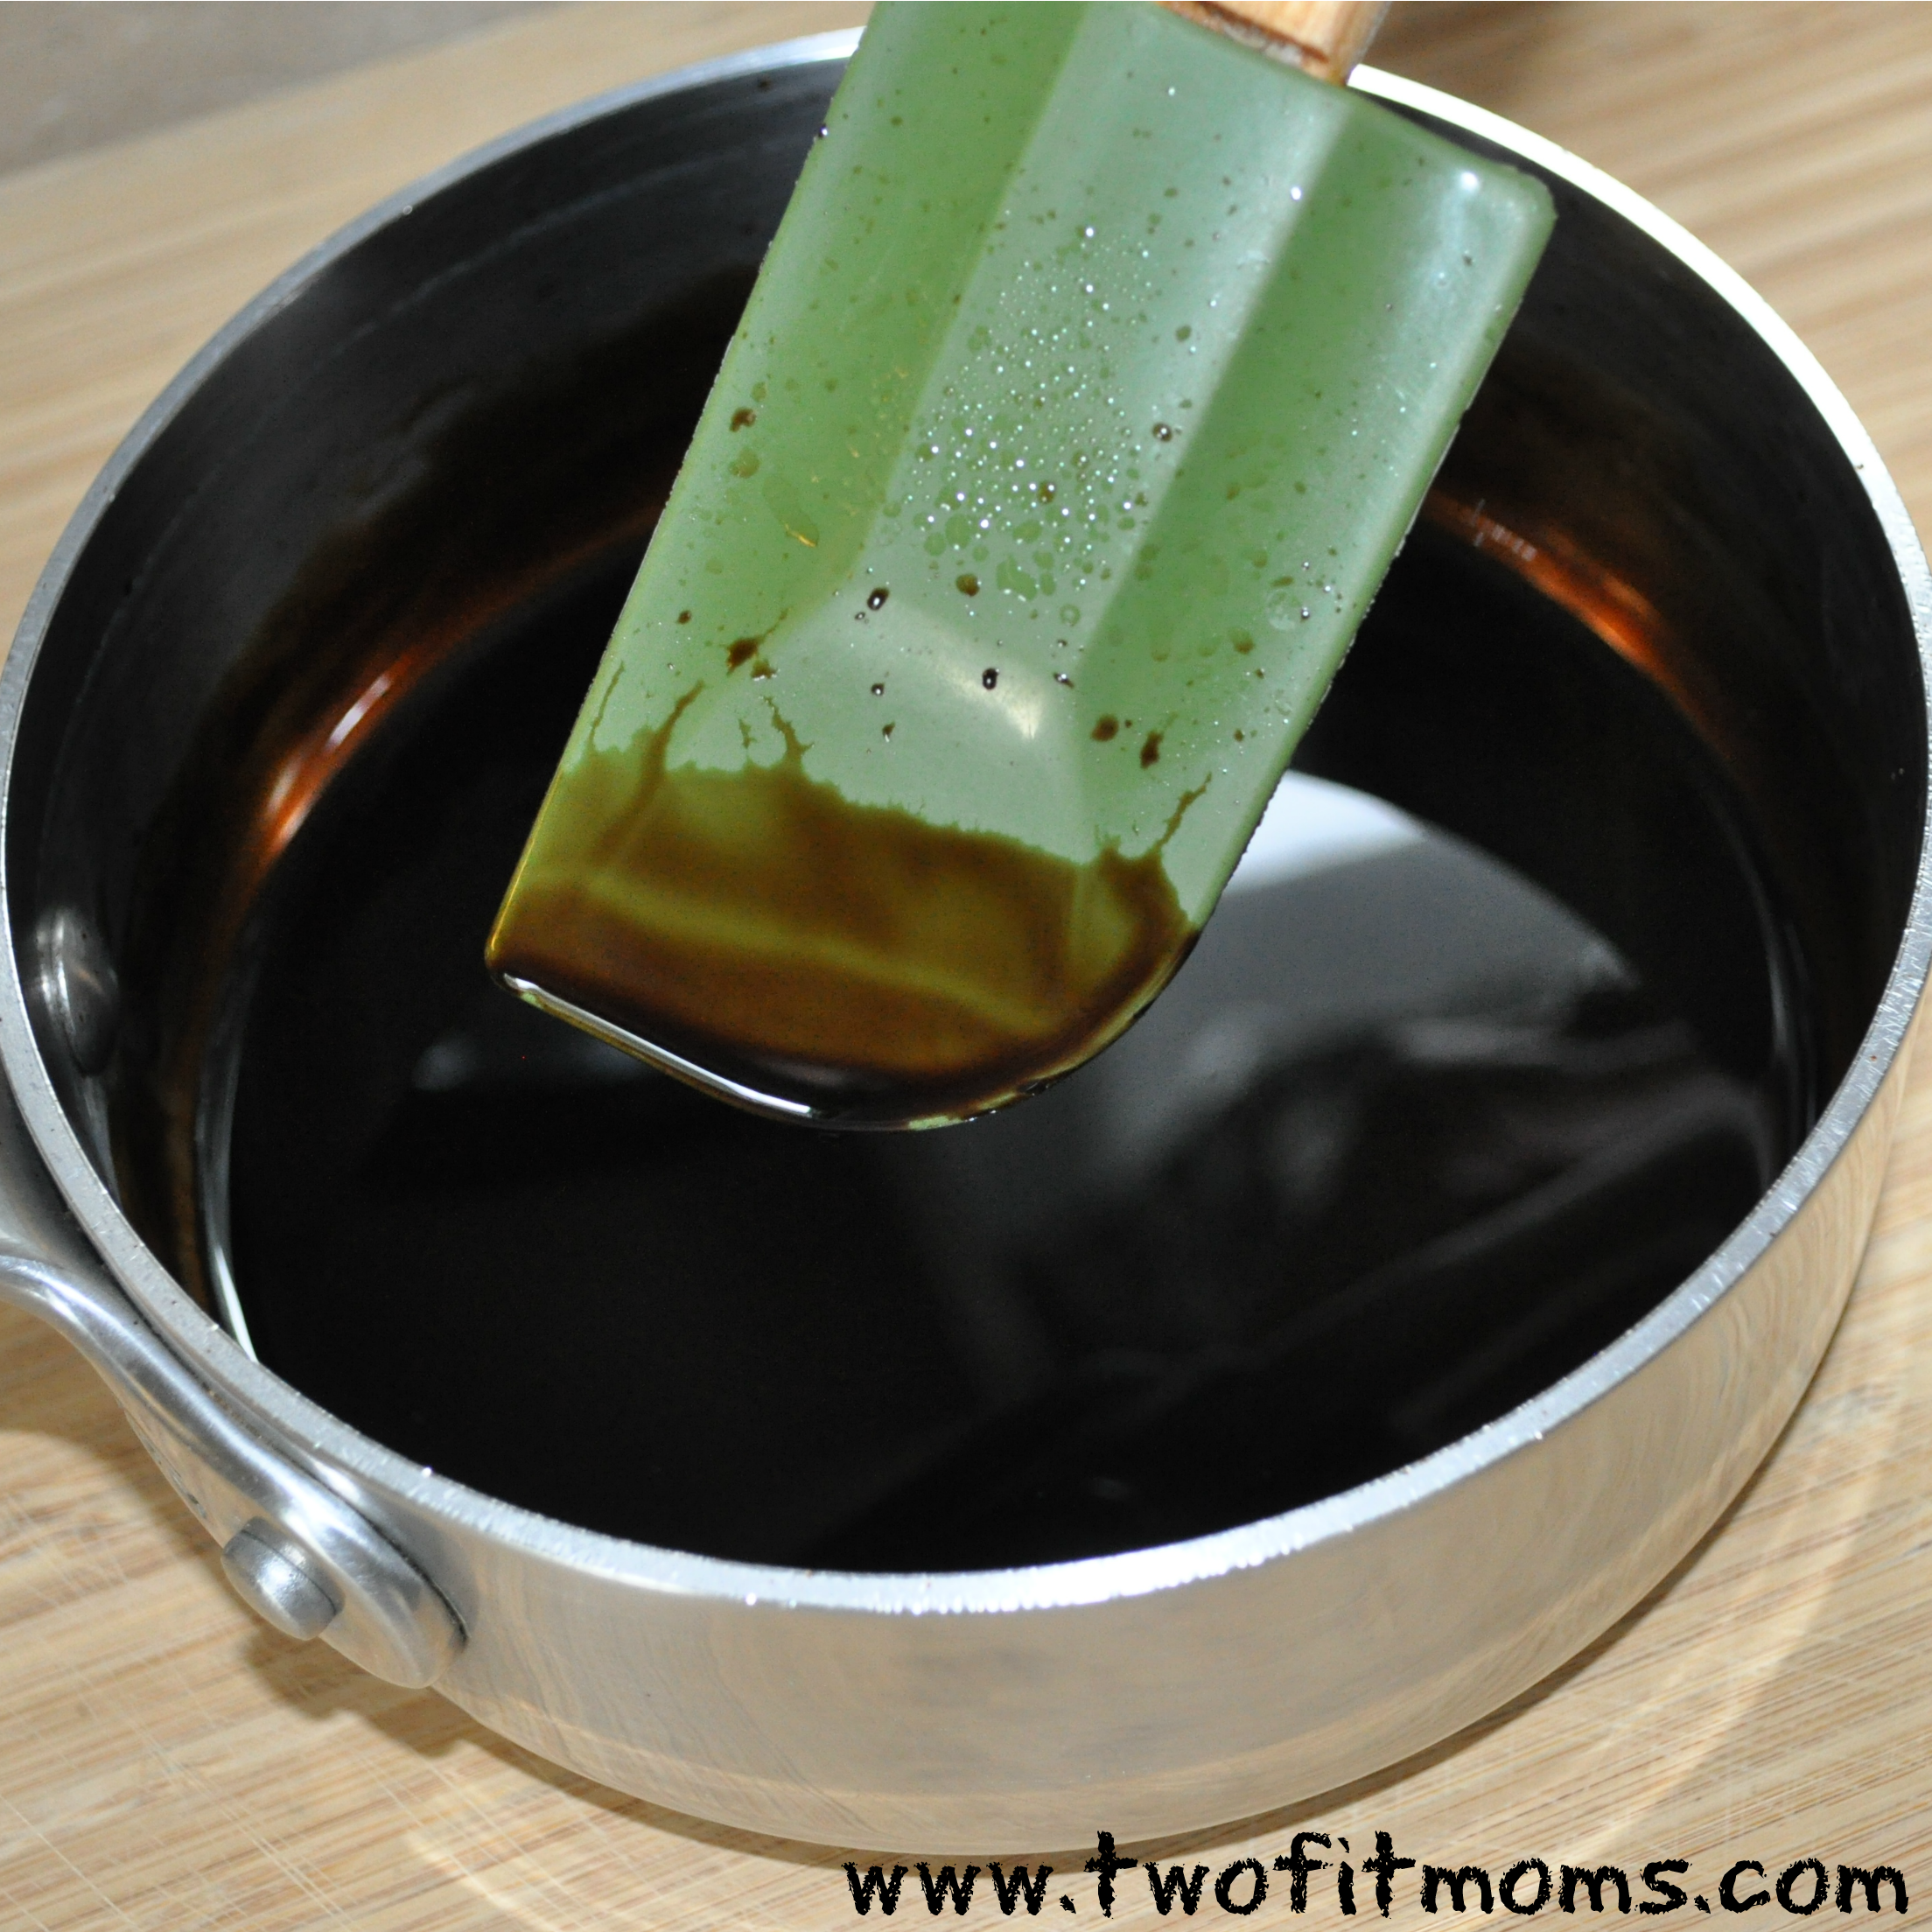
2 tablespoons of Worcestershire sauce (Vegan version available)
1/2 teaspoon of dried thyme (or fresh, but add a bit more)
1/2 teaspoon of dried rosemary (or fresh, but add a bit more)
1/2 teaspoon of salt
1/8 teaspoon of pepper
Topping:
2 cups of Cauliflower Mash
2 egg yolks
1/2 cup of grated parmigiano-reggiano cheese
Preheat oven to 400 degrees.
Add two tablespoons of olive oil to a deep skillet over medium heat. Once it comes to temperature, add the chopped mushrooms. Let them begin to cook down a few minutes and then add the grated carrot, onion, garlic, salt and pepper. Cook the veggies until the water evaporates, approximately 10 minutes. Then add the tomato paste and mix until incorporated. Deglaze the pan with the wine and the stock. Add the Worcestershire sauce, thyme, rosemary and the frozen peas. Mix until combined. Test the mixture to see if you need more salt/pepper. Pour the mixture into a baker — I used an 8 inch by 11 inch baker.
Add two beaten egg yolks to your Cauliflower Mash along with 1/2 cup of grated cheese. Spoon cauliflower mixture over the mushroom mixture and spread evenly across the top. You can also add some extra grated cheese to the top to help brown the pie. Cook for 18-20 minutes and serve hot.
Helpful Hint: The cauliflower topping does not brown as easily as a potato topping — even after broiling for a bit. So, don’t be discouraged — it’s equally delicious!
Product samples were received for this post. All opinions expressed are solely mine.