When I first started practicing yoga, I received all sorts of advice. One great suggestion was to go out and buy a yoga strap. A yoga strap, I was told, would assist me greatly in my practice. As a newbie, I was excited to buy all sorts of yoga gear, so I ran out to Target and immediately bought a strap. For months, I used this strap without any guidance. I ignored the fact that the strap had metal ends. I’m not even sure if it crossed my mind that those metal ends had any purpose! I just wrapped the strap around my foot repeatedly until it felt secure. Some days, my foot was so wrapped up, it appeared as if I had a foot injury with a large Ace bandage.
If this scenario sounds familiar, this article is for you. I know that there must be others out there who are new to yoga and have no idea how to deal with a yoga strap. I will not discuss the many stretches and exercises you can perform with your strap in this article. The purpose here is to just get you accustomed to the idea of creating an adjustable loop with your strap. (This loop would then slide over your foot and be used for a variety of exercises, which we can discuss in future posts.)
Here is your Yoga Strap Looping Lesson 101:
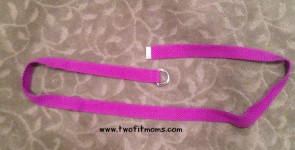
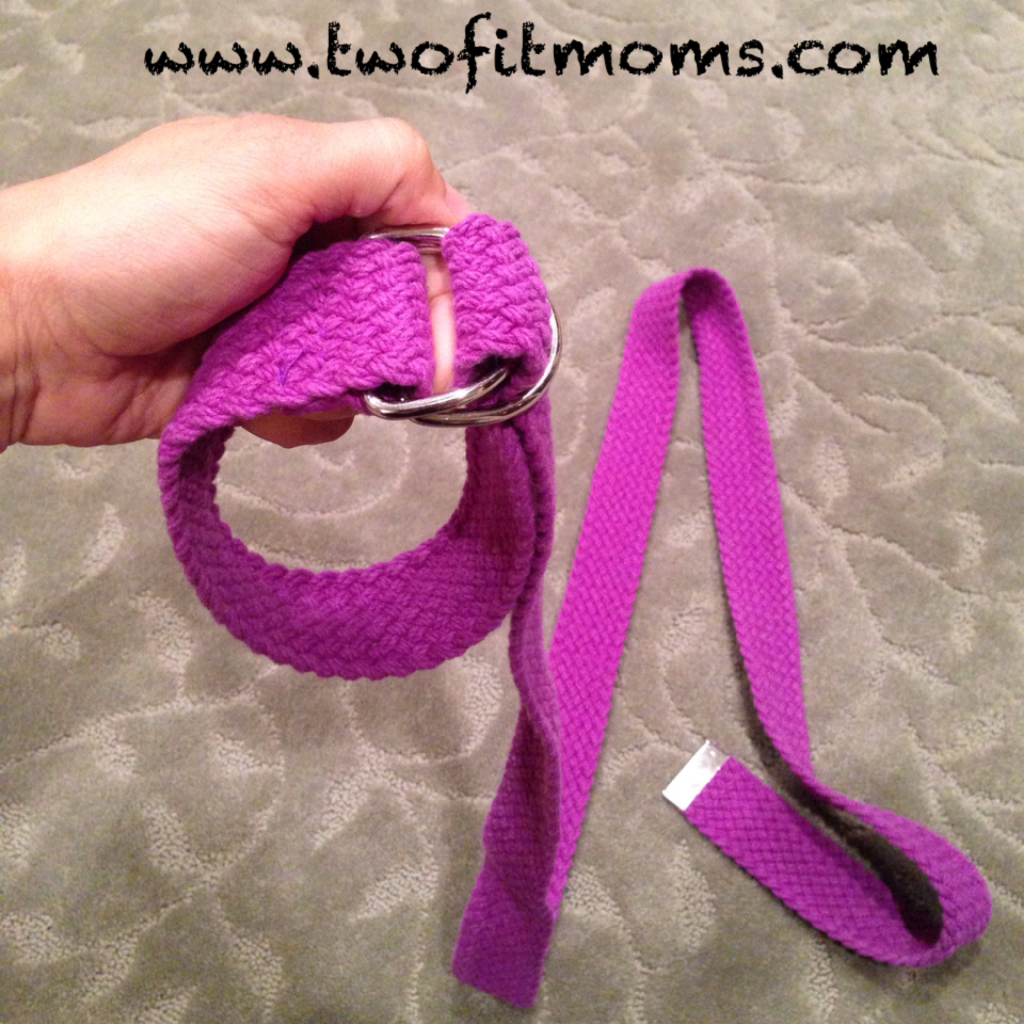
Your yoga strap should have metal ends. One end will have two rings, and the other end will have a single flat metal strip. If you are right handed, use your left hand to hold the end of the strap with the two rings. Your right hand will hold the end of the strap with the flat metal strip.
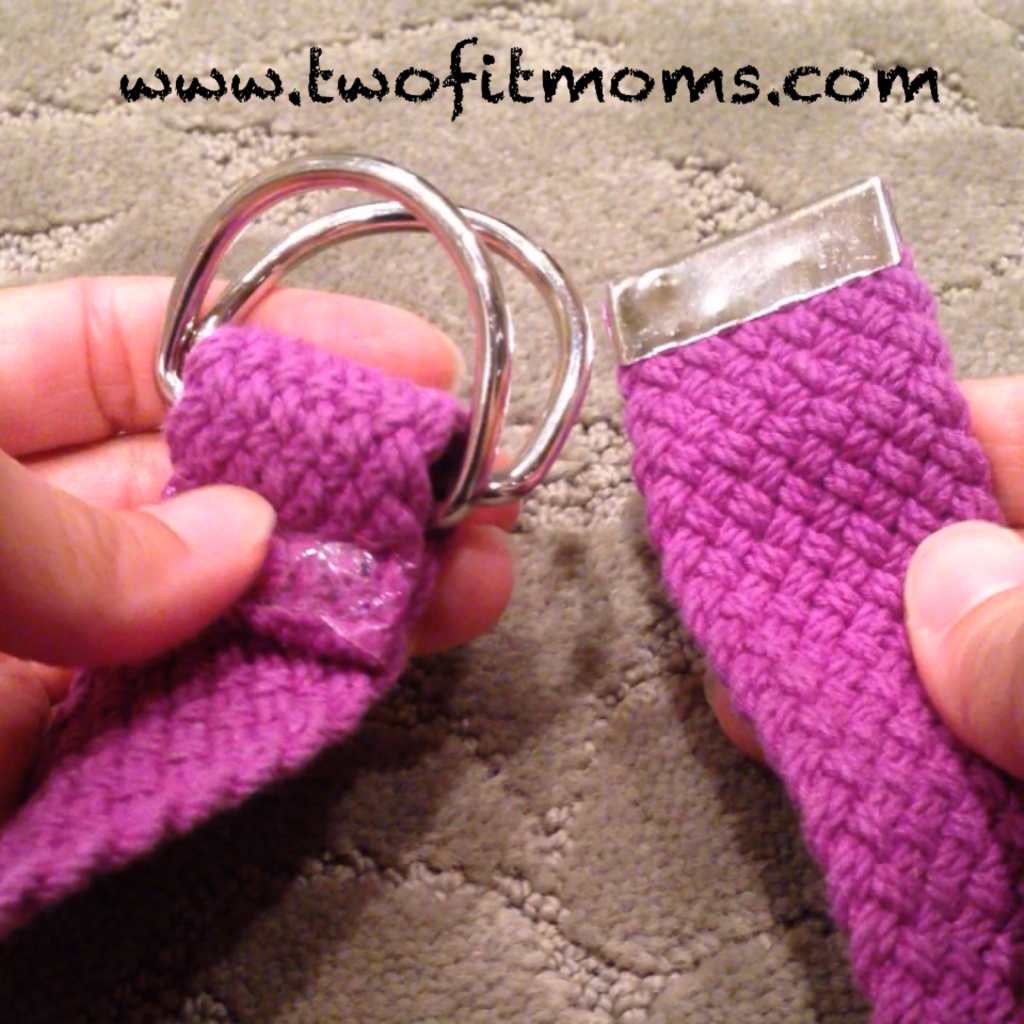
I know this may sound ridiculous, but my yoga teacher taught me how to loop a yoga strap with a choo-choo train analogy. Yes, she actually used the phrase “choo-choo”. It felt juvenile, and I laughed, but she didn’t have to explain it twice. Let me teach you with that same choo-choo train. Pretend that the end of the strap with the single metal strip is a train. The train goes through both tunnels. (That is, put the end of the strap with the flat metal strip through both metal loops.)
The train forgot something. It goes back over the first tunnel it sees, and through the second tunnel.

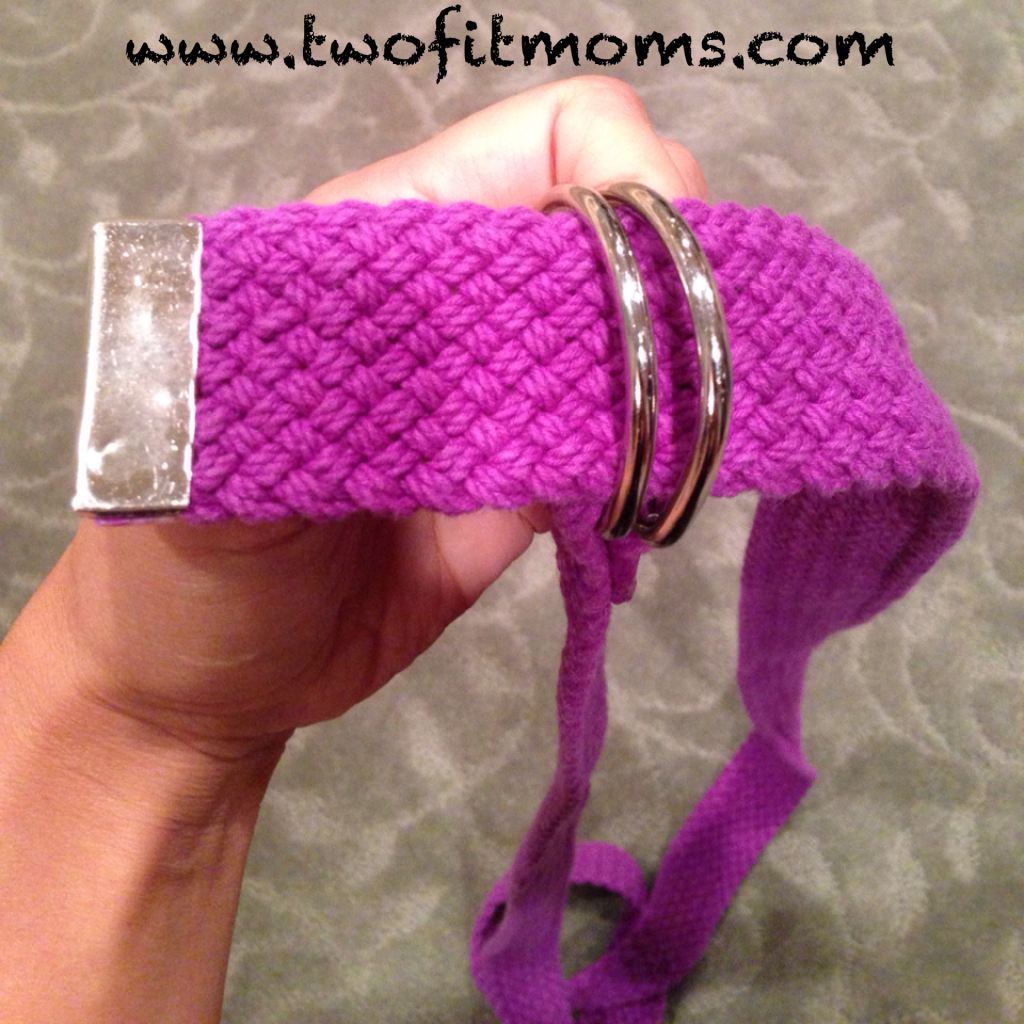
It’s as simple as that. Now continue pulling the end of the strap with the flat metal piece until you have a small adjustable loop that can fit over your foot.
You are now ready to use your strap! Stay tuned for future tutorials…
 at the age of 36! It is never too late to learn a new hobby or skill. Just be patient, and remember to practice. It may not happen for you today, and that’s ok! There is no timetable for success. I will equip you with the tools and knowledge, and you will work at your own pace until you feel comfortable in the pose.
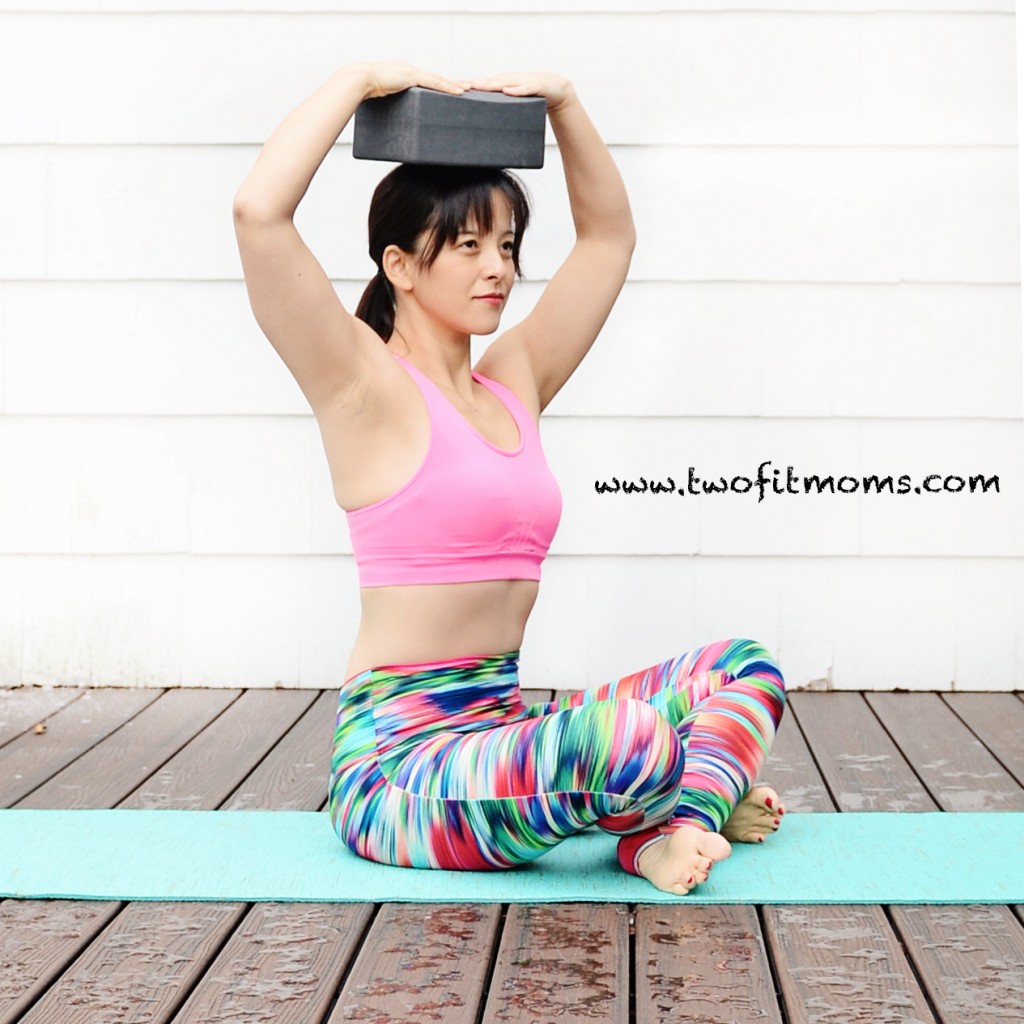
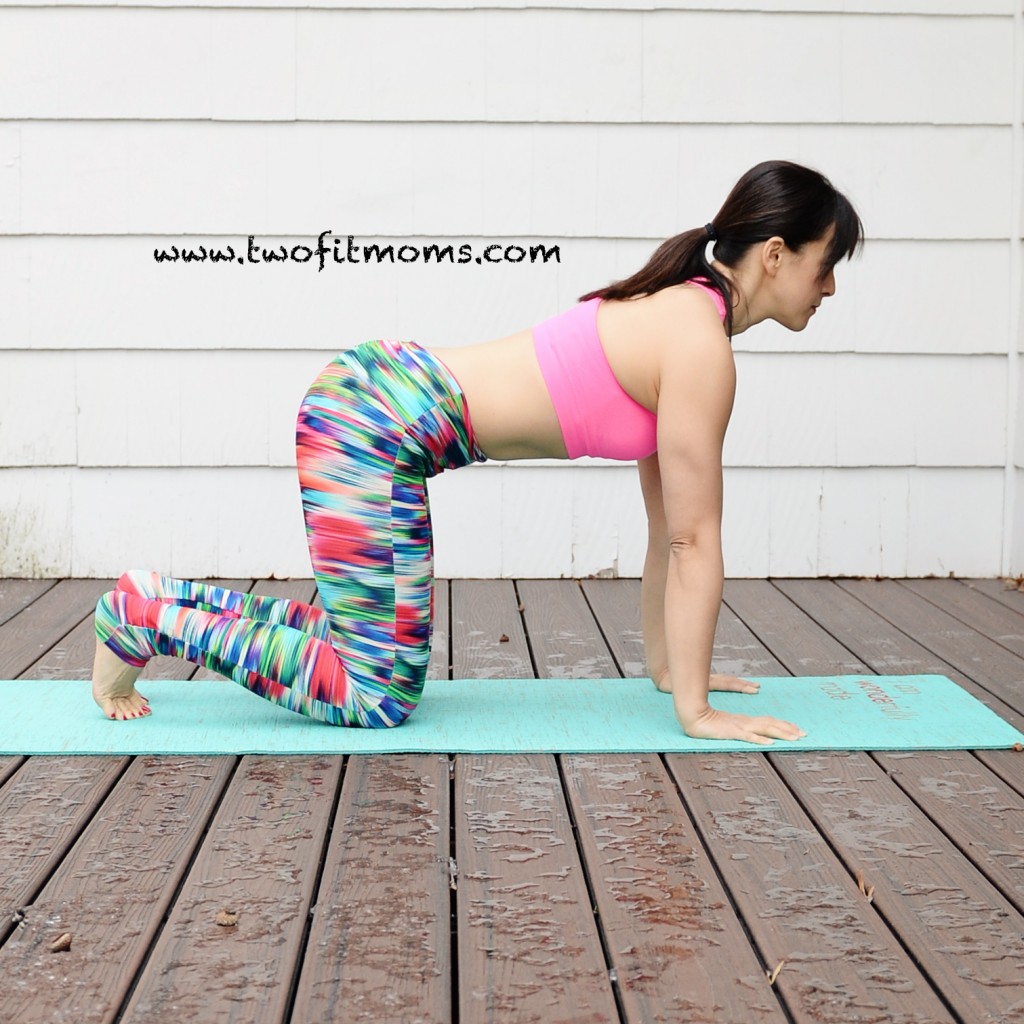
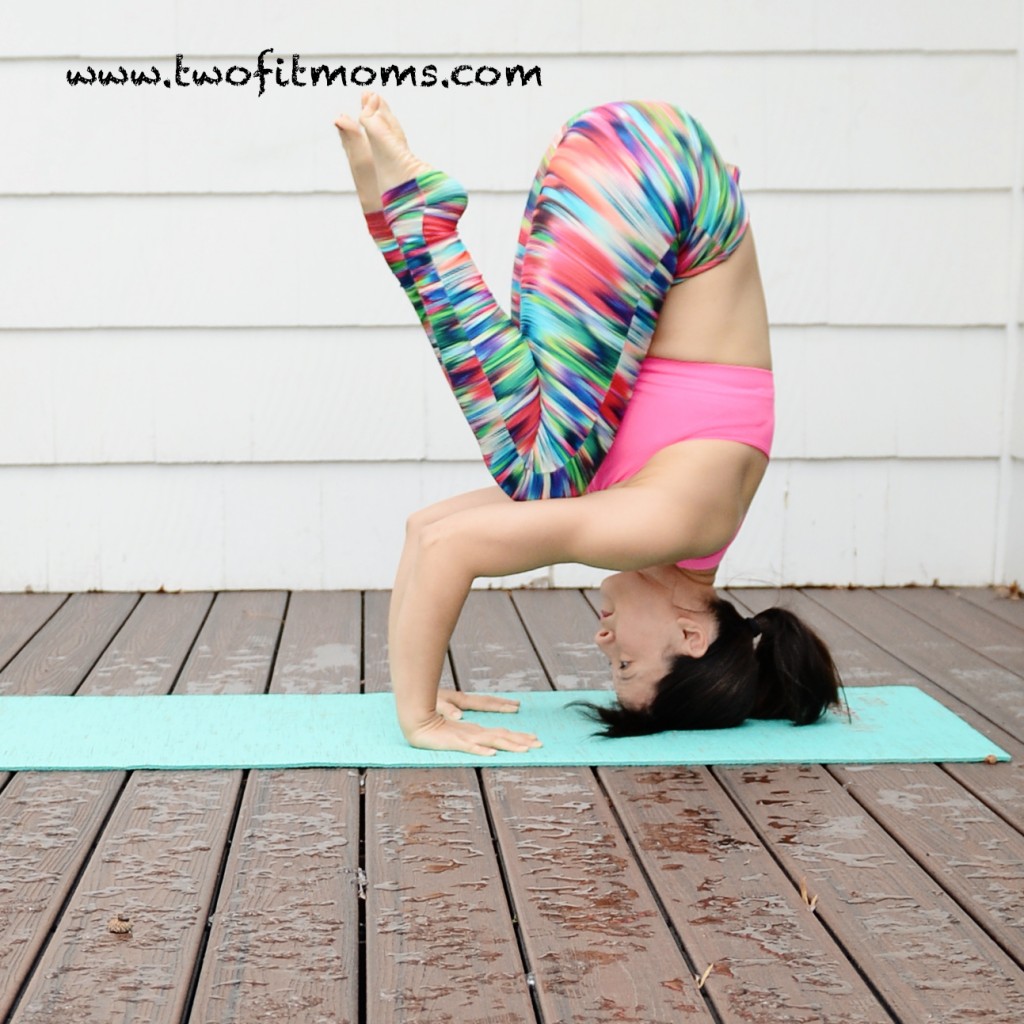
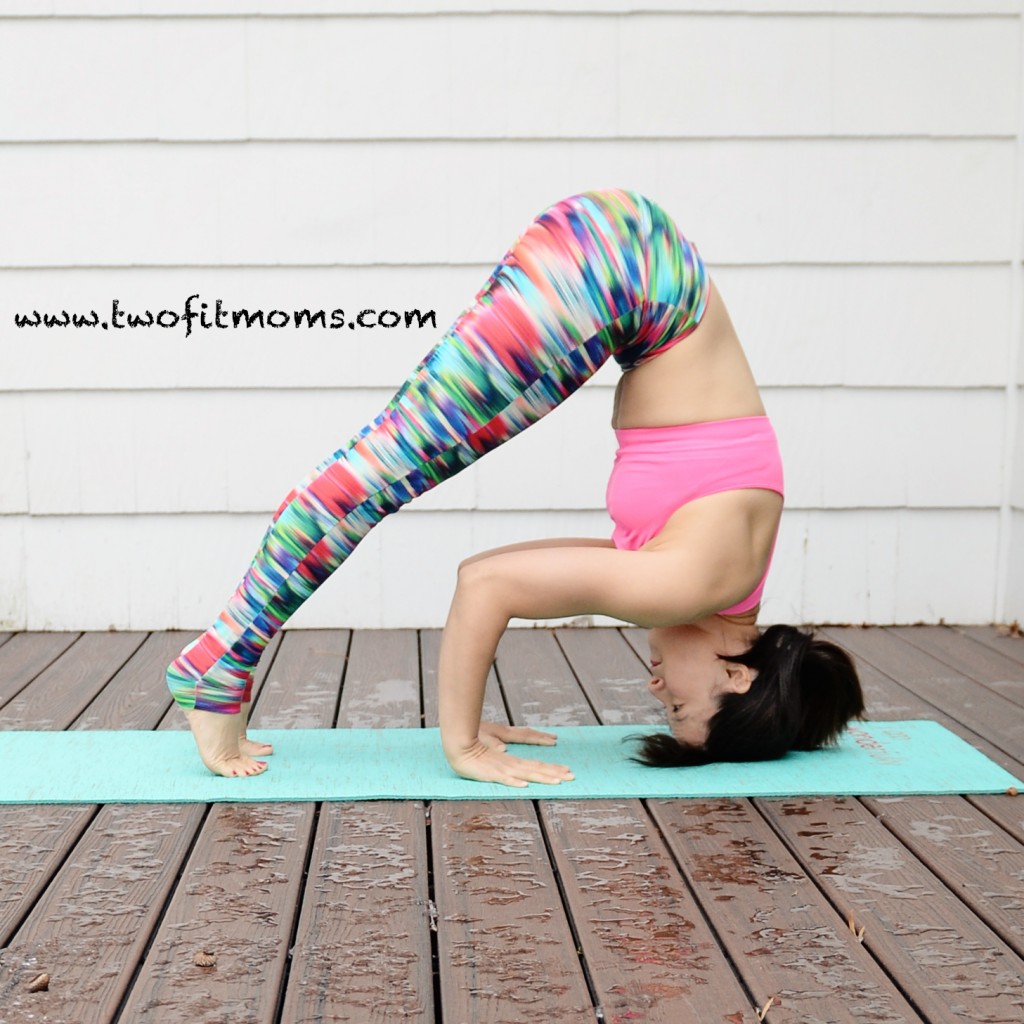 more limber. If your neck feels strained, focus on lengthening your neck so that your shoulders are drawn away from your ears. If the top of your head hurts, adjust your balance point a few inches. Personally, my own balance point in a headstand is not the same as the balance point with the book on my head. I usually balance a few inches closer to my forehead. This is an exploration. Find the right spot for your own body.