Tag: spring

  • Recipe on the Go: Greek Salad with Pearl Couscous

    Recipe on the Go: Greek Salad with Pearl Couscous

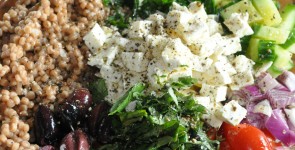
    Creating a hearty salad is ideal for those nights when you are pressed for time! greeksalad 
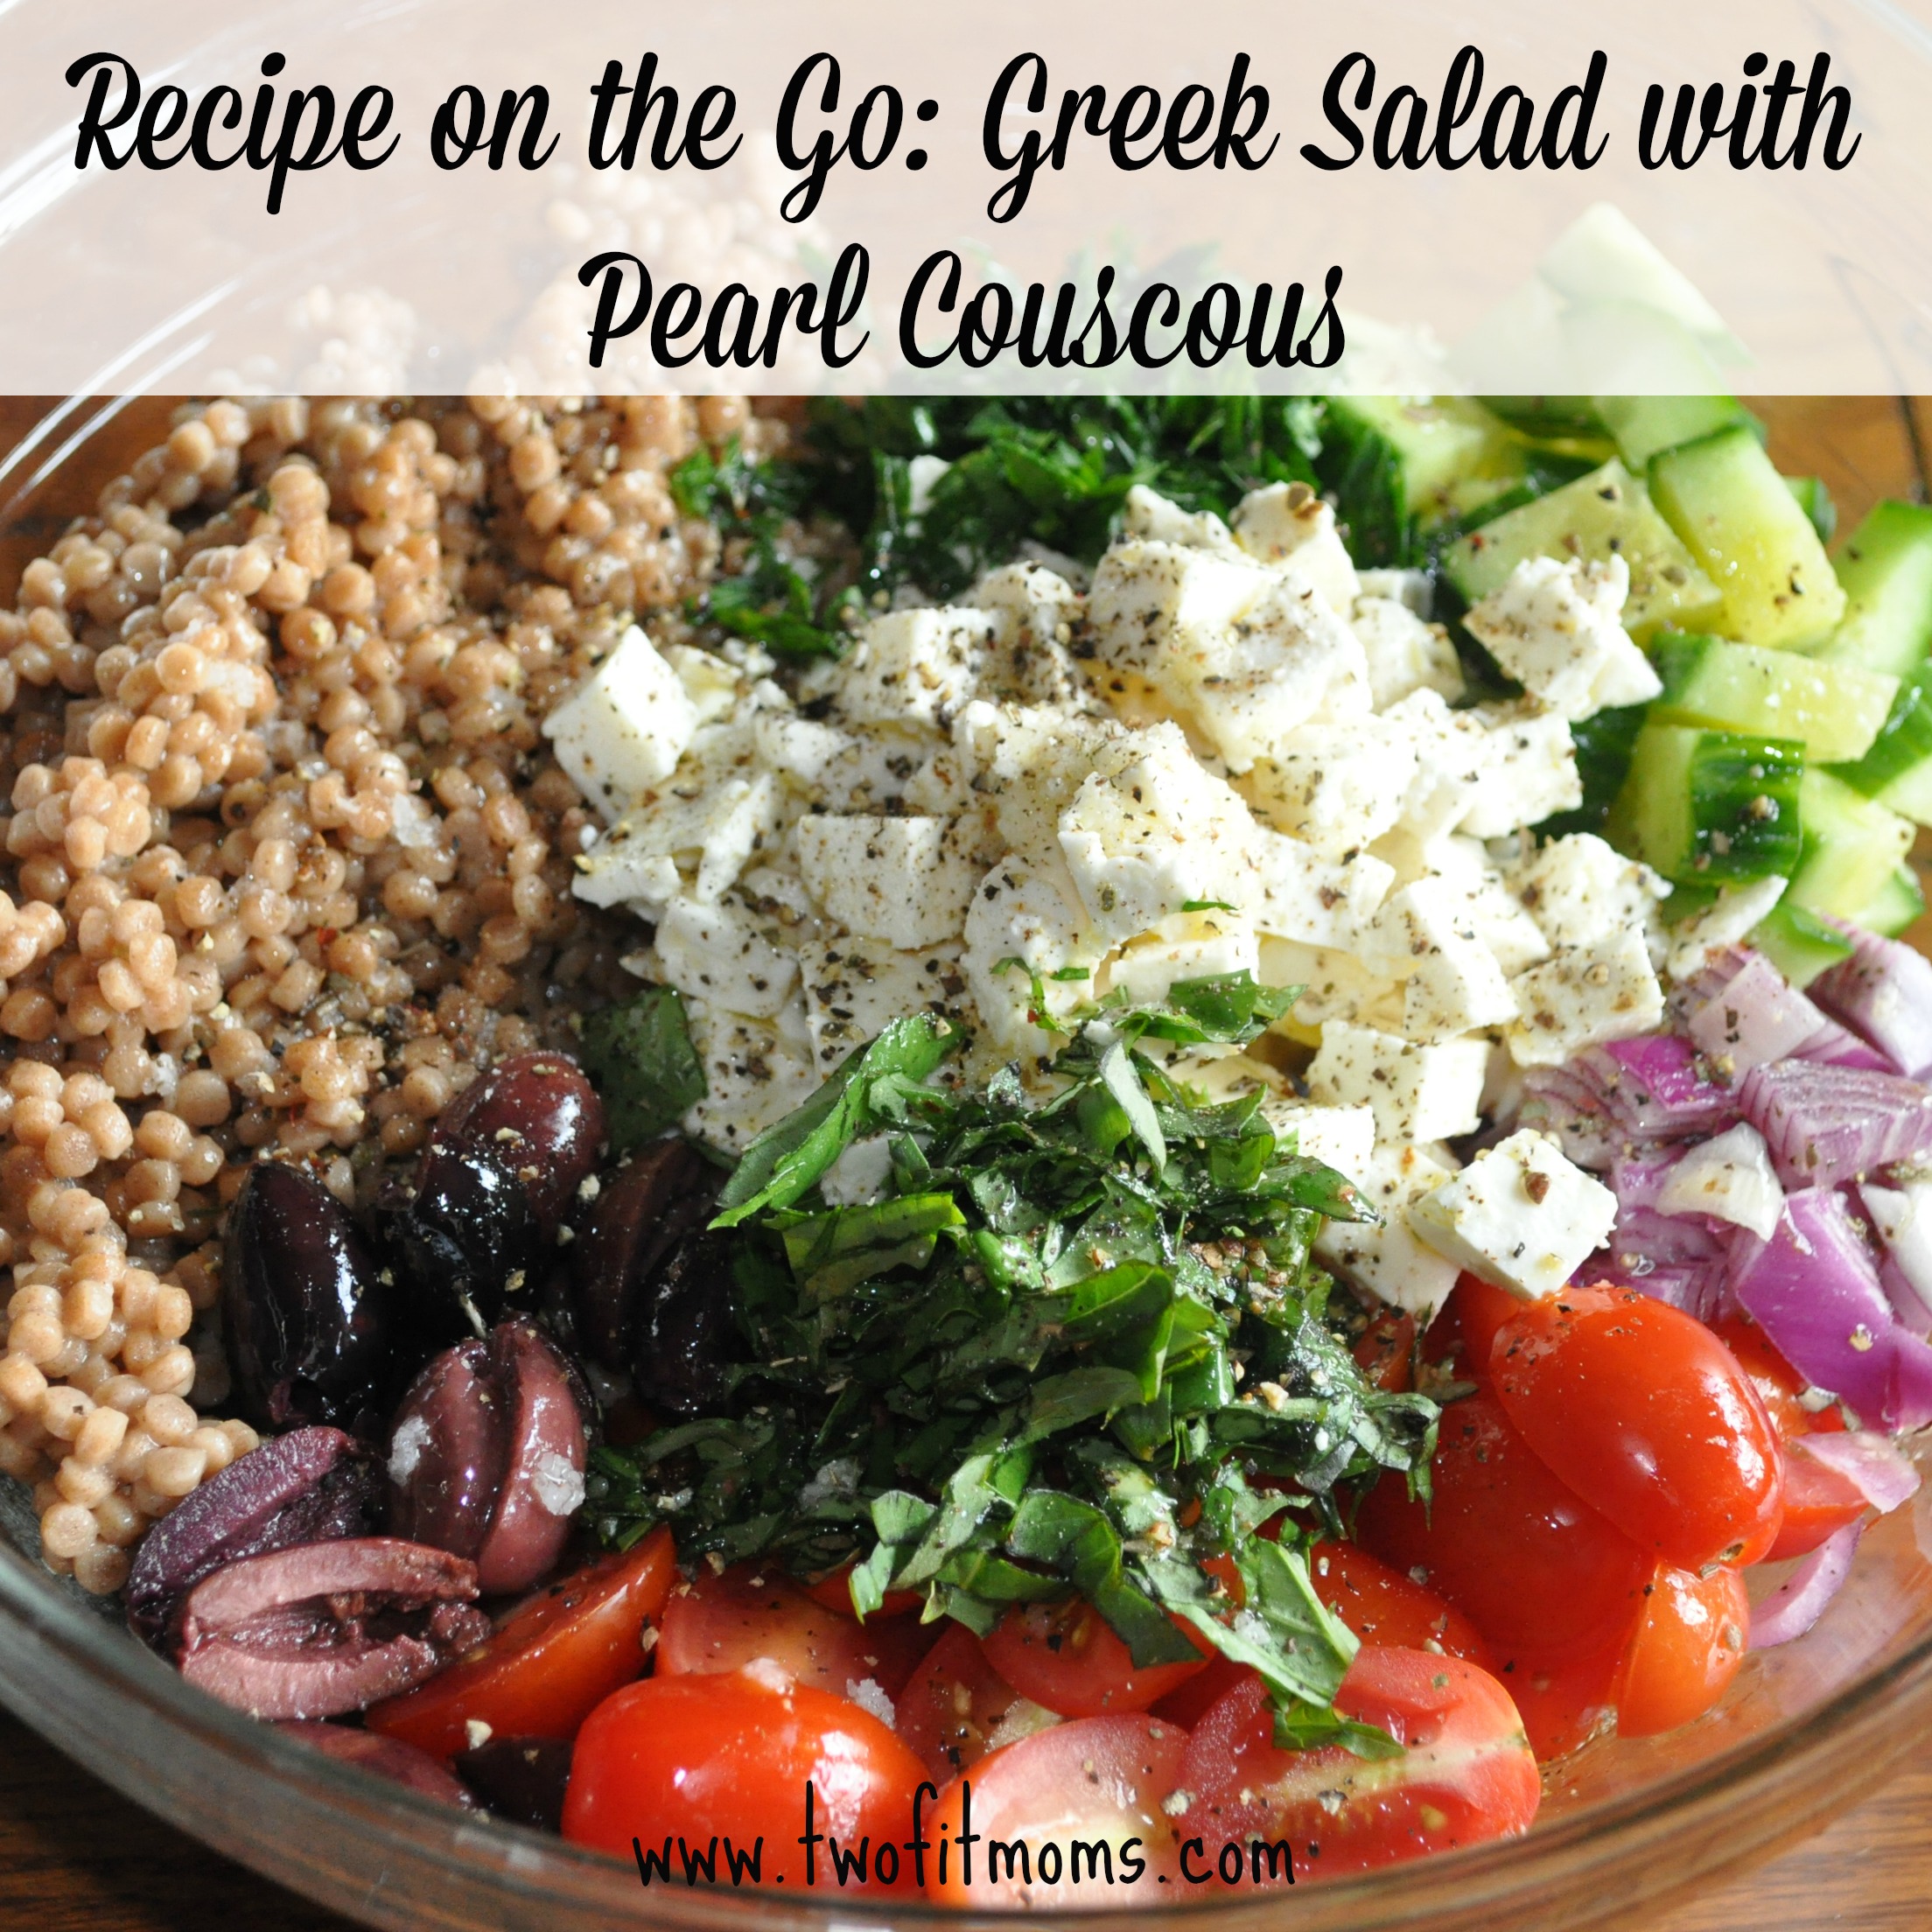
This Greek Salad with Couscous is packed with delicious veggies, hints of herbs and cheese — and pearl couscous, which makes it more filling. It’s the perfect side dish, but it can certainly stand in for an entree given the addition of the semolina pasta.

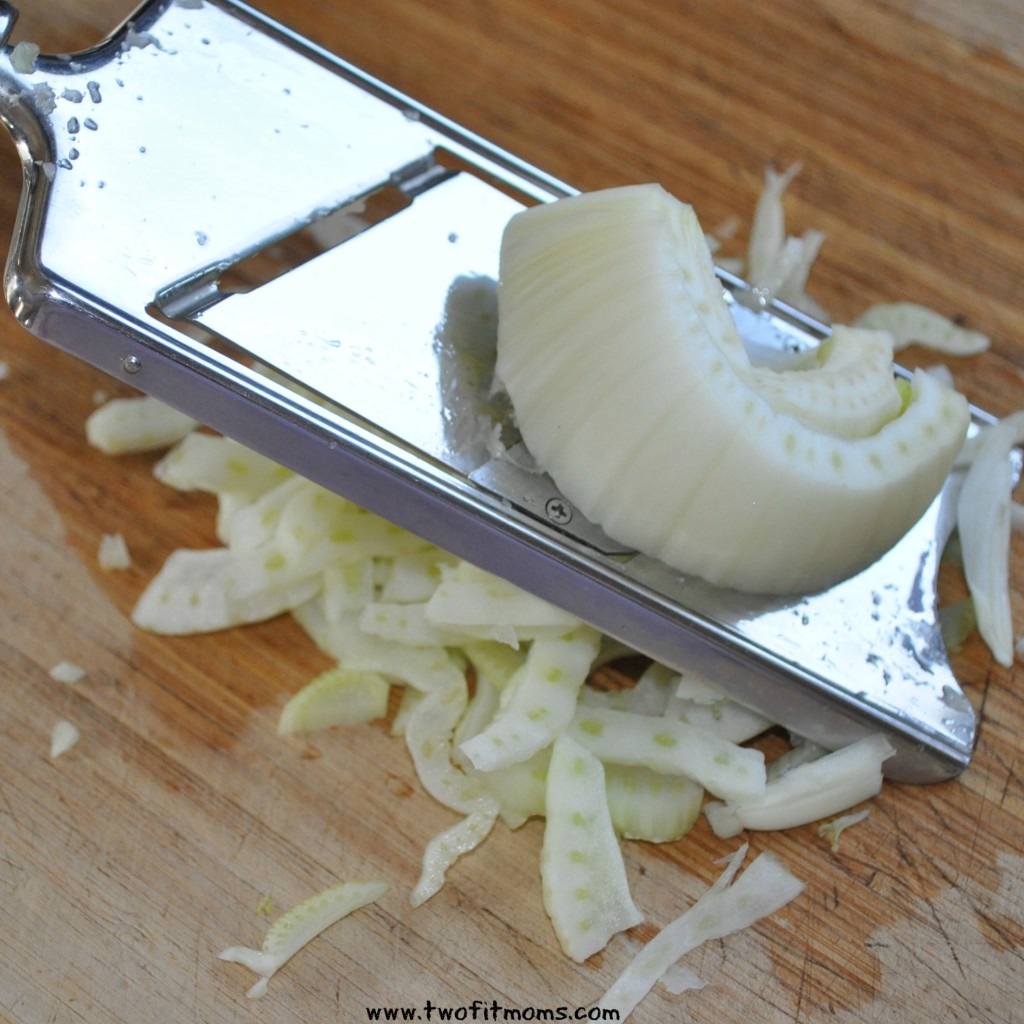
    All it takes is some chopping — which you can do in advance.  You can also make the couscous ahead of time and pop it in your refrigerator until you are ready to make the salad.

    Top it with a light lemon-oregano vinaigrette and you are all set!

    Feel free to modify this recipe.  If you want, you can add some protein — beans or sliced chicken breast.  You can also swap the couscous for a gluten-free grain, like quinoa. Farro, barley and orzo are also delicious options.

    Greek Salad with Pearl Couscous

    Makes a big bowl — enough for a family of 4 adults with leftovers!

    1 pint of grape tomatoes, halved
    1 1/2 cups chopped cucumber
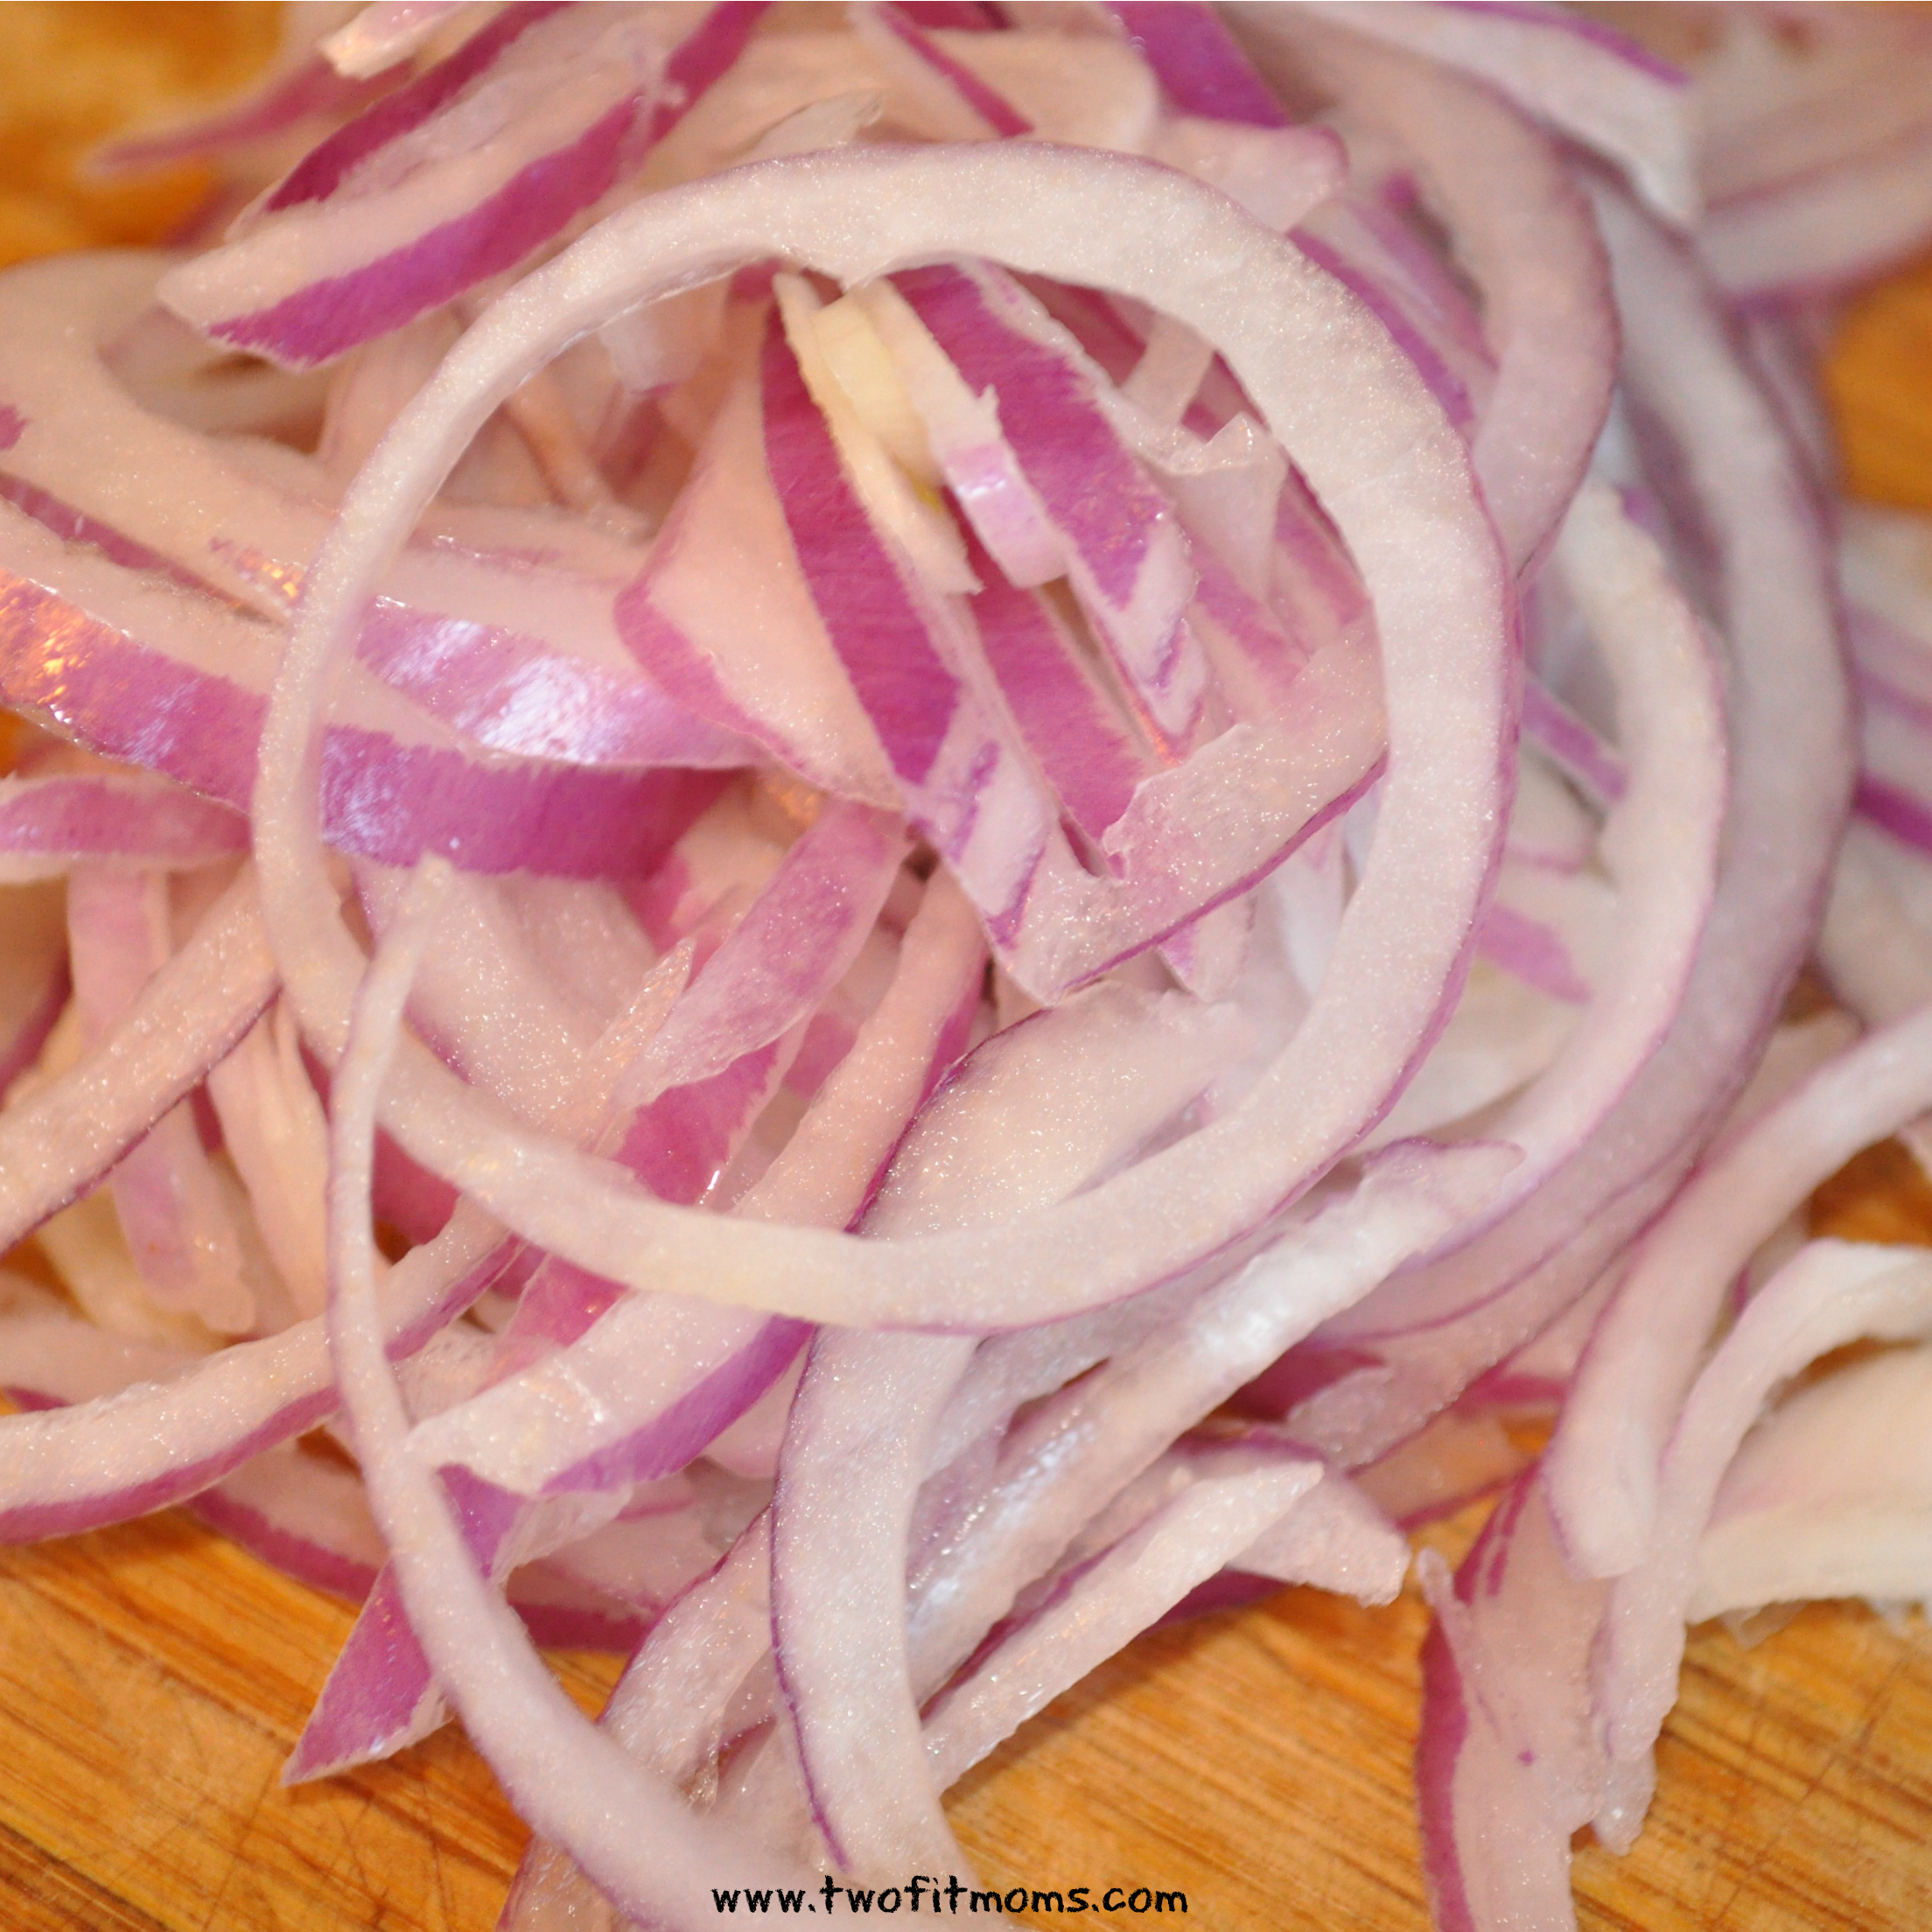
    1/2 cup red onion, chopped
    1/2 cup pitted and halved kalamata olives
    1 cup cooked pearl couscous, cooled (I used whole wheat)
    2 tablespoons basil, chopped
    2 tablespoons parsley, chopped
    1 cup of feta cheese (either crumbled or cut into bite size chunks)

    Dressing:
    1/3 cup of olive oil
    1 tablespoon lemon juice
    1/2 teaspoon dried oregano
    1/2 teaspoon salt
    cracked black pepper to taste

    In a large bowl, add the  tomatoes, cucumbers, red onion, olives, couscous, basil,parsley and feta cheese.  Toss and reserve.  In a separate smaller bowl add the olive oil, lemon juice, oregano, salt and pepper.  Whisk until combined.  Pour the dressing over the salad and toss gently until the ingredients are coated with dressing. Serve room temperature or cold.


  • Springtime Flow

    Springtime Flow

    Spring is a season characterized by rebirth, renewal and growth.springtimeflowforig Many of us are looking forward to longer, lighter evenings and the uplifting energy of Spring. To celebrate the season (and to help you out of bed before the sun has risen), we are putting a fresh spin on a traditional sequence. Each pose within the sequence becomes a hybrid — and a hip opener — by keeping the legs in tree pose. Challenge your balance and flexibility by practicing this variation of Sun Salutation that pays homage to blooming trees and fresh routine. Remember to practice the sequence on both sides of your body, and breathe deeply through each pose.

    1. Tree Pose

    Start in Mountain Pose at the back of your mat. Toes are spread, spine is lengthening towards the ground. Slowly shift your weight into your left foot and pick up your right foot. With the help of your right hand, place the sole of the right foot onto the inner left thigh. Find stability in this pose by pressing your right foot firmly into your left thigh, and your left thigh firmly into the sole of your right foot. Keep your right knee pressing out. Bring your hands together at heart center. Take 5 deep breaths, then on your next inhale sweep your hands up towards the sky.

    Tree Pose


    2. Standing Forward Fold with Tree Legs

    On an exhale, swan dive down into this Standing Forward Fold variation. Continue to keep your right knee open to the side. Feel the hamstring stretch along the back of your left leg and the stretch in your right hip. Stay here for 3-5 breaths.

    Standing Forward Fold

    3. High Plank Pose with Tree Legs

    Rather than stepping or jumping back into Plank Pose, as you would in a traditional Sun Salutation, on an exhale, slowly walk yourself out into Plank Pose with Tree Legs.  Continue pressing your right foot firmly into your left thigh, and try to make a straight line with your body from head to heel. Stay here for 3-5 breaths.

    YJMarch3

    4. Side Plank Pose with Tree Legs

    Before moving into your Chaturanga Dandasana, which is usually the next pose in the Sun Salutation, take a short detour into Side Plank Pose with Tree Legs. On an inhale, shift your weight onto your left hand, roll onto the outer edge of the left foot and pop up onto your right fingertips. Find your balance here. On the exhale, slowly extend your right hand up towards the sky. Keep your hips lifting as you continue to root down through your left hand. Look up at your right hand for an added challenge.  Stay here for 3-5 breaths and return into your High Plank Pose with Tree Legs.

    YJMarch4


    5. Low Plank Pose with Tree Legs

    From High Plank Pose, slowly shift slightly forward. On an exhale, bend your elbows coming into Low Plank Pose (or Chaturanga Dandasana) with Tree Legs. Hug your elbows in and engage your core to maintain stability.

    YJMarch5

    6. Upward Facing Dog with Tree Legs

    On an inhale, roll over the left toes and come into Upward Facing Dog with Tree Legs. Feel free to modify by taking the Cobra Pose variation with hips on the ground. Press into your hands, lift your heart and relax your shoulders. Take 3-5 breaths.

    YJMarch6

    7. Downward Facing Dog with Tree Legs

    On an exhale, roll back over your left toes and come into your Downward Facing Dog with Tree Legs. Spread your fingers wide, relax your shoulders and engage your belly. Stay here and hold for 5 deep breaths. Complete your Sun Salutation by walking your hands back to your left foot and then slowly lifting back up into Tree Pose! Release the right foot, shake it out and repeat on the other side.

    YJMarch7

    8. Optional: Supported Headstand with Tree Legs

    For an added challenge, feel free to add an inversion at the end of your Sun Salutation practice. Keep your elbows hugging in, neck long, belly engaged and legs energized! To maintain our tree theme, slowly bend on knee and bring the sole of the foot to the inside of the other thigh, then switch! Remember to continue breathing. Take a well deserved Child’s Pose after you come down.

    YJMarch8

  • Quick Tips for Preparing Asparagus

    Quick Tips for Preparing Asparagus

    asparagus with bannerI love asparagus, and recently my kids started to really like it too – which means it will be a staple on my menu this season.

    I have a feeling, though, that many people pass up asparagus because they don’t know how to prepare it.  So, this article serves two purposes — one, to get you to try asparagus, and two, to help you learn how to prepare it properly.

    First, when you go to the market, look for a bunch of asparagus that has uniform thickness.  This will ensure that the asparagus cooks evenly. You also want to make sure it’s fresh — it should be crisp and bright green.

    The most important part of prepping asparagus is removing the lower, tough portion of the spear.  Most people just chop the bottoms off the spears without much thought, but there’s actually a method to trimming asparagus.

    Rather than randomly cutting a portion off the bottom, you take the spear between both of your hands and bend.  The spear will break naturally separating the tough lower portion from the more tender, upper portion of the spear. (For those of you looking to make use of the trimmings, you can reserve them for stock!)asparagus collage
    The spears may not all be the same exact length, but that won’t affect the cooking process.

    asparagus zfeatured

    Now that we have prepped the asparagus, let’s cook them! I prefer to roast them, but you could also saute them in a pan with olive oil or blanch them in a pot of boiling water. We are big on roasting our veggies these days, so here’s a quick and tasty preparation for roasted asparagus!

    Lemon-Garlic Scented Asparagus

    Serves 4-6 adults (with leftovers!)

    Before we launch into the recipe I just want to point out that you DO NOT want to pour lemon juice on top of your asparagus.  The lemon juice will turn your asparagus gray — it will turn most other green veggies the same color.  Instead, we are using lemon zest which will not affect the color of your asparagus, but will scent it with a wonderful lemon flavor!

    2 bunches of asparagus, stems trimmed

    1 lemon, zested

    1 garlic clove, crushed

    olive oil

    salt and pepper to taste

    Preheat oven to 400 degrees.

    Arrange trimmed asparagus in a single layer on a large baking sheet. Drizzle a few tablespoons of olive oil over the asparagus, season with salt and pepper to taste. Roast asparagus for approximately 20-30 minutes, turning them occasionally, until tender and browned (cooking time will vary based on the width of the asparagus).

    While the asparagus is roasting, mix together the lemon zest, crushed garlic and 2 tablespoons (or so) of olive oil in a small bowl.

    Remove asparagus from the oven and arrange on a platter.  Drizzle lemon/garlic/olive oil mixture on top of the asparagus.

    Serve and enjoy!

    The good thing about this recipe is that you can modify the amount of garlic and lemon zest you use, so make it your own!

  • Roasted Potato Leek Soup (Gluten- and Dairy-Free!)

    Roasted Potato Leek Soup (Gluten- and Dairy-Free!)

    leek soup updatedLeeks are a spring vegetable.  And, now that they are in season, it’s the perfect time to incorporate them into into your cooking.

    If you’ve never cooked with leeks, this roasted potato leek soup is a great, and simple, introductory recipe. The roasted vegetables offer depth of flavor and compensate for the lack of dairy in the soup (potato leek soup usually contains cream).  It’s also gluten-free!

    Leeks have a mild onion flavor.  The dark green portion of the stalk, which is too tough to eat, is removed (wash and save it for stock!), using only the light green and white portion. Learning how to clean the leek is important since sand tends to get caught in the stalk.  Therefore, you need to take a few steps to prep the leeks before proceeding with the recipe.

    First, remove the dark green portion of the stalk.
    leek 1
    Then cut about a 1/4-1/2 inch from the bottom, white portion, of the stalk.
    leek 2
    Next, cut the leek lengthwise.
    leek 3
    Rinse the leek under cold running water to remove the sand.
    leek 4
    Then, put the leeks cut side down and cut the leeks in 1/2 inch slices.
    leek 5
    Toss the leeks into a colander, separate the layers and run under cold water to make sure all of  the sand is removed.
    leek colander

    Now you are ready to prepare the soup.

    Here’s the full recipe:

    Roasted Potato Leek Soup

    4 leeks, washed and prepared as noted above (1/4-1/2 inch slices)

    3 large russet potatoes, peeled and chopped into 1/2 inch dice

    1 teaspoon of salt

    1/2 teaspoon of dried thyme

    1/4 teaspoon of black pepper

    3-4 tablespoons of olive oil

    6 cups of organic, gluten-free chicken stock or vegetable stock (non-tomato based)

    chopped chives for garnish (optional)

    Preheat oven to 400 degrees

    Arrange sliced leeks and diced potatoes on a large cookie sheet.  Top with salt, thyme, pepper and olive oil (feel free to add more olive oil if necessary) and mix to coat.  Roast the vegetables for approximately 50 minutes, stirring them frequently.  Once potatoes are tender, remove from oven.  At this point, you might notice a few dark pieces of leek, you can toss those.  Transfer roasted leeks and potatoes to a large stock pot.  Add the six cups of chicken stock and bring to a boil over medium heat.  Remove mixture from the heat.  Blend the soup in two batches in a blender (please note, a Vitamix or other high powered blender, may be too strong for this job — you do not want to over-blend the soup.  It will yield a gummy consistency).

    Serve hot or at room temperature.  Top with chives.

    Yields two quarts of soup.


  • Shaved Fennel Salad

    Shaved Fennel Salad

    shaved fennel salad with bannerSpring has sprung, and while it’s still a little chilly in our neck of the woods (e.g., New Jersey), we are eagerly embracing the change of season.  Soups and stews and hearty meals have dominated our menus, and maybe yours too!  But, in honor of spring, we are going to lighten things up a bit, and we thought this delicious shaved fennel salad was the perfect recipe to ease us into the season!

    There’s really nothing to it, but I think what makes it so tasty is the fennel itself.  We are using the fennel bulb which has a slightly sweet yet subtle licorice flavor.  It is refreshing and offers the added bonus of being great for digestion.

    The other thing that sets this salad apart is the combination of textures — the crisp greens and the shaved vegetables — makes a tremendous difference adding unexpected layers of depth.  If you don’t already have a mandoline, I suggest you run out and buy one.  I have a handheld mandoline that fits nicely in my cutlery drawer.  However, if you don’t have a mandoline on hand, you can still make this salad, you will just need a knife sharp enough to cut very thin slices.

    The recipe is fairly simple and can be adjusted to suit your tastes and diet. It is also just gorgeous and makes a lovely presentation, as you can see from the picture above.

    Shaved Fennel Salad (serves 4-6)fennel ingredients

    1 five oz bag of spring mix (or any other salad combination you like)

    1 large bulb of fennel (tops removed)

    1/2 red onion

    A few turns of cracked black pepper

    Shaved parmigiano reggiano (optional)

    Your favorite balsamic vinaigrette

    Step 1:
    Wash and spin your greens and set aside in a large bowl.

    Step 2:
    Prep the fennel.  Remove the tops of a large bulb of fennel and cut about a half inch off the bottom of the fennel bulb.
    cut fennel

    Cut the fennel in half lengthwise.
    fennel cut lengthwise

    Next, remove the core with a sharp knife.
    fennel core

    Last, shave each half with a mandoline or cut it thinly with a sharp knife.
    fennel shaved

    Step 3:
    Peel half of a red onion and either shave it using a mandoline or cut it thinly with a sharp knife.  Onion slices should resemble a half moon.
    shaved red onion

    Step 4:
    Assemble the salad. Add fennel, red onion, a few turns of cracked black pepper and your favorite salad dressing (I suggest a balsamic vinaigrette) to your lettuce greens.  If you like, top with shaved parmagiano reggiano.  Toss and serve.

    Voila!
    If you are interested in using a mandoline to create thin vegetable slices for your salad, here is a mid-priced option for you to consider.