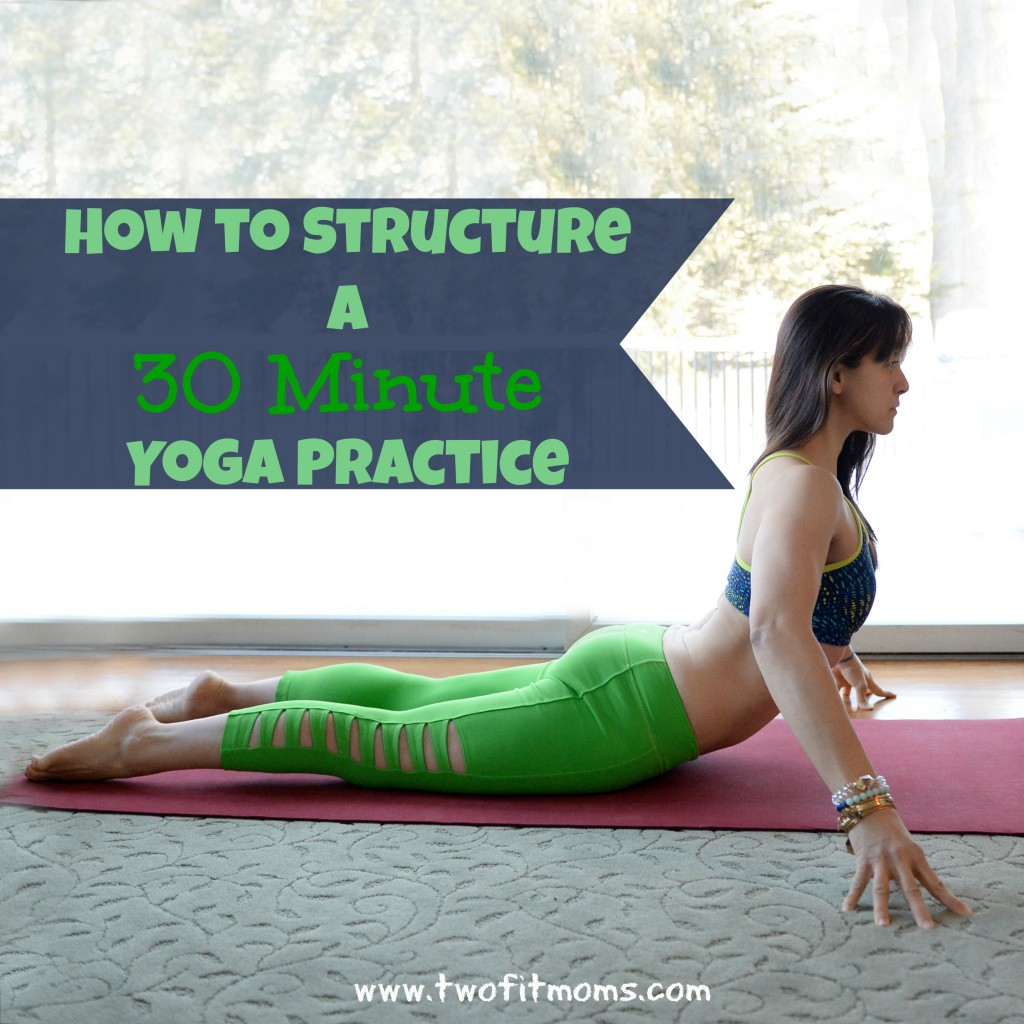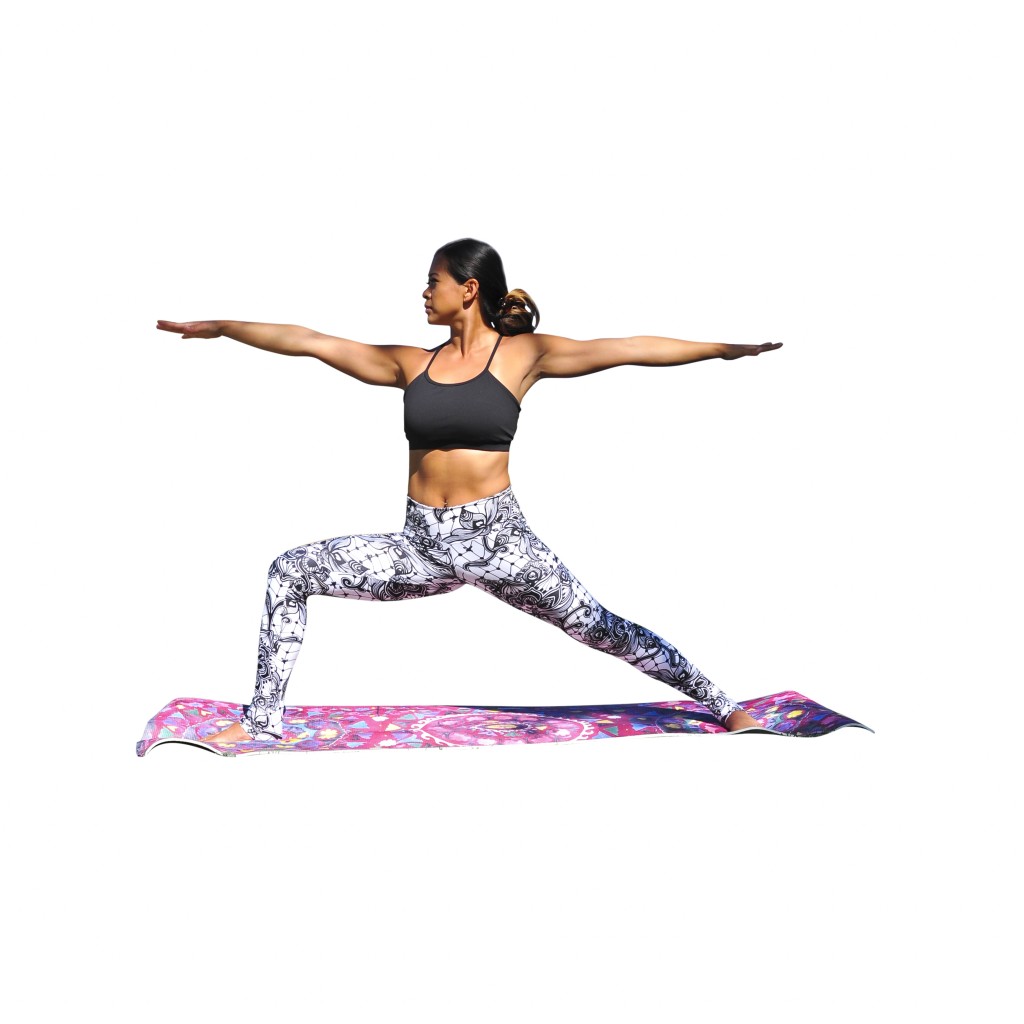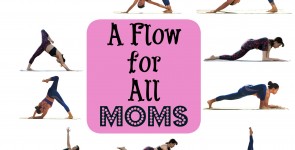
Happy Mother’s Day! In honor of mothers everywhere, we created a short sequence that is accessible to women of all ages and levels of fitness. Each pose can be modified so that it is appropriate for varying levels of strength and flexibility. We encourage you to share your practice with your mother, grandmother, or other special mom in your life. Give the incredible gift of yoga today with this all-levels flow. Start with a few rounds of sun salutations, and then remember to hold each posture for five full breaths (about 30 seconds). Practice the sequence on both sides of your body, and have a beautiful Mother’s Day!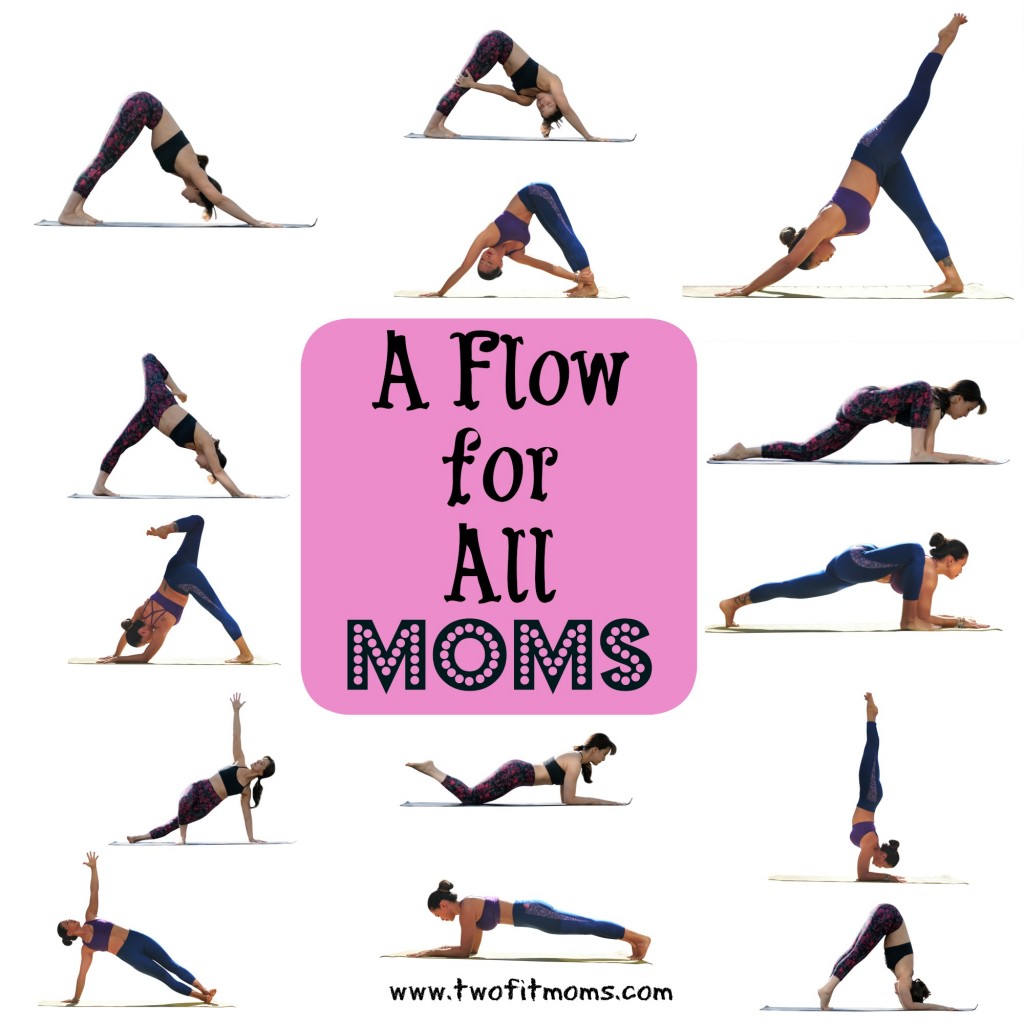
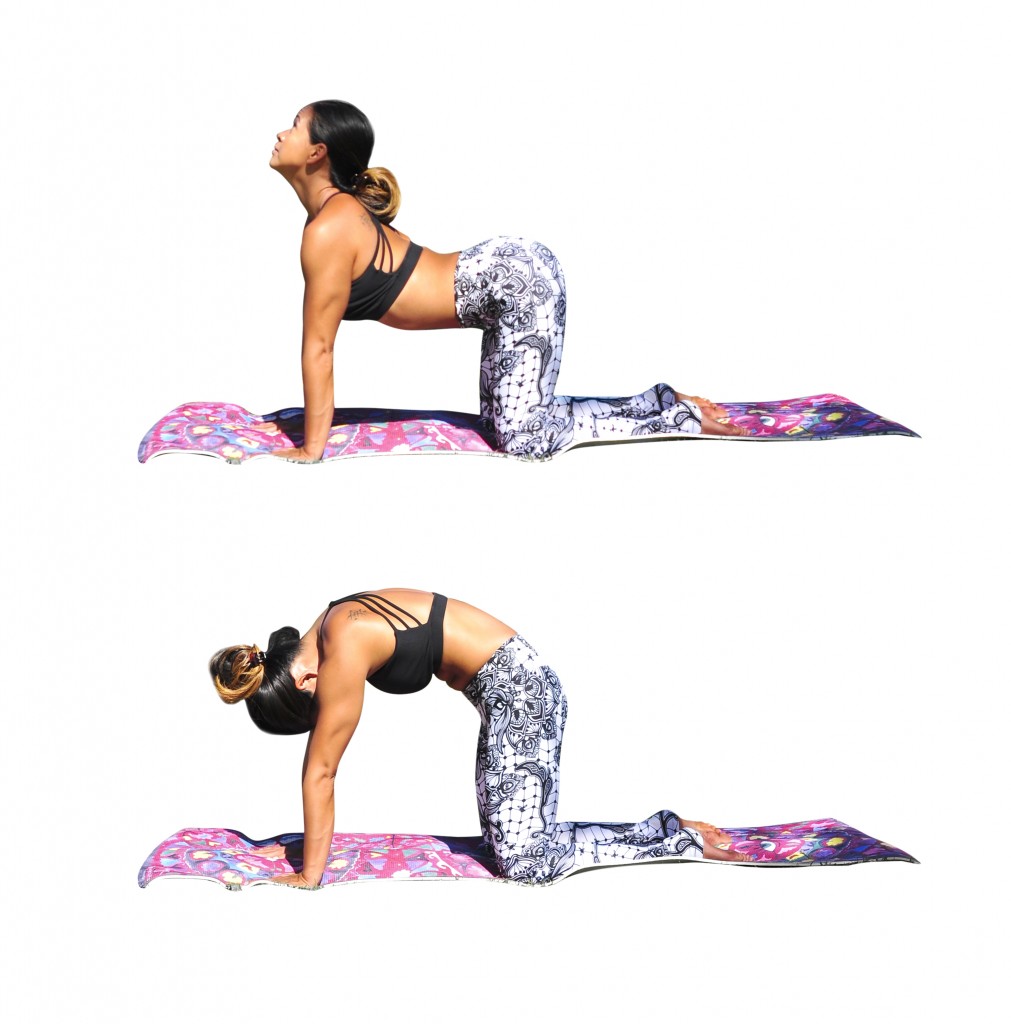
Downward Facing Dog
Although the traditional posture looks like a perfect upside down letter V, your pose may look a bit different. Depending on your level of flexibility, your knees may be bent, and your heels may be lifted from the mat. These modifications are perfectly acceptable, and are welcome, as they offer a safe, full-body stretch.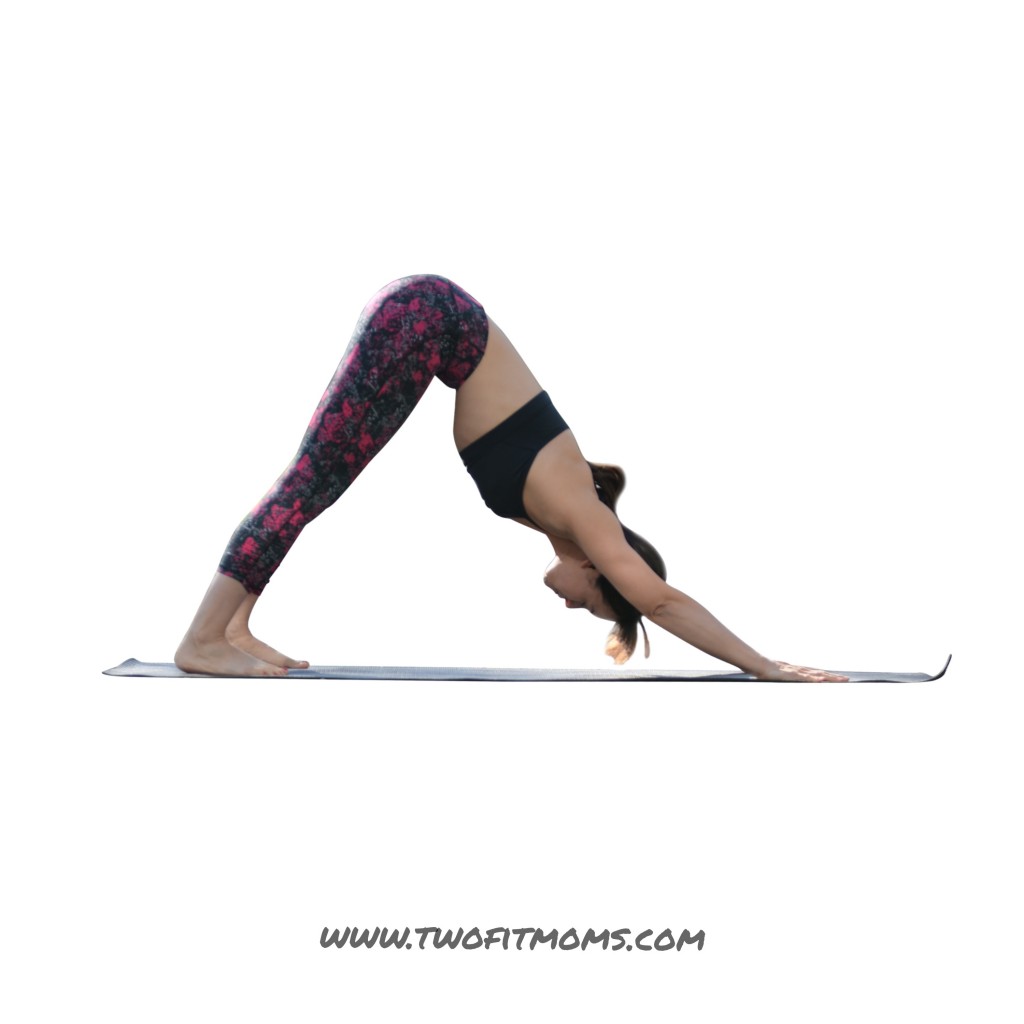
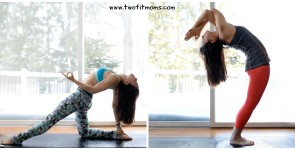
Revolved Downward Facing Dog
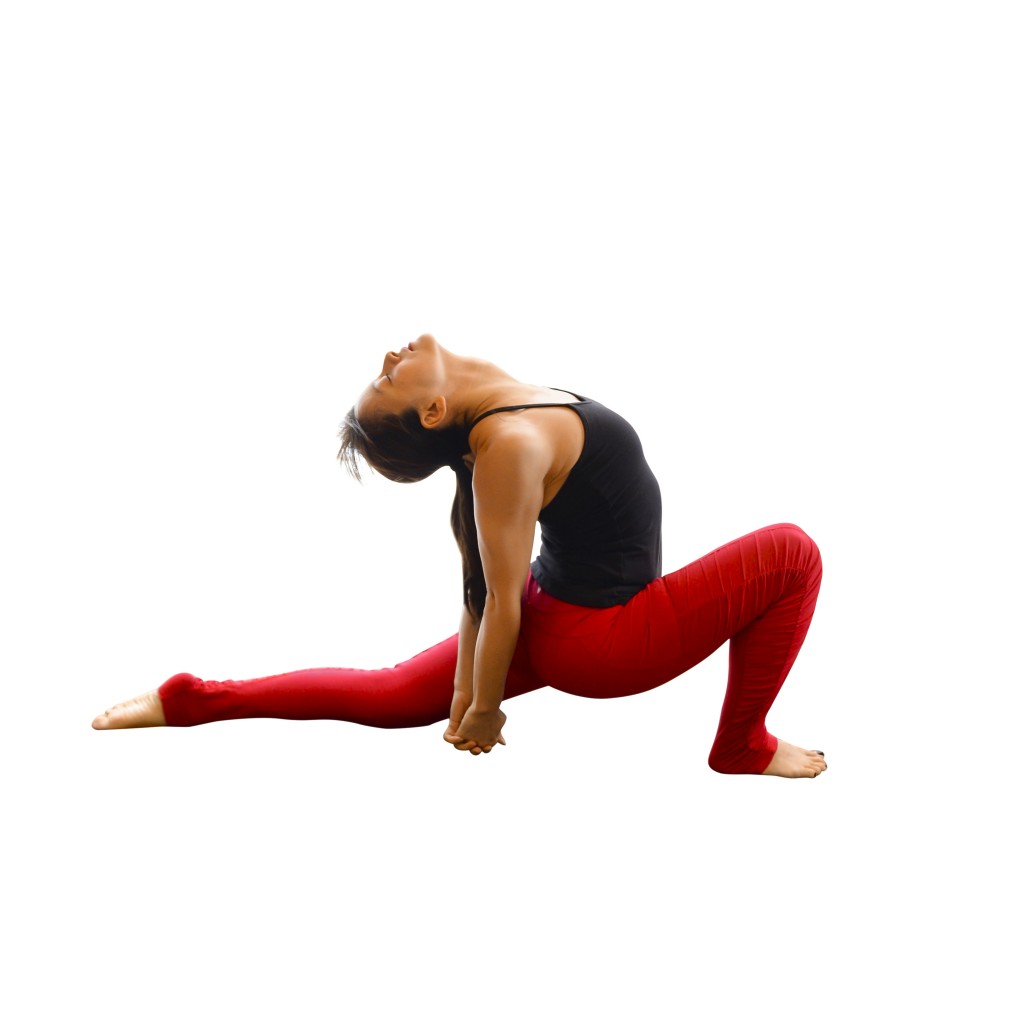
Shift your weight into your right hand, and place your left hand on the outside of your right thigh. If you would like a deeper stretch, slide your hand to your calf or ankle. Twist your torso to the right, and gaze up under your right armpit. Don’t forget to engage your core, as this Downward Dog variation is a balance pose! 
3-Legged Downward Facing Dog
From Revolved Downward Facing Dog, untwist your body and return to Downward Facing Dog. Extend your right leg high into the air for 3-legged dog. Flex the foot on your lifted leg, and rotate your right hip so that all five toes point down toward the mat. If this requires you to lower your leg, go ahead and lower it. Your leg does not need to be particularly high to reap the benefits of this pose. Make an effort to keep your shoulders equidistant from the mat and avoid sinking into your left shoulder. 
3-Legged Downward Dog Variation
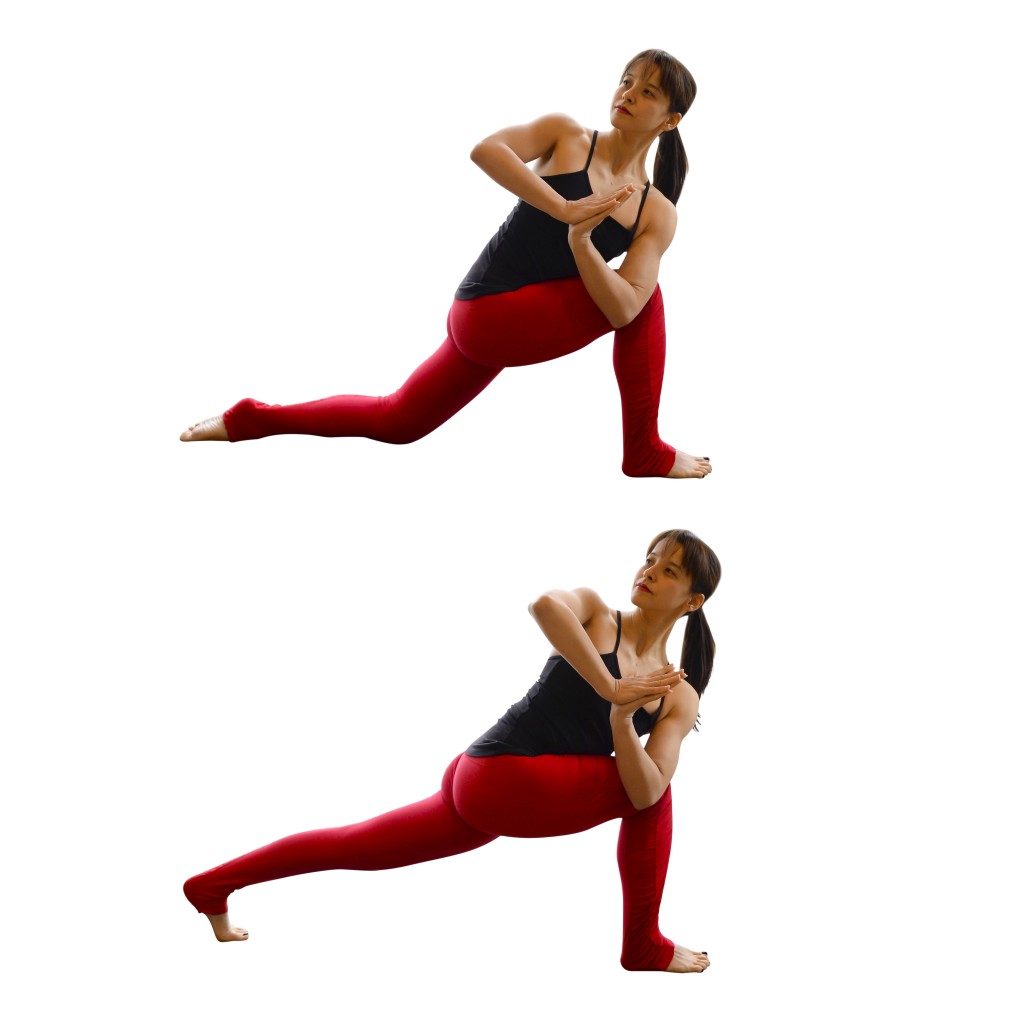
Bend the knee of your lifted leg, drawing the heel of your right foot in toward your body. Open your chest toward the right by stacking your right hip over your left hip. For a deeper stretch, slowly lower your left forearm to the mat. 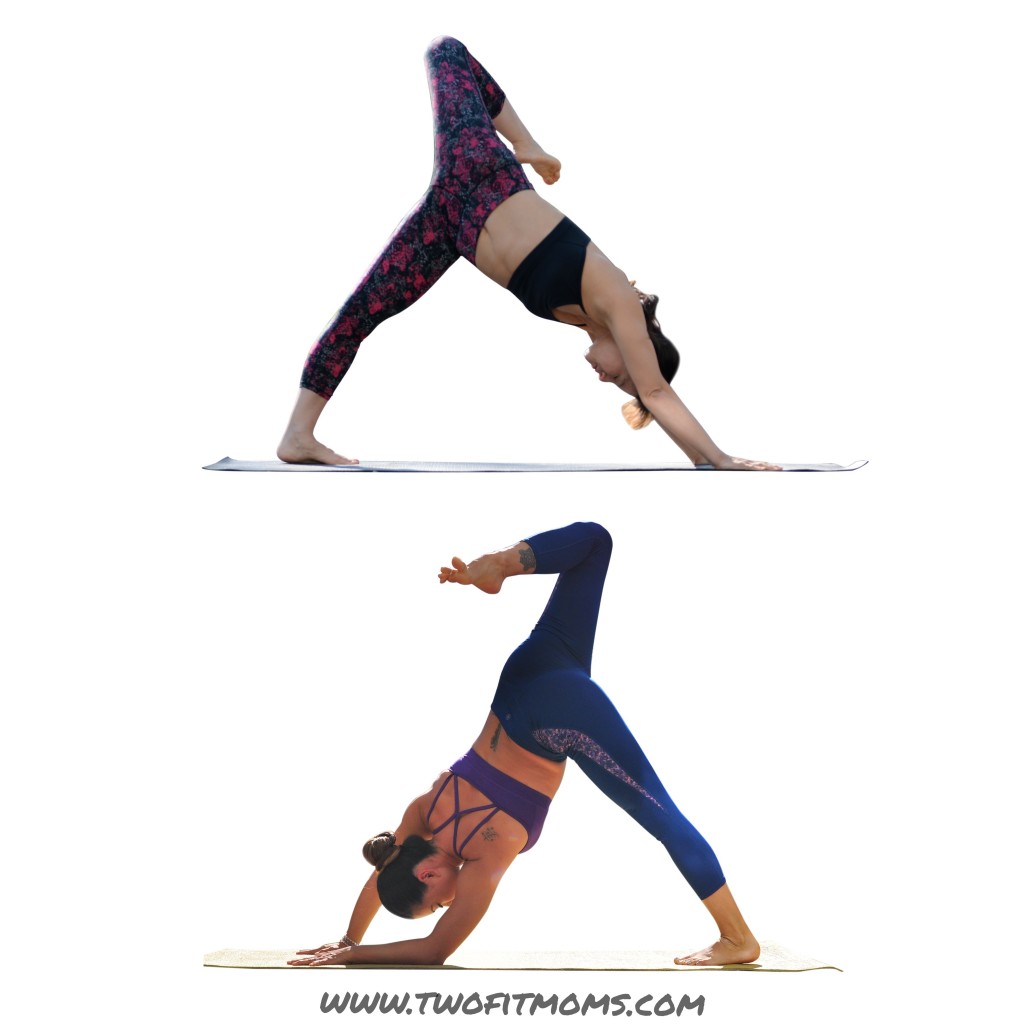
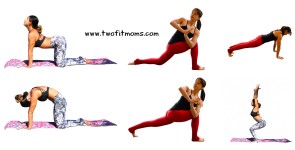
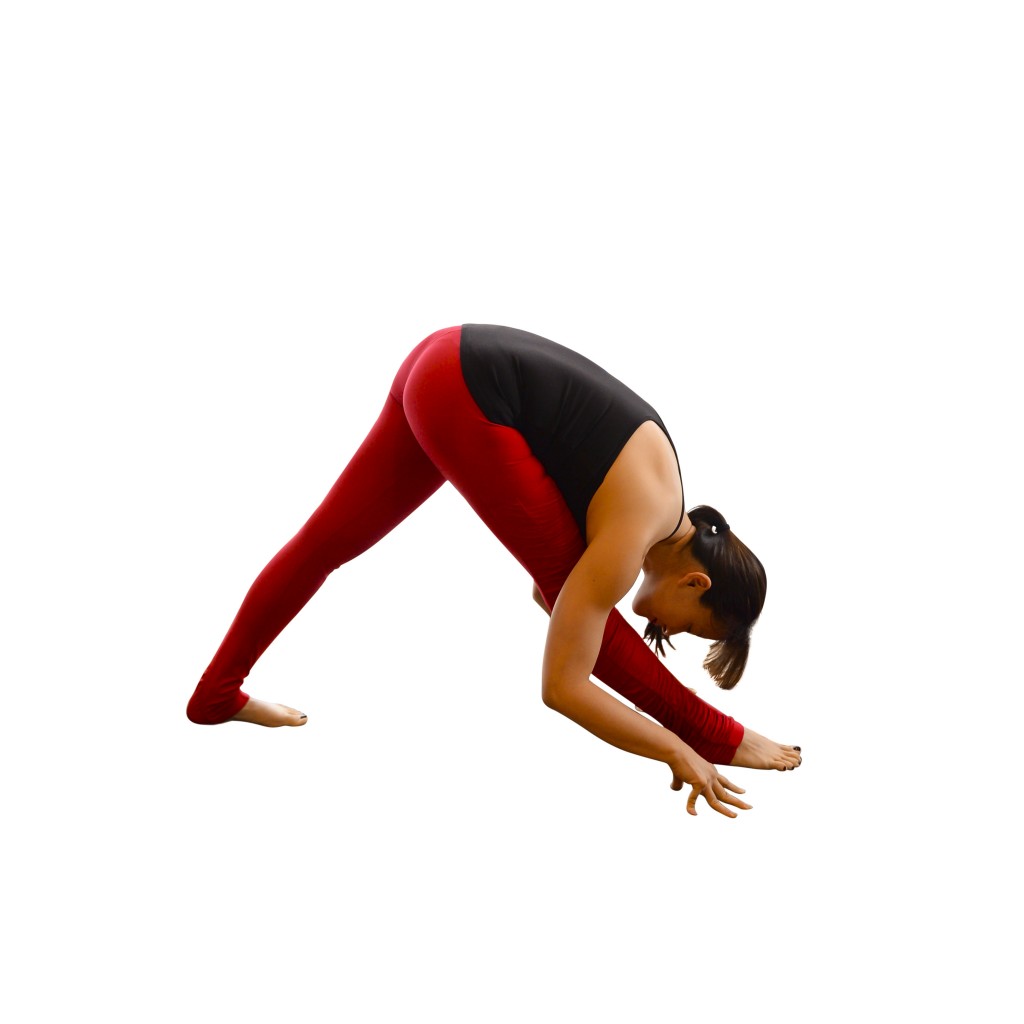
Lizard Pose
Lower your lifted leg, returning to Downward Facing Dog. Step your right foot to the outside of your right hand. Walk your hands forward a few inches, and then lower your forearms to the ground for Lizard pose. If this hip stretch is too intense, lower your back knee to the mat for a more comfortable variation. Feel free to experiment in this pose by rocking onto the outer edge of your foot and then back down onto the sole. Maintain length in your spine, and remember to breathe!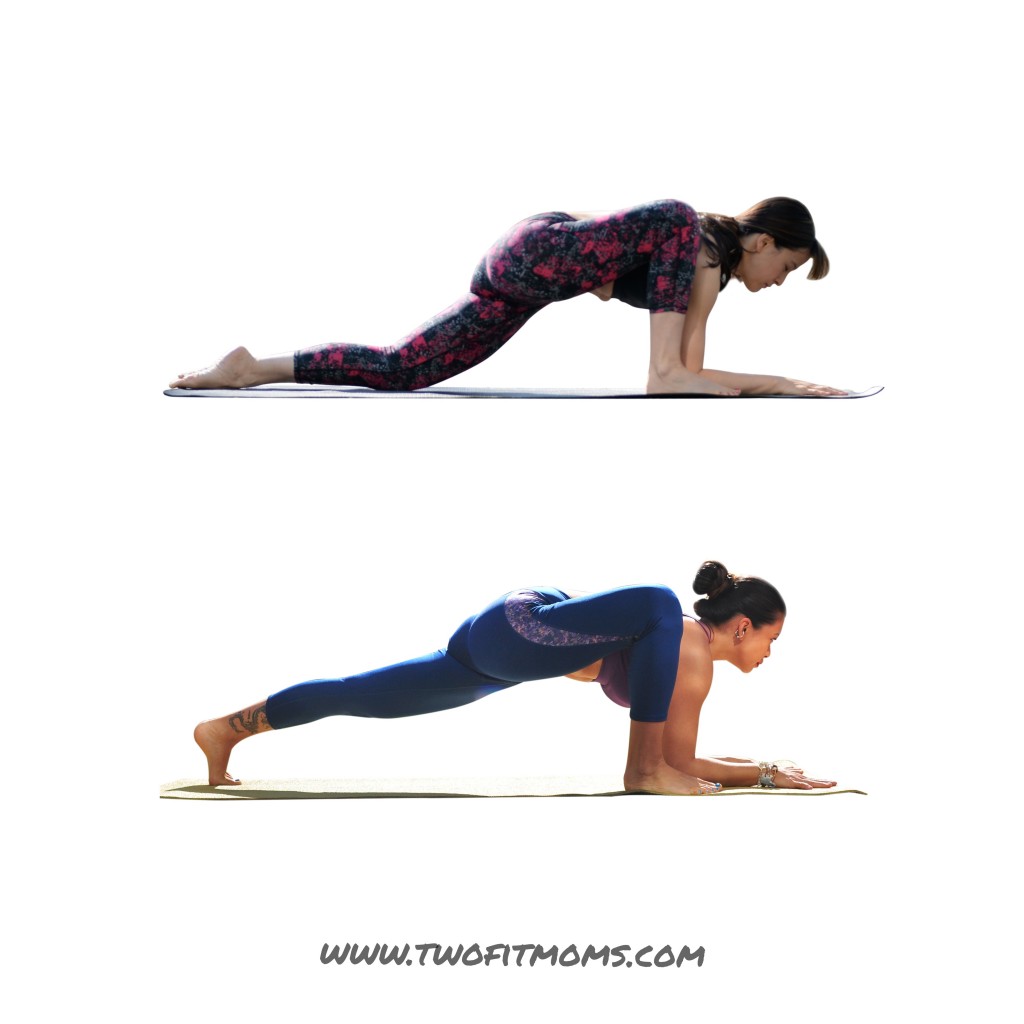
Side Plank Variations
From Lizard Pose, lift onto your hands, and roll onto the outer edge of your left foot for Side Plank. Choose the variation that challenges you while allowing you to maintain your form. Keep your hips lifted and your core engaged.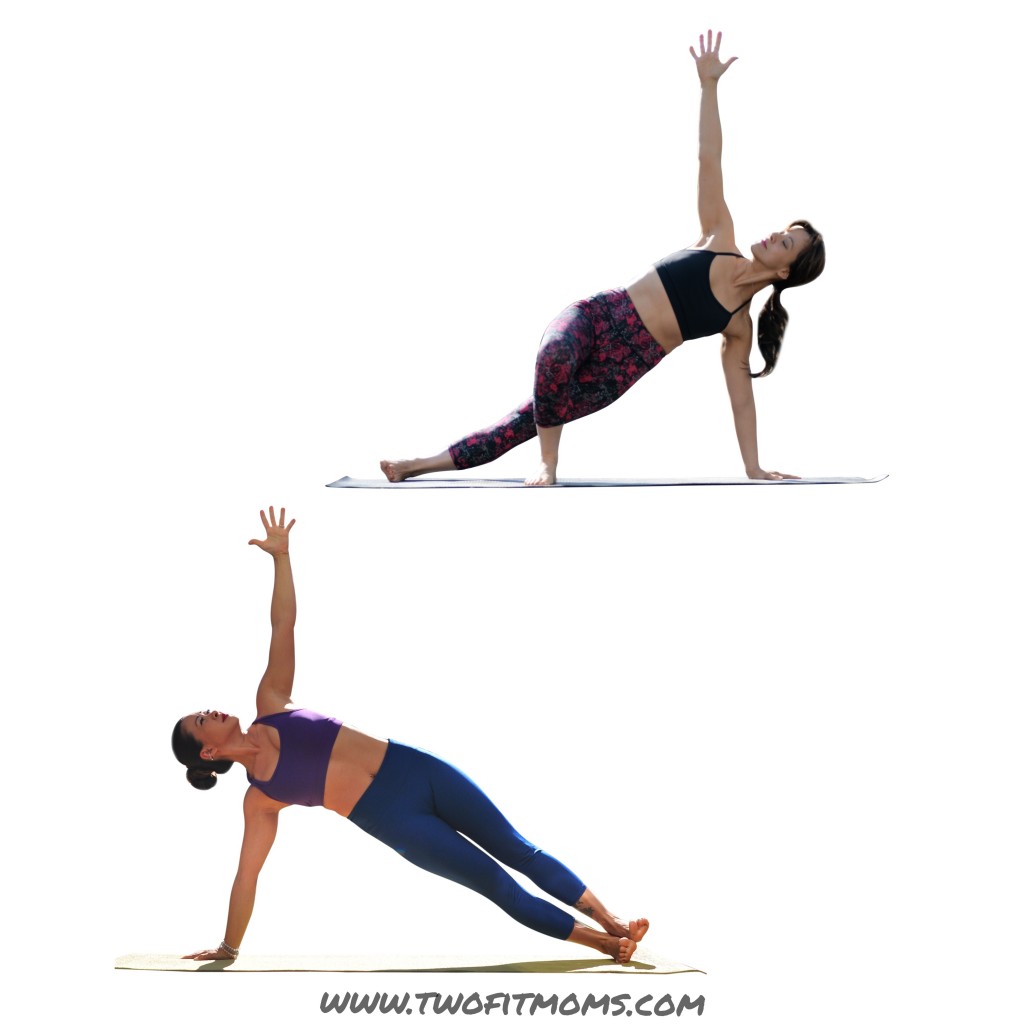
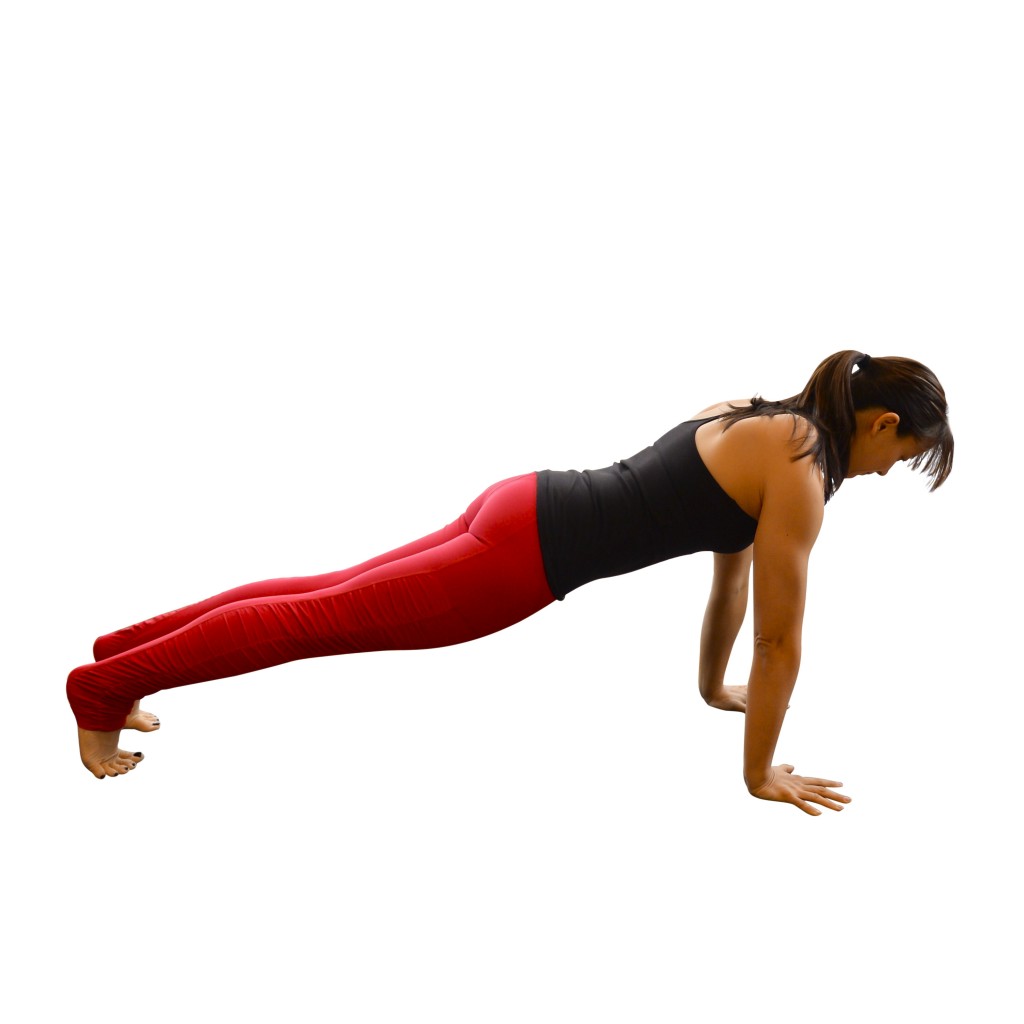
Forearm Plank
From Side Plank, roll into plank pose (top of a push up), and then lower onto your forearms for Forearm Plank. This pose will strengthen your shoulders and core muscles. Your body should create a straight line from head to heel, and your shoulders should be stacked above your elbows. Feel free to lower onto your knees to maintain proper form.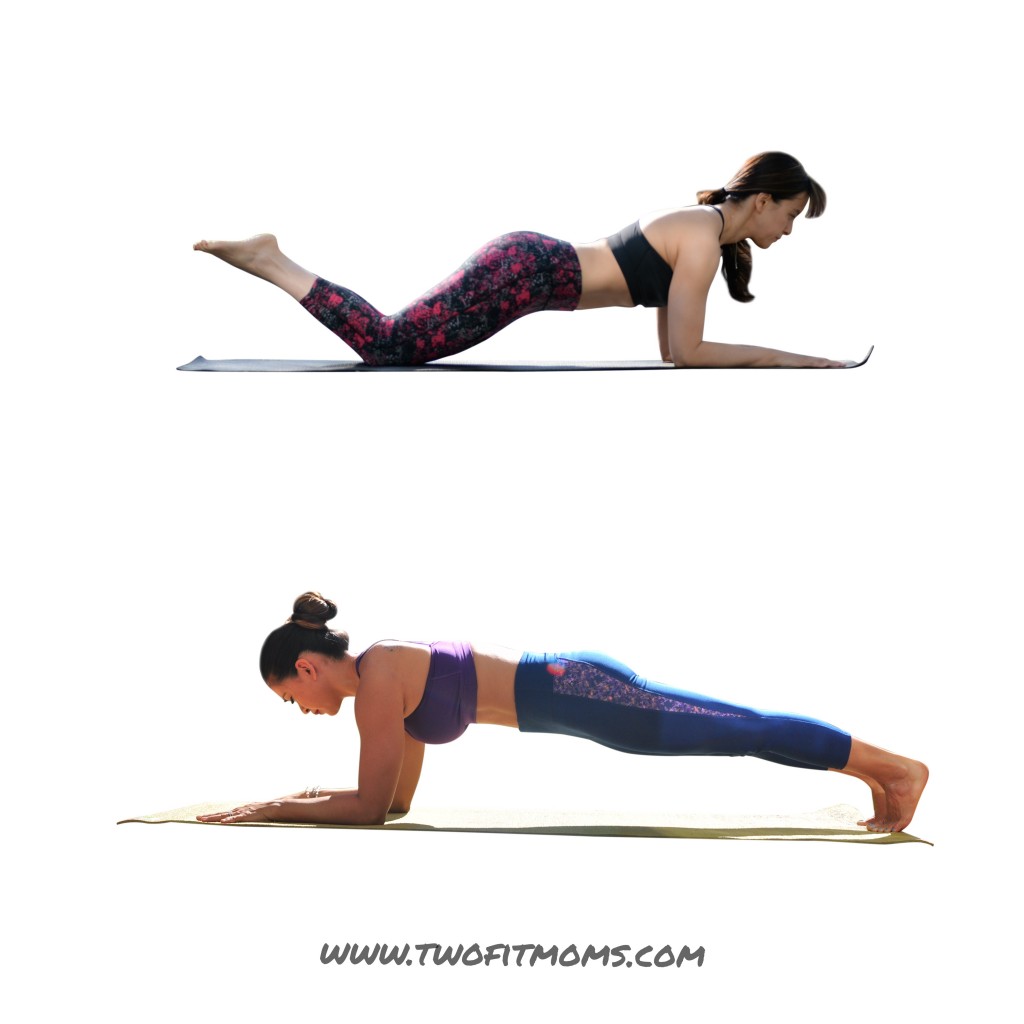
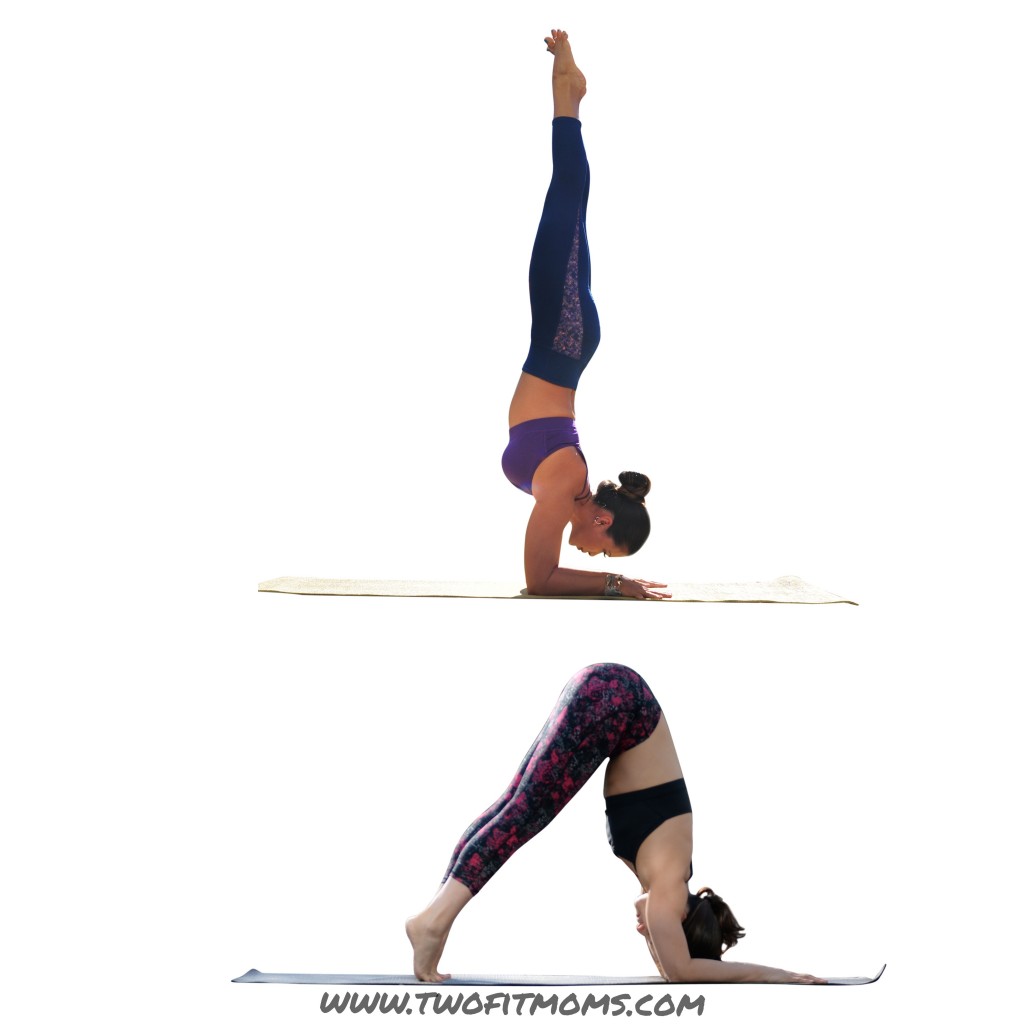
Dolphin/Forearmstand
From Forearm Plank, begin to walk your feet in toward your elbows for Dolphin pose. Rise onto the balls of your feet or even your tippy toes to test your strength. Keep your feet together, and challenge yourself to try to stack your hips above your shoulders. Breathe deeply as you hold this intense posture. If inversions are a regular part of your practice, move into a Forearmstand.