The daily demands of being a mom can make it challenging (if not overwhelming) to find an extended block of time to practice yoga on a daily basis. The good news is that you can reap many of the benefits of a full practice in just a fraction of the time. If you are having a particularly busy day, practice this sequence just once on each side of your body for a quick 10-minute flow that will leave you feeling refreshed and centered.
We’ve selected a variety of fundamental poses that will stretch and strengthen the entire body in a short span of time. If you can fit in a 20-minute routine, practice this sequence twice. Make the most of your abbreviated practice by being mindful and present as you hold each posture for 3-5 breaths.
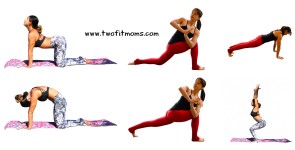
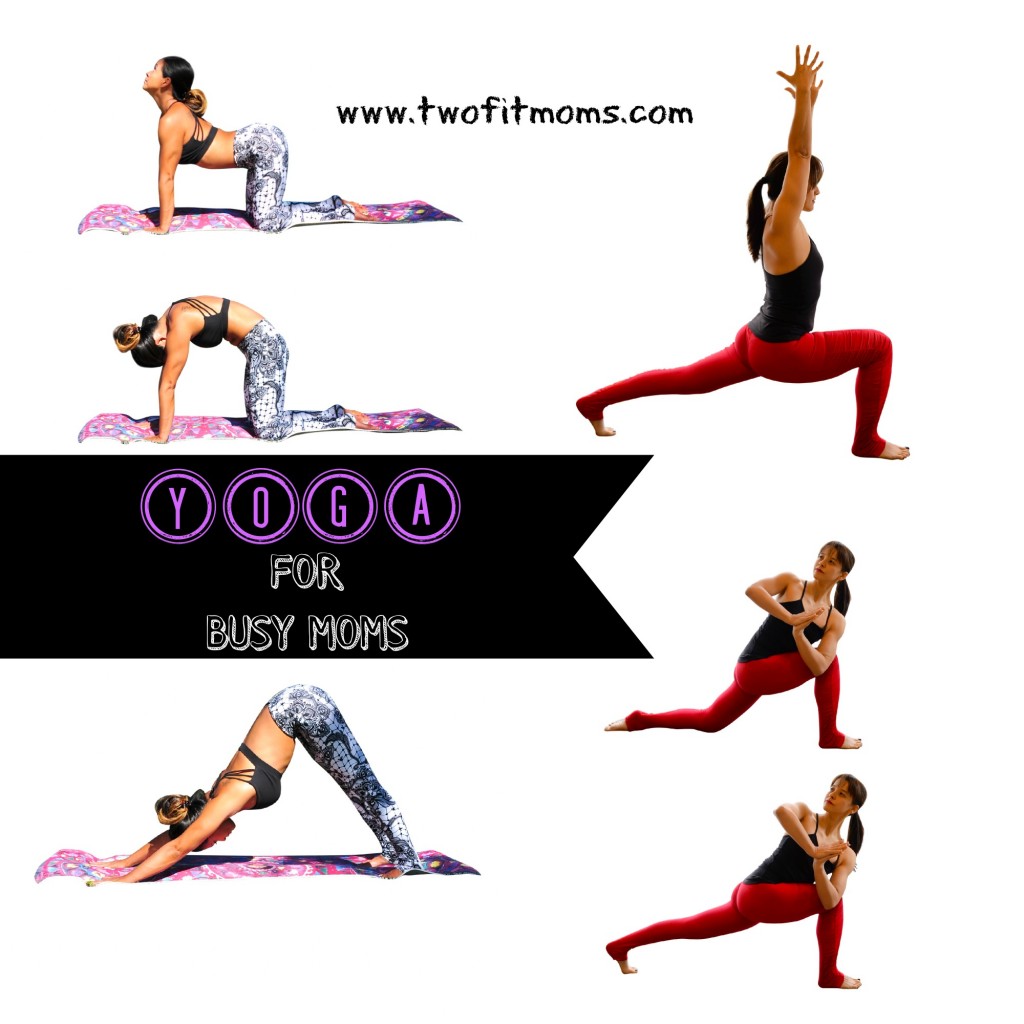
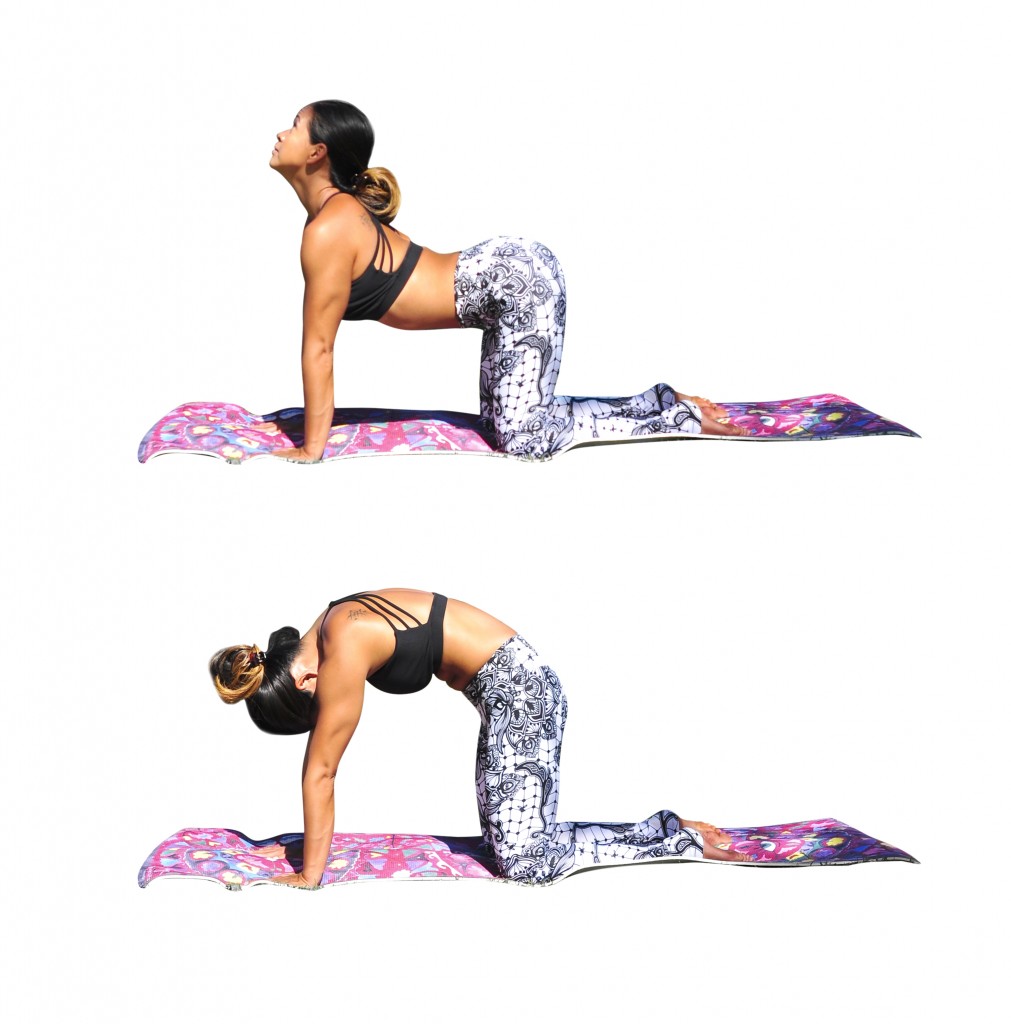
Cat/Cow
Begin your practice in Tabletop position with your shoulders over your wrists and your hips over your knees. Gently warm up your chest and back with 3 rounds of Cat/Cow. Inhale, as you sink your chest toward the floor and gaze up. Exhale, as you round your back like a cat.
Low Lunge Variations
After warming up your spine with cat/cow, step your right foot forward between your hands for one of two Low Lunge variations. Keep your hands on your front thigh for greater stability, or interlace all 10 fingers behind your back for a chest-opener. If you choose to take the backbend, remind yourself to breathe deeply through your nose.
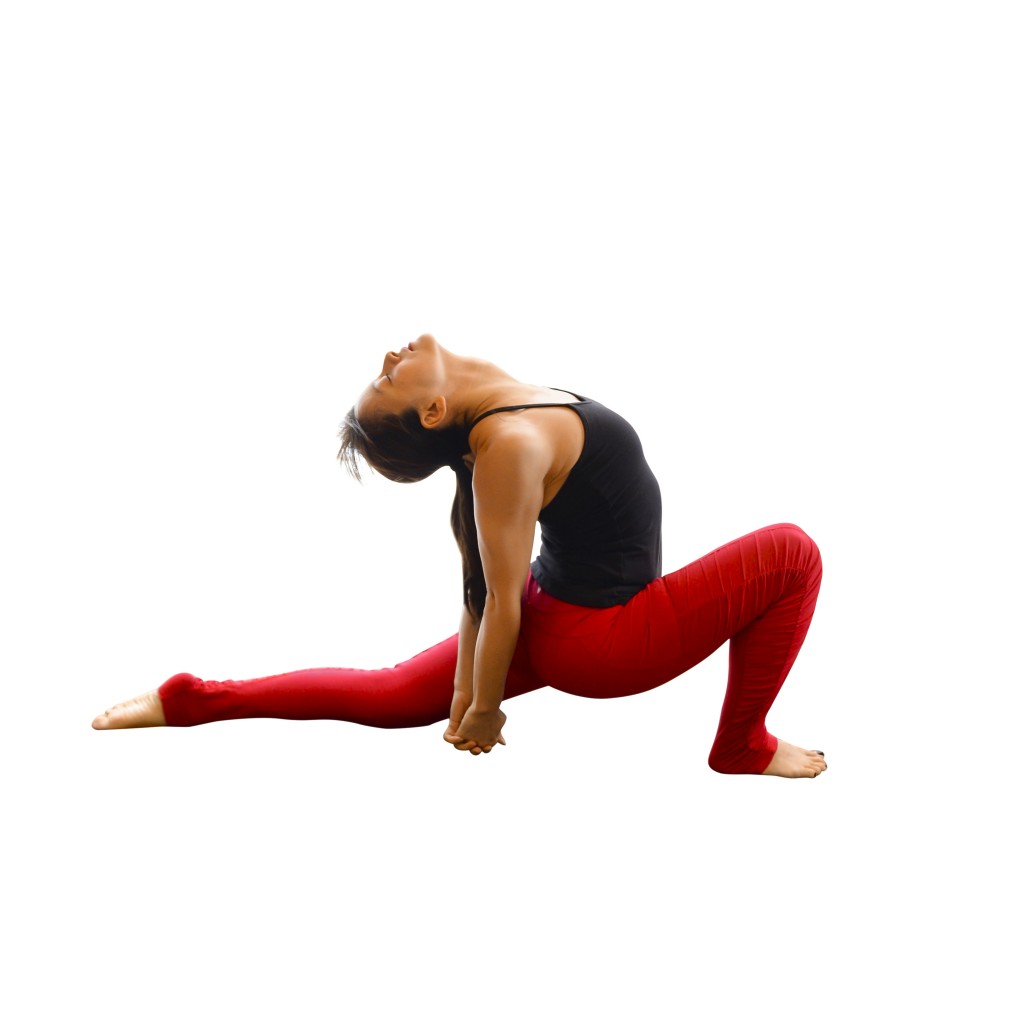
Revolved High Lunge Variations
From Low Lunge, align your right knee so that it stacks directly above the right ankle. Bring your hands together in front of your heart, and twist to the right, hooking the left elbow onto the outside of the right thigh. If you are comfortable, challenge yourself by tucking your back toes, and lifting your back knee off of the floor.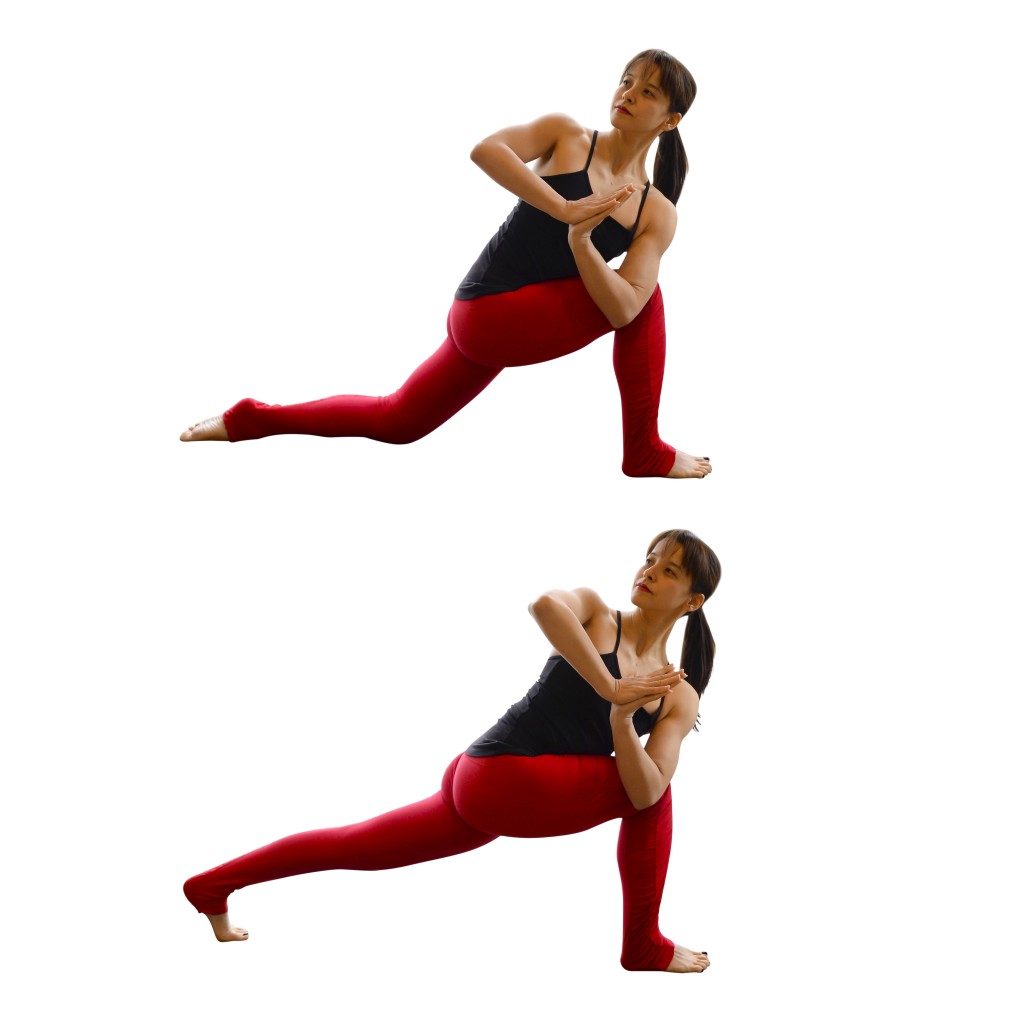
Side Chair
From Revolved High Lunge, shift your weight into your right foot, and step your left foot forward for Side Chair. Press into your hands to twist deeply to the right. If your left knee protrudes forward more than your right knee, make an effort to pull the left hip back in space. Be sure to rock your weight back onto your heels to protect your knees.
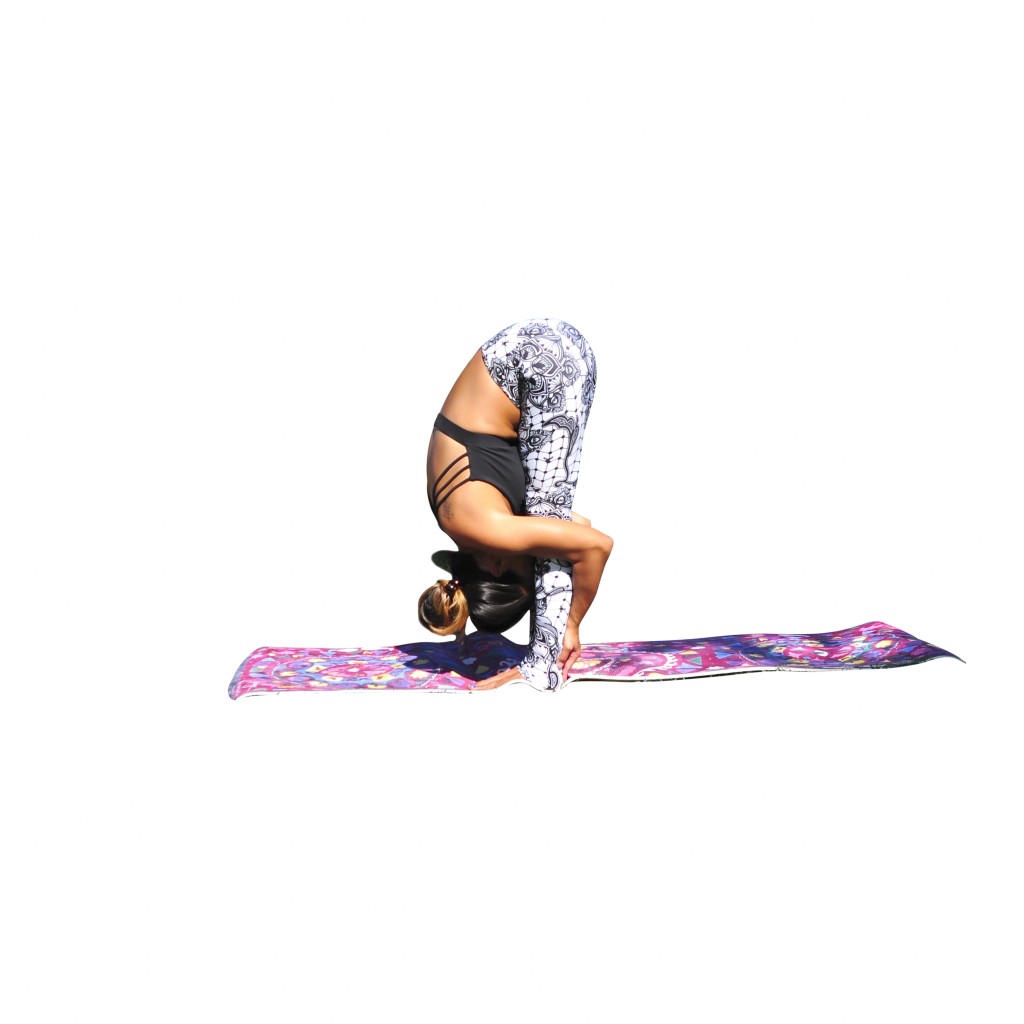
Standing Forward Bend (Uttanasana)
From Side Chair, untwist your upper body and straighten your legs for a deep forward bend. Breathe deeply, relax the neck, and allow the weight of your upper body to stretch the hamstrings and release any tension in the lower back. Feel free to take a variation or grab opposite elbows and sway from side to side.
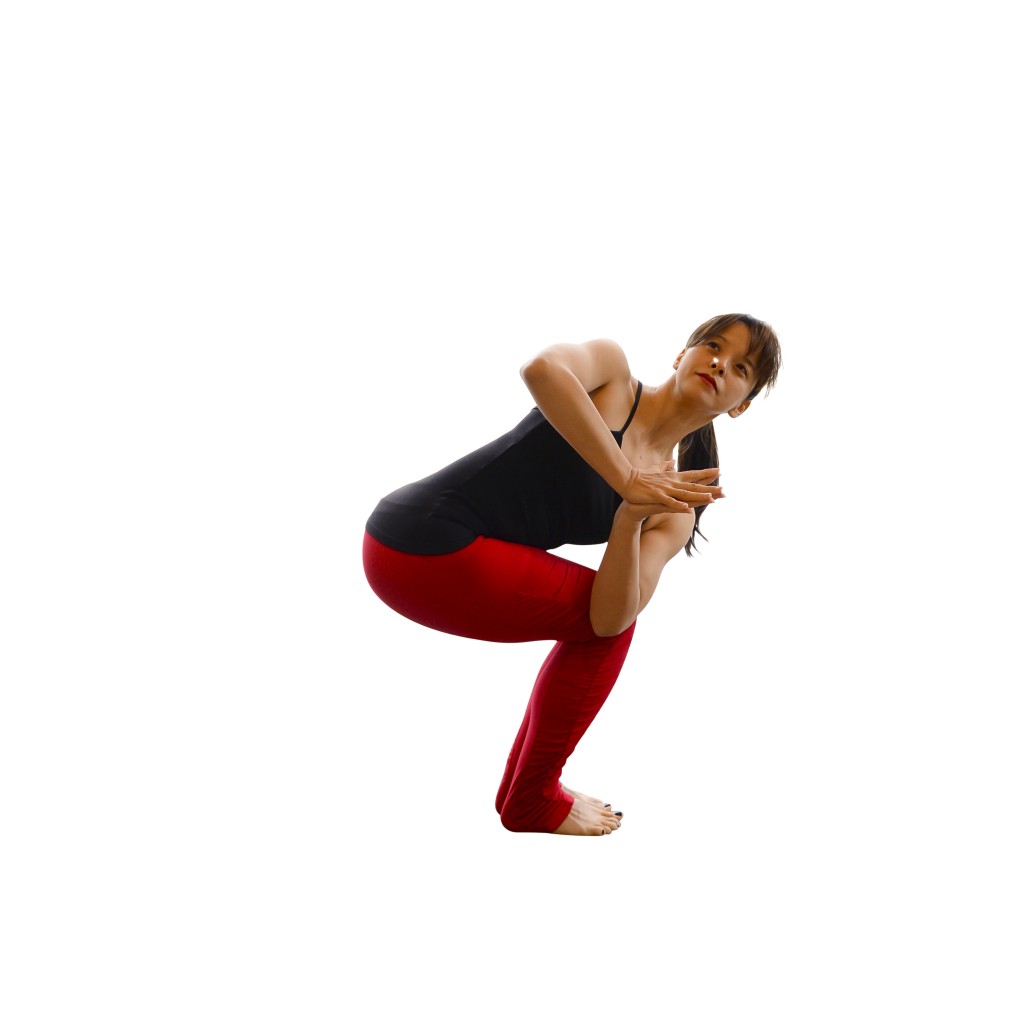
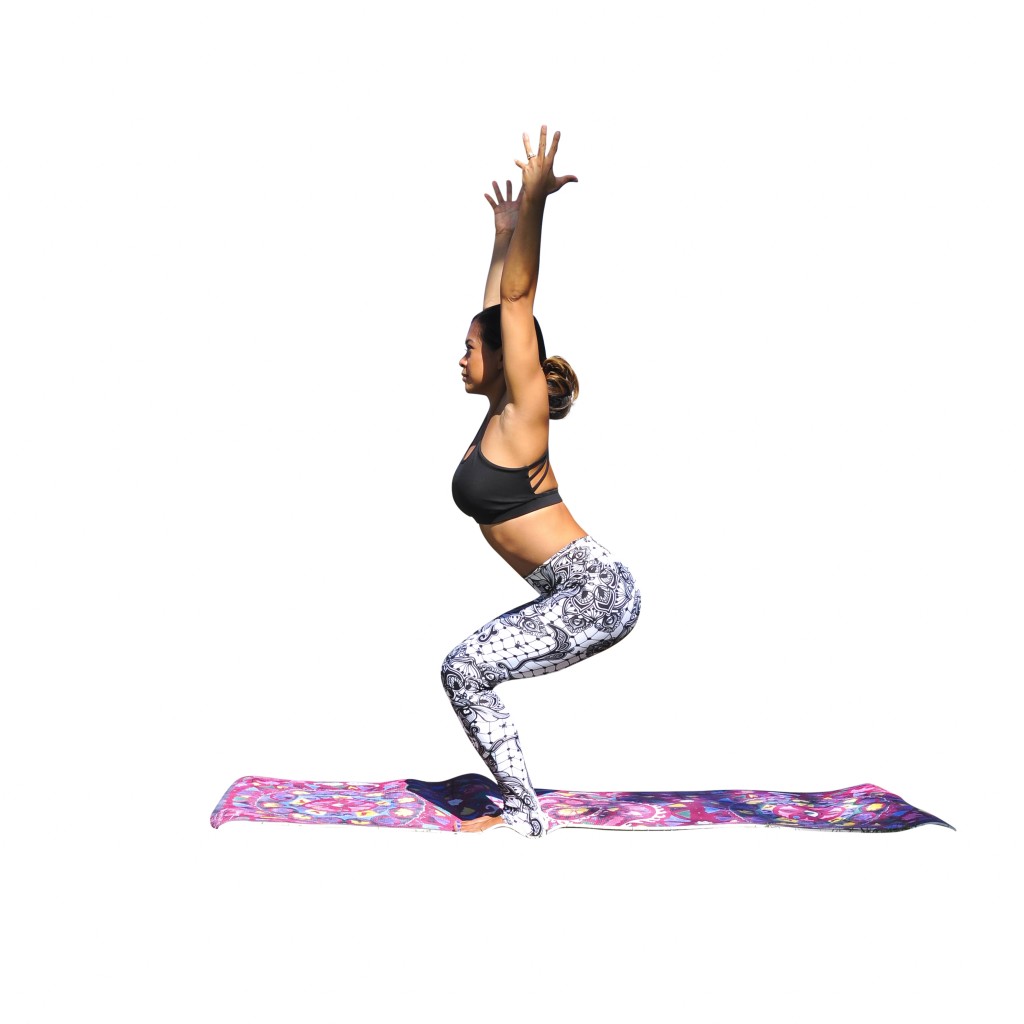
Chair
Bend your knees, sweep your arms overhead, and rock your weight back into your heels for this strengthening pose that will energize your legs. Make sure that your weight is distributed properly by confirming that you can lift all ten toes from the mat. Keep your fingers active, shoulders rolled down and core engaged.
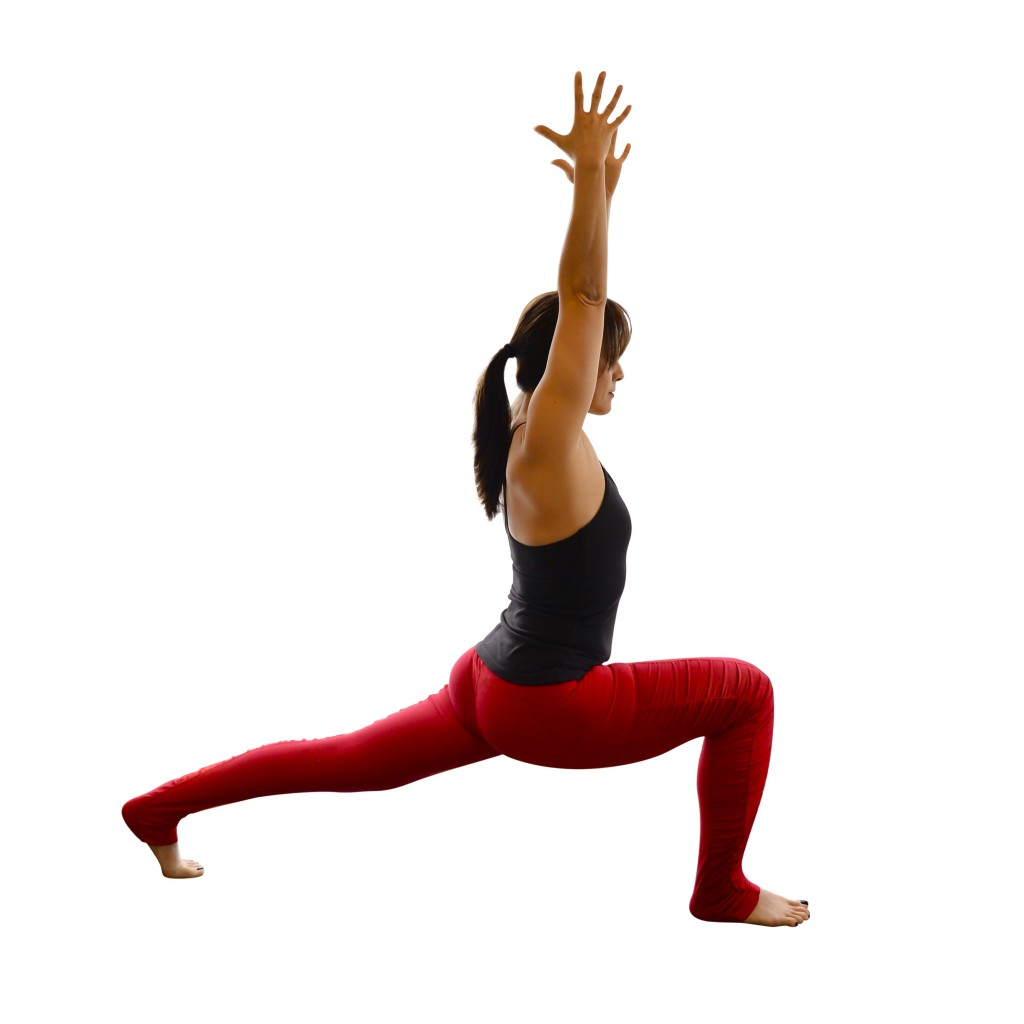
High Lunge
From Chair pose, shift your weight into your right foot, and take a large step back onto the ball of your left foot for High Lunge. Feel free to keep your torso perpendicular to the floor, or lift your chest toward the sky for a backbend. If you choose to take a backbend, remember to keep your biceps along side your ears.
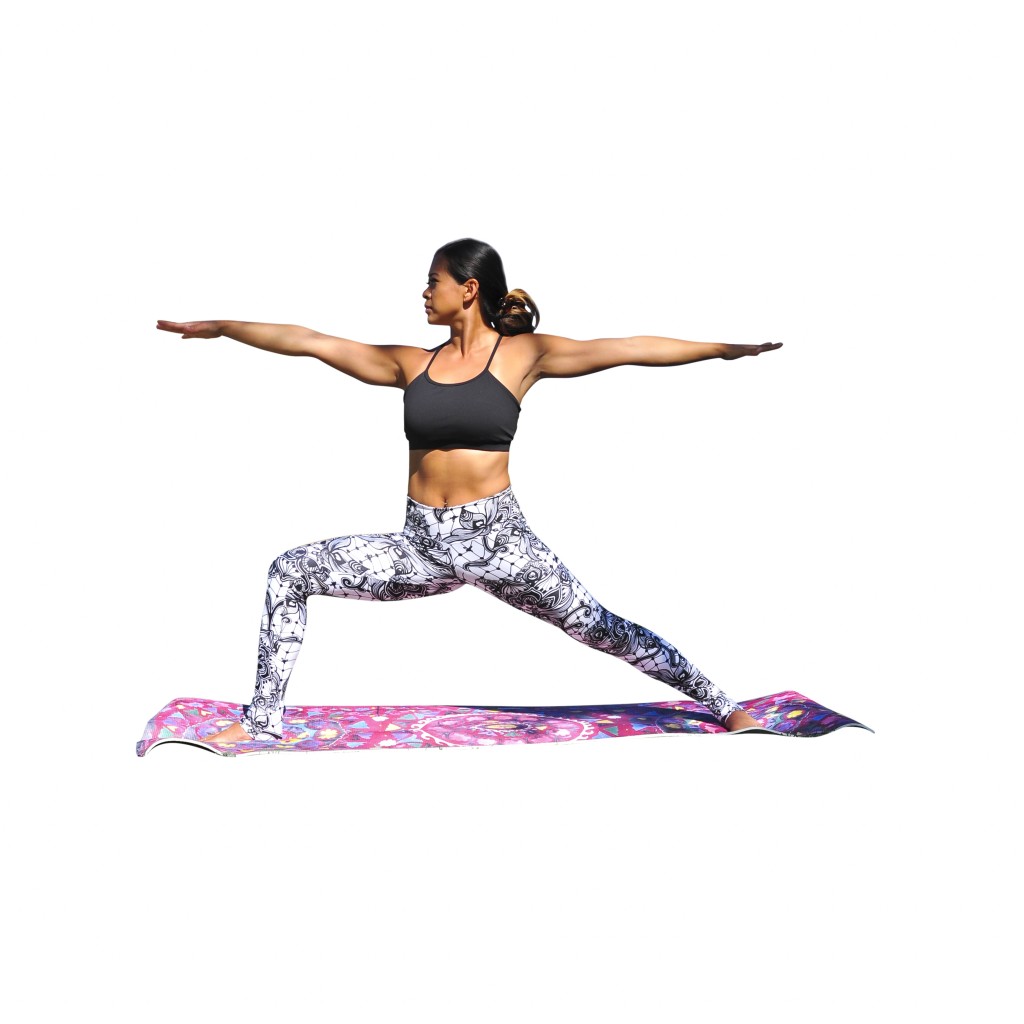
Warrior 2
From High Lunge, spin your back heel down for Warrior 2. Challenge yourself by maintaining a 90 degree angle in your front leg as you stand strong. Resist the urge to lean forward toward your bent knee. Keep your shoulders stacked right over your hips.
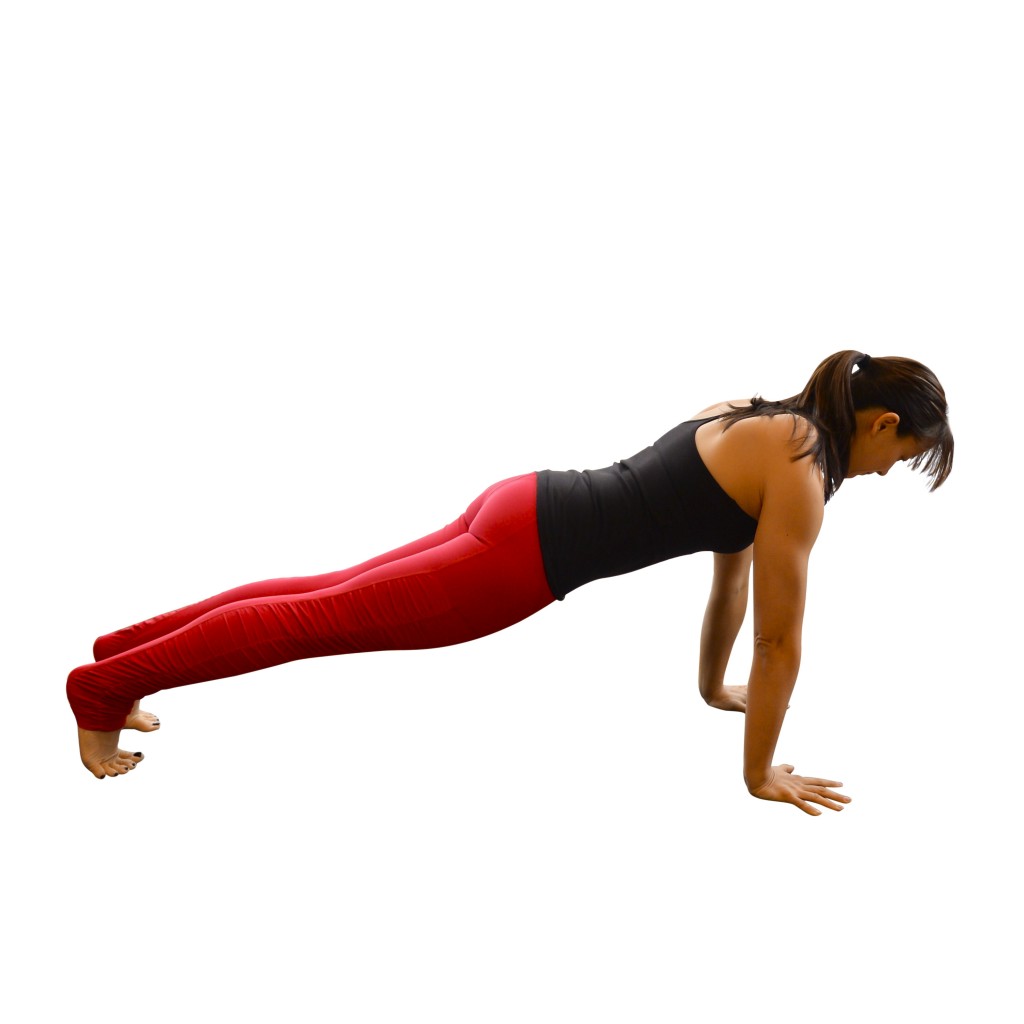
Plank
From Warrior 2, windmill your hands to the ground and step back into plank pose. Create a straight line from head to heel. Engage your core to keep your hips from sagging. If your hips are sagging or lifted toward the sky, take a modification by lowering onto your knees. It’s definitely preferable to perform each pose with good form.
Downward Facing Dog
From Plank pose, simply lift your hips up and back to create a shape that looks like the upside down letter V. Remember to spread your fingers, grip the mat, engage the core and keep the leg muscles active in this pose.

Pyramid Pose
From Downward Facing Dog, step your right foot about halfway up the mat, straighten the front leg, and breathe into this intense hamstring stretch. For the most effective stretch, keep length in your spine as you fold. Whenever your legs are scissored in a yoga pose, be mindful to pull the front hip back, and push the back hip forward. The goal is to have the hips equidistant to the front of the room. 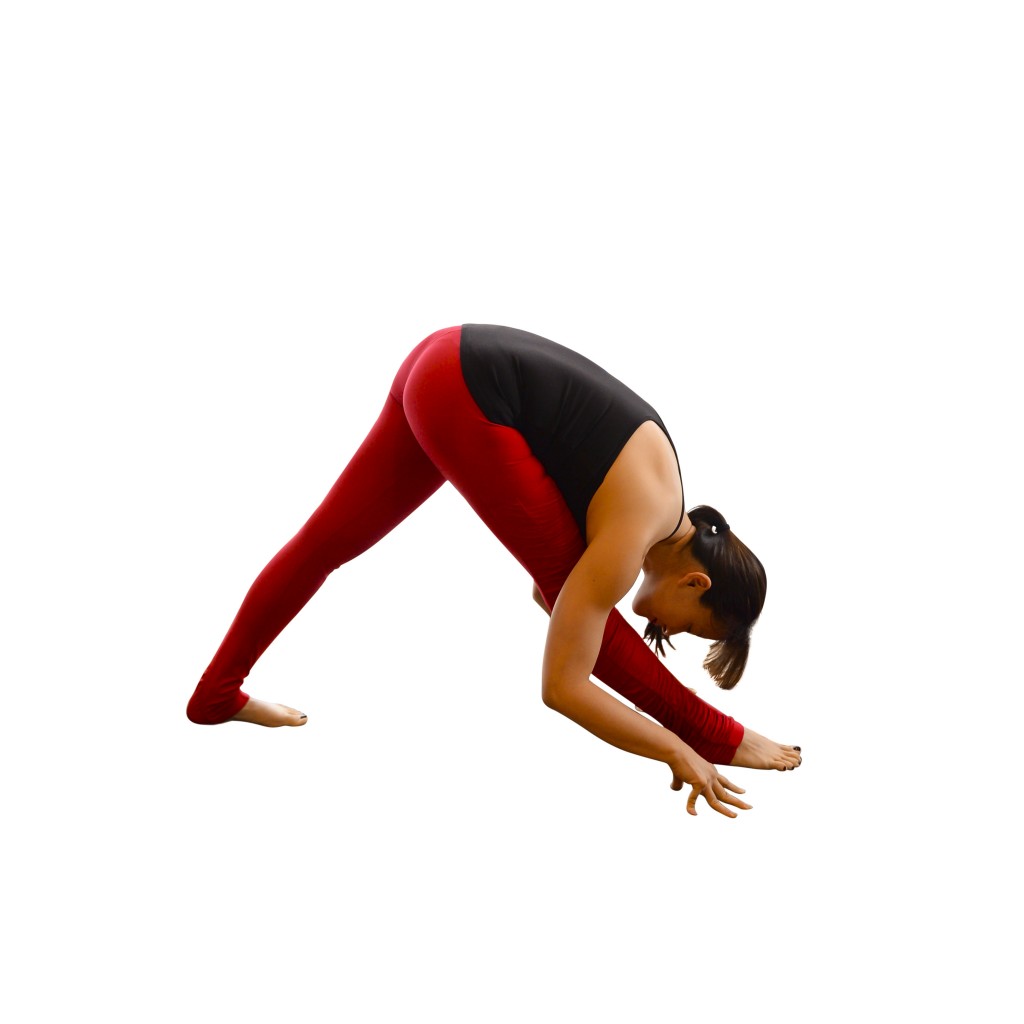
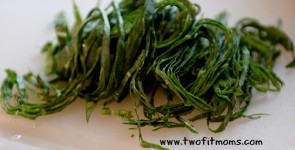
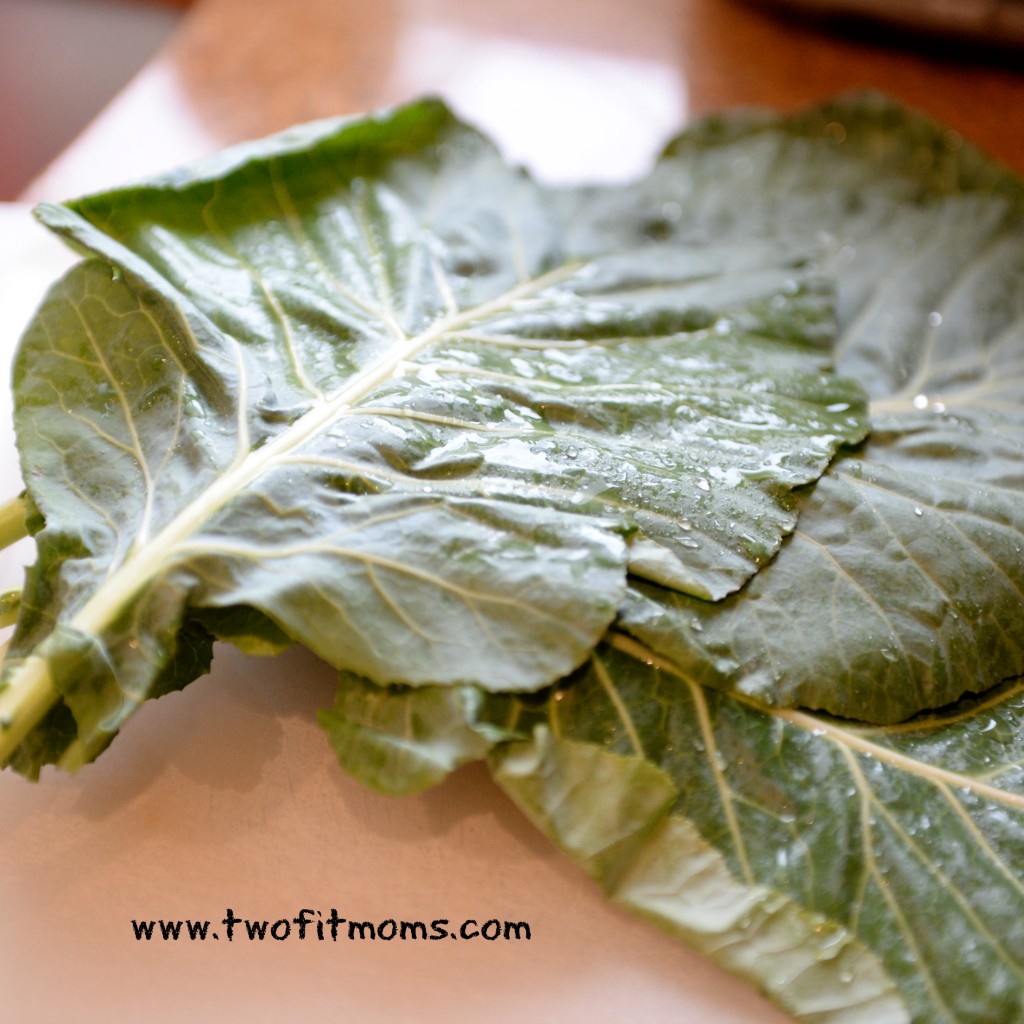
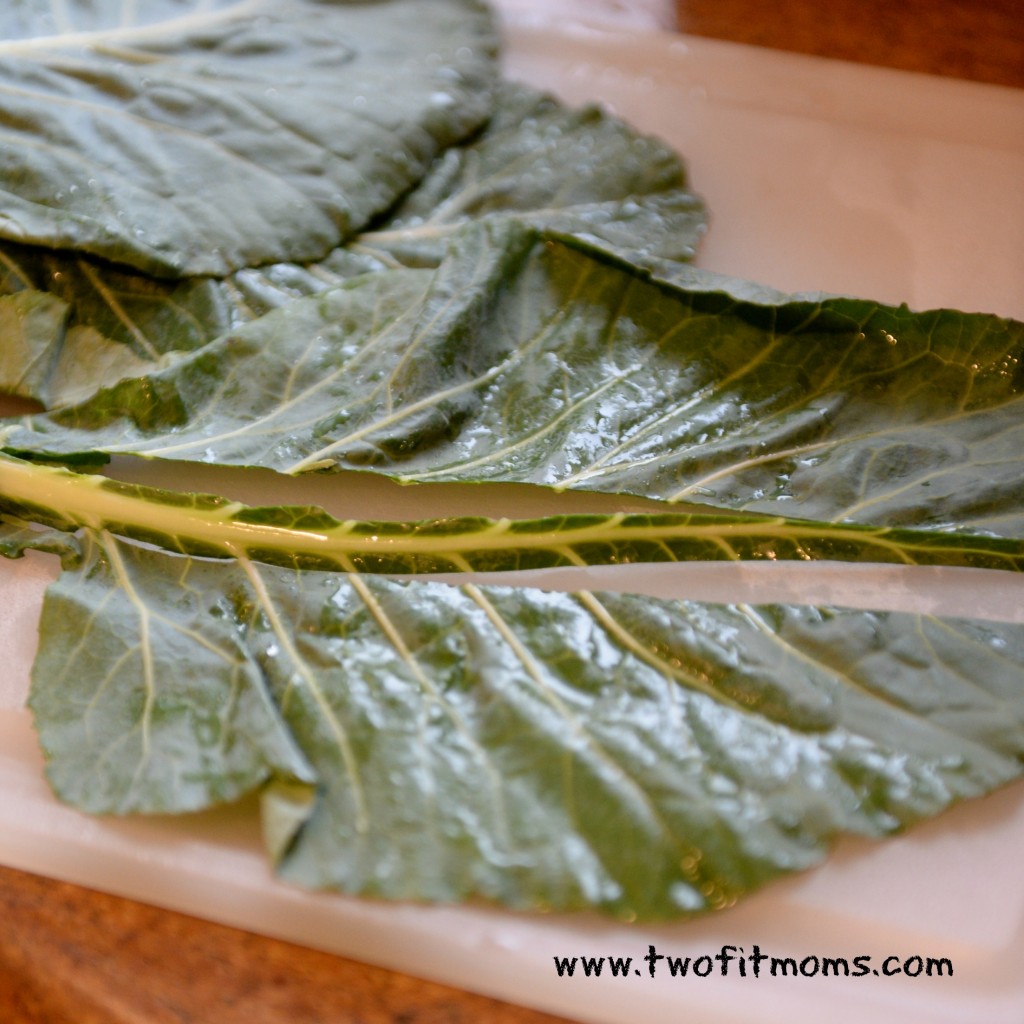
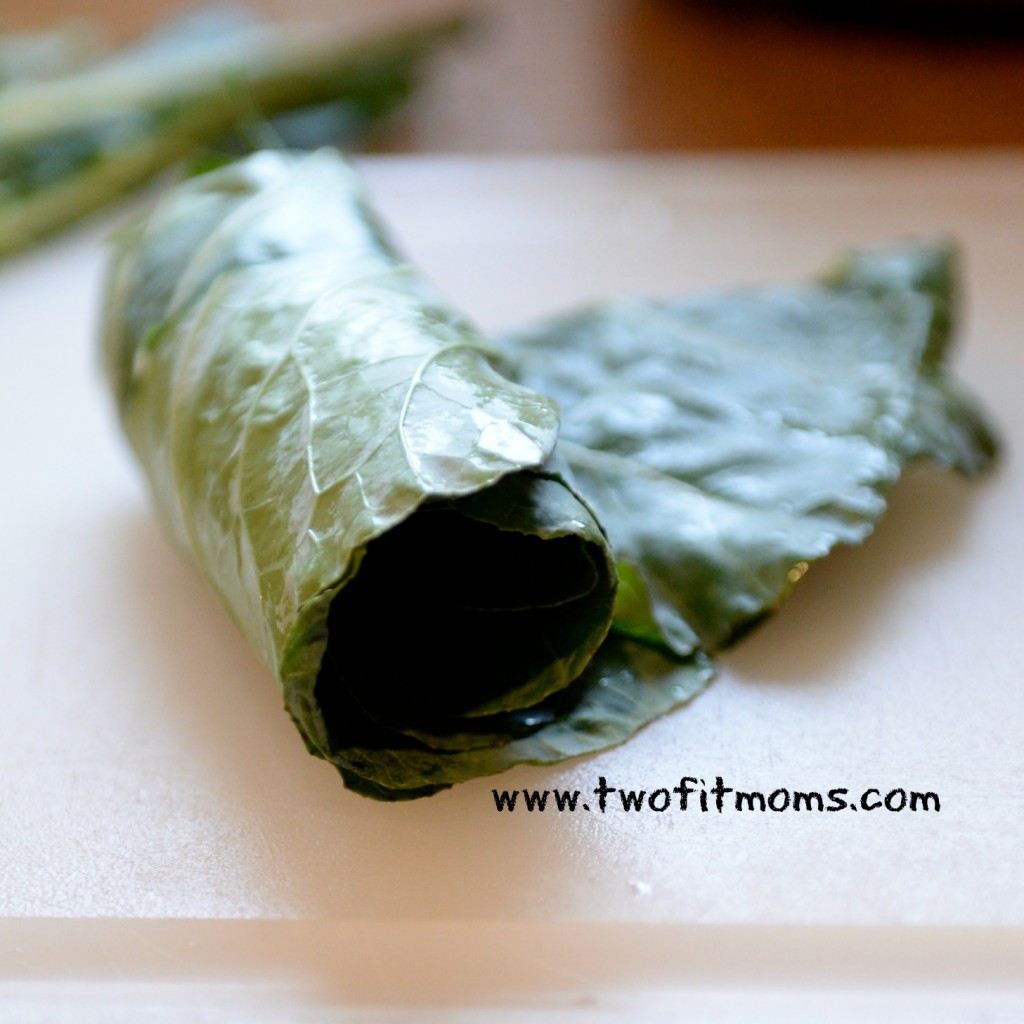
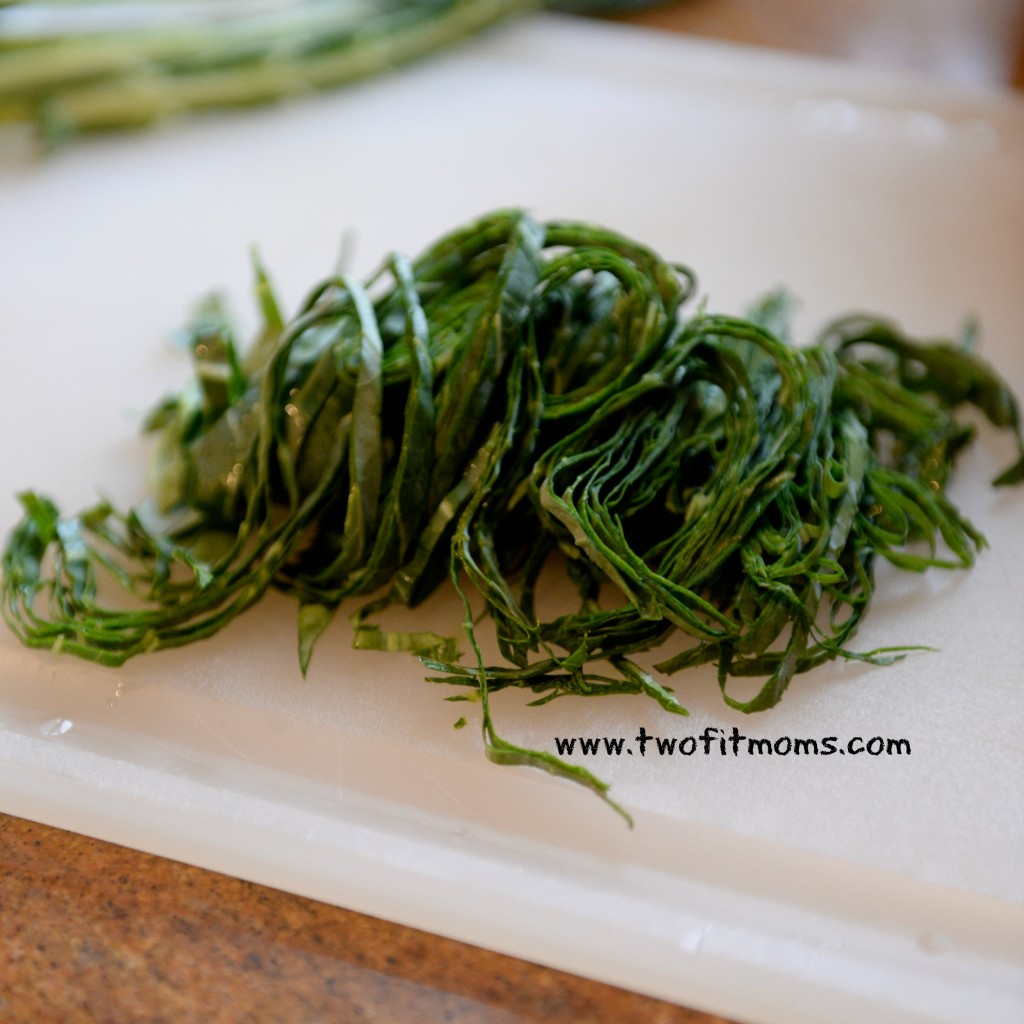
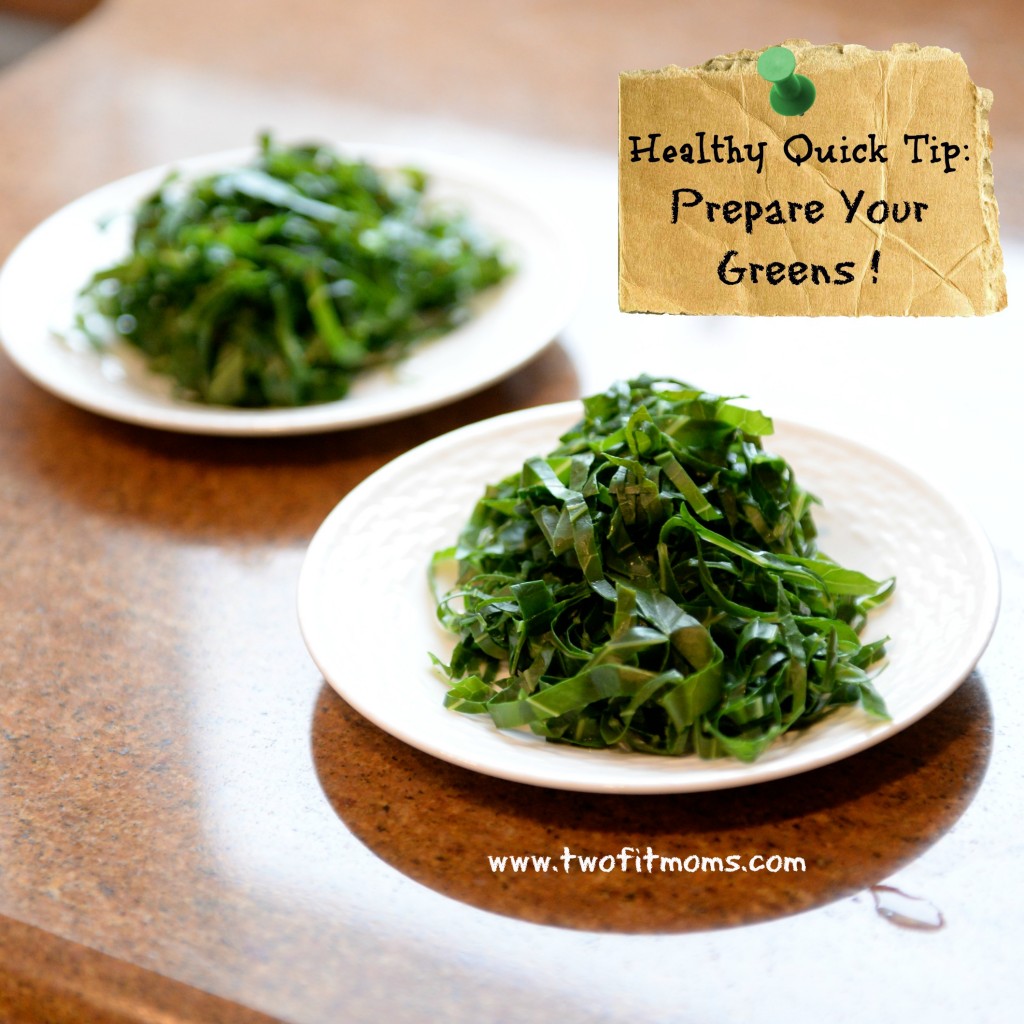 by step. Simply start by incorporating one small, healthy change into your routine. My favorite quick tip for better health is to steam leafy green vegetables on a daily basis. This is such an easy way to kickstart your healthy eating plan. In the time it takes to boil a few inches of water in a pot, your greens will be washed and ready to cook.