After a long day hunched over a computer, the body craves movement – particularly, expansive movement to counteract the back-rounding posture that is so commonly seen in office parks around the world. Paperwork, computer work, web surfing and, even texting on mobile phones, are all culprits in creating tightness in the chest, shoulders and back.
A backbend practice is a great way to relieve everyday stress and loosen up a tight upper body.

The biggest misconception about backbends is that you need a flexible back in order to do poses such as Full Wheel or Camel, or asanas involving an over-hand grip such as One-Legged King Pigeon or King Dancer. Yes, you do need some mobility in your back, but in reality, it is the entire front body and shoulders that can make or break a backbend. With consistent practice, you will find that your backbends will be deeper and easier to perform.
As with any asana, take your backbend practice slowly, and never force your body into postures. Start off your practice with a few rounds of Sun Salutations, then use our Backbends Practice to fire up your entire front body and shoulders. Make sure to keep your abdominals engaged in your backbends and more importantly, make sure to breathe!
Extended Puppy Pose (Uttana Shishosana)
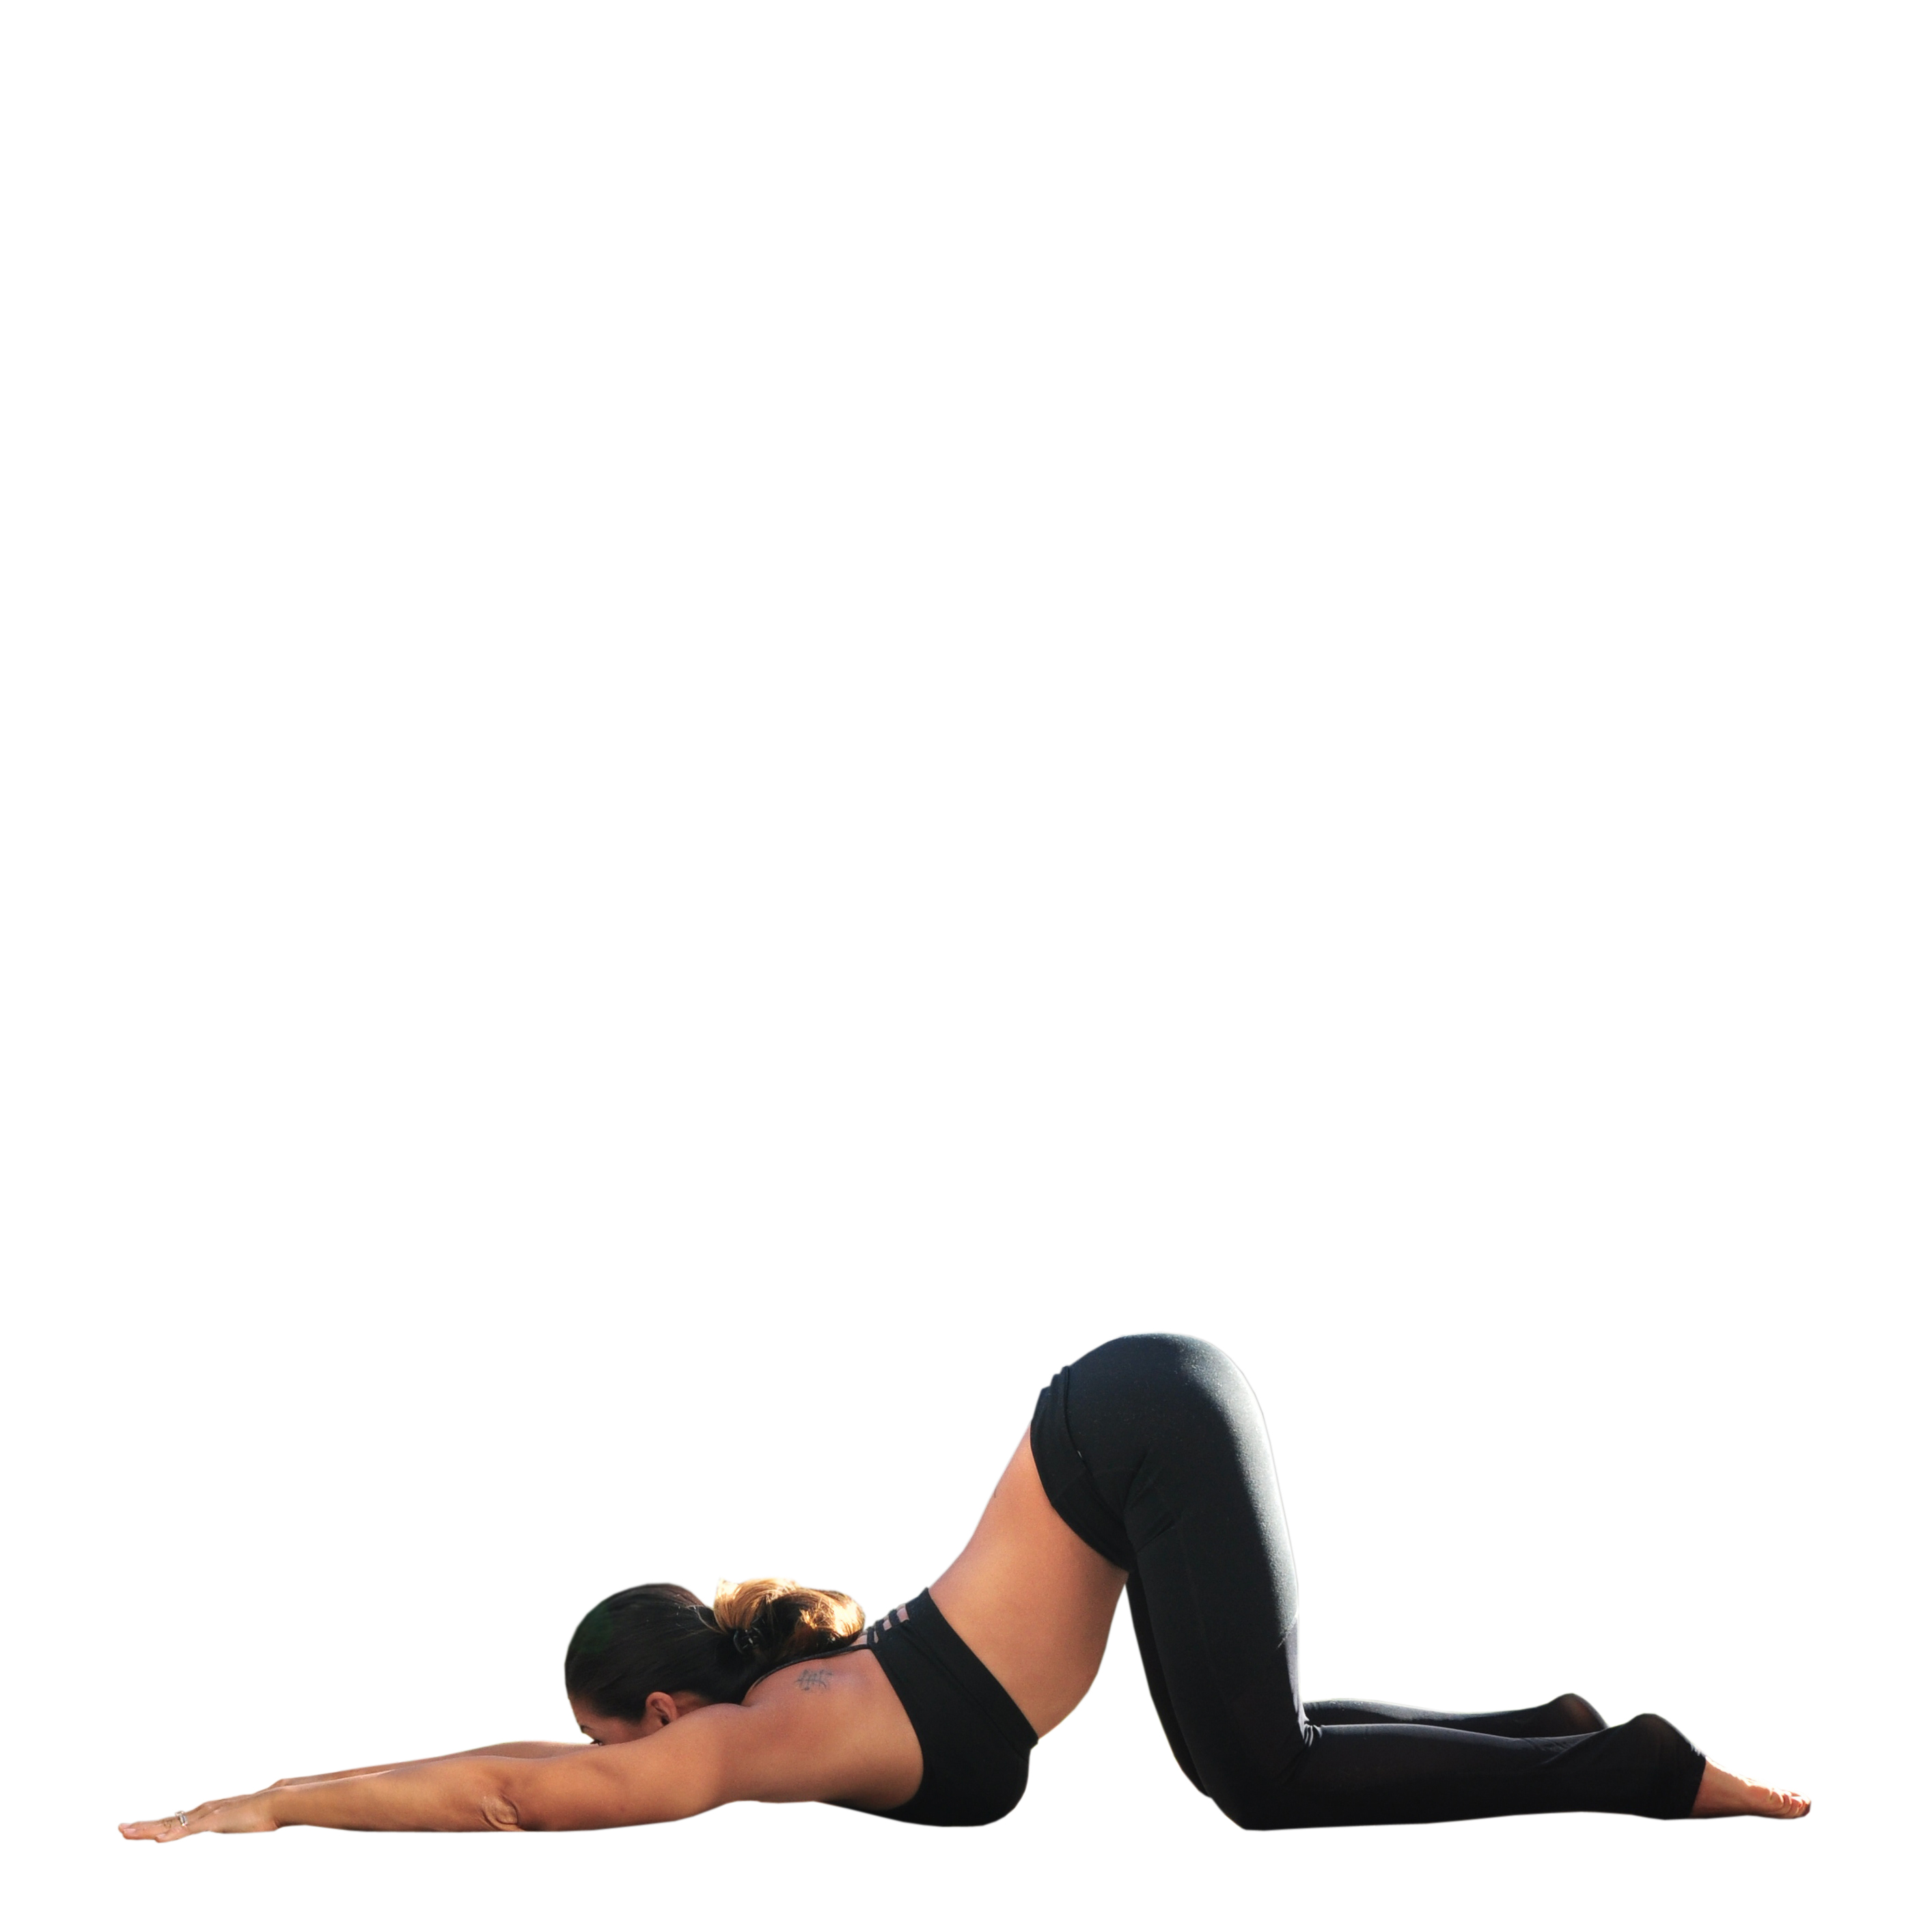
This is one of our favorite poses for stretching the upper back and shoulders. Beginners should consider modifying the pose by placing their forehead on the mat. This will help relieve any potential strain in the neck. Start off in tabletop position and slowly walk the hands forward dropping your chest onto the mat. Keep your hands actively pressing into the mat and arms hugging in towards one another.
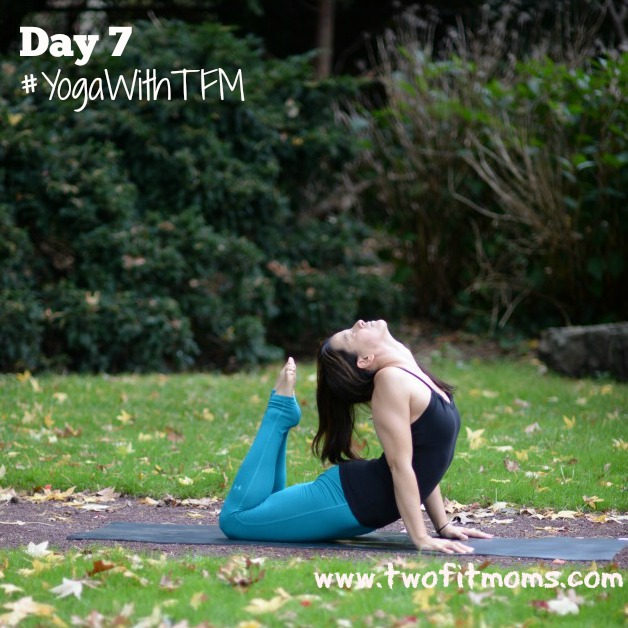
High Lunge or Crescent Lunge Variation
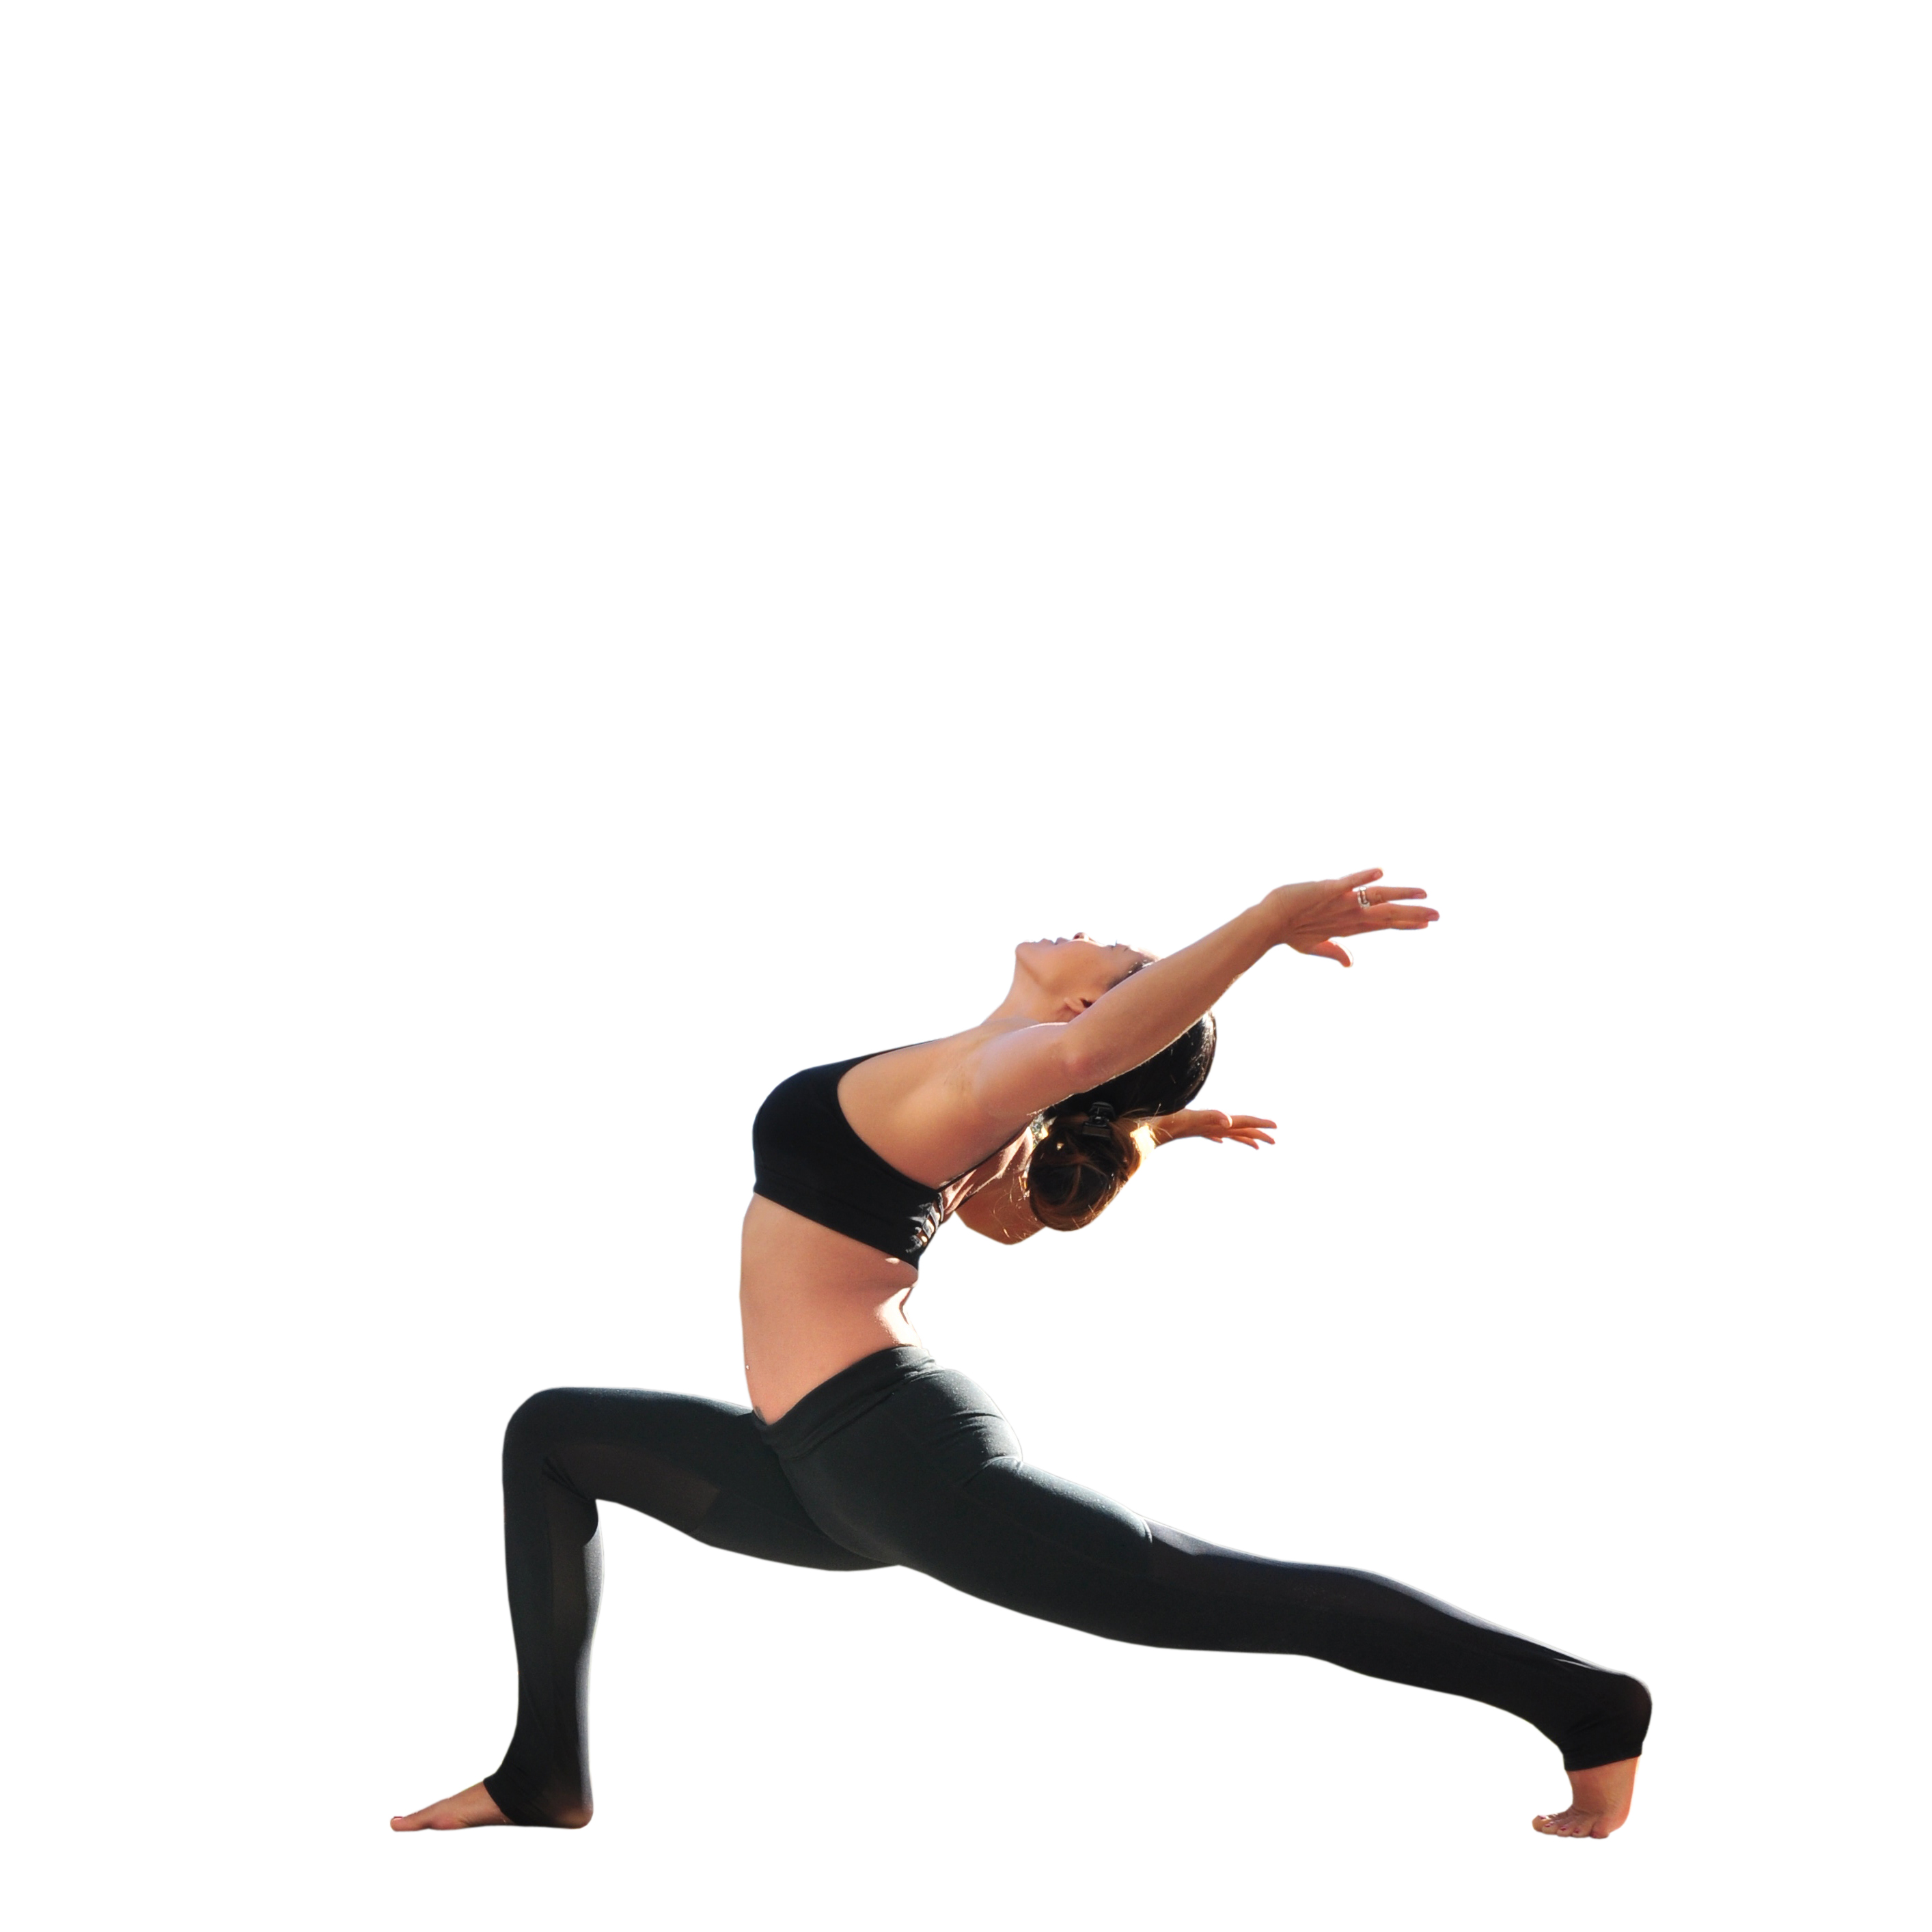
While in high lunge, open your chest and shoulders by bending your elbows to create 90 degree angles with your arms (think goal-post arms!) A more traditional version of this pose is with arms extended straight overhead. Regardless, be sure to keep your head aligned between your arms. Do not allow the head to fall back which will cause strain to your neck. Remember to engage the back quadricep and sink your hips toward the floor to activate your hip flexor and psoas muscles.
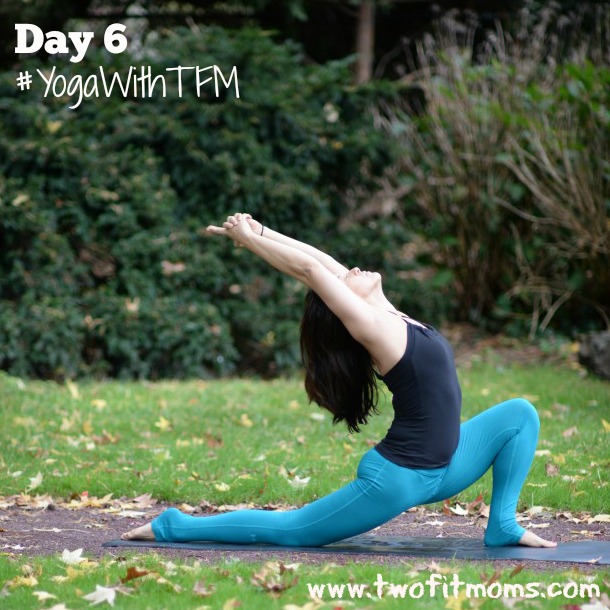
Low Lunge or Anjaneyasana Variation

Clasp your hands behind your back, drawing your shoulder blades together to open up the front of your shoulders and your chest. Keep your core engaged as you take a mini-backbend moving your clasped hands towards your mat.
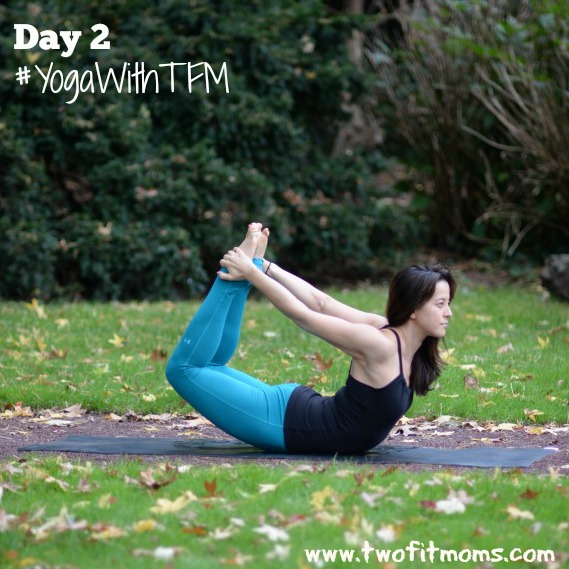
Reclined Half Hero or Ardha Supta Virasana
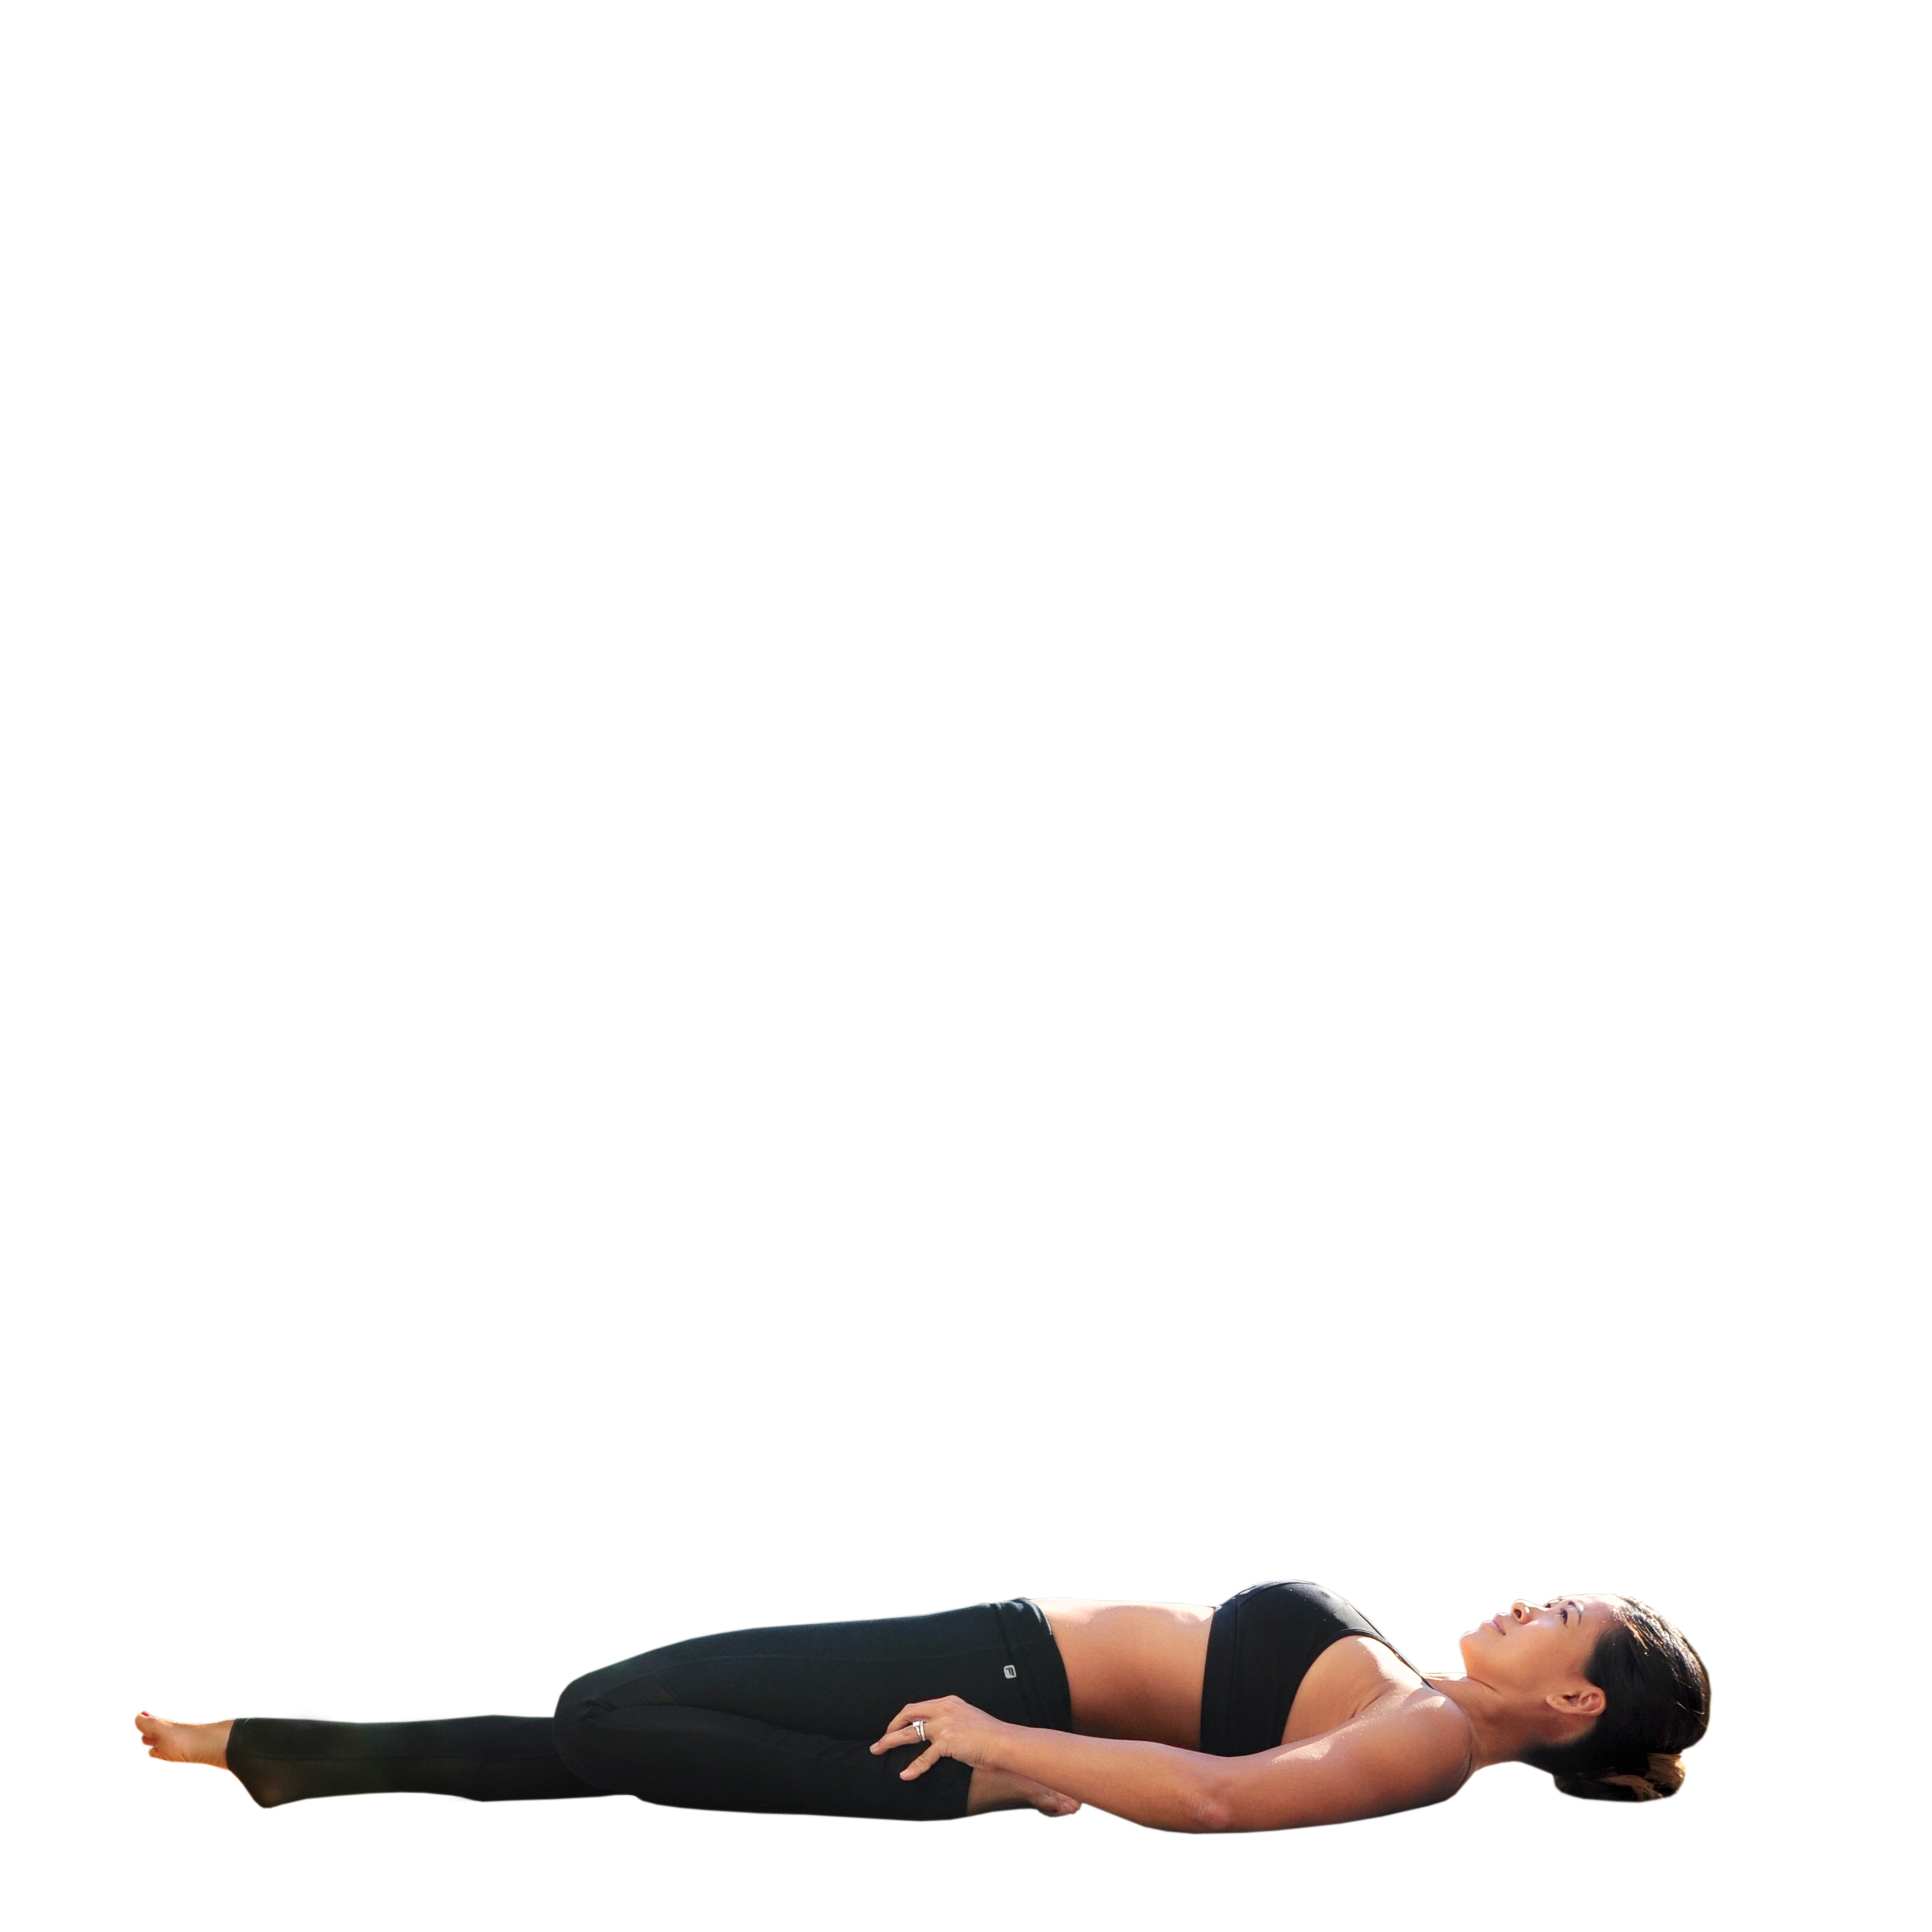
Try a gentler modification of this pose. Rather than lying down completely, begin by leaning back onto your forearms. This will produce a nice stretch in the front of the thigh. For a more intense stretch, lie back further. You should not experience any discomfort in your knee.
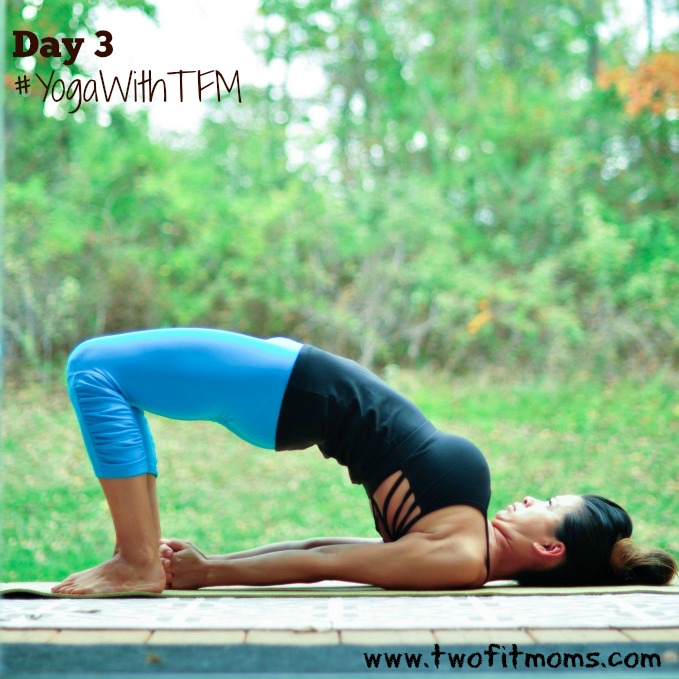
Bridge Pose or Setu Bandha Sarvangasana
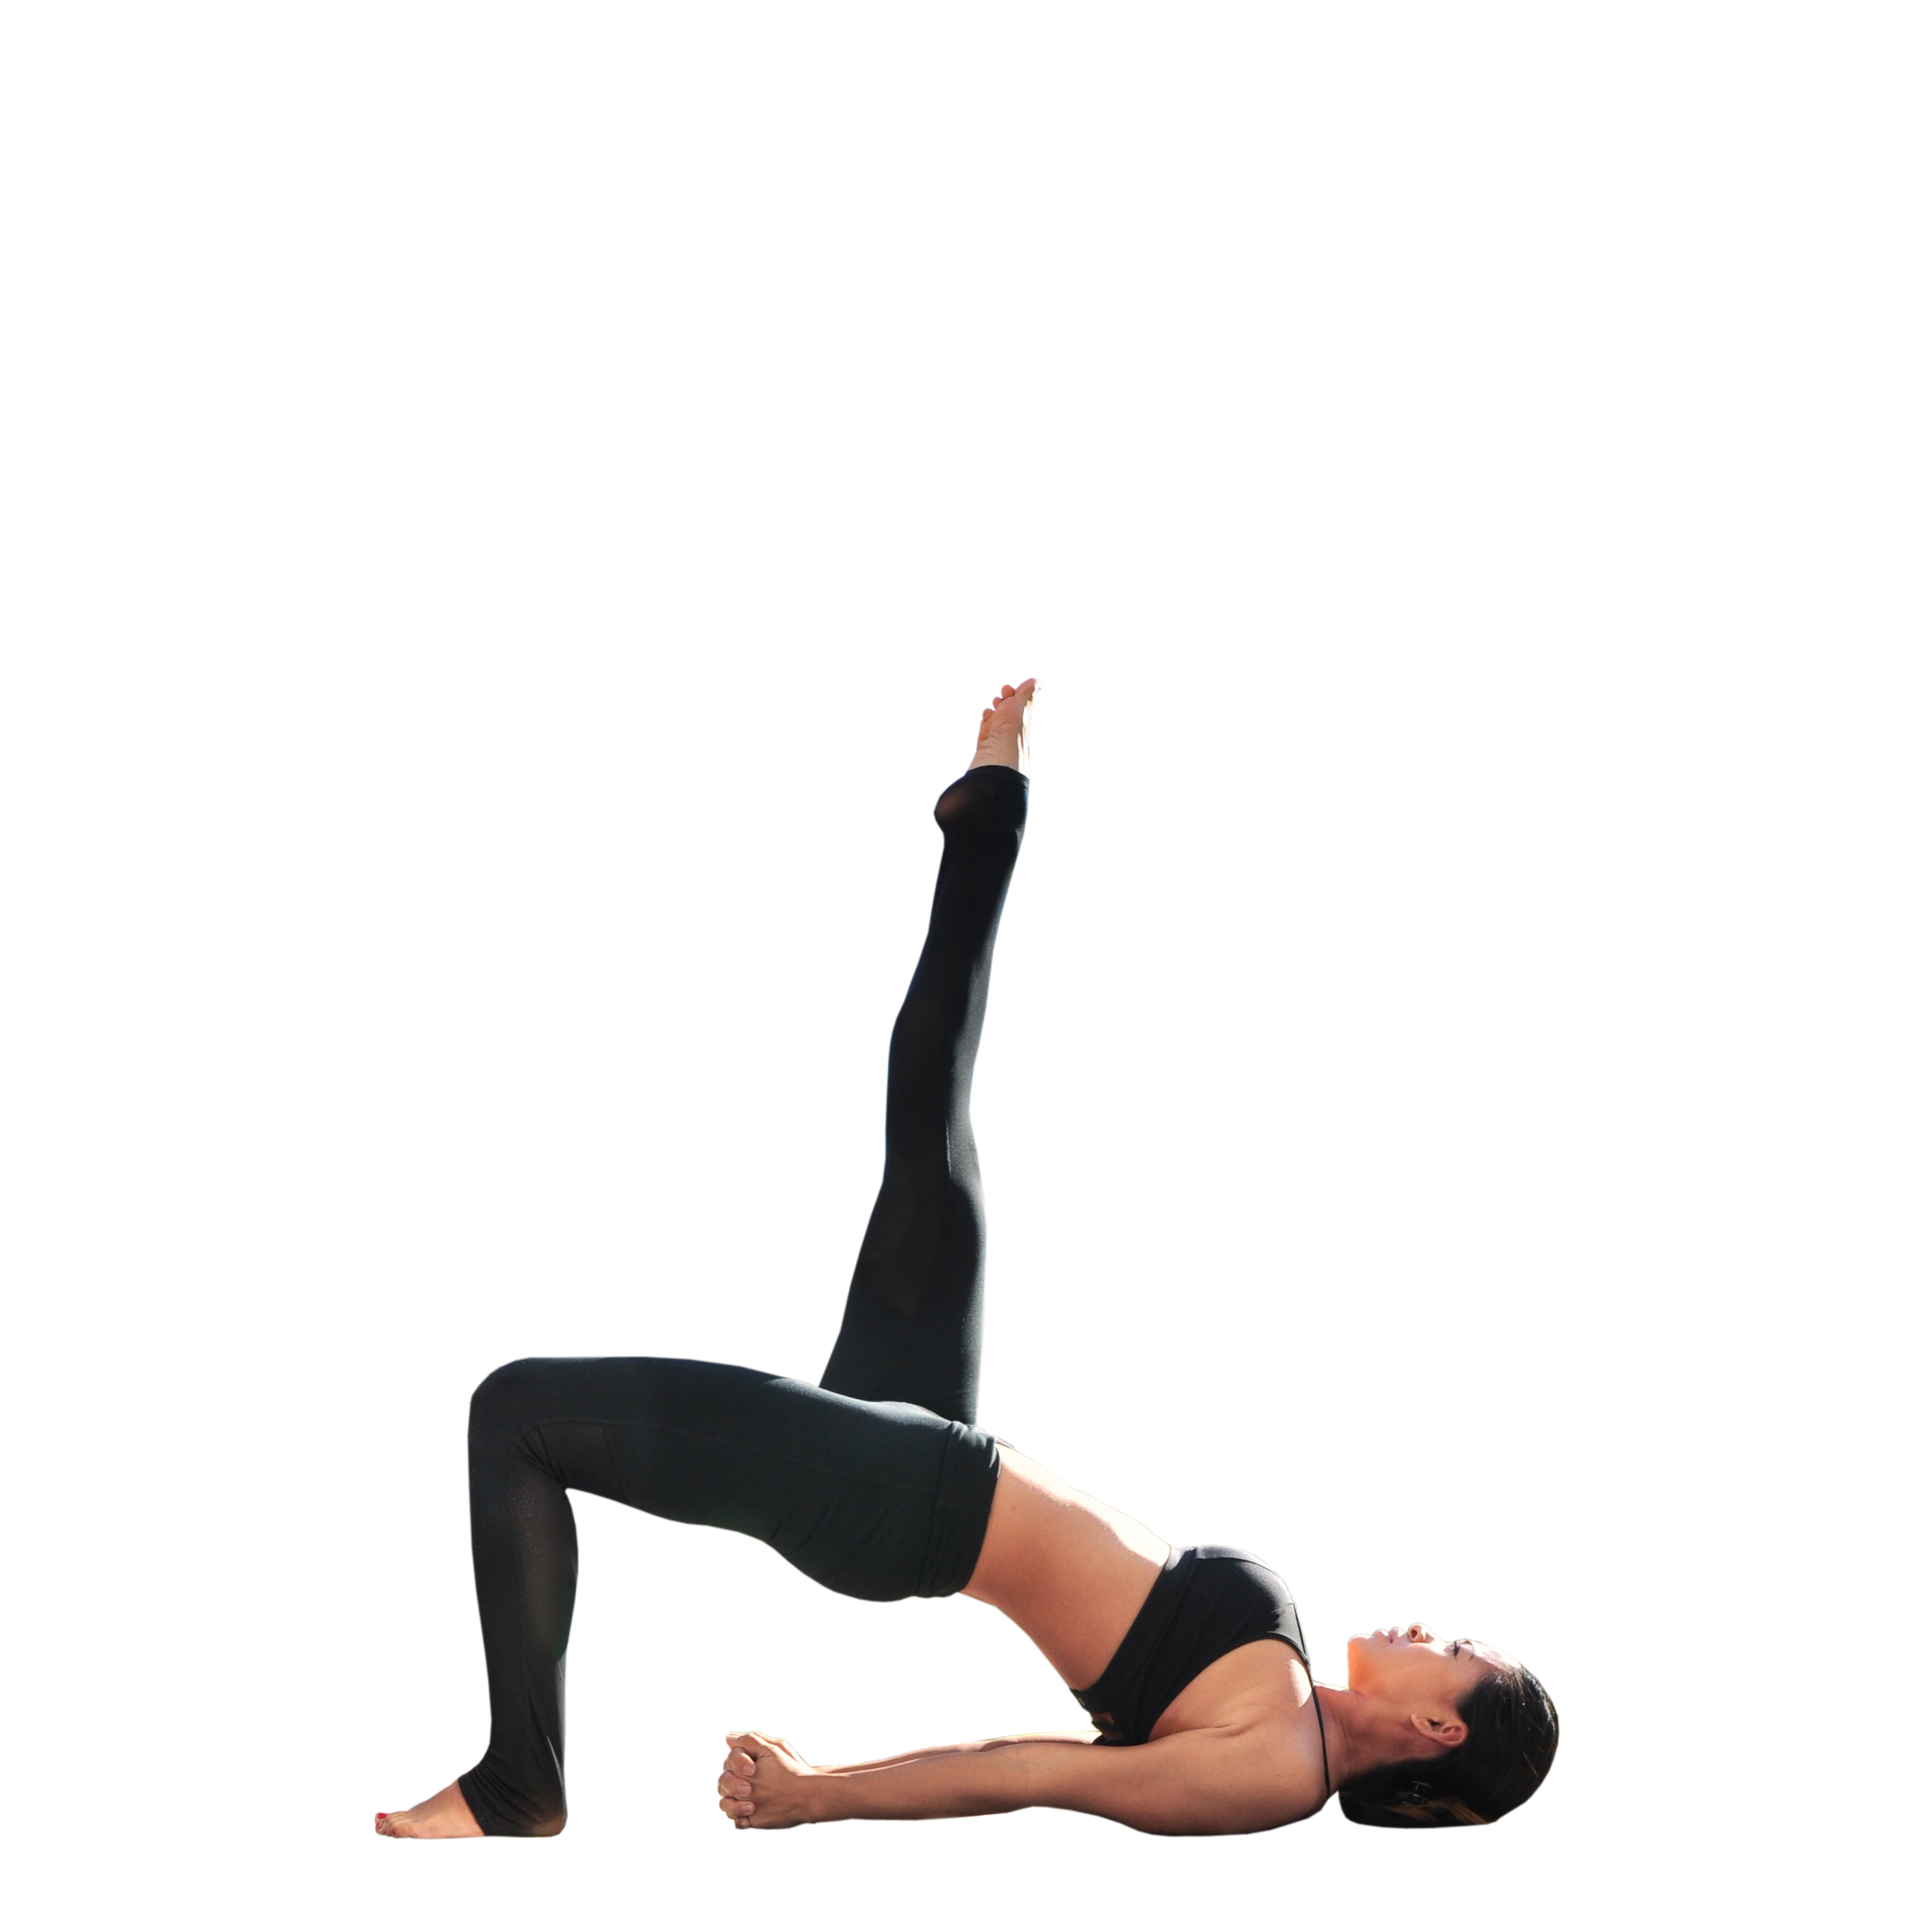
This is a great backbend for beginners. Use a block or blanket to relieve stress from your lower back or neck. Your feet should be parallel to each other and your knees should stack directly over your heels. When you begin to lift up, keep your thighs hugging into the midline. Press actively into the mat with your arms and shoulders. Keep the neck long. You can lift one leg up for a deeper posture.
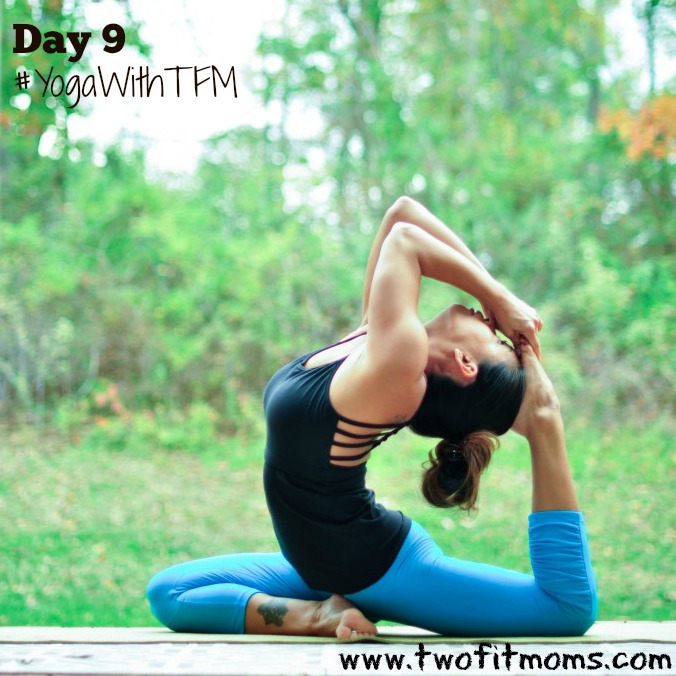
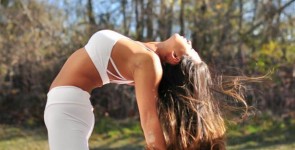
Camel Pose or Ustrasana
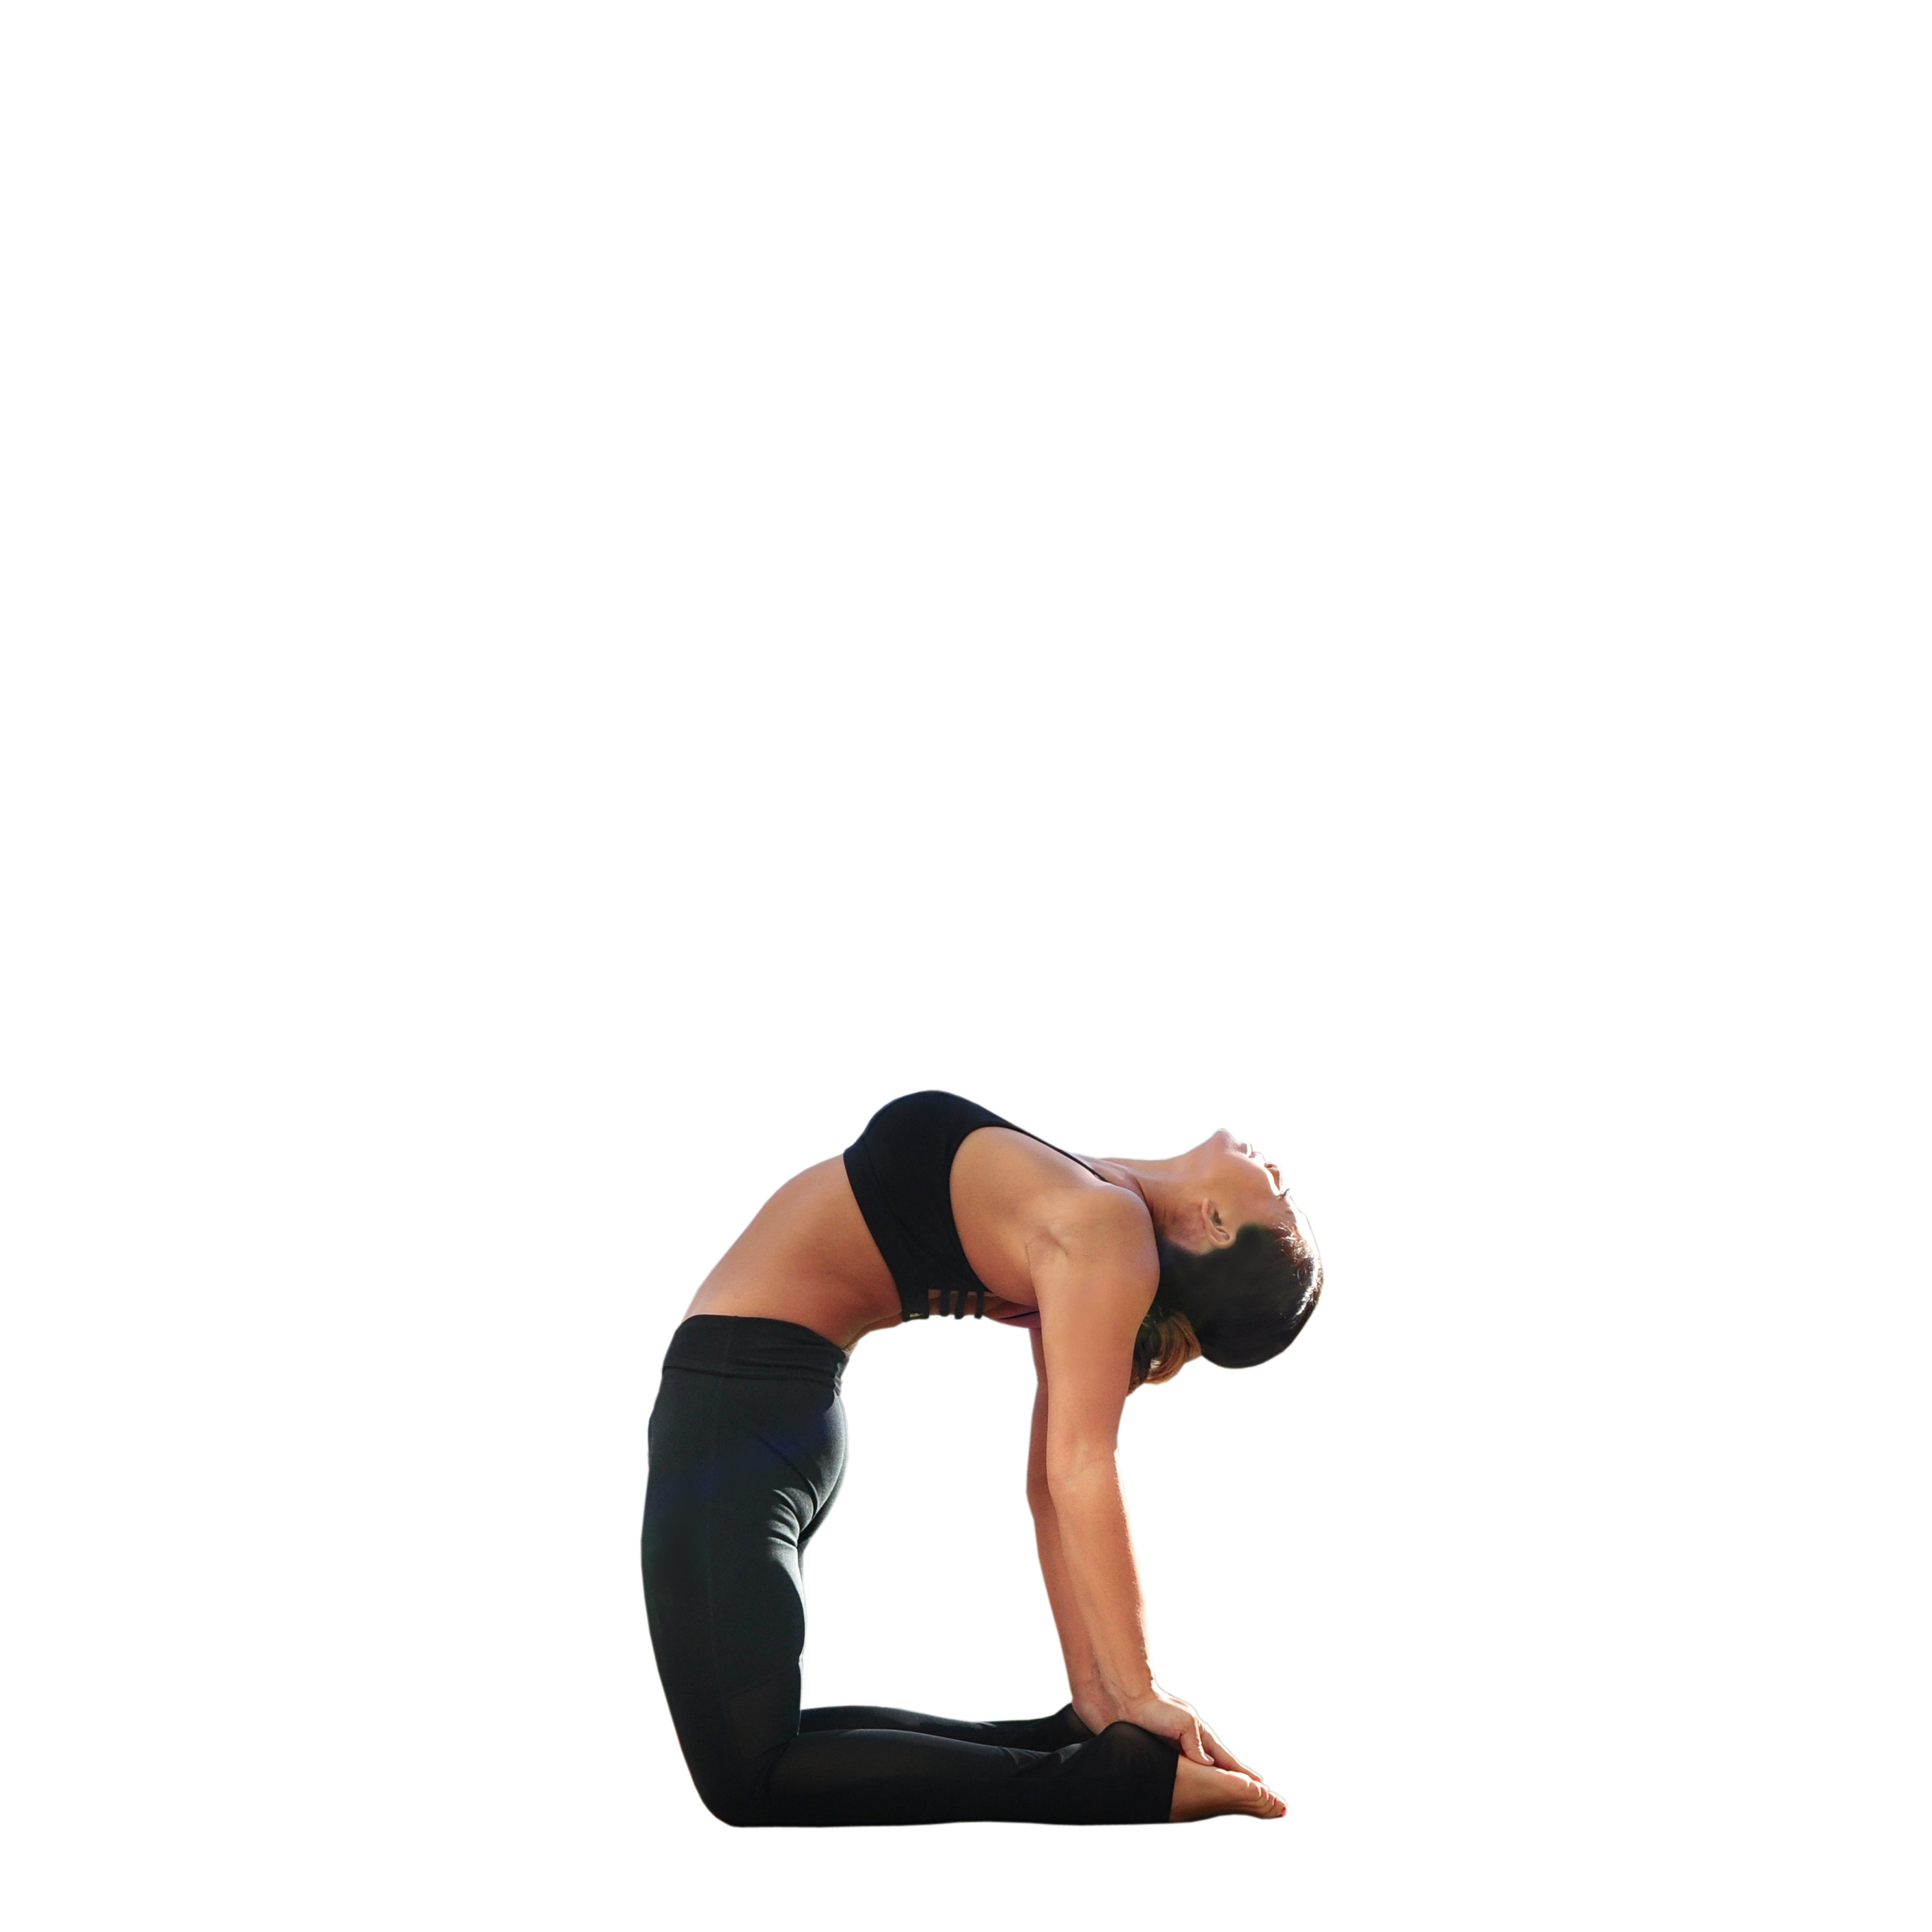
There are many variations of this pose – from keeping your hands on your low back for support to tucking your toes under so that the backbend is not as deep to the full posture shown here. Find the one that works for you! Just remember to keep your hips pushing forward so the thighs remain perpendicular to your mat.
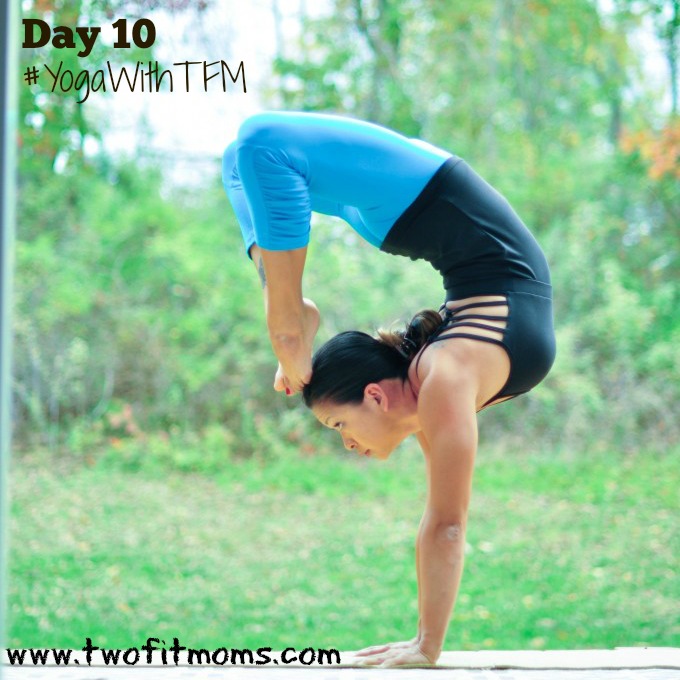
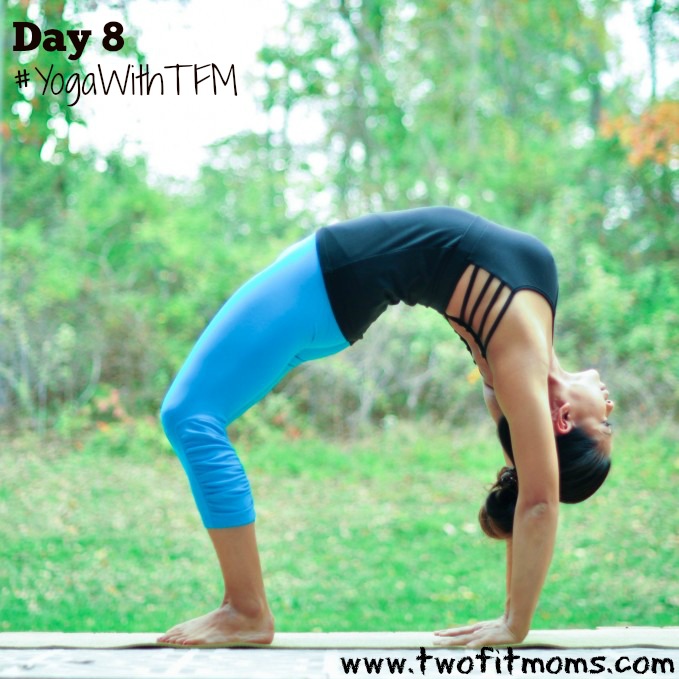
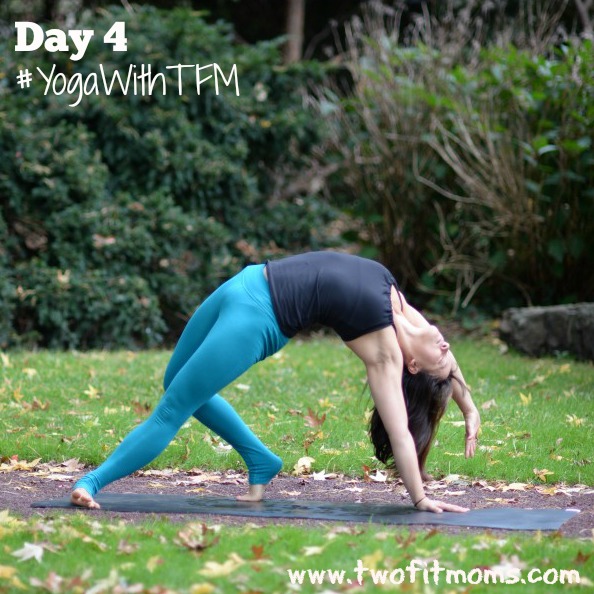
Upward Bow or Urdhva Dhanurasana
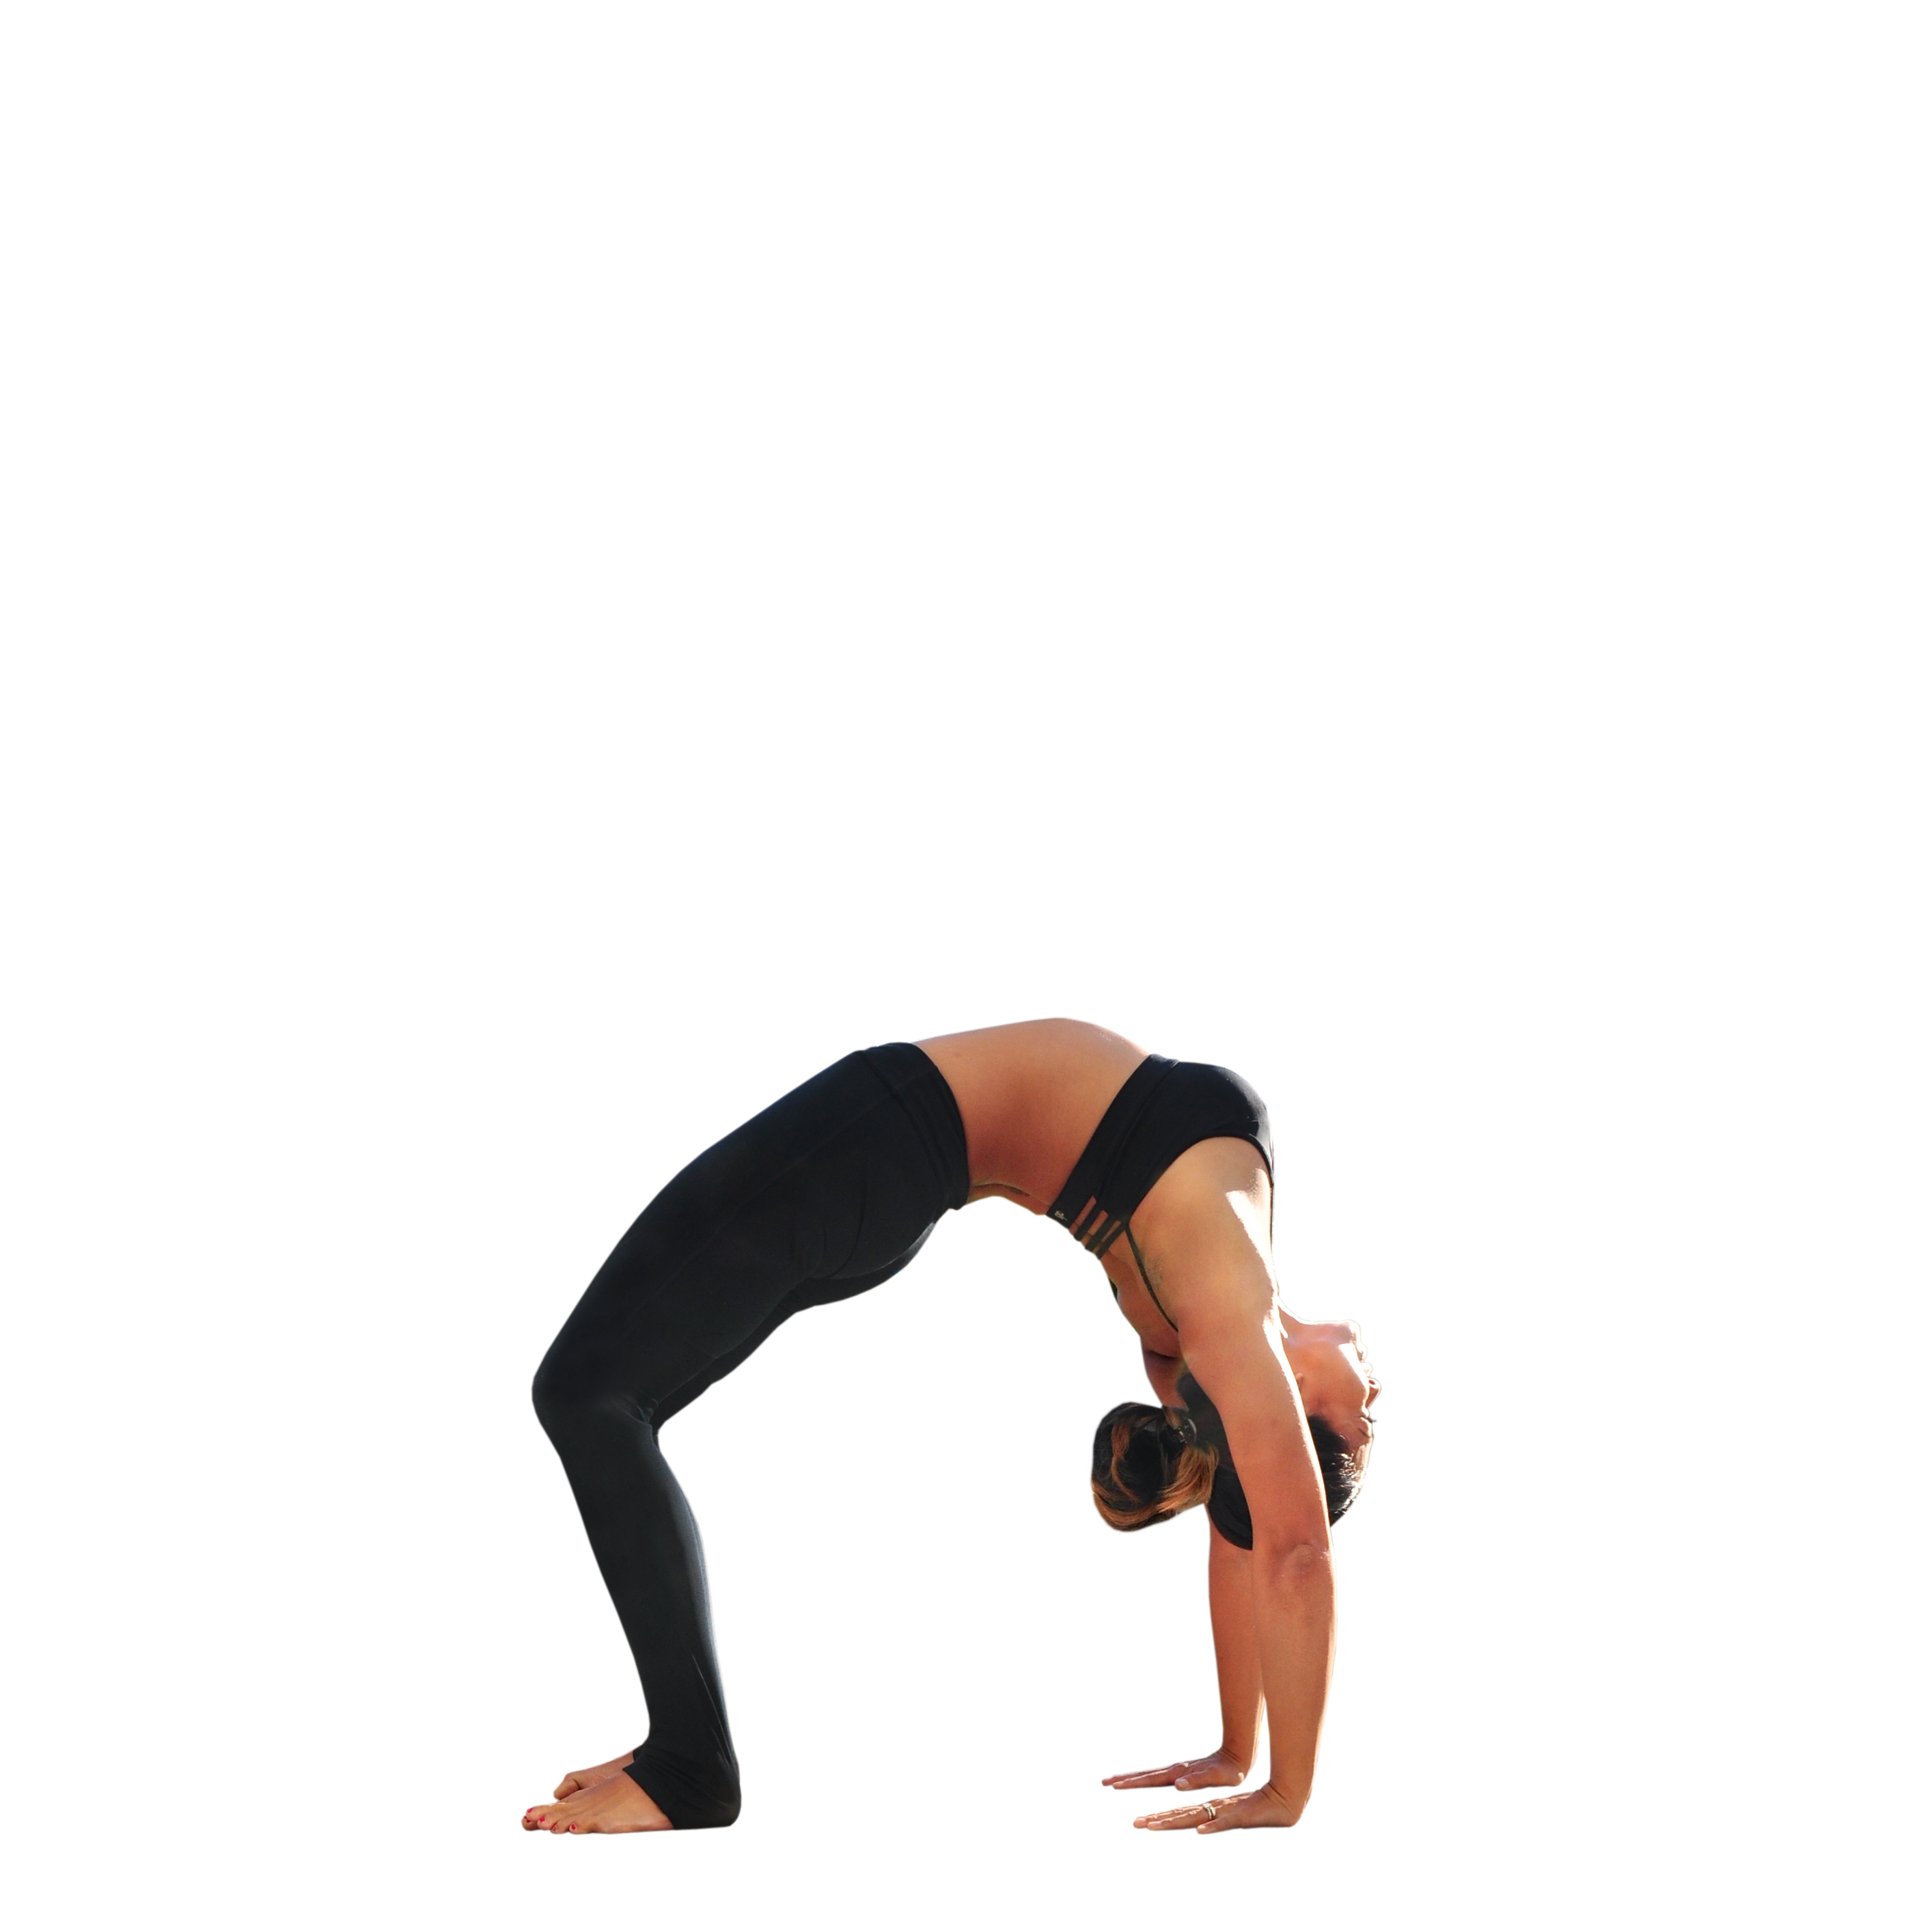
Make sure your front body and shoulder are warmed up before trying this pose. Keep your feet parallel, hug your knees and thighs in – and don’t forget to breathe!