 Grilled veggies are a mainstay summer side dish at our house, and the recipe that I’m sharing with you is not just any grilled vegetable recipe — it’s the best grilled vegetable recipe!
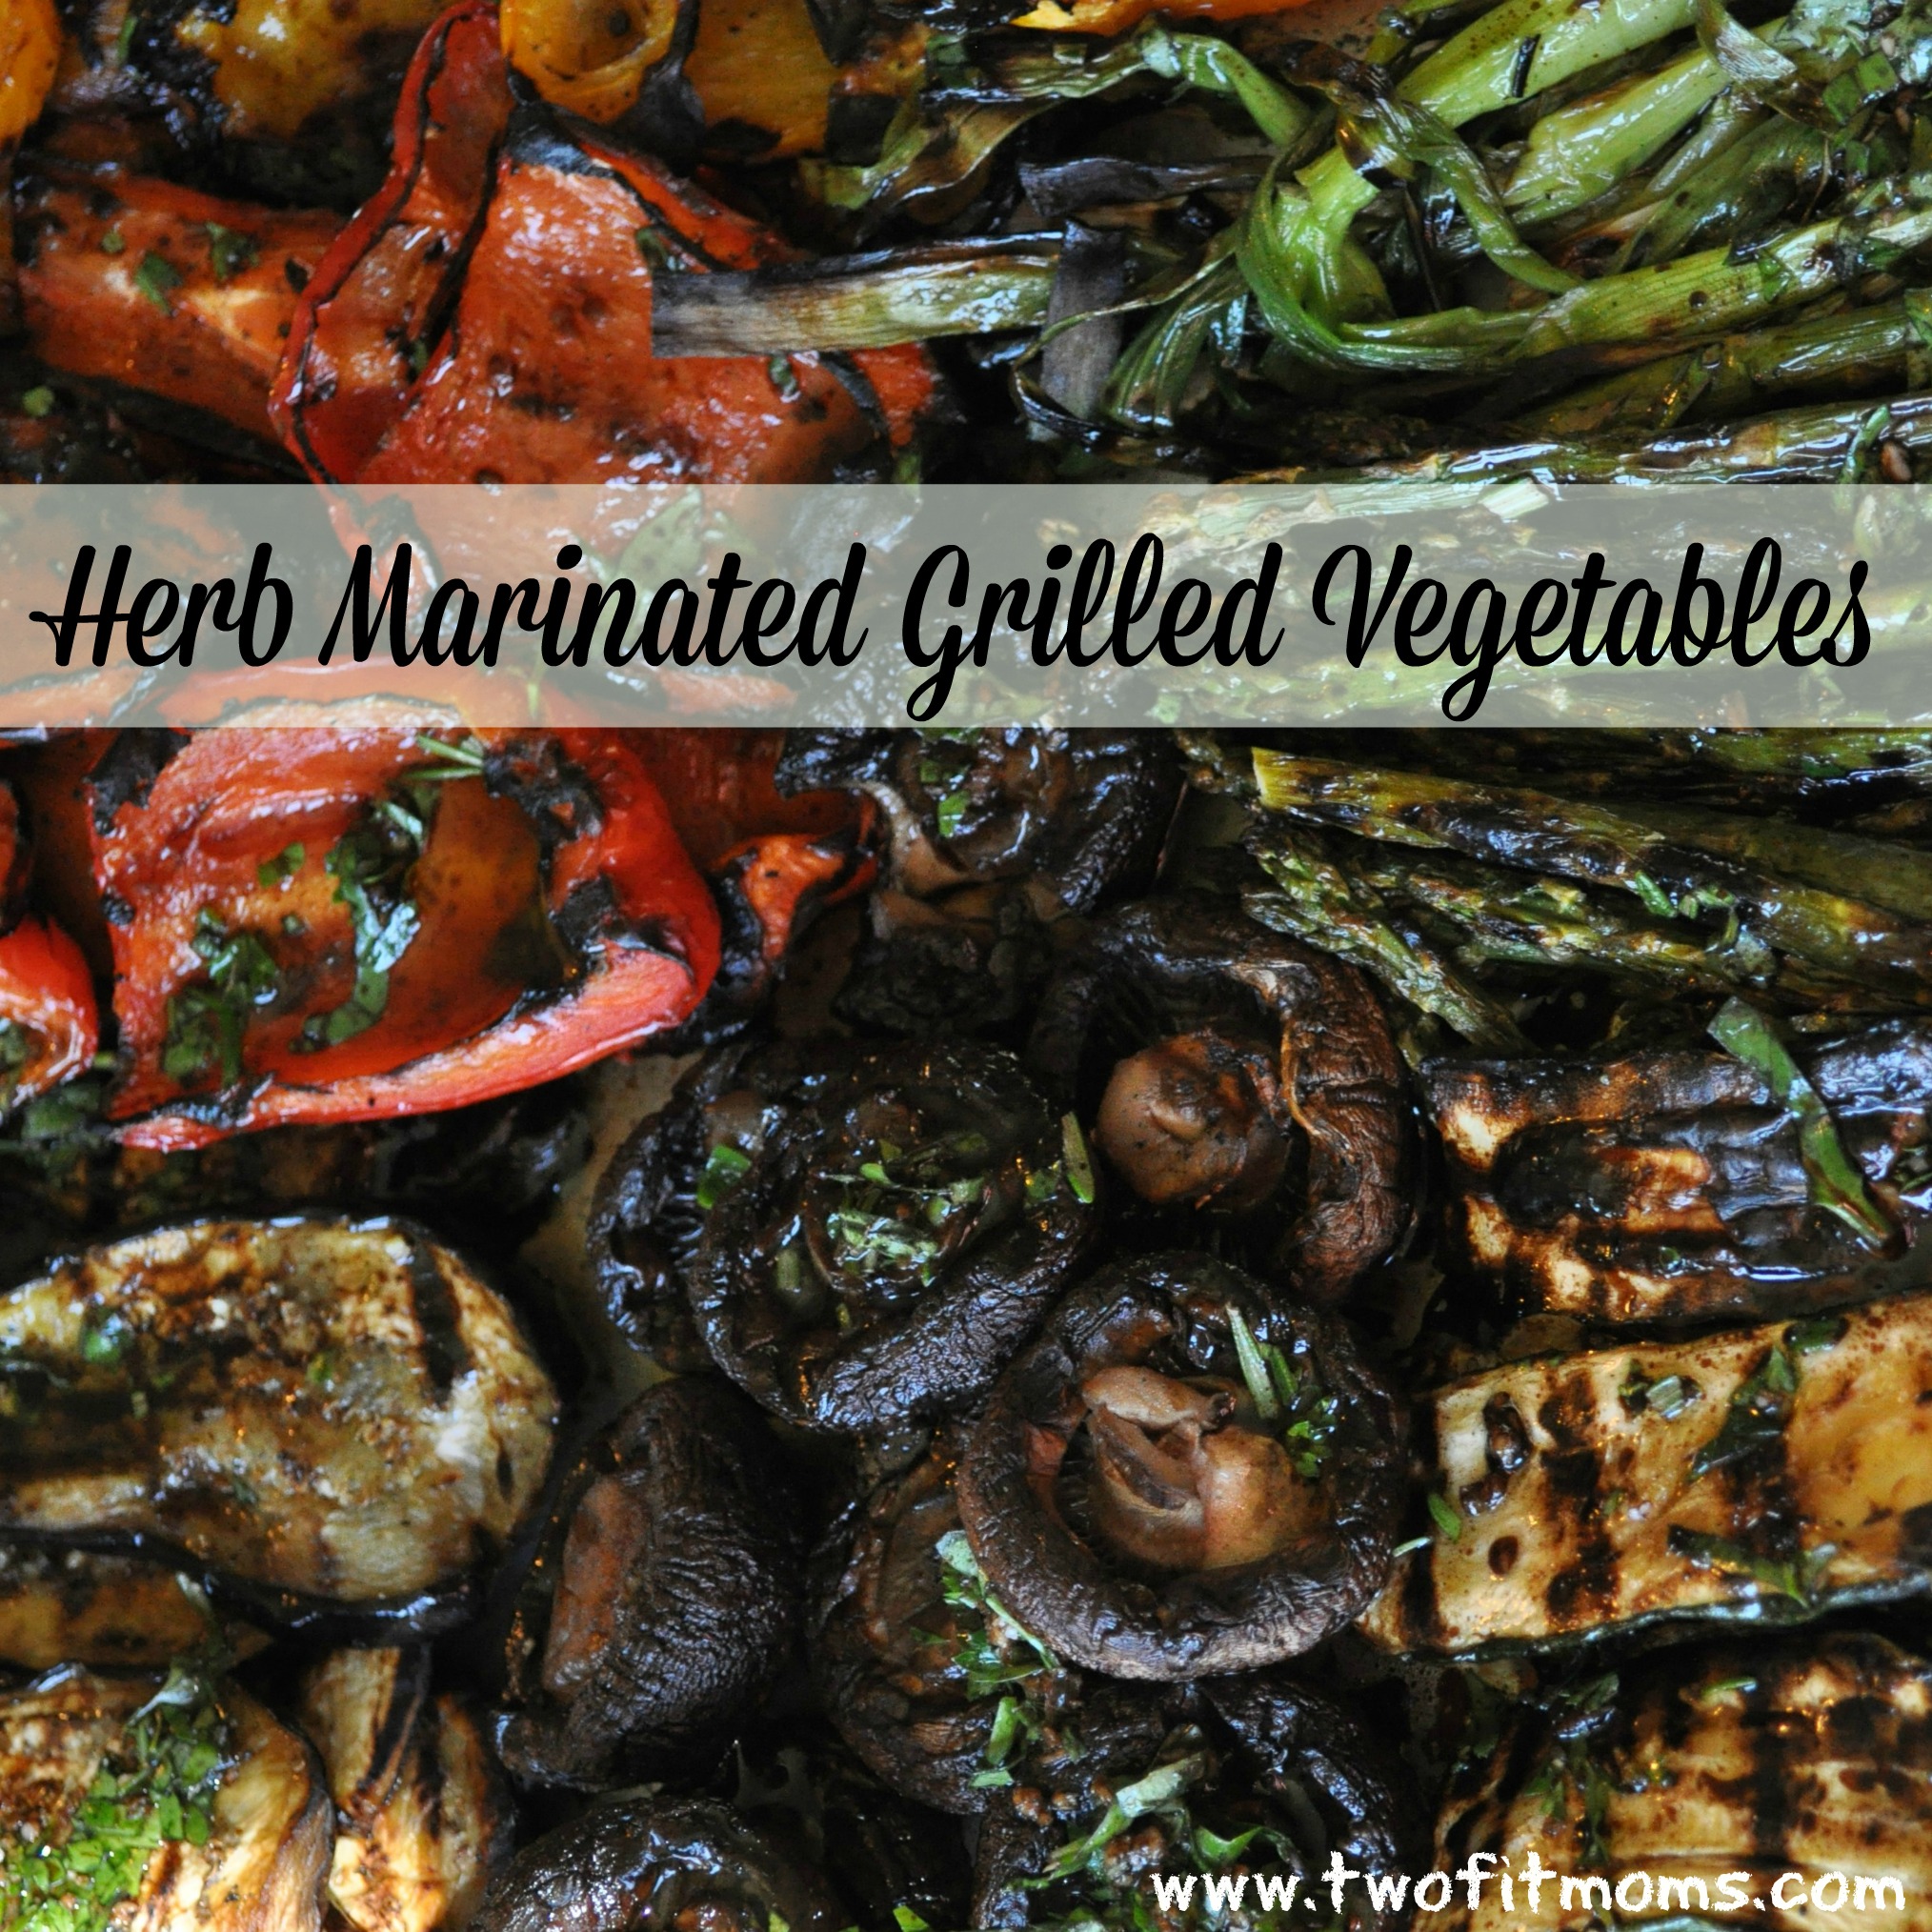
It’s based on Giada De Laurentiis’ recipe which I’ve modified. To be honest, the marinade is what really sets it apart. It’s an olive oil and balsamic vinegar dressing infused with garlic, rosemary, basil and parsley. The dressing brings your grilled veggies to a whole new level!
Cutting the vegetables is a little time intensive, but I promise you will not regret the effort you put into making these veggies. In fact, you will likely get more than one meal out of them — and the longer they marinate, the better they taste.
I generally serve these veggies as a side dish, but they are delicious on a sandwich (with hummus or goat cheese). You can also chop up the leftover veggies and serve over salad greens or mix them into quinoa or farro.
You can modify the recipe based on the veggies you have on hand (e.g., substituting summer squash for zucchini), and you can adjust the quantity of marinade depending on whether you want to make more or less veggies.
Herb Marinated Grilled Vegetables
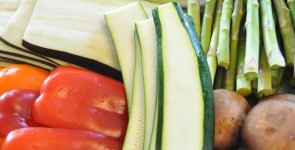
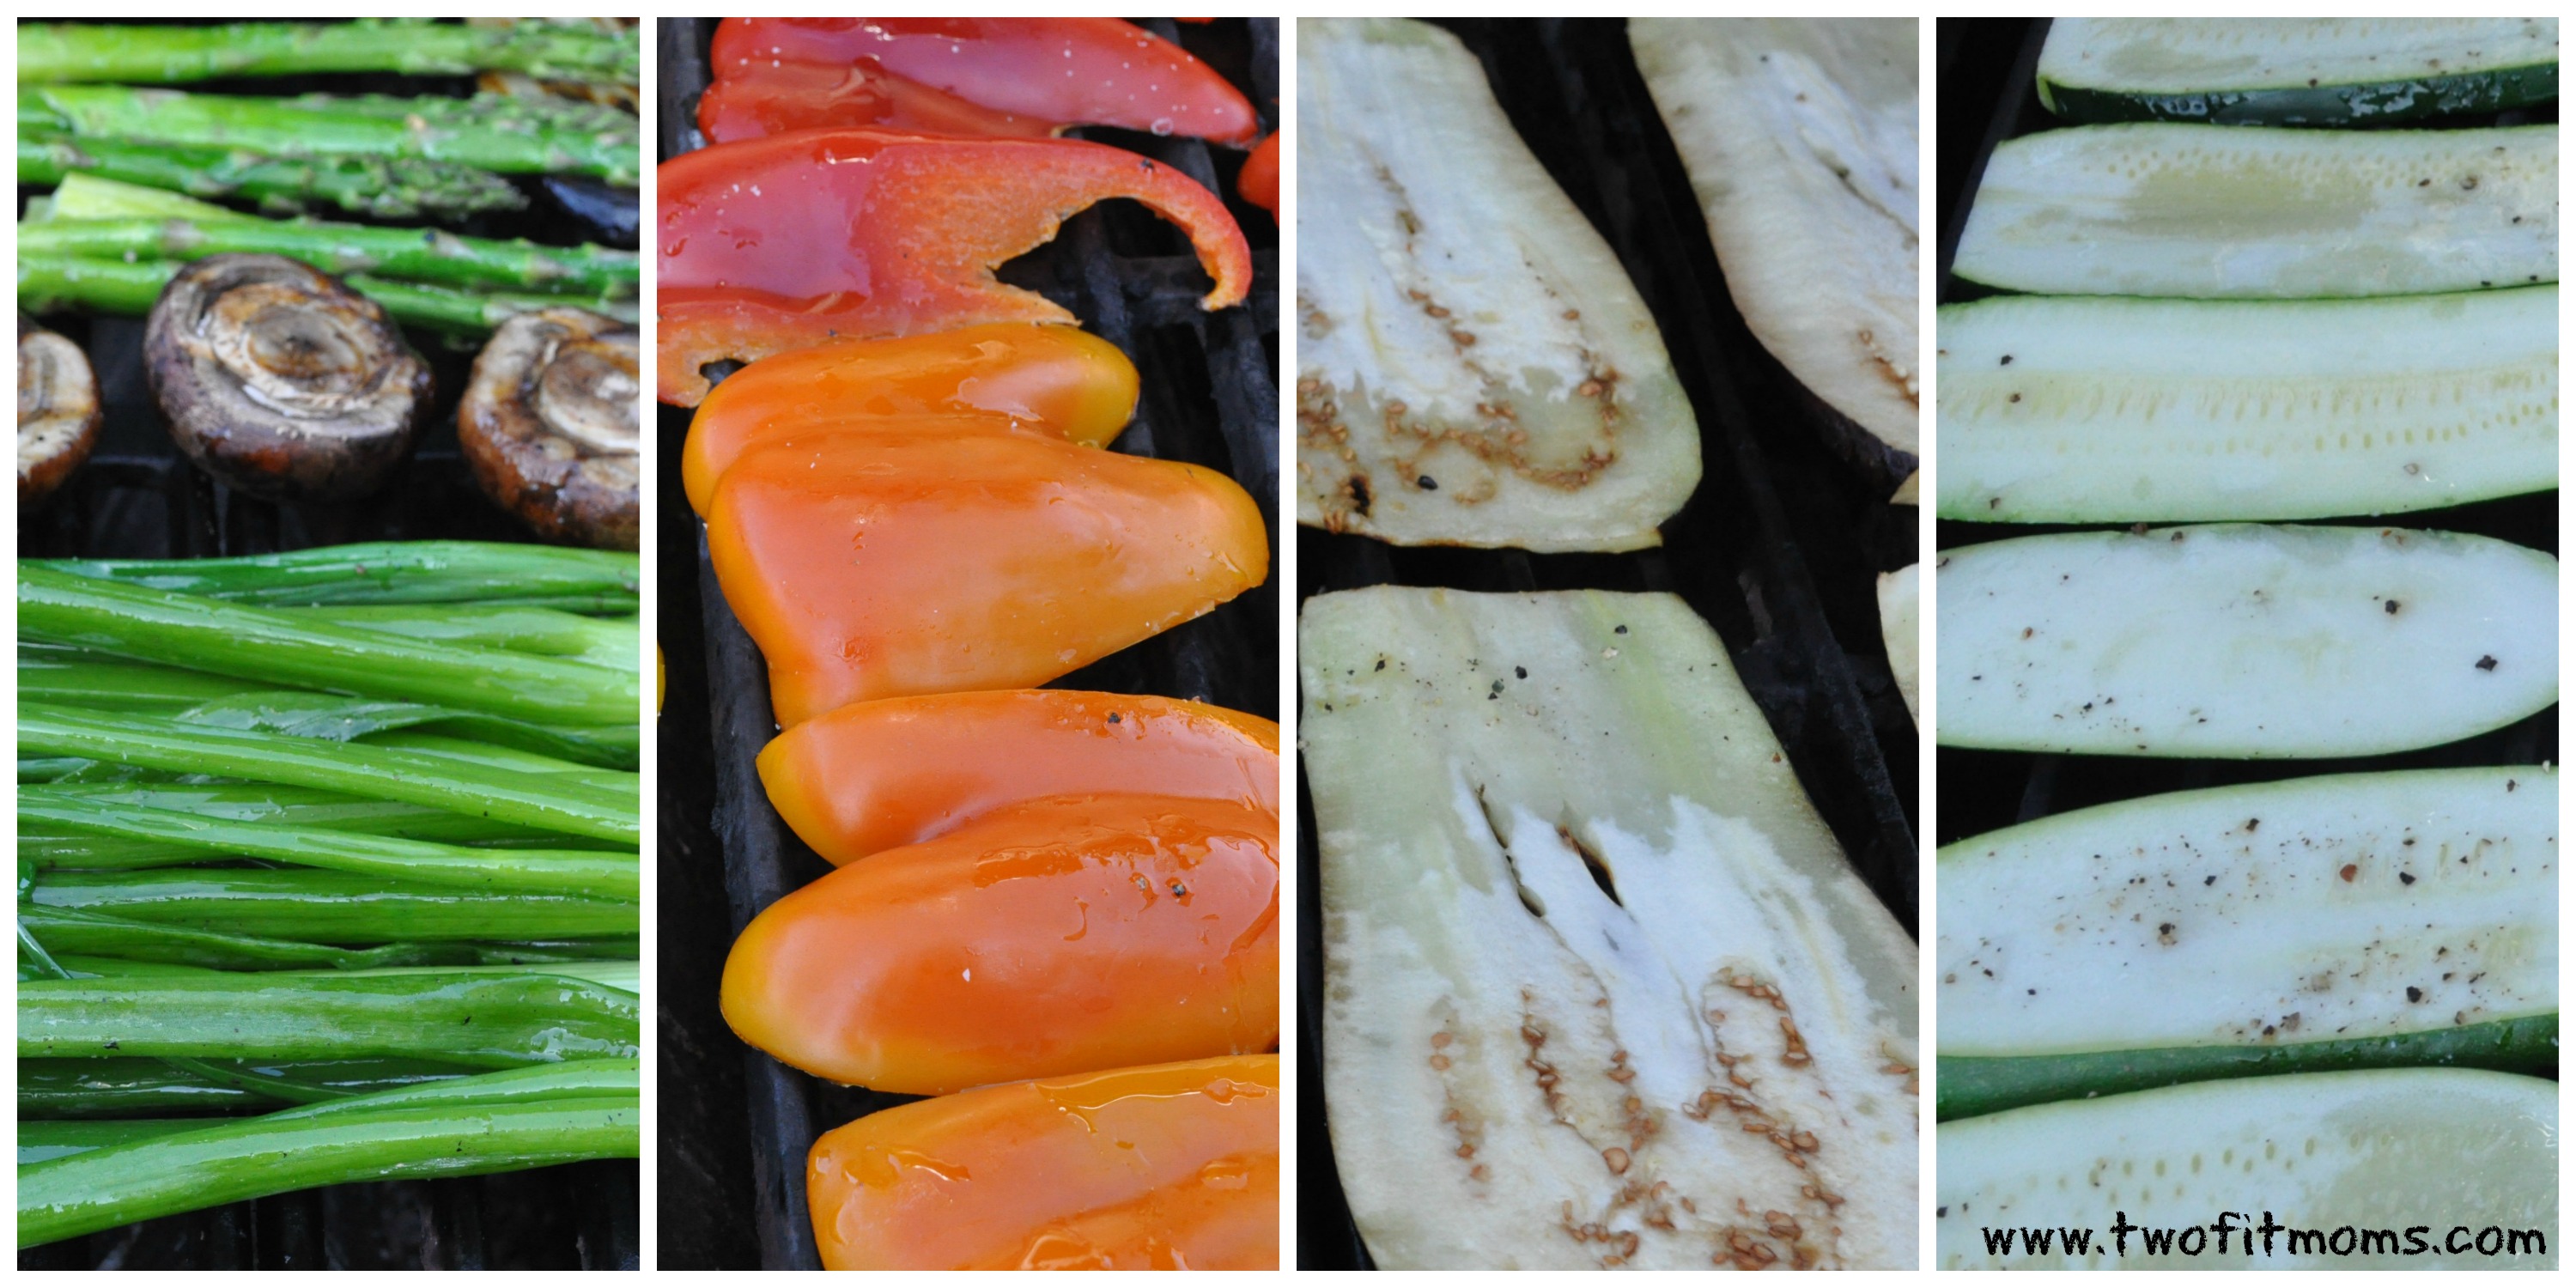
3 zucchini
3 Japanese eggplant
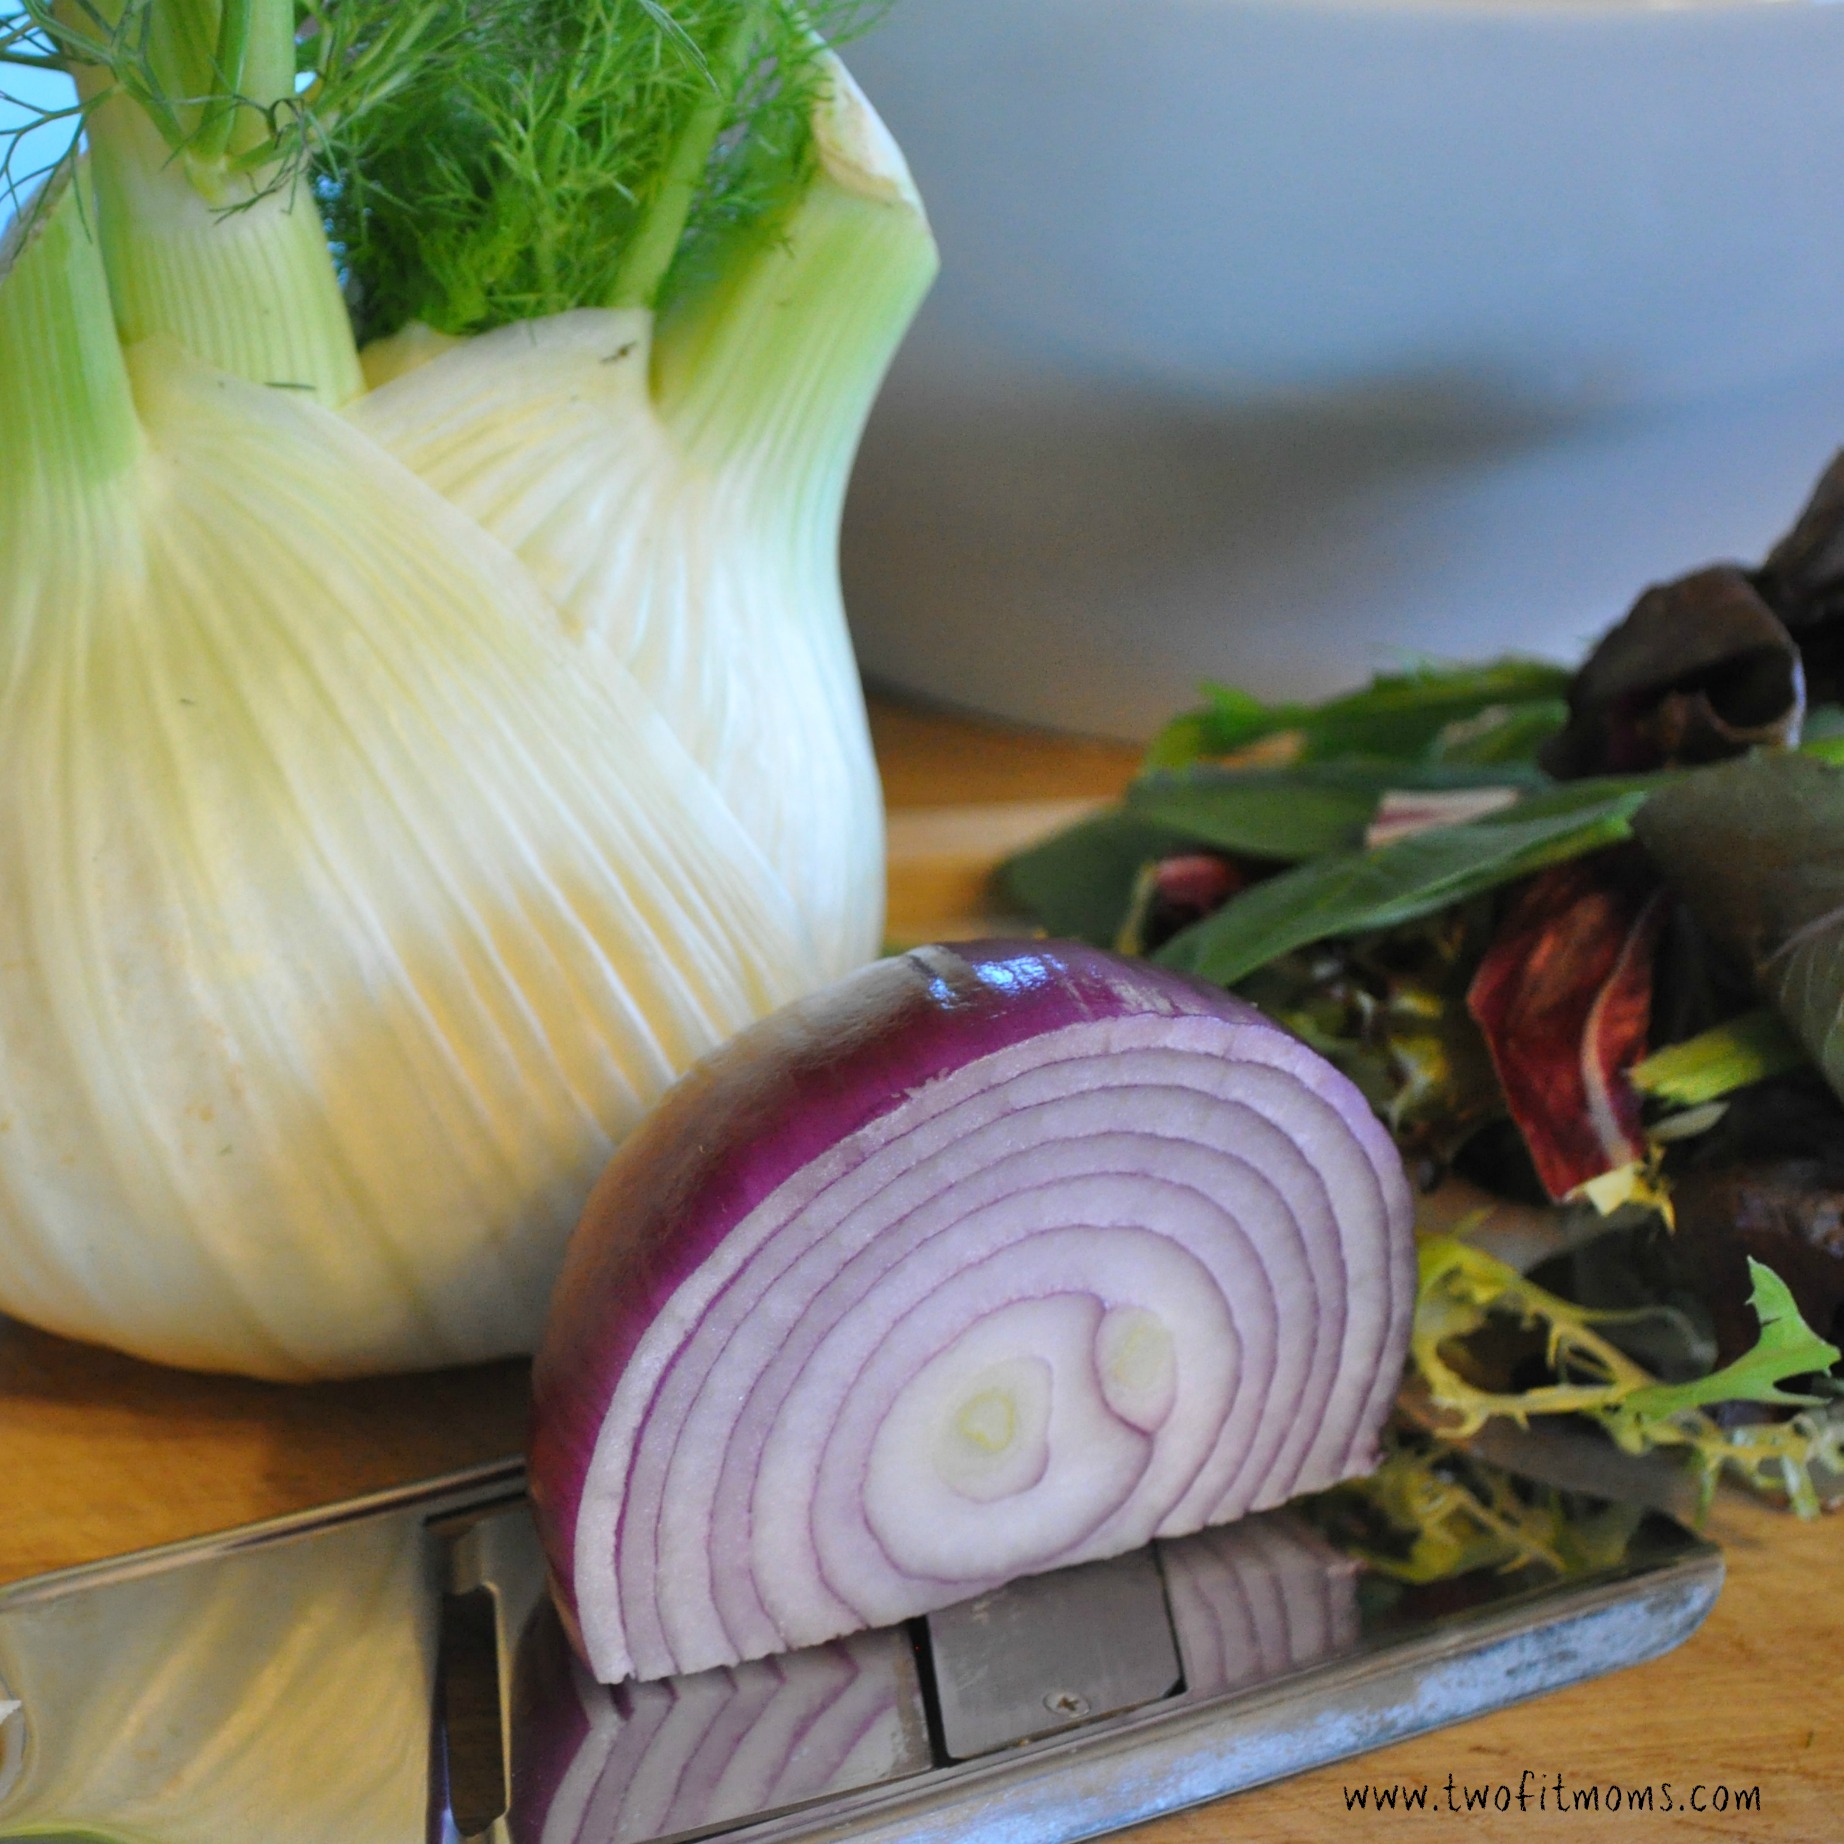
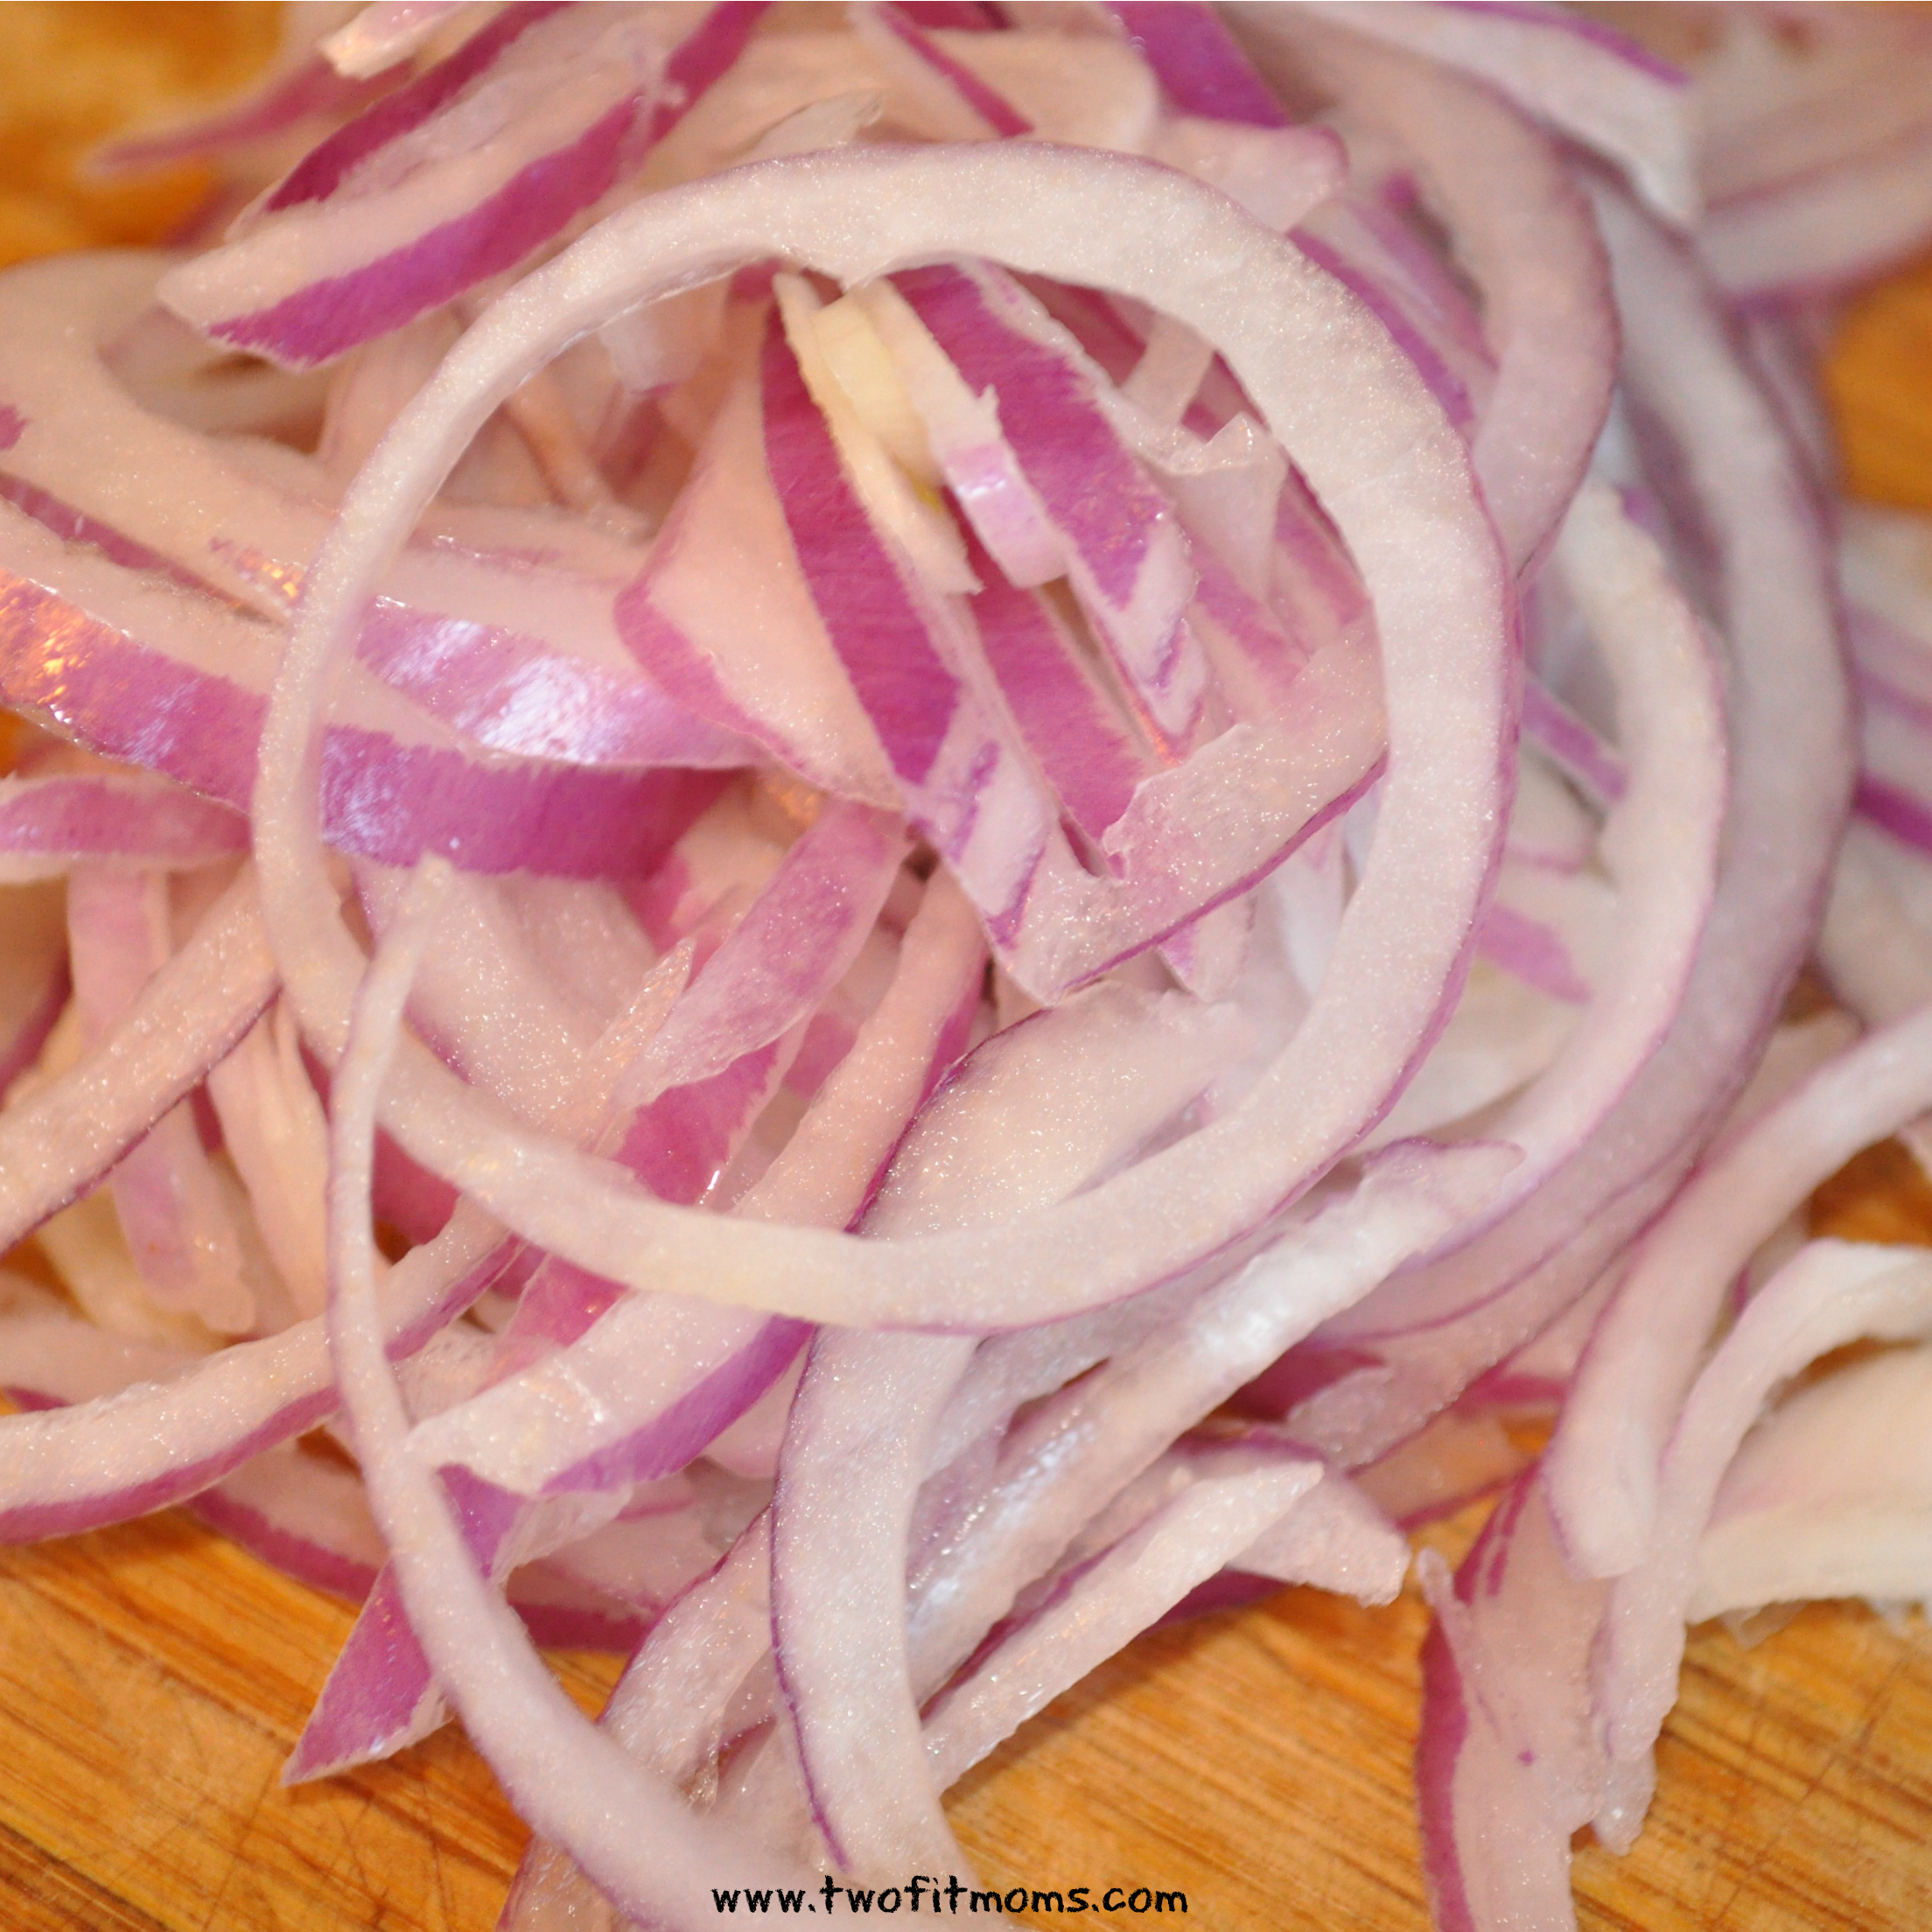
3 red, yellow or orange bell peppers
12 baby portobello mushrooms (e.g., cremini or baby bella mushrooms)
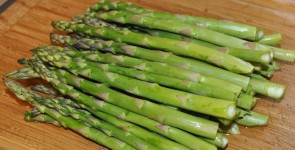
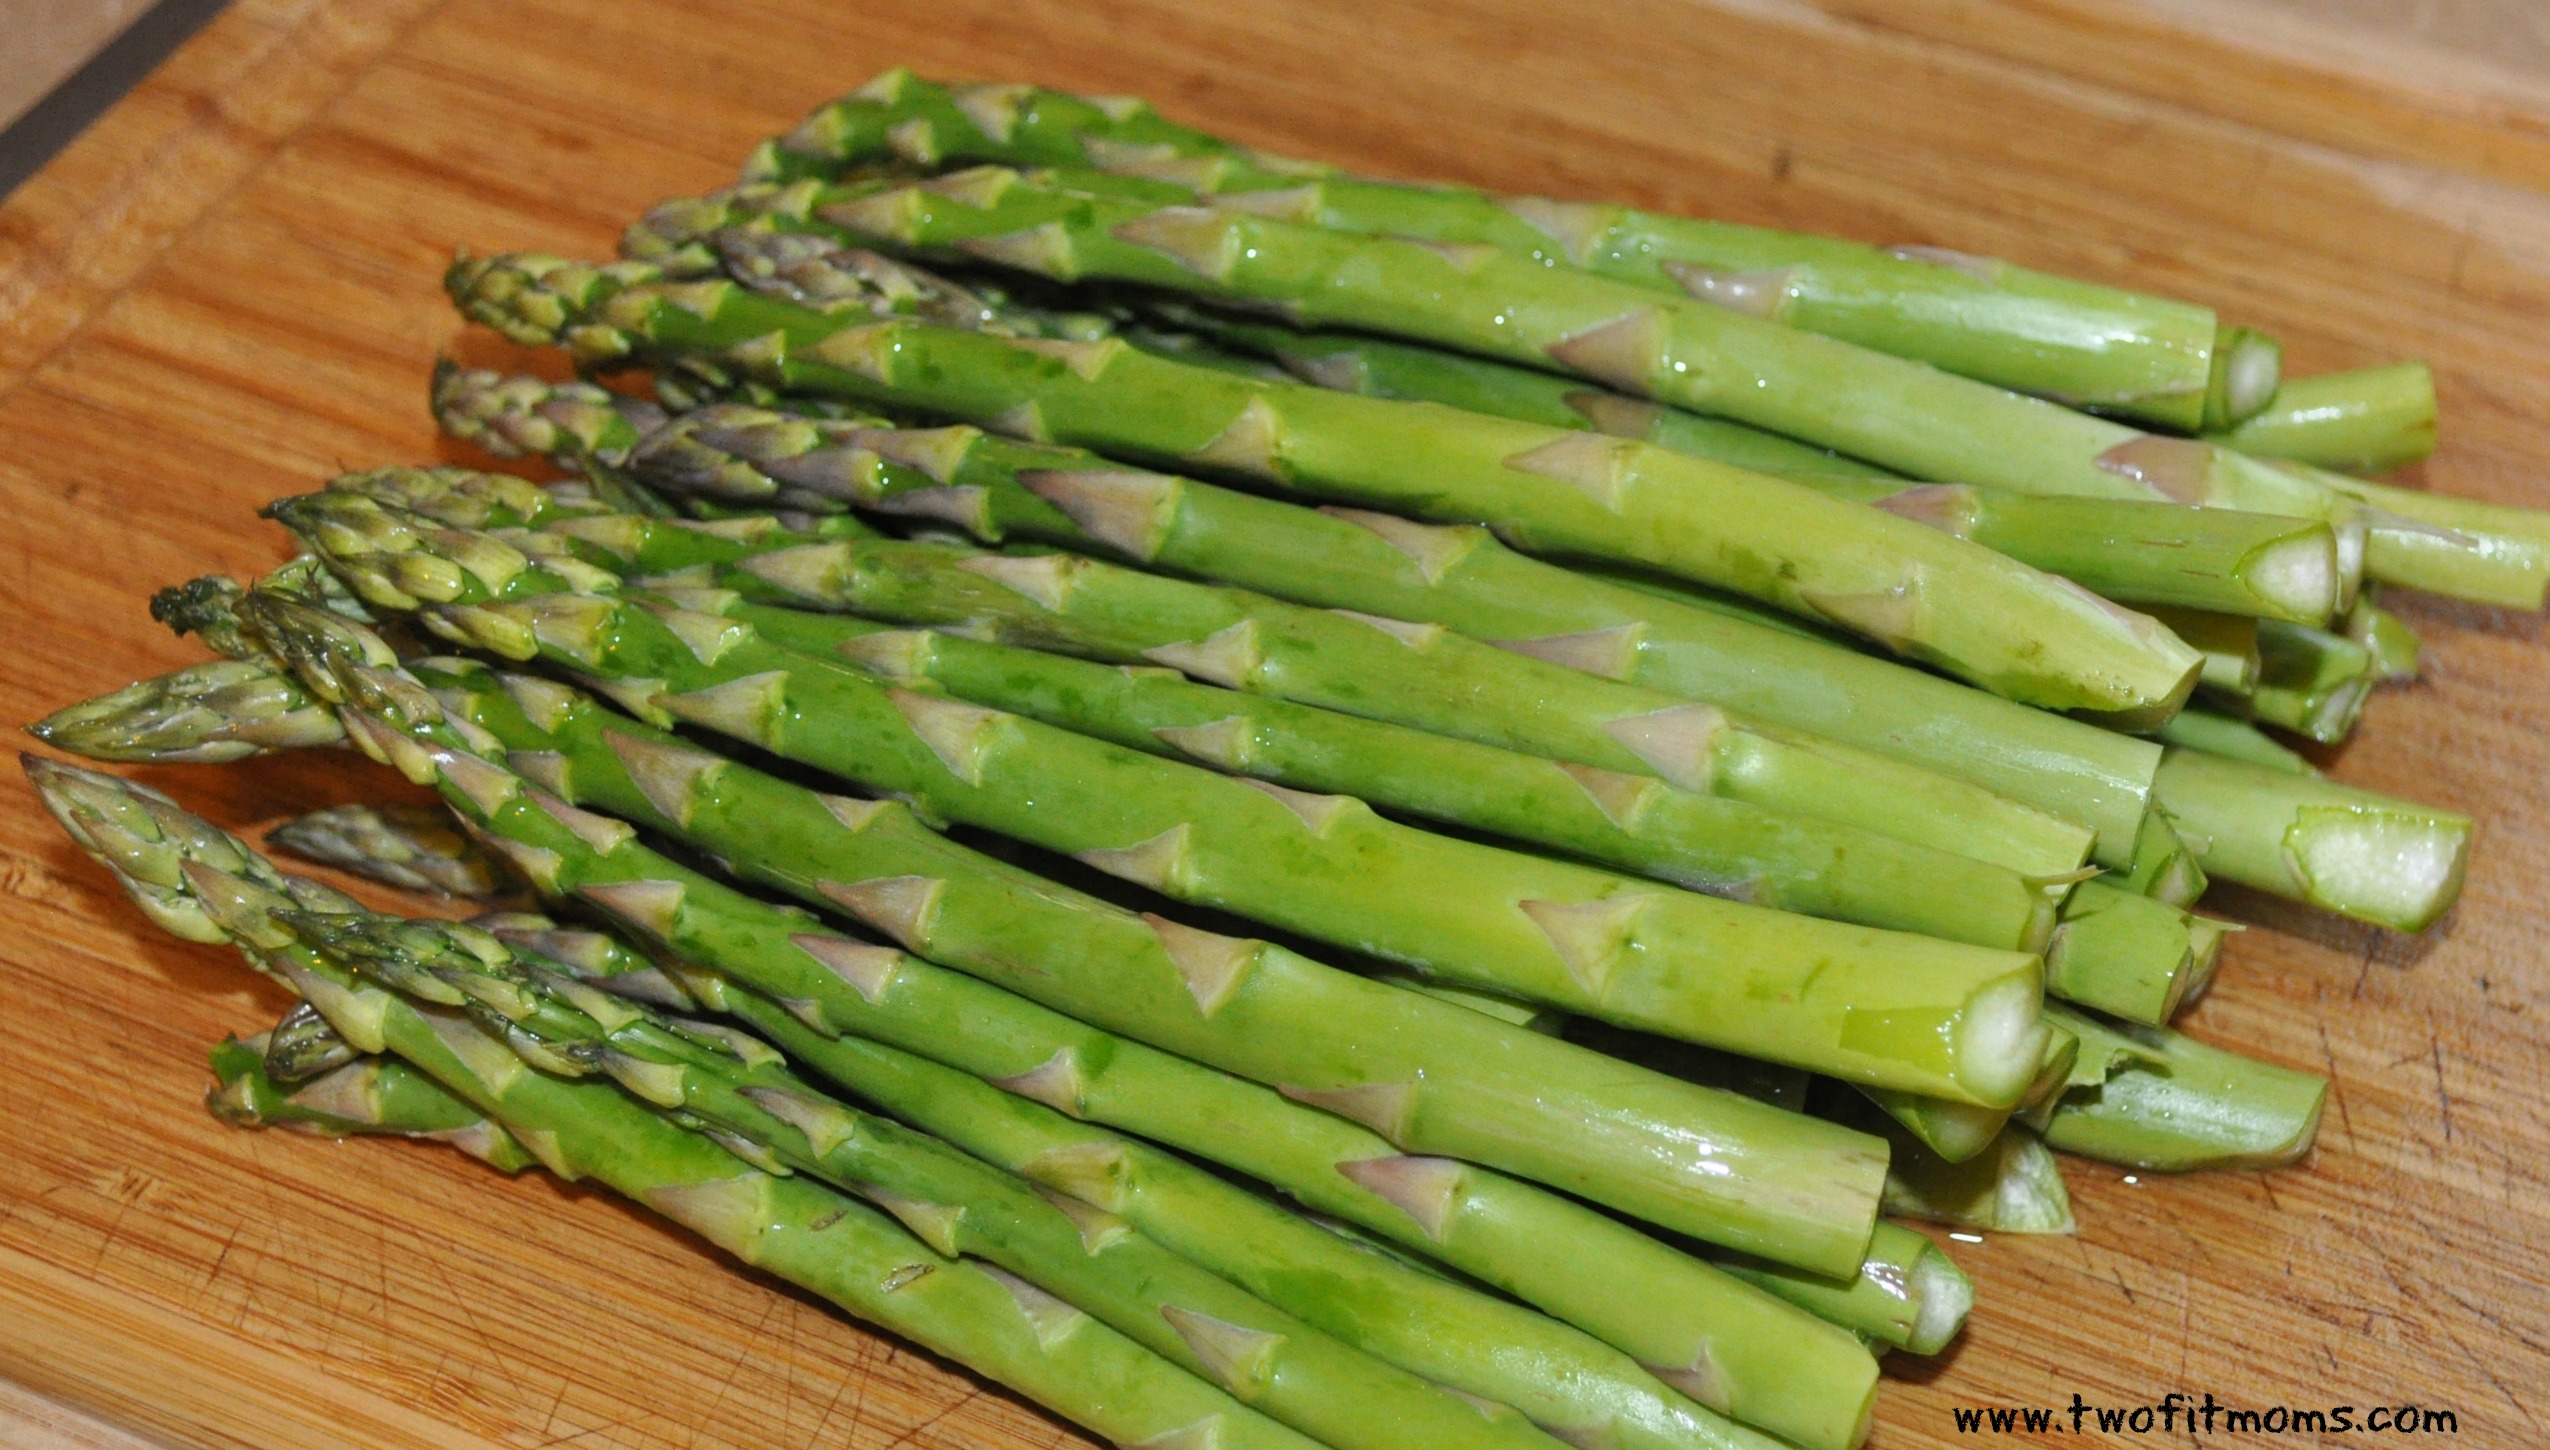
1 bunch of asparagus
2-3 bunches of scallions
Olive oil (approximately 6-8 tablespoons — but don’t be afraid to use more, if necessary)
Salt and pepper to taste
For the marinade:
1/2 cup of olive oil
4 tablespoons balsamic vinegar
2 cloves of garlic, crushed
1 tablespoon fresh basil, chopped
1 tablespoon fresh parsley, chopped
1 tsp fresh rosemary, chopped
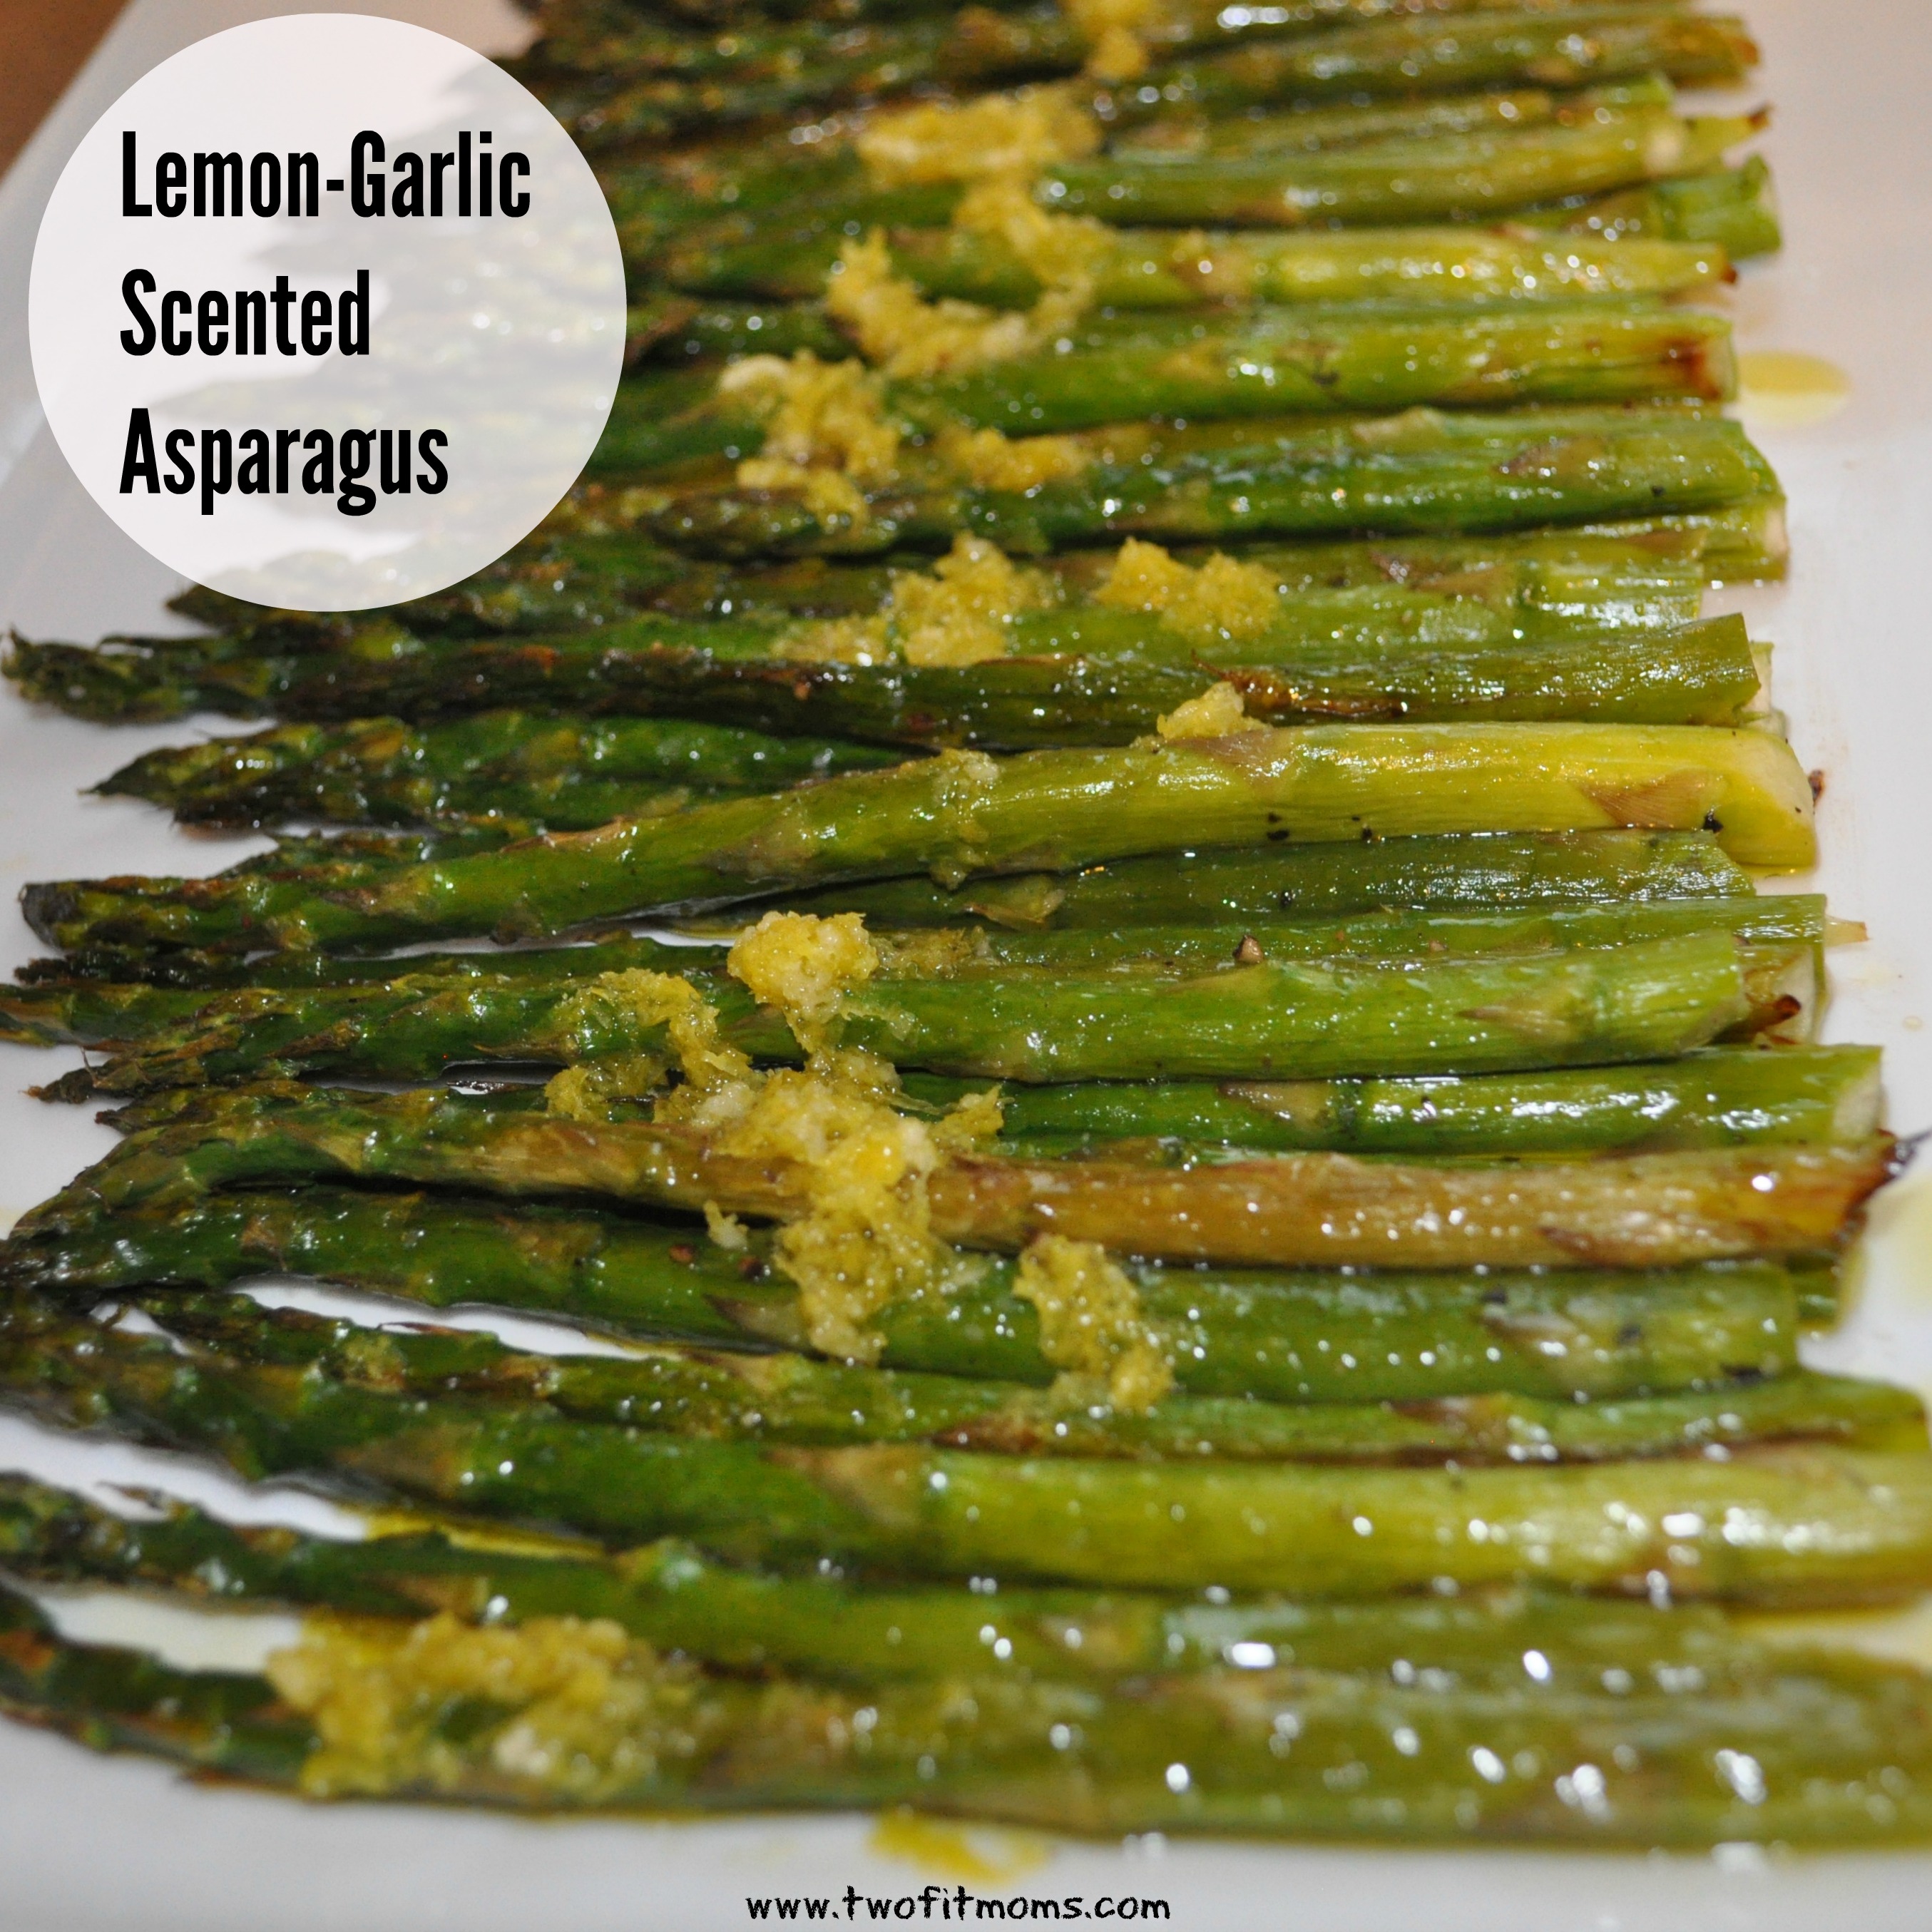
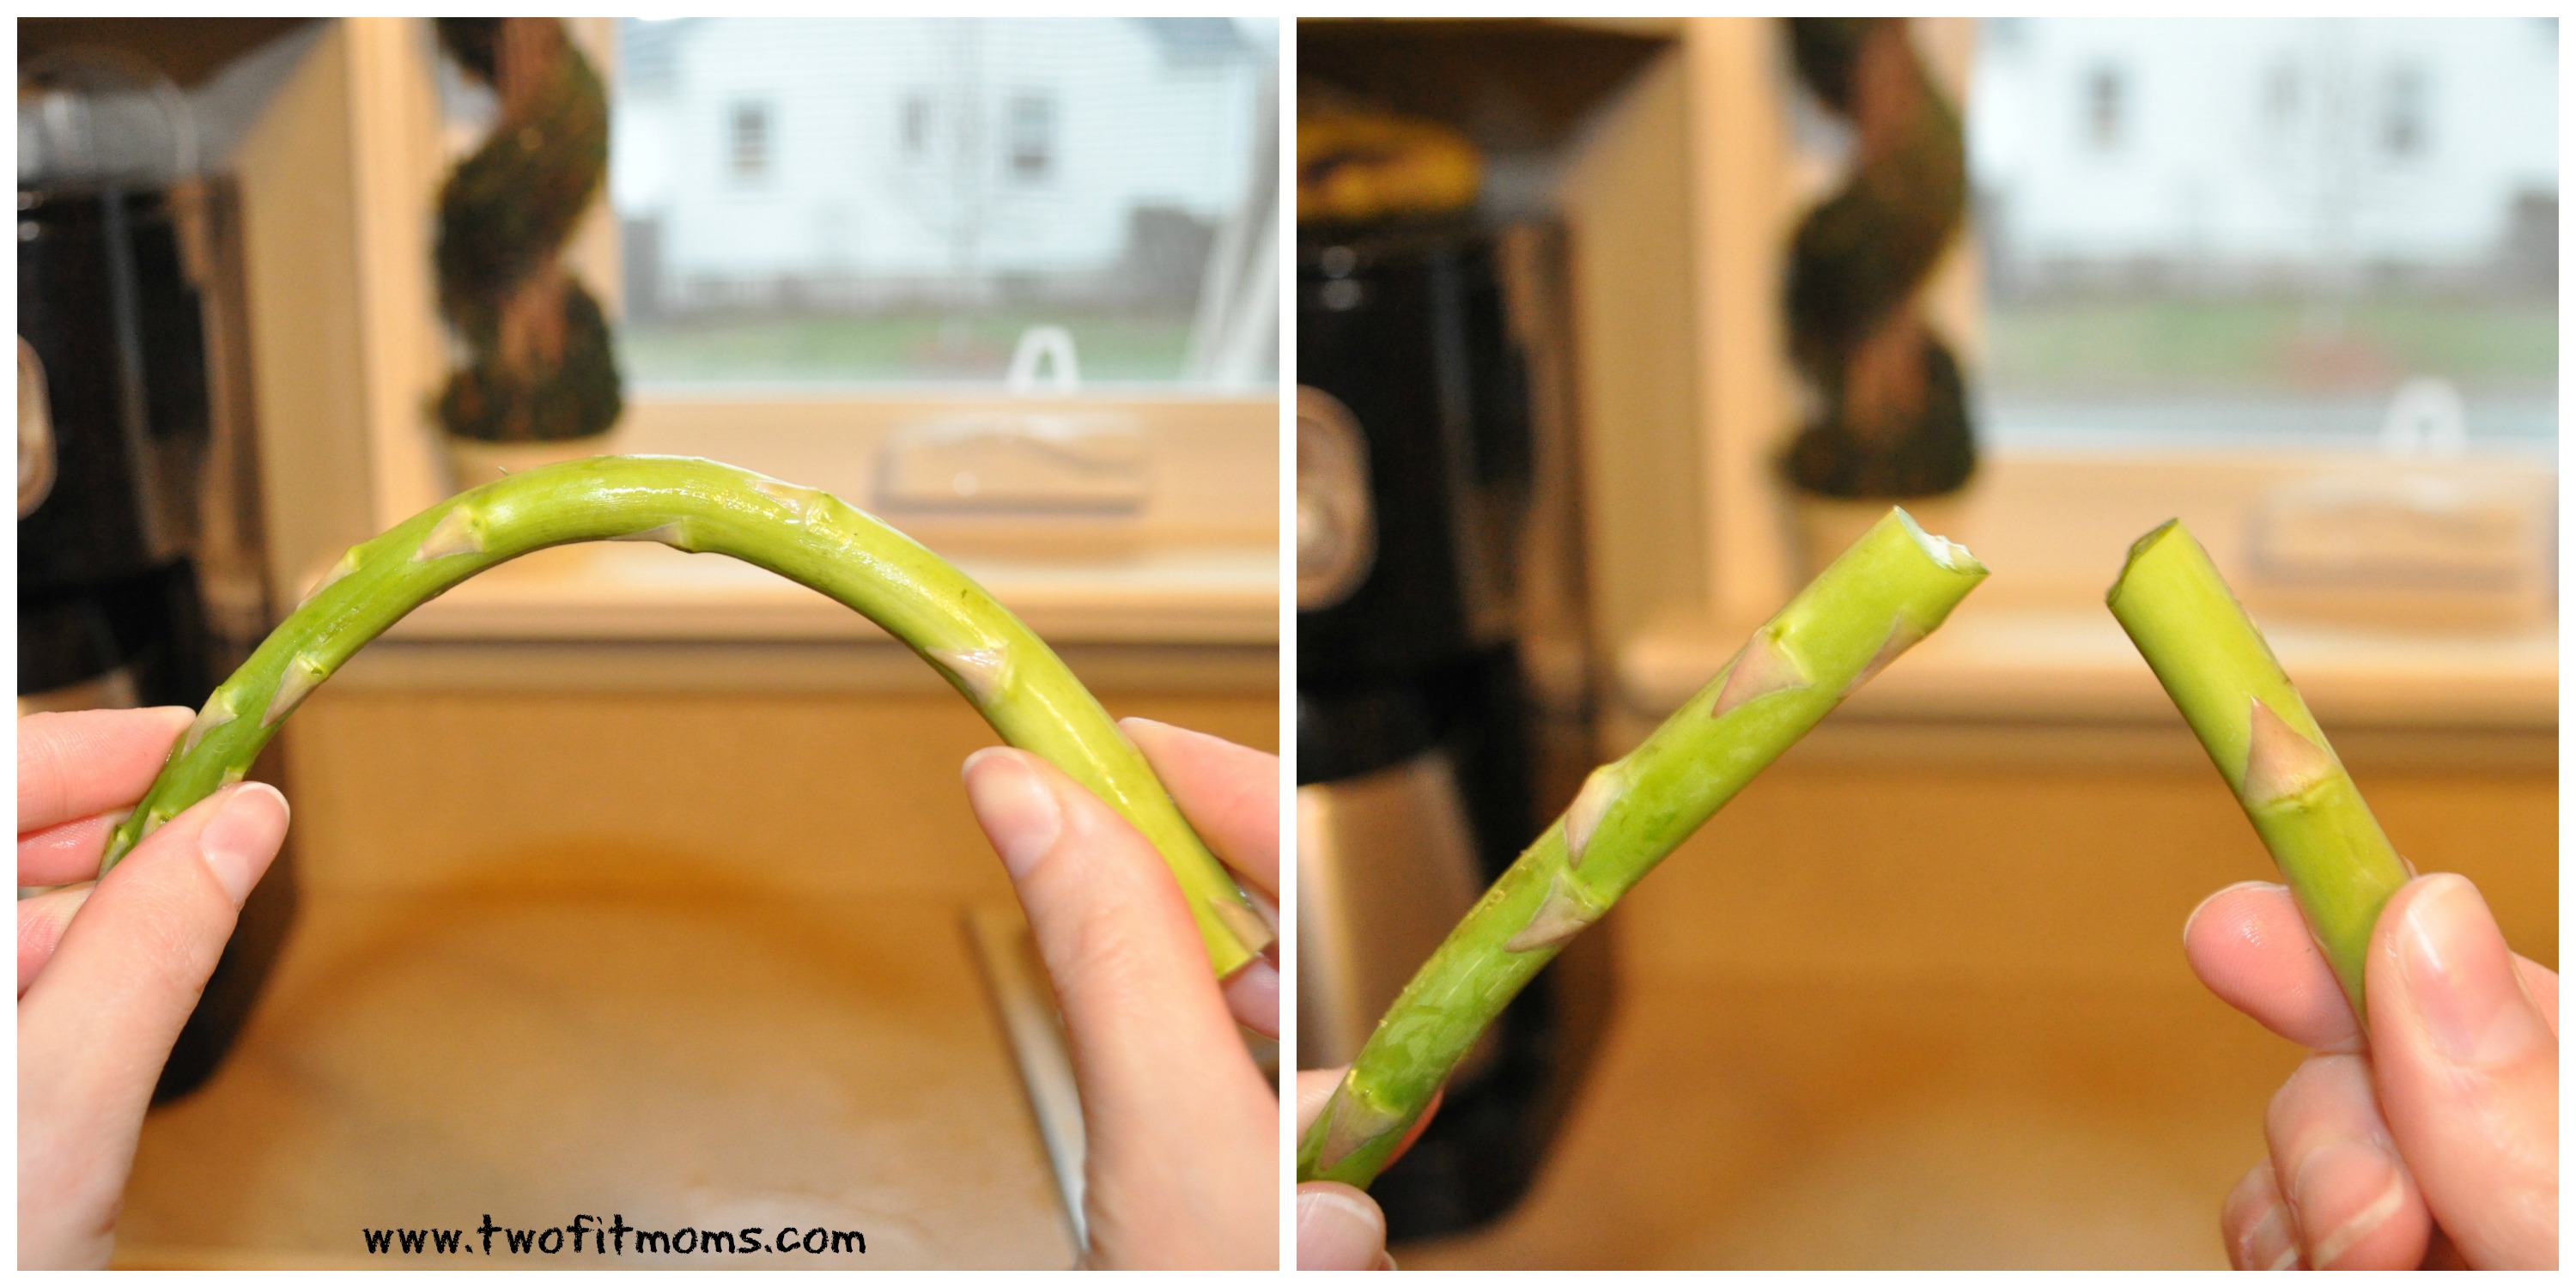
Turn on your grill, and set it to high. In the meantime, prep your veggies. You want thick cuts in order to survive the grilling process. Cut zucchini and eggplant in 1/4 inch thick slices (long ways). Seed the bell peppers and cut into quarters (the larger slices will be easier to grill vs. smaller strips). Trim the asparagus (check out our article on how to properly prep asparagus!), and wash and remove the bottom stems of the mushrooms. Trim bottoms and tops of scallions.
Arrange cut and prepped veggies on a large baking sheet. Drizzle with a few tablespoons of olive oil — not a thick coating, but a light coating on all the veggies so that they don’t stick to the grill. Season with salt and pepper to taste.
While grill is heating, make the marinade.
In a small bowl, add olive oil, balsamic vinegar, garlic and chopped herbs. Whisk until incorporated. Set aside.
When the grill comes to temperature, arrange vegetables and cook until they are tender and have grill marks. You will likely need to grill the veggies in batches. Once they are cooked, place them on a large cookie sheet and keep adding to the pan as additional veggies are ready.
While the grilled vegetables are warm, pour the marinade over them. Seal the pan with foil and let them sit until they come to room temperature. You can serve the veggies at room temperature or you can place them in the refrigerator for use at a later date. The longer they marinate, the better they taste!
Helpful tips: Make sure your grill is very hot and the grates are clean. Grilled veggies don’t taste good with leftover charred bits on them! Additionally, if you don’t use all of the marinade, use the extra to dress your salad!


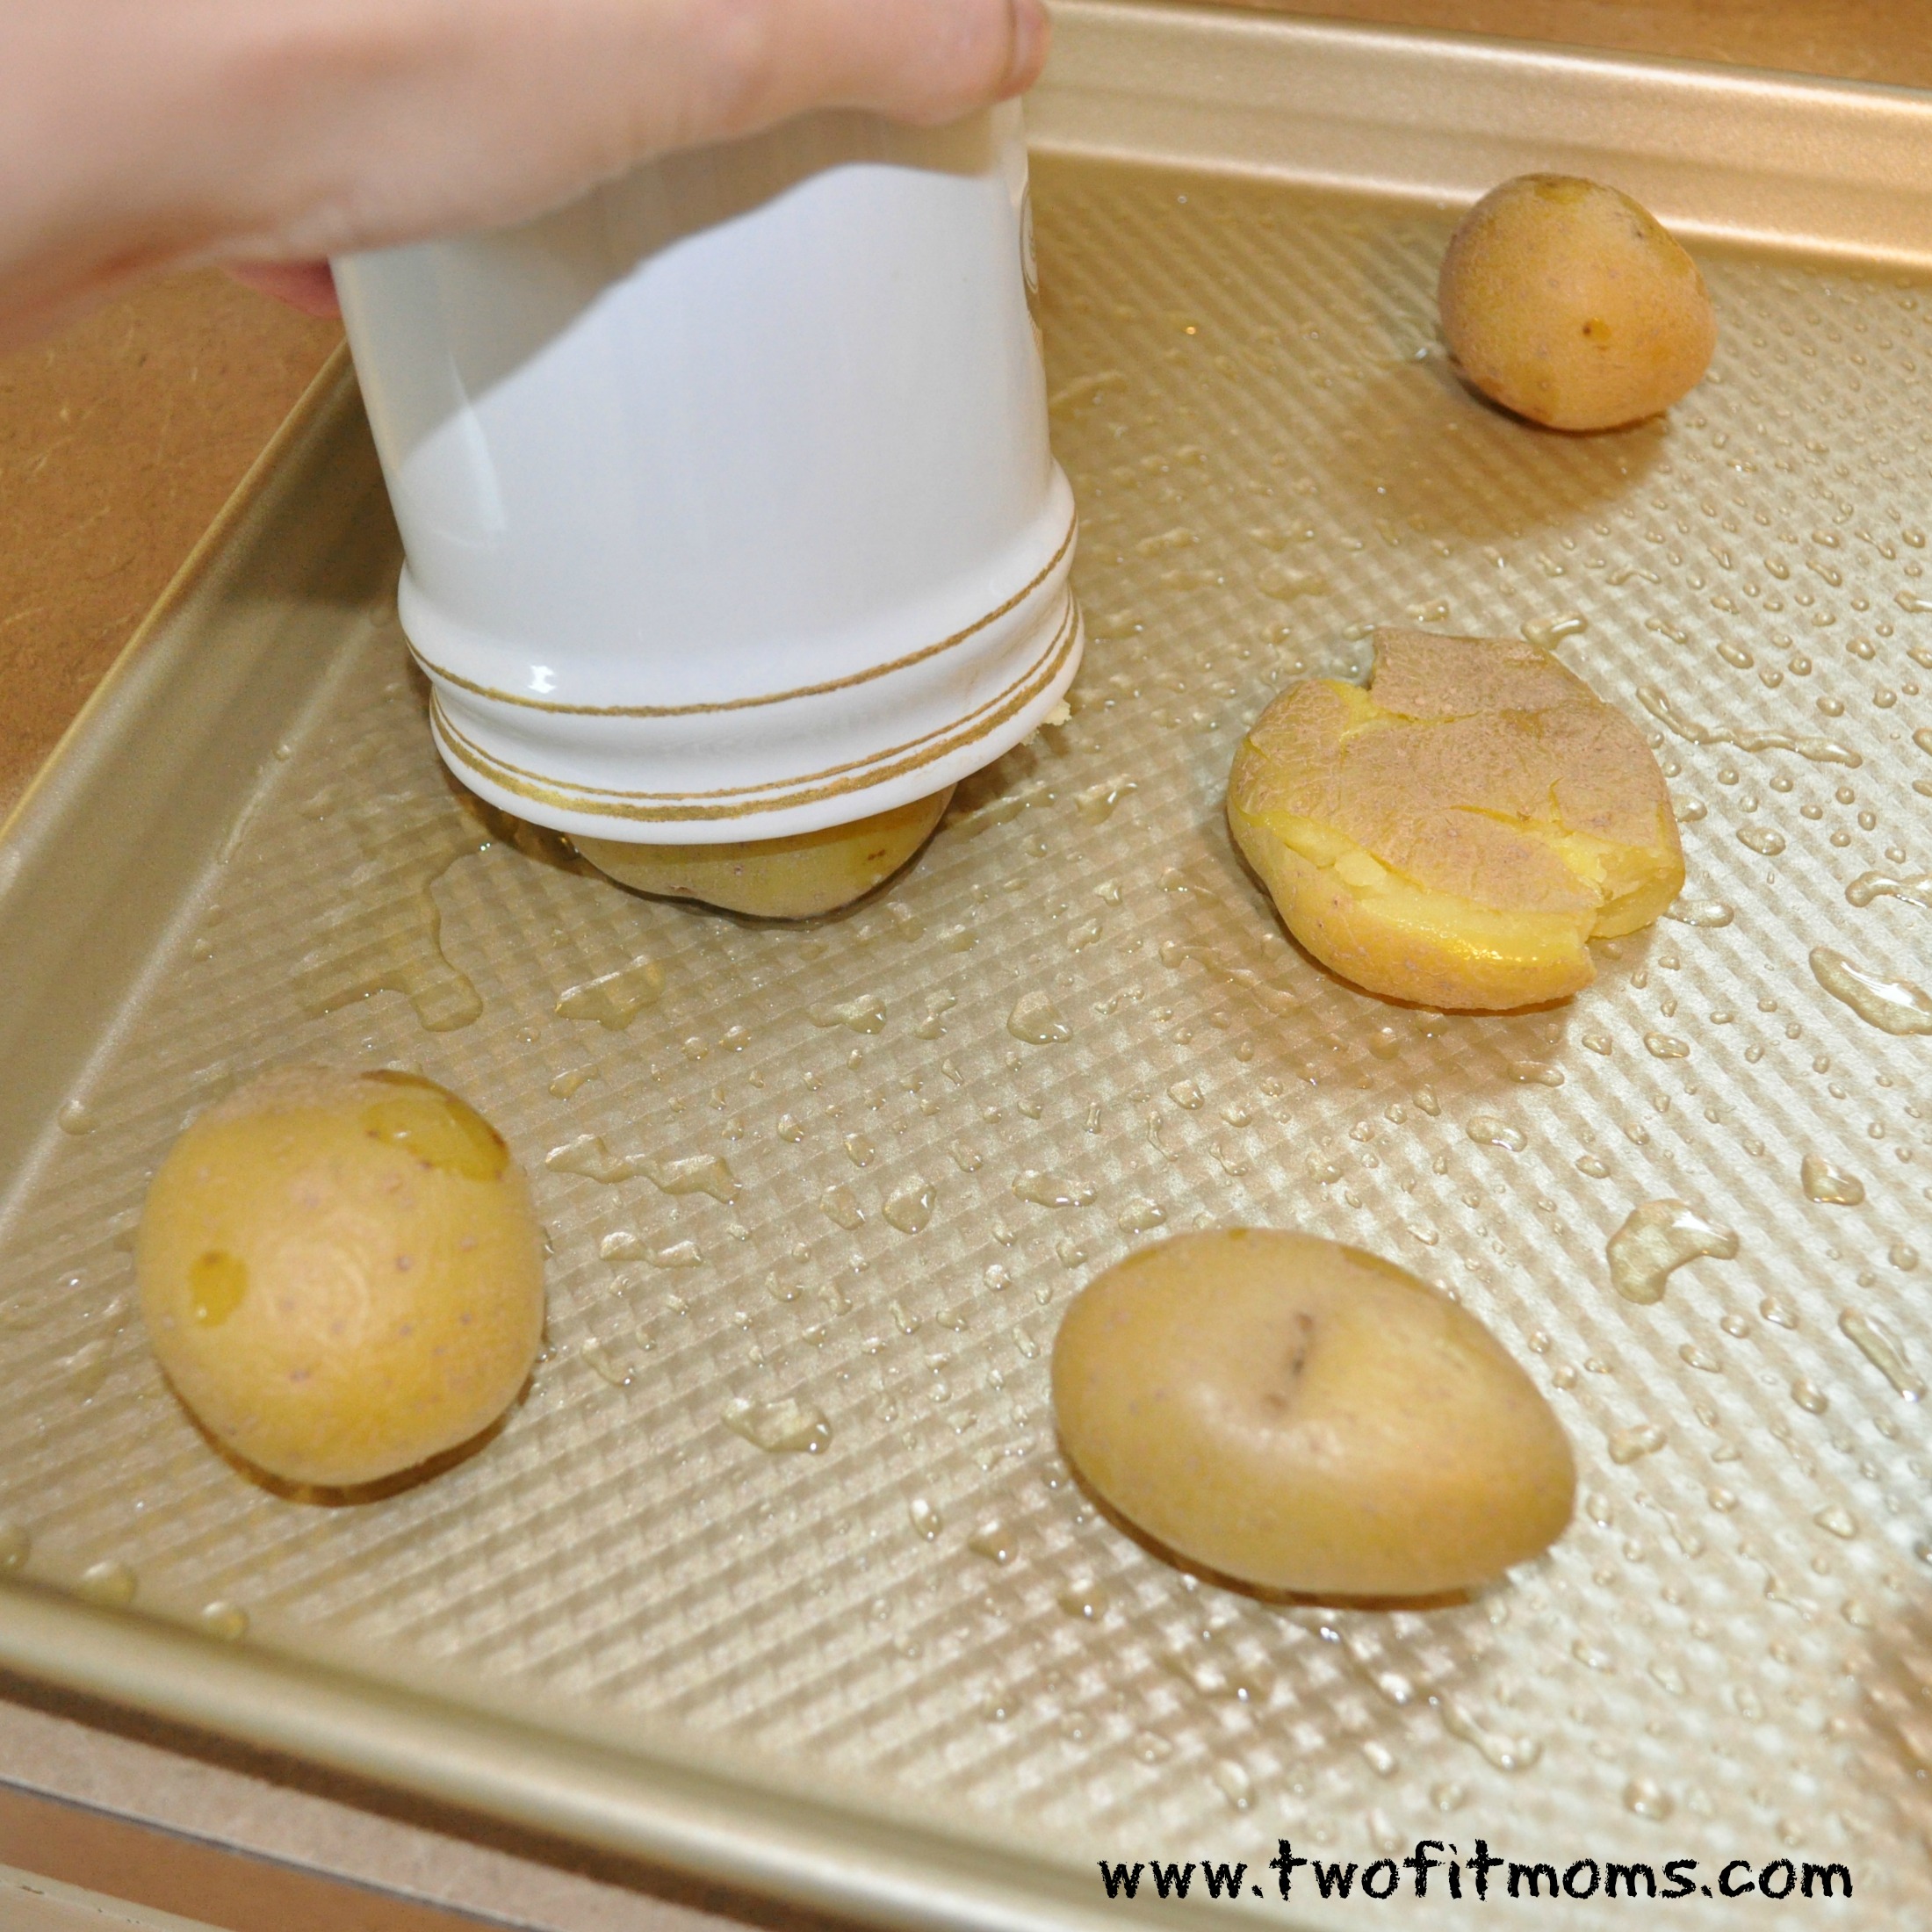


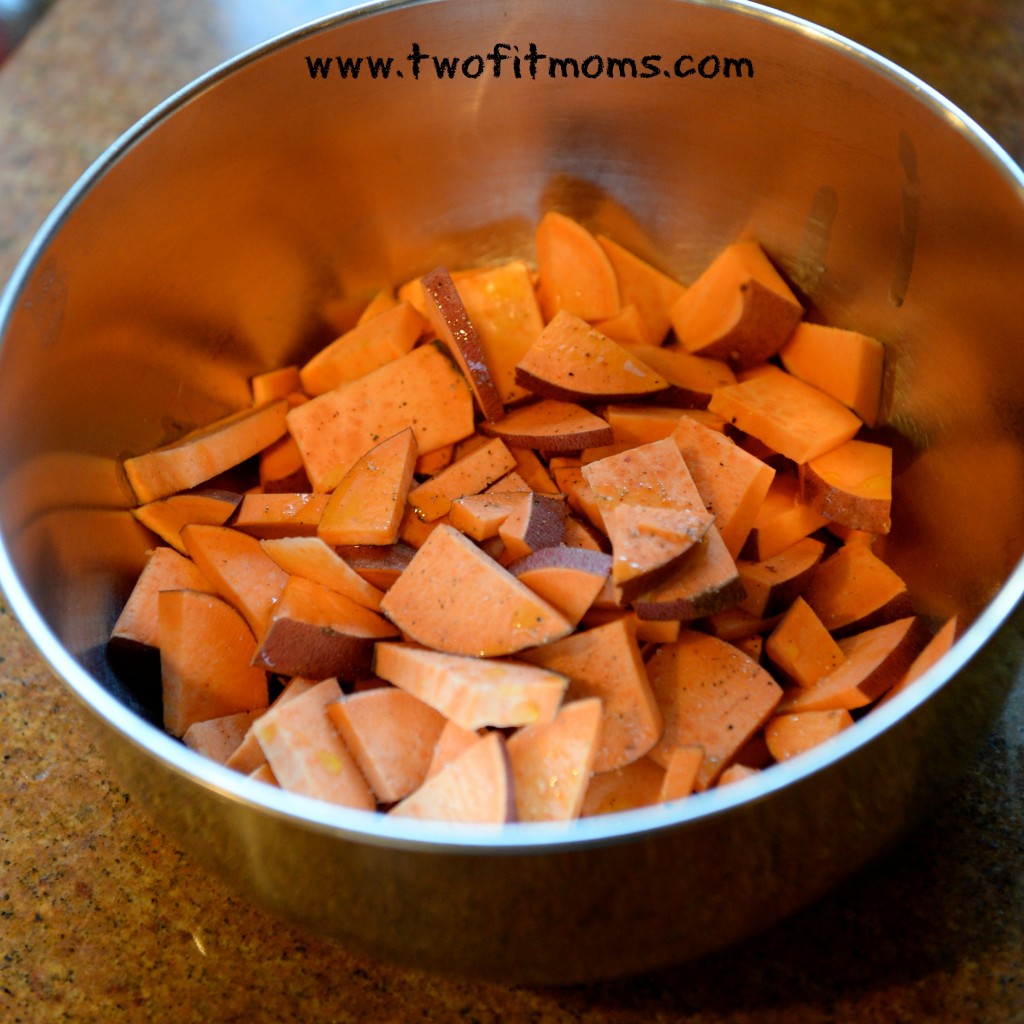
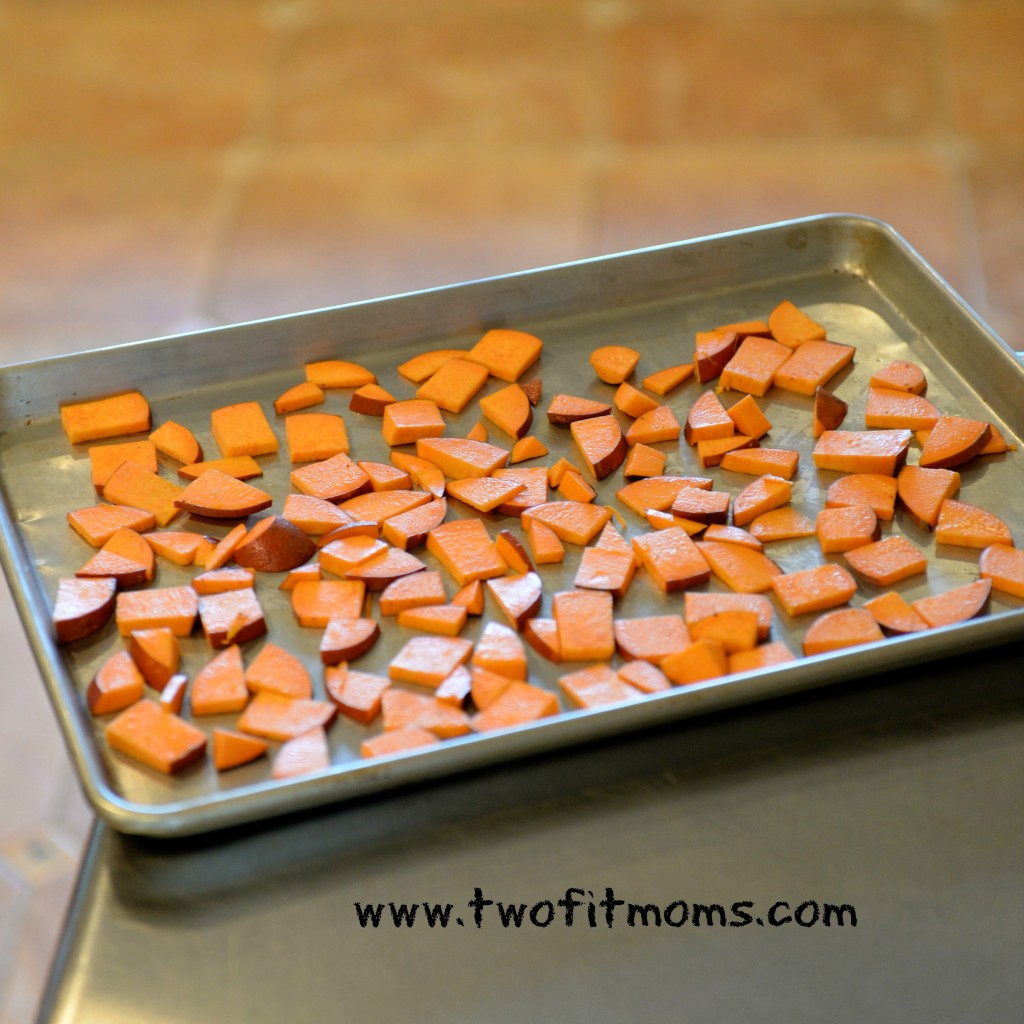
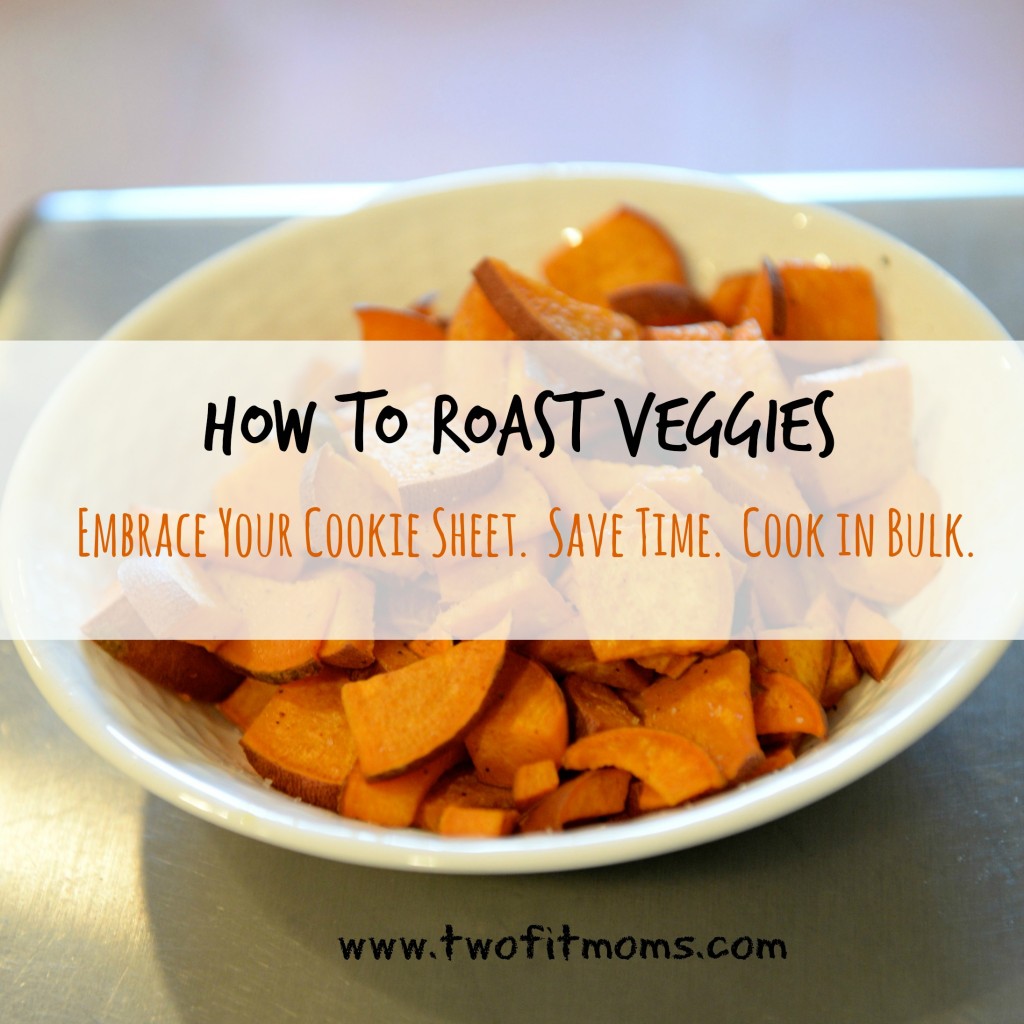 quantities of vegetables at one time. Instead of cooking for just one meal, I roast enough veggies for two or three meals. Unlike boiled or steamed vegetables, which may feel soggy and limp on day two or three, roasted vegetables maintain a delicious flavor and can be chopped into omelettes, pureed into soups or layered onto a sandwich with a balsamic glaze. Let me show you a basic technique.


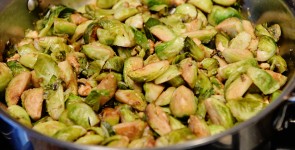
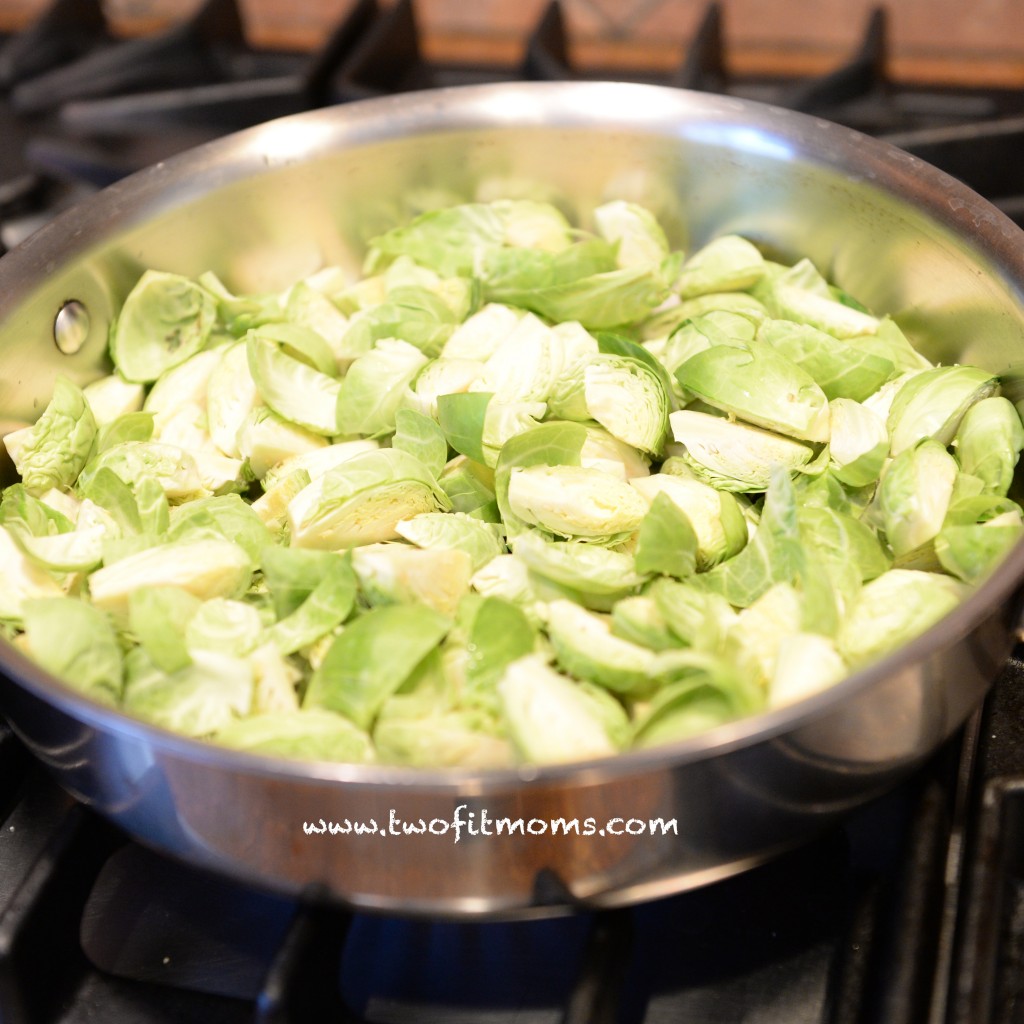
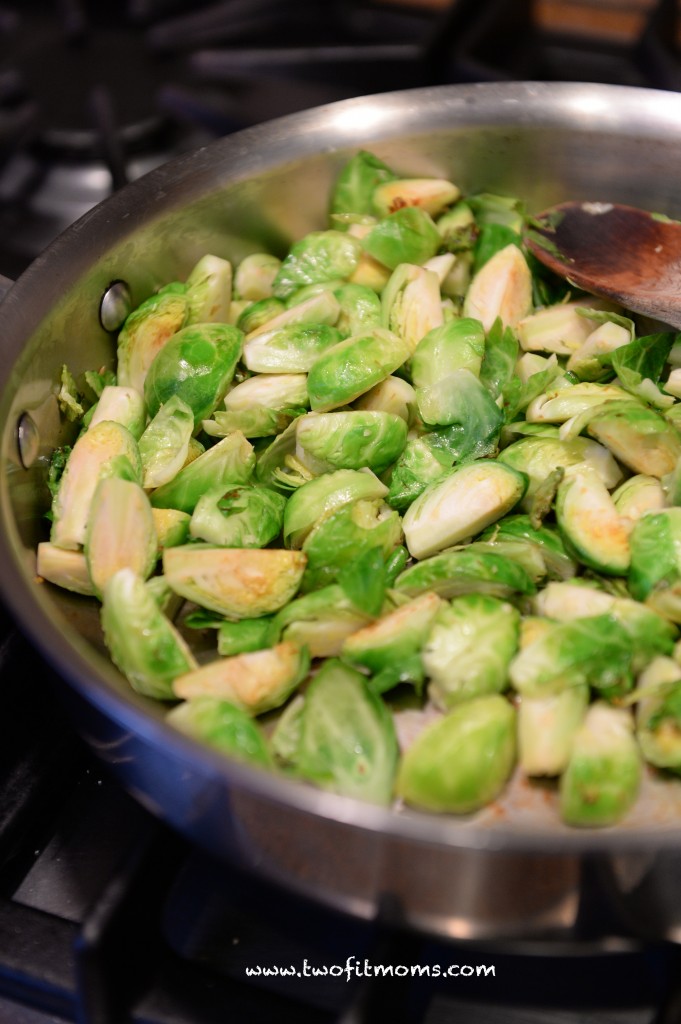
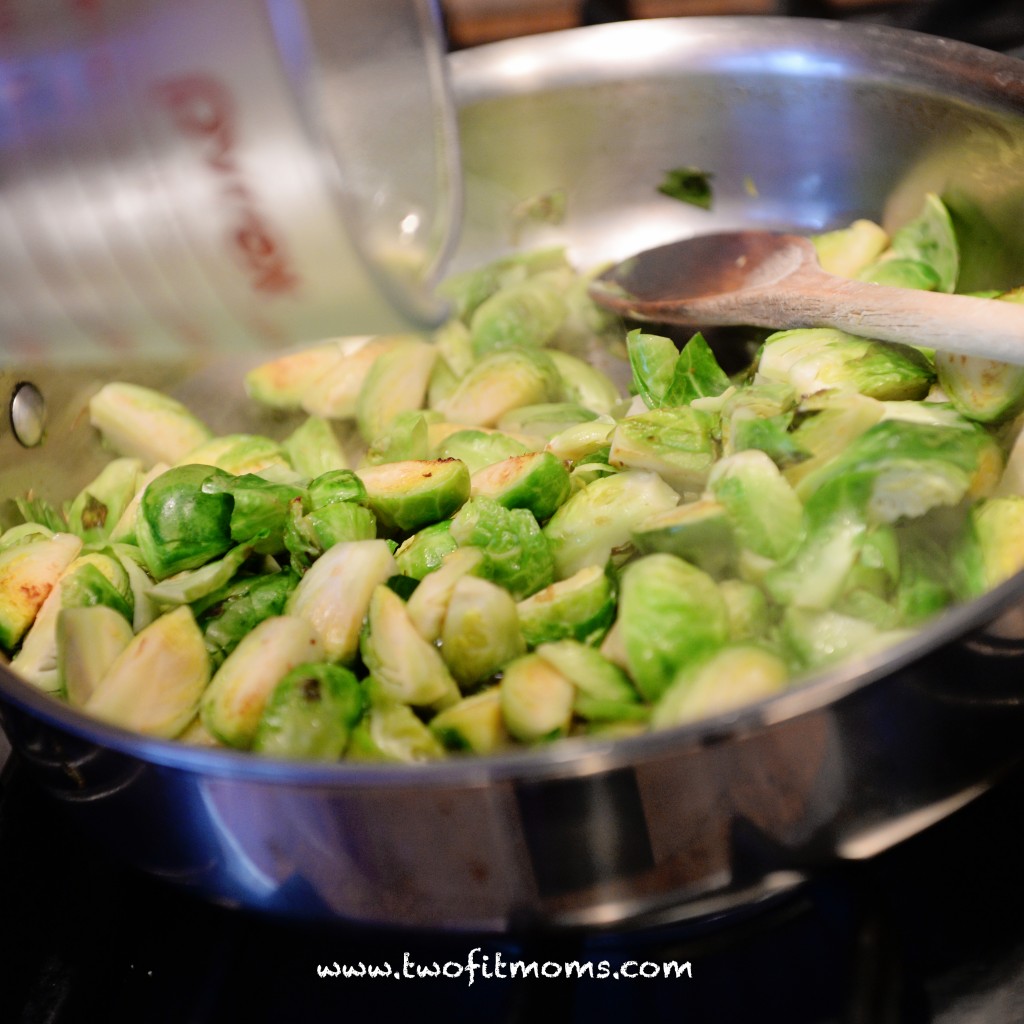
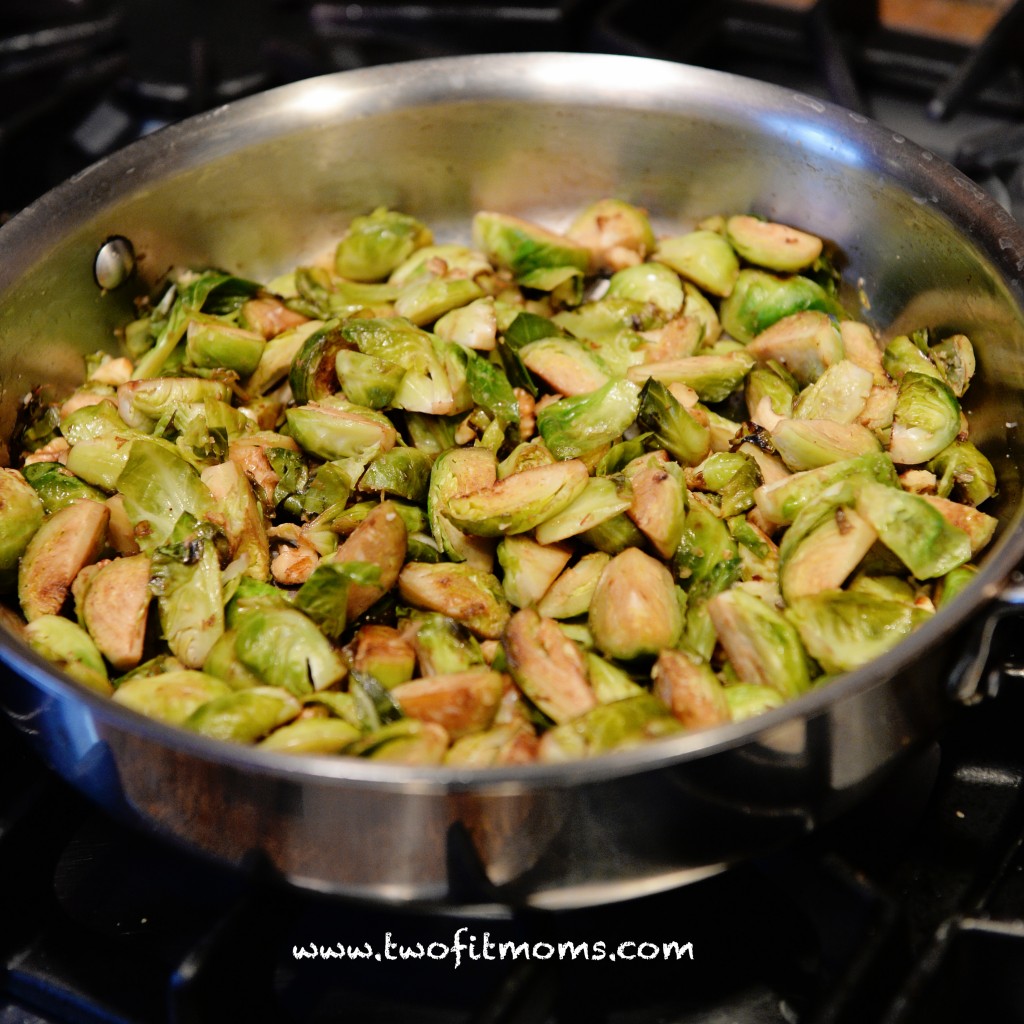
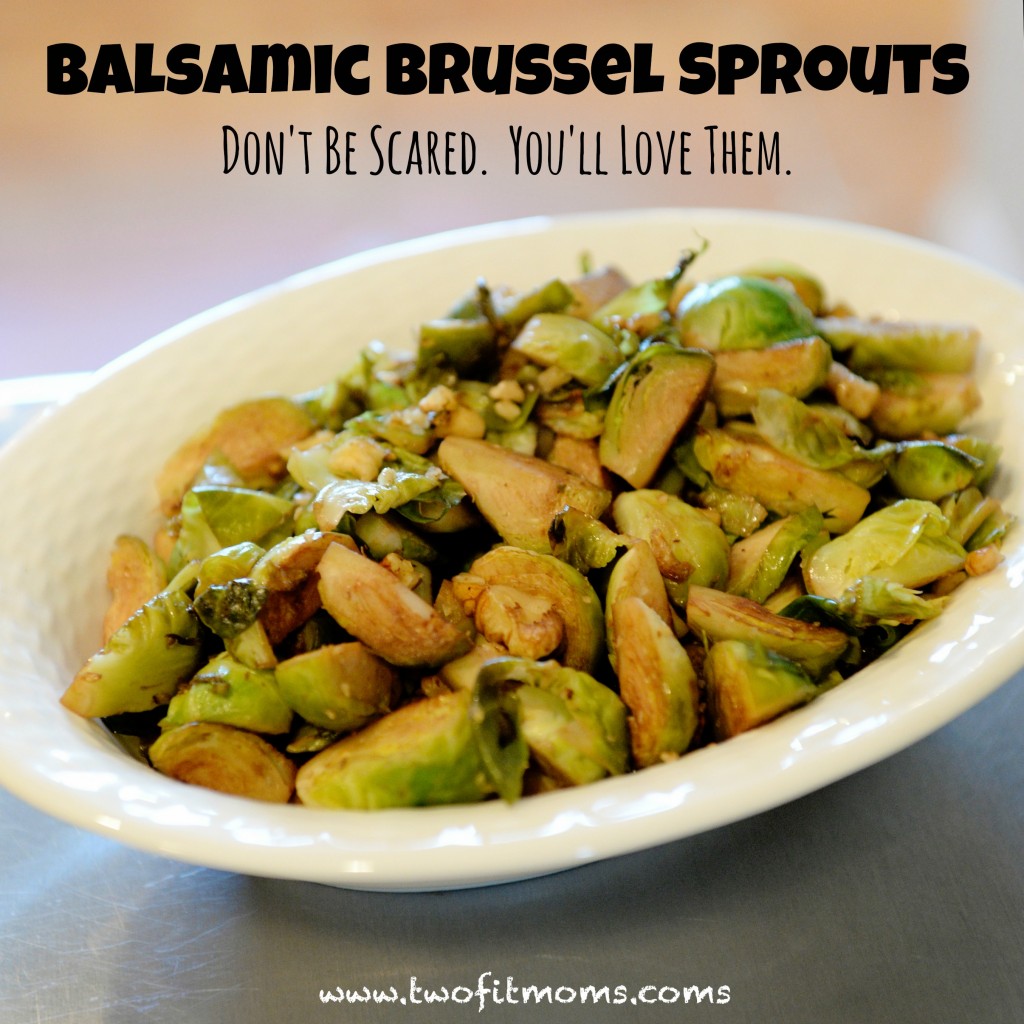 want to gag. I know that so many of you must have had similar experiences, which is why I am SO excited to introduce you to THIS recipe. I’m not exactly sure when my mom started making this version of brussel sprouts, but I am very grateful for the change. Trust me. This recipe makes me WANT to eat brussel sprouts just about every day. Give this a try.