Last week, I posted a tutorial for a basic tripod egg headstand. If you missed it and would like to join in on the inversion fun, please click HERE to get started.
If you’re still reading, I will assume that you’ve managed to get through the first Headstand 101 article and perform your first inversion. Congratulations! Getting yourself to this point is significant—I know many of you had to overcome fears and put aside a mountain of self-doubt, but here you are, experiencing success.
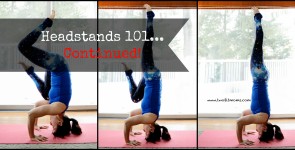
In this tutorial, I will guide you through the remaining steps to get yourself into a full, tripod headstand with extended legs. Let’s get started.
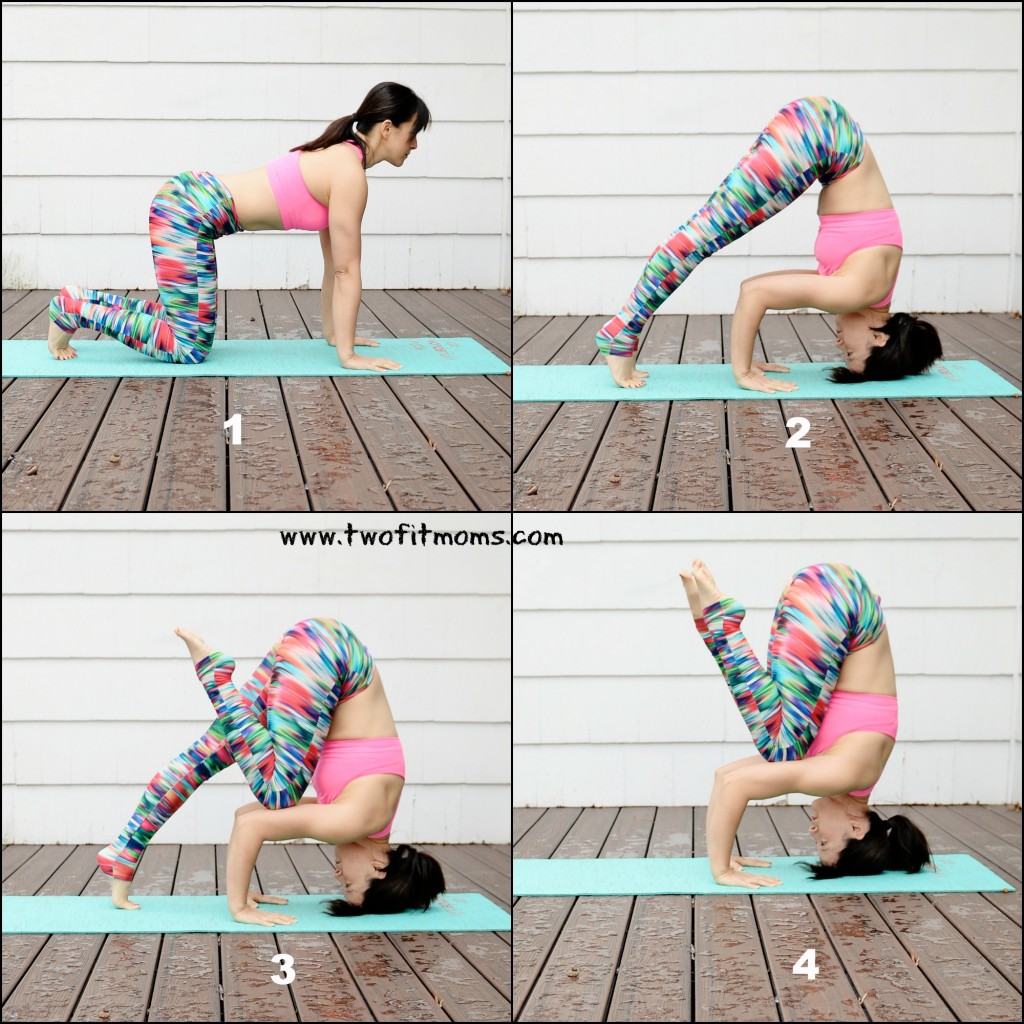
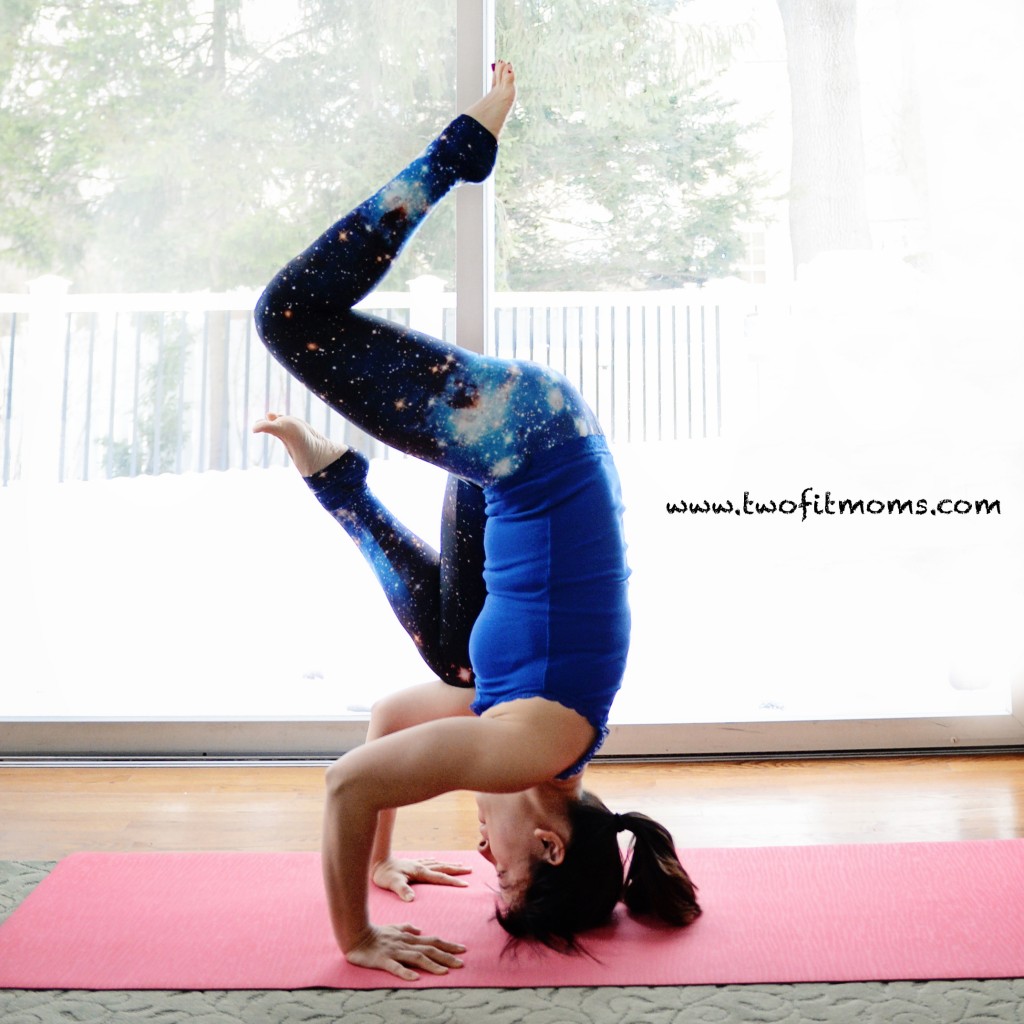
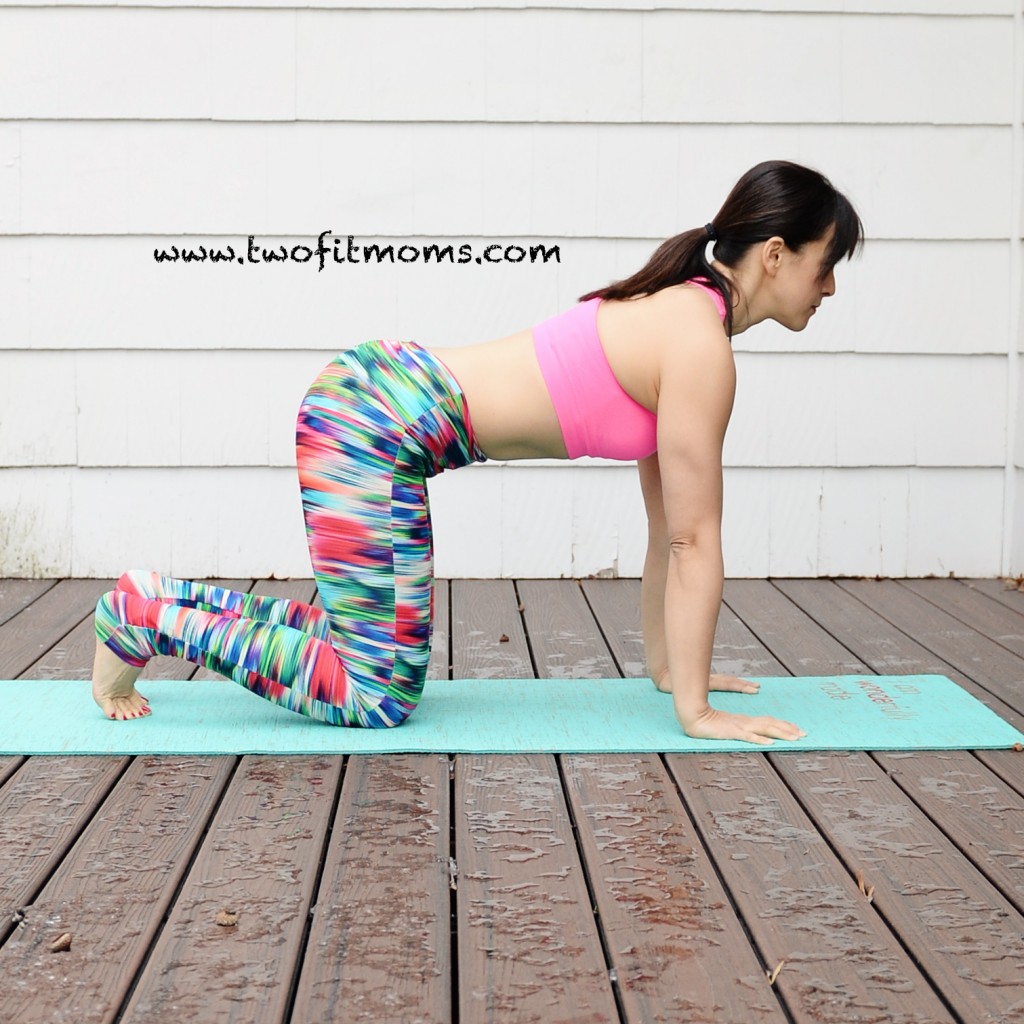
From your tripod egg pose (step 4 in the collage above), engage your abs and begin to shift your weight into your left knee. As you push your left knee firmly into your left tricep, your right knee should feel light on your right tricep.
Your first goal is to lift your right knee just 1 or 2 inches off of your tricep. If you can manage to do that, lower your right knee, and repeat the exercise on the other side 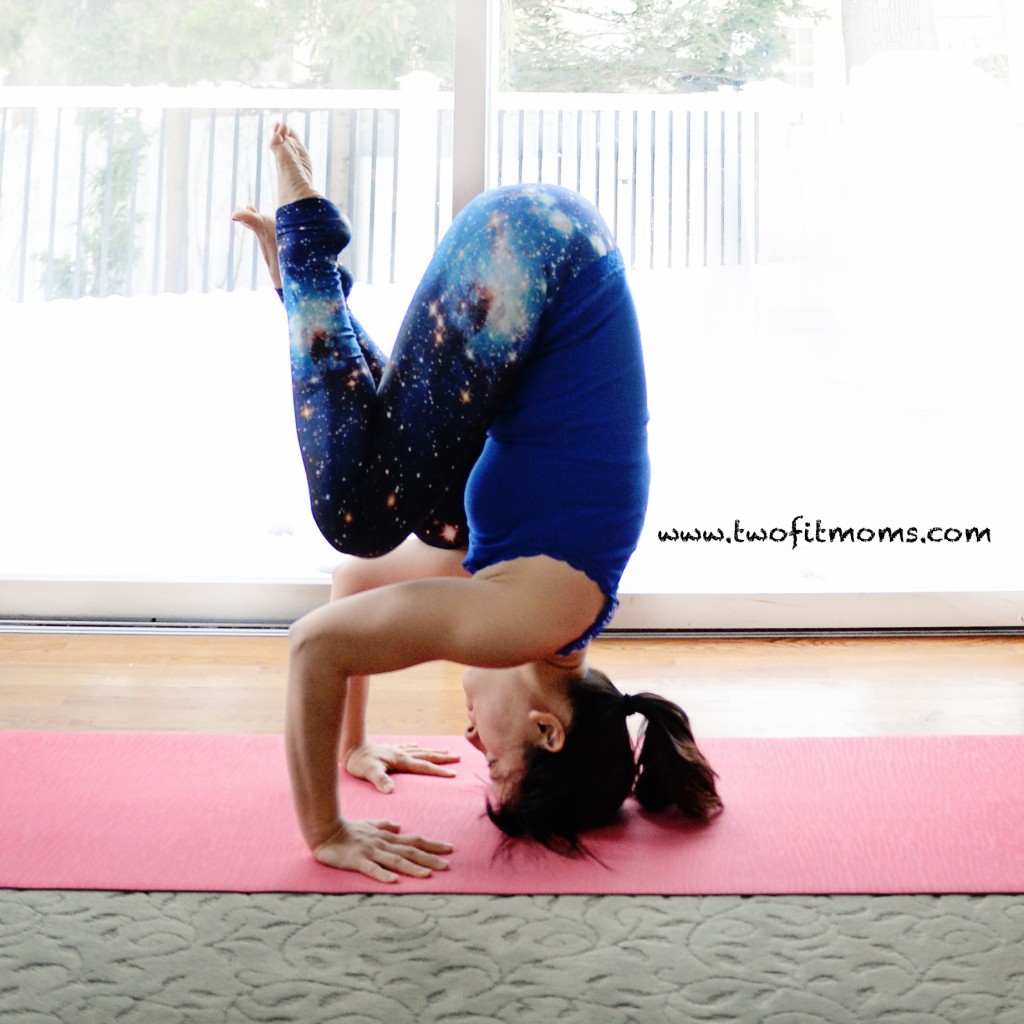 (shifting weight onto the right knee and lifting the left knee a few inches instead). Most people will find this task to feel more natural on one side. Although we traditionally practice both sides in yoga, in these beginning stages of learning a new inversion, I advise you to just work on getting comfortable by practicing on the side that feels more natural.
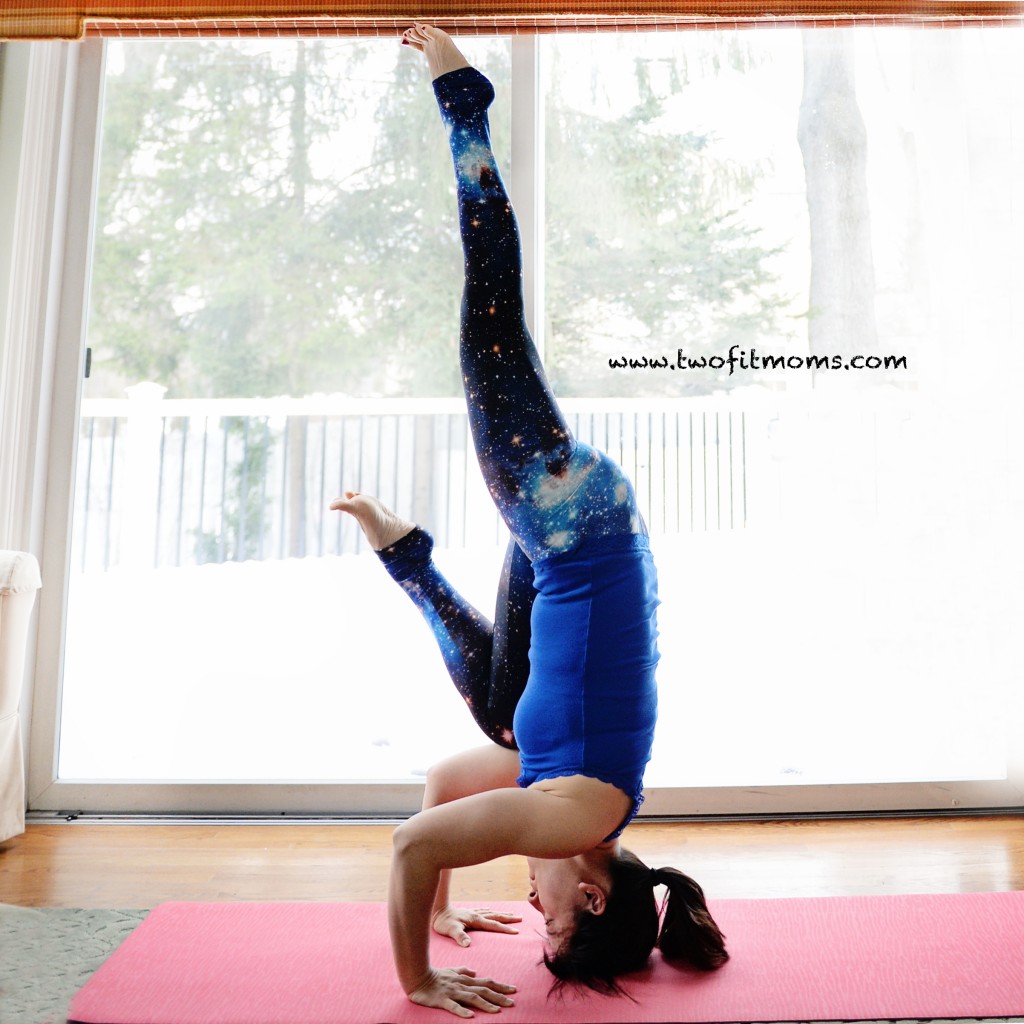
Once you’ve determined which side feels more comfortable, practice lifting that one knee a few inches at a time into the air. Move slowly, and please resist the urge to throw both knees into the air simultaneously. Lifting both legs simultaneously adds much more core instability to the pose. For beginners, our strategy is to maintain as much stability as possible by keeping one knee planted on one tricep until the other leg is fully extended.
If you are unable to lift your knee at all, continue practicing the exercise of shifting your weight back and forth between triceps. You will build the strength and stability in due time. Please do not rush the process by deciding to kick up into a headstand. NEVER kick up into a headstand. Your head and neck are bearing your body weight, and the last thing you need to do is to add the instability and sharp movement of a kick-up.
If you DO manage to extend one leg into the air, notice whether your body is swaying. If so, make an effort to engage all of your muscles. Keep your core tight and energize your extended leg by pointing, flexing or “flointing” your foot. Flointing is essentially pointing with the ball of your foot—think of Barbie feet that look like they are perpetually in high-heeled shoes.
Keep practicing your headstand with one-leg extended until it feels stable. Do not move on to the next step until you are comfortable and stable with one leg fully extended.
Before you extend your second leg into the air, run through this checklist in your mind:
-Is your core engaged?
-Are you remembering to breathe?
-Are you flointing/flexing/pointing the foot of your extended leg?
-Are you making an effort to keep your elbows squeezing in rather than splaying out to the sides?
-Is your neck nice and long?
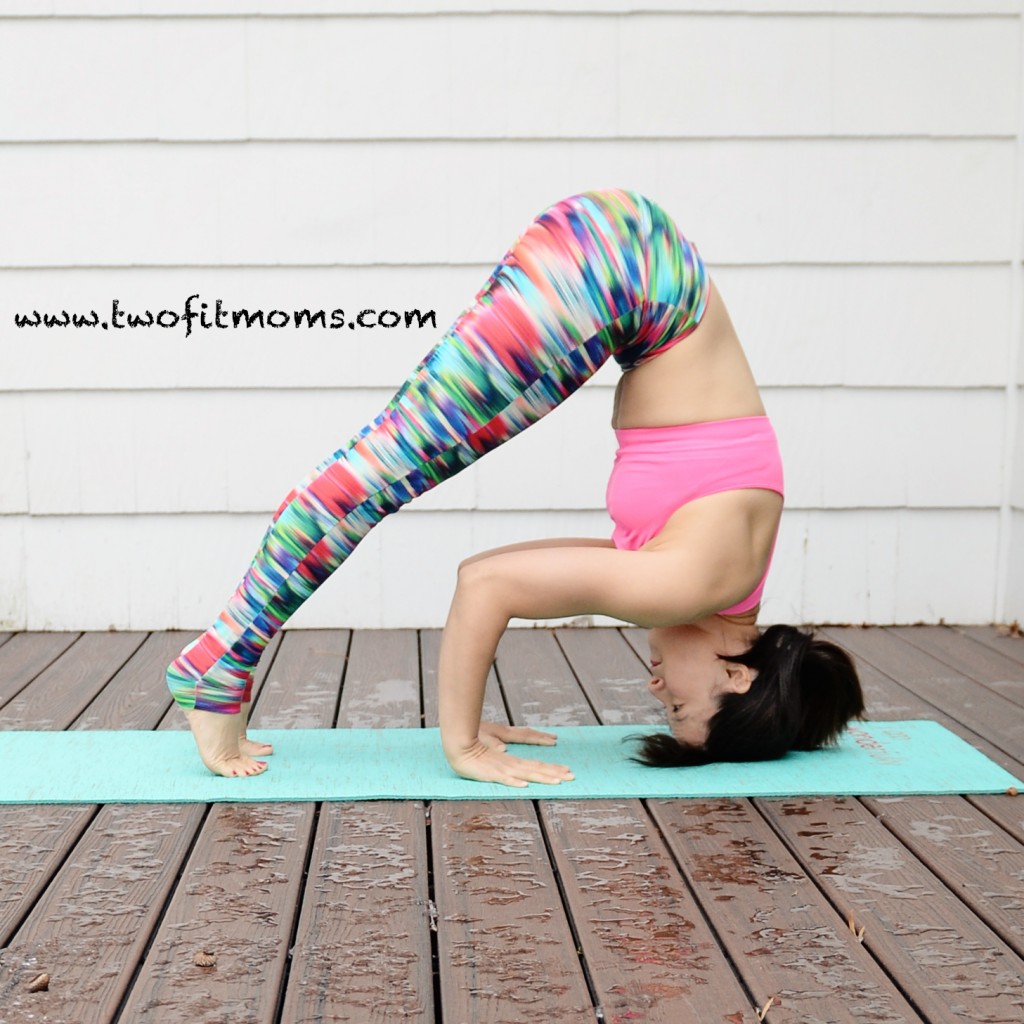
If you’ve answered yes to these questions, slowly begin lifting your second knee into the air. Again, you will feel most stable if you lift in small 2-inch increments.
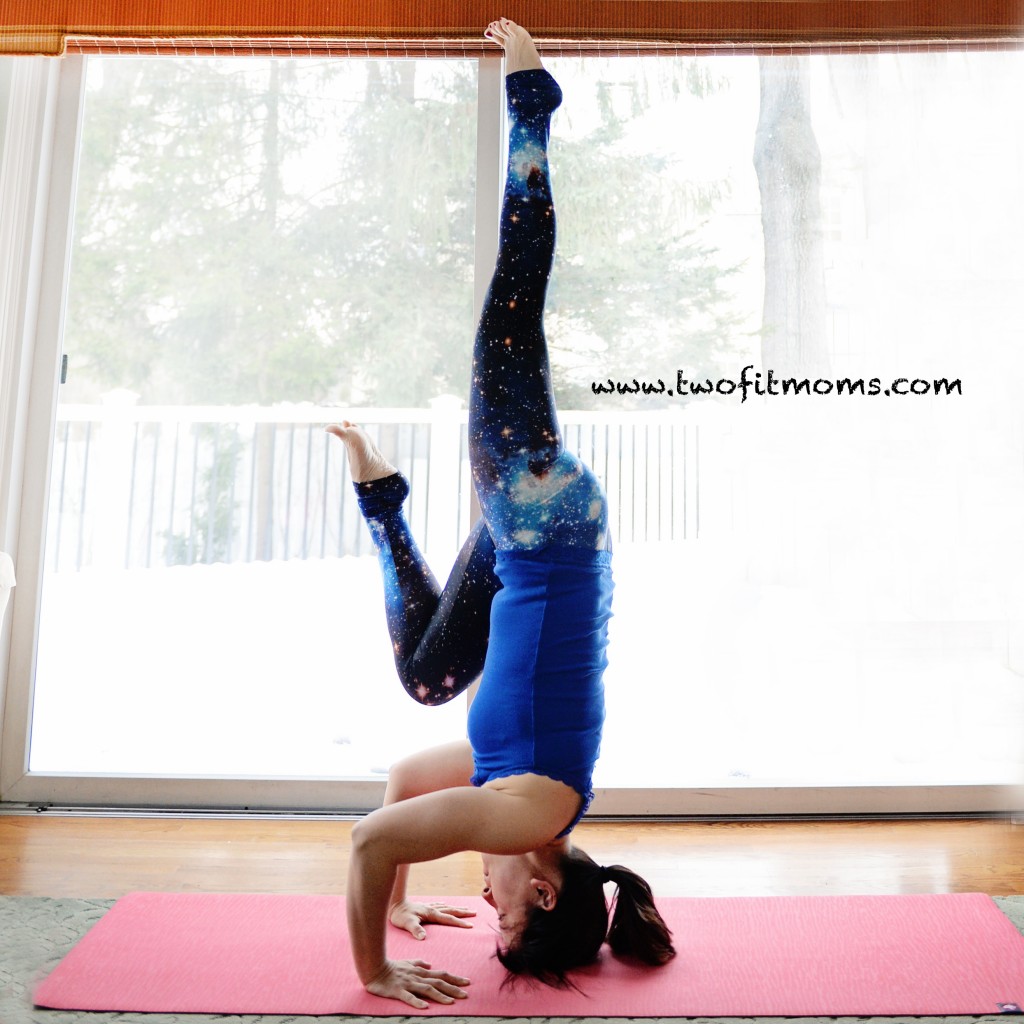
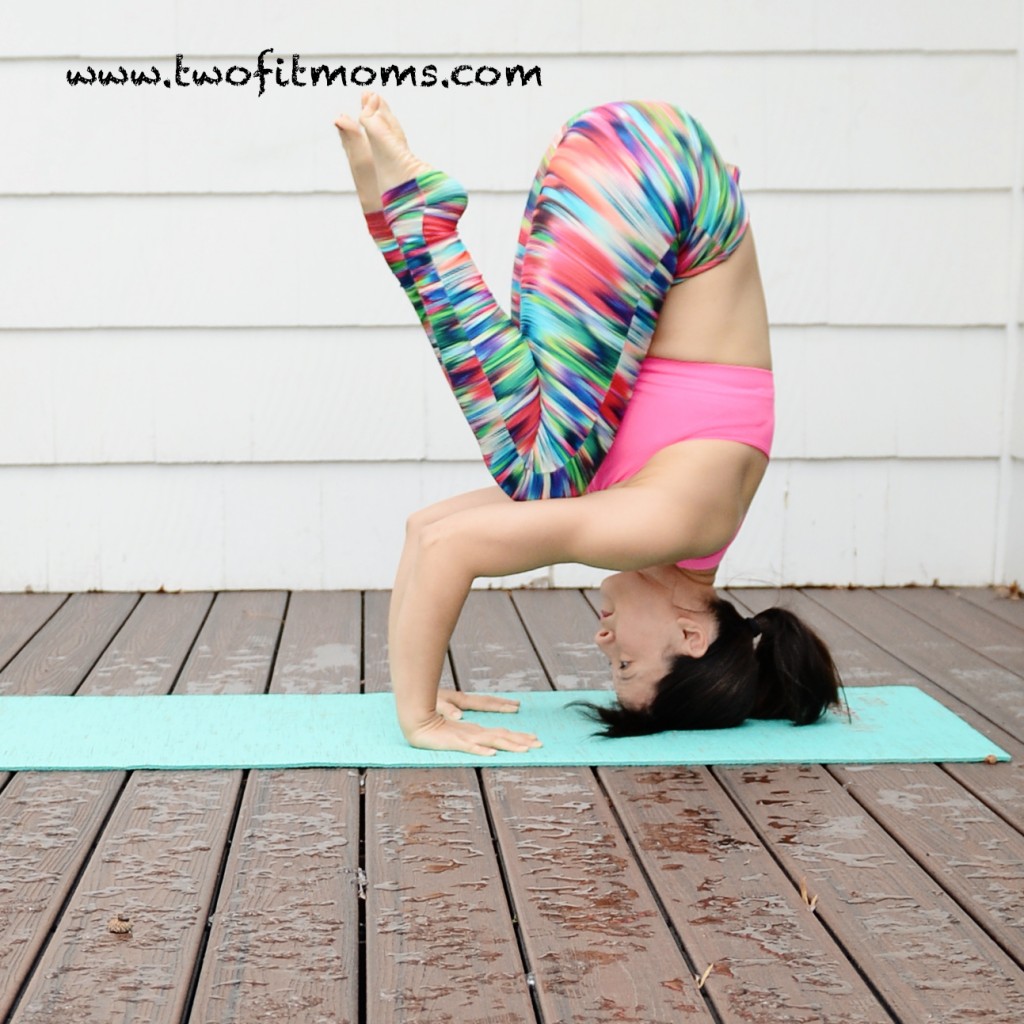
Lift slowly and maintain an engaged, energized feeling through out your entire body to find stability. Once you find full extension of both legs, see if you can hold the pose for 5 full breaths. Congratulations. You did it!

 at the age of 36! It is never too late to learn a new hobby or skill. Just be patient, and remember to practice. It may not happen for you today, and that’s ok! There is no timetable for success. I will equip you with the tools and knowledge, and you will work at your own pace until you feel comfortable in the pose.
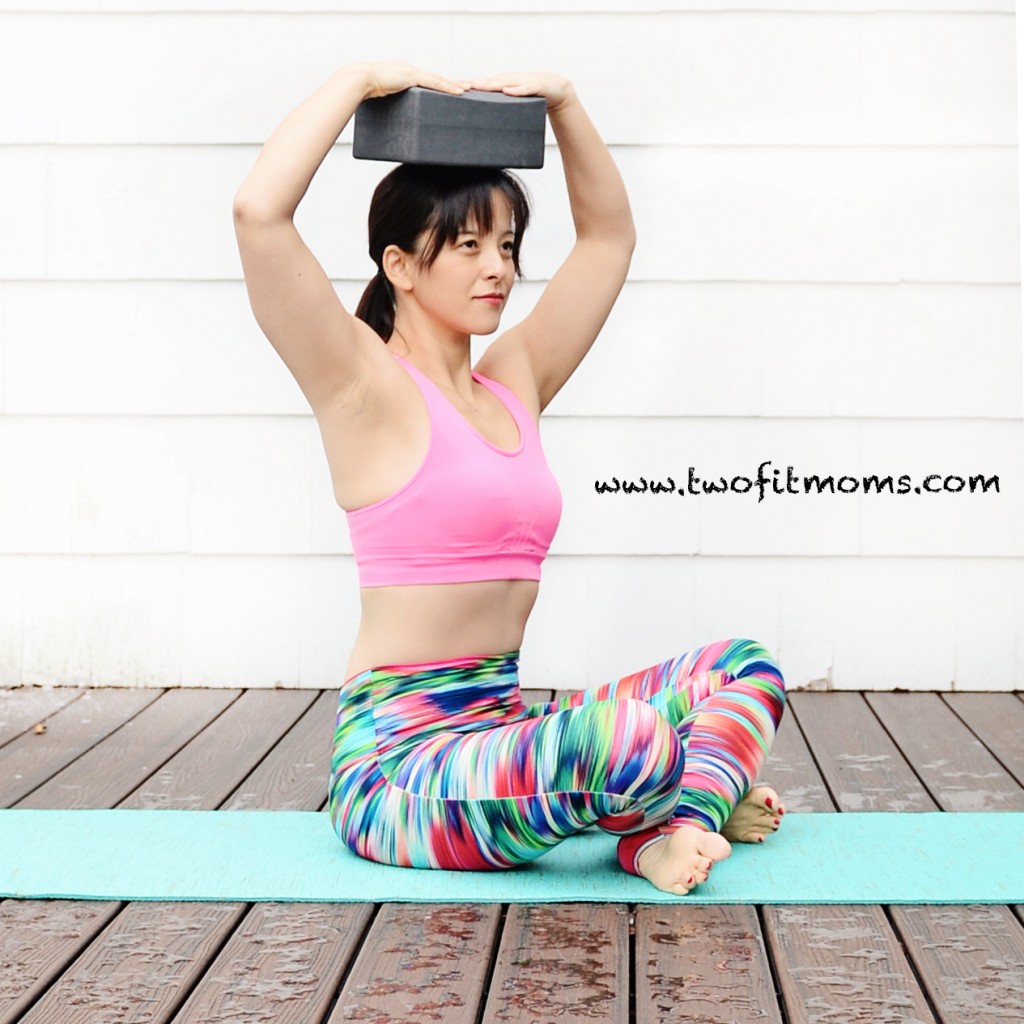
 more limber. If your neck feels strained, focus on lengthening your neck so that your shoulders are drawn away from your ears. If the top of your head hurts, adjust your balance point a few inches. Personally, my own balance point in a headstand is not the same as the balance point with the book on my head. I usually balance a few inches closer to my forehead. This is an exploration. Find the right spot for your own body.