If you attended our Yoga & Wellness Retreat in Englewood, NJ earlier this month you would have experienced my first live cooking demonstration — and these delicious No-Bake Granola Chewies!
I’m always looking for quick, easy and healthy snacks for my kids, so a no-bake granola bar was a no-brainer. I just had to figure out how to achieve a granola bar consistency without baking.
Dates. Pitted dates are the answer. I have to tell you, and I shared this with the retreat participants, that I think dry pitted dates look just awful — they are in no way appetizing. HOWEVER, when you break them down in a food processor, they turn into a lovely, delicious paste that you can use to sweeten your baked goods. They are the glue — or one of the glues — holding these tasty granola bars together. They not only add sweetness and gooeyness, but they add lots of fiber and are chocked full of lots of good vitamins and minerals including calcium, folate, iron, vitamin A and vitamin K!
Peanut butter also helped to bind the bars and maple syrup added some additional sweetness. I personally like mini chocolate chips in mine, but you could certainly substitute the chips for dried fruit or coconut.
Wrap them up for school lunch or work lunch – or pop them into your gym back for a pre- or post-workout snack.
Enjoy!
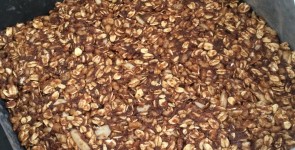
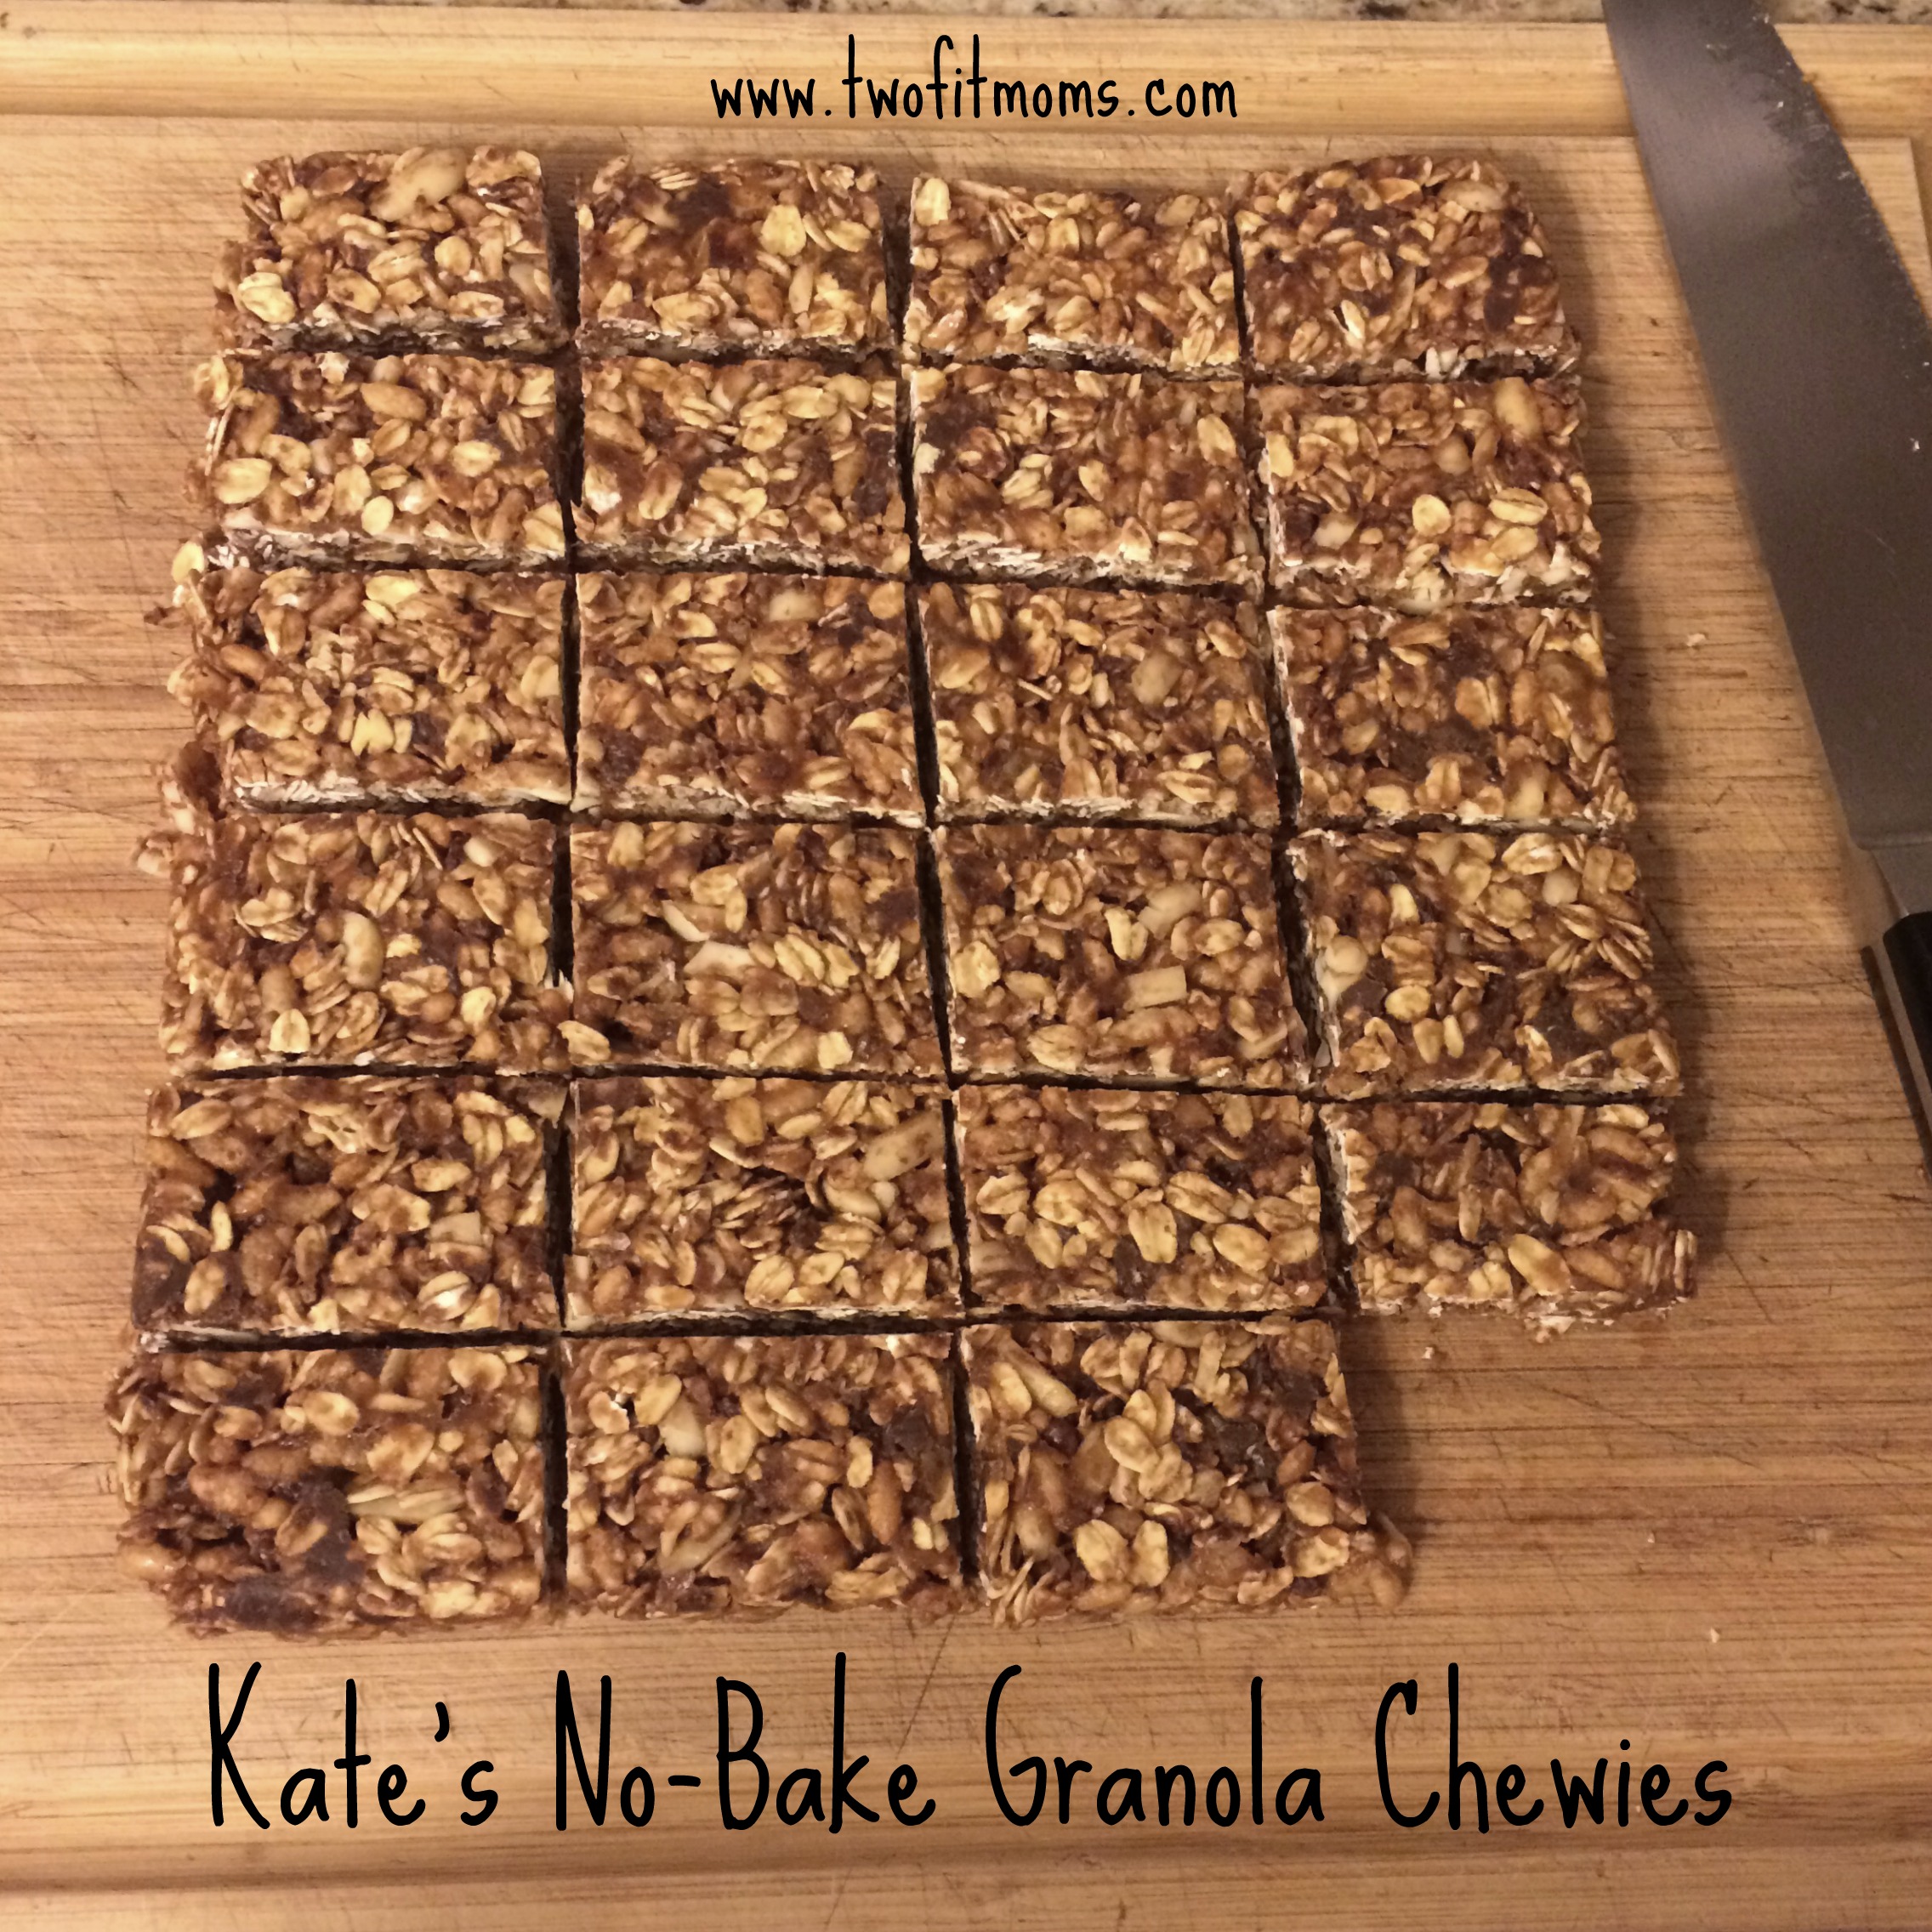
Kate’s No-Bake Granola Chewies
Yields one 8×8 pan
1 cup of pitted dates, pulsed in a food processor
1/4 cup maple syrup
1/4 cup peanut butter
1 1/2 cups of rolled oats (*I prefer toasted)
1/2 cup brown rice crisp cereal
1/3 cup almonds, whole or blanched, any kind you like — or another nut if you prefer
1/3 cup mini chocolate chips (feel free to replace the chocolate chips with dried fruit or unsweetened coconut or anything else you’d like!)
Directions:
Line an 8×8 pan with parchment paper or plastic wrap and set aside. You can always spray the bottom and sides of the pan with coconut oil if you find the paper or wrap is not adhering nicely to the pan.
Add the dates to the bowl of a food processor and pulse for about a minute, until the dates form a paste. I added a drop of water to help the process — but literally only a drop!
In a separate bowl, add the maple syrup and peanut butter. Mix to combine. If you find that your peanut butter is not loose enough, you can pop it into the microwave for 30 seconds.
Add the dates, oats, rice cereal, almonds and mini chocolate chips and mix until well combined.
Transfer the mixture to the prepared pan and evenly distribute. I used a drinking glass to help flatten the mixture.
Cover the pan with plastic wrap and let them firm up in the refrigerator for 15-20 minutes – or until very firm. Remove them from the refrigerator and invert the pan onto a cutting board and slice into any size that you like. I ended up cutting 24 small bars from mine.
*Helpful Hint: Try toasting your oatmeal for a nuttier flavor! Let them toast in the oven, on a baking sheet, for about 15 minutes at 350 degrees, just until very lightly browned!